Introduction
Welcome to the world of PC building and customization! Whether you’re upgrading your existing computer or starting from scratch, knowing how to remove a PC case is an essential skill. Removing the case allows you to access the internal components, making it easier to install or replace parts such as the motherboard, graphics card, or power supply.
Removing a PC case may seem like a daunting task, especially if you’re new to computer hardware. However, with the right tools and a little guidance, it can be a straightforward and enjoyable process.
In this article, we will guide you through the step-by-step process of removing a PC case. By following these instructions, you’ll be well on your way to customizing your computer to suit your needs and preferences. So, let’s dive in!
Before we begin, it’s important to note that different PC cases may have slight variations in design and features. Therefore, we recommend consulting your case’s user manual or manufacturer’s website for any specific instructions that may differ from the general steps outlined here.
In the next sections, we will explore the tools and materials you’ll need, as well as the steps to successfully remove a PC case. So grab your toolkit, put on your static-free wrist strap, and let’s get started!
Tools and Materials Needed
Before you begin removing your PC case, it’s important to gather the necessary tools and materials. Having these on hand will ensure a smooth and efficient process. Here’s a list of what you’ll need:
- Screwdriver – Depending on your PC case, you may need a Phillips or flat-head screwdriver. Check the screws on your case beforehand to determine the type you’ll require.
- Anti-static wrist strap – Although not mandatory, it’s highly recommended to wear an anti-static wrist strap to prevent any accidental discharge of static electricity that could damage your computer components.
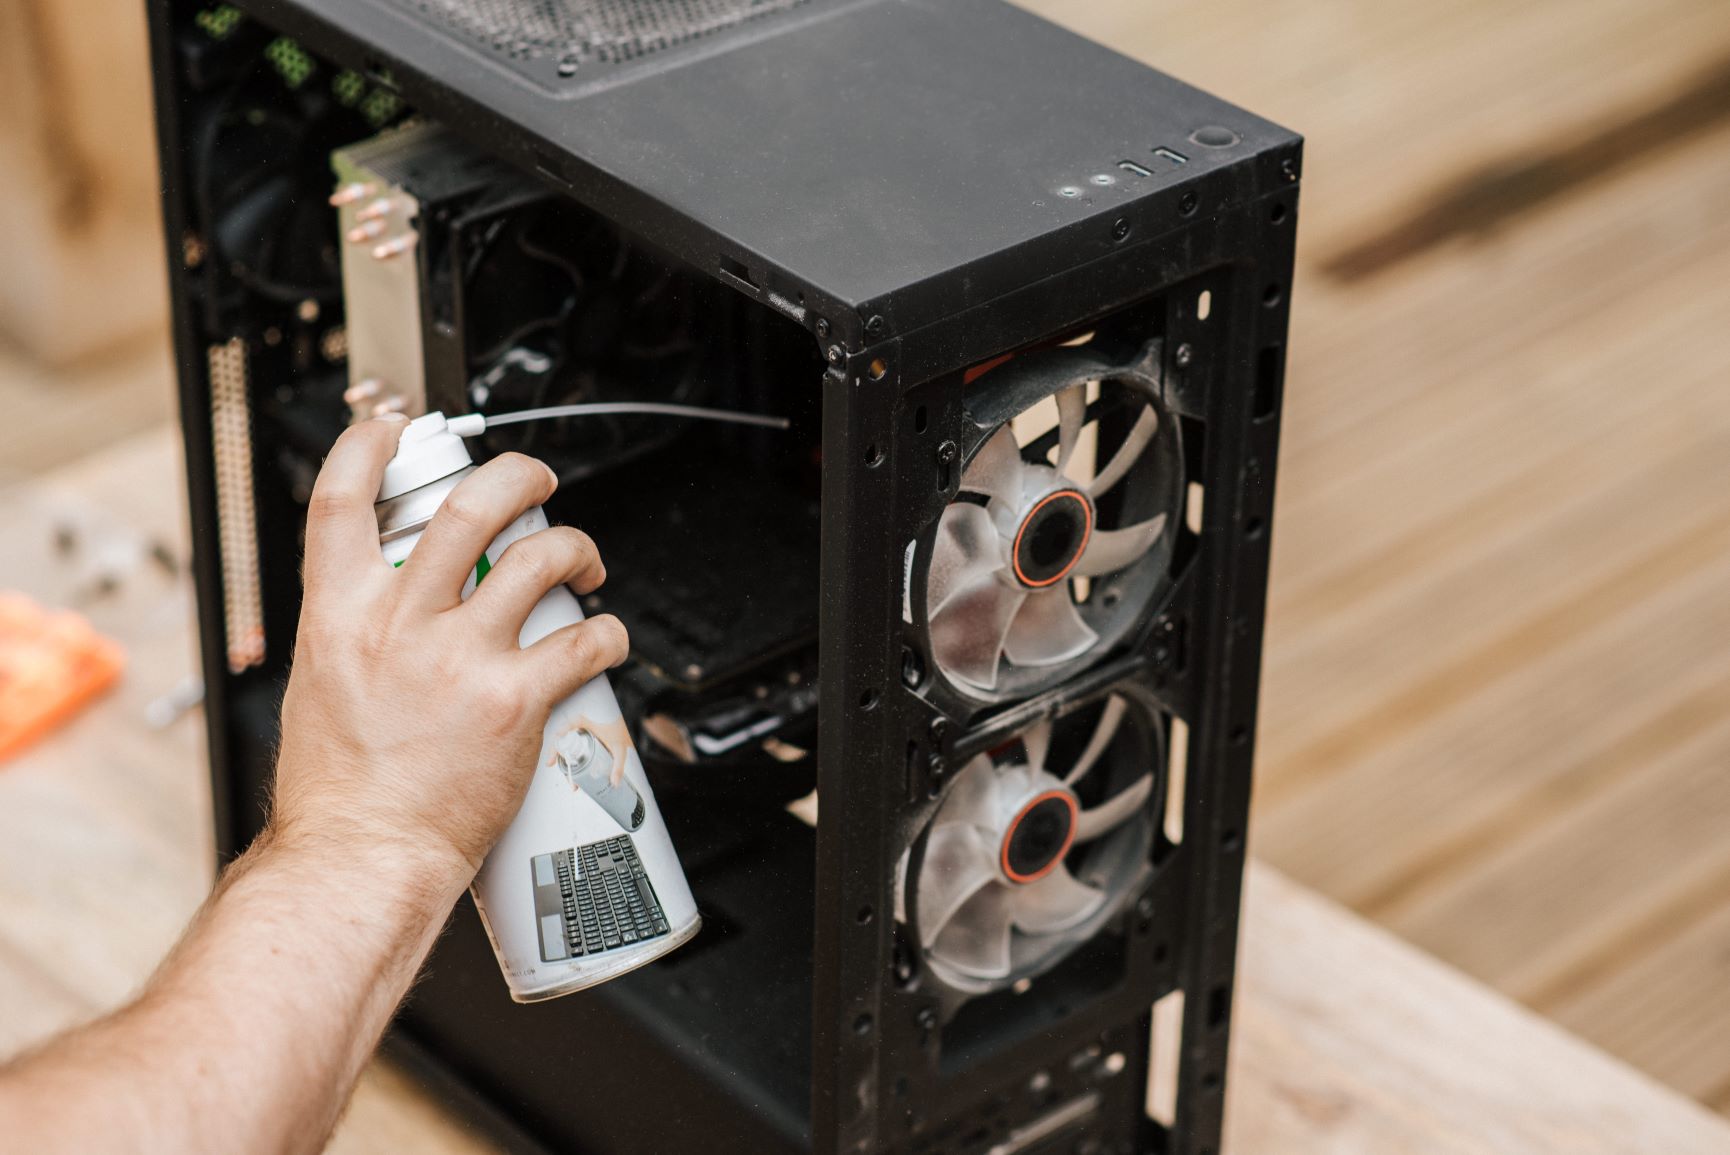
- Clean cloth – Having a clean cloth nearby will help you wipe away any dust or debris that may have accumulated inside the case.
- Optional: Zip ties or cable management accessories – These can be useful for organizing and securing cables inside the case once you start reconnecting components.
Now that you have your tools and materials ready, you’re well-prepared to remove your PC case and dive into the world of computer hardware!
Step 1: Turn off and unplug your computer
The first step before removing the PC case is to ensure that your computer is turned off and unplugged. This is essential to avoid any potential risks and ensure your safety during the process. Here’s what you need to do:
- Shutdown your computer: Save your work and properly shut down your computer through the operating system. This will prevent any data loss or damage to the system.
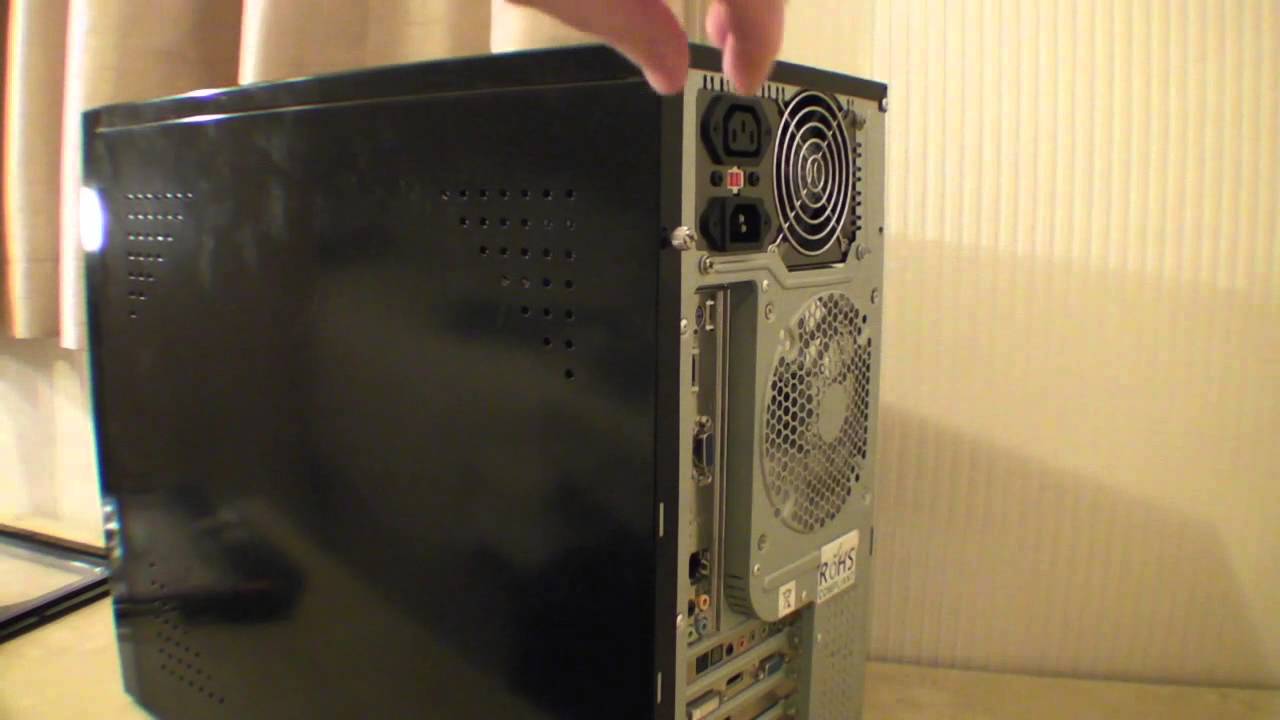
- Unplug the power cord: Once your computer is shut down, locate the power cord at the back of the computer case and unplug it from the power outlet.
- Disconnect any other cables: Take a moment to identify and disconnect any other cables connected to your computer, such as the monitor cable, peripherals, and any USB devices. Remember to remove any external storage devices as well.
- Optional: Drain residual power: To ensure there is no residual power in the system, press and hold the power button on your computer for a few seconds. This drains any remaining power from the capacitors.
By turning off and unplugging your computer, you minimize the risk of electrical shock and protect your hardware during the case removal process. Now that your computer is properly powered down, we can move on to the next step.
Step 2: Remove external components
With your computer turned off and unplugged, the next step is to remove any external components connected to the PC case. These components include peripherals and cables that are not part of the internal hardware. Here’s what you need to do:
- Disconnect peripherals: Start by removing any peripherals connected to your computer, such as speakers, printers, external hard drives, and USB devices. Safely disconnect the cables, taking care not to damage them.
- Remove the side panel: Depending on the design of your PC case, the side panel may have various configurations. Some cases have a single panel that spans the entire side, while others have multiple panels. Identify the screws or latches securing the side panel and remove them accordingly.
- Set aside the external components: Once the side panel is removed, you may choose to keep it separate from the other components to avoid any accidental damage. Set it aside in a safe location where it won’t be at risk of being bumped or knocked over.
By removing the external components, you create more space and accessibility to the internal components of your computer. This step also allows for better ventilation and airflow within the case, keeping your hardware cool and preventing overheating.
Now that you have disconnected the peripherals and removed the side panel, you are ready to move on to the next step of removing the PC case.
Step 3: Remove screws holding the side panel
Now that you have removed the external components, it’s time to focus on removing the side panel of your PC case. The side panel is typically secured in place by screws or latches. Here’s how to proceed:
- Identify the screws: Take a close look at the side panel to determine the number and location of the screws holding it in place. Most cases will have screws positioned along the edges or corners of the panel.
- Use the appropriate screwdriver: Select the correct type of screwdriver based on the type of screws used in your case. It’s often a Phillips or flat-head screwdriver. Ensure a good grip on the screwdriver to prevent any slipping or accidental damage.
- Remove the screws: Carefully loosen and remove the screws by turning them counterclockwise. Place the screws in a safe location, such as a small container or magnetic tray, to avoid misplacing them.
- Repeat if necessary: If your case has multiple screws securing the side panel, continue removing them until all screws are taken out.
By removing the screws, you are now one step closer to accessing and working on your computer’s internal components. Be mindful not to lose or misplace the screws, as they will be needed when reassembling the case later on. Take a moment to ensure all the screws are safely stored before proceeding to the next step.
With the side panel screws removed, we’re ready to move on to the next step in the case removal process.
Step 4: Gently remove the side panel
Now that you have removed the screws holding the side panel of your PC case, it’s time to carefully remove the panel itself. This step requires a delicate touch to avoid any damage to the case or its internal components. Here’s how to proceed:
- Handle with care: Before attempting to remove the side panel, take a moment to ensure you have a firm and steady grip. Be mindful of any cables or wires that may be connected to the panel.
- Slide or pull: Depending on the case design, you may need to gently slide or pull the side panel away from the case. Take your time and apply even pressure to avoid any unnecessary force that could cause damage.
- Set aside the side panel: Once the side panel is fully detached, set it aside in a safe location. Be cautious not to place it on a surface that could scratch or damage the panel.
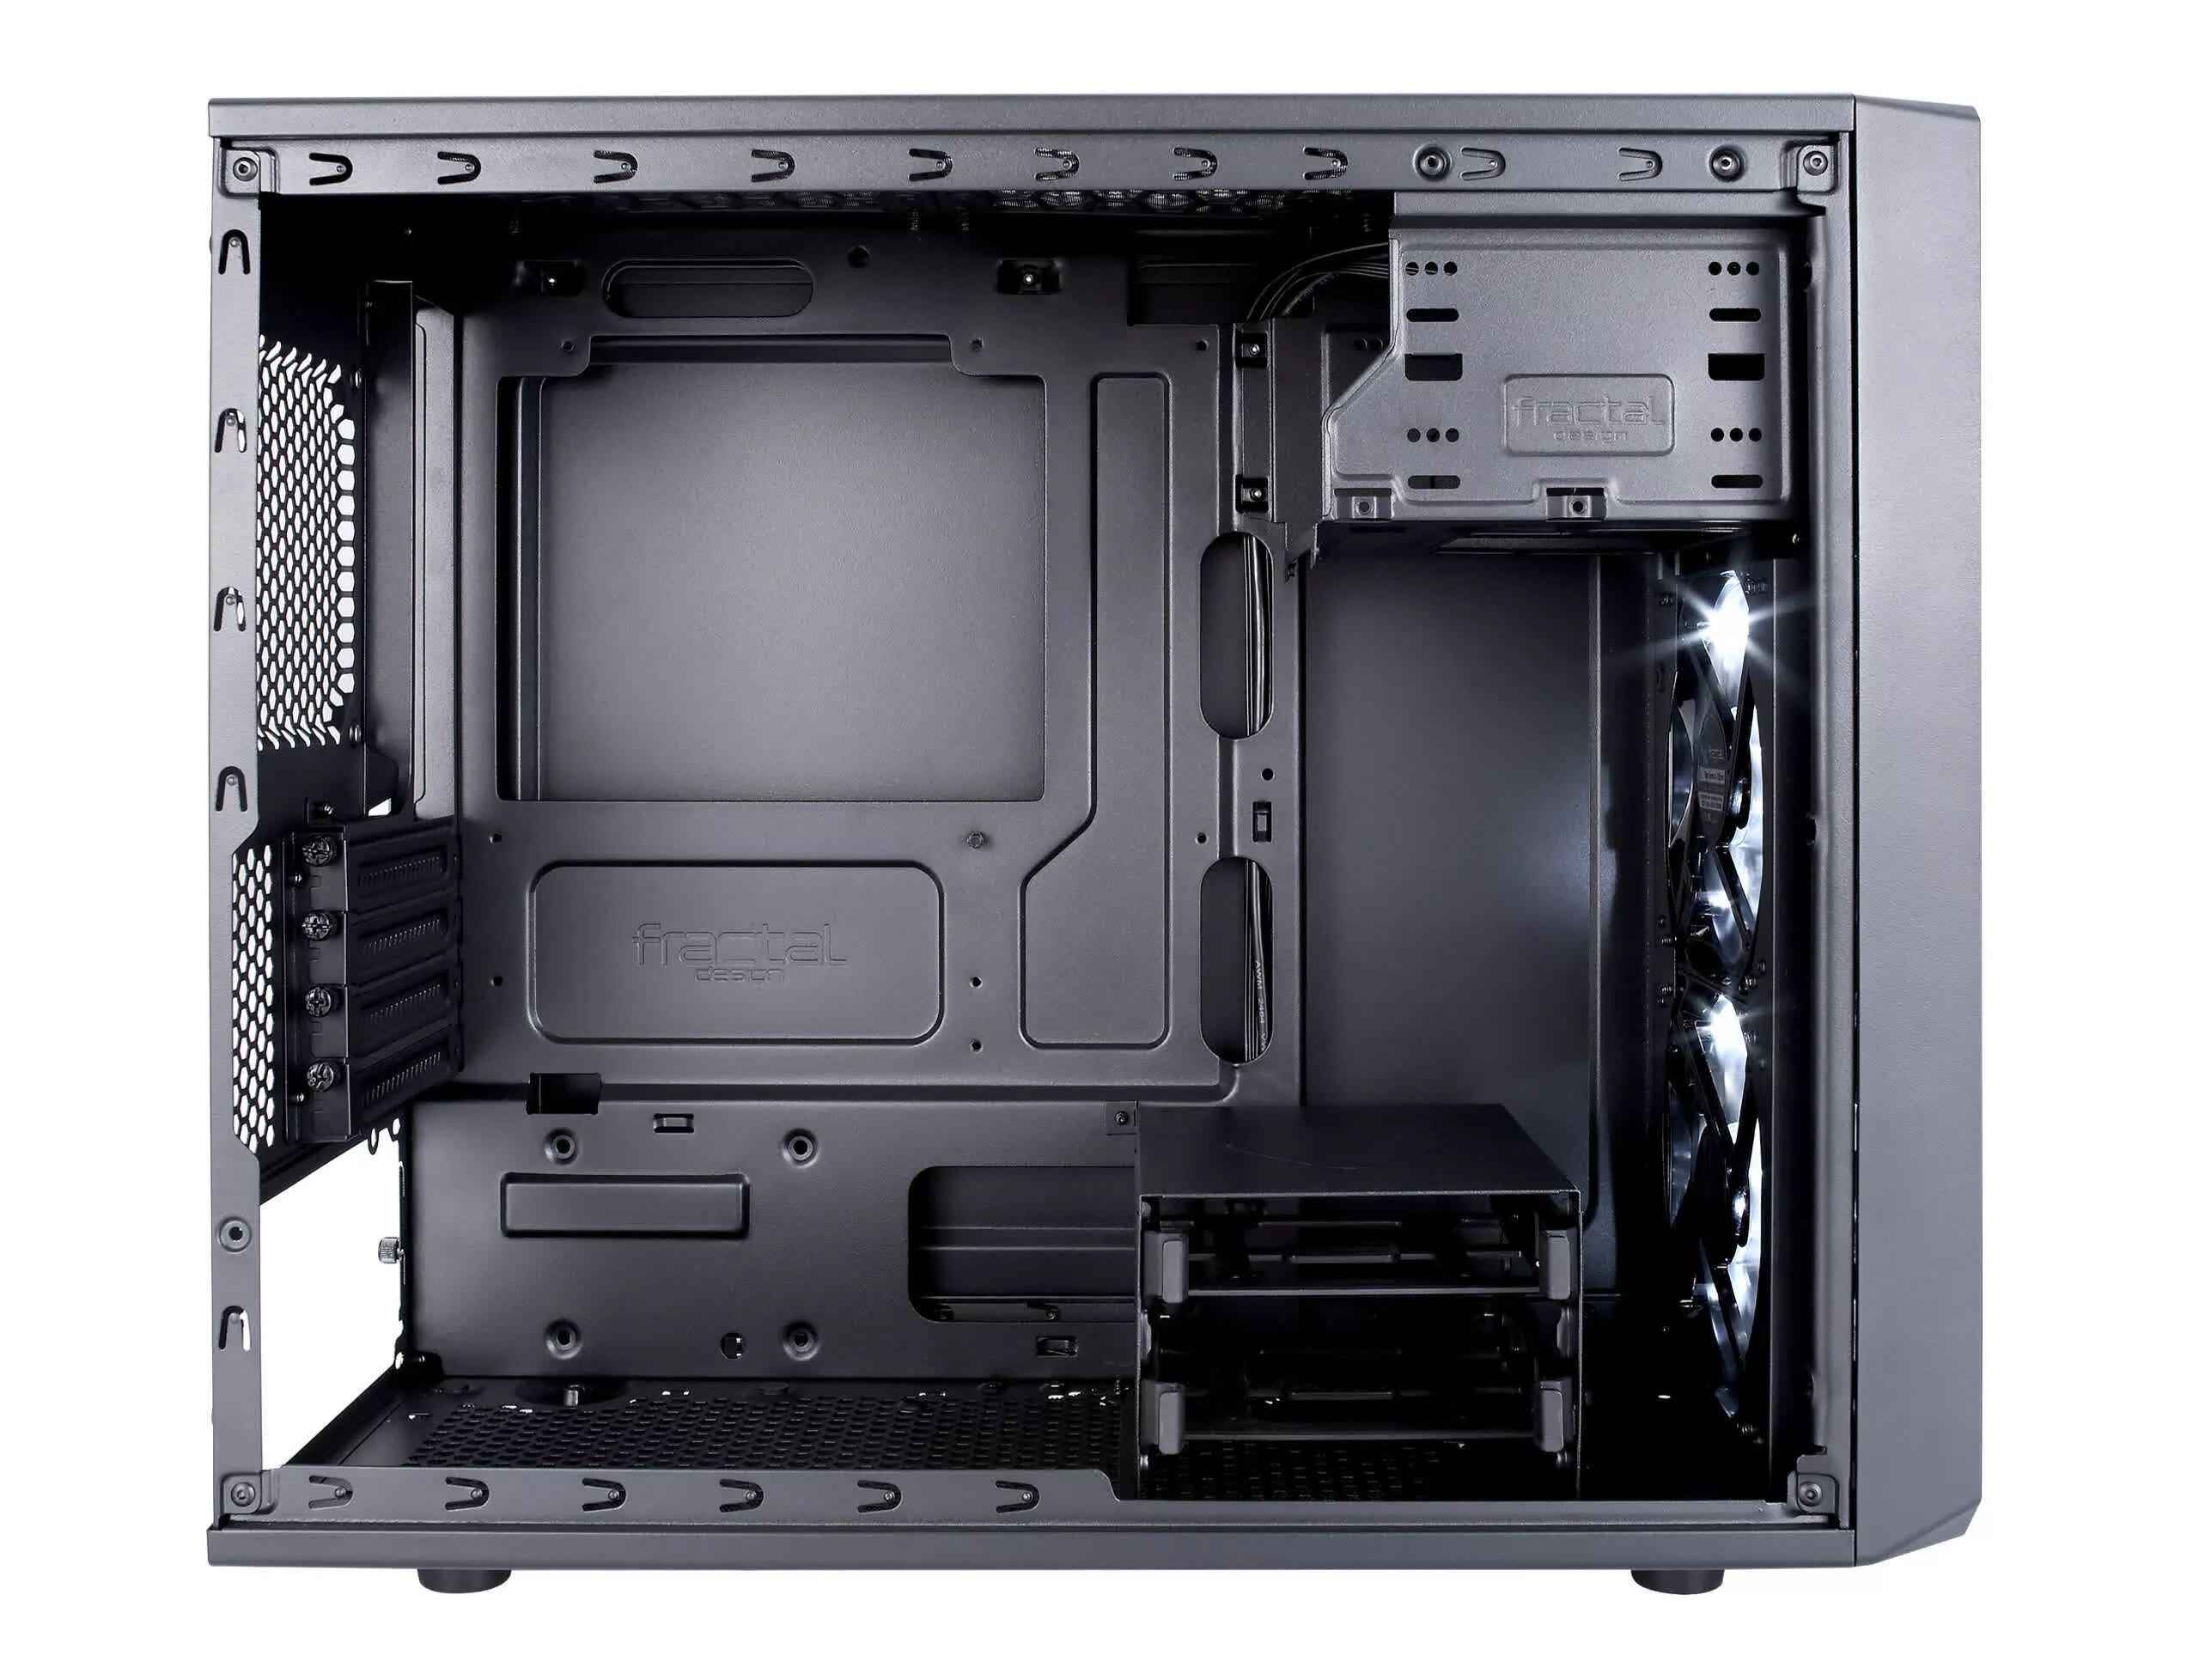
Removing the side panel provides you with direct access to the internal components of your PC. It exposes the motherboard, storage drives, and other hardware, allowing for easy installation, removal, or upgrades.
Remember to handle the side panel with care throughout the removal process. Being gentle and deliberate ensures the longevity of your case and prevents any accidental damage to delicate components inside.
With the side panel successfully removed, we’re ready to move on to the next step in the process of removing the PC case.
Step 5: Disconnect cables and remove components
With the side panel of your PC case removed, you now have clear access to the internal components. In this step, we will guide you through the process of disconnecting cables and removing any components that may obstruct the case removal. Here’s what you need to do:
- Identify the cables: Take a moment to identify the various cables connected to your motherboard, graphics card, power supply, and other components. These cables typically include power cables, data cables, and fan connectors.
- Disconnect the cables: Carefully detach the cables by gently pulling them away from their respective ports. Avoid yanking or applying excessive force, as this can damage the connectors or the components themselves.
- Remove components if necessary: In certain cases, certain components like RAM, graphics card, or CPU cooler may need to be removed to facilitate the case removal. Follow the manufacturer’s instructions or refer to your user manual to safely detach and remove these components as required.
As you disconnect the cables and remove components, take note of their positions and connections for easier reassembly later. You may also choose to take pictures or label the cables for reference.
Keep in mind that different PC configurations may have varying cable layouts and components. It’s important to exercise patience and caution during this step to prevent any accidental damage or dislodging of crucial connections.
By disconnecting cables and removing obstructing components, you create more space to maneuver and ultimately prepare the case for removal. Let’s move on to the next step to continue with the case removal process.
Step 6: Remove the remaining screws securing the case
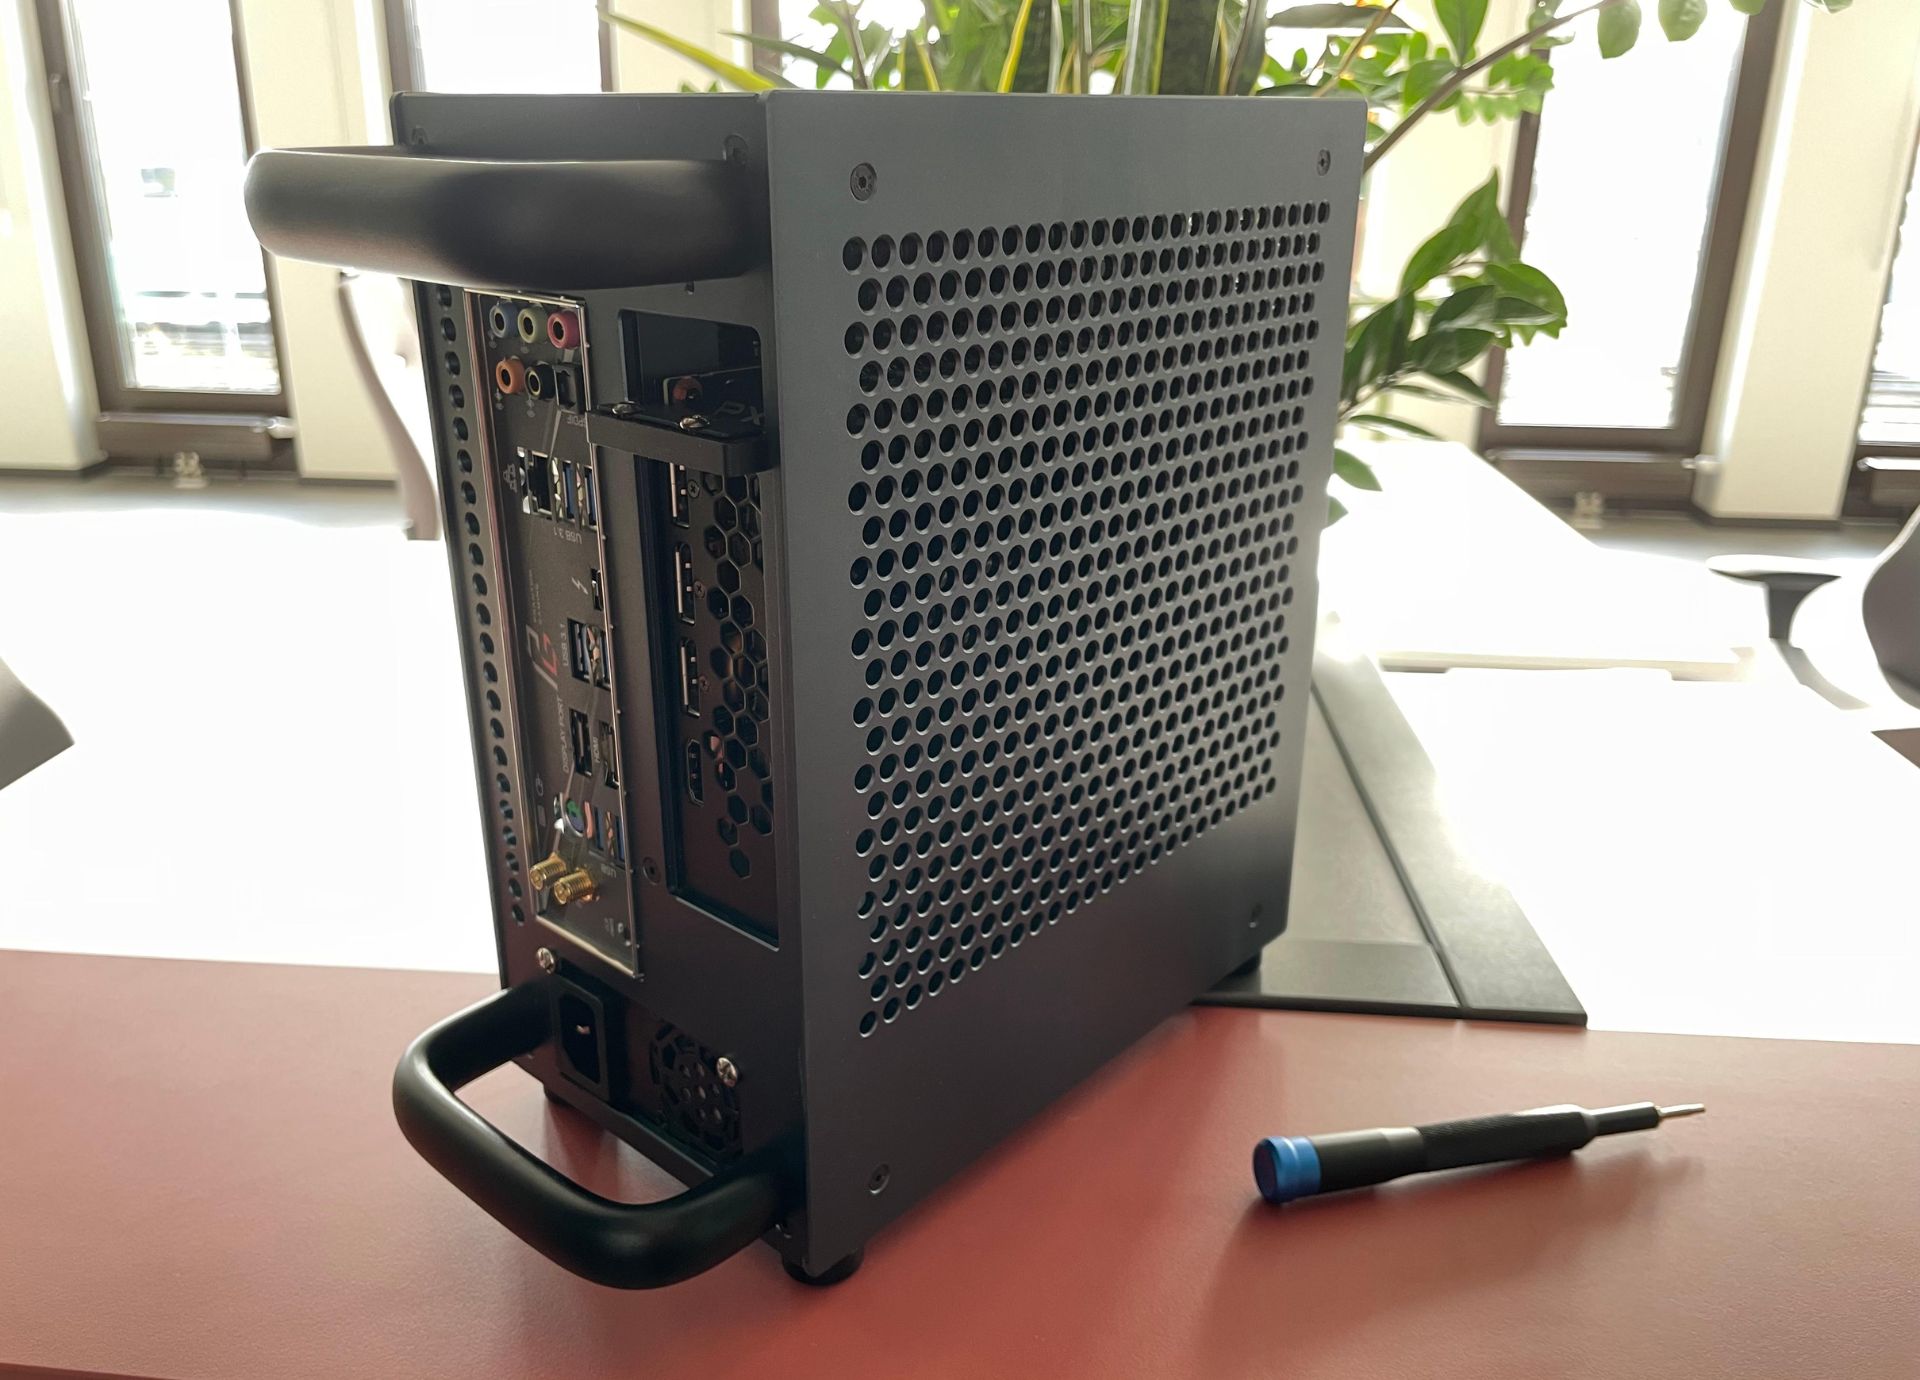
Now that you have disconnected cables and removed any obstructing components, it’s time to remove the remaining screws that secure the PC case. These screws are typically located on the back or bottom of the case and secure it to the chassis or frame. Here’s how to proceed:
- Identify the remaining screws: Take a close look at the back or bottom of the PC case to locate any additional screws still holding it in place. These screws may be positioned near the edges or corners, and they can vary depending on the case design.
- Use the appropriate screwdriver: Select the correct screwdriver based on the type of screws used in your case. It’s likely the same type you used in earlier steps to remove the side panel screws.
- Remove the screws: Carefully loosen and remove the remaining screws by turning them counterclockwise. Keep in mind that some cases may have a sliding or locking mechanism instead of screws. In such cases, follow the manufacturer’s instructions to disengage the mechanism and release the case.
As you remove the remaining screws, be mindful of their location and keep them safely stored to avoid misplacement. Once all the screws are removed, the PC case will be ready to be lifted off the computer.
Removing these screws releases the case from its secured position, allowing for its removal and further access to the internal components. Take care not to force any components or parts that may still be connected before proceeding to the final step.
With the remaining screws successfully removed, we’re almost ready to lift the case off the computer. Let’s move on to the final step of the case removal process.
Step 7: Lift the case off the computer
Now that you have removed all the screws securing the PC case, it’s time to carefully lift the case off the computer. This final step requires caution and precision to avoid any damage to the internal components. Here’s how to proceed:
- Ensure a secure grip: Before lifting the case, make sure you have a firm and secure grip on it. Ensure your hands are clean and dry to avoid any slipping or accidental drops.
- Lift the case: Slowly lift the case upwards, ensuring that no cables or components are caught or tangled. Be gentle yet firm in your movements to maintain control over the case.
- Set the case aside: Once the case is lifted off, set it aside in a safe and stable location. Take care not to place it in a position where it may fall or get damaged.
As you lift the case, pay attention to any resistance or strain. If you encounter difficulty, double-check for any cables or components that may still be connected and remove them as necessary.
With the case now removed, you have direct access to the internal components of your computer. This allows for easy installation, replacement, or upgrades. Take a moment to appreciate your progress and the newfound accessibility.
Remember to keep the case in a safe location throughout your work with the internal components to prevent any accidental knocks or damage.
Congratulations! With the case successfully lifted off, you have completed the case removal process. You are now ready to embark on your computer customization journey or proceed with any necessary hardware modifications.
Conclusion
Removing a PC case is an important step in computer building, maintenance, and customization. By following the steps outlined in this guide, you have learned how to safely remove a PC case, providing access to the internal components of your computer.
Throughout the process, we covered the tools and materials needed, as well as the step-by-step instructions for turning off and unplugging your computer, removing external components, loosening and removing screws, gently removing the side panel, disconnecting cables and removing obstructing components, removing the remaining screws securing the case, and ultimately lifting the case off the computer.
It’s important to note that while the steps provided are general in nature, each PC case may have slight variations. To ensure a smooth removal process, always refer to the user manual or manufacturer’s guidelines specific to your PC case.
By mastering the skill of removing a PC case, you have now gained the ability to customize and upgrade your computer with ease. Whether you’re looking to install a new graphics card, upgrade your storage, or simply improve the airflow within your system, this knowledge will prove invaluable.
Remember to exercise caution and patience throughout the process, handling components carefully and ensuring the safety of your computer and yourself. Take note of the connections and positions of cables and components for smooth reassembly when the time comes.
Now that you have successfully removed the PC case, you’re ready to embark on your computer customization journey or proceed with the modifications you had planned. Enjoy the process and have fun exploring the possibilities that await you!