Introduction
When it comes to upgrading or replacing your computer’s components, there may come a time when you find yourself needing to move them to a new PC case. Whether you’re looking for more space, better cooling capabilities, or simply a fresh new look, transferring your components to a new case can be a worthwhile endeavor.
Moving components to a new PC case can seem like a daunting task, especially if you’re not familiar with the technical aspects involved. However, with a little planning and some simple steps, you can successfully relocate your components and have your computer up and running in no time.
In this guide, we will walk you through the process of moving your components to a new PC case, from preparing for the transfer to organizing cables and securely installing the components. By following these steps, you can ensure a smooth and efficient transition without causing any damage to the components or risking any data loss.
Remember, transferring your components to a new PC case is an opportunity to not only improve the functionality of your computer but also to unleash your creativity and express your personal style. So, without further ado, let’s dive into the world of PC case migration and discover how you can successfully undertake this exciting project!
Reasons to Move Components to a New PC Case
There are several reasons why you might consider moving your components to a new PC case. Whether you’re a seasoned computer enthusiast or a casual user, upgrading your case can offer a range of benefits. Here are a few reasons why you might want to make the move:
- Improved Cooling: One of the most common reasons for upgrading your PC case is to enhance cooling performance. A new case can offer better airflow, additional fan mounts, and improved cable management options, helping to keep your components running at optimal temperatures. This can result in better overall system stability and the potential for higher overclocking capabilities.
- Increased Space: As technology advances, components become more advanced and larger in size. If you find that your current case is cramped and lacks space for additional hardware or upgrades, moving to a larger case can provide the room you need to accommodate extra storage drives, graphics cards, and other components.
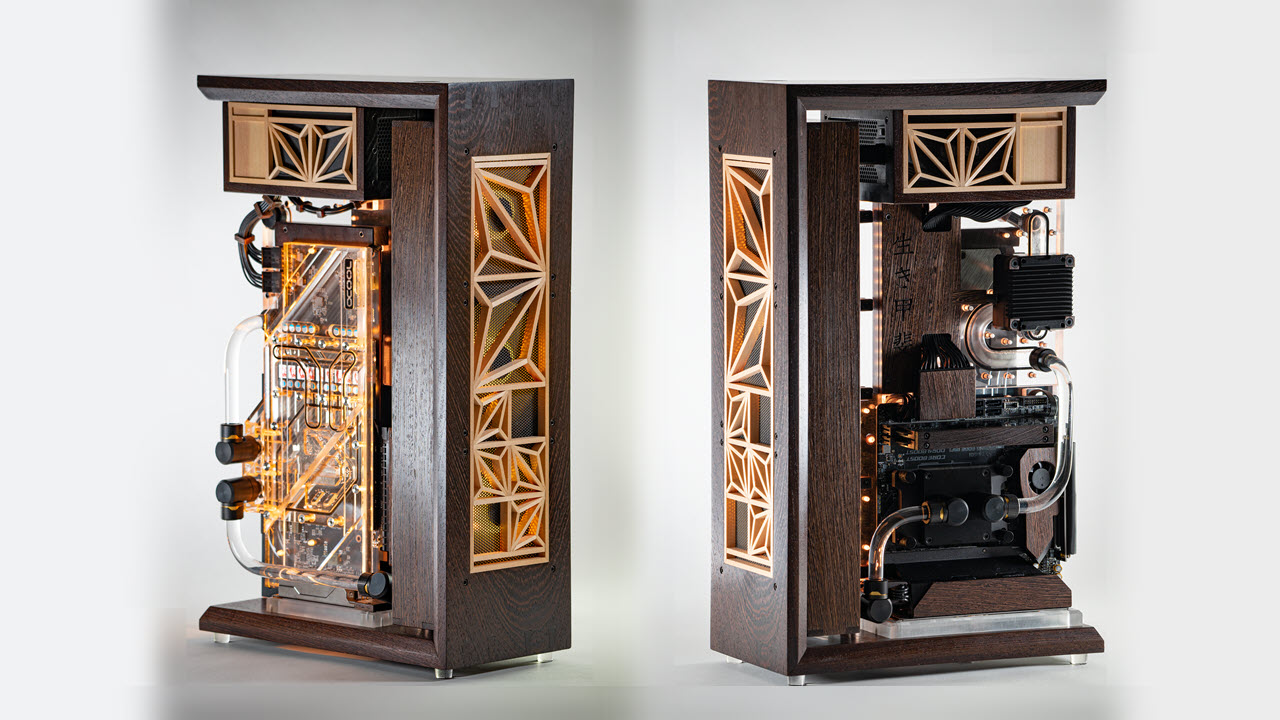
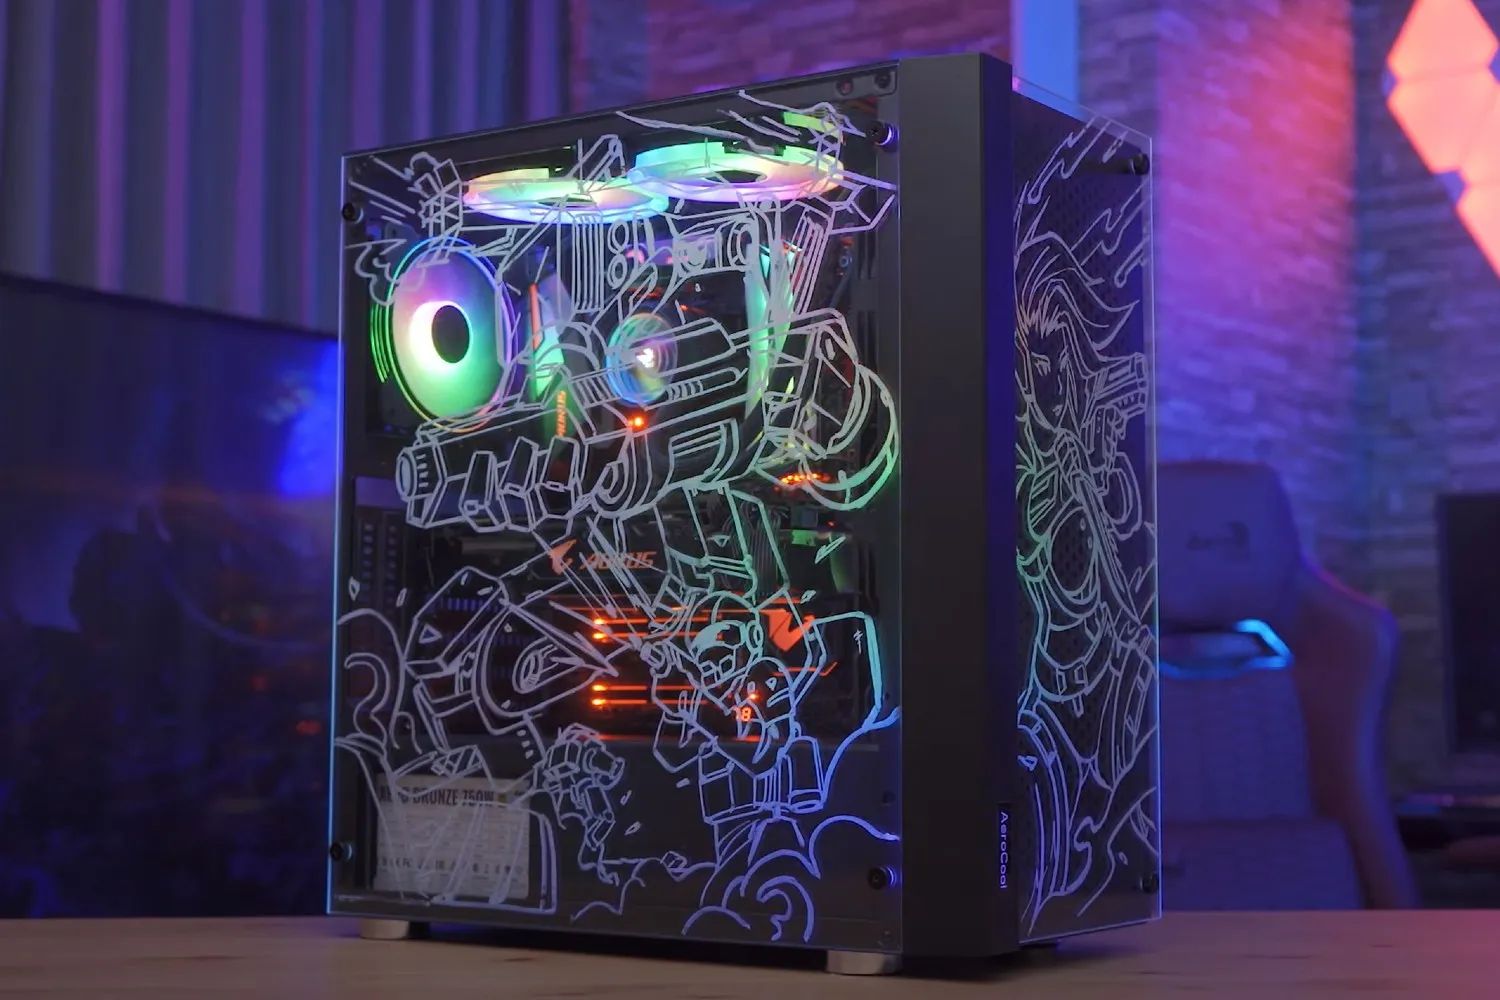
- Better Aesthetics: Your PC case is not just a functional housing for your components; it’s also an opportunity to showcase your personal style. Upgrading to a new case with a sleek design, customizable RGB lighting, and tempered glass panels can give your computer a modern and visually appealing look that reflects your personality.
- Noise Reduction: Some older cases may not have the best noise dampening features, resulting in a louder system. By moving your components to a new case that is specifically designed for noise reduction, you can enjoy a quieter computing experience. These cases often include sound-absorbing materials and specialized fan placements to minimize noise levels.
- Easier Maintenance: Upgrading to a new PC case can make maintenance tasks, such as cleaning and component upgrades, much easier. Many modern cases offer tool-less or tool-free installation methods, removable dust filters, and easy access to components, making it simpler to keep your system clean and perform necessary upgrades or repairs.
These are just a few of the compelling reasons to consider moving your components to a new PC case. By selecting a case that aligns with your specific needs and preferences, you can optimize your computer’s performance, enhance its appearance, and enjoy a more enjoyable and efficient computing experience.
Preparation
Before you dive into moving your components to a new PC case, it’s important to take some time to prepare for the process. Proper preparation can help ensure a smooth and hassle-free transition. Here are some essential steps to follow:
- Research and Select a Suitable PC Case: Begin by researching and selecting a PC case that meets your requirements in terms of size, aesthetics, cooling capabilities, and compatibility with your components. Take into consideration factors such as the form factor of your motherboard, the number and size of storage drives, and the length of your graphics card.
- Gather the Necessary Tools: Make sure you have all the tools you’ll need for the move. This may include a screwdriver set, cable ties, thermal paste, anti-static wrist strap, and a small brush or compressed air canister for cleaning.
- Create a Backup: It is always a good practice to create a backup of your important files and data before making any hardware changes. This serves as an extra precaution to prevent any data loss or accidental damage during the move.
- Prepare a Clean and Static-Free Workspace: Find a clean, well-lit area to work on your components. Clear off any clutter and provide adequate lighting. It is also important to ground yourself and create a static-free environment by using an anti-static mat or working on a non-static surface.
- Take Photos or Make Notes: Before you start disconnecting cables and removing components, take photos or make notes of the current cable connections and component placements. This will assist you when reconnecting everything in the new case.
- Read the Manual: Familiarize yourself with the manual that comes with your new PC case. This will provide specific instructions on how to safely and properly install your components. Pay close attention to any specific requirements or recommendations.
By taking the time to prepare for the move, you can minimize the risk of errors or complications and ensure that your components are successfully transferred to the new PC case. Once you have completed the necessary preparations, you are ready to begin the process of moving your components.
Step 1: Gather Necessary Tools
Before you begin moving your components to a new PC case, it’s important to gather all the necessary tools that you’ll need for the process. Having the right tools on hand will help make the job easier and ensure that you can safely and effectively handle the components. Here are the essential tools you’ll need:
- Screwdriver Set: A screwdriver set is a must-have tool for any computer-related task. Make sure you have a set that includes both Phillips and flathead screwdrivers, as different screws may require different types.
- Cable Ties: Cable ties are useful for managing and organizing cables inside the case. They help keep cables tidy and prevent them from obstructing airflow. Opt for reusable cable ties for added convenience.
- Thermal Paste: If you’re planning to remove and reinstall your CPU cooler, you’ll need to have thermal paste on hand. Thermal paste helps facilitate heat transfer between the CPU and cooler, ensuring optimal cooling performance.
- Anti-Static Wrist Strap: An anti-static wrist strap is essential for protecting your components from static electricity. It helps to prevent electrostatic discharge (ESD) that can damage sensitive hardware. Make sure to connect the strap to a grounded surface before handling any components.
- Small Brush or Compressed Air Canister: Dust and debris can accumulate inside your PC case over time, impacting cooling performance. A small brush or compressed air canister can be used to clean out the case and components before you start the transfer.
- Necessary Cables and Screws: Depending on the new PC case you’ve selected, you may need additional cables or screws for installation. Check the case’s manual or specifications to ensure you have the correct types and lengths.
Having these tools readily available will help you tackle the moving process smoothly and efficiently. Before moving on to the next steps, verify that you have all these tools within reach. This will prevent unnecessary delays and ensure a hassle-free transfer of your components to the new PC case.
Step 2: Unplug and Power Down the PC
Before you begin the process of moving your components to the new PC case, it’s essential to unplug and power down your computer. This ensures your safety and prevents any potential damage to the components. Follow these steps to properly shut down and disconnect your PC:
- Save and Close All Applications: Before shutting down your computer, make sure to save any open files and close all applications. This ensures that you don’t lose any unsaved work or data.
- Shut Down the Computer: Click on the “Start” menu and select the “Shut Down” option. Wait for the operating system to shut down completely before proceeding.
- Unplug the Power Cable: Once your computer is shut down, unplug the power cable from the back of your computer. This will disconnect the power supply and ensure that there is no electricity running through the system.
- Disconnect Other Cables and Peripherals: Take note of all the cables connected to your computer, including the monitor, keyboard, mouse, speakers, and any other peripherals. Carefully disconnect them from the computer and set them aside.
- Ground Yourself: Before touching any internal components, it’s important to ground yourself to prevent any electrostatic discharge (ESD) that could damage the sensitive hardware. You can do this by wearing an anti-static wrist strap and connecting it to a grounded surface.
By following these steps, you ensure that your computer is safely powered down and that no electricity is running through the system. This prevents any potential damage to your components and reduces the risk of electrical shocks. Once your computer is properly unplugged and powered down, you are ready to move on to the next steps in the process of transferring your components to the new PC case.
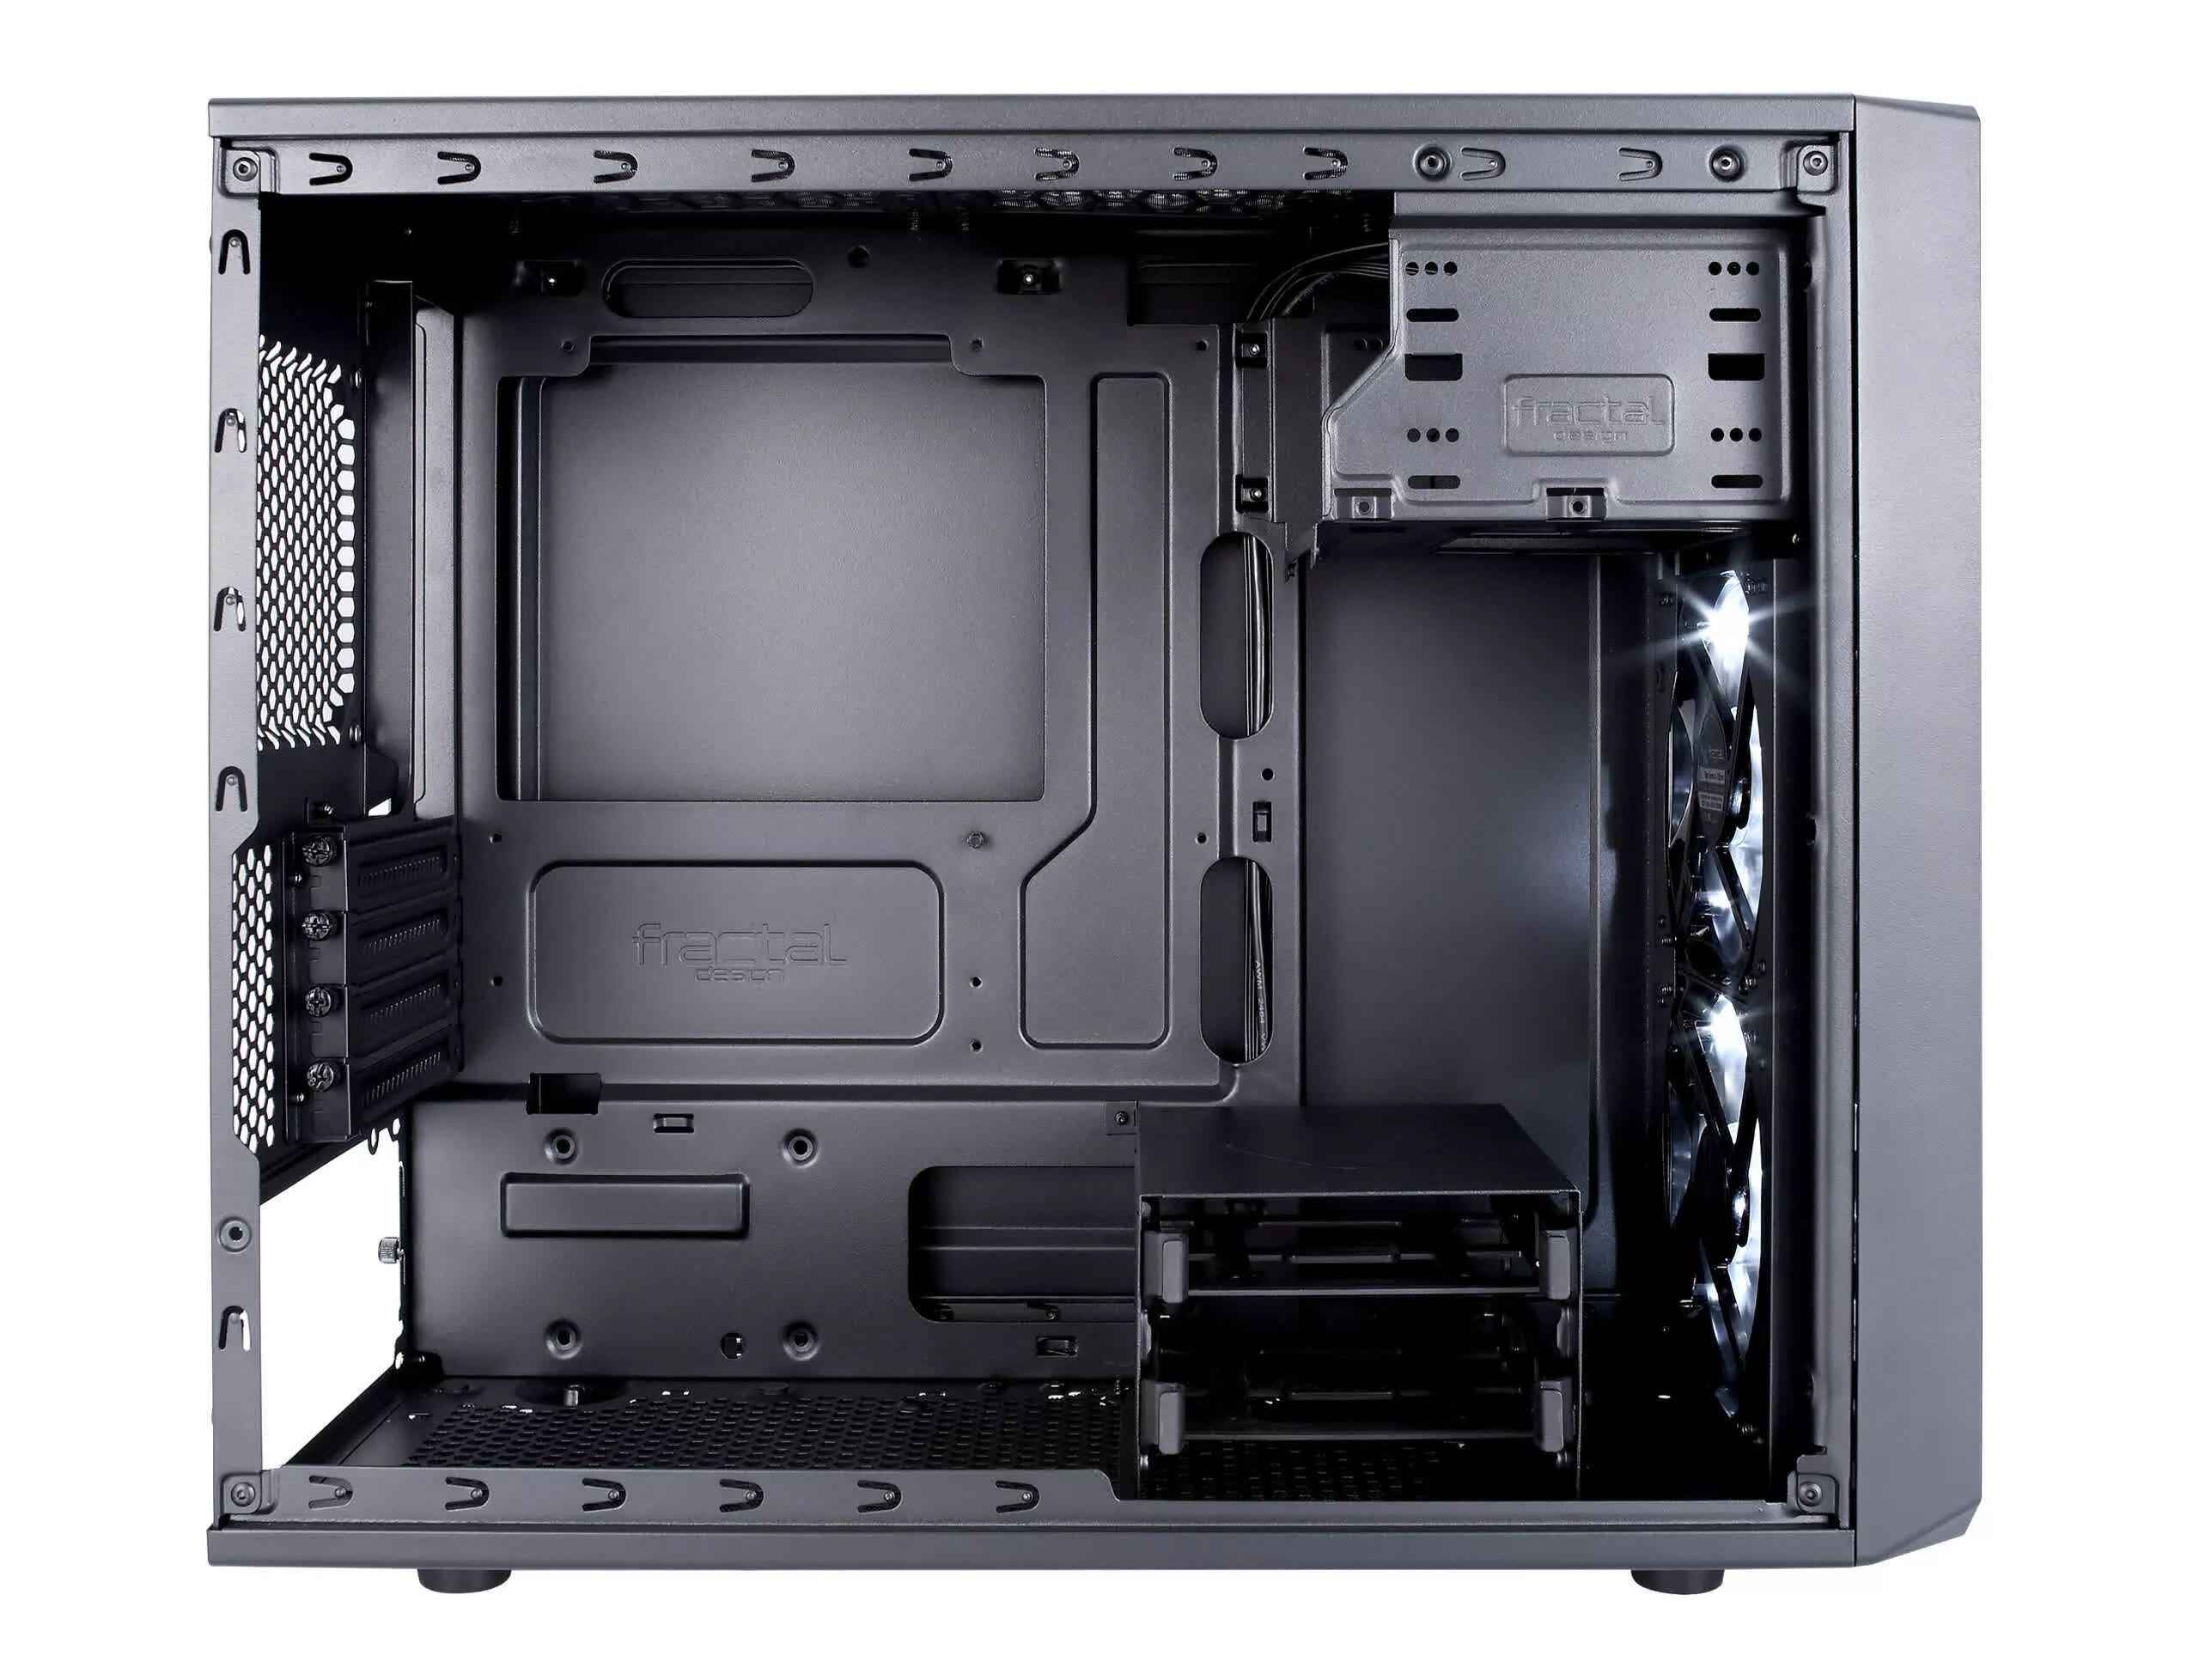
Step 3: Remove the Old PC Case
With your computer properly powered down and disconnected, it’s time to remove the old PC case to make way for the new one. Follow these steps to safely and effectively remove the old case:
- Lay the Computer on a Flat Surface: Find a clean and flat surface to work on. Lay the computer on its side, ensuring that the side panel with the access to the internals is facing up.
- Locate and Remove the Side Panel: Identify the screws or latches securing the side panel of the case. Unscrew the screws or release the latches and carefully remove the side panel. Set it aside in a safe place.
- Inspect and Document Internal Connections: Take note of how the components and cables are connected inside the case. You can take pictures or make notes to ensure that you can easily reconnect everything later.
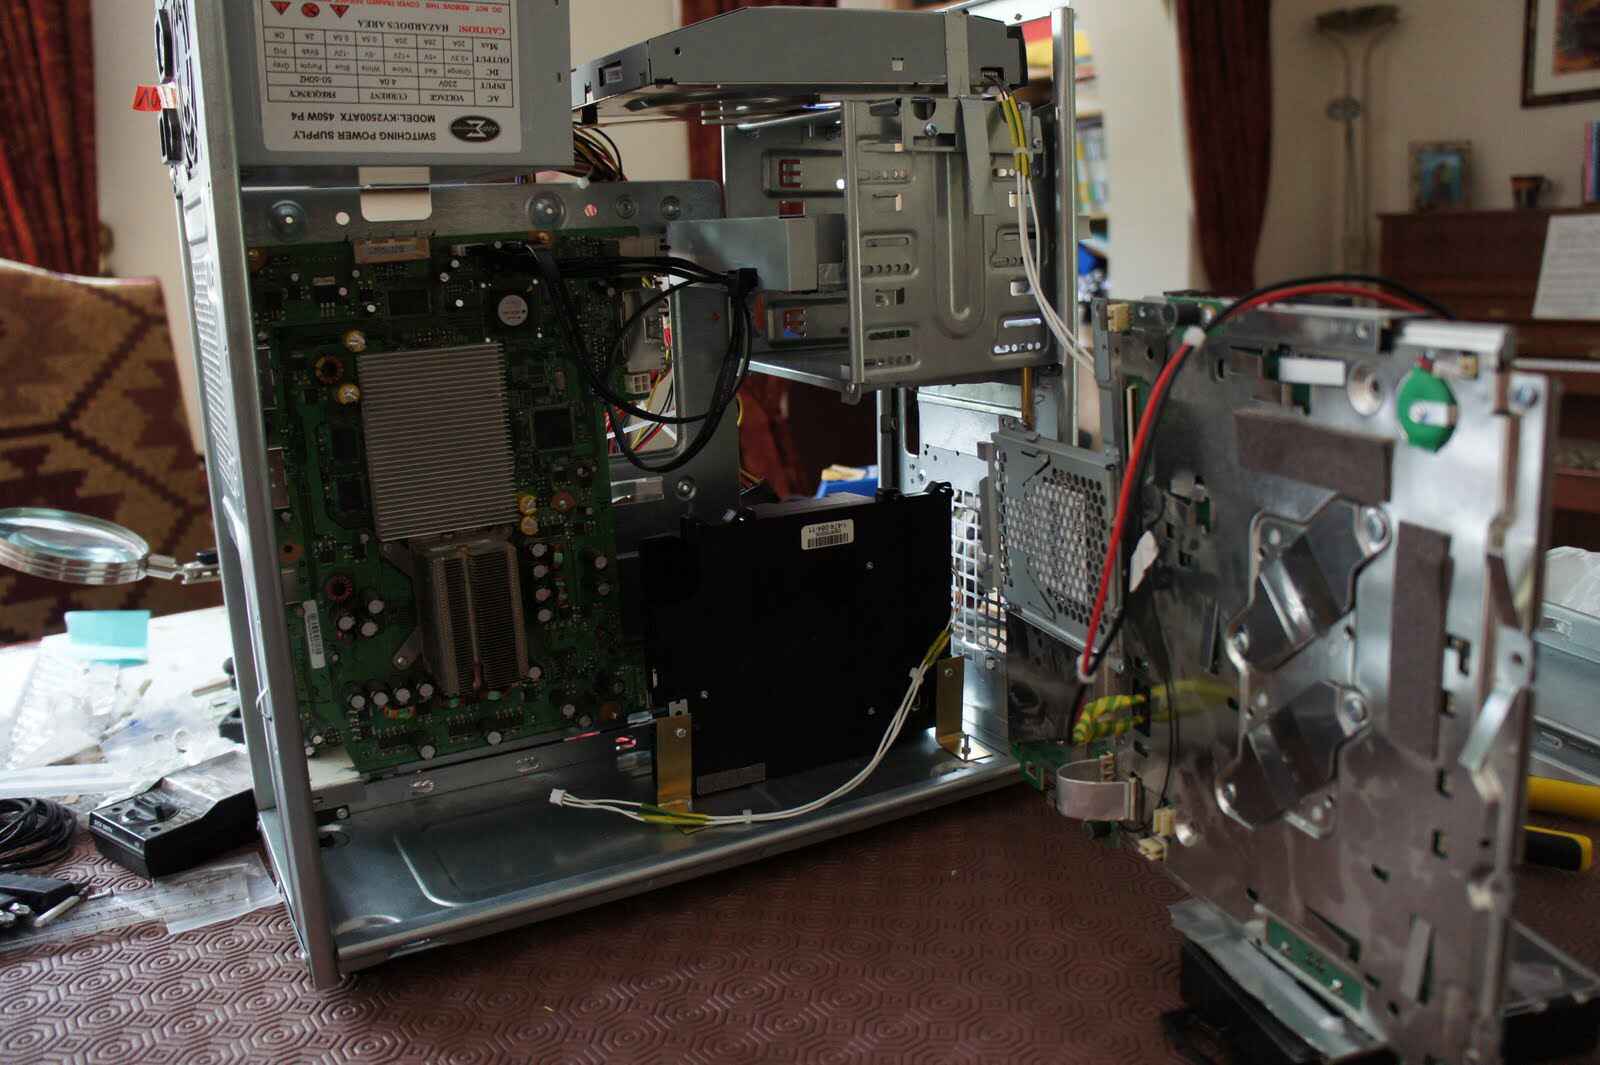
- Detach the Components: Start by removing any additional components that are not directly attached to the motherboard, such as graphics cards, storage drives, and PCIe cards. Carefully disconnect the cables and screws securing these components and set them aside.
- Disconnect Power Supply Cables: Locate the cables connecting the power supply to the motherboard and other components. Carefully disconnect these cables, ensuring that you do not yank or put unnecessary pressure on them.
- Remove the Motherboard: With the components detached and power supply cables disconnected, you can now remove the motherboard. Locate the screws securing the motherboard to the case and unscrew them. Gently lift the motherboard out of the case and place it on a static-free surface.
- Remove Any Remaining Screws or Attachments: Inspect the case for any screws or additional attachments that may still be holding components in place. Remove these screws and detachments, ensuring that all components are completely free from the old case.
Removing the old PC case can be a delicate process, so take your time and be gentle with the components. Properly organizing and handling the removed components will make it easier to install them in the new case. Once the old case is empty and the components are safely removed, you’re one step closer to completing the transfer to the new PC case.
Step 4: Organize and Disconnect Cables
With the old PC case removed, it’s time to organize and disconnect the cables from the components. Properly organizing and labeling the cables will make it easier to reconnect them in the new case. Follow these steps to ensure a smooth transition:
- Organize and Label Cables: Take a moment to organize and label the cables. Group similar cables together, such as SATA cables or front panel connectors. Labeling them with tape or tags will help you identify their purpose and destination in the new case.
- Disconnect Power Supply Cables: Begin by disconnecting the power supply cables from the components. This includes the cables connected to the motherboard, graphics card, storage drives, and any other devices. Gently pull on the connectors to separate them, ensuring that you don’t use excessive force or twist the cables.
- Detach Data Cables: Once the power supply cables are disconnected, move on to detach the data cables. This includes SATA cables for storage drives, USB cables for peripherals, and any other cables connecting devices to the motherboard. Unplug them carefully and set them aside.
- Remove Front Panel Connectors: Locate the front panel connectors that connect the power button, reset button, USB ports, and audio jacks to the motherboard. Release them from the motherboard by either pulling them straight out or pressing on the tabs if they have any.
- Identify and Disconnect Other Cables: Inspect the components for any other cables or connectors that may be attached. This can include fan cables, RGB lighting cables, or any other specialized connections. Disconnect these cables, ensuring not to apply excessive force or damage the connectors.
During this step, it’s important to handle the cables with care to avoid any damage or bending. Take your time, and if you’re unsure about a specific cable, refer to the motherboard or component manuals for guidance. Once all the cables are disconnected, neatly bundle and secure them, ready to be reconnected in the new case.
Step 5: Remove the Motherboard
With the cables organized and disconnected, it’s now time to remove the motherboard from the old PC case. Follow these steps to safely remove the motherboard:
- Identify Mounting Screws: Locate the screws that secure the motherboard to the case. These screws are typically found around the edges of the motherboard or in the corners.
- Remove IO Shield: Before removing the motherboard, check if there is an I/O shield installed in the case. Unscrew any screws or tabs holding it in place and gently remove it. The I/O shield is typically located at the back of the case, lining up with the motherboard’s I/O ports.
- Ground Yourself: To prevent static discharge and protect the motherboard from damage, ground yourself by wearing an anti-static wrist strap or touching a grounded object.
- Support the Motherboard: Place one hand underneath the motherboard for support while removing the screws with the other hand. This will prevent the motherboard from accidentally dropping or bending during the process.
- Remove Mounting Screws: Using a screwdriver, carefully remove the mounting screws one by one. Start with the corners and work your way inward. Keep the screws in a safe place, as you’ll need them to install the motherboard into the new case.
- Lift Out the Motherboard: Once all screws are removed, gently lift the motherboard out of the case, taking care not to snag any cables or components that might still be connected.
- Place the Motherboard on a Safe Surface: Set the motherboard down on an anti-static mat or a non-conductive surface, making sure it’s protected from any potential damage.
When removing the motherboard, it’s crucial to handle it with care to avoid damage to the sensitive electronic components. Avoid touching any exposed metal contacts or solder joints. Once the motherboard is safely removed, you’re ready to move on to the next steps of transferring the components to the new PC case.
Step 6: Carefully Remove and Install the Components
With the motherboard out of the old case, it’s time to carefully remove and install the components into the new PC case. Follow these steps to ensure a smooth transition:
- Refer to Component Manuals: Before removing any components, refer to their respective manuals for any specific instructions or precautions. This will help you understand the proper removal and installation process for each component.
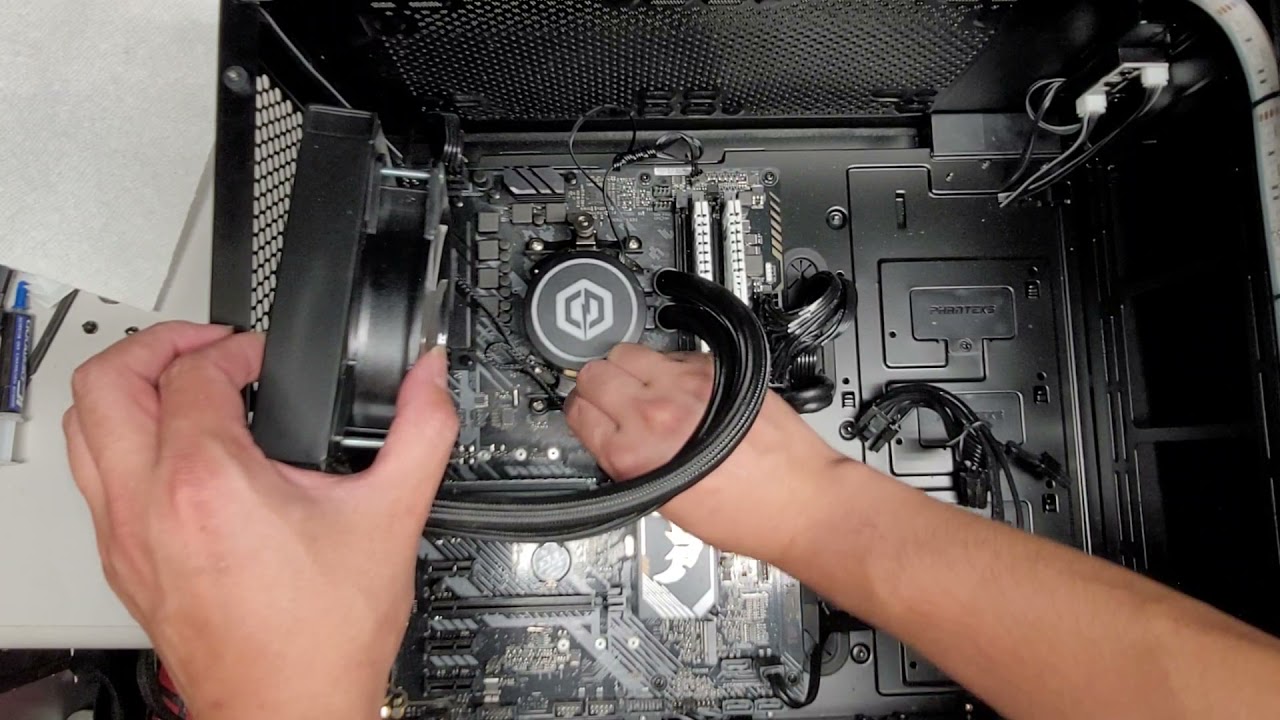
- Remove CPU Cooler: If you’re using an aftermarket CPU cooler, carefully remove it by unscrewing the mounting screws or clips. If the cooler is attached with thermal paste, gently twist it back and forth to break the seal before lifting it off the CPU.
- Detach RAM Modules: Press down on the locking tabs on either side of the RAM module until they release. Gently remove the RAM module by pulling it straight out of its slot. Set the RAM aside in an anti-static bag or on an anti-static surface.
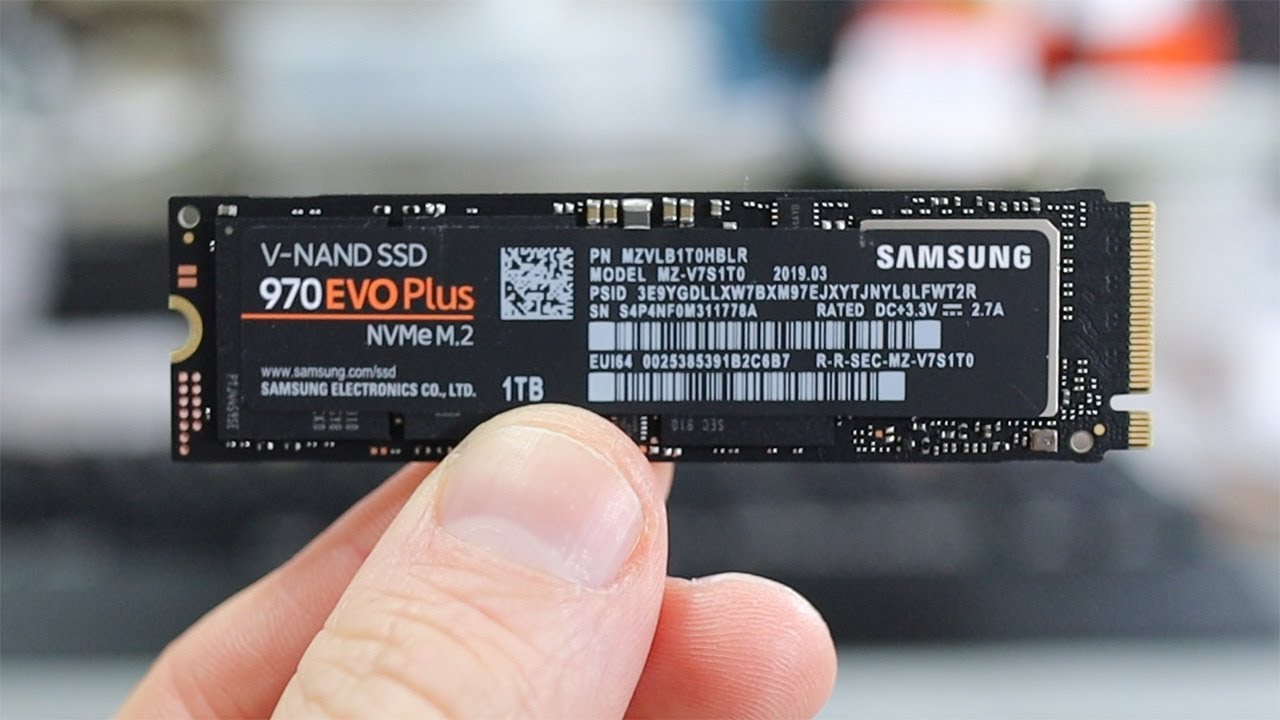
- Detach Storage Drives: Disconnect the data and power cables from your storage drives. Unscrew any mounting screws or brackets that secure the drives in place, and slide them out of their respective bays.
- Remove Graphics Card: If you have a dedicated graphics card, release the locking tab on the PCIe slot and carefully remove the card from the motherboard. Gently lift it straight up, ensuring that you do not apply excessive force or bend the card.
- Install Components in the New Case: Begin the installation process by placing the motherboard into the new case, aligning the mounting holes with the standoffs in the case. Secure the motherboard to the case by screwing in each mounting screw.
- Install Storage Drives and Graphics Card: Install the storage drives and graphics card into the designated slots in the new case. Make sure they are securely seated and screw them in if necessary.
- Reinstall RAM Modules: Insert the RAM modules into their respective slots, aligning the notches on the module with the key on the RAM slot. Gently press down until the tabs on either side click into place and secure the RAM.
- Reinstall CPU Cooler: Apply a small amount of new thermal paste to the CPU (if needed) and reattach the CPU cooler, following the manufacturer’s instructions. Make sure it is securely mounted and the screws or clips are tightened.
Throughout this process, take care to handle the components delicately and connect them properly. Be mindful of any cables that need to be routed neatly and ensure that all connections are secure. Taking the time to properly remove and install the components will help prevent any damage and ensure that your computer runs smoothly in the new PC case.
Step 7: Install the Motherboard in the New Case
Now that you have removed and installed the components, it’s time to install the motherboard into the new PC case. Properly securing the motherboard ensures stability and proper functioning of the computer. Follow these steps to install the motherboard:
- Prepare the New Case: Ensure that the new PC case is clean and free from any debris or obstructions that may interfere with the installation process. Double-check that all standoffs are installed in the correct locations to align with the mounting holes in the motherboard.
- Position the Motherboard: Carefully lower the motherboard into the new case, aligning the mounting holes on the motherboard with the standoffs in the case. Take care to avoid any contact between the motherboard and the case, as it could cause a short circuit.
- Screw in the Motherboard: Once the motherboard is properly aligned, use the screws provided with the new case to secure it in place. Start by loosely screwing in one corner screw, then diagonally tighten the remaining screws. Ensure that the motherboard is securely fastened but avoid over-tightening the screws, as it can cause damage.
- Connect Front Panel Connectors: Refer to the diagram in the motherboard manual to identify the locations for the front panel connectors. Connect the power switch, reset switch, HDD LED, power LED, and any other front panel connectors to the corresponding pins on the motherboard, following the instructions provided.
- Reconnect Power Supply Cables: Attach the power supply cables to the appropriate connectors on the motherboard, such as the 24-pin ATX power connector, the 8-pin CPU power connector, and any additional power connectors required by the components.
- Connect Data Cables: Reconnect the data cables to the appropriate ports on the motherboard. This includes SATA cables for storage drives, USB headers for front panel ports or other internal devices, and any other necessary data cables.
- Finalize Cable Management: Take some time to tidy up the cables inside the case. Use cable ties or Velcro straps to secure and neatly organize the cables. Proper cable management improves airflow, reduces clutter, and makes future maintenance easier.
- Double-Check Connections: Before closing the case, visually inspect all connections to ensure that everything is properly connected. Verify that there are no loose cables or connections that could cause issues when the computer is powered on.
With the motherboard securely installed in the new case and all connections properly made, you are one step closer to completing the process of transferring your components. Take a moment to admire your work so far before moving on to the next steps of reconnecting the remaining components and securing the new PC case.
Step 8: Reconnect Cables and Components
After installing the motherboard in the new case, the next step is to reconnect the cables and components to ensure that your computer is fully functional. Follow these steps to reconnect everything properly:
- Refer to Earlier Documentation: If you took photos or made notes during the disassembly process, refer to them now. Use them as a reference to reconnect all the cables and components correctly.
- Reattach Power Supply Cables: Begin by reconnecting the power supply cables to the motherboard, graphics card, and any other components that require power. Ensure that each cable is securely plugged into the appropriate connector.
- Reconnect Data Cables: Reattach the data cables, such as SATA cables for storage drives, USB headers for front panel ports, and any other necessary data cables. Connect them to the corresponding ports on the motherboard or components.
- Reinstall Graphics Card, RAM, and Other Components: Carefully reinstall the graphics card into the appropriate PCIe slot, ensuring that it is seated properly. Insert the RAM modules back into their respective slots, making sure they are fully inserted and the locking tabs click into place. If you have any other components, follow the manufacturer’s instructions to reinstall them correctly.
- Reconnect Fan Cables and Other Internal Cables: If you disconnected any fan cables or other internal cables, ensure that they are reconnected to the correct headers on the motherboard or other components. Refer to the component manuals if needed.
- Attach Front Panel Connectors: Reconnect the front panel connectors to the appropriate pins on the motherboard. This includes the power switch, reset switch, HDD LED, power LED, and any other connectors specific to your case.
- Check Cable Management: Take a moment to organize and manage the cables inside the case. Use cable ties or Velcro straps to secure and route cables in an organized manner. Proper cable management can improve airflow and make future maintenance easier.
- Double-Check Connections: Before closing the case, double-check all connections to ensure that everything is properly connected. Verify that there are no loose cables or components that could cause issues when the computer is powered on.
- Power On and Test: Once all the cables and components are reconnected, close the case and plug in the power cable. Power on the computer and test that everything is functioning correctly. Check for any error messages or unusual behavior. If everything appears to be working fine, congratulations! You have successfully transferred your components to the new PC case.
By carefully reconnecting all the cables and components, you ensure that your computer is fully operational and ready to be used in the new case. With everything properly reconnected and working as intended, you can look forward to an enhanced computing experience in your upgraded and refreshed PC setup.
Step 9: Install Any Additional Components
With your main components installed and connected, it’s time to consider any additional components you may want to add to your upgraded PC setup. Follow these steps to install any extra components you desire:
- Identify Available Slots: Take note of the available slots and bays in your new PC case. This will help you determine which components can be added and where they should be installed.
- Consider Expansion Cards: If you require additional functionality, such as a sound card, network card, or expansion card for additional USB ports, identify the appropriate slot on the motherboard and install the card accordingly. Secure it in place with screws or clips.
- Add Extra Storage Drives: If you need more storage space, install additional storage drives into the available drive bays in the case. Connect the necessary data and power cables, and secure the drives using screws or brackets.
- Install RGB Lighting: If you want to add a touch of style and customization to your PC, consider installing RGB lighting components. This can include RGB fans, LED strips, or RGB RAM modules. Follow the manufacturer’s instructions to properly install and connect the lighting components.
- Install Fan Controllers: If you want more control over your PC’s cooling system, consider adding fan controllers. These devices allow you to adjust fan speeds and monitor temperatures. Install the fan controller according to the manufacturer’s instructions and connect the fans to the controller.
- Connect Other Peripherals: If you have any other peripheral devices, such as a DVD drive, card reader, or additional USB hub, identify the appropriate port or slot on the motherboard and connect them accordingly.
- Securely Mount the Components: Once you have installed the additional components, ensure that they are securely mounted in the case. Double-check all connections, and use screws or other appropriate methods to secure the components in place.
When installing additional components, it’s essential to consider their compatibility with your existing setup and power requirements. Refer to the manuals or manufacturer’s guidelines for proper installation instructions and any specific requirements or recommendations for each component.
By installing any additional components you desire, you can customize your PC to meet your specific needs and preferences. Whether it’s additional storage, enhanced lighting, or other functionality, the choice is yours to further enhance your PC setup in the new case.
Step 10: Secure the New PC Case
With all the components installed and connected in your new PC case, it’s important to properly secure and finalize the setup. This involves ensuring that the case is stable, the cables are neatly organized, and any necessary adjustments are made for optimal performance. Follow these steps to secure the new PC case:
- Verify Component Installations: Double-check that all components are securely mounted and properly connected. Ensure that nothing is loose or protruding, which could potentially cause damage to the components.
- Secure the Side Panels: Attach and secure the side panels of the new PC case. Use the provided screws or latches to ensure a snug and secure fit. This will not only protect the components but also maintain a clean and tidy appearance.
- Check Cable Management: Take a moment to carefully organize and manage the cables inside the case. Use cable ties, Velcro straps, or other cable management solutions to secure and route the cables neatly. This will improve airflow, reduce clutter, and facilitate easier future maintenance or upgrades.
- Avoid Cable Interference: Ensure that no cables are obstructing the movements of any cooling fans or interfering with any other critical components. Make any necessary adjustments to cable routing to maximize airflow and prevent potential issues.
- Secure External Connections: Check that all external connections, such as the display, keyboard, mouse, and speakers, are properly plugged into their respective ports. Make sure the cables are securely connected so that they do not come loose during use.
- Position the Case: Place the new PC case in its desired location. Ensure that it is positioned on a stable and flat surface to prevent any accidental falls or movements that could damage the components.
- Prepare the Operating System: If you have transferred your components to a completely new system or replaced the motherboard, you may need to reinstall or reactivate your operating system. Follow the necessary steps to ensure your operating system is properly set up and functional.
- Power On and Test: Power on your computer and ensure that it boots up properly. Check for any error messages during the boot process and verify that all components are functioning correctly. Test the stability and performance of your computer to ensure everything is working as expected.
By properly securing the new PC case, you protect your components from accidental damage and ensure the stability and longevity of your system. Taking the time to tidy up the cables and make any necessary adjustments will also contribute to better airflow and a cleaner overall appearance. Once you have completed these steps, you can fully enjoy your upgraded PC setup in its new case!
Conclusion
Congratulations! You have successfully completed the process of moving your components to a new PC case. By following the steps outlined in this guide, you have not only upgraded the functionality and performance of your computer but also breathed new life into its appearance. Here’s a quick recap of the key steps:
- Preparation: Research the new case, gather the necessary tools, and create a backup of your data.
- Unplug and Power Down the PC: Save your work, shut down the computer, unplug the power cable, and disconnect all peripherals.
- Remove the Old PC Case: Remove the side panel, detach cables, and carefully remove the motherboard and other components.
- Organize and Disconnect Cables: Organize and label cables, disconnect power and data cables, and remove front panel connectors.
- Remove the Motherboard: Locate and remove the mounting screws, lift out the motherboard, and place it in a safe location.
- Carefully Remove and Install the Components: Remove the CPU cooler, detach RAM modules and storage drives, and reinstall them in the new case.
- Install the Motherboard in the New Case: Position the motherboard, screw it into place, and connect front panel connectors and internal cables.
- Reconnect Cables and Components: Reconnect power supply cables, data cables, and peripherals such as the graphics card and RAM.
- Install Any Additional Components: Add expansion cards, extra storage drives, and other components to enhance the functionality of your system.
- Secure the New PC Case: Secure the side panels, check cable management, and ensure that all connections are properly secured.
With the process complete, take a moment to appreciate your work and enjoy your newly transferred components. You now have a system that not only functions optimally but also looks great in its new case. Don’t forget to test the system’s stability and performance to ensure everything is running smoothly.
Remember, while the process of moving components to a new PC case may seem daunting at first, careful planning and attention to detail will guarantee a successful outcome. If you encounter any issues or have further questions, don’t hesitate to consult the manuals or seek assistance from online communities and forums.
Now go ahead and make the most of your upgraded PC setup! Whether you’re a gamer, a professional, or a casual user, your new PC case will provide better cooling, more space for expansion, and a visually appealing appearance – all contributing to an enhanced computing experience.