Introduction
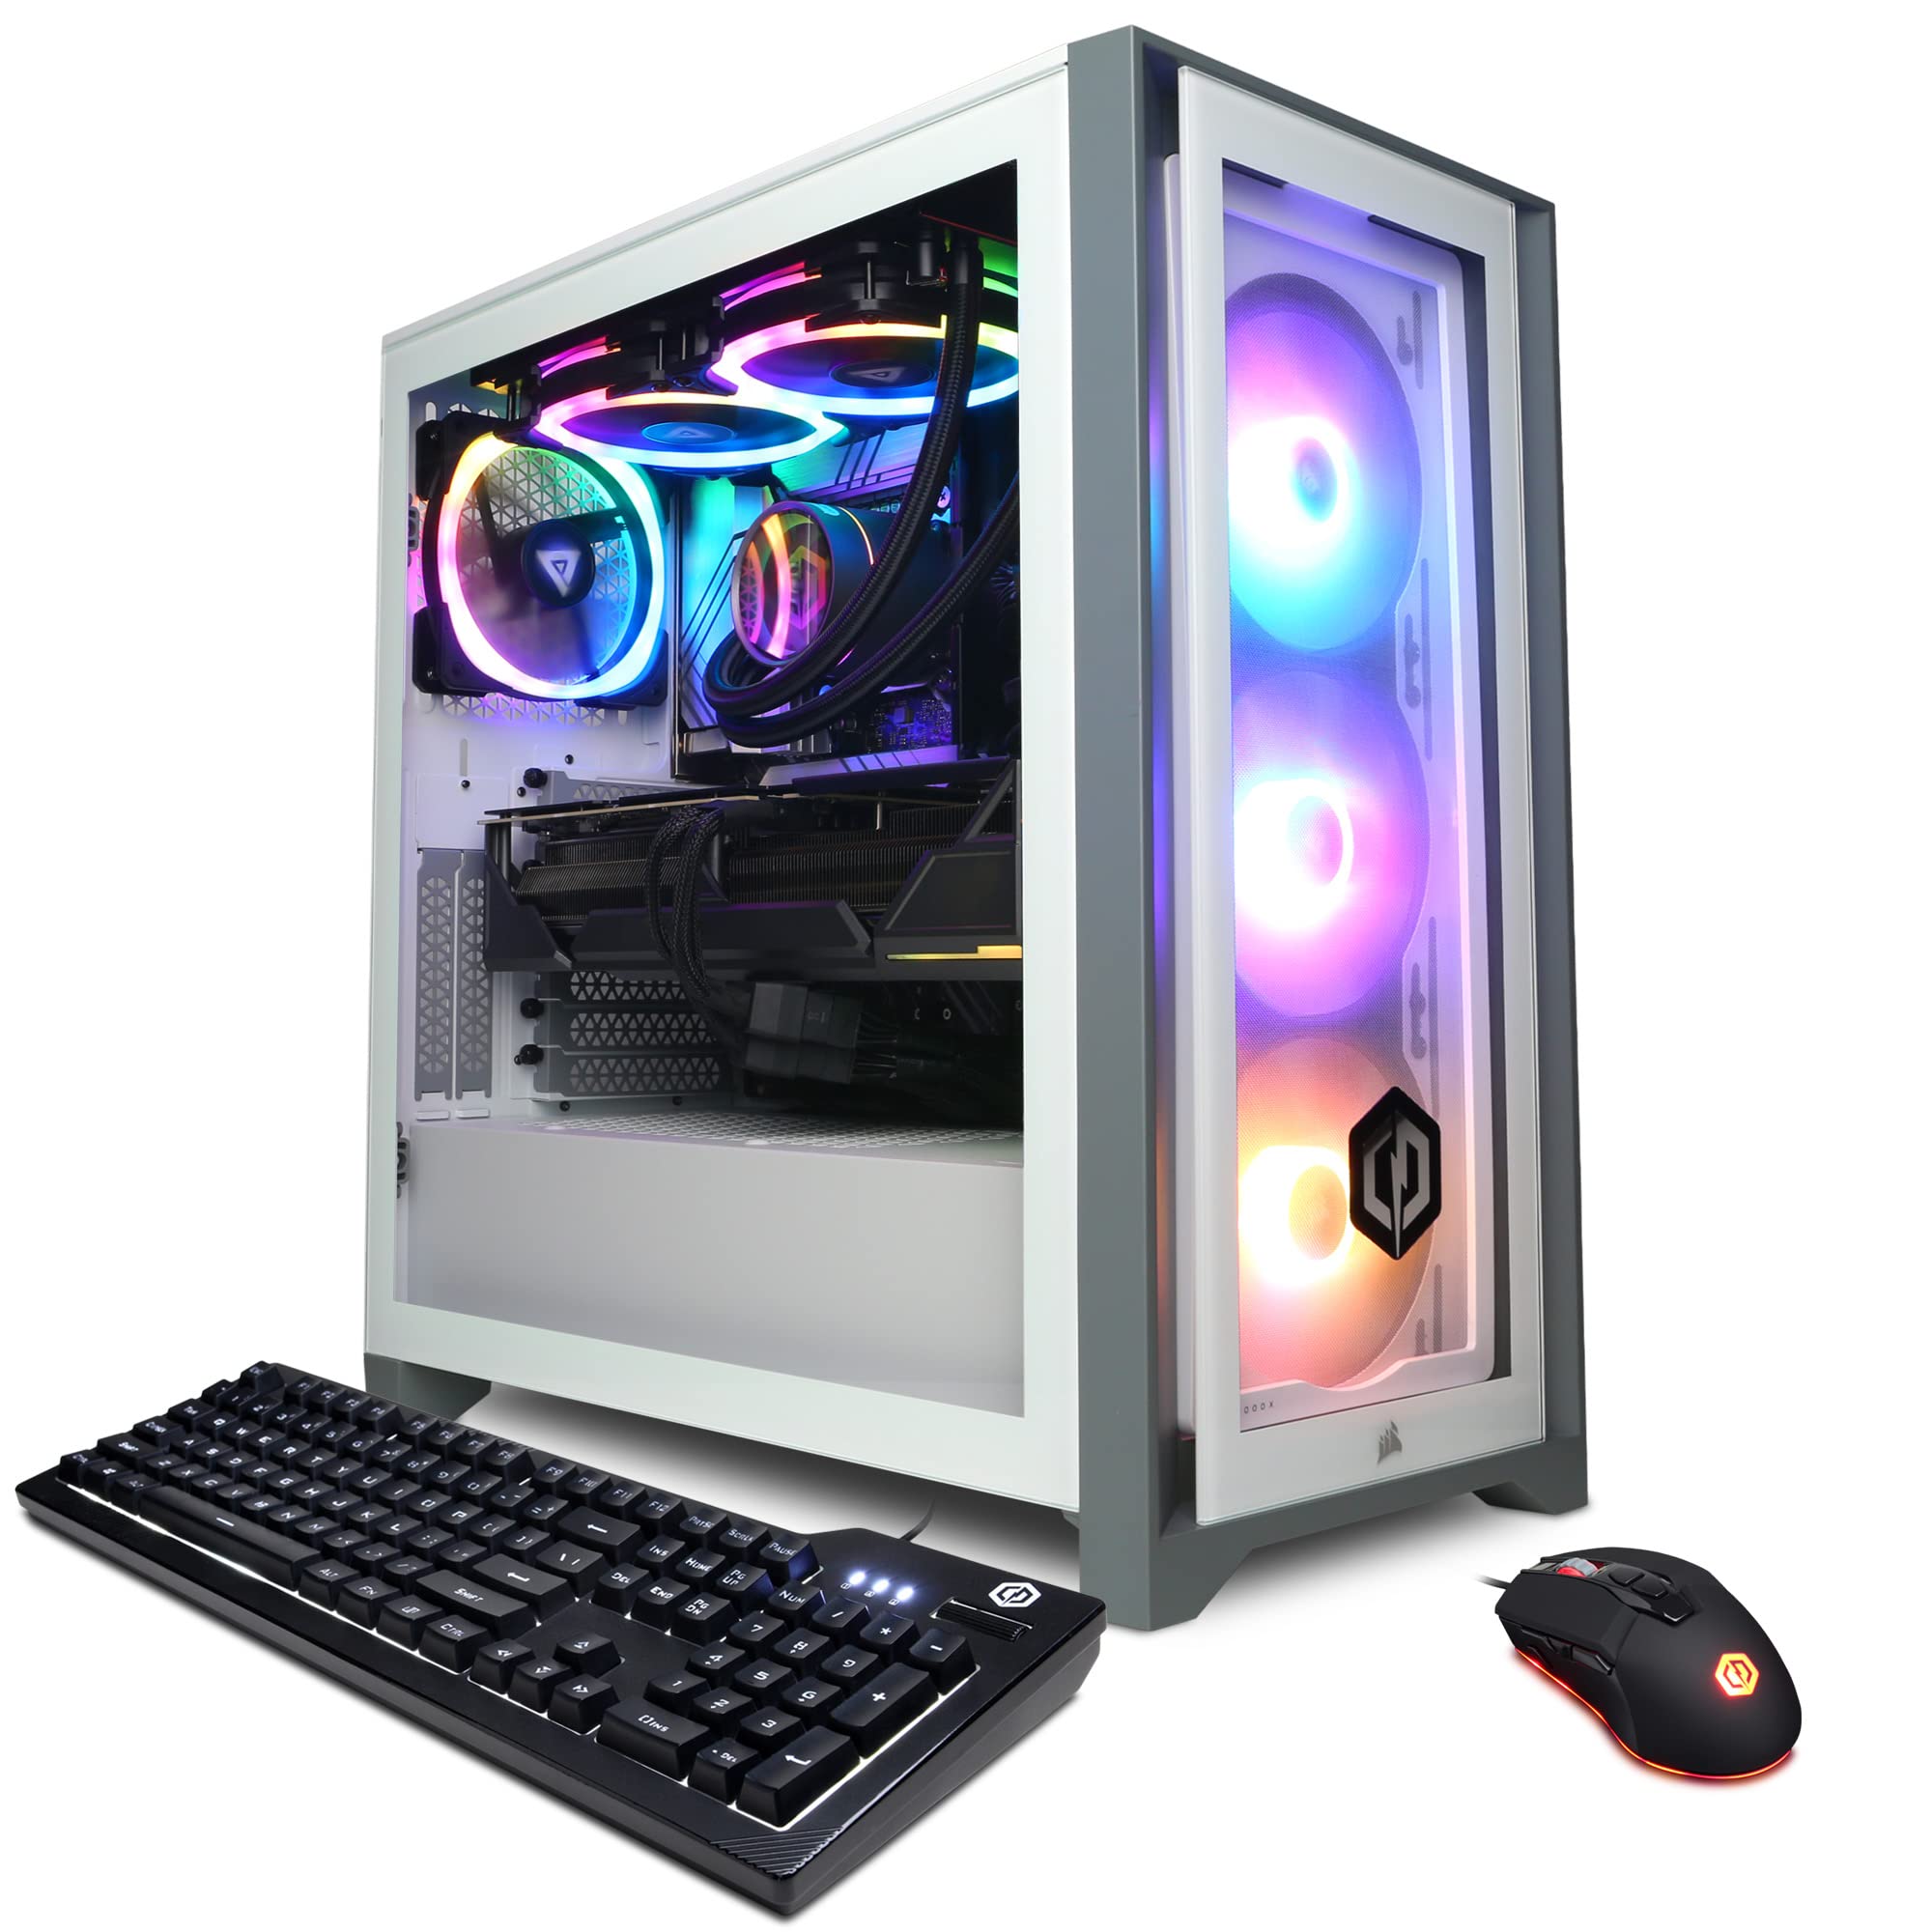
Welcome to our guide on how to change the hard disk drive (HDD) in a Cyber Power PC case. Whether you’re upgrading to a larger capacity drive or replacing a faulty one, this step-by-step tutorial will help you through the process. Swapping out an HDD may seem like a daunting task, but with the right tools and a little bit of patience, you’ll be able to do it yourself without any hassle.
The hard disk drive is an essential component of any computer system. It is where all your files, documents, applications, and operating system are stored. Over time, you may find that your current HDD is running out of space or experiencing performance issues. By replacing it with a new and more efficient HDD, you can ensure that your computer runs smoothly and efficiently.
Before we dive into the steps, it’s essential to note that computer cases may vary in design and layout. Therefore, while our guide is generally applicable, there may be slight differences in the process depending on the specific Cyber Power PC case model you have. Make sure to consult the manufacturer’s instructions or online resources specific to your case if you encounter any discrepancies.
In this guide, we will provide a detailed walkthrough of each step involved in changing the HDD in your Cyber Power PC case. We’ll begin by highlighting the tools and materials you’ll need for the process. Then, we’ll go through each step, including preparing your workspace, opening the case, removing the old HDD, installing the new HDD, connecting the necessary cables, and finally, closing the case. We’ll also cover how to test the new HDD to ensure it’s functioning correctly.
By following this guide, you can save money on professional services and gain the satisfaction of completing the task yourself. So, without further ado, let’s get started with changing the HDD in your Cyber Power PC case.
Tools and Materials Needed
Before you begin the process of changing the HDD in your Cyber Power PC case, it’s important to gather the necessary tools and materials. Having everything prepared beforehand will ensure a smooth and efficient process. Here’s a list of what you’ll need:
- Screwdriver – Depending on the type of screws used in your case, you may need a Phillips or flat-head screwdriver.
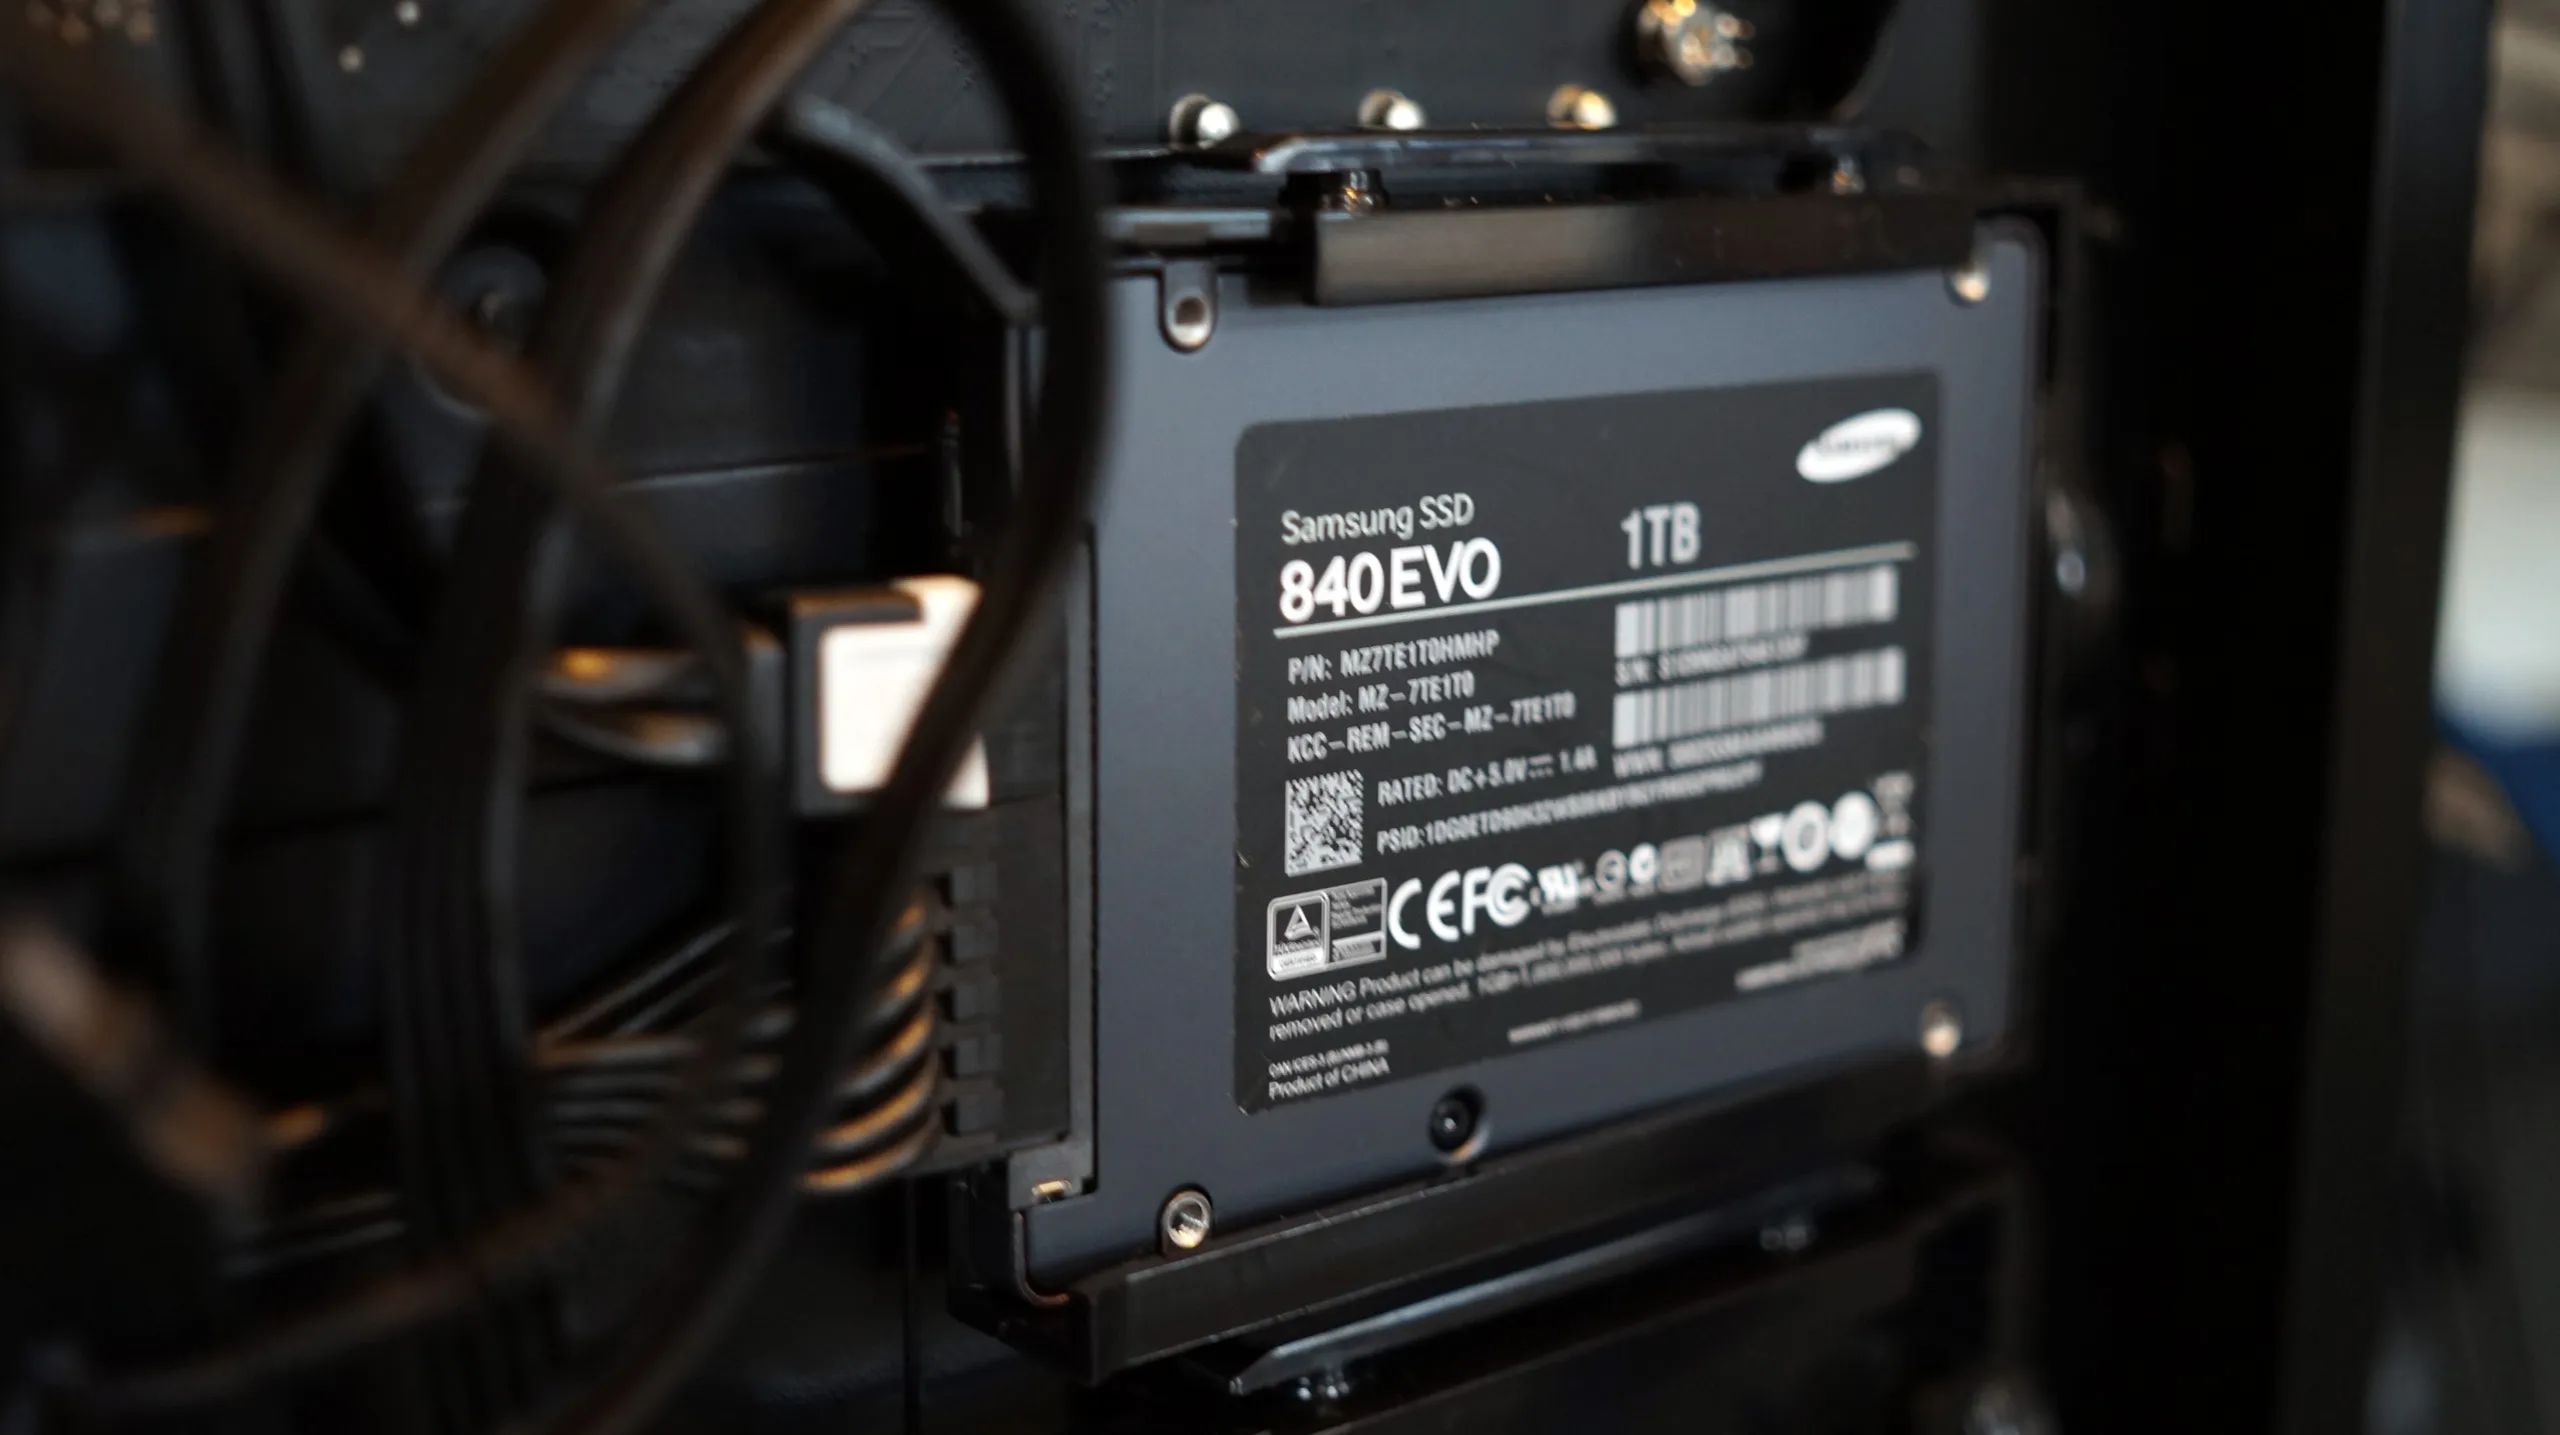
- New HDD – Ensure you have a new hard disk drive that is compatible with your Cyber Power PC case. Check the specifications of your case and the HDD to ensure compatibility.
- SATA cables – You’ll need one or two SATA cables depending on whether you’re adding a new HDD or replacing the existing one.
- Power cable – Make sure you have a spare power cable that can connect to the new HDD.
- Anti-static wristband (optional) – While not necessary, an anti-static wristband can help protect your components from damage caused by static electricity. If you don’t have one, ensure you touch a grounded metal object before handling any internal components.
Once you have gathered all the necessary tools and materials, you’ll be ready to move on to the next step. It’s important to note that if you’re adding a new HDD to your system, you may also need an additional SATA data cable and a power cable splitter. These can usually be purchased separately or may be included with your new HDD.
It’s a good idea to double-check the compatibility of your new HDD with your Cyber Power PC case before proceeding. This will ensure that all the components fit properly and function correctly. Consult the manufacturer’s instructions or the documentation provided with your case and HDD to confirm compatibility.
Now that you have all the necessary tools and materials, you’re ready to prepare your workspace and start opening up the case. Following each step carefully will help you successfully change the HDD in your Cyber Power PC case and improve the storage and performance of your system.
Step 1: Preparation
Before delving into the process of changing the HDD in your Cyber Power PC case, it’s crucial to prepare your workspace properly. Taking the time to organize your workspace and ensure you have a clean and clutter-free area will make the process more efficient and help prevent any accidental damage. Here’s what you need to do:
- Power off your computer – Shut down your computer properly and ensure that it is completely turned off. This step is essential to prevent any electrical accidents while working on the internal components.
- Unplug all cables – Disconnect all cables from the computer, including the power cord, monitor cable, peripherals, and any others connected to the case. This will allow for easy access to the case and prevent any potential damage to the components or cables.
- Ground yourself – Before opening the case, it’s crucial to ground yourself to prevent static electricity from damaging the delicate internal components. You can do this by touching a grounded metal object or, ideally, by wearing an anti-static wristband if you have one available.
- Select a clean and well-lit area – Find a spacious and clean area where you can comfortably work on your computer. Make sure there is adequate lighting to easily see the internal components and avoid any accidental mistakes.
- Gather the necessary tools and materials – Ensure you have all the tools and materials mentioned in the previous section within easy reach. This way, you won’t have to interrupt the process to search for any missing items.
Taking the time to organize your workstation and follow these preparation steps will set a solid foundation for the remainder of the process. It’s essential to work in a calm and focused manner, ensuring that you have everything you need before proceeding. Once you have completed these steps, you can move on to the next stage, which involves opening the case of your Cyber Power PC.
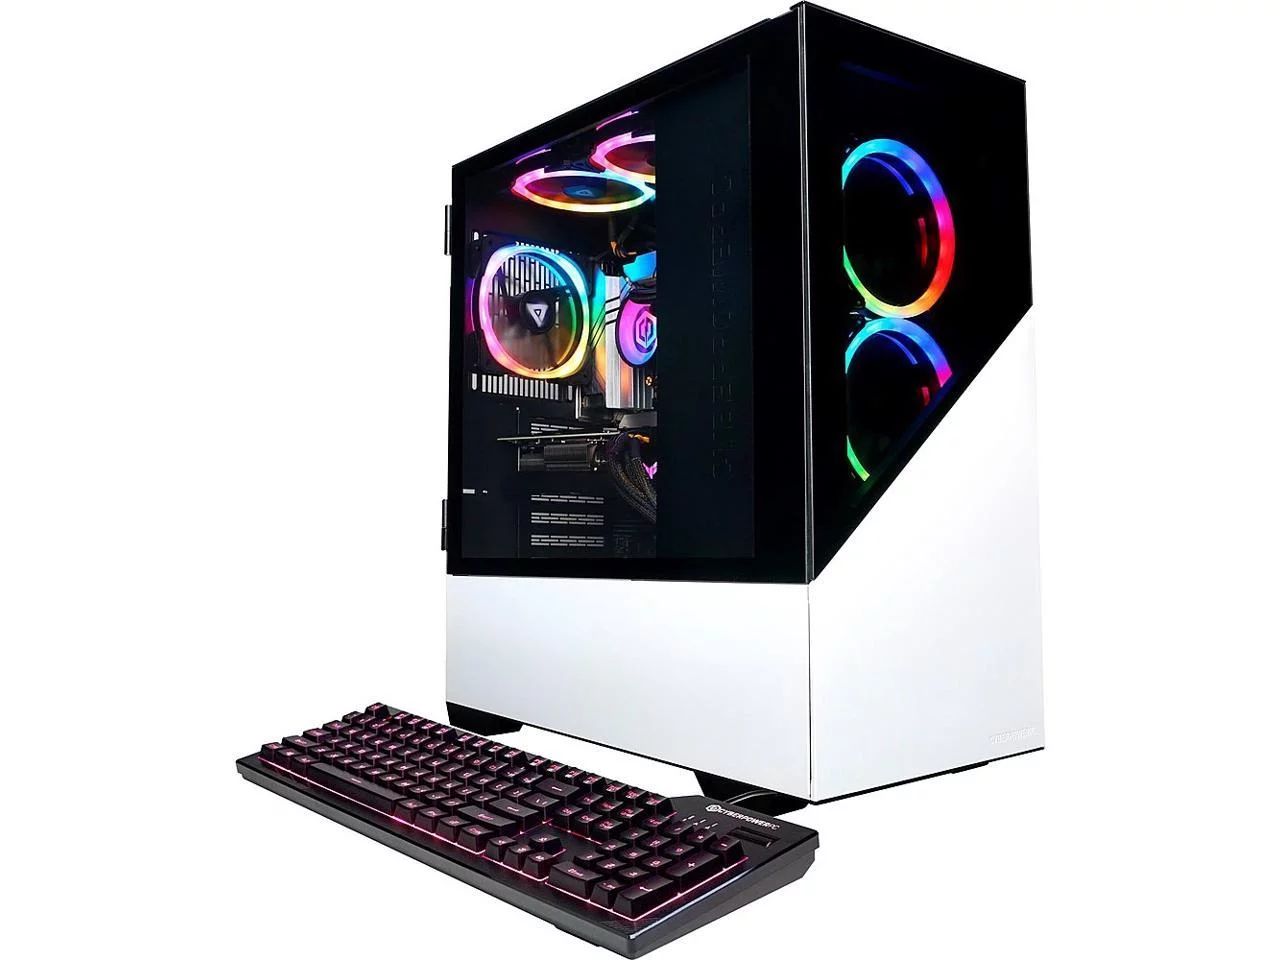
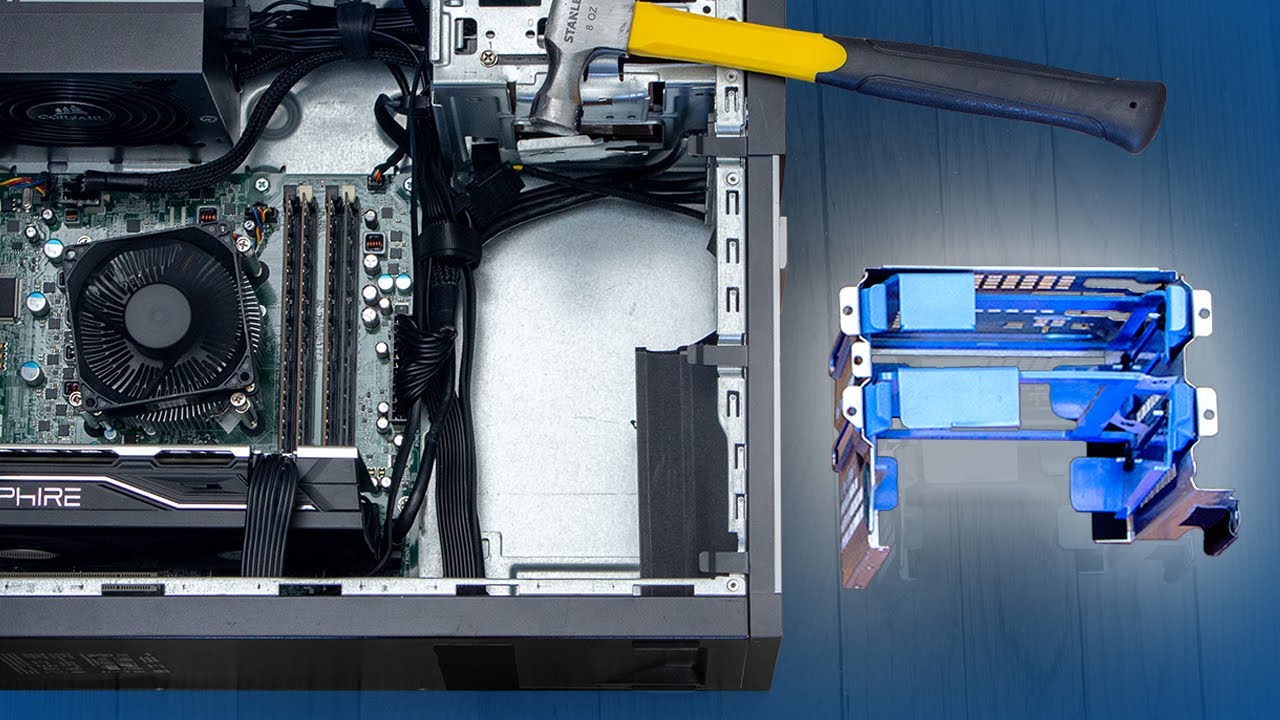
Step 2: Opening the Case
Now that you have prepared your workspace, it’s time to open the case of your Cyber Power PC. Opening the case will give you access to the internal components, including the existing hard disk drive (HDD). Follow these steps to safely open the case:
- Identify the screws holding the case – Locate the screws on the back or side of the case that secure the side panel. These screws may vary depending on the model of your Cyber Power PC. Typically, they are thumb screws or regular screws that require a Phillips or flat-head screwdriver to remove.
- Remove the screws – Using the appropriate screwdriver, carefully unscrew and remove the screws holding the side panel of the case in place. Set the screws aside safely, as you will need them to reattach the panel later.
- Slide or lift the side panel – Once the screws are removed, you can either slide or lift the side panel off the case. Again, the method may vary depending on the design of your specific Cyber Power PC case. Some cases have a sliding mechanism, while others require you to lift the panel upwards and then remove it.
- Set aside the side panel – Place the removed side panel in a safe location where it won’t get damaged or cause any obstructions during the following steps. Keeping the panel close by will make it easier to reattach it once the HDD has been replaced.
With the case open and the side panel removed, you now have access to the internal components of your Cyber Power PC. It’s essential to handle the exposed components with care and avoid touching any sensitive parts or electrical connections.
Take a moment to familiarize yourself with the internal layout of your Cyber Power PC. Locate the existing hard disk drive (HDD) that you intend to replace, as well as the available drive bays where you will install the new HDD. This will help you navigate the next steps more effectively.
With the case open and the HDD visible, you’re ready to proceed to Step 3: Removing the old HDD. Make sure to follow the upcoming instructions carefully to prevent any damage to your PC’s components.
Step 3: Removing the Old HDD
Now that you have opened the case and located the existing hard disk drive (HDD), it’s time to remove it. This step involves disconnecting the necessary cables and removing any mounting brackets holding the HDD in place. Follow these instructions to safely remove the old HDD:
- Identify the cables connected to the HDD – Take a careful look at the back of the HDD to locate the cables attached to it. There will typically be two cables: a SATA data cable and a power cable. These cables are responsible for transmitting data and supplying power to the HDD.
- Disconnect the SATA data cable – Gently pull the SATA data cable out of the HDD’s port. To do this, hold the connector firmly and wiggle it slightly while pulling straight out. Avoid applying excessive force to prevent any damage to the connectors or ports.
- Disconnect the power cable – Similarly, locate the power cable connected to the HDD. It will have a larger connector compared to the SATA data cable. Push the latch or connector release button (if applicable) to unlock the connection, then carefully pull the connector out of the HDD.
- Remove any mounting brackets – Depending on the case design and setup, your HDD may be attached to mounting brackets or drive cages. Check for any screws or bolts securing the HDD in place and use a screwdriver to remove them. Keep track of the screws as you will need them later to install the new HDD, if necessary.
- Slide or lift the HDD out of the drive bay – Once all the cables and mounting brackets are disconnected, you can slide or lift the HDD out of the drive bay. If necessary, gently wiggle the HDD while applying even pressure to release it from any remaining clips or connectors.
Make sure to handle the HDD with care, avoiding any sudden movements or dropping it during the removal process. If you’re planning to reuse the HDD in another system, place it in an anti-static bag or a safe location to protect it from any damage.
With the old HDD successfully removed, it’s time to move on to the next step: installing the new HDD. In the upcoming section, we’ll guide you through the process of installing the new HDD into the drive bay of your Cyber Power PC case.
Step 4: Installing the New HDD
Now that you have successfully removed the old HDD, it’s time to install the new hard disk drive (HDD) into your Cyber Power PC case. Follow these steps to ensure a secure and proper installation:
- Prepare the new HDD – If you’re using a brand-new HDD, it should come in an anti-static bag. Carefully remove the new HDD from the bag, being sure to touch a grounded metal object or wear an anti-static wristband to avoid damaging the internal components.
- Check the drive bay – Examine the drive bay where you removed the old HDD. Ensure it’s clean and free of any debris or obstructions that could interfere with the installation of the new HDD. If necessary, clean the drive bay gently using compressed air or a soft cloth.
- Align the new HDD – Hold the new HDD with the connectors facing towards the back or side of the drive bay. Align the screw holes on the sides or bottom of the HDD with the corresponding holes in the drive bay. Make sure the HDD is level and properly seated before proceeding.
- Attach mounting brackets (if required) – If your case requires mounting brackets or drive cages to secure the HDD, align them with the screw holes on the HDD and the drive bay. Use the screws you set aside earlier to securely fasten the mounting brackets or drive cage to the HDD and the drive bay.
- Secure the new HDD – Once the mounting brackets (if applicable) are properly attached, use the appropriate screws to secure the new HDD in place. Tighten the screws enough to hold the HDD securely without overtightening, which could damage the HDD or the drive bay.
Double-check that the new HDD is securely installed in the drive bay and that the connectors are facing towards the back or side of the case, making them easily accessible during cable connection. It’s important to ensure that the new HDD is aligned properly to avoid any potential issues, such as data corruption or physical damage.
With the new HDD securely installed, you’re ready to move on to the next step: connecting the necessary cables. In the following section, we’ll guide you through the process of connecting the SATA data cable and the power cable to the new HDD.
Step 5: Connecting the Cables
After installing the new hard disk drive (HDD) in your Cyber Power PC case, the next step is to connect the necessary cables. Properly connecting the SATA data cable and the power cable will ensure that the new HDD functions correctly. Follow these steps to connect the cables:
- Locate the SATA data port on the motherboard – Look for the SATA data ports on the motherboard of your computer. These ports are usually labeled and can be identified by their small, rectangular shape. Ensure that you have an available SATA port to connect the new HDD.
- Connect the SATA data cable to the motherboard – Take one end of the SATA data cable and align it with the SATA port on the motherboard. Make sure the connector is properly oriented, then gently push it into the port until it clicks into place. Take care not to bend or force the connectors, as this can damage the ports or cables.
- Connect the other end of the SATA data cable to the new HDD – Take the other end of the SATA data cable and align it with the corresponding SATA port on the new HDD. Again, ensure proper orientation, then gently push the connector into the port until it clicks into place. Ensure a secure connection without applying excessive force.
- Locate an available power cable – Identify an available power cable from your power supply unit (PSU) that has the appropriate connectors for the new HDD. The power cable should have a SATA power connector, which has a flat, L-shaped connector that matches the corresponding port on the HDD.
- Connect the power cable to the new HDD – Take the SATA power connector and align it with the power port on the new HDD. Ensure proper orientation, then gently push the connector into the port until it fits snugly. Again, be careful not to bend or force the connectors, as this can cause damage.
Ensure that both the SATA data cable and the power cable are securely connected to the new HDD. Double-check each connection to make sure they are properly aligned and fully inserted. A loose or improperly connected cable can result in data corruption or the HDD not functioning properly.
Once you have successfully connected the cables, you can proceed to the next step: closing the case. In the upcoming section, we’ll guide you through the process of safely sealing your Cyber Power PC case and completing the HDD replacement.
Step 6: Closing the Case
Now that you have connected the necessary cables to the new hard disk drive (HDD), it’s time to close the case of your Cyber Power PC. Properly sealing the case ensures that the internal components are protected and that the system functions optimally. Follow these steps to safely close the case:
- Retrieve the side panel – Take the side panel of the case that you removed earlier and position it correctly in alignment with the case. Ensure that any tabs or hooks on the panel fit into the corresponding slots or notches on the case.
- Slide or press the side panel into place – Depending on the design of your specific Cyber Power PC case, you may need to slide the side panel back into position or press it firmly until it is secure. Pay attention to any locking mechanisms that need to engage for a proper closure.
- Reattach and tighten the screws – Once the side panel is properly aligned, reattach the screws that you removed earlier. Use the appropriate screwdriver to tighten them, but be careful not to overtighten and risk damaging the case or stripping the screw threads.
- Check for secure closure – After tightening the screws, gently shake or tap the case to ensure that the side panel is securely in place. Listen for any rattling or movement that may indicate a loose panel. If you notice any issues, double-check the alignment and tightening of the screws.
Ensuring a secure closure of the case is important to protect the internal components from dust, debris, and accidental damage. A properly sealed case also helps maintain proper airflow within the system, ensuring the cooling of the components and preventing overheating.
With the case securely closed, you have successfully completed the process of changing the HDD in your Cyber Power PC case. Congratulations! You can now move on to the final step: testing the new HDD to ensure proper functionality.
In the next section, we’ll guide you through the process of testing the new HDD to confirm that it is working correctly and recognized by your system.
Step 7: Testing the New HDD
After successfully closing the case of your Cyber Power PC, it’s time to test the new hard disk drive (HDD). Properly testing the new HDD ensures that it is functioning correctly and recognized by your system. Follow these steps to test the new HDD:
- Power on your computer – Connect the power cord to your computer and plug it into a power outlet. Press the power button to turn on your computer and allow it to boot up.
- Access the BIOS or UEFI settings – During the boot process, your computer may display a brief message indicating which key to press to access the BIOS or UEFI settings. Common keys include F2, Del, or Esc. Press the indicated key to enter the settings.
- Navigate to the storage or drive configuration – Use the arrow keys on your keyboard to navigate through the BIOS or UEFI settings. Look for the section related to storage or drive configuration.
- Check for the new HDD – Within the storage or drive configuration section, the new HDD should be listed as a recognized device. Verify that the capacity and model of the new HDD are displayed correctly.
- Exit the BIOS or UEFI settings – If the new HDD is recognized, save the changes in the settings and exit the BIOS or UEFI. You can usually do this by selecting the “Save and Exit” or similar option.
- Boot into your operating system – Allow your computer to boot into the operating system. Once you reach the desktop or login screen, you can further verify the presence of the new HDD by checking the File Explorer or Disk Management utility.
- Format and partition the new HDD (optional) – If the new HDD is being used for the first time, it may require formatting and partitioning. You can do this through the Disk Management utility in Windows, following the necessary prompts.
Testing the new HDD ensures that it is functioning properly and recognized by your system. If the new HDD appears correctly in the BIOS or UEFI settings and within your operating system, you can begin using it for storage or installing software as desired.
If the new HDD is not recognized or if you encounter any issues during the testing process, double-check the connections and ensure that the cables are securely connected. You may also want to consult the documentation provided with your Cyber Power PC or the manufacturer’s support resources for troubleshooting steps.
By successfully testing the new HDD, you have completed the entire process of changing the HDD in your Cyber Power PC case. Enjoy your enhanced storage capacity and improved performance!
Conclusion
Congratulations on successfully changing the hard disk drive (HDD) in your Cyber Power PC case! By following our step-by-step guide, you have gained the knowledge and skills to upgrade or replace your HDD without the need for professional assistance. This process allows you to increase storage capacity, improve system performance, and tailor your computer to your specific needs.
Throughout this guide, we have covered the necessary preparation, opening the case, removing the old HDD, installing the new HDD, connecting the cables, closing the case, and testing the new HDD. By carefully following each step, you have taken significant strides towards enhancing your computer’s storage capabilities.
Remember, while the process outlined in this guide is generally applicable, it’s essential to consult the specific instructions for your Cyber Power PC case model. Each case may have slight differences in design and layout, which could affect the exact steps required for changing the HDD.
With your new HDD installed and functioning correctly, you can enjoy the benefits of increased storage space, improved performance, and a more efficient computer system. Take the time to explore and organize your new storage solution, transferring files, installing software, or utilizing the capacity for your specific needs.
If you encountered any issues during the process or have further questions, consult the manufacturer’s support resources or seek assistance from knowledgeable professionals. Ensuring that your HDD is properly installed and maintained is crucial for long-term reliability and data integrity.
We hope this guide has been informative and empowering, allowing you to take control of your computer’s storage. By performing this upgrade on your own, you have saved money, gained valuable skills, and experienced the satisfaction of DIY success.
Thank you for choosing our guide on how to change the HDD in your Cyber Power PC case. We wish you the best of luck with your upgraded system!