Overview
Removing the side HDD cage in the PC case is necessary when upgrading or replacing hard disk drives (HDDs) or when installing additional hardware components that require more space. The HDD cage is a metal or plastic structure inside the computer case that holds the HDDs securely in place. The process of removing the HDD cage may vary slightly depending on the specific case model, but the general steps remain the same.
This article will provide a step-by-step guide on how to remove the side HDD cage in the Xion PC case. By following these instructions, you will be able to safely extract the HDD cage and access the HDDs for maintenance or replacement purposes. It is important to note that this guide assumes you have a basic understanding of computer hardware and are comfortable working inside your PC case.
Before starting the removal process, make sure to gather the necessary tools and materials. Additionally, ensure that you have taken the appropriate precautions to protect your computer and yourself from any potential harm. Familiarize yourself with the layout of your PC case and the location of the side HDD cage, as it may vary depending on the case model.
Once you have completed the removal process, you can either store the HDD cage for future use or reinstall it if necessary. Remember to reconnect any SATA cables or power cables to the HDDs securely before closing the PC case. Finally, power up your PC and test to make sure everything is functioning properly.
Tools and Materials Needed
Before you begin removing the side HDD cage in the Xion PC case, it’s essential to gather the necessary tools and materials. Having these items on hand will ensure a smoother and more efficient process. Here is a list of what you will need:
- Screwdriver set (Phillips and/or flathead)
- Anti-static wrist strap
- Flashlight (optional, but helpful for better visibility inside the case)
The screwdriver set is crucial as it will allow you to remove any screws or fasteners that hold the HDD cage in place. A variety of screwdriver sizes, including Phillips and flathead, will cover different types of screws commonly used in PC cases.
An anti-static wrist strap is highly recommended to prevent any static electricity from damaging sensitive computer components. This strap should be worn throughout the process, ensuring that you discharge any built-up static electricity by grounding yourself to a metal surface.
While not essential, having a flashlight can be useful for better visibility inside the PC case. It can help you locate screws, connectors, and other small details in low-light situations, making the task easier and more efficient.
By gathering these tools and materials before you start, you will have everything you need to safely and effectively remove the side HDD cage in your Xion PC case. This preparation will contribute to a successful process and protect your computer components from any accidental damage or static discharge.
Step 1: Power down and unplug the PC
Before you begin removing the side HDD cage in your Xion PC case, it is crucial to power down your computer and disconnect it from the power source. This step is essential to prevent any electrical shocks or damage to the components during the process.
To power down your PC, click on the “Start” button on your computer’s taskbar and select “Shut down” from the menu. Allow your computer to fully shut down before proceeding to the next step.
Once your PC is powered off, locate the power cord connected to the back of the computer and unplug it from the electrical outlet. It’s important to physically disconnect the power cord to ensure that there is no electrical current running through the system while you work on it.
After unplugging the power cord, press the power button on your computer once to discharge any remaining electrical charge. This step is particularly important if you have a desktop PC as it helps to ensure that no residual power is left in the system.
By following this step, you ensure the safety of both yourself and your computer during the HDD cage removal process. Always take precautions when working with computer hardware to avoid any potential damage or injury caused by electrical hazards.
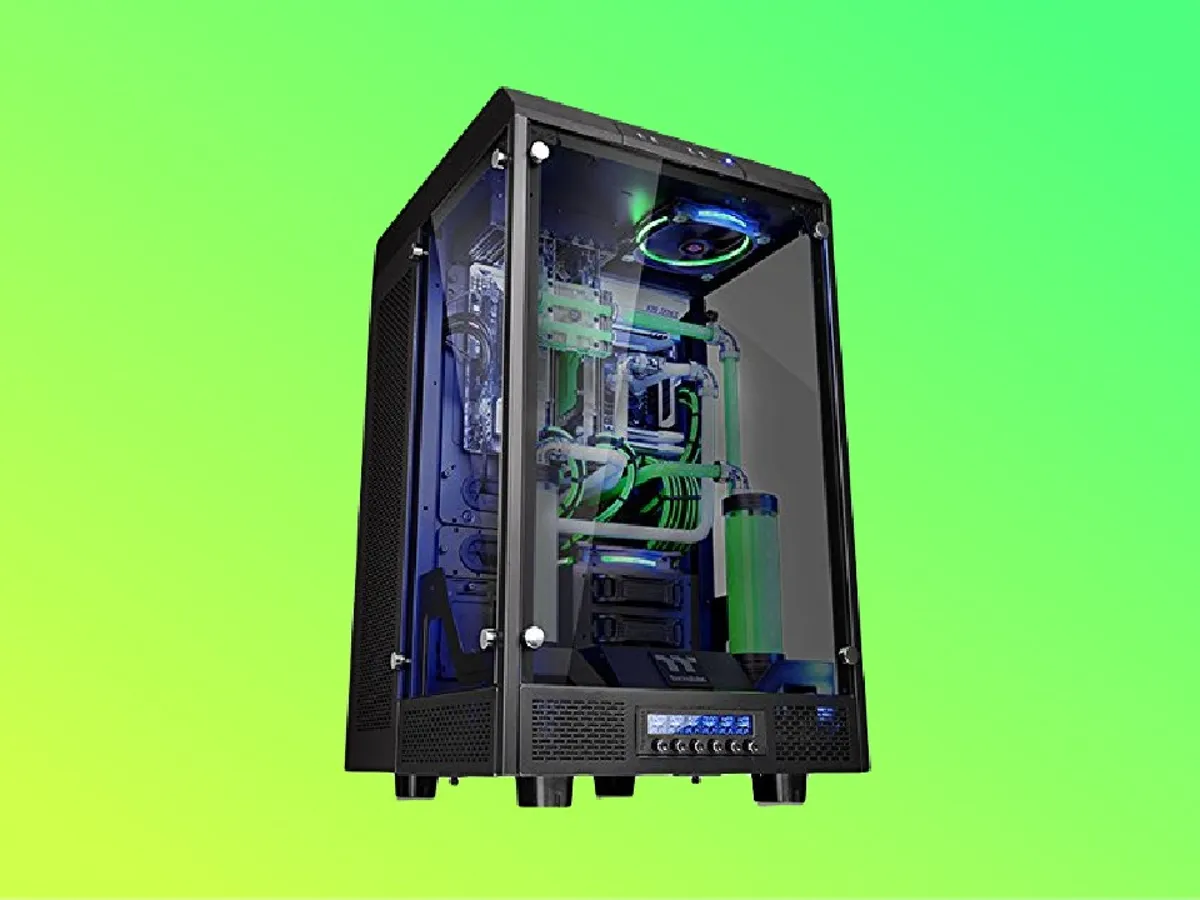
Step 2: Open the PC case
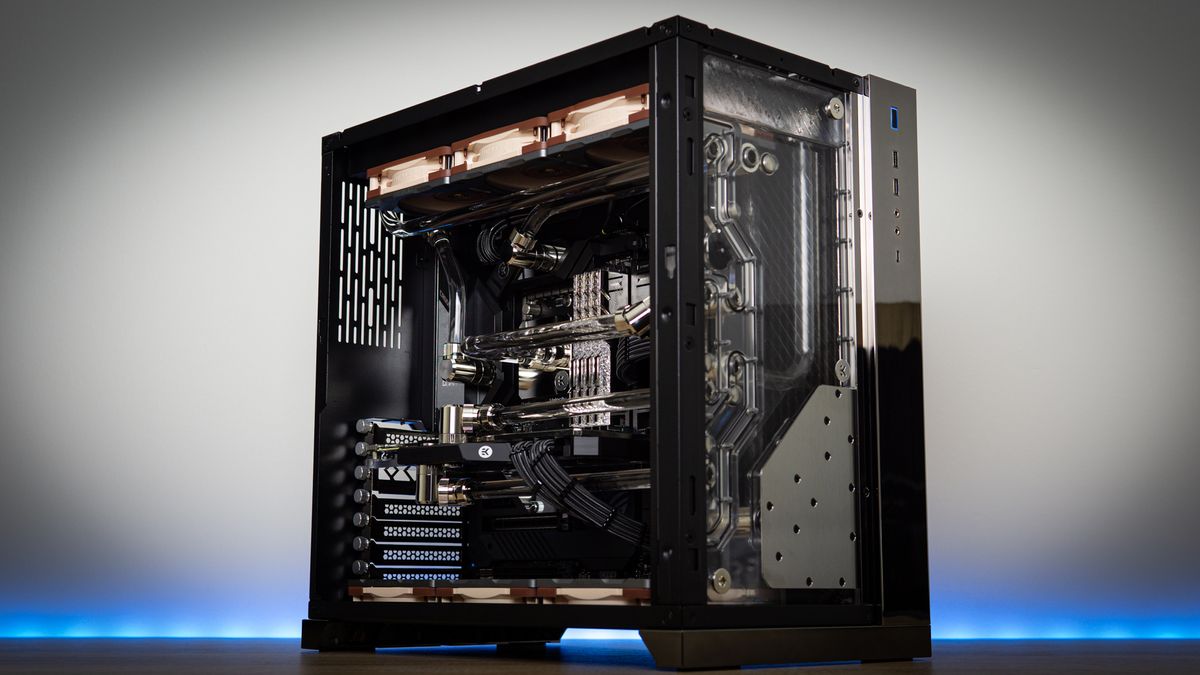
After powering down and unplugging your PC, the next step is to open the case. Opening the PC case will provide you access to the internal components, including the side HDD cage that you want to remove.
Start by placing your PC on a stable surface, such as a desk or workbench, with enough room to fully open the case. Ensure that you have good lighting in the area, or use a flashlight to improve visibility inside the case.
Most PC cases have a side panel that can be easily removed to access the internal components. The specific method for opening the case may vary depending on your Xion PC case model. Typically, there are screws or latches securing the side panel to the rest of the case.
Inspect the sides of your PC case and identify the screws or latches that hold the side panel in place. Use a screwdriver to remove the screws, turning them counterclockwise until they are fully loosened. Alternatively, if your case has latches, press or slide them to release the side panel.
Once the screws are removed or the latches are released, carefully slide or lift off the side panel to expose the internal components of your PC. Set the panel aside in a safe place where it won’t get damaged.
With the side panel removed, you’ll have a clear view of the internal components, including the side HDD cage that you need to remove. Take a moment to familiarize yourself with the layout and identify the position of the HDD cage before proceeding to the next step.
Opening the PC case is a crucial step in the process, allowing you to access the side HDD cage easily. Take your time and be cautious when removing the side panel to prevent any accidental damage to the case or its components.
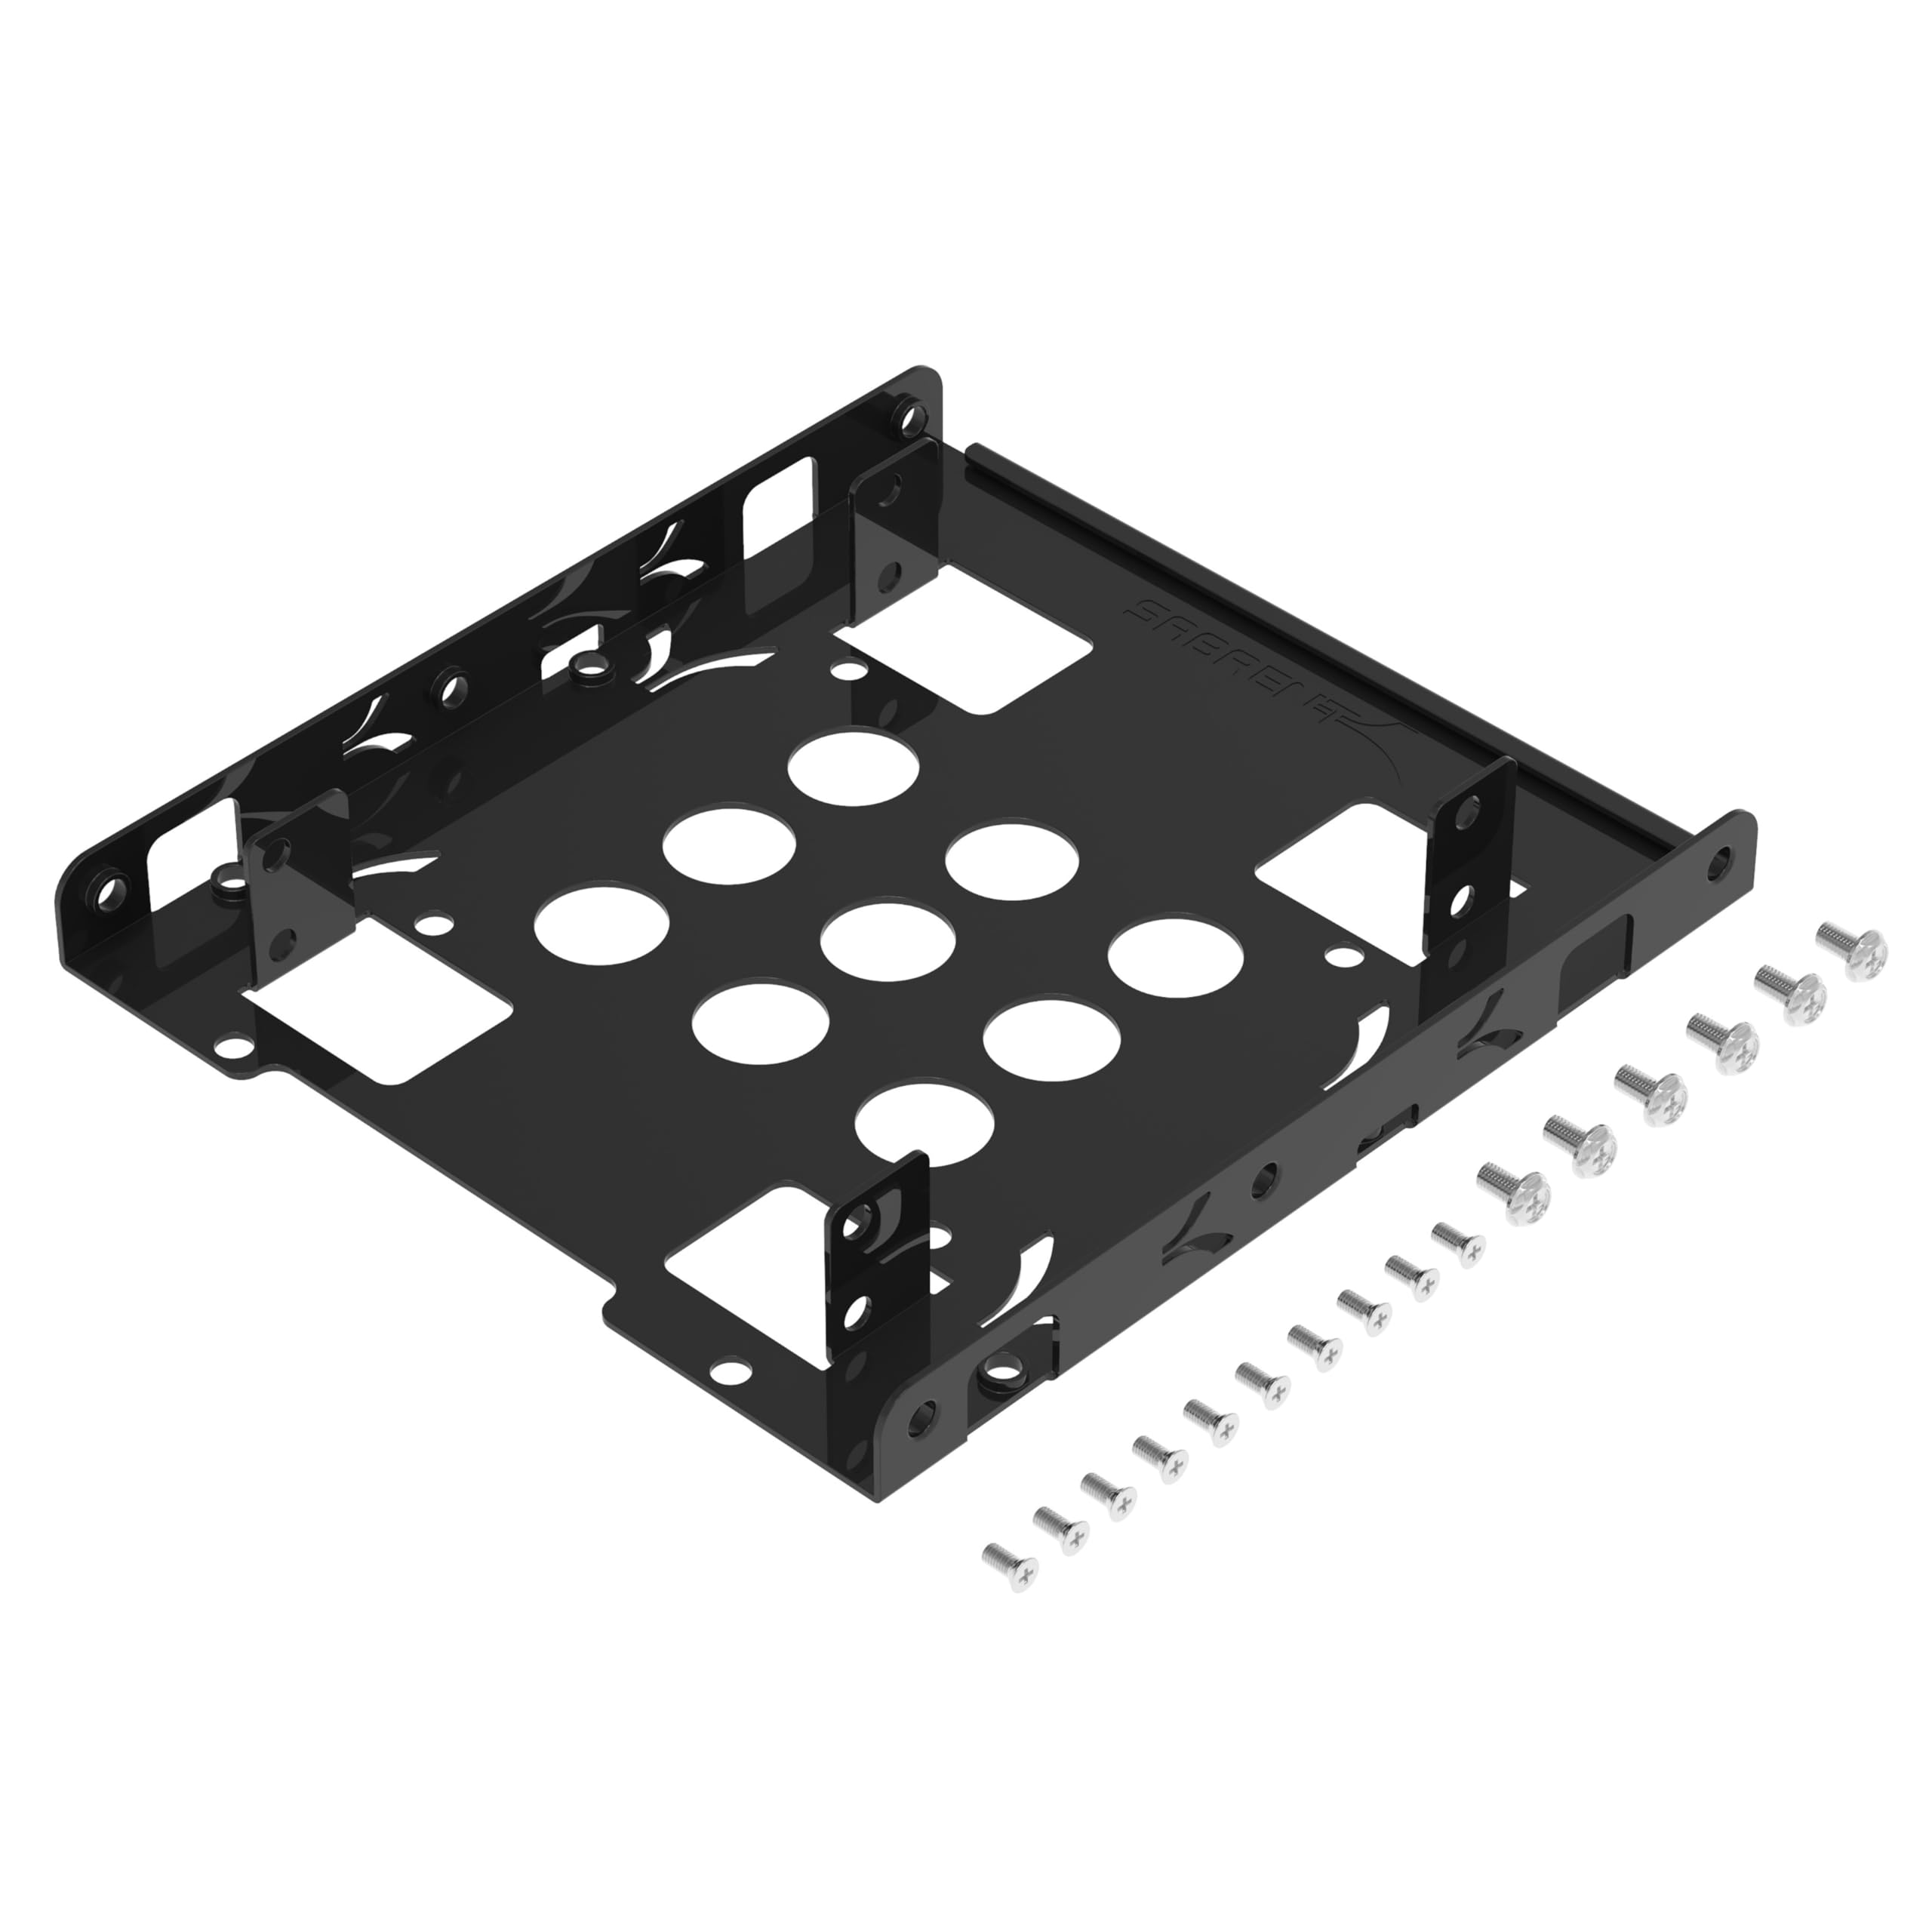
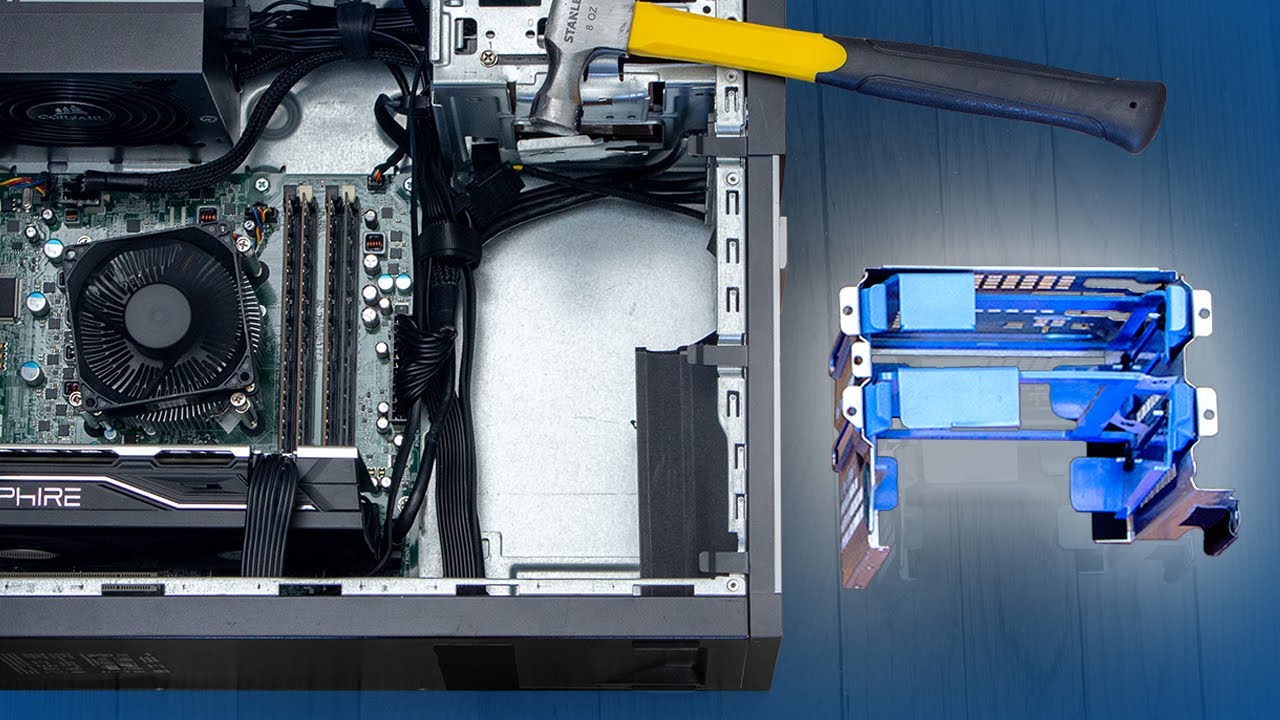
Step 3: Locate the side HDD cage
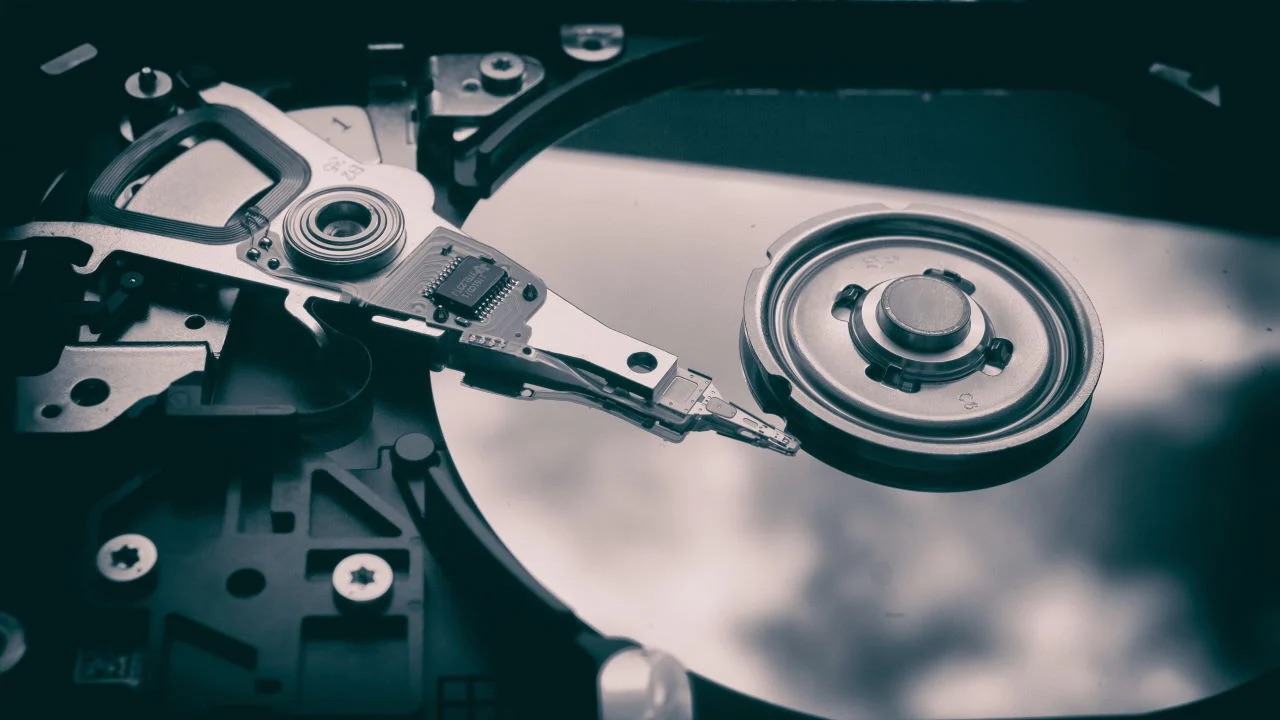
With the PC case open, the next step is to locate the side HDD cage. The HDD cage is a structure within the PC case that holds the hard disk drives securely in place.
The specific location of the side HDD cage may vary depending on the model of your Xion PC case. However, it is typically positioned along one of the sides of the case, close to where the side panel was removed. Take a moment to visually inspect the internal components and identify the side HDD cage.
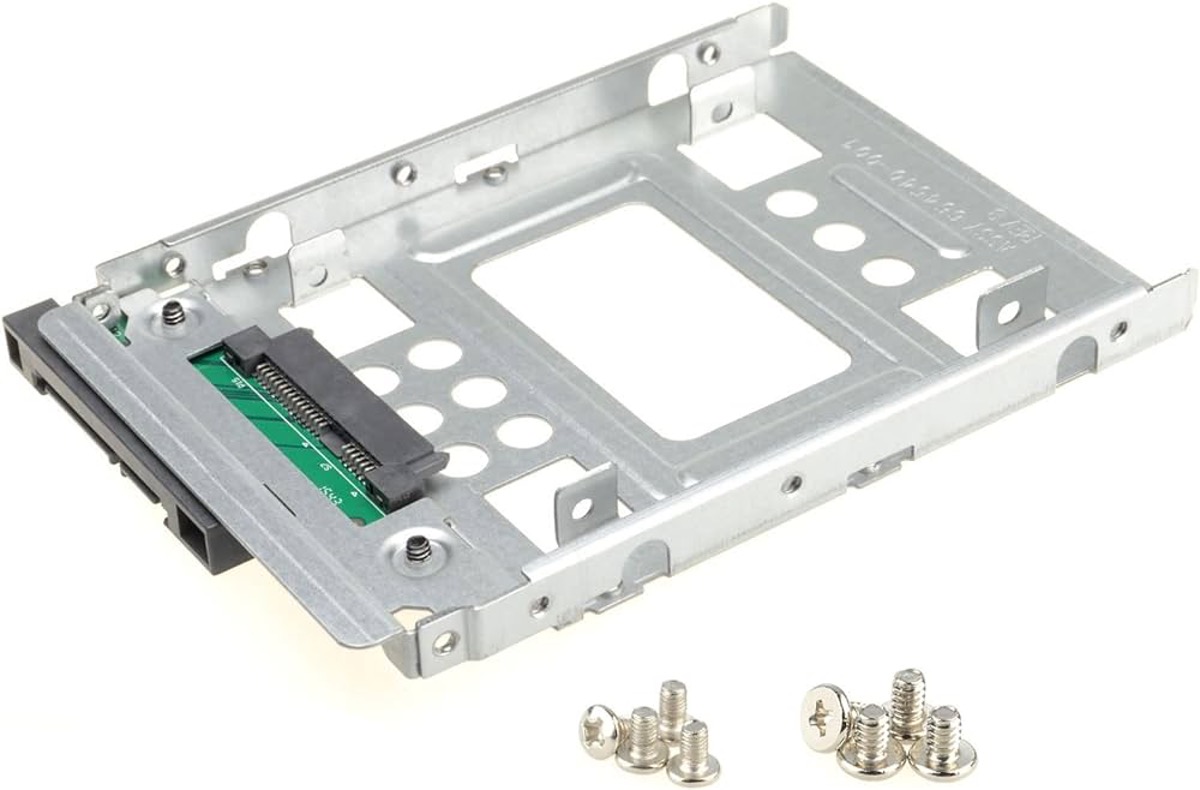
Look for a rectangular or square-shaped structure made of metal or plastic with mounting brackets or trays designed to hold the HDDs. The HDD cage may have a similar appearance to a small drawer or a stack of trays.
If you are unsure about the exact location of the side HDD cage, consult the documentation or manual that came with your Xion PC case. The manual should provide detailed information on the layout and configuration of the internal components, including the HDD cage.
It’s worth noting that in some cases, the HDD cage may be removable, while in others, it may be permanently fixed to the case. If your Xion PC case has a removable side HDD cage, it will make the removal process more straightforward.
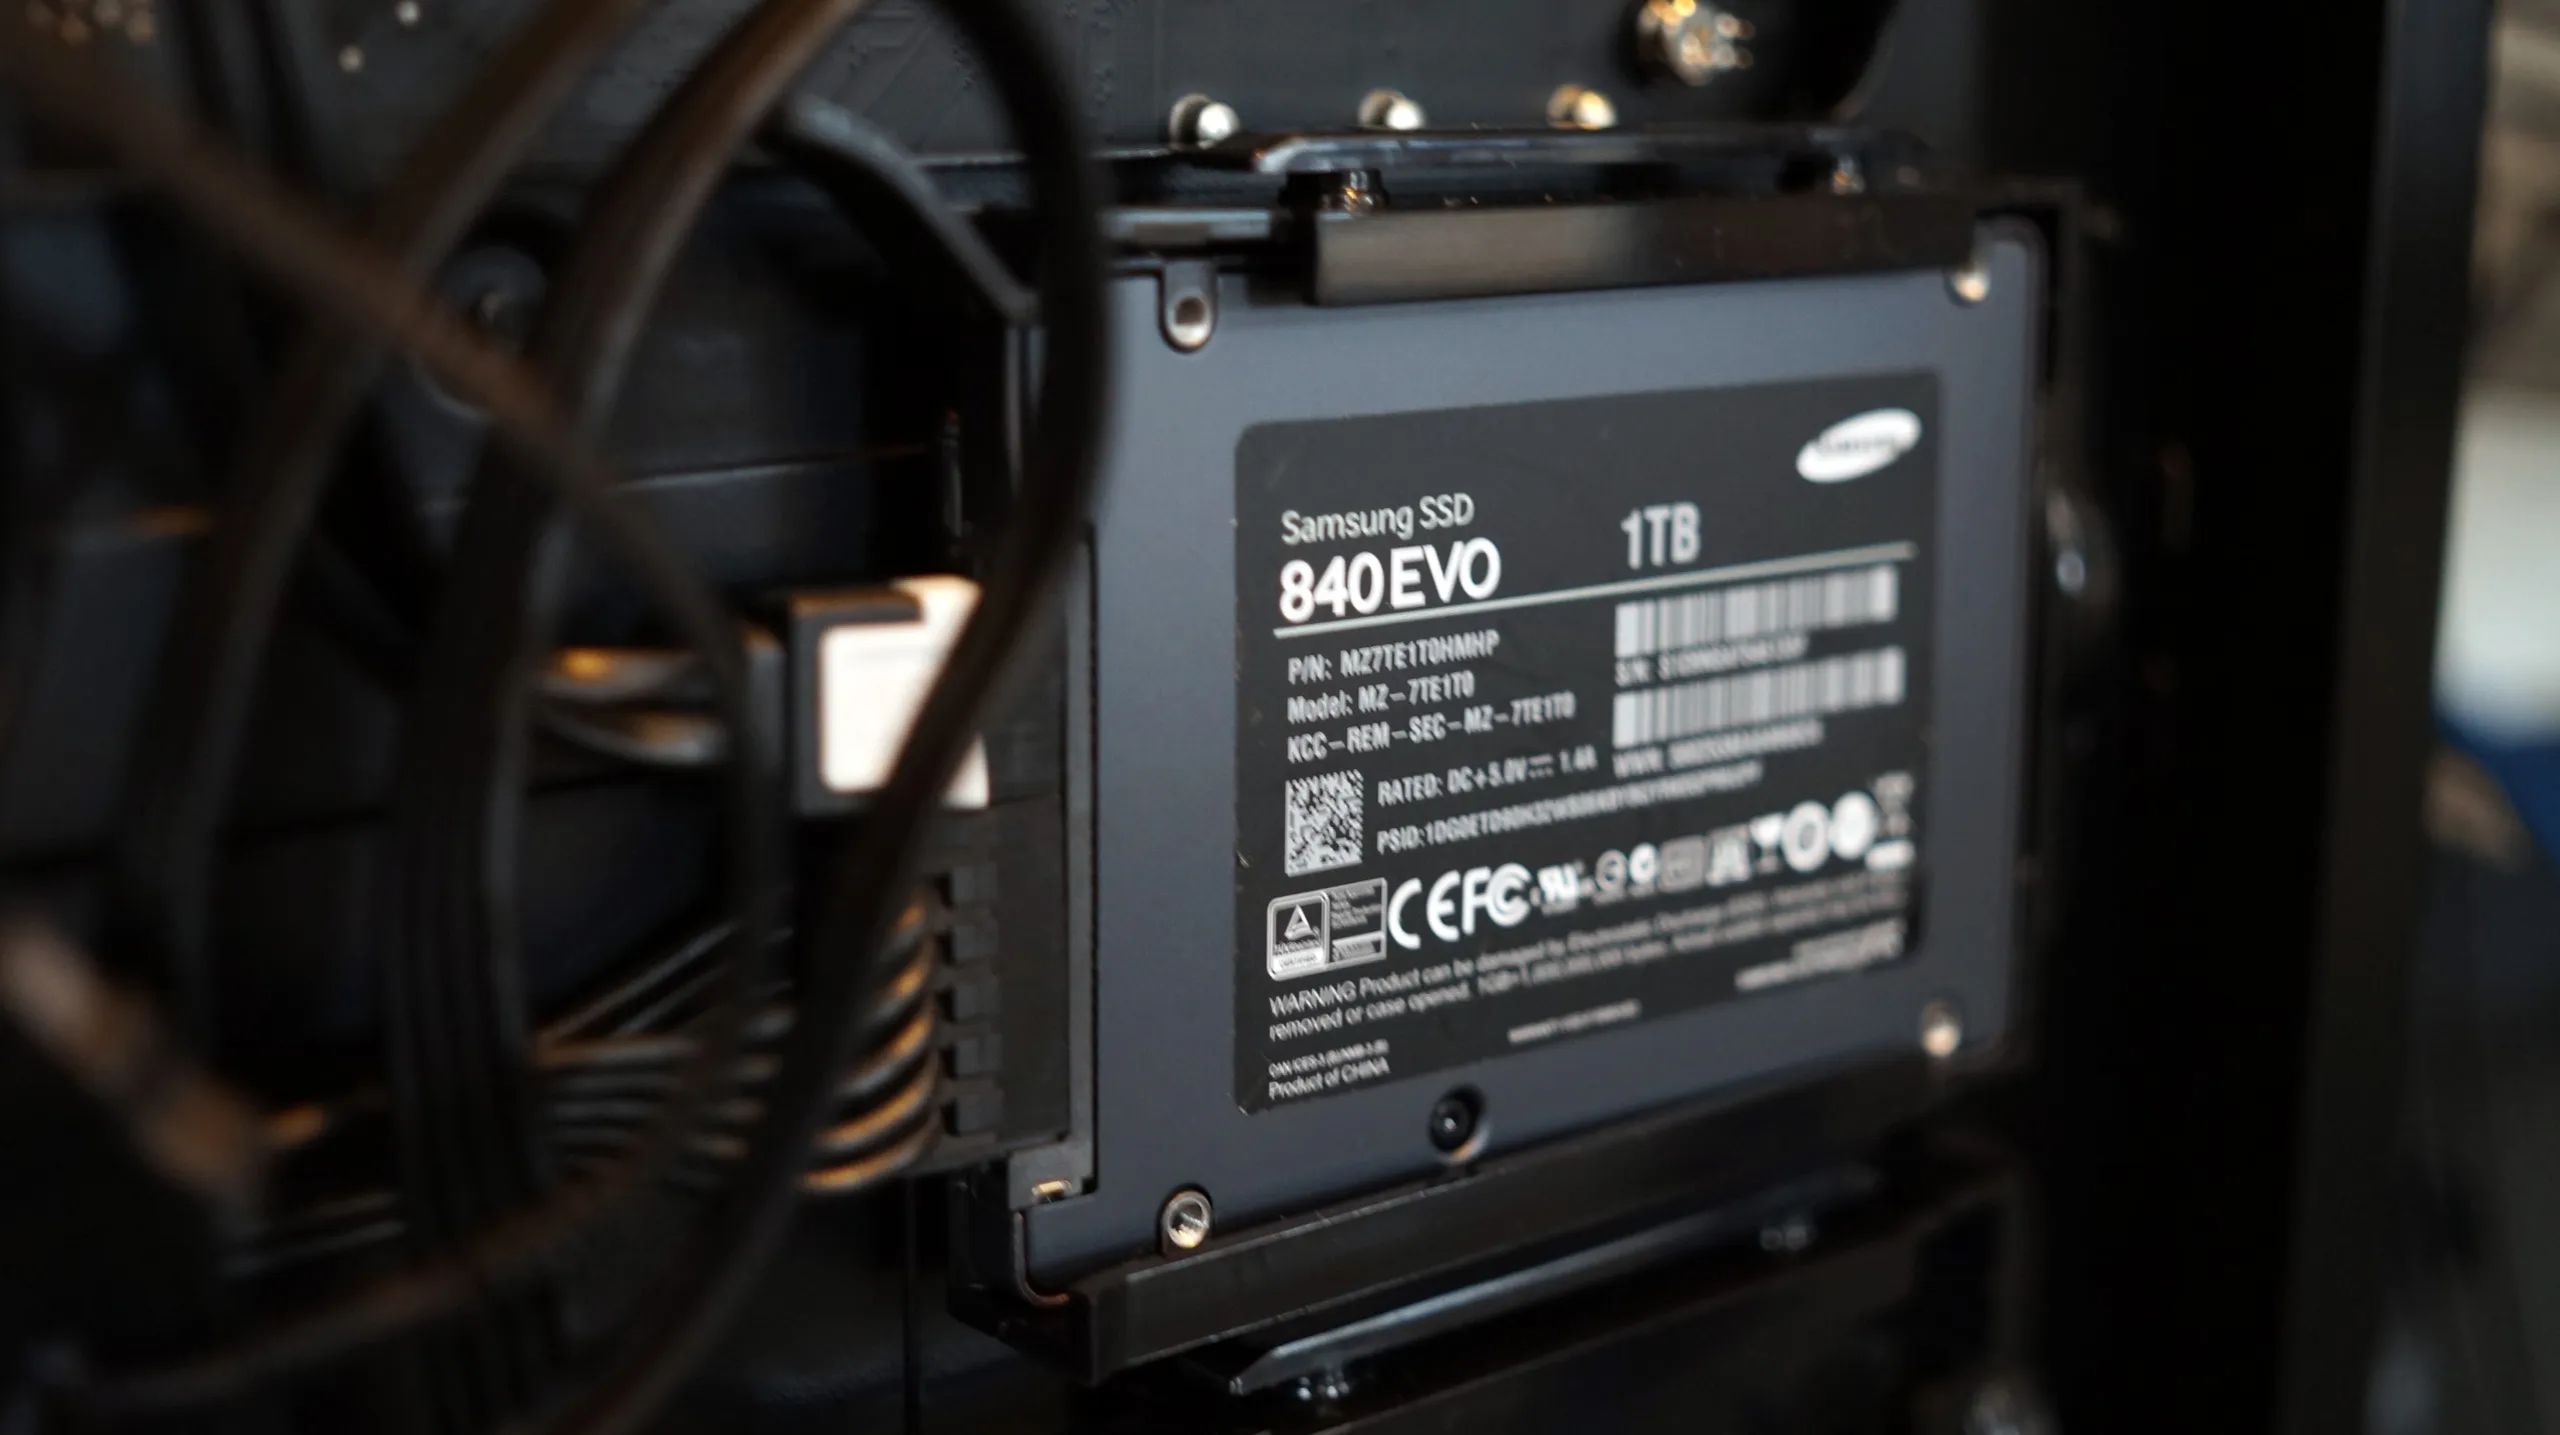
During this step, take a moment to assess the connections and cables attached to the side HDD cage. Identify any SATA cables or power cables that are connected to the HDDs. These cables will need to be disconnected in subsequent steps to remove the HDD cage completely.
By locating the side HDD cage, you are one step closer to removing it from your Xion PC case. Familiarizing yourself with its position will make it easier to proceed with the next steps in the process.
Step 4: Remove any screws or fasteners holding the HDD cage in place
Once you have located the side HDD cage in your Xion PC case, it’s time to remove any screws or fasteners that are securing it in place. These screws or fasteners ensure that the HDD cage stays fixed within the case and prevents it from shifting or moving during regular use.
Begin by inspecting the sides and back of the HDD cage. Look for any screws or fasteners that are holding it in place. Depending on your Xion PC case model, there may be one or more screws that need to be removed.
Using a screwdriver that fits the screws, turn them counterclockwise to loosen them. Make sure to apply consistent pressure and keep the screwdriver aligned correctly to prevent stripping the screw heads. Once the screws are loosened, remove them completely and set them aside in a safe place.
In some cases, instead of screws, your Xion PC case may use latches or clips to secure the HDD cage. In this situation, you will need to release these latches or clips by pressing or sliding them, allowing you to remove the HDD cage.
Once all the screws or fasteners have been removed or released, the side HDD cage should now be free from any physical restraints. It is important to handle the HDD cage with care to avoid dropping or damaging it or any of the HDDs it may contain.
Remember, the purpose of this step is to detach the HDD cage from the case itself. By removing the screws or fasteners, you are ensuring that the HDD cage can be easily extracted without any obstructions or resistance.
With the screws or fasteners removed, you can now proceed to the next step and gently slide out the HDD cage from your Xion PC case.
Step 5: Gently slide out the HDD cage
After removing the screws or fasteners holding the HDD cage in place, you can now proceed to gently slide out the cage from your Xion PC case. This step allows you to access the individual hard disk drives (HDDs) for maintenance or replacement purposes.
To slide out the HDD cage, carefully grasp it from both sides or use the designated handles, if available. Slowly pull it towards you, ensuring that you do not apply excessive force or twist the cage in any way. Take your time to avoid any accidental damage to the PC case or the HDDs.
As you slide out the HDD cage, be mindful of any cables or connectors that may still be attached to the HDDs. Check for any SATA cables or power cables that are connected to the drives and gently disconnect them to achieve complete separation from the cage.
Make sure to note the orientation of the HDD cage and the drives within it. This will be helpful when you need to reinstall the cage or replace the HDDs in the future. If desired, you can take a photo or make a quick sketch to help you remember the placement.
Throughout this process, it is important to maintain an awareness of the delicate nature of the HDDs. Avoid shaking, dropping, or applying excessive pressure to the drives as it may cause damage to the internal components.
Once the HDD cage has been fully removed, handle it with care. Set it aside in a safe and secure location, ensuring that it is not placed in an area where it may be accidentally knocked over or damaged.
By gently sliding out the HDD cage, you have successfully gained access to the individual HDDs in your Xion PC case. With the cage removed, you can now proceed to disconnect any remaining cables and perform any necessary maintenance or replacement tasks on the drives.
Step 6: Disconnect any SATA cables or power cables from the HDDs
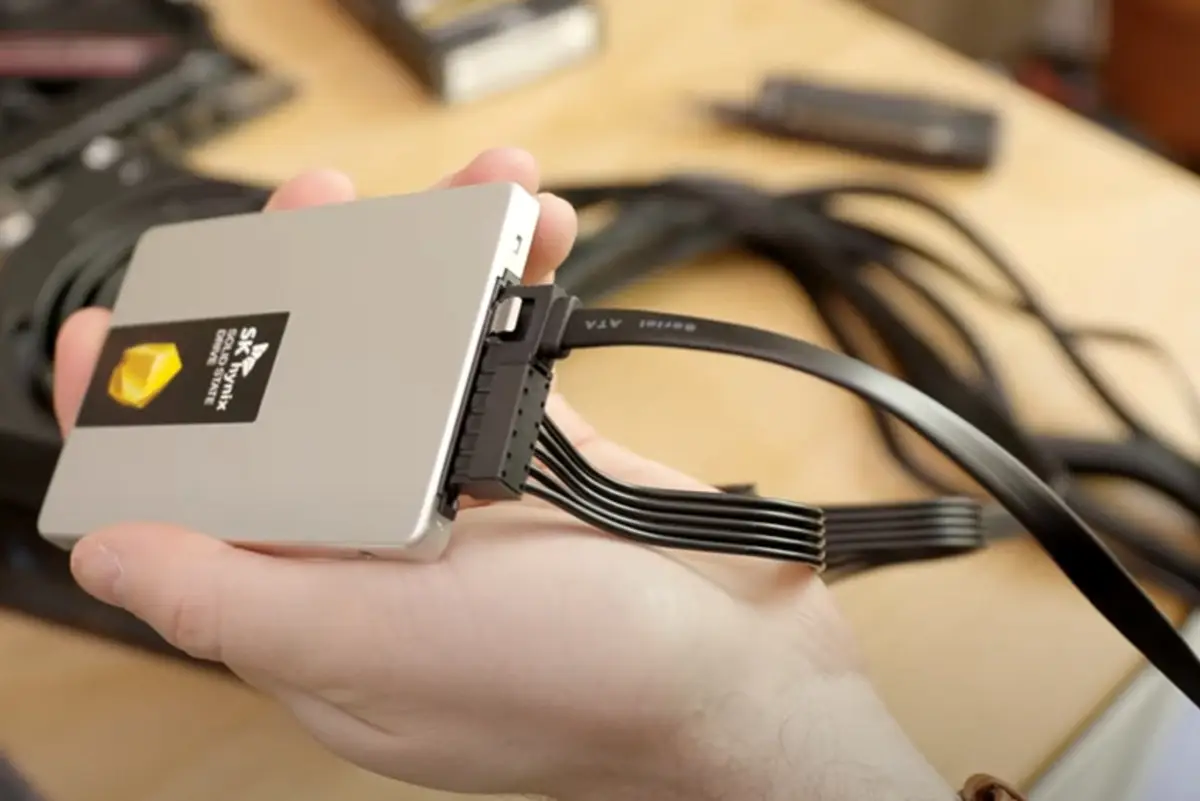
After removing the HDD cage from your Xion PC case, the next step is to disconnect any SATA cables or power cables that are connected to the hard disk drives (HDDs) within the cage. This ensures that the HDDs can be safely removed or replaced without any obstructions.
Take a moment to examine the cables running from the motherboard or power supply to the HDDs. SATA cables typically have a narrow, L-shaped connector, while power cables have a larger molex or SATA power connector. Identify the cables connected to the HDDs within the cage.
First, disconnect the SATA cables by gently pressing the release tab on the connector and pulling it straight out from the HDD. Be careful not to put excessive force on the connector or push it at an angle, as this could damage the port or the cable itself.
Next, disconnect the power cables from the HDDs. Power cables can have different types of connectors, such as molex or SATA power connectors. Similar to the SATA cables, you may need to press or squeeze the release tab on the connector to disconnect it from the HDD.
When disconnecting the cables, it is essential to handle them by the connectors and avoid pulling or tugging on the cables themselves, as this could cause damage to the connectors or the cables’ internal wires.
As you disconnect each cable, it is a good practice to label or mark them to ensure proper reconnection later. This can be done with small colored stickers or masking tape, indicating which SATA cable and power cable were connected to which HDD.
Once all the SATA and power cables are disconnected from the HDDs, set them aside in a safe location. Ensure that they are not tangled or at risk of being damaged to make the reconnection process easier when reinstalling the HDD cage or replacing the HDDs.
By disconnecting the SATA and power cables, you have successfully prepared the HDDs for removal or replacement. This step allows for a seamless transition in performing maintenance tasks on the HDDs within your Xion PC case.
Step 7: Store or reinstall the HDD cage (if desired)
Once you have removed the hard disk drive (HDD) cage from your Xion PC case and disconnected the necessary cables, you have the option to either store the cage for future use or reinstall it if you plan to continue using it.
If you intend to store the HDD cage, it is essential to keep it in a safe and secure location. Store it in an area where it won’t get damaged or knocked over. It’s a good practice to place it in an antistatic bag or wrap it in an anti-static material to protect it from static electricity.
Labeling the HDD cage can also be helpful for future reference. You can use small stickers or masking tape to indicate the model or any pertinent information about the cage. This will make it easier to identify the cage when you need to reinstall it or replace the HDDs.
If you plan to reinstall the HDD cage, ensure that you align it correctly within the Xion PC case. Refer to any documentation or manuals for guidance if needed. Gently slide the cage back into its original position, making sure it fits securely and is properly aligned with the screw holes.
Once the cage is in place, reattach any screws or fasteners that were used to secure it originally. Tighten the screws securely but avoid overtightening, as it may damage the PC case or the HDD cage. Double-check that the cage is stable and doesn’t have any unnecessary movement.
If you are reinstalling the HDD cage, take the time to reconnect the SATA cables and power cables to the appropriate HDDs. Ensure that the connectors are fully inserted, and there are no loose connections. Use the labels or markings you made earlier to match the correct cables with the corresponding HDDs.
Remember, if you are installing new HDDs, follow the manufacturer’s instructions for proper installation. Make sure they are securely attached to the HDD cage using appropriate screws or mounting brackets.
Whether you store or reinstall the HDD cage, it is important to handle it and the HDDs with care. Avoid dropping or mishandling them to prevent potential damage to the internal components.
By deciding whether to store or reinstall the HDD cage, you are making a choice that suits your current needs and preferences. Both options have their own advantages, so choose the one that best aligns with your future plans for your Xion PC case and HDD setup.
Step 8: Close the PC case
Once you have completed the necessary tasks inside your Xion PC case, such as removing or replacing the HDD cage, it’s time to close the case and secure all the components back into place. Closing the PC case is a crucial step to protect the internal components and ensure proper functioning of your computer.
Begin by carefully aligning the side panel with the case. Take note of any hooks, tabs, or alignment indicators that help guide the panel into place. Gently slide or push the panel back onto the case until it is flush and properly seated.
Once the side panel is aligned, use the screws that were previously removed to secure it. Insert each screw into its corresponding hole and tighten them in a clockwise direction. Avoid over-tightening the screws to prevent any damage to the PC case or the threads.
Ensure that all the screws are tightened evenly, creating a secure and stable connection between the side panel and the PC case. This will help reduce any potential vibrations or rattling when the computer is in use.
Take a moment to inspect the sides and edges of the case to ensure that the panel is properly aligned and closed. Check for any gaps or misalignments that may indicate the panel is not seated correctly. Adjust the panel if necessary to achieve a snug fit.
Closing the PC case not only protects the internal components from physical damage but also helps promote proper airflow and cooling within the case. It also prevents dust and debris from entering the case and affecting the performance of your computer.
By properly closing the PC case, you are completing the process of removing or replacing the HDD cage in your Xion PC case. The next step is to power up your computer and test to ensure that everything is functioning correctly.
Step 9: Power up and test your PC
After successfully closing the PC case and securing all the components back into place, it’s time to power up your computer and test its functionality. This step ensures that everything is working correctly and that the changes made, such as removing or replacing the HDD cage, have been successful.
Reconnect the power cord to the back of your computer and plug it into a working electrical outlet. Ensure that all other cables and peripherals, such as the monitor, keyboard, and mouse, are properly connected as well.
Press the power button on your computer to turn it on. Listen for any unusual noises or vibrations during the startup process. Pay attention to the fans and ensure they are spinning smoothly, ensuring proper cooling for the internal components.
Observe the computer’s display to ensure that it boots up properly and that the operating system loads without any errors or issues. Check for any error messages, blue screens, or other signs of potential problems.
Once the computer has fully booted, test the HDDs to ensure they are functioning correctly. Open your desired file explorer and check that the HDDs are detected and accessible. You can perform read/write tests or transfer files to verify their performance.
If you have replaced the HDDs, ensure that the new drives are recognized correctly by your operating system. Install any necessary drivers or perform any required setup to ensure proper functionality.
During the testing phase, it’s essential to be observant and note any irregularities or issues. If you encounter any unexpected behavior or errors, troubleshooting may be necessary. Refer to the documentation or seek help from a professional if needed.
By powering up and testing your PC, you can confirm that the changes made, including removing or replacing the HDD cage, have been successful and that your computer is functioning as expected. Enjoy your updated system and the improved storage solution!
Conclusion
Removing the side HDD cage in your Xion PC case is a straightforward process that allows you to upgrade or replace hard disk drives (HDDs) or install additional hardware components. By following the step-by-step guide outlined in this article, you can safely and effectively remove the HDD cage and access the HDDs for maintenance or replacement purposes.
Throughout the process, it is important to prioritize safety. Power down and unplug your PC, handle components with care, and take precautions against static electricity. Gathering the necessary tools and materials beforehand will make the task more efficient.
Opening the PC case and locating the side HDD cage are crucial preliminary steps. Removing any screws or fasteners holding the HDD cage in place and gently sliding it out provide access to the individual HDDs. Disconnecting SATA cables and power cables from the HDDs ensures smooth removal and replacement.
After removing the HDD cage, you have the option to store it for future use or reinstall it if desired. By closing the PC case securely, you protect the internal components and assist with proper airflow. Finally, powering up and testing your PC confirms the success of the HDD cage removal process and ensures the functionality of your computer.
Remember to exercise caution and refer to the manufacturer’s instructions and any documentation specific to your Xion PC case. If you encounter any difficulties or technical issues, it is always recommended to seek professional assistance.
By following these steps and guidelines, you can confidently remove the side HDD cage in your Xion PC case and make necessary upgrades or replacements with ease. Explore the possibilities of enhanced storage and improved system performance as you continue to customize and optimize your computer.