Introduction
Ensuring proper airflow in your PC case is vital for maintaining optimal performance and preventing overheating. One effective way to achieve this is by adding more fans to your PC case. Extra fans can improve airflow, reducing the build-up of heat and increasing the longevity of your components. Whether you’re a gaming enthusiast, graphic designer, or simply a computer user who values performance, this guide will take you through the process of adding additional fans to your PC case.
With the ever-growing demands placed on modern computers, heat management has become more important than ever. Overheating can lead to decreased performance, system instability, and even permanent damage to your hardware. By strategically adding fans to your PC case, you can actively dissipate heat and maintain lower temperatures, thus improving the overall performance and lifespan of your computer components.
However, before diving into the fan installation process, it’s essential to assess the current airflow situation in your PC case. Understanding the existing setup will help you determine the optimal locations for additional fans, as well as the appropriate fan types to enhance overall cooling efficiency.
In this guide, we’ll discuss how to assess your PC case’s airflow, choose the right fans, determine fan placement, install additional fans, manage fan cables and connections, and test and optimize your fan configuration. By the end, you’ll have the knowledge and confidence to effectively add more fans to your PC case, ensuring optimal performance and a cool operating environment for your system.
Why Add More Fans to Your PC Case
Adding more fans to your PC case is a smart investment that brings several benefits and advantages. Here are the key reasons why you should consider adding additional fans:
- Improved Cooling Efficiency: One of the primary reasons to add more fans to your PC case is to enhance cooling efficiency. The extra fans help increase airflow, pulling in cool air and expelling hot air from the case more effectively. This prevents the build-up of heat and ensures that your components operate at optimal temperature levels.
- Enhanced System Stability: Heat is the enemy of electronic components, and excessive heat can lead to system instability. By improving cooling with extra fans, you can mitigate the risk of overheating, which can cause your computer to freeze, crash, or experience performance issues. Consistent cooling ensures that your system remains stable even during demanding tasks or extended usage periods.
- Extended Lifespan of Components: Overheating can significantly reduce the lifespan of your computer components. Adding more fans helps dissipate heat effectively, reducing the overall temperature inside your PC case. By keeping your components cool, you can help prolong their lifespan and protect your investment.
- Optimized Performance: Cooler components perform better. When your system is running at lower temperatures, it can maintain consistent performance levels without throttling or slowing down. This is particularly important for tasks that require high processing power, such as gaming, video editing, or 3D rendering. Additional fans can help ensure that your system operates at its full potential.
- Noise Reduction: While it may seem counterintuitive, adding more fans can actually help reduce noise levels. By improving airflow and cooling efficiency, the fans can operate at lower speeds, resulting in quieter operation. This is beneficial for those who prefer a quieter working or gaming environment.
Incorporating additional fans into your PC case can be a cost-effective and straightforward solution to address heat-related issues and optimize performance. By improving cooling efficiency, enhancing system stability, extending component lifespan, optimizing performance, and reducing noise levels, adding more fans is a practical way to enhance the overall functionality and longevity of your PC.
Assessing Your PC Case’s Airflow
Before adding more fans to your PC case, it’s important to assess the current airflow within your system. This will help you identify any areas that may require additional cooling and determine the most effective fan placement. Here are the key steps to assess your PC case’s airflow:
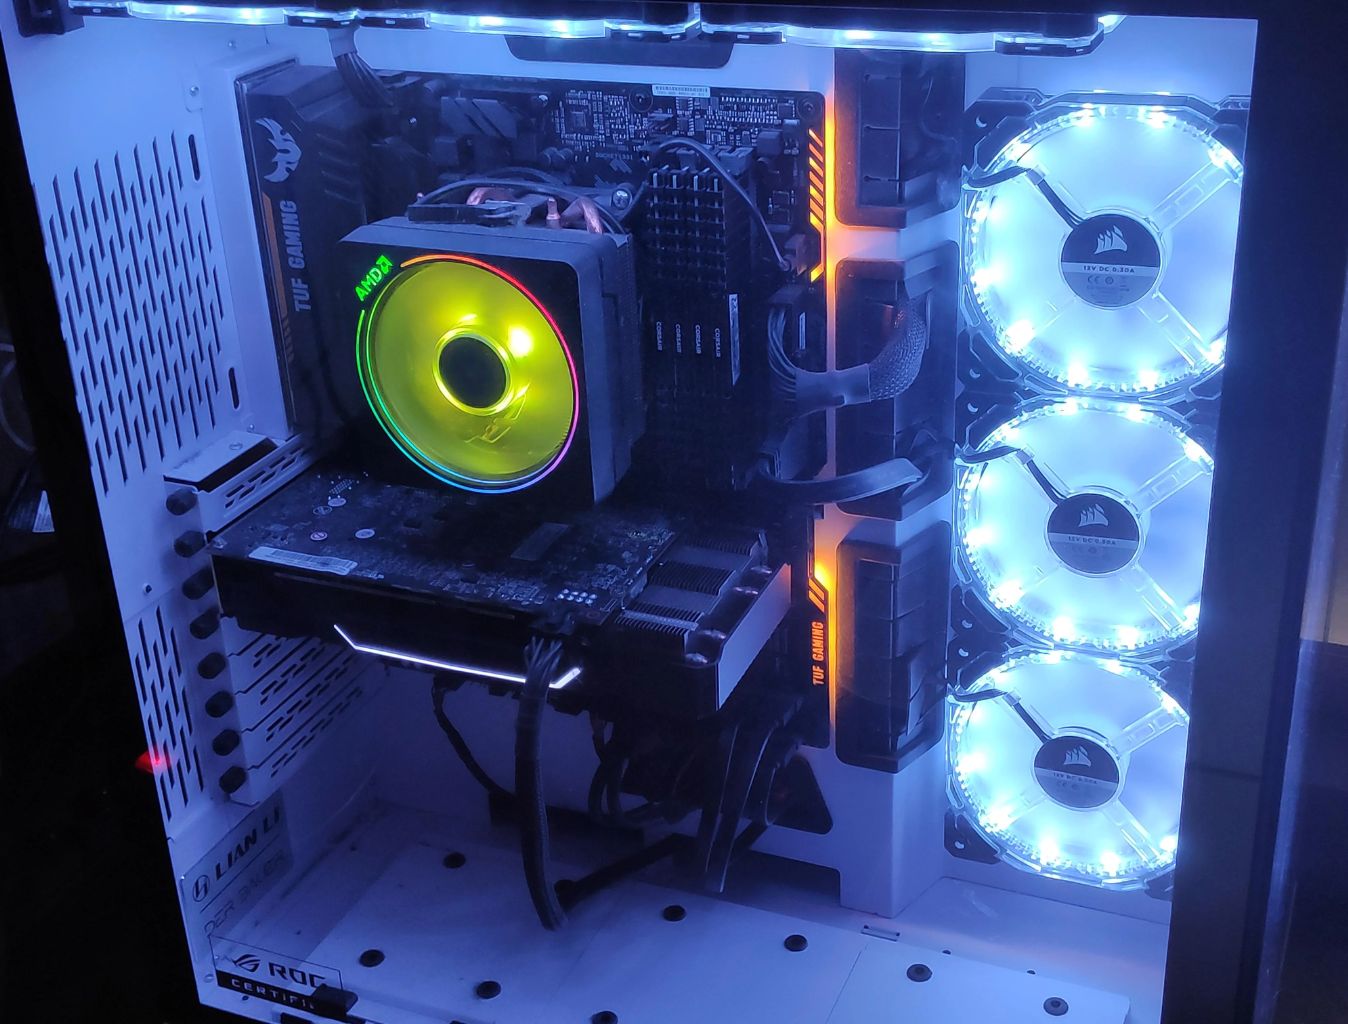
- Observe Existing Fans: Begin by examining the fans already installed in your PC case. Take note of their locations, sizes, and orientations. This will give you a starting point to understand how airflow is currently being managed and identify any potential areas for improvement.
- Identify Hot Spots: During the normal operation of your PC, certain components, such as the CPU and graphics card, generate more heat than others. Use monitoring software or physical temperature sensors to identify hot spots within your PC case. Pay attention to areas where the temperature remains consistently high, as these may require additional cooling.
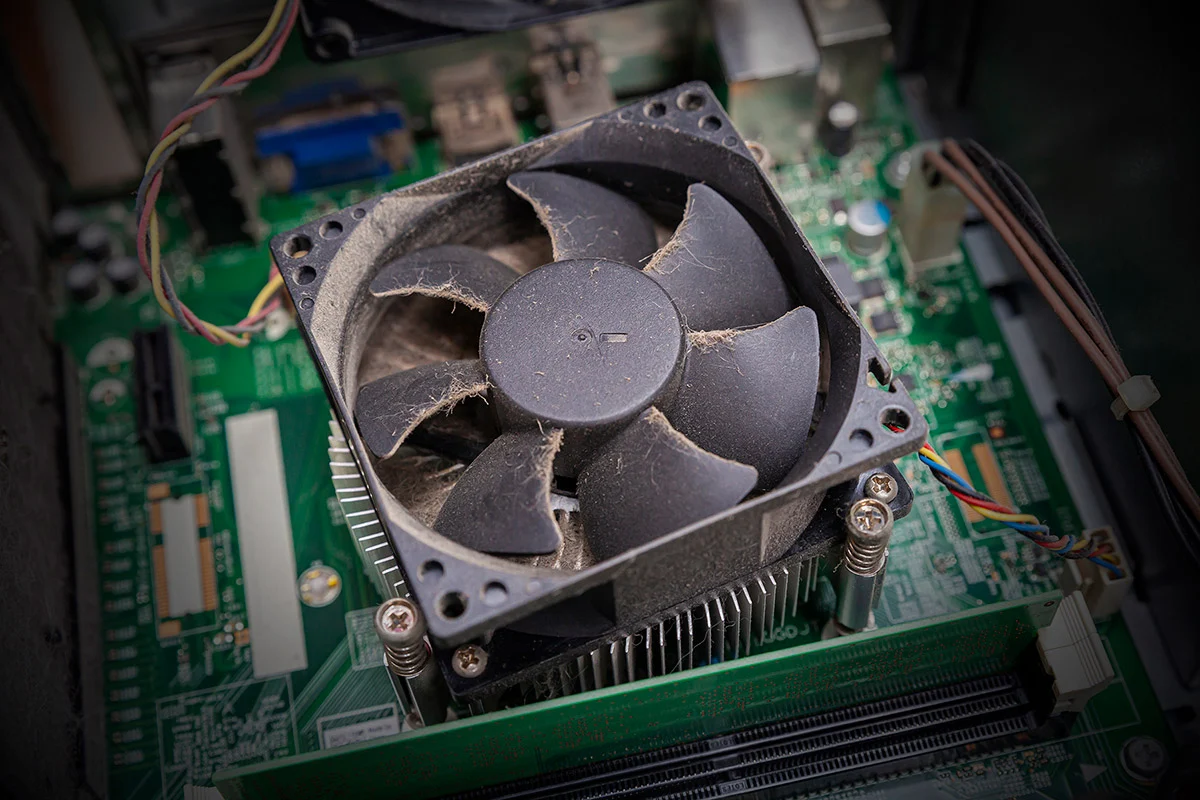
- Check for Obstructions: Inspect your PC case for any obstructions that may hinder airflow. Dust, cables, and oversized components can restrict the flow of air, leading to poor cooling performance. Ensure that all cable management is tidy and that there are no objects blocking the intake or exhaust vents of your case.
- Consider Fan Placement Options: Based on your observations and hot spot identification, determine the ideal fan placement options for your PC case. Front intake fans are commonly used to bring in cool air, while rear exhaust fans expel hot air. Top-mounted fans can also help with heat dissipation. Consider the number of available fan mounts and plan the arrangement accordingly.
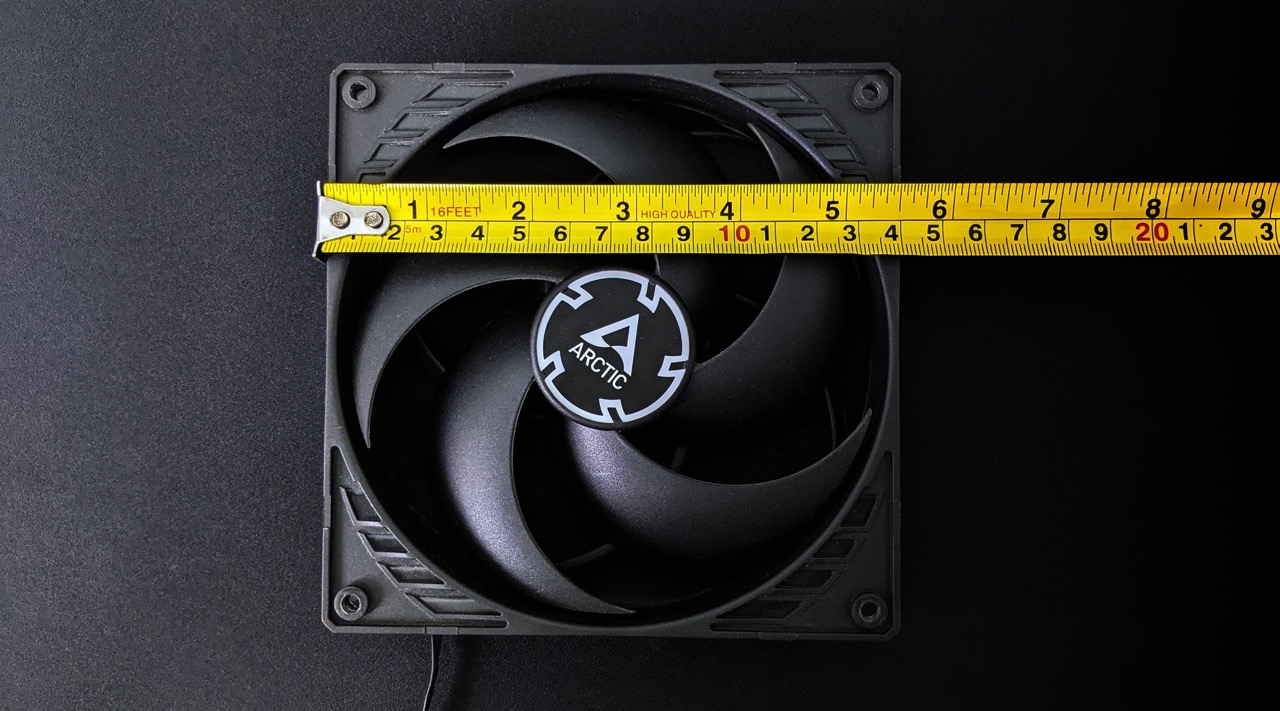
- Choose Fan Sizes and Types: Take note of the available fan mount sizes within your PC case. Common sizes include 120mm and 140mm. Select fans that fit the available slots and consider the type of fan as well. Case fans generally come in two types: airflow fans and static pressure fans. Airflow fans are best for unrestricted airflow, while static pressure fans are more suitable for overcoming resistance and pushing air through obstacles.
- Account for Fan Noise: While cooling performance is crucial, it’s also important to consider the noise level produced by the fans. Look for fans that strike a balance between cooling capabilities and noise output. Silent or low-noise fans can provide a quieter computing experience, especially if you primarily work in a noise-sensitive environment.
By thoroughly assessing your PC case’s airflow, you can identify any issues, potential areas for improvement, and the optimal fan placement options. This evaluation will establish a solid foundation for adding additional fans and improving your PC’s cooling performance.
Choosing the Right Fans for Your PC Case
Choosing the right fans for your PC case is essential to ensure optimal cooling performance and compatibility with your system. Here are some factors to consider when selecting fans:
- Fan Size: The size of the fan is an important consideration. Common fan sizes include 120mm and 140mm. Larger fans generally move more air at lower speeds, resulting in quieter operation. However, it’s important to ensure that the fan size is compatible with the available fan mounts in your PC case.
- Airflow vs. Static Pressure: Fans generally fall into two categories: airflow fans and static pressure fans. Airflow fans are designed to increase overall airflow and are ideal for unrestricted spaces within your PC case. Static pressure fans are more suited for areas with obstructed airflow, such as radiators or heatsinks, as they can push air through resistant surfaces.
- Noise Level: Fan noise can be a significant consideration, especially if you prefer a quiet computing environment. Look for fans that have a low noise level rating. Manufacturers often provide noise level information, measured in decibels (dB), to help you choose quieter options.
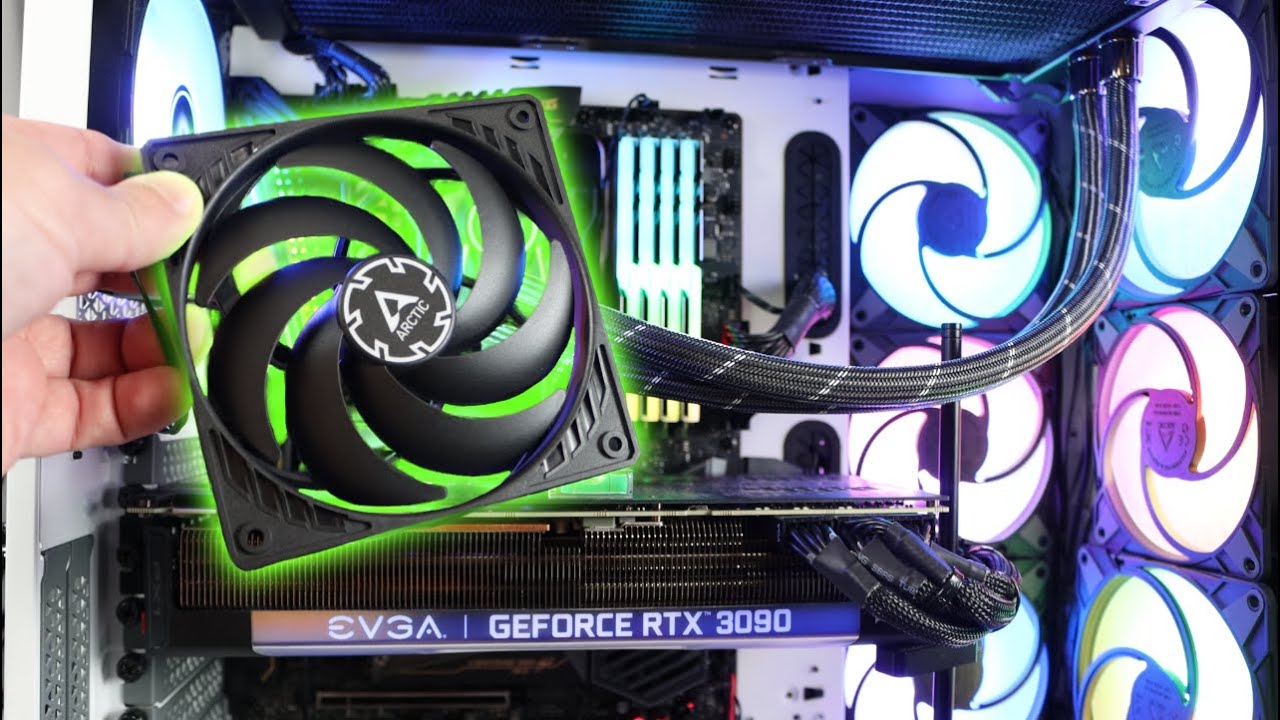
- Aesthetics: If visuals and aesthetics are important to you, consider fans that match your desired style. Many fans come with RGB lighting options, allowing you to customize the look of your PC case. Additionally, some manufacturers offer fans in different colors or with unique designs to fit your preferred aesthetic theme.
- Quality and Brand: Opt for fans from reputable brands known for their quality and reliability. Reliable fans not only provide better performance but also tend to have longer lifespans. Research customer reviews and check for warranty information to ensure you’re choosing fans that will stand the test of time.
- Price: Consider your budget when selecting fans for your PC case. While it’s tempting to go for the cheapest options, investing a bit more in higher-quality fans can provide better performance and longevity. Determine a budget range and choose fans that strike a balance between price and features.
By carefully considering fan size, airflow vs. static pressure, noise level, aesthetics, brand reputation, and price, you can select the right fans that will improve cooling performance and harmonize with the overall look and feel of your PC case.
Determining Fan Placement
Strategically determining fan placement is crucial to ensure efficient airflow within your PC case. Proper fan placement can help direct cool air to critical components and expel hot air effectively. Here are some guidelines to consider when determining fan placement:
- Intake and Exhaust: Establish a balance between intake and exhaust fans. Intake fans bring in cool air, while exhaust fans expel hot air. Placing intake fans at the front or bottom of the case and exhaust fans at the rear or top helps create a natural airflow path.
- Utilize Fan Mount Locations: Identify the available fan mount locations in your PC case. Common locations include the front, rear, top, and side panels. Utilize these locations to establish optimal airflow patterns. Remember to consider fan compatibility with these mount locations.
- Consider the Heat Source: Prioritize placing fans near heat-generating components like the CPU and GPU. These areas are prone to high temperatures and require effective cooling. Pointing fans directly at these components helps dissipate heat quickly.
- Consider Obstructions: Be aware of any potential obstructions that may hinder airflow. Ensure that your fan placement does not get blocked by cables, drives, or oversized components. Clear paths for airflow to maximize cooling performance.
- Optimal Air Pressure: Depending on your system’s airflow dynamics, you may need to balance between positive pressure and negative pressure. Positive pressure occurs when intake fans deliver more air than exhaust fans expel, reducing the amount of dust that enters your case. Negative pressure occurs when exhaust fans expel more air than intake fans deliver, effectively removing heat from the system.
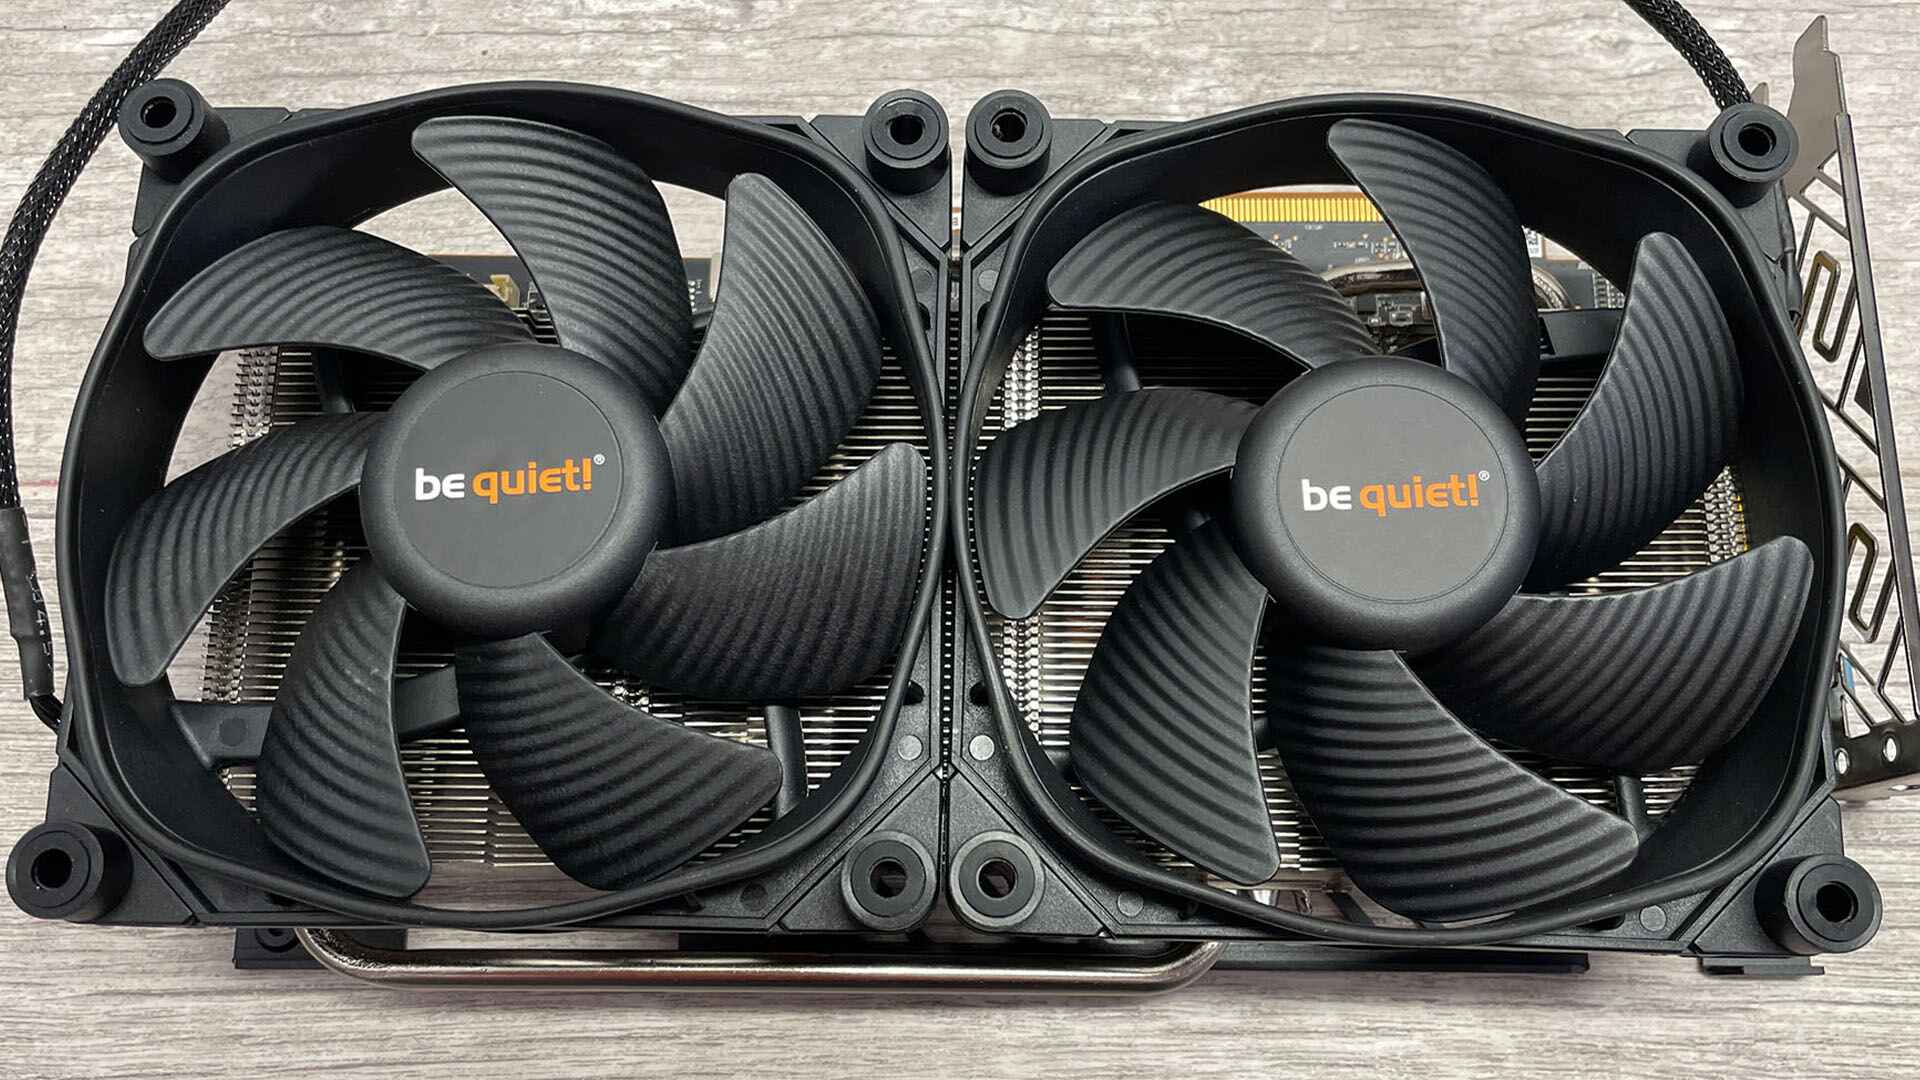
- Account for Radiators and Heatsinks: If your PC case includes liquid cooling or aftermarket heatsinks, consider fan placement to optimize cooling efficiency. Ensure that fans are properly positioned to provide sufficient airflow across the radiators or heatsinks.
Every PC case is unique, so take the time to experiment and adjust fan placement based on your system’s specific configuration. Monitor temperature levels and assess the effectiveness of airflow after making changes. By considering intake and exhaust, utilizing fan mount locations, prioritizing heat sources, managing obstructions, balancing air pressure, and accounting for radiators or heatsinks, you can determine the optimal fan placement for your PC case.
Installing Additional Fans
Once you have determined the optimal fan placement in your PC case, it’s time to install the additional fans. The process may vary slightly depending on your case design, but here are the general steps to follow:
- Gather the Necessary Equipment: Before starting the installation process, ensure that you have all the required equipment. This typically includes the fans, screws or mounting brackets, a screwdriver, and any necessary adapters or cables.
- Prepare the PC Case: Switch off your PC and unplug it from the power source. Open the side panel of your PC case to access the internal components. Take this opportunity to clean any dust or debris that may have accumulated inside the case to ensure optimal airflow.
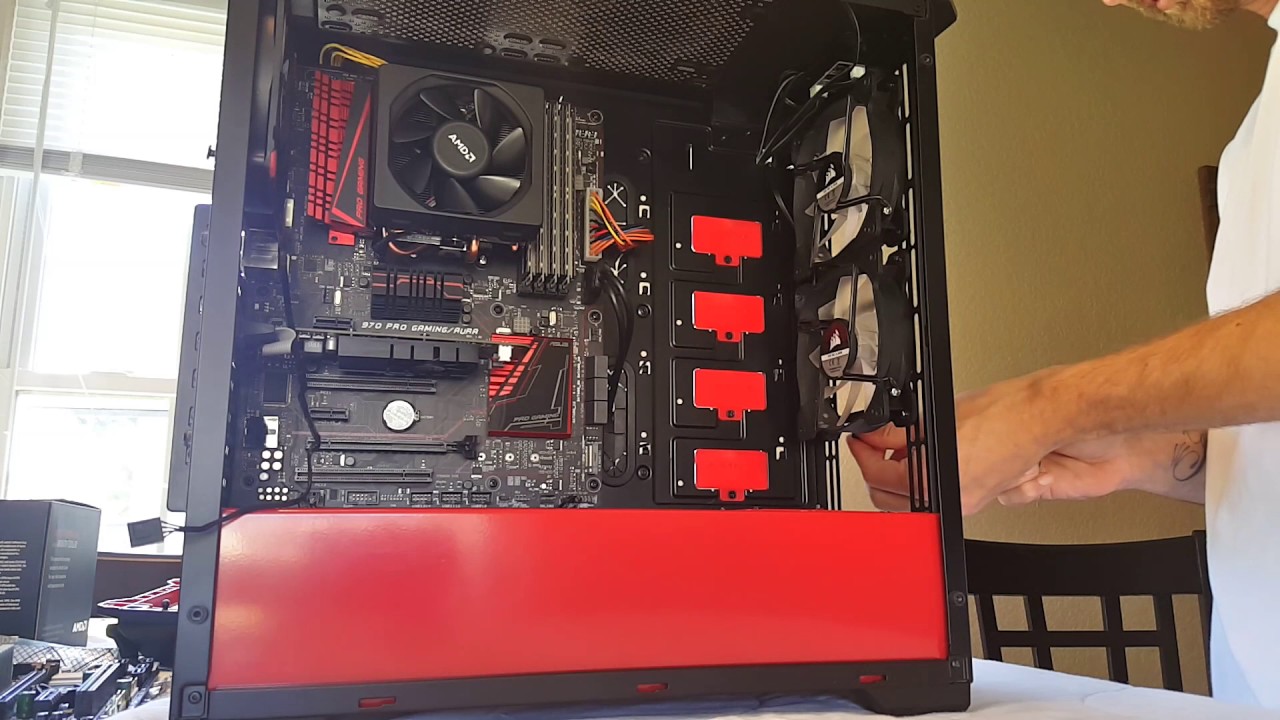
- Identify Fan Mount Locations: Locate the fan mount locations that you identified during the fan placement assessment. These are usually located at the front, rear, top, or side panels of the PC case. Refer to your case’s manual if you’re unsure.
- Attach Fans to Mounts: Depending on the type of fan mounts in your case, use the appropriate screws or mounting brackets to secure the fans in place. Align the screw holes on the fans with the corresponding mounting holes on the case and gently tighten the screws until the fans are securely fastened.
- Connect Fan Cables: Connect the fan cables to the appropriate connections on your motherboard or fan controller. Most fans use standard 3- or 4-pin connectors. Ensure that the fans’ power cables are securely connected to provide power for the fans to operate.
- Route and Manage Cables: Make sure to route the fan cables neatly to avoid any interference with other components. Use cable ties or clips to secure and manage the cables, keeping them tidy and out of the way of airflow paths.
- Close the PC Case: Once all the fans are installed and cables are properly managed, close the side panel of your PC case and secure it with the screws. Ensure that all connections are secure and double-check for any loose components before powering on your system.
Remember to refer to your PC case’s manual for specific installation instructions or any case-specific considerations. Proper installation of additional fans contributes to effective cooling, improved airflow, and optimized performance for your PC.
Managing Fan Cables and Connections
Properly managing fan cables and connections is essential to ensure a clean and organized PC build while allowing for efficient airflow. Here are some tips to help you effectively manage fan cables:
- Plan for Cable Routing: Before installing your fans, visualize the ideal cable routing paths. Consider the location of fan headers on your motherboard and any available cable management features in your PC case. Planning ahead will help you route cables in the most efficient and tidy manner.
- Use Cable Ties and Clips: Secure fan cables using cable ties or clips to keep them organized and prevent them from interfering with other components. Bundle up excess cable length to minimize cable clutter within the case. This will not only improve airflow but also make it easier to access components when needed.
- Utilize Cable Management Features: Many modern PC cases come with built-in cable management features, such as rubber grommets, cable channels, or dedicated cable routing spaces. Utilize these features to neatly route and hide fan cables, giving your build a cleaner and more professional look.
- Avoid Cable Obstructions: Ensure that fan cables do not obstruct the rotation of fans or impede the airflow path. Keep them clear of any fan blades or other components that could interfere with their performance. This will prevent potential fan noise or airflow inefficiencies caused by cable obstructions.
- Check Connections: Double-check the connections between the fans and the motherboard or fan controller. Ensure they are securely plugged in to avoid any loose connections which could lead to fan malfunctions or intermittent power supply issues.
- Consider Cable Extensions or Sleeves: If you want to enhance the aesthetics of your build, consider using cable extensions or sleeves. These accessories can help conceal and manage fan cables while adding a personalized touch to your system’s appearance.
Good cable management not only improves the overall appearance of your PC but also facilitates better airflow, reduces the risk of cable damage, and makes future upgrades or maintenance much easier. By planning ahead, utilizing cable ties and clips, using cable management features, avoiding obstructions, checking connections, and considering cable extensions or sleeves, you can effectively manage fan cables and create a well-organized and efficient PC build.
Testing and Optimizing Fan Configuration
After installing additional fans in your PC case, it’s important to test and optimize the fan configuration to ensure optimal cooling performance. Here are the steps to follow:
- Power On and Monitor Temps: Power on your PC and monitor the temperature levels of your components. Use software utilities or hardware monitoring tools to keep track of the CPU, GPU, and overall system temperatures.
- Adjust Fan Speeds: Depending on your motherboard or fan controller, adjust the fan speeds to strike a balance between cooling performance and noise levels. You can typically adjust fan speeds through the BIOS settings or software applications provided by the motherboard or fan controller manufacturer.
- Observe Temperature Changes: Keep an eye on the temperature changes as you adjust the fan speeds and configuration. Note any significant differences in temperature levels, particularly in hot spots or areas that experienced high temperatures previously.
- Reposition Fans if Needed: If certain areas of your PC case are not experiencing improved cooling as expected, consider repositioning the fans. Experiment with different fan placements to optimize airflow and temperature distribution. Occasionally, even minor adjustments in fan positioning can have a significant impact on cooling efficiency.
- Monitor Fan Speeds and Noise Levels: While testing and optimizing the fan configuration, pay attention to the fan speeds and noise levels. Ensure that the fans are operating within their intended speed ranges and that the noise output remains at an acceptable level for your preference.
- Assess Hardware Compatibility: Ensure that the new fan configuration does not interfere with other components within the PC case. Check for any clearance issues that may arise due to the new fan placement and make adjustments if necessary.
- Regular Maintenance: Periodically clean the fans and PC case to remove dust buildup. Dust can hinder airflow and reduce cooling efficiency. Regular maintenance will help maintain optimal fan performance and extend their lifespan.
By testing and optimizing the fan configuration, you can identify any issues, fine-tune the cooling efficiency, and ensure that your PC components are running at optimal temperatures. Remember that each system is unique, so don’t hesitate to experiment and make adjustments to find the best fan configuration that suits your specific PC case and cooling needs.
Conclusion
Adding more fans to your PC case is a practical and effective way to improve cooling efficiency and maintain optimal performance for your system. By following the steps outlined in this guide, you can successfully assess your PC case’s airflow, choose the right fans, determine fan placement, install additional fans, manage fan cables and connections, and test and optimize the fan configuration.
Effective fan placement and proper cable management are essential for maintaining efficient airflow and maximizing cooling performance. Assessing your PC case’s airflow and identifying hot spots will help you strategically place fans to target areas that require additional cooling. Choosing the right fan sizes and types, as well as considering noise levels and aesthetics, ensures compatibility and a pleasant computing experience.
Proper installation, cable management, and fan speed optimization are crucial for achieving the desired cooling results. Regular monitoring of temperature levels and adjusting fan speeds will help you fine-tune the cooling efficiency and maintain an optimal operating environment for your PC components.
Remember to regularly clean and maintain the fans and PC case to prevent dust buildup, which can impede airflow and reduce cooling effectiveness. By taking these steps, you can prolong the lifespan of your components and enjoy improved performance and stability from your PC.
Adding more fans to your PC case is a relatively simple and cost-effective solution to combat overheating and improve the overall functionality of your system. With proper assessment, planning, and installation, you can optimize your PC’s cooling capabilities and ensure a cool and reliable computing experience for years to come.