Introduction
Having functional front audio jacks on your PC case is essential for a seamless audio experience. These jacks allow you to conveniently connect your headphones or microphone without having to reach the back of your computer. However, it can be frustrating when you discover that the front audio jacks are not working as expected.
In this guide, we will walk you through the process of troubleshooting and getting your front audio jacks working on your PC case. We will cover steps such as checking compatibility, ensuring proper connections, adjusting BIOS settings, installing audio drivers, and enabling the front audio jacks in your system settings. By following these steps, you can regain full functionality of your front audio jacks and enjoy the convenience they offer.
Before we jump into the solutions, it’s important to note that the process might vary slightly depending on your computer’s specifications and operating system. However, the overall troubleshooting steps should remain similar across different systems.
If you are ready to tackle the issue of non-functioning front audio jacks, let’s dive into the troubleshooting process!
Checking Compatibility
Before troubleshooting the front audio jacks on your PC case, it’s crucial to ensure that they are compatible with your system. Incompatible jacks or connectors can result in audio issues. Here’s how you can check for compatibility:
1. Check the motherboard documentation: Refer to your motherboard’s user manual or specifications sheet to determine if the front audio jacks on your PC case are supported. Look for specific headers such as “HD Audio” or “AC’97.”
2. Check the case manufacturer’s website: Visit the website of your PC case manufacturer and search for your case model. Look for any compatibility information or recommended hardware specifications for front audio jacks.
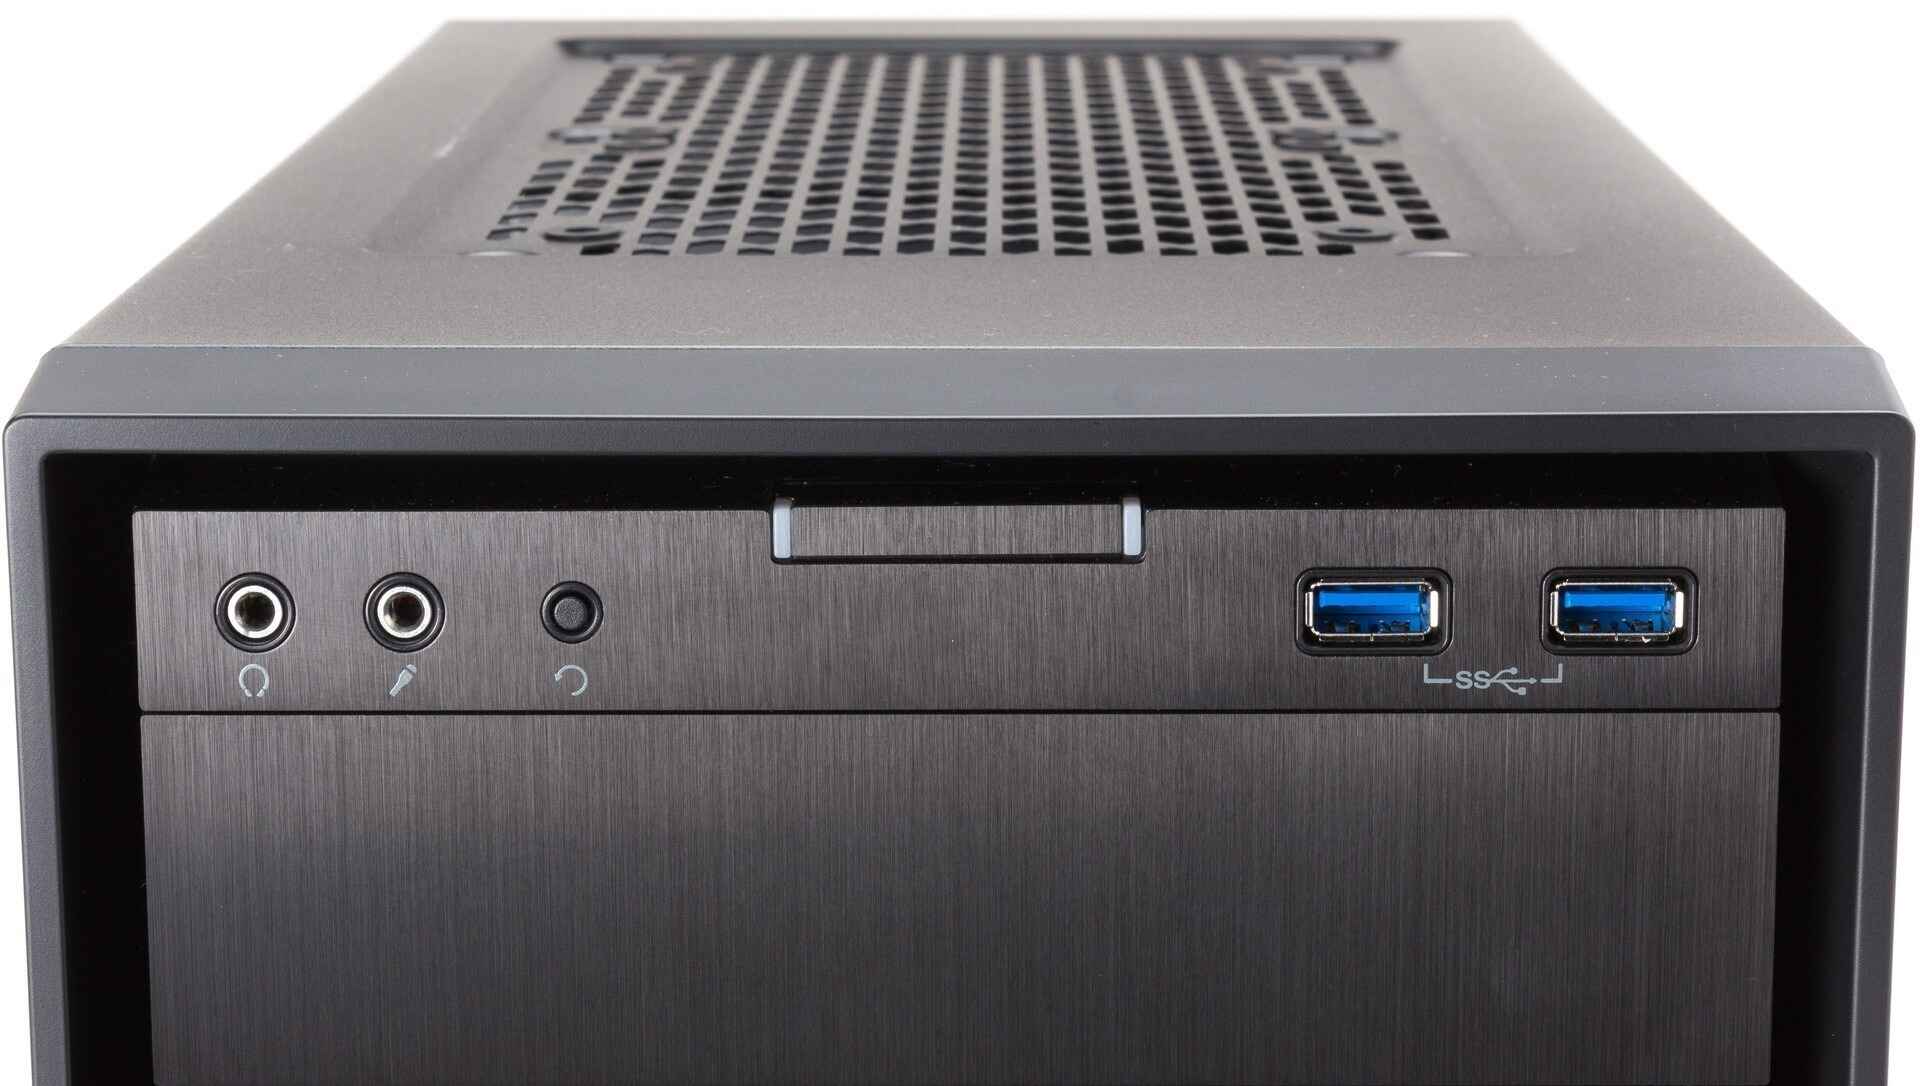
3. Check the audio connector type: Identify the type of audio connector used by your case. Most modern cases utilize a standardized 3.5mm audio jack for headphones and microphones. However, some older cases may use separate 3.5mm microphone and headphone jacks or other proprietary connectors.
4. Verify the connector cable: Ensure that the connector cable from the front audio jacks properly connects to the motherboard’s audio header. Examine the cable for any damage or loose connections.
5. Check the front panel connection: Open your PC case and inspect the front panel connections. Ensure that the cables connecting the front audio jacks and the motherboard are securely attached. Re-seat the connectors if necessary.
If you discover that your front audio jacks are not compatible with your system, you may need to consider alternative solutions. This could involve using a USB audio adapter or upgrading to a compatible PC case that supports your desired audio functionality.
Once you have confirmed compatibility, it’s time to move on to the next troubleshooting step: checking the connection of the front audio jacks.
Checking Connection
When your front audio jacks aren’t working, one of the first things to investigate is the connection between the jacks and the motherboard. A loose or improper connection can lead to audio malfunctions. Here’s what you can do to check the connection:
1. Power off your computer: Before working on any internal components, make sure to shut down your computer and unplug it from the power source.
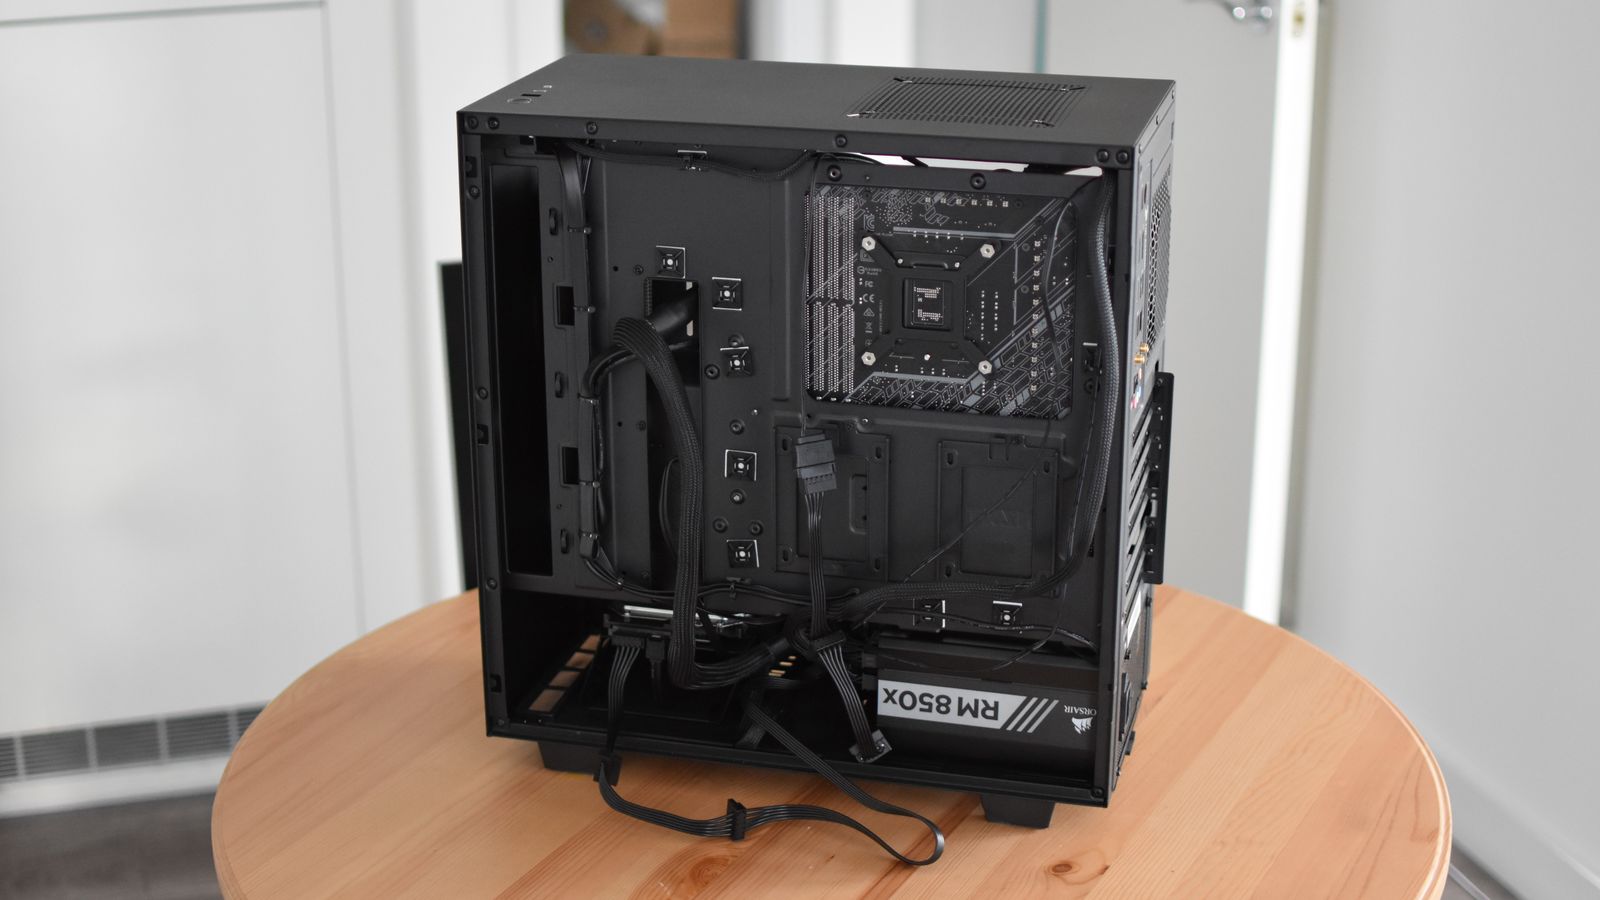
2. Open your PC case: Depending on your case model, you may need to remove screws or slide off panels to access the internal components. Refer to the user manual or manufacturer’s website for specific instructions.
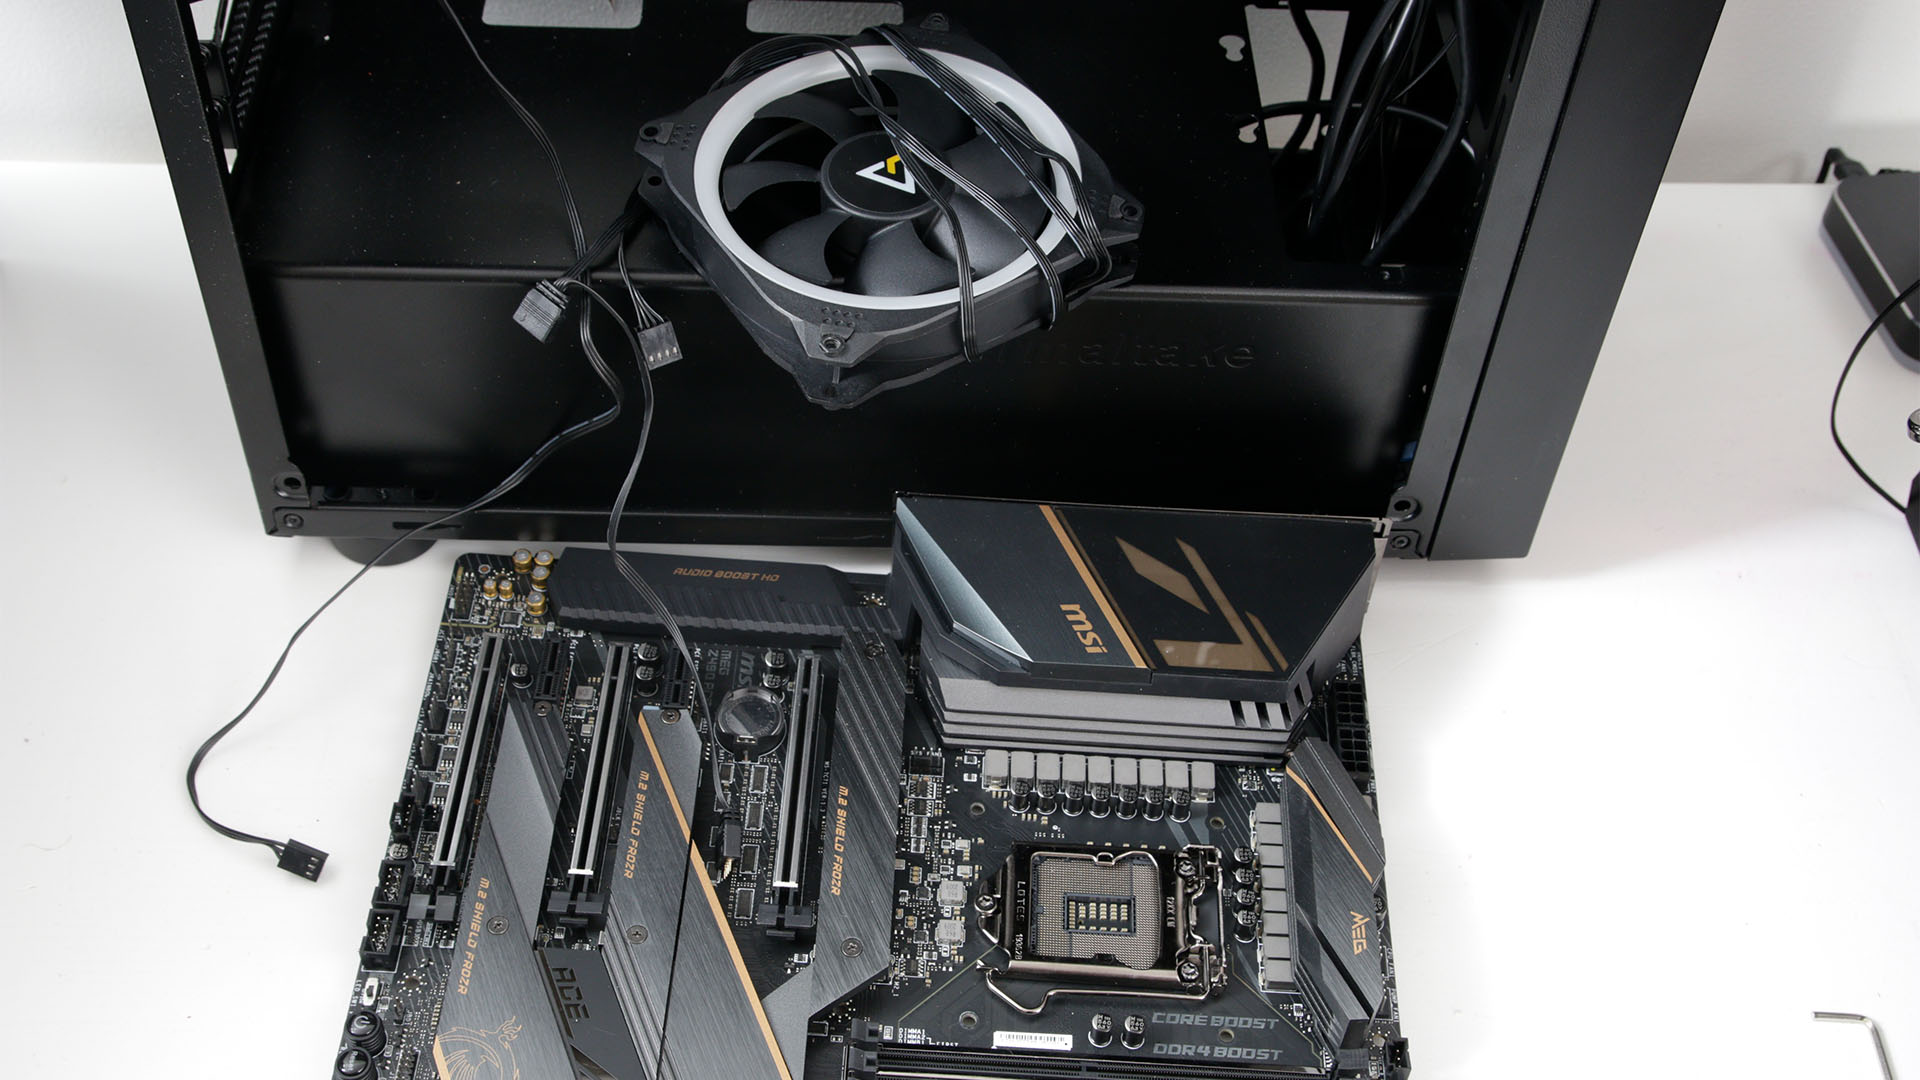
3. Locate the front audio jack connections: Look for the cables connected to the front audio jacks on your PC case. These cables will typically lead to a connector or header on the motherboard labeled as “HD Audio” or something similar.
4. Check the cable connections: Ensure that the cables connecting the front audio jacks and the motherboard are securely plugged in. If any of the connections appear loose, gently reseat them to ensure a proper fit.
5. Inspect for any physical damage: Examine the cables and connectors for any signs of damage such as frayed wires or bent pins. If you notice any damage, it may be necessary to replace the cables or consult a professional for repairs.
6. Test the front audio jacks: Once you have checked and secured the connections, power on your computer and test the front audio jacks. Connect a pair of headphones or a microphone to the front jacks and play audio or record your voice to verify if the issue has been resolved.
If the connection between the front audio jacks and the motherboard was the cause of the problem, this troubleshooting step should help resolve the issue. However, if the issue persists, we will explore further troubleshooting steps in the subsequent sections.
Now that we have examined the connection, let’s move on to checking the BIOS settings to ensure they are correctly configured.
Checking BIOS Settings
The BIOS (Basic Input/Output System) settings in your computer govern various hardware functionalities, including the audio configuration. Incorrect BIOS settings can cause the front audio jacks to malfunction. Follow these steps to check and adjust the BIOS settings if needed:
1. Access the BIOS: Restart your computer and look for the appropriate key or combination of keys to enter the BIOS during the boot process. Common keys include F2, Del, or Esc. Refer to your motherboard’s manual or the manufacturer’s website for the specific key to access the BIOS on your system.
2. Navigate to the audio settings: Once you are in the BIOS, look for the section related to “Audio” or “Onboard Audio.” The exact location and wording may vary depending on your motherboard manufacturer.
3. Check the audio settings: Ensure that the front audio jacks are enabled in the BIOS settings. Look for options like “Front Panel Audio,” “HD Audio,” or “AC’97” and make sure they are set to “Enabled” or “Auto.”
4. Save and exit: If you have made any changes to the BIOS settings, save the changes and exit the BIOS. Follow the on-screen instructions to exit the BIOS and restart your computer.
5. Test the front audio jacks: After restarting, connect your headphones or microphone to the front audio jacks and check if they are working properly. Play audio or try recording your voice to verify the functionality of the jacks.
If the BIOS settings were the source of the issue, adjusting them should resolve the audio problem with the front jacks. However, if the issue persists, there might be an issue with the audio drivers, which we will discuss in the next section.
Now that we have checked the BIOS settings, let’s move on to installing and updating the audio drivers on your computer.
Installing Audio Drivers
Audio drivers play a crucial role in enabling proper audio functionality on your computer. Outdated or missing audio drivers can result in front audio jacks not working. To tackle this, follow these steps to install or update the audio drivers:
1. Identify your audio device: Determine the audio device or sound card installed on your computer. You can typically find this information in the Device Manager or by checking the manufacturer’s documentation.
2. Visit the manufacturer’s website: Go to the website of your computer’s manufacturer or the audio device manufacturer. Look for the support or drivers section and search for the latest audio drivers compatible with your operating system.
3. Download and install the drivers: Download the appropriate audio drivers for your system and follow the provided instructions for installation. Make sure to select the correct drivers for your audio device and operating system version.
4. Reboot your computer: After the installation is complete, restart your computer to ensure the new audio drivers are fully applied and functioning.
5. Test the front audio jacks: Once your computer has rebooted, test the front audio jacks by connecting your headphones or microphone. Check if the audio is working as expected and if the issue with the front jacks has been resolved.
If the audio drivers were outdated or missing, installing the updated drivers should resolve the issue with the front audio jacks. However, if the problem persists, we will explore the next troubleshooting step – enabling the front audio jacks in the system settings.
Now that we have covered the installation of audio drivers, let’s move on to enabling the front audio jacks in the system settings.
Enabling Front Audio Jacks in Settings
Once you have ensured the physical connections and installed the necessary audio drivers, it’s important to check your system settings to ensure that the front audio jacks are enabled. Sometimes, these jacks are disabled by default or need manual activation. Follow these steps to enable the front audio jacks in your system settings:
1. Open the sound settings: Depending on your operating system, locate the sound settings. You can usually find this in the Control Panel or System Preferences.
2. Locate the playback and recording devices: In the sound settings, find the section for playback and recording devices. This is where you can configure the audio output and input settings for your computer.
3. Select the front audio jacks: Look for the option to choose the default playback and recording devices. In the list of available devices, locate and select the front audio jacks as the default option.
4. Test the front audio jacks: After selecting the front audio jacks as the default devices, test them by playing audio or recording your voice. Ensure that the audio is coming through the headphones or the microphone is properly picking up sound.
If the front audio jacks were disabled in the system settings, enabling them should resolve the issue. However, if the problem persists, there might be other underlying factors causing the issue, which we will discuss in the next section.
Now that we have covered enabling the front audio jacks in your system settings, let’s move on to troubleshooting some common issues that may prevent the jacks from working correctly.
Troubleshooting Common Issues
Despite following the aforementioned steps, you may still encounter some common issues that prevent your front audio jacks from working correctly. Let’s explore some troubleshooting tips to help resolve these issues:
1. Check for driver conflicts: In some cases, conflicts can arise between different audio drivers or audio devices installed on your computer. Open the Device Manager and look for any yellow exclamation marks or error symbols indicating driver issues. Uninstall any conflicting drivers and reinstall the necessary drivers for your audio device.
2. Update your operating system: Outdated operating systems may not fully support or recognize newer audio devices. Ensure that your operating system is up to date with the latest patches and updates. This can help resolve compatibility issues and improve overall audio performance.
3. Disable audio enhancements: Some audio enhancements or effects can interfere with the proper functioning of the front audio jacks. Open the sound settings and navigate to the playback and recording devices. Disable any active audio enhancements or enhancements specific to your audio device.
4. Test with different headphones or microphones: If possible, try using different headphones or microphones to eliminate the possibility of a faulty audio device. It’s also worth testing the same headphones or microphone in a different audio jack to determine if the issue lies with the front jacks specifically.
5. Check for physical damage: Inspect the front audio jacks and cables for any physical damage. Look for broken pins, bent connectors, or loose connections. If there is evident damage, it may require repairing or replacing the affected components.
If none of these troubleshooting steps resolve the issue with your front audio jacks, it is recommended to seek professional assistance or contact the manufacturer for further support.
By following the troubleshooting steps outlined in this guide, you should be able to identify and resolve many issues preventing your front audio jacks from working correctly.
Now that we have covered the troubleshooting steps, let’s conclude this guide.
Conclusion
Having functional front audio jacks on your PC case is essential for a seamless audio experience. If you find that your front audio jacks are not working, it can be frustrating. However, with the troubleshooting steps outlined in this guide, you can regain full functionality and enjoy the convenience of using your front audio jacks.
First, make sure to check the compatibility of your front audio jacks with your system. Ensure that they are supported by your motherboard and that the connectors are the correct type.
Next, check the physical connection between the front audio jacks and the motherboard. Ensure that the cables are securely connected and that there is no physical damage.
If the physical connection is fine, proceed to check the BIOS settings. Make sure the front audio jacks are enabled in the BIOS to ensure proper functionality.
If the issue persists, it could be due to outdated or missing audio drivers. Install or update the audio drivers for your system to resolve any driver-related problems.
Furthermore, ensure that the front audio jacks are properly enabled in your system settings. Set them as the default playback and recording devices to ensure they are properly recognized and utilized.
If you encounter any common issues, such as driver conflicts or audio enhancements interfering with the front audio jacks, follow the troubleshooting tips provided in this guide.
Remember that troubleshooting steps may vary depending on your computer’s specifications and operating system. It is always a good idea to consult the user manual or the manufacturer’s website for specific instructions and support.
By following these steps and troubleshooting common issues, you should be able to resolve most problems and regain the functionality of your front audio jacks on your PC case.
Take the time to go through each step carefully, testing your front audio jacks along the way. With persistence and patience, you can enjoy uninterrupted audio using your front audio jacks once again.