Introduction
When it comes to keeping your PC cool and running smoothly, having proper ventilation is crucial. One way to achieve this is by installing case fans, which help to dissipate heat and maintain optimal temperature levels within the machine. However, connecting the case fan wires to the power supply can be a little daunting for beginners.
In this guide, we will show you step-by-step how to connect your PC case fan wires to the power supply. With a few simple tools and a basic understanding of wiring, you will be able to ensure a smooth and reliable connection. So, let’s dive in!
Before we begin, it’s important to note that the specific wire colors and configurations may vary depending on the fan and power supply you are using. The general principles and steps outlined here should still apply, but it’s always a good idea to consult the manuals or manufacturer’s instructions for your specific components if you encounter any discrepancies.
Now, let’s gather the necessary tools and get started on connecting your PC case fan wires to the power supply!
Tools Needed
Before you begin connecting your PC case fan wires to the power supply, it’s important to gather the necessary tools. Here are the tools you will need:
- Small Phillips screwdriver – This will be used to open your computer case and secure the fan wires.
- Wire cutters/strippers – These tools will help you prepare and strip the fan wires for connection.
- Electrical tape – This will be used to secure the connections and prevent any short circuits.
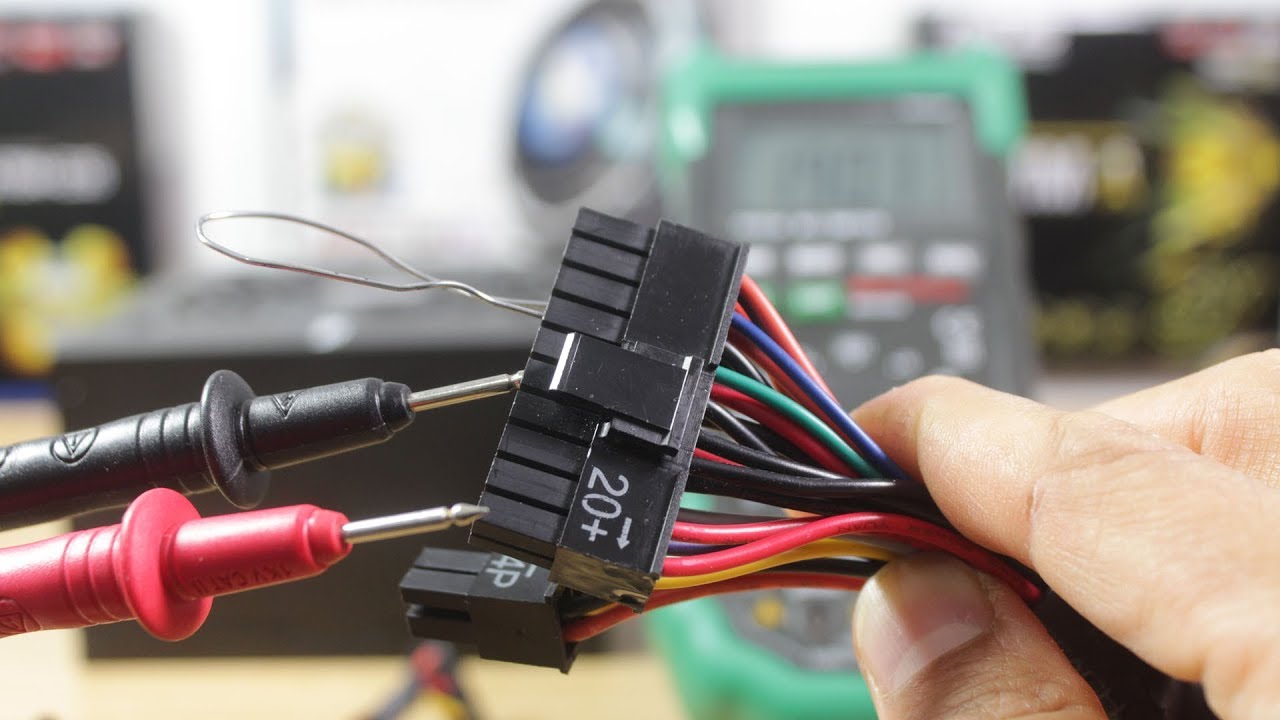
- Multimeter (optional) – If you want to test the voltage or continuity of the wires, a multimeter can come in handy.
With these tools on hand, you’ll have everything you need to successfully connect your PC case fan wires to the power supply. Now, let’s move on to the next step – identifying the fan wires.
Step 1: Identify the Fan Wires
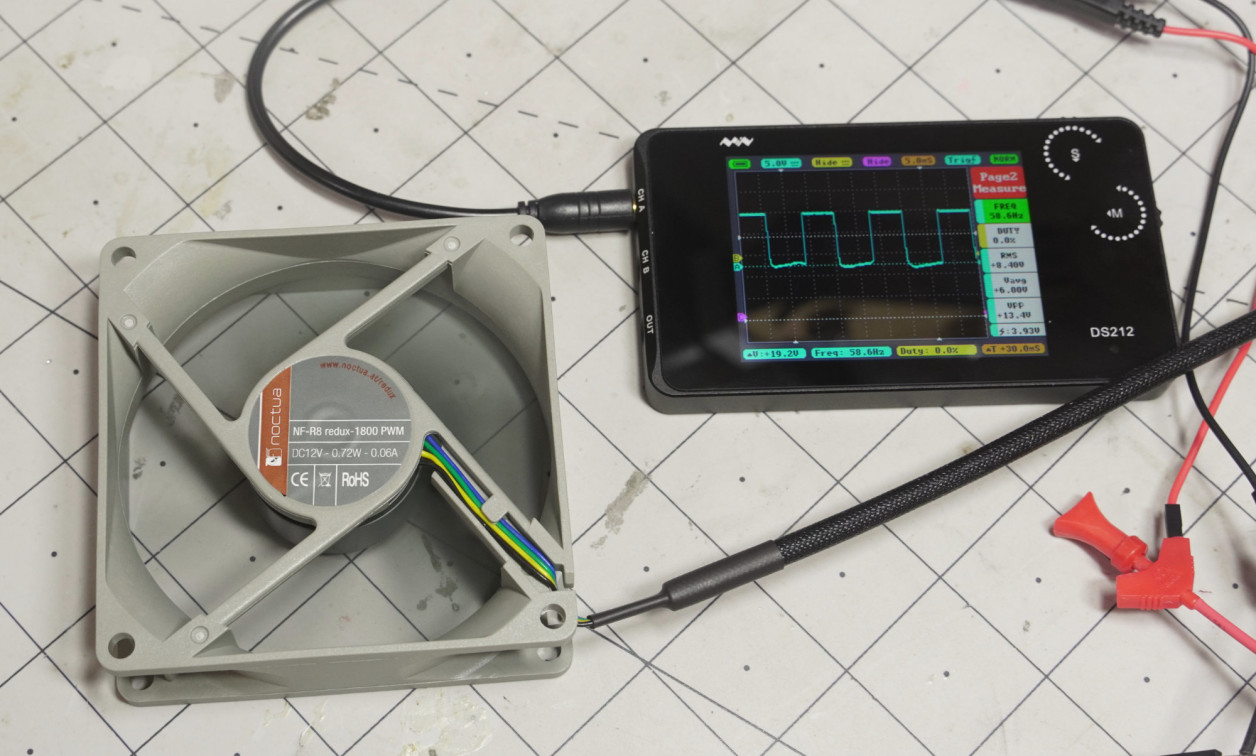
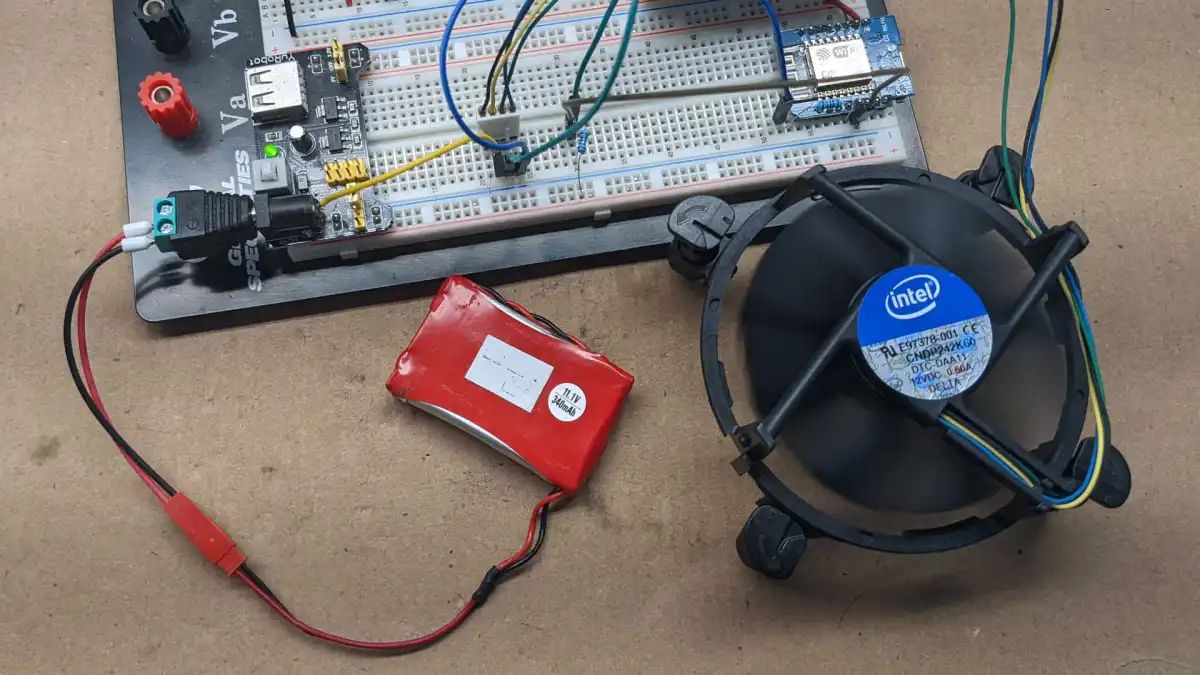
Before you can connect the PC case fan wires to the power supply, you need to identify the different wires on your fan. Typically, there are three wires: black, red, and yellow or blue.
The black wire is the ground wire, responsible for completing the electrical circuit. You’ll often find this wire is connected to the casing of the fan. The red wire is the positive wire, carrying power from the power supply to the fan. Finally, the yellow or blue wire is the tachometer wire, used to measure the speed of the fan rotation.
To identify the wires, you can refer to the fan’s documentation or look for labels on the wires themselves. In some cases, the wires may be color-coded, making it easier to determine their functions. However, if the colors are not clearly defined, you can use a multimeter to measure the voltages and identify the wires accordingly.
It’s important to pay close attention to the wire colors and their corresponding functions. Mixing up the wires can lead to improper functionality or potential damage to your fan or power supply. Take your time to ensure accuracy in this step before moving on to the next.
Now that you have identified the fan wires, you are ready to move on to preparing them for connection. Let’s proceed to step 2.
Step 2: Preparing the Fan Wires
With the fan wires identified, the next step is to prepare them for connection. This involves stripping the insulation from the ends of the wires to expose the metal conductors. Here’s how to do it:
- Using your wire cutters/strippers, carefully cut off a small portion of the insulation from the end of each wire. Be cautious not to cut too deep, as you don’t want to damage the conductors inside.
- Gently twist the exposed metal strands of each wire to remove any loose strands and keep them organized.
- Using the electrical tape, wrap a small piece around the exposed metal conductors of each wire. This helps to secure the strands and prevent any short circuits or accidental contact.
By preparing the fan wires in this manner, you ensure a clean and reliable connection to the power supply. Taking the time to properly prepare the wires helps to avoid any potential electrical issues down the line.
Once you have prepared the fan wires, it’s time to move on to connecting them to the power supply. Let’s proceed to step 3.
Step 3: Connecting the Fan Wires to Power Supply
Now that you have prepared the fan wires, it’s time to connect them to the power supply. Before proceeding, ensure that your computer is turned off and unplugged to avoid any electrical accidents. Follow these steps to make the connection:
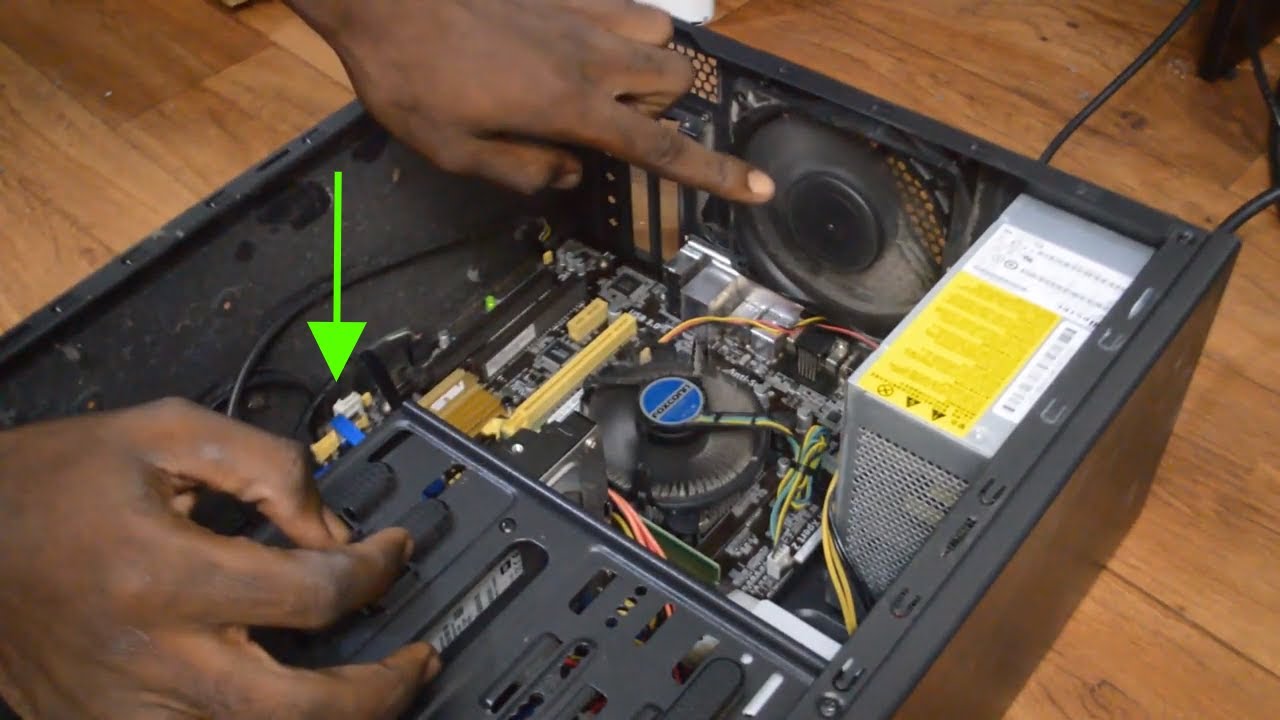
- Locate the appropriate power connector on your power supply. This is typically a 4-pin Molex connector.
- Take the fan’s red wire, which is the positive wire, and insert it into the yellow or orange wire slot of the power connector. Make sure the connection is secure.
- Next, take the black wire, which is the ground wire, and insert it into the black wire slot of the power connector. Again, ensure the connection is secure and tight.
- If your fan has a tachometer wire (yellow or blue), you can connect it to a corresponding tachometer header on your motherboard for monitoring fan speed. However, this step is optional and not necessary for basic fan functionality.
After making these connections, double-check that all the wires are firmly inserted and secured in their respective slots. Loose connections can lead to intermittent fan operation or failure.
With the fan wires successfully connected to the power supply, you are now ready to secure the connections and test the fan. Let’s move on to the next steps.
Step 4: Securing the Connections
Once you have connected the fan wires to the power supply, it’s important to secure the connections to ensure they stay in place. This step helps to prevent accidental disconnections or loose wires. Here’s how:
- Using electrical tape, carefully wrap it around the connections where the fan wires meet the power supply connector. Make sure to cover the exposed metal and provide a secure and insulated seal.
- Ensure that the electrical tape is tightly wrapped but not overly tight, as excessive pressure can damage the wires. The tape should hold the connections firmly in place, providing stability and preventing any movement.
- Inspect the connections and check for any signs of loose wires or exposed metal. If necessary, reapply the electrical tape or adjust the connections to ensure they are properly secured.
Securing the connections is an essential step to maintain a reliable and stable connection between the fan wires and the power supply. It also helps to protect the wires from external factors such as dust, moisture, or accidental tugs.
With the connections secured, you are now ready to test the fan and ensure everything is functioning correctly. Let’s move on to the final step.
Step 5: Testing the Fan
After securing the connections, it’s time to test the fan and make sure it is functioning properly. Here’s how:
- Plug in your computer and power it on.
- Listen for any sounds emitted by the fan. It should have a smooth and consistent operation without any loud or irregular noises.
- Observe the movement of the fan blades. They should spin freely and evenly, without any wobbling or obstruction.
- Check if the fan is providing adequate airflow within your PC case. You can use software monitoring tools or physically feel for airflow to ensure proper ventilation.
If the fan is functioning as expected and meets these criteria, congratulations! You have successfully connected your PC case fan wires to the power supply. Your computer is now equipped with proper ventilation to help keep it cool and running smoothly.
However, if you encounter any issues during the testing phase, such as the fan not spinning or unusual noises, double-check the connections, ensure proper power supply, and inspect for any loose wires or obstructions. It’s possible that adjustments or troubleshooting may be required in such cases.
Once you have tested and confirmed the proper functioning of the fan, you can proceed to close your computer case and enjoy the benefits of enhanced cooling and airflow.
Remember, maintaining optimal airflow within your PC case is essential for the longevity and performance of your components. Regularly clean your fans and monitor their functionality to ensure an efficient and reliable cooling system.
Conclusion
Connecting your PC case fan wires to the power supply may seem intimidating at first, but with the right tools and knowledge, it can be a straightforward process. By following the steps outlined in this guide, you can ensure a secure and functional connection.
Remember to always identify the fan wires accurately, prepare them properly by stripping and taping them, and connect them securely to the power supply. Securing the connections with electrical tape and testing the fan’s functionality are essential steps to ensure a successful installation.
Proper ventilation is crucial for maintaining optimal temperature levels within your computer. By installing and connecting case fans correctly, you can help prevent overheating and ensure the longevity and performance of your components.
It’s important to note that the specific steps and wire colors may vary depending on your fan and power supply. Always consult the manufacturer’s instructions and documentation for your specific components to ensure accurate installation.
Now that you have the knowledge and confidence to connect your PC case fan wires to the power supply, you can enjoy a cool and efficient computing experience. Remember to regularly check your fans for dust buildup and perform any necessary maintenance to keep them running smoothly.
Thank you for following this guide, and best of luck with your PC fan installation!