Introduction
A properly functioning PC case fan is crucial for maintaining optimal temperatures inside your computer. It helps dissipate heat generated by the components, preventing overheating and potential damage to the hardware. However, if you’ve noticed that your PC case fan is not turning on consistently or only turns on when the case is open, you may be facing an issue that requires attention.
There could be several reasons why your PC case fan isn’t functioning as expected. It could be a simple wiring problem, an obstruction preventing the fan blades from spinning, or even a software setting that needs adjustment. It’s important to identify the root cause of the issue in order to address it effectively.
In this article, we will explore the possible reasons why your PC case fan is only turning on when the case is open and provide potential solutions to help you resolve the problem. Whether you’re a seasoned computer enthusiast or a newbie, this article aims to guide you through the troubleshooting process and get your PC case fan up and running smoothly again.
Please note that the solutions presented here are meant to be general suggestions and may not apply to every situation. It’s always recommended to consult your computer’s manual or seek professional assistance if you’re unsure about performing any troubleshooting steps on your own.
Why is the PC case fan not turning on?
When faced with the issue of a PC case fan not turning on, it’s essential to understand the potential reasons behind this behavior. By identifying the underlying cause, you can determine the appropriate course of action to rectify the problem. Here are some common reasons why your PC case fan may not be functioning properly:
1. Wiring issues: The fan’s power connection may be loose or incorrectly connected to the motherboard. A loose or faulty wiring connection can prevent the fan from receiving power and cause it to malfunction.
2. Obstructions: If there are any obstructions, such as dust, cables, or other objects, blocking the fan blades, it can hinder their movement. An obstructed fan may struggle to spin or may not spin at all, resulting in poor or no airflow.
3. Power supply problems: It’s possible that the power supply unit (PSU) is not supplying enough power to the fan or is experiencing a technical issue. This can prevent the fan from receiving the necessary power to operate correctly.
4. Software settings: Some motherboards allow you to control fan speeds and settings through the BIOS or software utilities. If the fan settings are misconfigured or set to a low speed, it may appear as if the fan is not turning on correctly. Checking and adjusting the software settings can help resolve this issue.
5. Faulty fan or fan controller: In some cases, the fan itself may be defective or damaged. A faulty fan motor or a malfunctioning fan controller can cause the fan to intermittently or completely stop working.
It’s important to note that these are just possible reasons for a PC case fan not turning on and that the actual cause may vary. Troubleshooting the specific circumstances of your situation will provide more accurate insights into the root cause.
Now that we’ve explored the potential reasons behind the issue, let’s move on to the next section, where we’ll dive into possible solutions to help you troubleshoot and resolve the problem effectively. Remember to follow all the steps carefully and exercise caution when dealing with electrical components to avoid any damage.
Possible solutions
When faced with a PC case fan that only turns on when the case is open, there are several potential solutions you can try to resolve the issue. Here are some recommended steps to troubleshoot and fix the problem:
1. Check the wiring connections: Start by ensuring that the fan’s power cable is securely connected to the appropriate header on the motherboard. Carefully inspect the wiring and connectors for any signs of damage. Reconnecting or replacing the cables if necessary can help establish a proper electrical connection.
2. Inspect the fan blades for any obstructions: Take a close look at the fan to see if there are any dust particles, cables, or other objects obstructing the blades. Gently clean the fan using compressed air or a soft brush to remove any debris that may be inhibiting its movement.
3. Confirm the fan is receiving power: Use a multimeter or voltage tester to check if the fan is receiving power from the motherboard. Set the tester to the appropriate voltage and carefully probe the fan’s power connection. If there is no power detected, it could indicate a problem with the motherboard or the fan’s power supply.
4. Verify the fan settings in BIOS or software: Access the BIOS or software utility for your motherboard and check the fan settings. Ensure that the fan speed is not set to a low value or completely turned off. Adjust the settings as needed to allow the fan to operate at an appropriate speed.
5. Replace the faulty fan or fan controller: If all other troubleshooting steps fail to resolve the issue, it may be necessary to replace the fan or the fan controller. Consult your computer’s manual or contact the manufacturer for guidance on obtaining a compatible replacement part.
Remember, it’s important to exercise caution when handling electrical components and to follow all safety guidelines provided by the manufacturer. If you’re not comfortable performing these troubleshooting steps on your own, it’s advisable to seek assistance from a computer technician.
Now that we’ve explored some potential solutions, it’s time to put them into action. Proceed to the next section to learn how to implement these steps effectively.
Solution 1: Check the wiring connections
One of the first steps in troubleshooting a PC case fan that only turns on when the case is open is to inspect and verify the wiring connections. Loose or improperly connected cables can cause the fan to behave erratically or not turn on at all. Follow these steps to check the wiring connections:
1. Power off and unplug your computer: Before working with any internal components, ensure that your computer is completely powered off and unplugged from the electrical outlet. This will prevent any risk of electric shock or damage to the hardware.
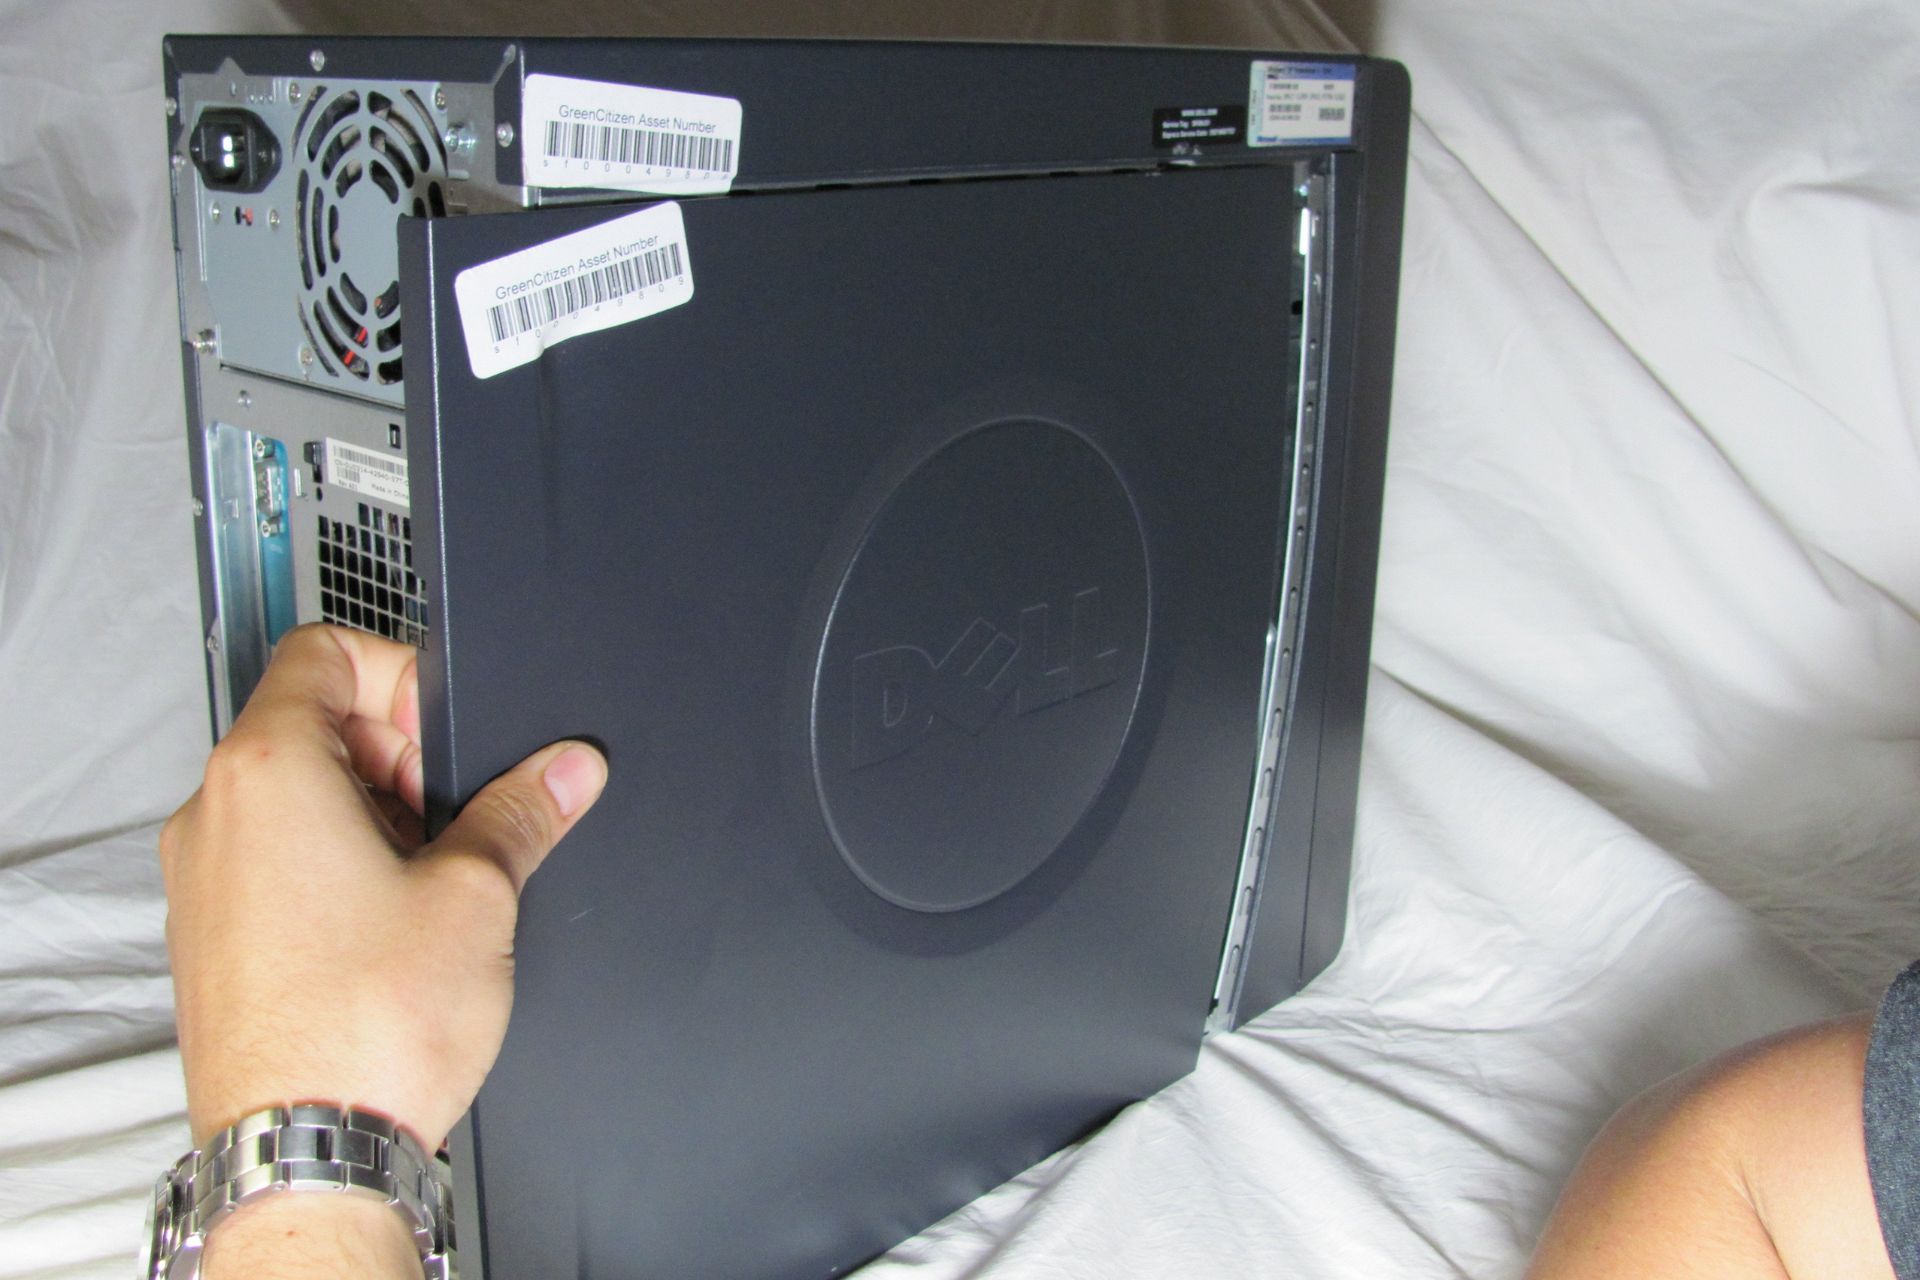
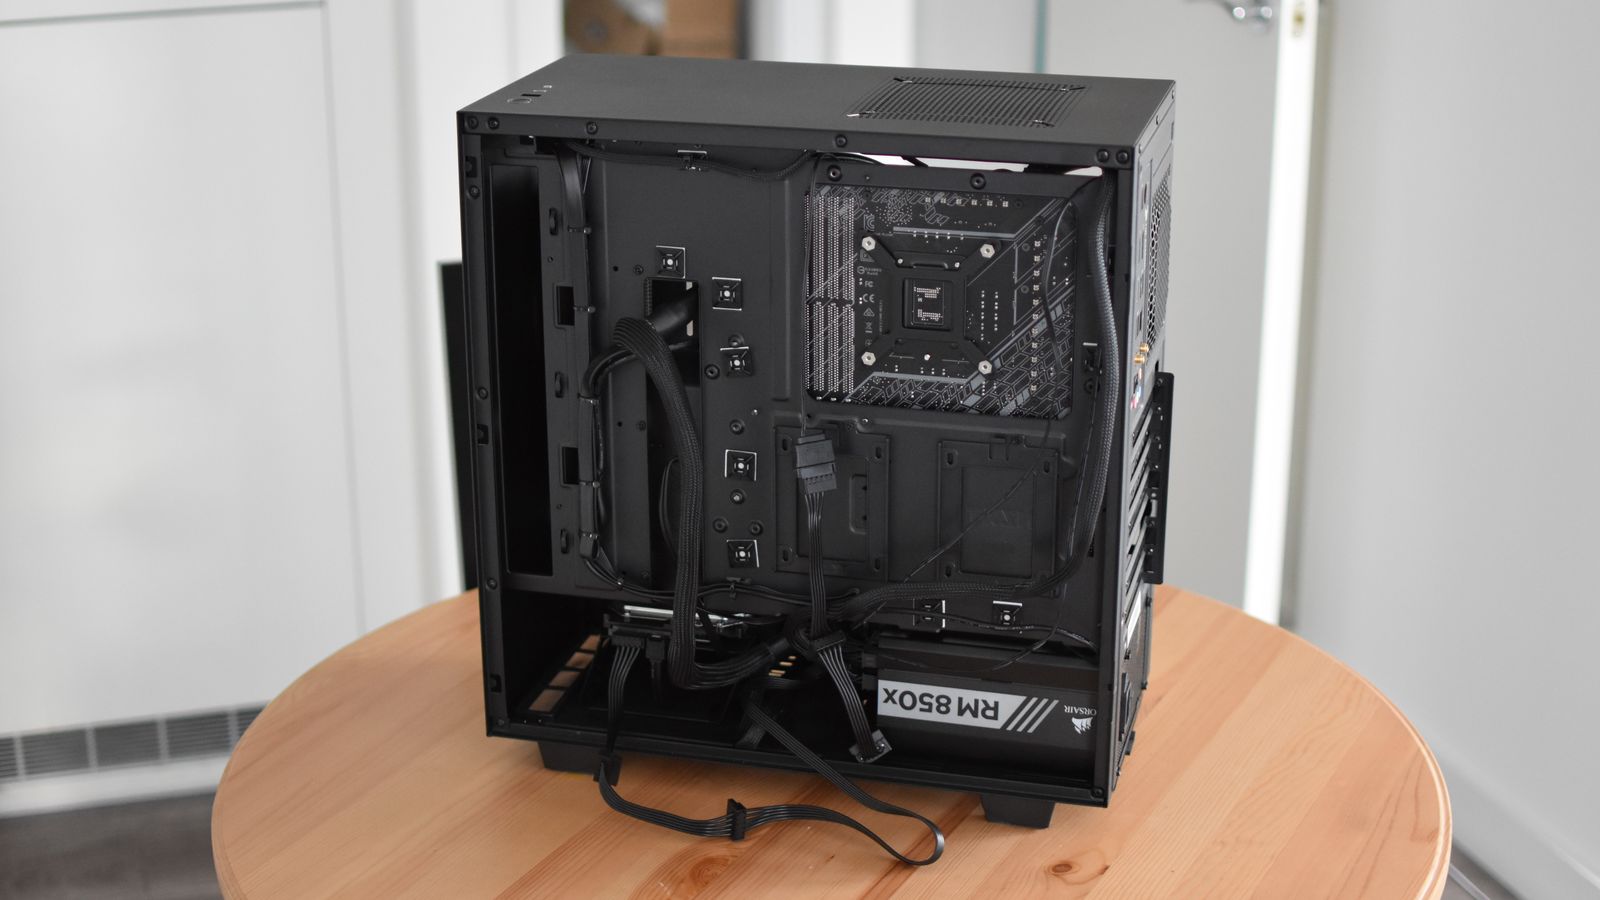
2. Open the computer case: Remove the side panel of your computer case to gain access to the internal components. Refer to your computer’s manual for specific instructions on how to open the case.
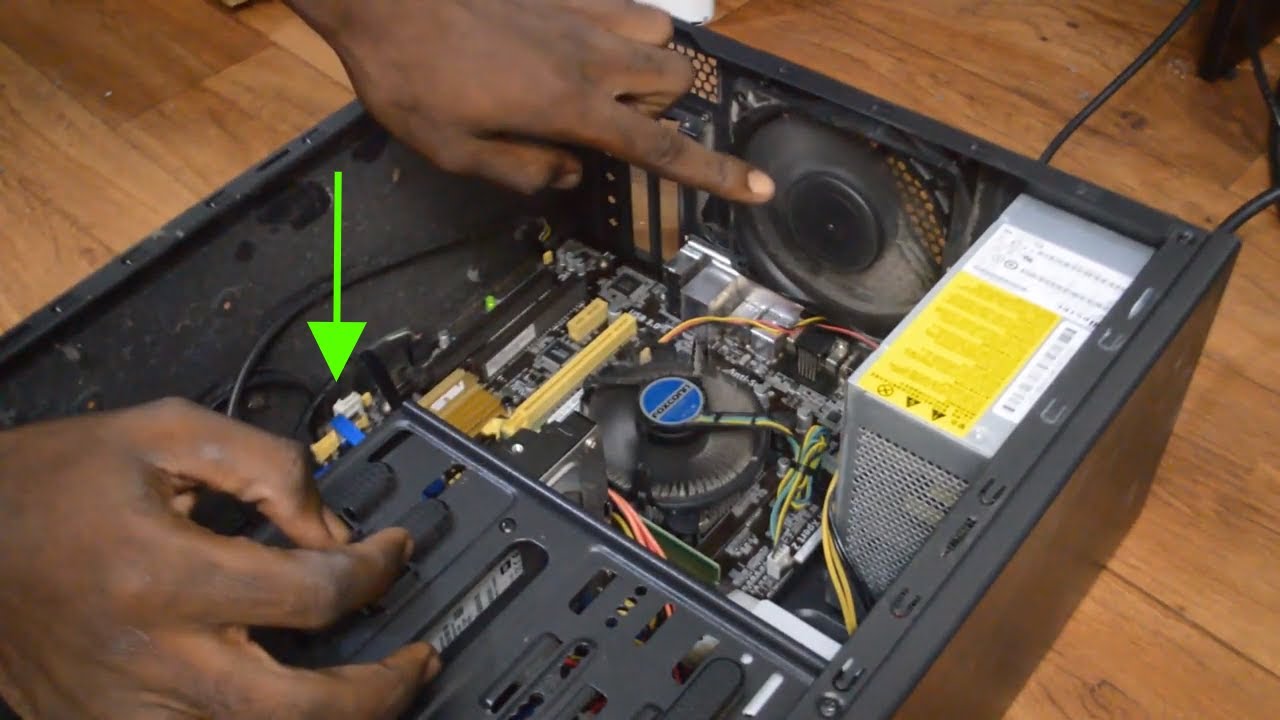
3. Locate the fan’s power connection: Identify the cable connected to the fan and trace it to its power connection. The fan’s power cable is usually connected to a header on the motherboard labeled “SYS_FAN” or similar.
4. Check the connection: Ensure that the fan’s power cable is securely connected to the appropriate header on the motherboard. Gently wiggle the cable to see if there is any movement or play. If the connection feels loose or unstable, disconnect the cable and reconnect it firmly.
5. Inspect the wiring: Carefully inspect the fan’s power cable for any signs of damage, such as frayed wires or bent pins. If you notice any physical damage, it may be necessary to replace the cable to establish a proper electrical connection.
6. Repeat the process for other fans: If your computer has multiple case fans, repeat the above steps for each fan, ensuring that all connections are secure and properly aligned.
7. Close the computer case and plug it back in: Once you have checked and secured all the wiring connections, carefully close the computer case and ensure that it is securely fastened. Plug the computer back into the electrical outlet and power it on to see if the fan now operates correctly.
If checking and securing the wiring connections does not resolve the issue, proceed to the next solution for further troubleshooting steps. Remember to handle internal components with care and refer to your computer’s manual for any specific instructions or precautions.
Solution 2: Inspect the fan blades for any obstructions
If your PC case fan only turns on when the case is open, there is a possibility that there might be obstructions hindering the movement of the fan blades. Dust, cables, or other objects can impede the fan’s rotation and prevent it from functioning properly. Follow these steps to inspect the fan blades for any obstructions:
1. Power off and unplug your computer: Before inspecting the fan blades, ensure that your computer is powered off and unplugged from the electrical outlet. This will help prevent any accidents or damage to the hardware.
2. Open the computer case: Remove the side panel of your computer case to gain access to the internal components. Refer to your computer’s manual for specific instructions on how to open the case.
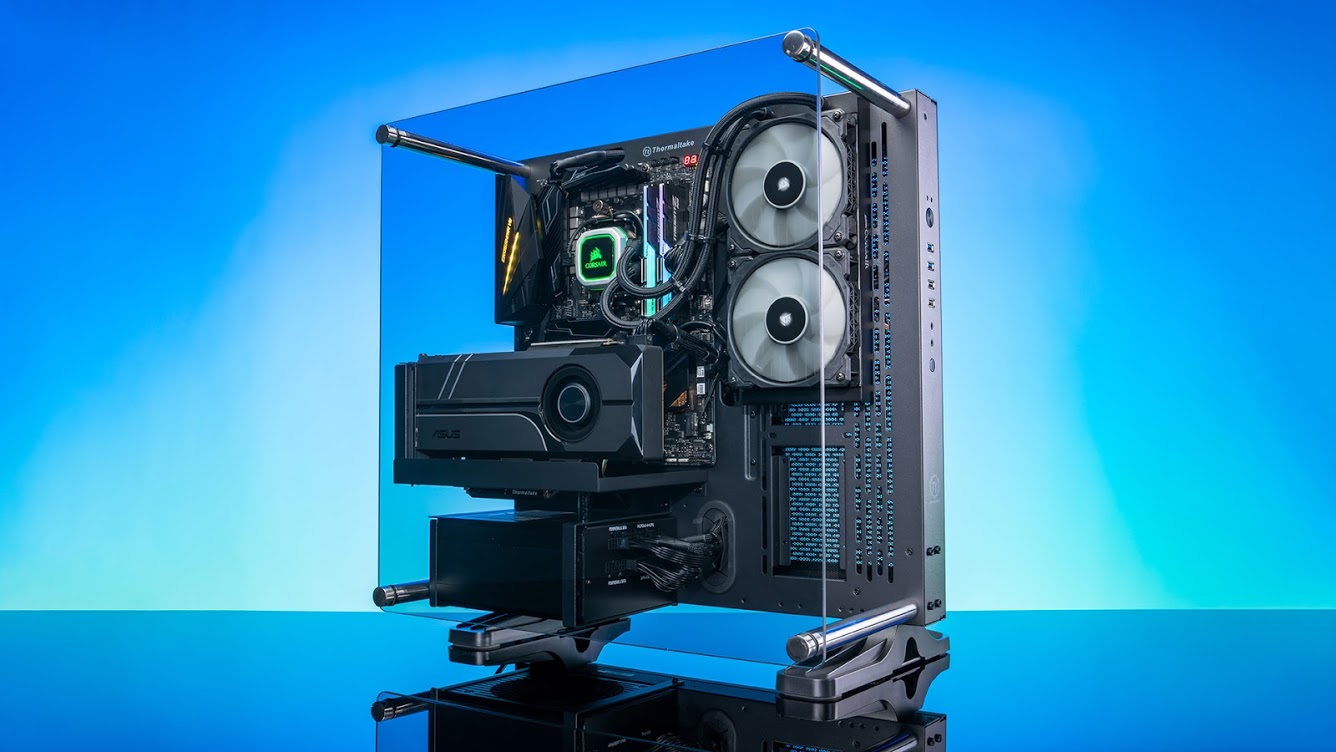
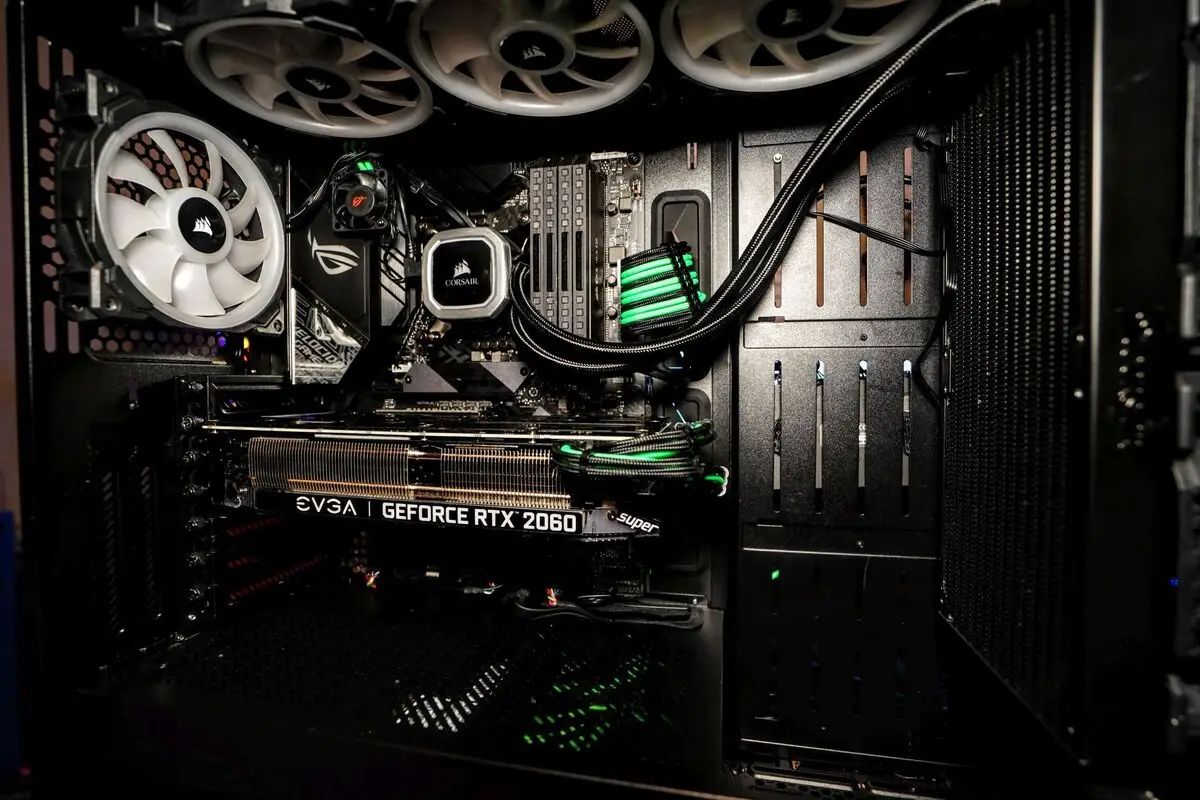
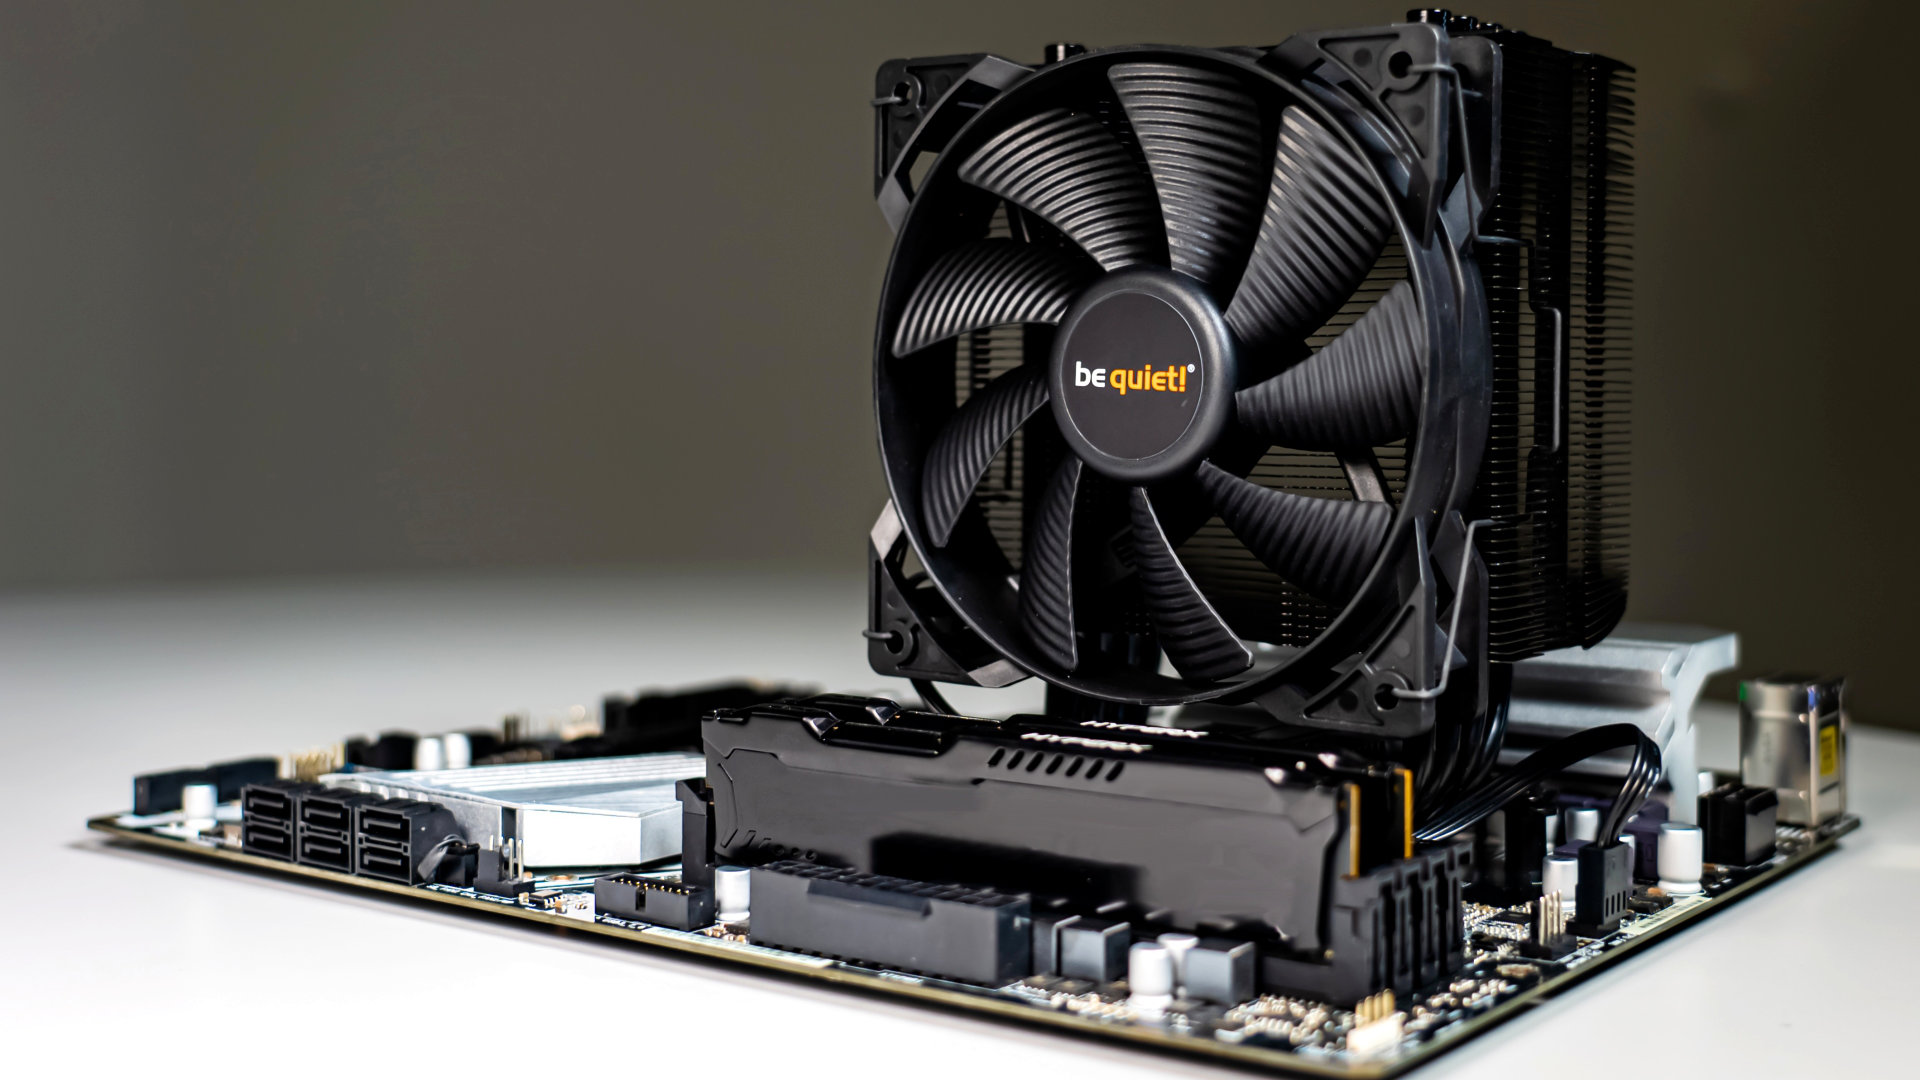
3. Locate the PC case fan: Identify the fan that is exhibiting the issue. Typically, PC case fans are mounted either at the front, rear, or top of the case. This will vary depending on the design of your computer case.
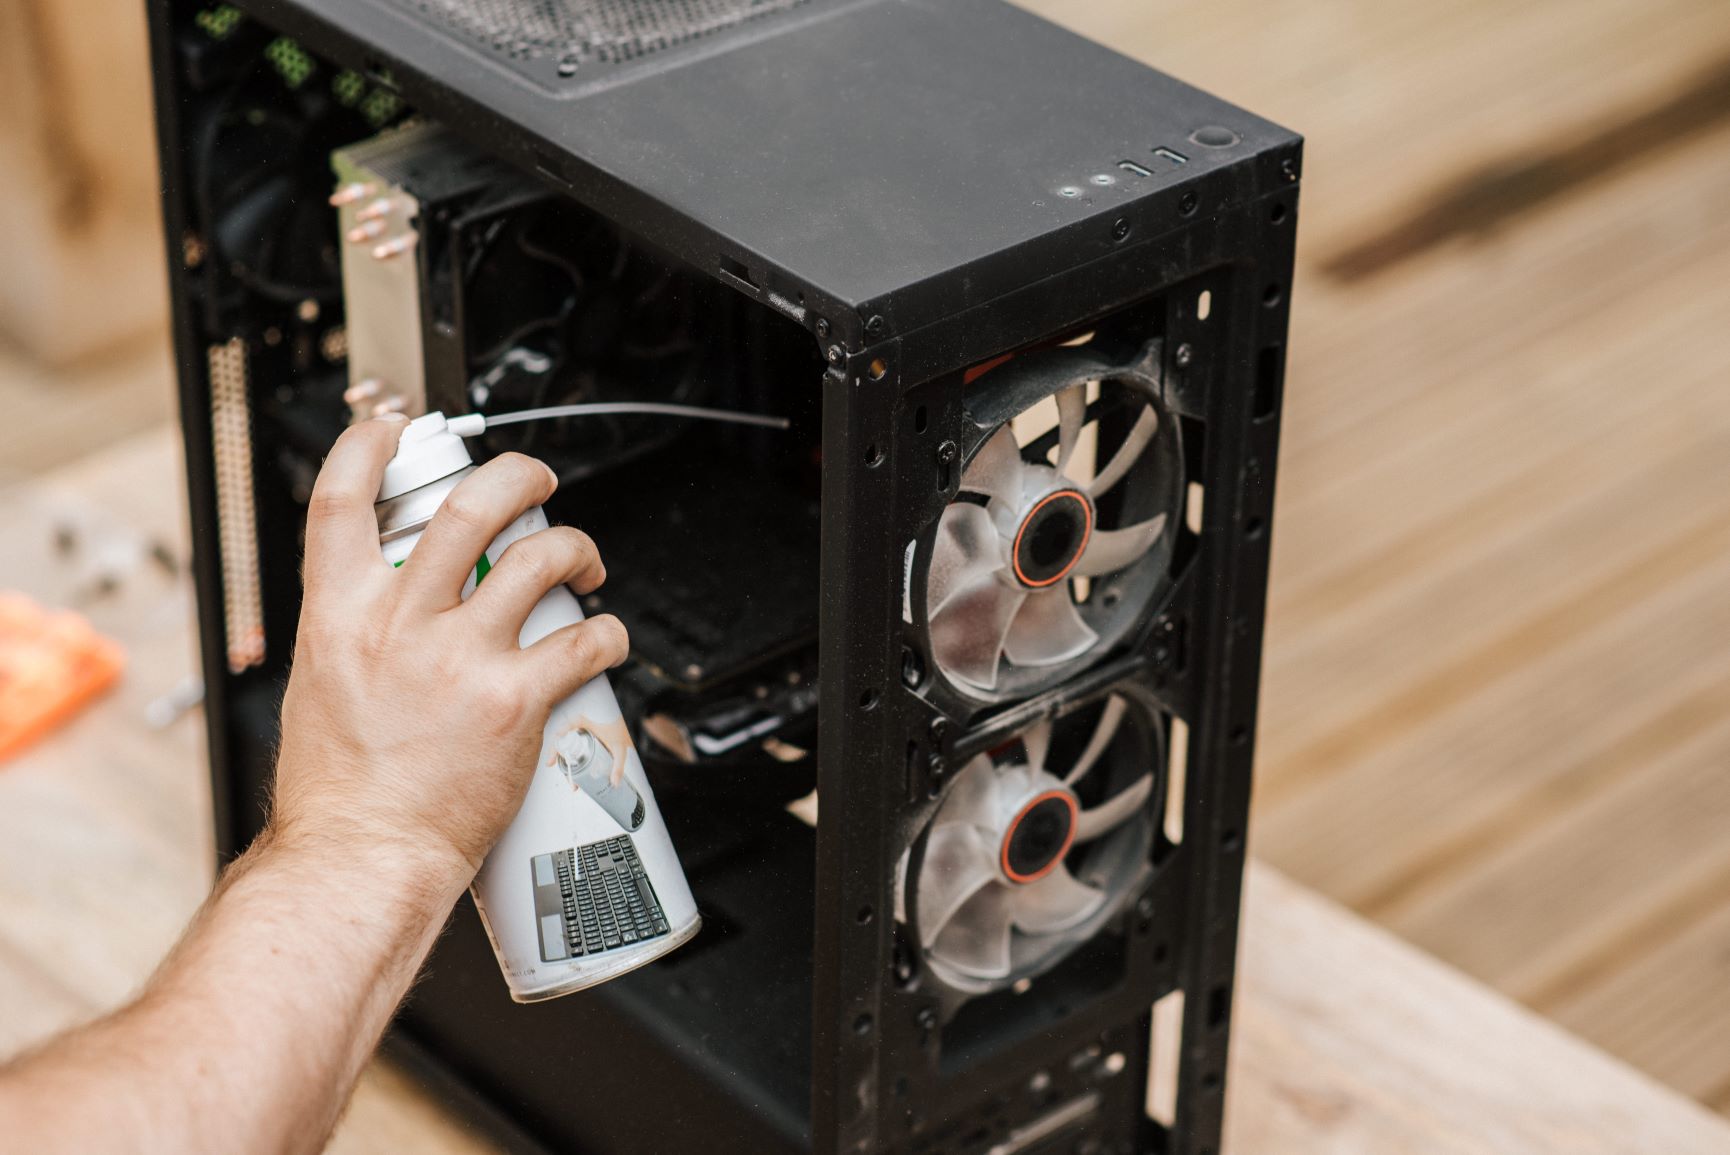
4. Inspect the fan blades: Carefully examine the blades of the fan for any visible obstructions. Dust, debris, cables, or other foreign objects may have accumulated on the blades, hindering their movement. Use a flashlight if necessary to get a better view of the blades.
5. Clean the fan blades: If you do find any obstructions, remove them using compressed air or a soft brush. Holding the fan securely with one hand, blow compressed air in short bursts to dislodge any debris. Alternatively, use a soft brush to gently sweep away any dust or particles that are clinging onto the blades. Be careful not to apply excessive force that could damage the fan or its components.
6. Inspect surrounding areas: While you’re inspecting the fan blades, take a moment to check the surrounding areas for any other potential obstructions. Ensure that there are no cables, components, or loose materials blocking the fan’s path or impeding its rotation.
7. Close the computer case: Once you have inspected and cleaned the fan blades, carefully close the computer case and ensure that it is securely fastened. Plug the computer back into the electrical outlet and power it on to see if the fan now operates correctly.
If the issue persists after inspecting and cleaning the fan blades, proceed to the next solution for further troubleshooting steps. Remember to follow all safety guidelines and handle internal components with care throughout the process.
Solution 3: Confirm the fan is receiving power
If your PC case fan only turns on when the case is open, it is essential to confirm whether the fan is receiving adequate power. A lack of power supply or a faulty connection can cause the fan to malfunction. Follow these steps to confirm if the fan is receiving power:
1. Power off and unplug your computer: Before proceeding with any internal inspection, ensure that your computer is powered off and unplugged from the electrical outlet to avoid any potential hazards.
2. Open the computer case: Remove the side panel of your computer case, following the manufacturer’s instructions, to gain access to the internal components.
3. Locate the fan’s power connection: Identify the cable connected to the fan and trace it to the power connection on the motherboard. Typically, the fan’s power cable is connected to a header labeled “SYS_FAN” or similar.
4. Use a multimeter or voltage tester: Set a multimeter or voltage tester to the appropriate voltage range and carefully probe the pins of the fan’s power connection. Check for the presence of the specified voltage (usually 12V or 5V) to determine if the fan is receiving power.
5. Verify the power supply unit (PSU): If the fan is not receiving any power, test the power supply unit (PSU) with a multimeter to ensure it is functioning correctly. Consult your computer’s manual or online resources for instructions on how to test the PSU.
6. Check the fan’s connector: Inspect the fan’s power connector for any damage, loose pins, or bent connectors. If any issues are found, consider replacing the connector or the fan itself, if necessary, to establish a proper electrical connection.
7. Reconnect and secure the power connection: If everything appears to be in order, disconnect and reconnect the fan’s power cable to ensure a secure connection. Make sure it is properly aligned and fully inserted into the header on the motherboard.
8. Close the computer case: Once you have confirmed the fan is receiving power and secured the connections, carefully close the computer case and ensure it is securely fastened.
9. Plug the computer back in and power it on: Plug your computer back into the electrical outlet and power it on to check if the fan is now receiving power and operating correctly.
If the fan is still not receiving power after performing these steps, proceed to the next solution for further troubleshooting. As always, exercise caution when working with internal components and consult your computer’s manual or seek professional assistance if needed.
Solution 4: Verify the fan settings in BIOS or software
If your PC case fan only turns on when the case is open, it’s essential to verify the fan settings in the BIOS (Basic Input/Output System) or software utilities. Improperly configured settings can cause the fan to operate at a low speed or appear as if it’s not turning on. Follow these steps to verify the fan settings:
1. Power on your computer: Start your computer and enter the BIOS or access the software utility provided by your motherboard manufacturer. The key to access the BIOS or software utility may vary depending on your specific motherboard model. Common keys to enter the BIOS include DEL, F2, F10, or ESC.
2. Navigate to the fan settings: Once you’re in the BIOS or software utility, navigate to the section that allows you to control the fan settings. Look for options related to fan control, fan speed, or fan profiles.
3. Check the fan speed: Ensure that the fan speed setting is not set too low or completely turned off. Adjust the setting to a higher value or select the appropriate fan profile that suits your needs. Some motherboards offer preset profiles, such as “silent,” “normal,” or “performance,” that you can choose from.
4. Save and exit: After adjusting the fan settings, save the changes and exit the BIOS or software utility. Follow the instructions provided to save the settings, which typically involve pressing the F10 key or selecting the “Save and Exit” option.
5. Observe the fan behavior: Once you’ve saved the settings and your computer boots up, observe the fan’s behavior. If the fan settings were misconfigured previously, the fan should now operate at the desired speed and turn on consistently, even when the case is closed.
6. Software utilities: If your motherboard provides software utilities to control fan settings, ensure that you have the latest version installed. Some utilities allow you to customize fan curves, which determine how the fan speed corresponds to temperature. Adjusting the fan curve can help ensure the fan operates optimally based on your computer’s cooling needs.
If verifying the fan settings in the BIOS or software does not resolve the issue, proceed to the next solution. Remember to consult your computer’s manual or manufacturer’s documentation for specific instructions related to your motherboard model.
Solution 5: Replace the faulty fan or fan controller
If all previous solutions have been attempted and your PC case fan still only turns on when the case is open, it may be necessary to replace the fan or the fan controller. A faulty fan motor or a malfunctioning fan controller can cause the fan to fail or operate intermittently. Here are the steps to follow:
1. Identify the faulty component: Determine whether the issue lies with the fan itself or the fan controller. In some cases, the fan may be easily detachable from the case, while others may require removal of the entire fan assembly. Refer to your computer’s manual or consult online resources for guidance specific to your setup.
2. Purchase a replacement: Once you have identified the faulty component, you will need to purchase a compatible replacement. Ensure that the replacement fan matches the size, connector type, and power requirements of your existing fan. If the issue is with the fan controller, you may need to consult with a technician or contact the manufacturer for guidance on obtaining a replacement.
3. Disconnect the faulty component: Carefully disconnect the power and data cables connected to the faulty fan or fan controller. Take note of how the cables are connected before detaching them to ensure proper reinstallation of the replacement component.
4. Install the replacement component: Install the new fan or fan controller by following the manufacturer’s instructions. Ensure that all connections are secure and properly aligned. Double-check that the fan is oriented correctly for proper airflow direction.
5. Close the computer case: Once you have installed the replacement component, carefully close the computer case and ensure that it is securely fastened. Be cautious to avoid damaging any other internal components.
6. Power on and test: Finally, plug your computer back into the electrical outlet and power it on. Observe the behavior of the newly installed fan or fan controller to ensure it is functioning properly.
If replacing the faulty fan or fan controller does not resolve the issue, or if you do not feel comfortable performing these steps on your own, it is recommended to seek assistance from a computer technician or contact the manufacturer for further support.
Remember to handle internal components with care and to follow any safety guidelines provided by the manufacturer when working inside your computer.
Conclusion
Dealing with a PC case fan that only turns on when the case is open can be a frustrating experience. However, by following the troubleshooting steps outlined in this article, you can address the issue and get your fan functioning properly again.
Throughout the process, it’s important to check the wiring connections, inspect the fan blades for obstructions, confirm the fan is receiving power, verify the fan settings in the BIOS or software, and, if necessary, replace the faulty fan or fan controller.
Remember to consult your computer’s manual or seek professional assistance if you’re unsure about performing any of these steps. Safety precautions should always be followed when working with electrical components to avoid damage to your hardware or risk of injury.
If the issue persists despite attempting the suggested solutions, it may be necessary to consult a computer technician or contact the manufacturer for further guidance. They can provide specialized support tailored to your specific hardware configuration and help you resolve the problem.
By addressing the issue promptly, you can ensure proper cooling within your computer, reduce the risk of overheating, and prolong the lifespan of your components. It’s important to maintain a well-functioning PC case fan to ensure optimal performance and stability during your computing tasks.
We hope that this article has provided you with valuable insights and guidance on troubleshooting a PC case fan that only turns on when the case is open. Good luck with fixing the issue, and may your computer run smoothly and efficiently!