Introduction
Keeping your PC case clean is an essential part of maintaining optimal performance and longevity for your computer system. Over time, dust, debris, and other particles can accumulate inside and outside the case, hindering airflow and causing components to overheat. Regular cleaning not only improves the overall aesthetics but also ensures that your hardware operates at its peak efficiency.
In this guide, we will take you through a step-by-step process of how to best clean your PC case. From gathering the necessary supplies to cleaning the various components, we will provide you with practical tips and techniques to ensure a thorough and effective cleaning process.
Before we begin, it is important to note that cleaning a PC case requires some basic understanding of computer hardware and its components. If you are not comfortable disassembling and cleaning your PC, it is advised to seek professional assistance.
By following the steps outlined in this guide, you will not only maintain a clean and dust-free PC case, but you will also increase its lifespan and prevent potential hardware issues. So, let’s dive in and learn how to properly clean your PC case!
Gather Your Supplies
Before you start cleaning your PC case, it’s important to gather all the necessary supplies. Having the right tools at hand will make the cleaning process more efficient and effective. Here are the essential supplies you will need:
- Canned Air or Air Compressor: This will be your primary tool for removing dust and debris from the case and its components. Make sure to use compressed air specifically designed for electronics.
- Soft Microfiber Cloth: This will be used to wipe down the exterior of the case and remove any fingerprints or smudges.
- Invasive Dusting Tools: These tools, such as a small brush or cotton swabs, will help you reach tight spaces and corners that canned air may not be able to reach.
- Rubbing Alcohol: Isopropyl alcohol with a concentration of 90% or higher can be used to clean stubborn stains or marks on the case.
- Lint-Free Cloth: This cloth is ideal for applying rubbing alcohol and cleaning delicate components.
- Screwdriver: A screwdriver set with different sizes and types of heads will be necessary for opening the case and removing components if needed.
Once you have gathered these supplies, you are ready to begin the cleaning process. It’s important to note that you should never use water or liquid cleaners directly on the components or inside the case, as moisture can damage sensitive electronics. Always be gentle when handling the components and avoid applying excessive pressure.
Now that you have all the necessary supplies, let’s move on to the next section and prepare for the cleaning process.
Preparation
Before diving into the cleaning process, it’s important to take a few steps to ensure the safety of your computer system and yourself. Follow these preparation steps before opening up your PC case:
- Turn Off and Unplug PC: Shut down your computer properly and unplug it from the power source. This will prevent any electrical accidents and ensure your safety.
- Ground Yourself: Static electricity can damage sensitive components, so it’s important to discharge any static buildup before touching the inside of your PC. You can do this by touching a grounded metal object like a doorknob or using an anti-static wristband.
- Choose a Clean and Well-Lit Workspace: Find a suitable location to work on your PC with ample lighting and a clean surface. This will help you see and access the components easily.
- Remove any Jewelry or Accessories: Take off any jewelry, such as rings or bracelets, that may scratch or interfere with the delicate components during the cleaning process.
- Take Photos and Notes: If you’re not familiar with the internal layout of your PC, it’s a good idea to take pictures and notes before removing any components. This will help you remember their original positions and connections.
By taking these preparation steps, you’ll have a clean and safe environment to work on your PC case. Remember to be patient and cautious throughout the cleaning process to avoid any accidental damage to your computer system.
Now that you’re prepared, it’s time to move on to the next section and start cleaning the various components of your PC case.
Step 1: Turn Off and Unplug PC
The first step in cleaning your PC case is to ensure the system is completely powered off and disconnected from the power source. This is crucial for your safety and to prevent any damage to the computer components.
Follow these steps to properly turn off and unplug your PC:
- Save and Close any Open Programs: Before shutting down your computer, make sure to save any open files or documents and close all programs. This will prevent any data loss or potential issues when you restart your PC later.
- Shut Down the Computer: Go to the Start menu, click on the Power option, and select Shut Down. Allow your PC to completely shut down before proceeding to the next step.
- Unplug the Power Cord: Once your PC is shut down, unplug the power cord from the back of the computer or from the power outlet. This will ensure that there is no electrical current flowing through the system while you clean it.
- Press the Power Button: After unplugging the power cord, press and hold the power button on your PC for a few seconds. This will discharge any residual power in the system.
- Disconnect Other Peripherals: If you have any USB devices, external hard drives, or other peripherals connected to your PC, unplug them as well. This will make it easier to access and clean the components inside the PC case.
By following these steps, you have successfully turned off and disconnected your PC from the power source. This ensures a safe environment for cleaning and prevents any potential electrical accidents.
Now that your PC is properly shut down and unplugged, you can move on to the next step and begin removing dust build-up from your PC case and its components.
Step 2: Remove Dust Build-Up
Over time, dust and debris can accumulate inside your PC case, obstructing airflow and causing your components to overheat. It’s important to regularly remove this dust build-up to maintain optimal performance and prevent potential hardware issues. In this step, we will guide you through the process of safely removing dust from your PC case.
Follow these steps to effectively remove dust build-up:
- Wear an Anti-Static Wristband: To avoid static electricity damaging sensitive components, put on an anti-static wristband or frequently touch a grounded metal object to discharge any static electricity.
- Open the PC Case: Use a screwdriver to remove the screws from the side panel of your PC case. Carefully slide off the panel and set it aside in a safe place.
- Use Compressed Air: Hold the can of compressed air upright and use short bursts of air to blow away the dust from the components, paying extra attention to fans, heatsinks, and vents. Make sure to hold the can at a safe distance to prevent any liquid residue from entering the components.
- Remove Dust with a Soft Brush or Cotton Swabs: For stubborn dust or hard-to-reach areas, use a small brush or cotton swabs to gently brush away the dust. Be careful not to apply excessive pressure or dislodge any connectors.
- Use a Vacuum Cleaner (Optional): If you have a vacuum cleaner with a brush attachment, you can carefully vacuum the dust from the case. However, ensure the vacuum cleaner is on a low-power setting to avoid causing static electricity.
While removing the dust, pay close attention to the fans, as they tend to accumulate a significant amount of dust. You may need to hold them in place to prevent them from spinning while blowing compressed air on them to avoid damage.
Once you have removed the dust from all the components, allow any remaining particles to settle before continuing with the cleaning process. This will prevent the dust from swirling around and settling back onto the newly cleaned surfaces.
In the next step, we will guide you through cleaning the exterior of your PC case to maintain its visual appeal and cleanliness.
Step 3: Clean the Exterior
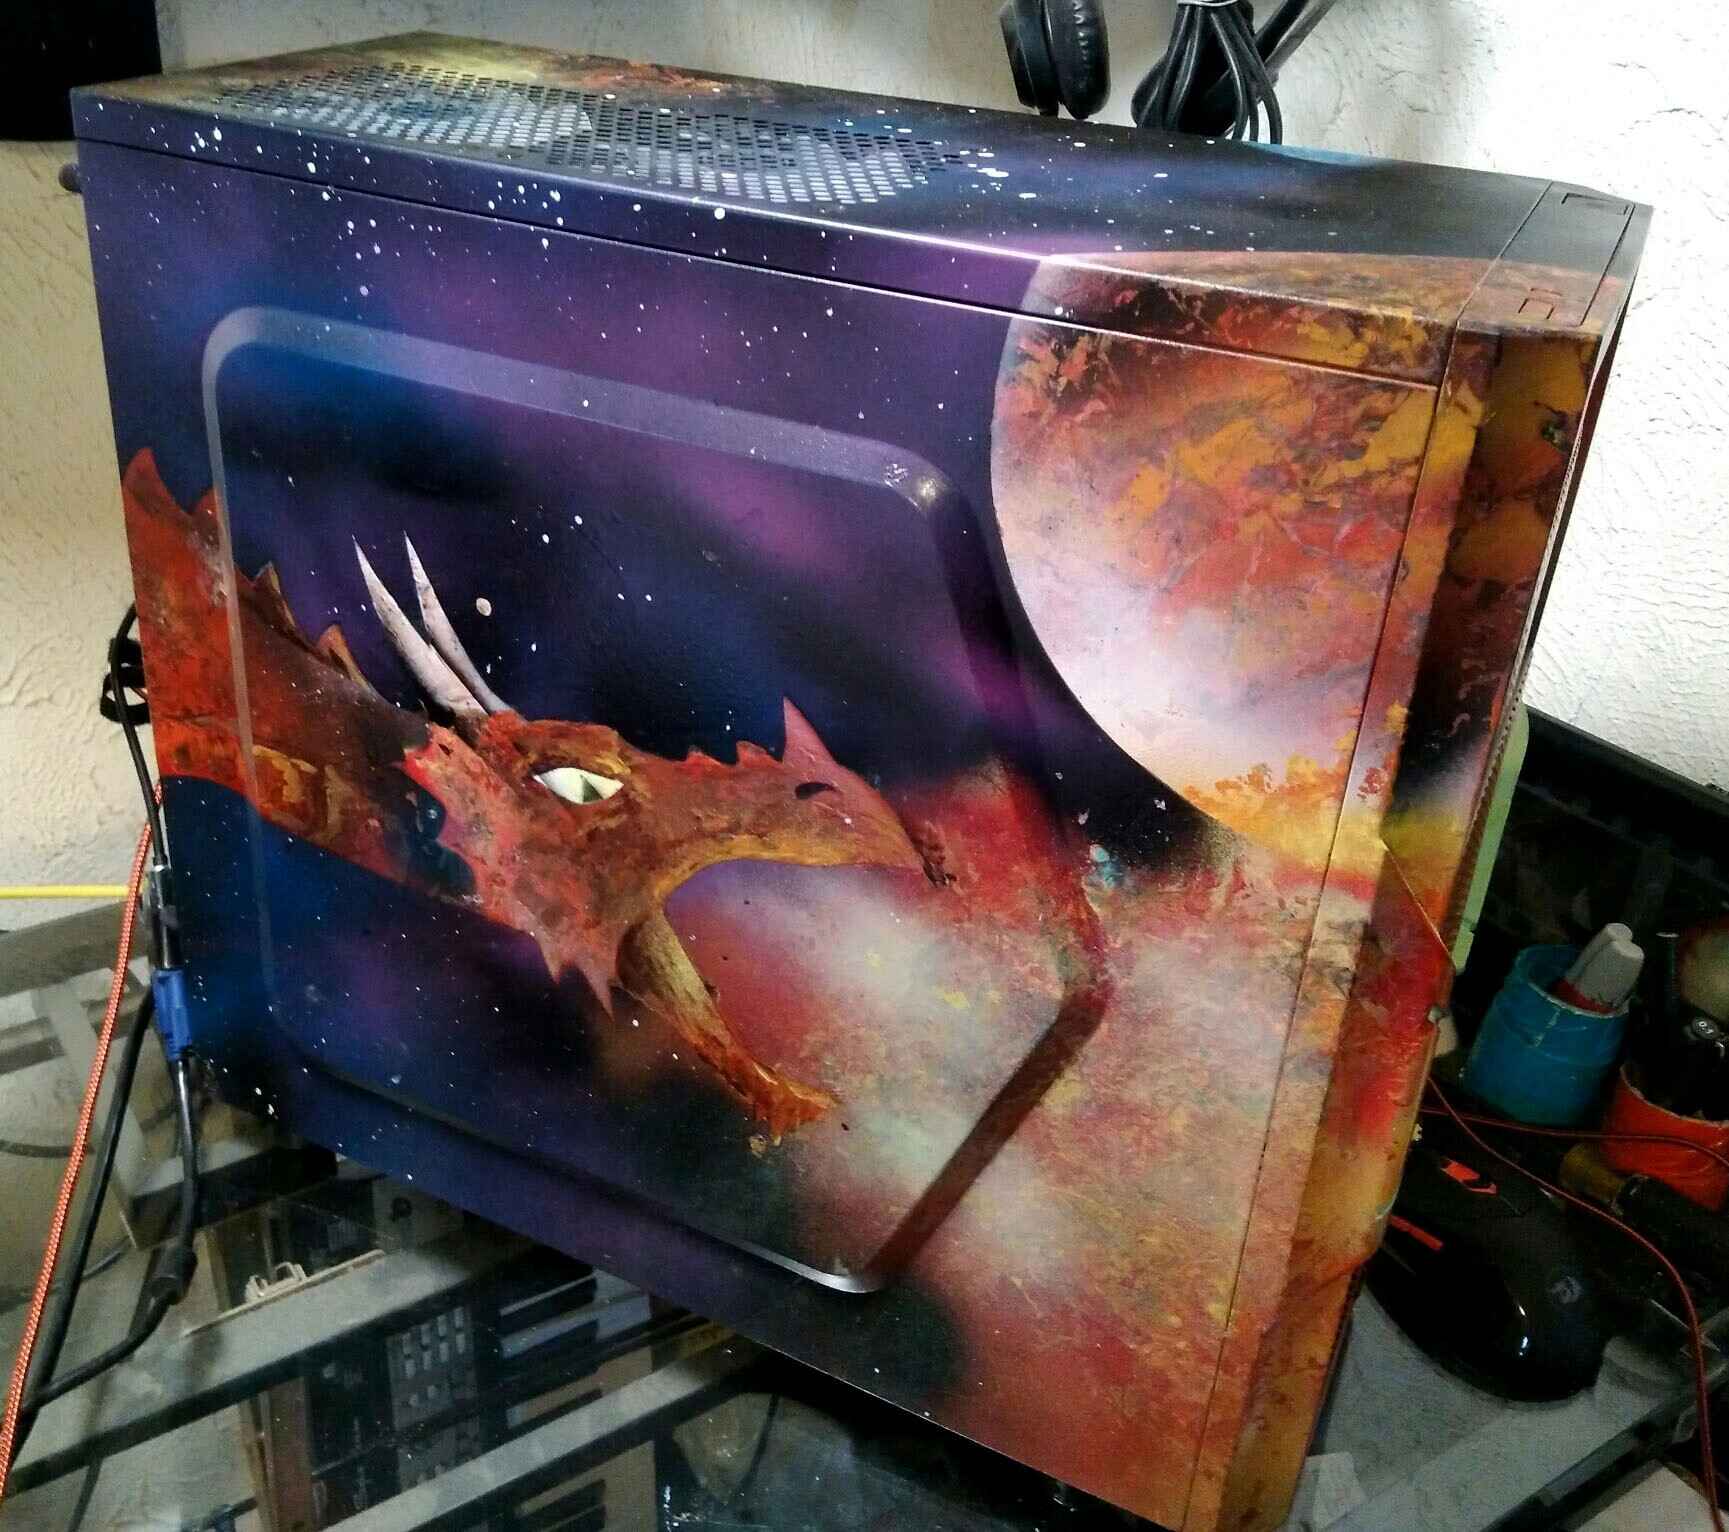
After removing the internal dust build-up, it’s time to shift our focus to the exterior of your PC case. Cleaning the exterior not only improves the overall aesthetics but also helps in maintaining the longevity of your computer system. In this step, we will walk you through the process of cleaning the exterior of your PC case.
Follow these steps to effectively clean the exterior of your PC case:
- Disconnect any Cables: Before cleaning, make sure to disconnect any cables connected to the back or front of your PC case. This will make it easier to access and clean the surfaces without any obstructions.
- Use a Microfiber Cloth: Take a soft microfiber cloth and gently wipe down the entire exterior of your PC case. Start from the top and work your way down, paying attention to areas prone to smudges and fingerprints.
- Remove Stubborn Stains: If there are any stubborn stains or marks on the case, lightly dampen the microfiber cloth with rubbing alcohol (isopropyl alcohol). Gently rub the affected area until the stain is removed. Avoid using excessive alcohol or applying too much pressure.
- Dust the Ports and Openings: Use compressed air or a brush to remove any dust or debris from the ports, USB slots, and other openings on the front and back of your PC case. This will ensure proper connectivity and prevent any issues when plugging in devices.
- Don’t Forget the Monitor and Peripherals: If your PC case is connected to a monitor or other peripherals, take the time to clean them as well. Use the appropriate cleaning solutions and materials recommended by the manufacturer for each device.
During the cleaning process, maintain a gentle touch and avoid using harsh chemicals or abrasive materials that may damage the surface of your PC case. Remember to let any cleaning solutions dry completely before reconnecting the cables and powering on your computer.
Once the exterior of your PC case is clean and free from dust and smudges, you can move on to the next step and focus on cleaning the interior components.
Step 4: Clean the Interior
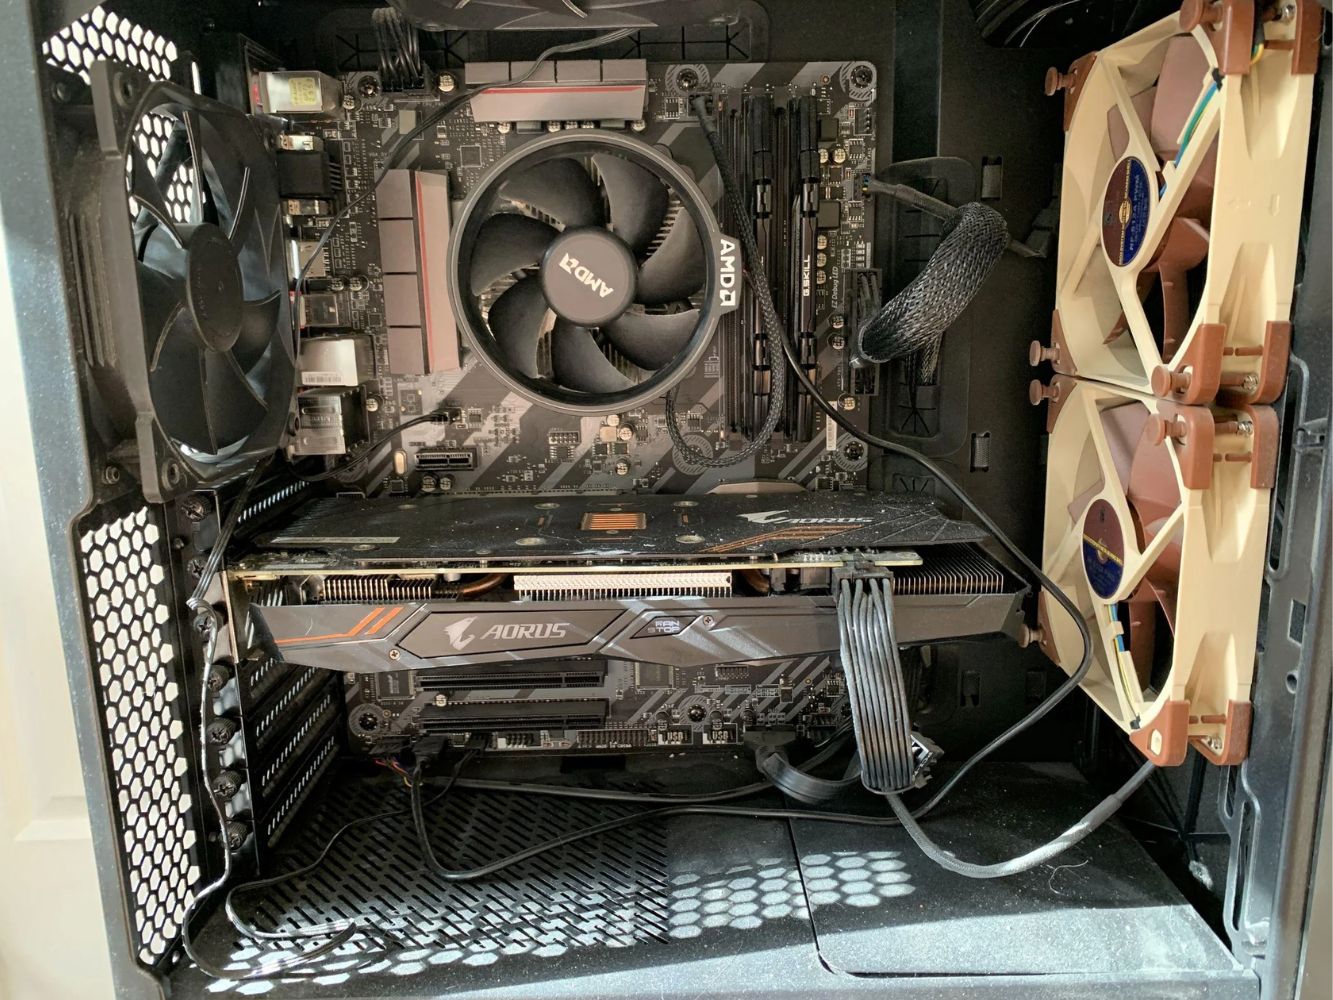
Now that you have cleaned the exterior of your PC case, it’s time to shift our attention to the interior components. The interior of your PC case can accumulate dust, especially on the motherboard, graphics card, and other hardware components. Cleaning the interior will help maintain optimal performance and prevent overheating. Follow these steps to effectively clean the interior of your PC case:
- Ground Yourself: Before touching any internal components, remember to ground yourself by using an anti-static wristband or touching a grounded metal object to discharge any static electricity.
- Identify Dusty Areas: Inspect the internal components to identify areas with noticeable dust accumulation, such as the motherboard, graphics card, RAM modules, and storage drives.
- Use Compressed Air: Hold the can of compressed air upright and use short bursts to blow away the dust from the internal components. Start from top to bottom, moving in a methodical manner, and pay extra attention to hard-to-reach spaces.
- Remove Stubborn Dust: For areas with stubborn dust, use a soft brush or cotton swabs to gently wipe away the particles. Take care not to apply excessive pressure or dislodge any connectors.
- Clean the Storage Drives: If your PC case has removable storage drives, carefully remove them and use compressed air to clean any dust on the drive’s surface and connectors. Place them back securely after cleaning.
While cleaning the interior, pay close attention to any fans present, such as CPU fans or GPU fans. Ensure they are free from dust and spin freely, as this promotes proper airflow and cooling.
Remember to be mindful of delicate components and connectors during the cleaning process. Avoid using excessive force or causing accidental damage to any hardware. Take note of any loose cables or connectors and secure them properly while reassembling your PC.
By effectively cleaning the interior of your PC case, you will enhance its performance, reduce the risk of overheating, and prolong the lifespan of your hardware components.
In the next step, we will guide you through the process of cleaning the fans within your PC case.
Step 5: Clean the Fans
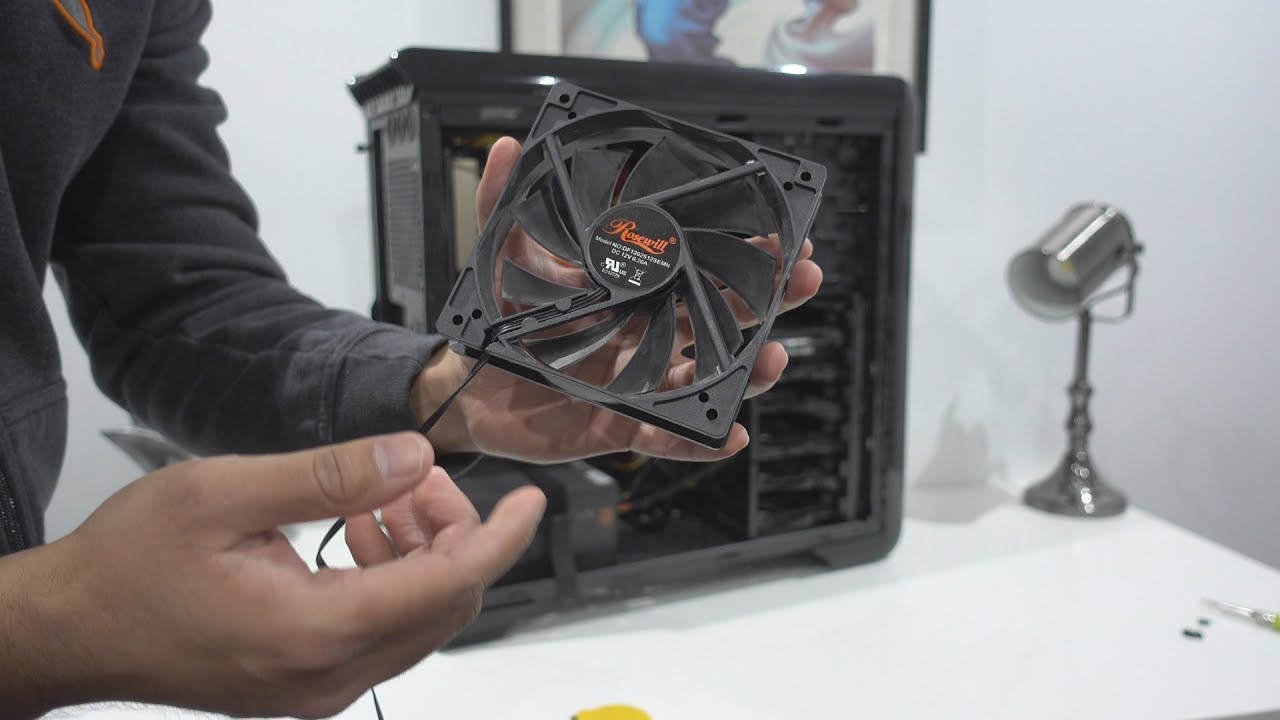
Fans play a crucial role in keeping your PC components cool by ensuring proper airflow. Over time, dust and debris can accumulate on the fan blades, obstructing their movement and reducing their effectiveness. In this step, we will guide you through the process of cleaning the fans within your PC case.
Follow these steps to effectively clean the fans:
- Locate the Fans: Identify the fans inside your PC case. Common locations include the CPU fan, GPU fan, and case fans.
- Secure the Fans: For safety, hold the fan blades in place with your finger or a small object to prevent them from spinning while cleaning. This will avoid any damage to the fan motor or other components.
- Use Compressed Air: Hold the can of compressed air upright and direct short bursts of air onto the fan blades to dislodge the dust. Start from the outer edges of the fan and work your way towards the center.
- Clear Dust from Fan Vents: Use compressed air or a brush to remove any dust or debris from the fan vents or grills. Ensure that the airflow paths are clear for maximum effectiveness.
- Repeat for all Fans: Repeat the process for each fan in your PC case, including the CPU fan, GPU fan, and any case fans. Take your time to thoroughly clean each fan.
It’s important to note that if a fan is excessively dirty or not functioning properly, it might be necessary to remove it for a more thorough cleaning or for replacement. Consult your PC’s manual or manufacturer’s instructions for guidance on removing and cleaning specific fans.
While cleaning the fans, take a moment to visually inspect them for any signs of damage, such as broken blades, wobbling, or excessive noise. If you notice any issues, it may be prudent to replace the fan to avoid potential hardware problems.
By regularly cleaning the fans within your PC case, you will ensure optimal cooling performance and prevent overheating of your components. This will help maintain the stability and longevity of your computer system.
In the next step, we will guide you through the process of cleaning the power supply unit (PSU) within your PC case.
Step 6: Clean the Power Supply
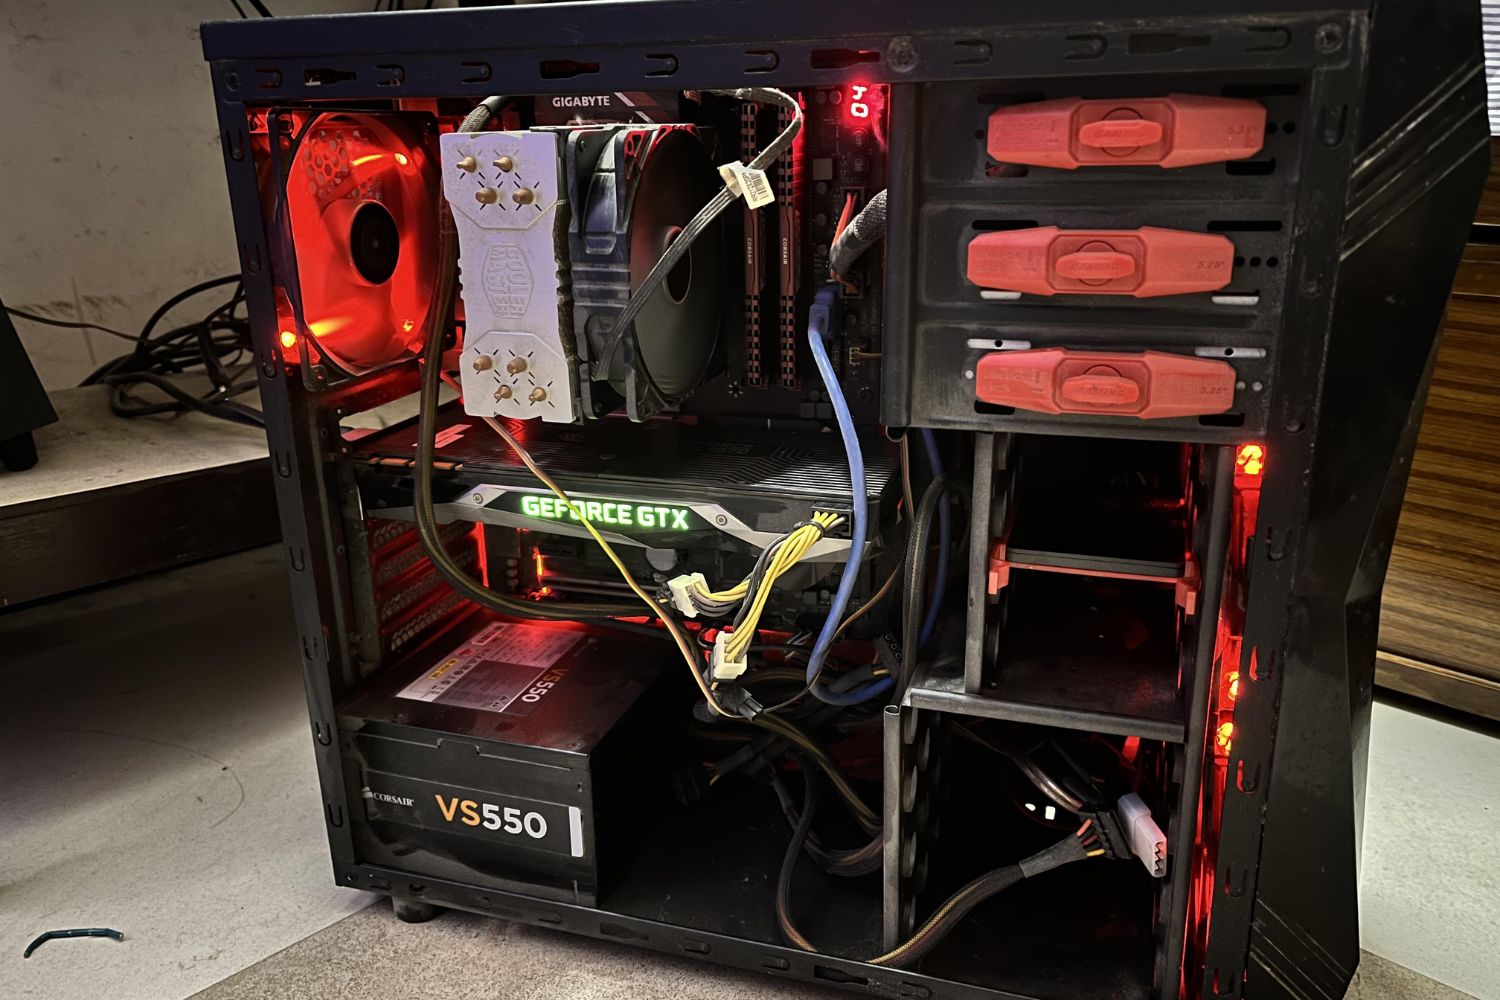
The power supply unit (PSU) is a critical component in your PC that provides electrical power to all the hardware. Over time, dust and debris can accumulate inside the PSU, leading to reduced efficiency and potential overheating. In this step, we will guide you through the process of cleaning the power supply within your PC case.
Follow these steps to effectively clean the power supply:
- Turn Off and Unplug Your PC: Before you begin cleaning the power supply, make sure to turn off your PC and unplug it from the power source. This will ensure your safety while working with the power supply.
- Locate the Power Supply: Identify the power supply unit in your PC case. It is usually located at the top or bottom rear section of the case.
- Remove the Power Supply: Depending on your PC case, you may need to remove a side panel or disconnect cables to access the power supply. Refer to your PC’s manual or manufacturer’s instructions for guidance on removing the power supply.
- Use Compressed Air: Hold the can of compressed air upright and direct short bursts of air into the power supply to dislodge dust and debris. Pay special attention to the fan and ventilation areas.
- Clear Dust from Fan and Ventilation: Use a brush or compressed air to remove dust and debris from the fan blades and ventilation areas of the power supply. Ensure that the airflow paths are clear for proper cooling.
- Reinstall the Power Supply: Once you have finished cleaning the power supply, carefully reinstall it back into your PC case, making sure it is securely and properly connected.
It’s important to note that the power supply contains high-voltage components, even when it is unplugged. Avoid touching any internal components of the power supply to prevent electrical shock.
If you encounter significant dust build-up or suspect an issue with your power supply, it is recommended to consult a professional or contact the manufacturer for further assistance.
By regularly cleaning the power supply unit, you can help maintain its efficiency and prolong its lifespan. This will contribute to the overall stability and reliability of your PC.
In the next step, we will guide you on how to clean the motherboard and components within your PC case.
Step 7: Clean the Motherboard and Components
The motherboard is the central component of your PC, connecting all the hardware together. Over time, dust and debris can accumulate on the motherboard and its components, potentially affecting performance and causing instability. In this step, we will guide you through the process of cleaning the motherboard and its components.
Follow these steps to effectively clean the motherboard and components:
- Ground Yourself: Before touching any internal components, use an anti-static wristband or frequently touch a grounded metal object to discharge any static electricity.
- Inspect the Motherboard: Carefully examine the motherboard and its components for any visible dust, debris, or build-up.
- Use Compressed Air: Hold the can of compressed air upright and use short bursts to blow away dust and debris from the motherboard. Pay attention to areas around memory slots, expansion slots, and any other connectors.
- Remove Stubborn Dust: For areas with stubborn dust, use a soft brush or cotton swabs to gently wipe away the particles. Be cautious around delicate components and connectors.
- Clean the RAM Modules: If needed, remove the RAM modules from their slots and clean the gold contacts using a soft, lint-free cloth lightly dampened with rubbing alcohol. Allow them to dry fully before reinstalling.
- Check Other Components: Take a moment to inspect other components, such as the graphics card or expansion cards, and clean them using compressed air or a soft brush as necessary.
When cleaning the motherboard and its components, be mindful of static electricity. Avoid touching the gold contacts or sensitive components directly to prevent damage caused by static discharge.
If you encounter any difficult-to-remove stains or debris on the motherboard, consult professional assistance or contact the manufacturer for guidance on safe cleaning methods.
By regularly cleaning the motherboard and its components, you can ensure proper functionality, improve performance, and extend the lifespan of your PC.
In the next step, we will guide you on how to clean the cables within your PC case to maintain a tidy and organized setup.
Step 8: Clean the Cables
Cables are an integral part of your PC setup, connecting various components and peripherals. Over time, they can accumulate dust and become tangled, leading to poor cable management and potentially hindering proper airflow. In this step, we will guide you through the process of cleaning the cables within your PC case.
Follow these steps to effectively clean the cables:
- Inspect the Cables: Examine the cables connected to your PC, including power cables, data cables, and peripheral cables. Look for any visible dust, debris, or tangles.
- Use Compressed Air: Hold the can of compressed air upright and direct short bursts of air onto the cables to dislodge and remove dust and debris. Pay attention to any crevices or connectors.
- Untangle the Cables: If you notice any tangled cables, carefully separate and straighten them out. This will help improve cable management and maintain proper airflow within your PC case.
- Secure Loose Cables: If you find any loose or dangling cables, use cable ties or clips to secure them in place. This not only improves cable management but also prevents any accidental disconnections or snags.
- Label or Color Code Cables: As an optional step, you may consider labeling or color-coding your cables for easier identification and organization. This can be particularly useful when troubleshooting or performing maintenance in the future.
While cleaning the cables, be gentle to avoid causing any damage to the connectors or cables themselves. Avoid applying excessive force or pulling on the cables excessively.
Proper cable management not only enhances the visual appeal of your PC setup but also improves airflow, reducing the risk of overheating and improving overall system performance.
In the next step, we will guide you through the process of reassembling your PC after cleaning.
Step 9: Reassemble Your PC
After thoroughly cleaning each component of your PC, it’s time to reassemble everything and get your computer back up and running. Follow these steps to successfully reassemble your PC:
- Organize Screws and Components: Take a moment to organize the screws you removed during the cleaning process. Keeping them organized will make it easier to reattach panels and components.
- Reattach Panel: Carefully align the side panel or panels with the corresponding slots on your PC case. Slide the panel back into place and secure it using the screws you previously removed.
- Reconnect Cables: Begin reconnecting the cables to their respective ports. Refer to any notes or photos you took earlier to ensure the proper placement and orientation of each cable.
- Reinstall Components: If you removed any hardware components, such as RAM modules or storage drives, reinstall them securely and make sure they are properly seated in their respective slots.
- Double-Check Connections: Take a moment to double-check that all cables, connectors, and components are properly and securely connected. Make sure no cables are interfering with any moving parts, such as fans.
- Close Case: Once you are satisfied with the connections and placement of components, close the PC case and tighten any screws as necessary. Ensure that the case is properly aligned and closed securely.
- Plug in and Power On: Finally, plug your PC back into the power source and turn it on. Listen for any unusual noises or observe any error messages that may indicate a loose connection or an issue with the reassembled components.
Take your time when reassembling your PC to avoid any mistakes or accidental damage. If you encounter difficulties or are unsure about any step, consult your PC’s manual or seek professional assistance.
Congratulations! You have successfully completed the process of cleaning and reassembling your PC. Regularly maintaining and cleaning your computer will help optimize performance, improve reliability, and extend the lifespan of your hardware.
Remember to periodically clean your PC case to prevent dust build-up from becoming excessive. This will ensure that your computer continues to operate smoothly and efficiently.
Conclusion
Cleaning your PC case is an essential task that should be incorporated into your regular computer maintenance routine. By following the step-by-step process outlined in this guide, you can effectively remove dust and debris from your PC case, ensuring optimal performance and longevity for your computer system.
Throughout this guide, we have covered various steps to help you clean your PC case thoroughly. From gathering the necessary supplies to cleaning the exterior, interior, fans, power supply, motherboard, cables, and reassembling your PC, each step plays a vital role in maintaining a clean and well-functioning computer system.
Regularly cleaning your PC case offers numerous benefits. It improves airflow, prevents overheating, reduces the risk of component damage, and prolongs the lifespan of your hardware. Additionally, a clean PC case improves the overall aesthetics and provides you with a tidy and organized workspace.
Remember to always prioritize safety during the cleaning process. Turn off and unplug your PC, ground yourself to discharge static electricity, and be careful when handling delicate components. If you are uncomfortable with any step or believe there may be an issue with your hardware, it’s best to consult a professional for guidance.
By incorporating regular cleaning into your computer maintenance routine, you can ensure that your PC functions optimally and remains reliable for years to come. So, take the time to clean your PC case, enjoy improved performance, and maintain a clean and healthy computing environment.