Introduction
Welcome to our guide on how to clean an acrylic PC case. If you’re a proud owner of a high-end gaming rig or a stylish custom-built computer, keeping your acrylic PC case clean and well-maintained is crucial. A clean PC case not only looks great but also helps to improve the overall performance and longevity of your components.
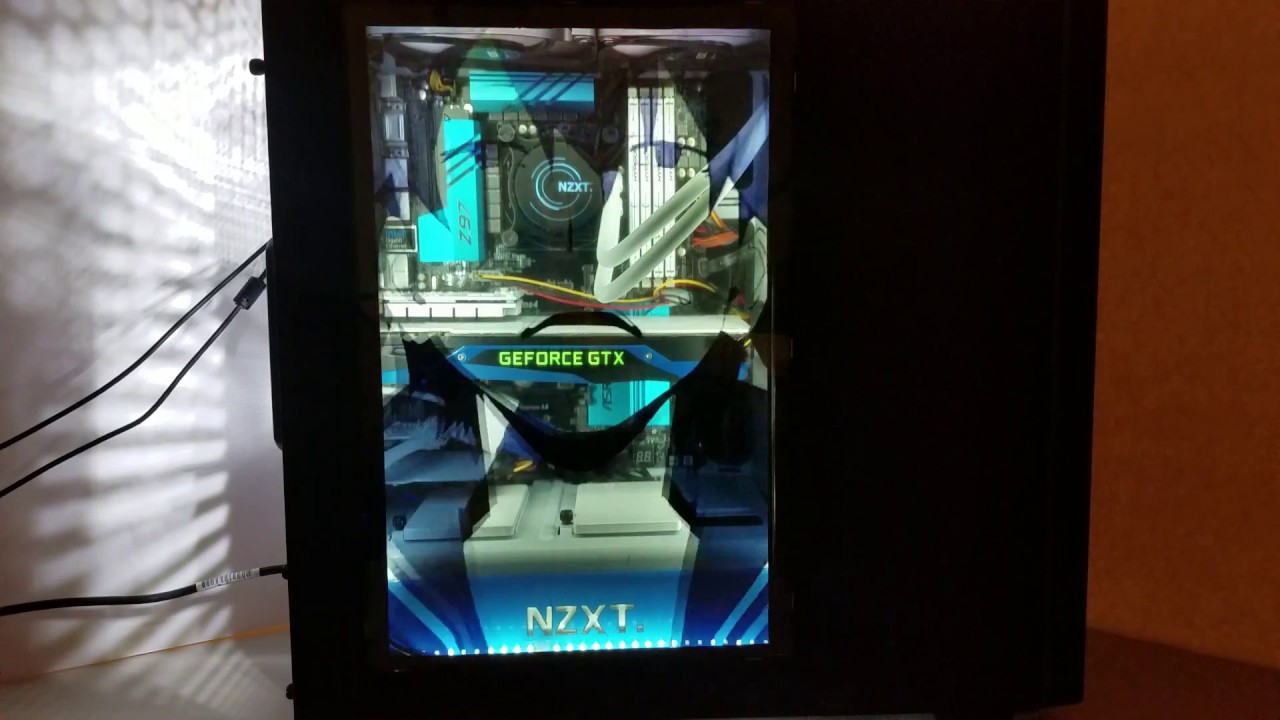
Acrylic PC cases are popular among PC enthusiasts due to their sleek and transparent design. However, they can easily accumulate dust, fingerprints, and smudges, which can detract from their aesthetic appeal. Regular cleaning of your acrylic PC case is essential to ensure it remains in pristine condition and to keep your components running cool and efficiently.
In this guide, we will take you step-by-step through the process of cleaning an acrylic PC case, both on the exterior and interior. We will also provide tips and techniques to remove scratches and polish the acrylic surface, helping you restore its original shine.
Before we dive into the cleaning process, it’s important to note that proper cleaning techniques are vital to avoid damaging the acrylic material. Using the wrong cleaning products or methods can result in scratches, clouding, or even the cracking of the case. It’s essential to follow the guidelines provided in this guide to ensure that your acrylic PC case remains pristine and lasts for years to come.
So, let’s get started on keeping your acrylic PC case clean and looking as good as new!
Benefits of Cleaning Acrylic PC Case
Regularly cleaning your acrylic PC case offers several benefits that go beyond just improving its appearance. Let’s take a look at some of the key advantages of keeping your acrylic PC case clean:
- Improved Cooling: Dust, dirt, and debris can obstruct the cooling vents and fans in your PC case, leading to reduced airflow and increased heat buildup. By cleaning your acrylic PC case, you ensure that air can circulate freely, helping to maintain optimal temperatures for your components.
- Enhanced Performance: Over time, dust accumulation can affect the performance of your PC components, particularly the CPU and GPU. Cleaning the case removes dust particles that can clog up fans, heat sinks, and other crucial components, allowing them to function better and prevent thermal throttling.
- Extended Lifespan: By keeping your acrylic PC case clean, you protect your components from excessive heat and potential damage caused by dust and debris. This can help extend the lifespan of your PC, potentially saving you money on costly repairs or replacements.
- Improved Aesthetics: The transparent nature of acrylic PC cases offers a clear view of your components and lighting effects. Regular cleaning removes fingerprints, smudges, and dust particles, ensuring that your case looks visually appealing and allows you to showcase your hardware in all its glory.
- Better Air Quality: Dust particles present inside your PC case can eventually find their way into your system, potentially clogging up filters and settling on sensitive electronic components. Cleaning your acrylic PC case promotes a cleaner environment for your PC, reducing the risk of contamination and ensuring better air quality.
By dedicating some time to regularly clean your acrylic PC case, you not only maintain its aesthetics but also ensure the optimal performance and longevity of your components. With these benefits in mind, let’s move on to the next section where we will discuss the tools and materials you’ll need for the cleaning process.
Tools and Materials Needed for Cleaning
Before embarking on the cleaning process for your acrylic PC case, it is important to gather the necessary tools and materials. Having the right supplies will ensure that you can clean your case effectively without causing any damage to the acrylic surface. Here are the tools and materials you will need:
- Microfiber Cloth: A soft microfiber cloth is a must-have for cleaning your acrylic PC case. It is gentle on the surface and helps to prevent scratches or scuff marks. Avoid using abrasive cloths or paper towels as they can damage the acrylic.
- Distilled Water: The best choice for cleaning the acrylic case is distilled water. It does not contain any minerals or impurities that can potentially harm the surface. Avoid using tap water as it may leave water spots or streaks.
- Mild Soap: Use a mild soap or acrylic cleaner specifically formulated for cleaning acrylic surfaces. Avoid harsh chemicals, abrasive cleaners, or solvents as they can cause damage to the acrylic material.
- Cotton Swabs: Cotton swabs are useful for reaching corners and crevices that are difficult to clean with a cloth. They allow for precise cleaning without exerting too much pressure on the acrylic surface.
- Blower or Compressed Air: A blower or compressed air can be used to remove loose dust or debris from hard-to-reach areas such as fan blades, vent grilles, and intricate details on the PC case. This helps to ensure a thorough cleaning.
- Acrylic Scratch Remover (Optional): If your acrylic PC case has minor scratches, you may consider using an acrylic scratch remover to restore the surface. Choose a product specifically designed for acrylic and follow the instructions carefully.
- Polishing Compound (Optional): If you want to give your acrylic PC case an extra shine, you can use a polishing compound suitable for acrylic surfaces. This will help remove any remaining haze or fine scratches, leaving a polished finish.
With these tools and materials on hand, you are now ready to move on to the next section where we will discuss how to prepare your PC case for cleaning.
Preparing the PC Case for Cleaning
Before you begin the actual cleaning process, it’s important to properly prepare your acrylic PC case. Taking a few simple steps beforehand will ensure that the cleaning process goes smoothly and that you can effectively remove dust, fingerprints, and other debris. Here’s how to prepare your PC case for cleaning:
- Turn Off and Unplug: Before touching your PC case, make sure to turn off your computer and unplug it from the power source. This ensures your safety and prevents any accidental damage to your components during the cleaning process.
- Remove Components: If your PC case allows for easy component removal, such as side panels or filters, take this opportunity to remove them. This will provide better access to the interior and exterior surfaces, making cleaning more efficient.
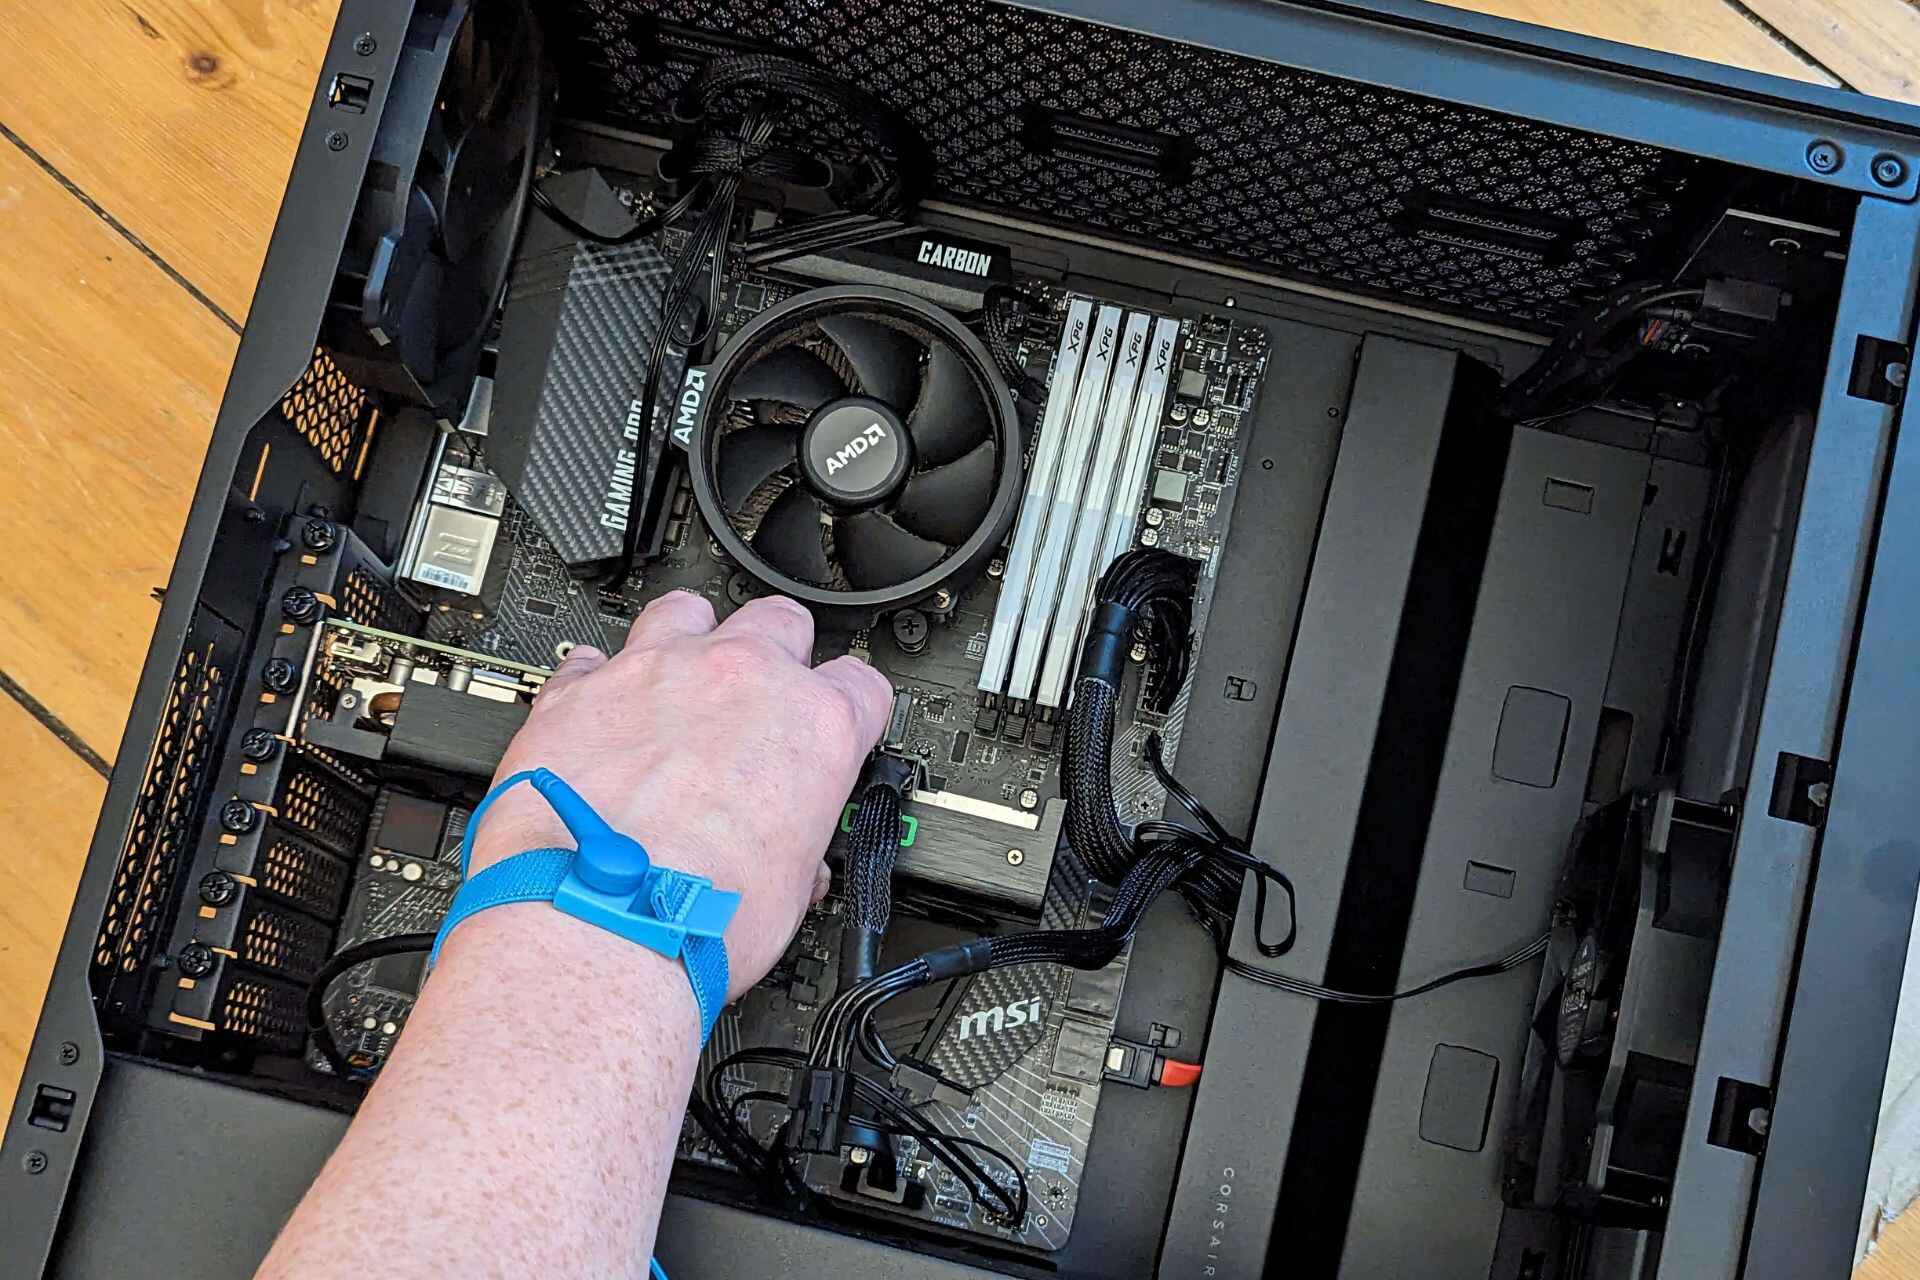
- Ground Yourself: To avoid any potential static discharge that could damage electronic components, it’s a good practice to ground yourself before touching any internal parts of your PC case. You can do this by touching a grounded metal object or wearing an anti-static wrist strap.
- Open Windows or Work in a Well-Ventilated Area: Cleaning your PC case may release dust particles and potentially small amounts of cleaning chemicals into the air. To avoid inhaling them and ensuring adequate ventilation, open windows or work in a well-ventilated area.
- Remove Loose Dust: Before using any cleaning solutions, start by removing loose dust from the case. You can use a blower or compressed air to blow away dust from hard-to-reach areas and corners. This step helps ensure that you won’t spread or scratch the dust while cleaning.
- Identify Problem Areas: Take a closer look at your PC case and identify any specific areas that may require extra attention. These may include vents, filters, or areas with visible smudges or fingerprints. Note these areas down so you can pay special attention to them during cleaning.
By properly preparing your PC case for cleaning, you lay the foundation for a thorough and effective cleaning process. When you’re ready, continue to the next sections where we will explore how to clean the exterior and interior of your acrylic PC case.
Cleaning the Exterior of the Acrylic Case
Now that you have prepared your PC case, it’s time to focus on cleaning the exterior surface of the acrylic case. The exterior of your PC case is susceptible to dust, fingerprints, and smudges, which can diminish its visual appeal. Follow these steps to effectively clean the exterior of your acrylic case:
- Dust Off the Surface: Start by gently dusting off the entire exterior surface of the case using a soft microfiber cloth or a blower. This removes loose dust and prevents it from scratching the acrylic surface during the cleaning process.
- Mix Cleaning Solution: In a small container, mix a mild soap or acrylic cleaner with distilled water. Follow the instructions provided by the manufacturer for the appropriate ratio of water to cleaner. Avoid using excessive amounts of cleaning solution, as too much moisture can damage the acrylic.
- Dampen the Cloth: Dip the microfiber cloth into the cleaning solution and wring out any excess liquid. The cloth should be slightly damp, not soaking wet. A damp cloth is sufficient for effectively cleaning the acrylic surface.
- Gently Wipe the Surface: Starting from the top of the case, gently wipe the acrylic surface in a smooth, circular motion. Take care to cover all areas, paying special attention to fingerprints or smudges. Avoid using excessive pressure or scrubbing, as this can potentially scratch the acrylic.
- Clean Corners and Crevices: Use cotton swabs dipped in the cleaning solution to clean hard-to-reach corners and crevices of the case. The swabs allow for precise cleaning and help ensure that no dirt or grime is left behind.
- Remove Excess Moisture: After cleaning, use a dry part of the microfiber cloth to carefully remove any excess moisture from the surface. This step helps to prevent water spots or streaks from forming on the acrylic case.
- Inspect and Touch Up: Once the surface has dried, inspect the acrylic case to ensure that it is free from streaks, smudges, or remaining marks. If necessary, repeat the cleaning process in specific areas until you are satisfied with the cleanliness of the surface.
By following these steps, you can effectively clean the exterior surface of your acrylic PC case, restoring its shine and removing any dust, fingerprints, or smudges that may have accumulated over time. Next, we will move on to the process of cleaning the interior of the acrylic case, which is equally important for maintaining optimal performance and cleanliness of your PC components.
Cleaning the Interior of the Acrylic Case
While cleaning the exterior of your acrylic PC case is important for aesthetics, it’s equally essential to clean the interior to maintain optimal performance and prevent dust buildup. Follow these steps to effectively clean the interior of your acrylic case:
- Remove Dust and Debris: Use a blower or compressed air to carefully blow away any loose dust and debris from the interior of the case. Pay close attention to areas such as fan blades, vent grilles, and filters, where dust tends to accumulate.
- Dust Filters: If your case has removable dust filters, take them out and gently tap or blow off any dust or debris. You can also rinse them with distilled water if they are washable. Allow them to dry thoroughly before reinserting them into the case.
- Clean Fans and Heat Sinks: Use the blower or compressed air to remove dust from the fans and heat sinks. Hold the fans in place with a finger to prevent them from spinning and potentially damaging the components. Be sure to clean both intake and exhaust fans thoroughly.
- Clear Cable Management: If necessary, tidy up your cables and ensure they are organized to promote better airflow. This helps in preventing dust accumulation and optimizing cooling efficiency within the case.
- Clean Hard Drive Bays and Components: Use a soft microfiber cloth or cotton swabs dampened with a mild cleaning solution to gently wipe the hard drive bays, graphics card, RAM modules, and other visible components. Be cautious when cleaning near delicate parts to avoid any accidental damage.
- Clean Other Interior Surfaces: Wipe down the interior surfaces of the case using the slightly damp microfiber cloth. Be thorough and reach tight corners and crevices to remove any dust or residue. Take care not to apply excessive moisture or pressure that could damage the acrylic.
- Check for Remaining Dust: Inspect the interior of the case carefully to ensure that all dust and debris have been removed. Use the blower or compressed air again if necessary. A clean interior will not only promote better airflow but also help maintain optimal temperatures for your components.
- Reassemble the Case: Once you are satisfied with the cleanliness of the interior, reassemble any components or dust filters that were removed. Ensure that everything is securely in place before moving on to the next steps.
By following these steps, you can effectively clean the interior of your acrylic PC case, removing dust and debris that can accumulate over time. This helps to maintain optimal performance and prevent possible heat-related issues. Now, let’s move on to the next section, where we will explore how to remove scratches from the acrylic case.
Removing Scratches from the Acrylic Case
If your acrylic PC case has acquired some minor scratches over time, there are methods you can employ to help restore its smooth and clear appearance. Keep in mind that these techniques are only suitable for superficial scratches and may not be effective for deep or severe damage. Here’s how you can attempt to remove scratches from your acrylic case:
- Clean the Surface: Before attempting to remove scratches, it’s essential to clean the acrylic surface thoroughly. Follow the cleaning steps mentioned earlier in this guide to eliminate any dust or debris that could further scratch the surface.
- Identify the Extent of the Scratches: Examine the scratches on your acrylic case to determine their severity. If the scratches are shallow and do not catch your fingernail when you run it across them, it’s likely that they can be resolved using simple polishing techniques.
- Polishing Compound: Start by applying a small amount of a designated acrylic polishing compound to a soft, clean cloth. Gently rub the compound onto the scratched area using circular motions. Continue rubbing until the scratches begin to fade or disappear.
- Gradual Approach: It’s important to proceed slowly and gradually while polishing the scratches. Apply light pressure and make sure not to overdo it. Regularly check the progress and stop if you notice any adverse effects, such as excessive clouding or distortion in the acrylic.
- Polish the Entire Surface: If you decide to use a polishing compound, it’s best to polish the entire surface of the acrylic case rather than focusing solely on the scratched areas. This will help create a consistent and even appearance throughout the case.
- Clean and Assess: After polishing, clean the acrylic case once again to remove any residue from the polishing compound. Inspect the surface to see if the scratches have been sufficiently reduced or eliminated. If not, you may need to repeat the polishing process or consider seeking professional help if the scratches are still visible.
Keep in mind that removing scratches from an acrylic PC case requires caution and patience. If you are unsure or uncomfortable with attempting this process yourself, it’s advisable to seek professional assistance to prevent further damage to the case. Finally, let’s move on to the next section, where we will discuss how to polish the acrylic case for a glossy finish.
Polishing the Acrylic Case
After cleaning and potentially removing scratches from your acrylic PC case, you may want to give it an extra polish to achieve a glossy and pristine appearance. Polishing helps to enhance the transparency and shine of the acrylic surface. Here are the steps to follow when polishing your acrylic case:
- Ensure a Clean Surface: Before you begin polishing, make sure the acrylic surface is thoroughly cleaned and free of any dust, residue, or fingerprint smudges. Refer to the cleaning steps previously mentioned in this guide to properly prepare the surface.
- Choose a Suitable Acrylic Polish: Select an acrylic-specific polish that is designed to bring out the best in acrylic surfaces. It’s important to choose a polish that is safe to use on acrylic and does not contain any abrasive particles that may cause damage.
- Apply the Polish: Put a small amount of the acrylic polish onto a clean, soft cloth. Gently apply the polish to the entire acrylic surface in circular motions. Ensure that the polish is evenly distributed and covers all areas of the case.
- Polish in a Systematic Manner: Polish the acrylic case in a systematic manner, working your way across the entire surface. Apply light to moderate pressure and continue the circular motion. Avoid using excessive pressure, as it may cause damage to the acrylic.
- Persistent Scratches: If you encounter any persistent or deeper scratches, spend a bit more time gently polishing them with the cloth and polish. Keep in mind that deeper or more severe scratches may require professional help or more specialized techniques to repair.
- Buff and Wipe: Once you have polished the acrylic case, use a separate clean cloth to buff the surface. This will help remove any excess polish residue and create a smooth and glossy finish. Ensure that you buff in the direction of the acrylic’s grain for the best results.
- Inspect and Touch Up: After the polishing and buffing process, inspect the acrylic case to ensure that it has achieved the desired level of gloss and clarity. If there are any remaining marks or imperfections, you may need to repeat the polishing process or seek professional assistance.
Polishing your acrylic PC case after cleaning and potentially removing scratches can elevate its appearance, giving it a luxurious and eye-catching finish. However, remember to take caution and follow the instructions provided by the acrylic polish manufacturer to avoid any damage. Now, we will move on to the final section of this guide, where we will share some tips for maintaining a clean acrylic PC case.
Tips for Maintaining a Clean Acrylic PC Case
Now that you have learned how to clean, remove scratches, and polish your acrylic PC case, it’s important to maintain its cleanliness and appearance over time. Here are some tips to help you keep your acrylic case looking clean and pristine:
- Regular Dusting: Dust your acrylic PC case regularly using a soft microfiber cloth or a blower. This helps prevent a buildup of dust and maintains optimal airflow.
- Fingerprints and Smudges: Wipe away fingerprints and smudges as soon as you notice them using a soft cloth. By addressing them promptly, you can prevent them from becoming more difficult to remove later.
- Avoid Harsh Chemicals: When cleaning, avoid using harsh chemicals, solvents, or abrasive cleaners as they can cause damage to the acrylic surface. Stick to mild soap or an acrylic-specific cleaner.
- Use Distilled Water: When using water for cleaning or rinsing, opt for distilled water to avoid leaving behind water spots or streaks on the acrylic surface.
- Avoid Scratches: Take care to prevent scratches by using a soft cloth and gentle motions when cleaning or handling the acrylic PC case. Avoid placing sharp or abrasive objects near the case.
- Monitor Air Intake and Exhaust: Regularly check the air intake and exhaust areas of your PC case for any dust accumulation. Clean or replace dust filters if necessary, as they help prevent dust from entering and settling inside the case.
- Maintain Cable Management: Proper cable management can help prevent dust buildup and improve the overall airflow within the case. Keep cables organized and ensure they do not block any vent openings or impede the cooling system.
- Avoid Direct Sunlight: Keep your acrylic PC case away from direct sunlight as prolonged exposure to UV rays can cause the acrylic to yellow or become brittle over time.
- Handle with Clean Hands: When working on or around your PC case, ensure that your hands are clean to prevent transferring oils, dirt, or smudges onto the acrylic surface.
- Perform Regular Maintenance: Make it a habit to perform regular maintenance on your PC components, including cleaning fans, replacing thermal paste, and checking for any signs of hardware issues. A well-maintained system overall contributes to a cleaner case.
By following these tips, you can maintain a clean and visually appealing acrylic PC case. Regular maintenance and attention to detail will help ensure that your case remains in excellent condition, allowing you to showcase your hardware while maximizing performance. Now that you have learned all the necessary steps and tips, it’s time to put your knowledge into practice and enjoy a clean and well-maintained acrylic PC case.
Conclusion
Cleaning an acrylic PC case is an essential task for any PC enthusiast or owner of a custom-built computer. By following the steps outlined in this guide, you can effectively clean the exterior and interior of your acrylic case, remove scratches, and polish it to maintain a clean and attractive appearance.
Regularly cleaning your acrylic PC case offers numerous benefits, including improved cooling, enhanced performance, extended lifespan, better aesthetics, and improved air quality. By dedicating time to clean your case, you can ensure optimal performance and prolong the life of your components.
Remember to gather the necessary tools and materials before starting the cleaning process. Take the time to prepare your PC case, remove components if necessary, and ensure a safe working environment. When cleaning, use gentle motions, and avoid using harsh chemicals or abrasive materials that can damage the acrylic surface.
If your acrylic case has acquired superficial scratches, you can attempt to remove them by using an acrylic-specific polishing compound. However, take caution and proceed gradually, as deeper or more severe scratches may require professional assistance.
After polishing, you can further enhance the appearance of your acrylic case by applying the appropriate acrylic polish and buffing the surface to achieve a glossy finish. This will give your case a professional and eye-catching look.
To maintain a clean acrylic PC case, incorporate some simple habits into your routine. Regular dusting, prompt removal of fingerprints and smudges, proper cable management, and monitoring of air intake and exhaust are vital practices that will keep your case looking pristine.
With the guidance provided in this guide, you now have the knowledge and tools to clean, maintain, and restore the beauty of your acrylic PC case. Enjoy the process, and revel in the satisfaction of a well-maintained and visually appealing PC setup!