Introduction
Welcome to the world of PC customization! If you’re someone who enjoys building and upgrading your own computer, you may have come across a common challenge: dealing with unsightly fan holes in your PC case.
While fans are essential for keeping your components cool, the resulting holes can be visually unappealing, especially if you prefer a clean and sleek aesthetic for your setup. Fortunately, there are simple and effective ways to cover up those fan holes, transforming your PC case into a polished masterpiece.
In this article, we will take you through the step-by-step process of covering up fan holes in your PC case. Whether you’re a beginner or an experienced DIY enthusiast, you’ll find this guide easy to follow and implement.
Before we dive into the steps, let’s gather the materials you’ll need to complete this project:
- Cover material of your choice (such as acrylic, metal mesh, or DIY solutions like cardboard or foam)
- Measuring tape or ruler
- Marker or pencil
- Utility knife or scissors
- Adhesive (e.g., double-sided tape or strong glue)
- Decorative elements (optional)
With these supplies in hand, let’s get started on covering up those fan holes and elevating the look of your PC case!
Materials Needed
To cover up fan holes in your PC case, you’ll need a few basic materials. Here’s a list of what you’ll need before you begin:
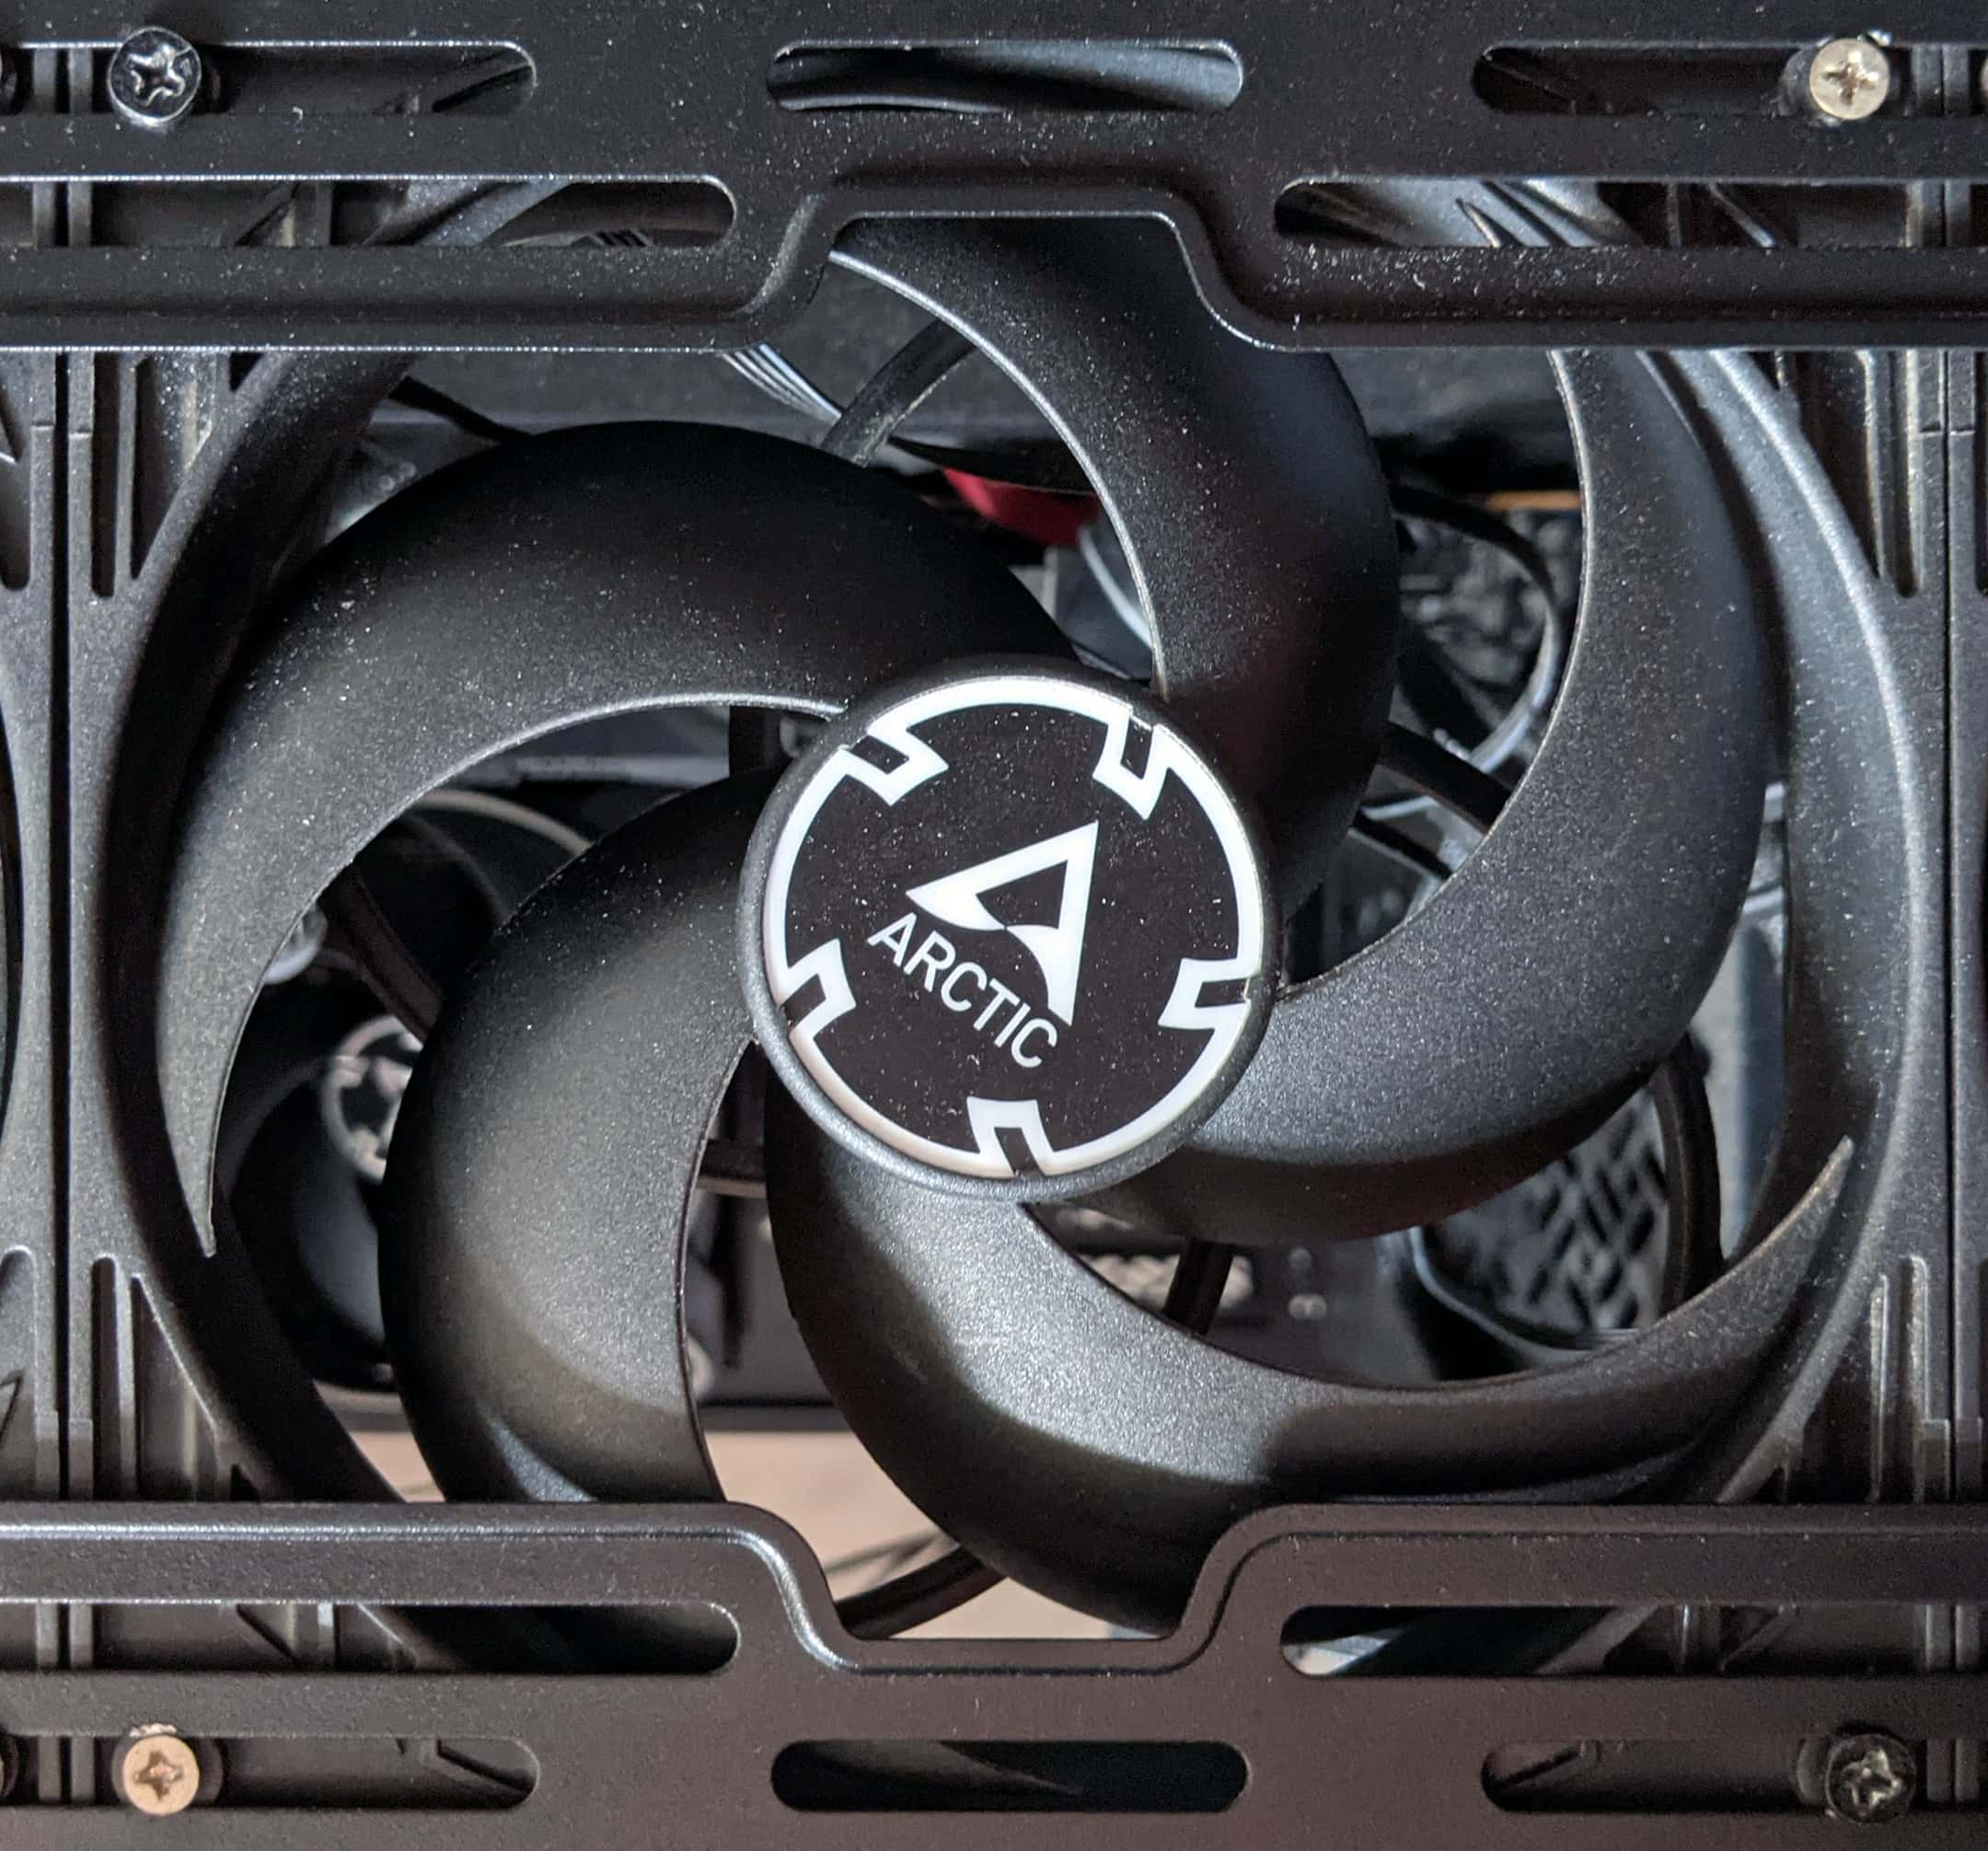
- Cover material of your choice: The first step is to choose the material that will be used to cover the fan holes. There are several options available, depending on your preferences and budget. Some popular choices include acrylic sheets, metal mesh, or even DIY solutions like cardboard or foam. Consider the durability, appearance, and ventilation properties of each option before making your decision.
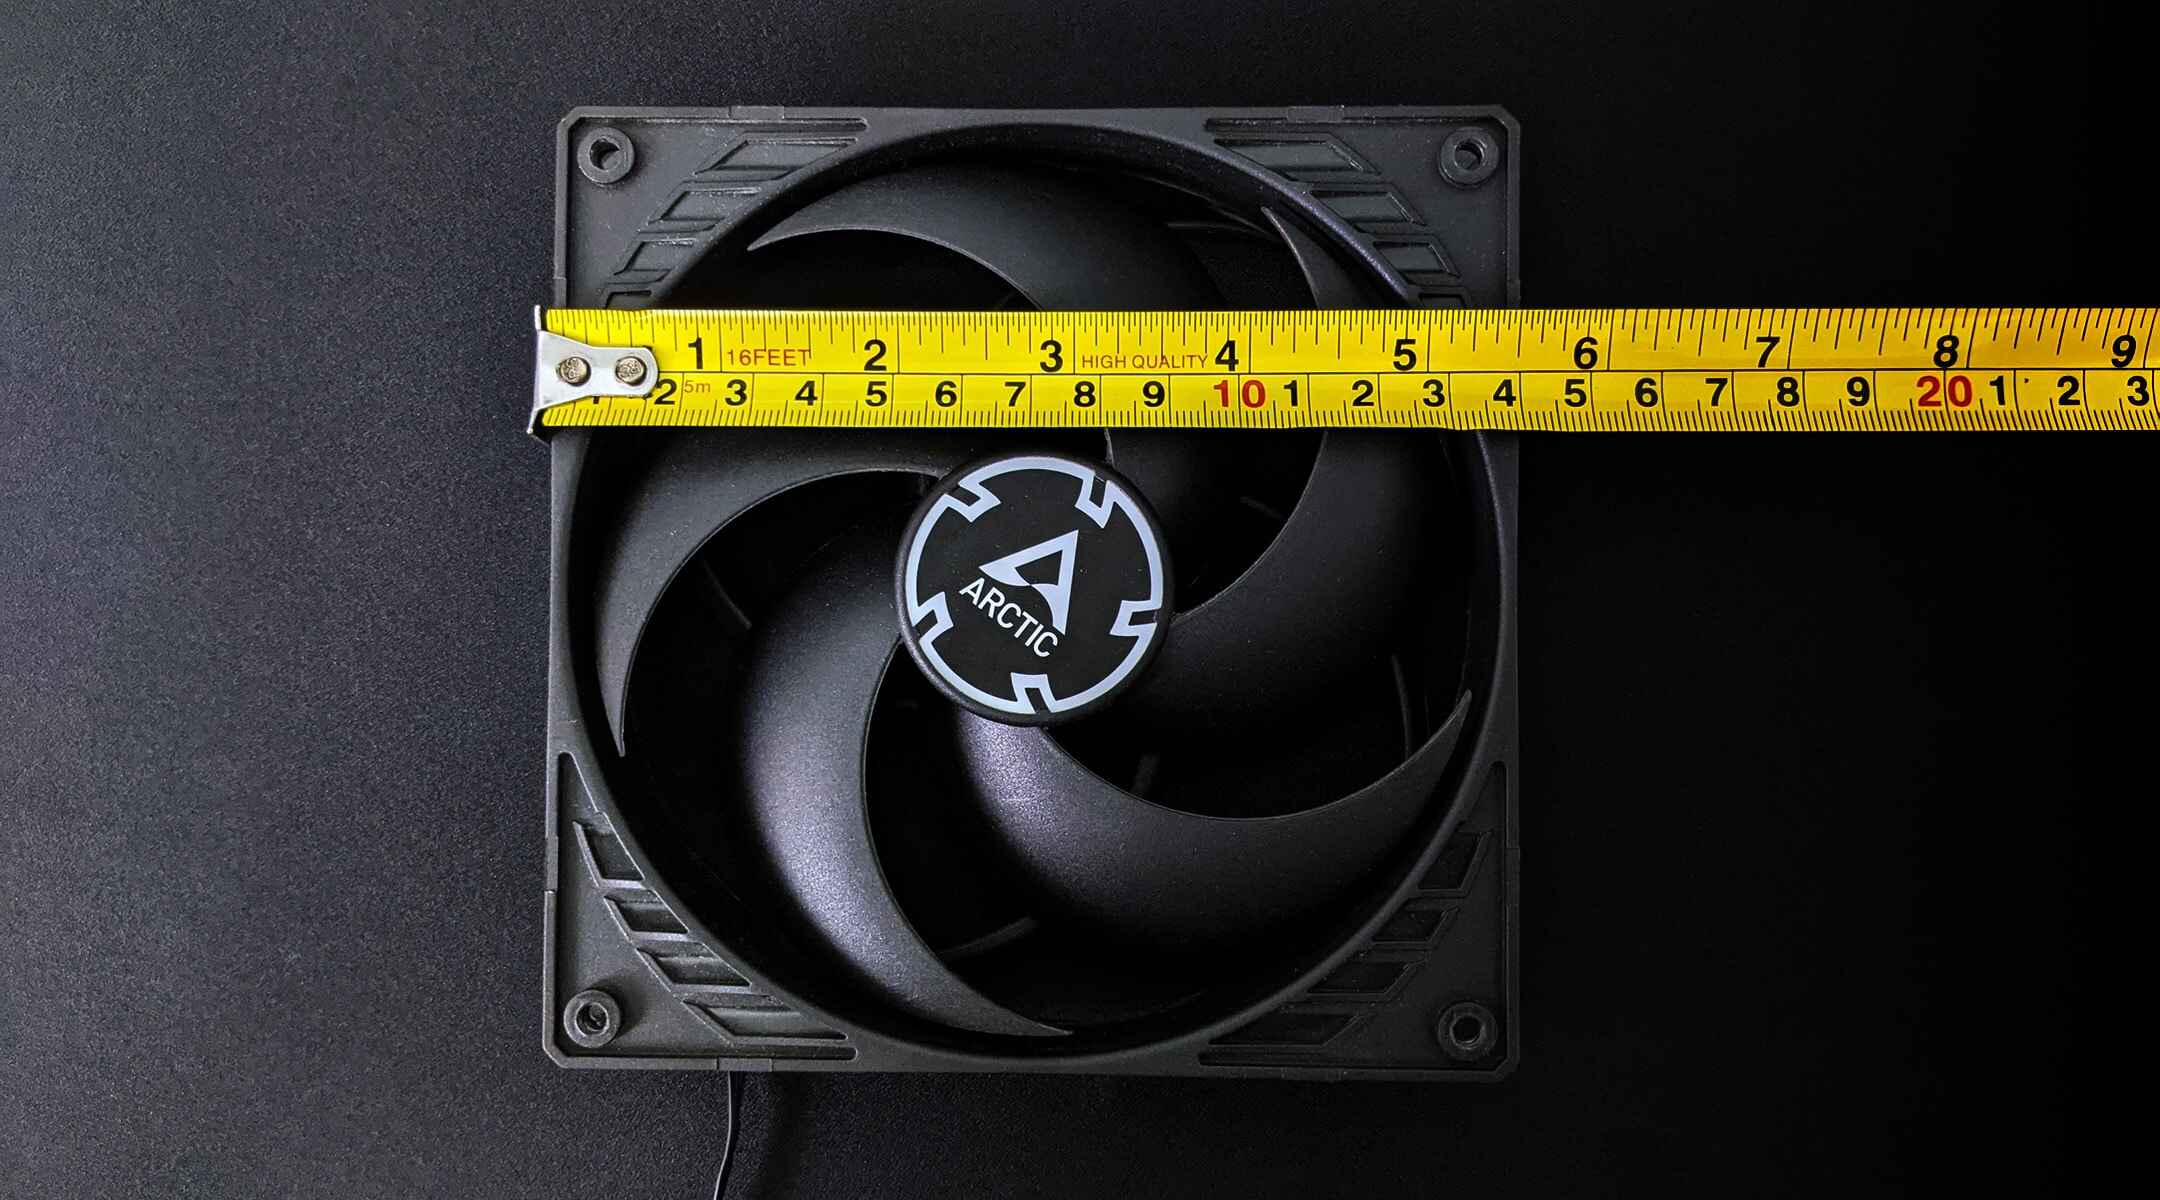
- Measuring tape or ruler: Accurate measurements are crucial to ensure a proper fit for your cover material. Use a measuring tape or ruler to measure the dimensions of the fan holes in your PC case.
- Marker or pencil: You’ll need a marker or pencil to mark the measurements on your cover material. This will help you accurately cut the material to the right size.
- Utility knife or scissors: Depending on the type of cover material you choose, you’ll need a utility knife or scissors to cut it to the appropriate dimensions. Make sure to use sharp tools for clean and precise cuts.
- Adhesive: To attach the cover material to your PC case, you’ll need an adhesive. Double-sided tape or strong glue are commonly used options. Ensure that the adhesive is suitable for the materials being used and provides a secure bond.
- Decorative elements (optional): If you want to add some personal flair to your PC case, consider incorporating decorative elements. These can include stickers, decals, or even custom paint jobs. Get creative and let your personality shine through!
Having these materials on hand will make the process of covering up fan holes in your PC case much smoother. Once you have everything you need, let’s move on to the step-by-step instructions for transforming your PC case’s appearance!
Step 1: Assess the Fan Holes
The first step in covering up fan holes in your PC case is to assess the size, number, and location of the holes. This will help you determine the best approach for covering them.
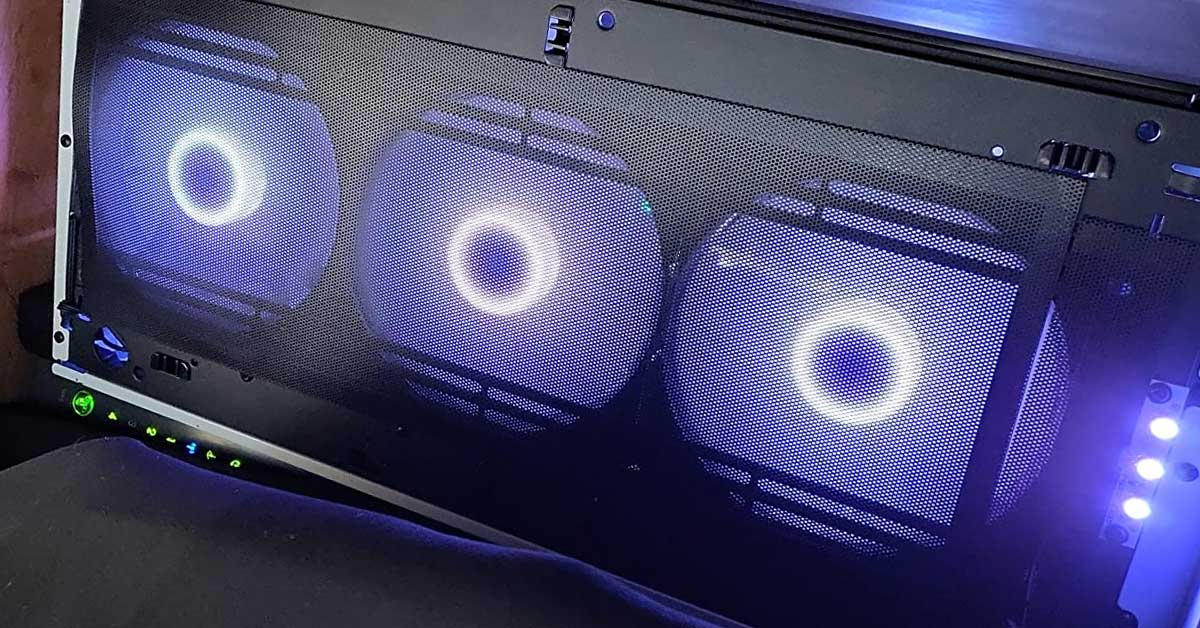
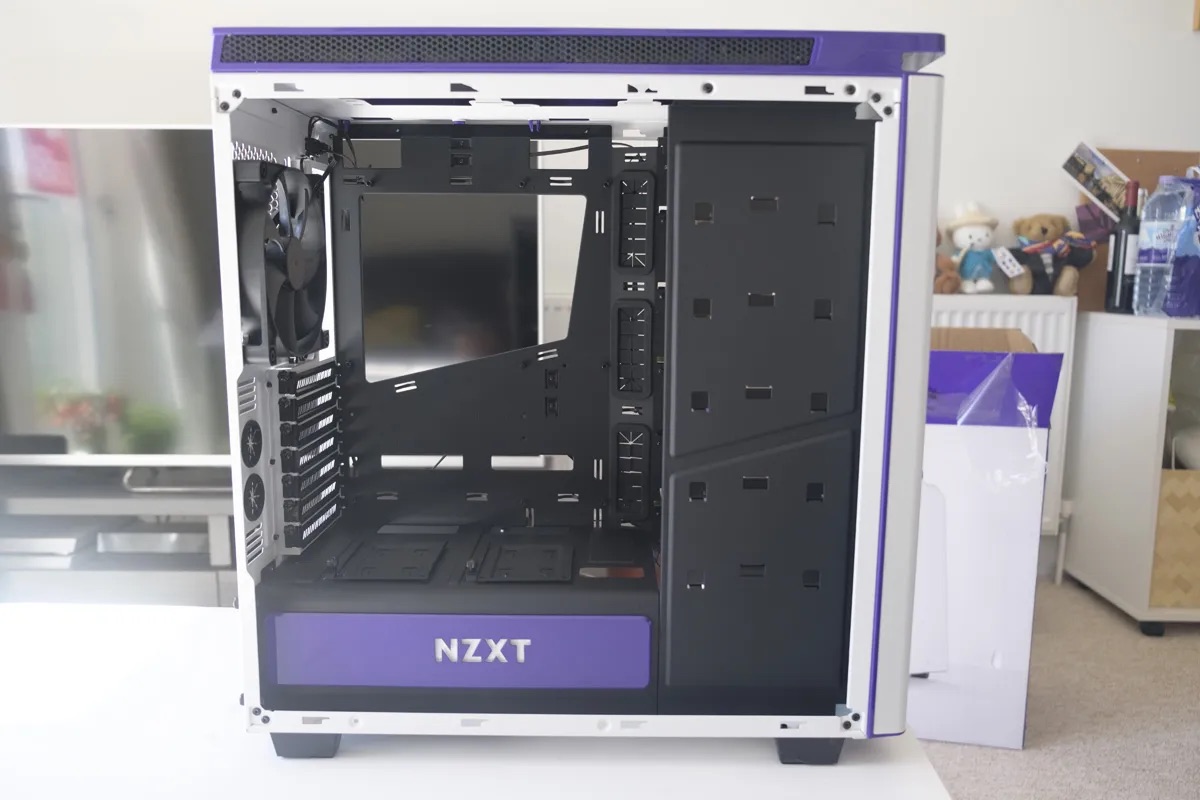
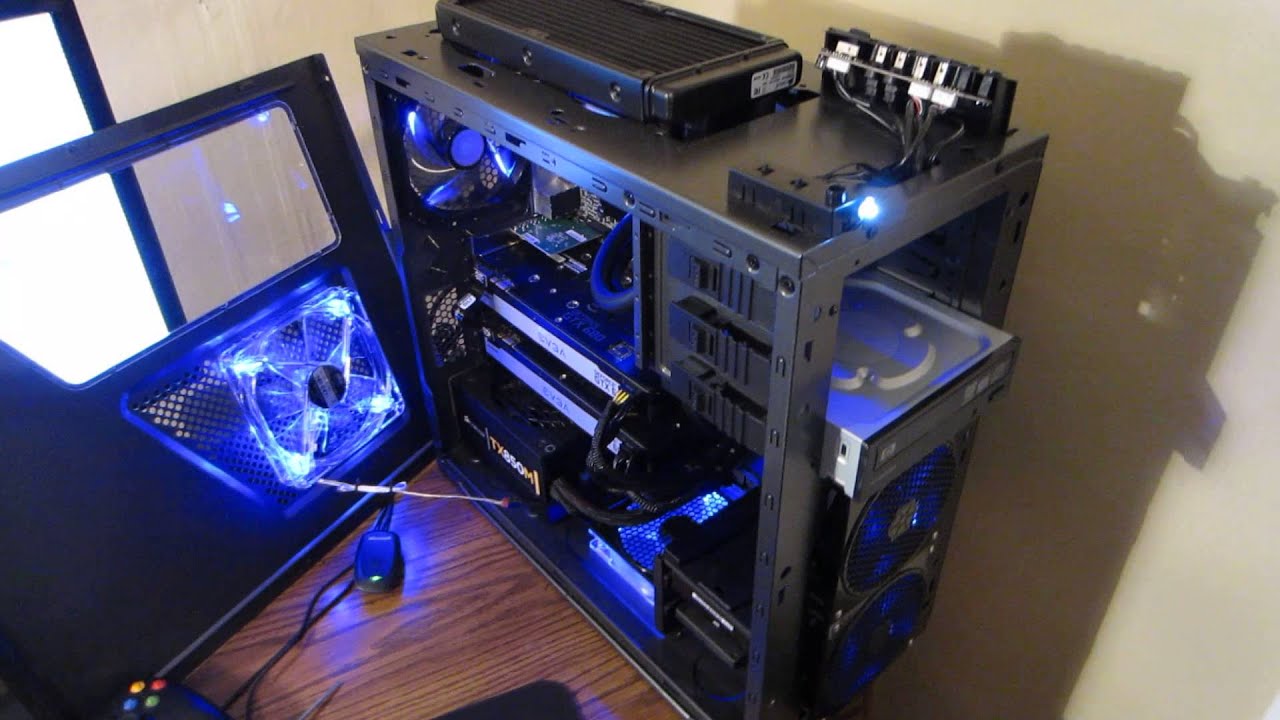
Start by examining your PC case and identifying the fan holes that you want to cover. Typically, PC cases have fan holes on the front, top, and sometimes on the side panels. Take note of the dimensions and shapes of the holes as well.
Next, consider the purpose of the fan holes. Are they essential for ventilation? If so, you’ll need to choose a cover material that allows sufficient airflow to keep your components cool. Metal mesh and perforated acrylic sheets are popular choices for this purpose. On the other hand, if aesthetics are more important to you and you don’t mind sacrificing some airflow, you can opt for solid materials like acrylic or even DIY solutions like cardboard or foam.
Take into account the overall design and layout of your PC case. Consider how the covered fan holes will blend with the rest of the case and any other modifications you have made or plan to make. You may also want to think about the color scheme and theme of your setup, as this can influence your choice of cover material and decorative elements.
Once you have carefully assessed the fan holes and considered your preferences, it’s time to move on to the next step: measuring and cutting the cover material. This is a crucial step in ensuring a proper fit and a seamless appearance, so let’s proceed with precision and accuracy.
Step 2: Measure and Cut the Cover Material
After assessing the fan holes in your PC case, the next step is to measure and cut the cover material accordingly. This step is essential to ensure a snug fit and a polished finish.
Grab your measuring tape or ruler and carefully measure the dimensions of each fan hole. Be precise and note down the measurements for reference.
Transfer these measurements onto your chosen cover material using a marker or pencil. Make sure to mark the cutting lines accurately, accounting for any additional space you want around the fan hole for the cover to overlap.
Once the cutting lines are marked, it’s time to grab your utility knife or scissors and carefully cut along the lines. Take your time and use steady, controlled movements to ensure clean and precise cuts.
If you’re working with a material like acrylic, a utility knife with a sharp blade will provide the best results. For mesh or foam materials, scissors should work just fine. Make sure to use caution and follow any safety precautions associated with your cutting tools.
After cutting out the cover pieces for each fan hole, double-check their fit by placing them over the corresponding holes in your PC case. Ensure that they align properly and cover the entire hole without any gaps or overhang.
If any adjustments are needed, carefully trim the cover pieces until they fit perfectly. Remember, it’s always better to trim off a small amount at a time and test the fit rather than cutting too much and having to start over.
With the cover material accurately measured and cut to size, you’re now ready to move on to the next step: attaching the cover material to the PC case. This is where the transformation truly begins, so let’s proceed with excitement!
Step 3: Attach the Cover Material
Now that you have precisely measured and cut the cover material for your fan holes, it’s time to attach it to your PC case. This step will secure the cover material in place and give your PC case a clean and polished look.
Before attaching the cover material, ensure that the surface of the PC case around the fan holes is clean and free from dust or debris. This will help the adhesive bond more effectively.
Depending on the type of cover material and the specific requirements of your PC case, choose an appropriate adhesive. Double-sided tape and strong glue are commonly used options.
If you’re using double-sided tape, carefully peel off the backing and apply the tape to the backside of the cover material, aligning it with the edges. Make sure to cover the entire perimeter for a secure hold. Alternatively, if you’re using glue, follow the instructions provided by the manufacturer to apply it evenly and sparingly on the backside of the cover material.
Next, position the cover material over the fan hole, aligning it carefully. Press it firmly against the PC case to ensure a strong bond with the adhesive. Hold it in place for a few seconds to allow the adhesive to set and create a secure attachment.
If you’re covering multiple fan holes, repeat this process for each one, taking care to align the cover material accurately and securely in place.
After attaching all the cover pieces, step back and examine the overall appearance. Ensure that the cover material is level and flush with the PC case, without any visible gaps.
Give the adhesive some time to fully set and dry, following the recommended drying times provided by the adhesive manufacturer. This will ensure a long-lasting and stable attachment.
With the cover material securely attached, you’re now ready to move on to the next step: adding some personal touches and enhancing the aesthetics of your PC case. Let your creativity shine!
Step 4: Decorate or Paint the Cover
With the cover material securely attached to your PC case, it’s time to add some personal flair and make it truly your own. This step involves decorating or painting the cover material to enhance its appearance.
If you’ve chosen a cover material that already has a desired finish or design, such as a patterned metal mesh or a colored acrylic sheet, you may choose to leave it as is. However, if you prefer a different look or want to match your PC setup’s theme, continue reading for some creative ideas.
One option is to paint the cover material using spray paint or acrylic paint. Before you begin, consider the material’s compatibility with paint and choose an appropriate paint type. Prepare the cover material by cleaning it thoroughly to remove any grease or dirt. Apply a primer if necessary, then proceed with painting following the instructions on the paint can. Allow the paint to dry completely before handling or installing the cover material.
If painting isn’t your thing, you can explore other decorative elements. Consider adding stickers, decals, or vinyl wraps to the cover. These can be easily applied and provide endless design possibilities. Choose designs that align with your personal style, gaming interests, or any other themes you want to showcase.
Another option is to use custom vinyl graphics or laser etching to add intricate designs or logos to the cover material. This can create a unique and personalized look for your PC case. Consult with a professional service for these customizations or explore DIY options if you’re comfortable with the process.
Remember, be mindful of any design choices that may affect airflow if ventilation is crucial for your PC’s cooling system. Ensure that any decorations or modifications you make do not inhibit airflow or compromise the performance of your components.
Once you have added the desired decorative touches, step back and admire your work. Take the time to adjust or make any additional modifications as needed to achieve the desired aesthetic. This is your opportunity to make your PC case truly stand out!
With the cover material decorated to your liking, it’s time to move on to the final step: reattaching the case panels and completing the transformation of your PC case.
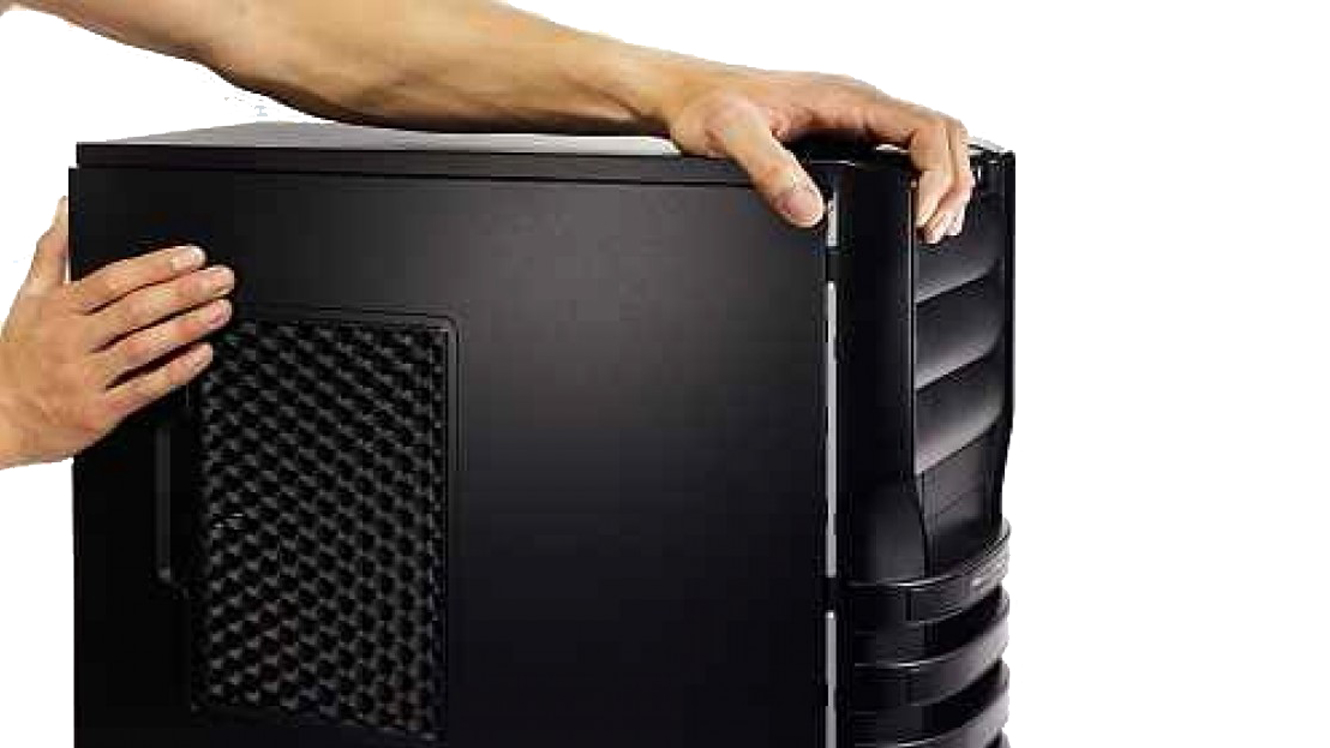
Step 5: Reattach the Case Panels
With the cover material decorated and in place, the final step in covering up fan holes in your PC case is to reattach the case panels. This will complete the transformation and give your PC case a finished look.
Start by carefully lining up the case panels with the corresponding slots on the PC case. Take your time to ensure a proper fit and alignment. If necessary, gently push or slide the panels until they slot into place smoothly.
Once the panels are in position, secure them using the screws or clips provided with your PC case. Make sure to tighten them securely but avoid overtightening, as it may damage the case or strip the screws.
Double-check that all screws are tightened evenly and that the case panels are properly aligned. This will help maintain the structural integrity of the PC case and ensure a seamless look.
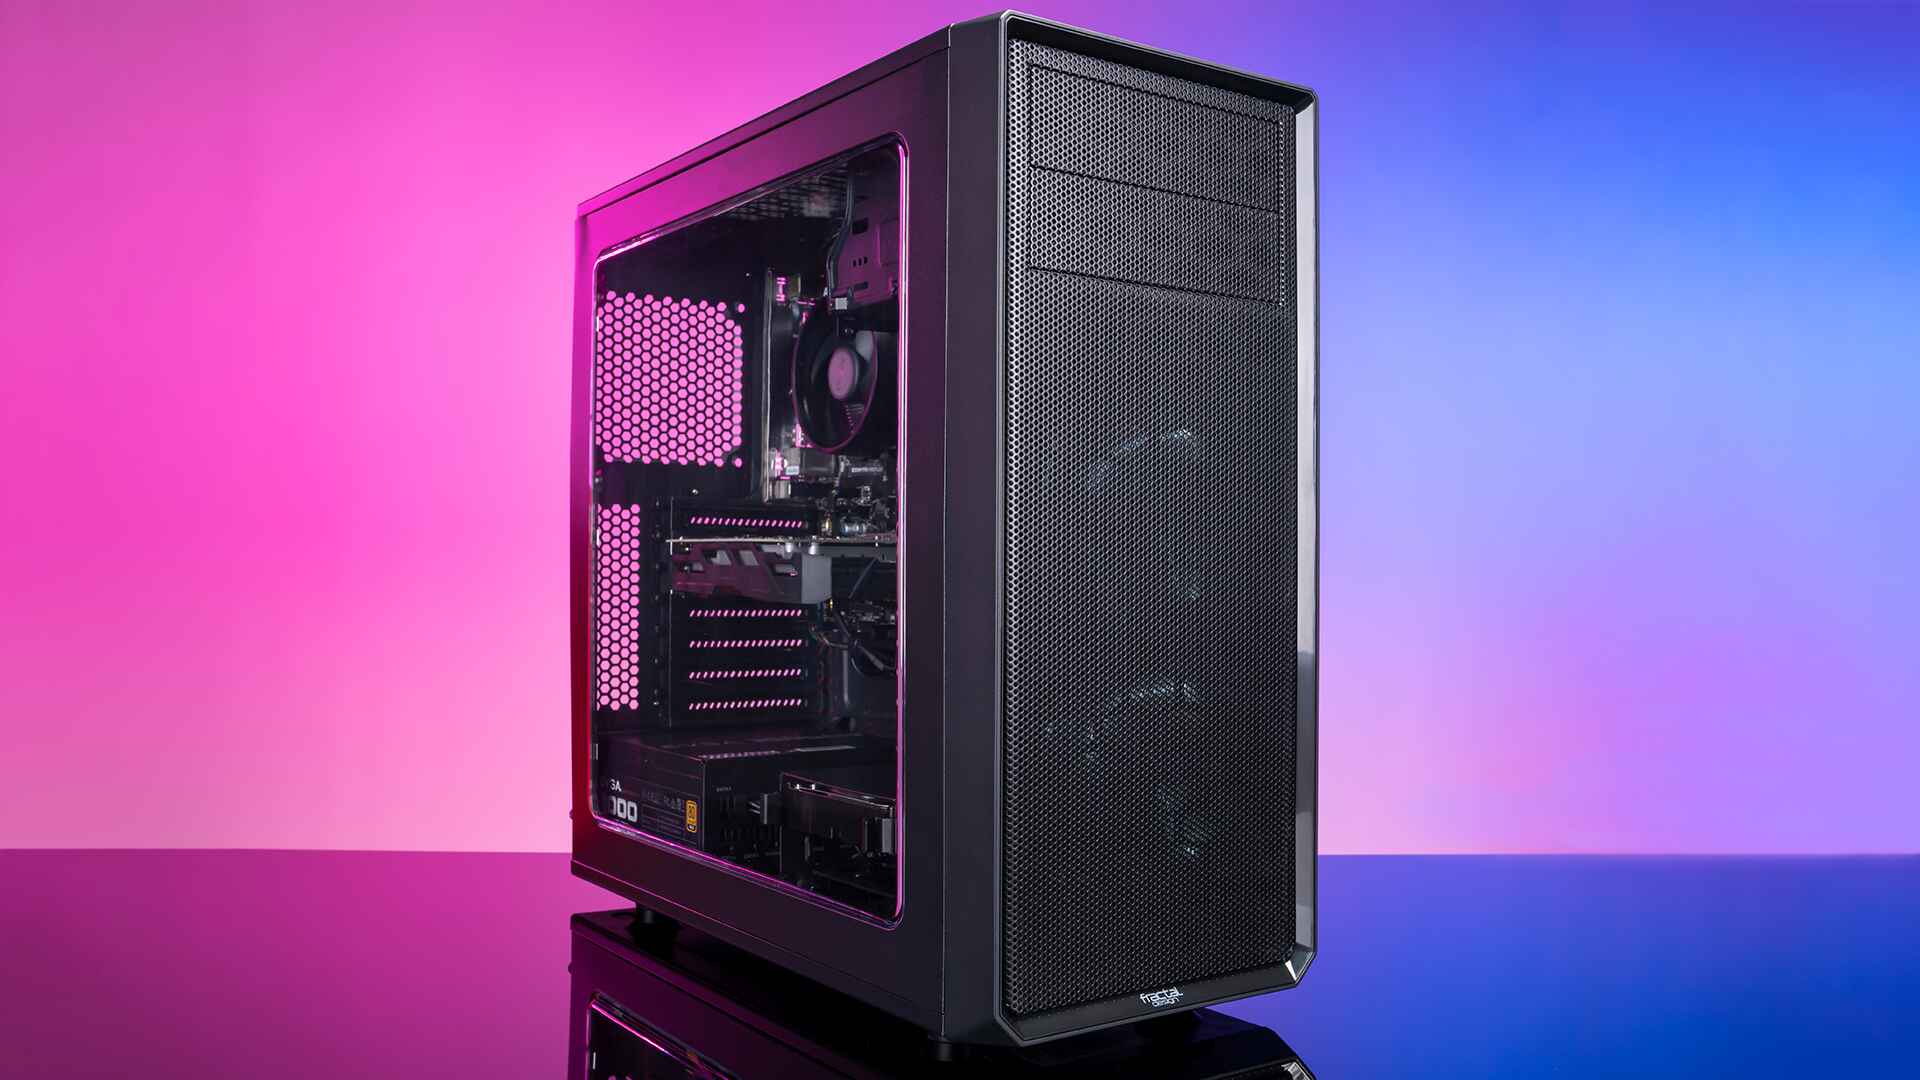
After reattaching the case panels, take a step back and admire your handiwork. You will now have a PC case with covered fan holes that not only provides excellent airflow but also adds a personalized touch to your computer setup.
Remember to periodically clean the cover material and the PC case to prevent dust buildup and maintain the appearance of your modifications. This will help keep your PC looking sharp and running efficiently.
Congratulations! You have successfully covered up the fan holes in your PC case and transformed its overall aesthetic. Allow yourself to appreciate the hard work and creativity you invested in this project.
Now you can enjoy your revamped PC case, showcasing your unique style and personalization to all who see it. Sit back, power up your computer, and relish in the satisfaction of a job well done.
Conclusion
Covering up fan holes in your PC case is not only a practical solution for enhancing airflow and cooling, but it also allows you to customize and personalize your computer setup. By following the step-by-step process outlined in this guide, you have learned how to transform your PC case into a polished masterpiece.
Starting with assessing the fan holes and choosing the right cover material, you have gained the knowledge and skills to measure and cut the material accurately. Attaching the cover material securely to your PC case ensures a professional and seamless finish.
In addition, this guide provided insights on how to take your PC customization to the next level by decorating or painting the cover material. Adding your personal touch through custom designs, stickers, or decals enables you to showcase your style and interests.
Finally, reattaching the case panels completes the transformation, giving your PC case a clean and finished look. The end result is a visually appealing and personalized computer setup that you can be proud of.
Remember to periodically clean and maintain your PC case and cover material to ensure their longevity and optimal performance. Regular dusting and upkeep will help preserve the aesthetic appeal of your modifications.
We hope this guide has been informative and inspiring, empowering you to confidently cover up fan holes in your PC case. Enjoy the enhanced airflow, visual appeal, and pride that comes with customizing your computer setup. Let your creativity soar and make your PC case a true reflection of your unique style and personality.