Introduction
Building a PC can be an exciting and rewarding experience. Whether you’re a beginner or a seasoned enthusiast, carefully assembling your own customized computer can give you a sense of pride and accomplishment. However, it’s important to know the proper order in which to install components in your PC case. This ensures that the building process is efficient and that all your hardware functions optimally.
When you start building your PC, it’s crucial to have a clear understanding of what components to prioritize. Installing them in the correct sequence not only makes the build process smoother but also prevents any potential damage or interference between parts. In this article, we will guide you through the step-by-step process of determining the order in which you should install your PC components in the case.
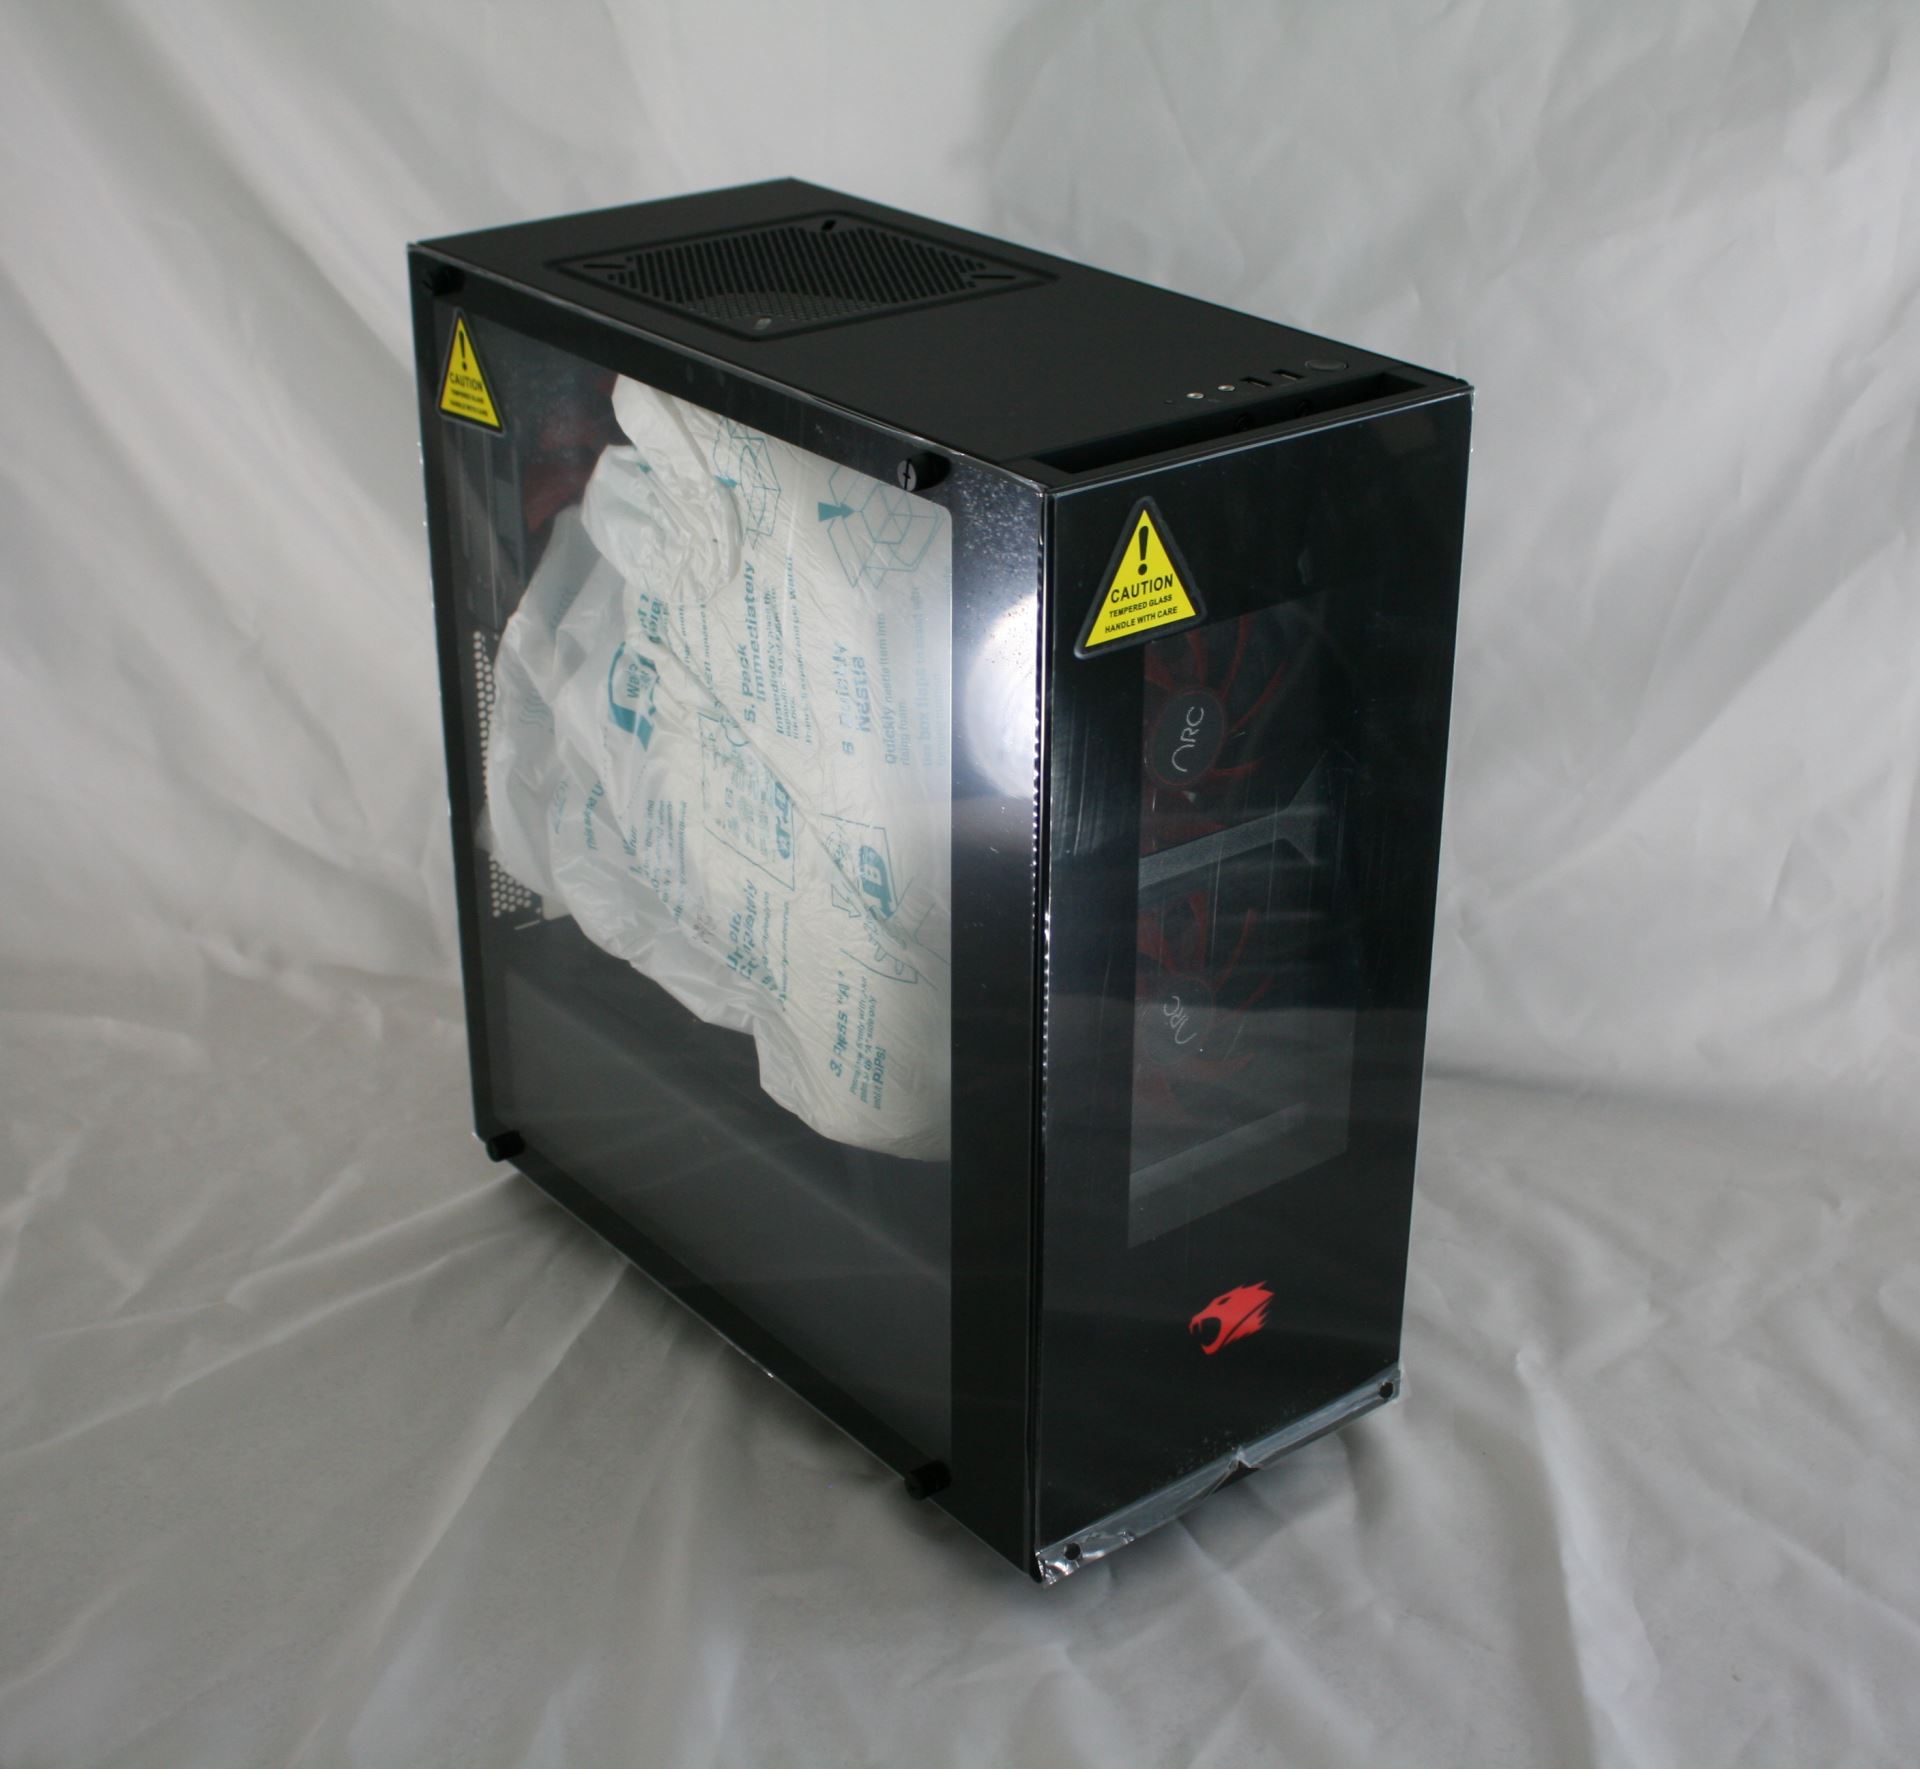
Before we begin, it’s important to note that individual PC cases may have specific requirements or limitations. Always refer to the manufacturer’s instructions for your particular case model. That being said, let’s delve into the general order in which you should install the components in your PC case.
Motherboard
The motherboard is the central hub of your PC, so it’s the first component you should install in your case. Start by aligning the screw holes on the motherboard with those on the case. Ensure that all the ports and connectors on the motherboard line up properly with the corresponding cutouts in the case.
Gently place the motherboard into the case and secure it using the provided screws. Be careful not to overtighten the screws, as this can damage the motherboard. Once the motherboard is securely fastened, ensure that it is level and properly seated in the case.
Before proceeding, connect the necessary cables to the motherboard. This includes the main power cable, CPU power cable, and front panel connectors. Refer to your motherboard’s manual for specific instructions on connecting these cables.
It’s important to note that some cases may require the installation of standoffs before mounting the motherboard. Standoffs help elevate the motherboard above the case surface to prevent any grounding issues. Always check your case manual and install the necessary standoffs, if required, before proceeding with the motherboard installation.
Power Supply
Once the motherboard is securely in place, the next component to install is the power supply. The power supply provides the necessary electrical power to all the components in your PC. Locate the power supply mount in your case, usually at the top or bottom rear, and align the screw holes with those on the power supply.
Place the power supply into the mount and secure it with the provided screws. Ensure that it is firmly attached and will not move or vibrate inside the case.
Next, connect the necessary power cables from the power supply to the motherboard and other components. The main motherboard power connector (usually a 24-pin or 20+4-pin connector) and the CPU power connector (usually an 8-pin or 4+4-pin connector) are crucial connections that must be properly plugged in.
In addition to the motherboard, connect power cables to other components such as storage drives, graphics card, and case fans. Refer to the documentation of each component to determine the correct power connections.
Finally, make sure to tidy up the power cables inside the case. Use zip ties or cable management solutions to secure and organize the cables, ensuring they do not obstruct airflow or interfere with other components.
CPU and CPU Cooler
With the motherboard and power supply in place, it’s time to install the CPU (Central Processing Unit) and CPU cooler. Begin by removing the protective cover on the motherboard’s CPU socket. Carefully lift the retention arm on the socket to open it.
Gently align the CPU with the socket, ensuring that the notches or arrows on the CPU line up with the corresponding indicators on the socket. Be cautious not to apply any force or pressure, as this can damage the delicate pins on the CPU.
Once the CPU is correctly positioned, close the retention arm to secure the CPU in place. It should fit snugly without any wiggling or movement.
Next, you’ll need to install the CPU cooler to keep the CPU temperature under control. Different coolers have different installation methods, but most will involve attaching a mounting bracket to the motherboard and securing the cooler to it using screws or clips.
Before installing the CPU cooler, apply a small, pea-sized amount of thermal paste to the center of the CPU. The thermal paste helps improve heat transfer between the CPU and the cooler.
Once the thermal paste is applied, carefully place the CPU cooler on top of the CPU, aligning the screws or clips with the mounting holes or brackets. Tighten the screws or secure the clips according to the cooler’s instructions, making sure the cooler is firmly attached without any wobbling.
Finally, connect the CPU fan cable to the designated CPU fan header on the motherboard. This allows for proper cooling control and monitoring.
RAM
After installing the CPU and CPU cooler, it’s time to install the RAM (Random Access Memory). RAM plays a crucial role in the performance and multitasking capabilities of your PC.
Locate the RAM slots on the motherboard. Depending on the motherboard, there may be two or more slots aligned next to each other. Gently unlock the retention clips on the RAM slots by pushing them outward.
Take your RAM modules out of their protective packaging and carefully align the notch on the RAM module with the notch on the RAM slot. Make sure the module is facing the right way and fits into the slot smoothly.
Apply even and gentle pressure on both ends of the RAM module until it clicks into place. The retention clips on the sides of the slot should automatically lock back into position, securing the RAM module in place.
Repeat this process for each RAM module you have. It’s important to note that some motherboards may have specific requirements for RAM installation. Check your motherboard’s manual to ensure proper placement and configuration of RAM modules for optimal performance.
Once the RAM is installed, visually inspect to ensure that the modules are fully inserted and locked into place. At this point, you can reconnect the CPU cooler fan if you had to remove it for RAM installation.
Now your motherboard is starting to take shape, with the CPU, CPU cooler, and RAM all securely in place. The next step is to install storage devices such as HDDs or SSDs into the case.
Storage Devices (HDDs/SSDs)
Once the motherboard and RAM are installed, it’s time to incorporate storage devices into your PC. HDDs (Hard Disk Drives) and SSDs (Solid State Drives) are common storage options that provide ample space for your files, operating system, and applications.
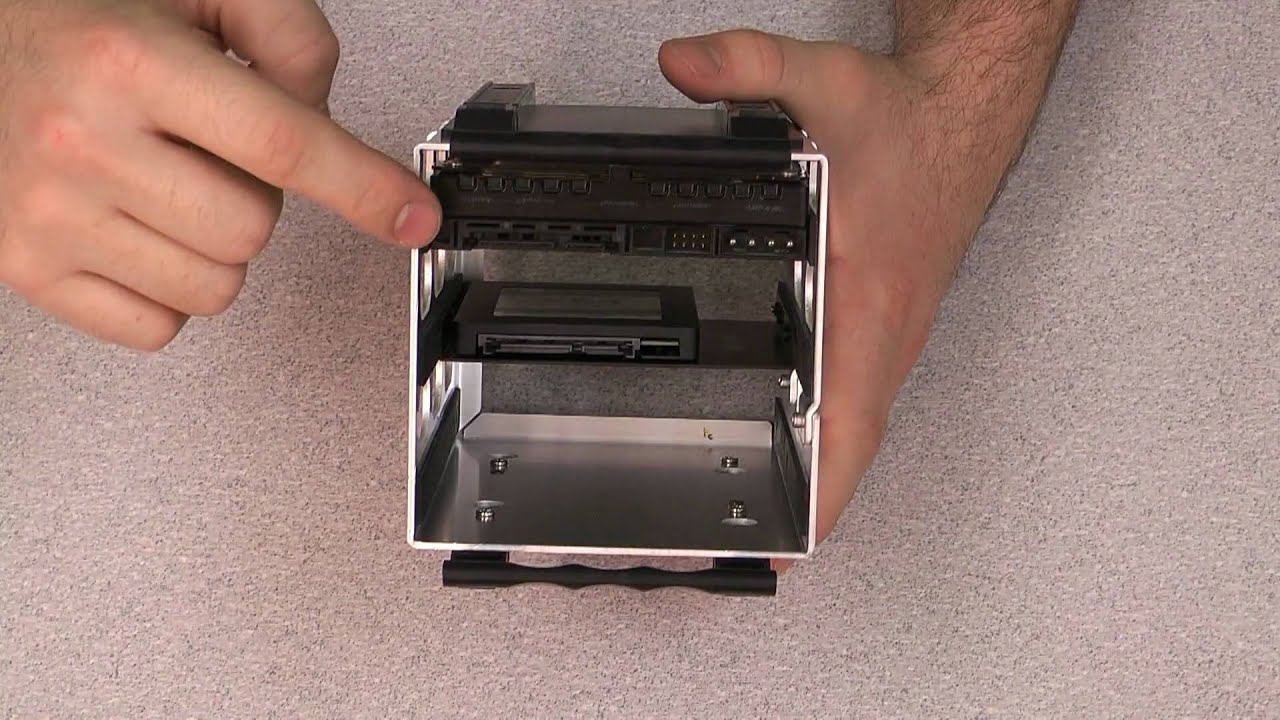
First, identify the dedicated storage drive bays in your PC case. These bays are usually located towards the front or bottom of the case. If necessary, remove any drive bay covers or brackets to create space for your storage devices.
If you are using an HDD, slide the drive into one of the drive bays, ensuring that the connector pins align with the data and power cables. Secure the drive in place using screws provided with the case. Repeat this process for additional HDDs, if needed.
For SSDs, many cases have dedicated mounting points or trays specifically designed for SSD installation. Attach the SSD to the mounting point using screws or brackets provided with the case. Alternatively, some cases may have “hot-swappable” bays or M.2 slots for SSD installation, which eliminates the need for screws or brackets.
Once the storage devices are securely installed, connect the appropriate data and power cables. SATA cables are commonly used for connecting HDDs and SSDs, while power cables from the power supply will provide the necessary electrical power. Ensure that the cables are securely connected and not loose.
If you have an M.2 SSD, insert it directly into the M.2 slot on the motherboard, aligning the key notch on the SSD with the slot on the motherboard. Secure the SSD in place using a screw or latch, if applicable. Be cautious not to overtighten the screw.
Double-check that all connections are secure before proceeding to the next step. At this point, your PC is starting to come together, with the motherboard, RAM, and storage devices all properly installed. Next, we will tackle the installation of the graphics card.
Graphics Card (GPU)
The graphics card, also known as the GPU (Graphics Processing Unit), is a vital component for visually demanding tasks such as gaming or graphic-intensive applications. To install the GPU, start by identifying the PCIe (Peripheral Component Interconnect Express) slot on the motherboard.
Carefully remove the expansion slot covers on the back of the case that align with the PCIe slot you will be using. These covers may be secured with screws or clips, so ensure they are fully detached before proceeding.
Gently align the graphics card with the PCIe slot, ensuring that the connectors on the card match up with the slot. Apply even pressure to insert the graphics card into the slot until it is fully seated. The PCIe slot may have a latch that clicks into place to secure the card.
Once installed, use screws to secure the graphics card to the case at the designated mounting points. This provides additional support and prevents the card from sagging or vibrating during operation.
Next, connect the necessary power cables to the graphics card. Depending on the GPU model, it may require one or two PCIe power connectors. These connectors are usually located on the side or top of the card. Ensure the cables are securely plugged in and tightened to provide sufficient power to the graphics card.
Finally, double-check that the graphics card is firmly seated in the PCIe slot and all connections are secure. Additionally, ensure that any auxiliary fans or cooling features on the graphics card are not obstructed by cables or other components.
With the graphics card installed, your PC is starting to take shape, with crucial components such as the motherboard, RAM, storage devices, and GPU all properly installed. In the next section, we will discuss the installation of additional expansion cards, if needed.
Additional Expansion Cards
In addition to the graphics card, you may need to install other expansion cards, such as sound cards, network interface cards, or capture cards, depending on your specific needs. The process for installing these additional cards is similar to that of the graphics card.
First, identify the appropriate PCIe slot on the motherboard for the expansion card. Remove the corresponding expansion slot covers on the back of the case. Align the card with the slot and firmly insert it, applying even pressure until it is fully seated. Secure the card to the case using screws.
If the expansion card requires additional power, such as a SATA power connection, make sure you connect the necessary cables from the power supply.
It’s important to note that some expansion cards may require software or driver installation for proper functionality. Check the manufacturer’s instructions and download the latest drivers from their website to ensure compatibility and optimal performance with your operating system.
After installing the additional expansion cards, check that all connections are secure and the cards are firmly seated in their corresponding slots. Take a moment to tidy up any loose cables to improve airflow and aesthetics inside the case.
At this stage of the PC assembly, you’ve tackled the major components such as the motherboard, power supply, CPU and CPU cooler, RAM, storage devices, graphics card, and any additional expansion cards. The next section will cover the installation of case fans for proper cooling and airflow.
Case Fans
To ensure proper cooling and airflow inside your PC case, installing case fans is essential. Case fans help dissipate heat generated by the components and maintain optimal temperatures for efficient performance and longevity.
First, identify the locations in your case for installing case fans. Most cases have specific fan placement options, such as front, rear, top, or side panels. Refer to your case manual to determine the optimal fan configuration for your specific case model.
Once you’ve determined the fan locations, you’ll need to attach the fans to the corresponding mounting points. Fans typically have screw holes on each corner for mounting. Use the provided screws or any necessary brackets to secure the fans in place. Ensure the fans are oriented in the correct direction to optimize airflow, with the airflow arrows or indicators pointing towards the desired airflow direction.
Depending on your case and motherboard, you may need to connect the fans to the motherboard or fan controller. Locate the fan headers on the motherboard and connect the fan cables. Follow the motherboard’s manual for the specific placement of these headers and any configuration options related to fan control.
If your fans have three or four-pin connectors, you can also connect them directly to the power supply using adapter cables or fan controller hubs. This allows the fans to run at full speed continuously, ensuring maximum cooling performance.
Once the fans are securely installed and connected, double-check that all cables are properly routed and managed to avoid any interference with other components. It’s important to maintain a clean and organized interior for both aesthetics and optimal airflow.
With the case fans installed and properly connected, you have completed the major component installations in your PC. In the next section, we will discuss the final touches and cable management to ensure a clean and functional build.
Cables and Connectors
At this stage of PC assembly, it’s important to address the various cables and connectors in your build. Proper cable management not only improves airflow and cooling but also enhances the overall aesthetic appeal of the finished build.
First, examine all the cables coming from the power supply and ensure they are neatly routed and organized. Use cable ties, Velcro straps, or cable management solutions to secure and bundle the cables together. This helps prevent them from blocking airflow or tangling with other components.
Next, look at the internal connectors on the motherboard, such as SATA connectors for storage devices or headers for front panel connectors. Carefully route and connect the necessary cables to these connectors while keeping them tidy and unobtrusive.
For cleaner cable management, it’s advisable to route cables behind the motherboard tray whenever possible. Most modern PC cases have dedicated cable routing holes or channels to facilitate this. Utilize these features to minimize cable clutter and maintain a clean interior.
Furthermore, consider using cable extensions or custom-length cables for a more polished look. These cables are available in various colors and styles, allowing you to match and complement your build’s aesthetic theme.
Take the time to carefully manage and arrange the power supply cables so that they are not blocking any airflow or interfering with other components. This promotes better cooling and helps maintain optimal temperatures for the components.
Complete the cable management process by double-checking all cable connections to ensure they are secure. Inspect each connection point, including the motherboard, storage devices, graphics card, and any additional expansion cards, to ensure a reliable and stable connection.
With proper cable management, you’ve tidied up the internals of your PC build, optimizing airflow while enhancing its visual appeal. In the final section, we will discuss the last few touches and considerations to complete your PC assembly process.
Final Touches and Cable Management
As you near the completion of your PC assembly process, there are a few final touches and considerations to ensure a clean and functional build.
First, double-check all the connections and installations you’ve made thus far. Go through each component, including the motherboard, CPU, RAM, storage devices, graphics card, and fans, to ensure they are properly seated and securely connected.
Pay particular attention to cable management. Take the time to organize and route all cables neatly to avoid any tangles or obstructions. Use cable ties or Velcro straps to bundle and secure cables together, ensuring they are not impeding airflow or causing any interference.
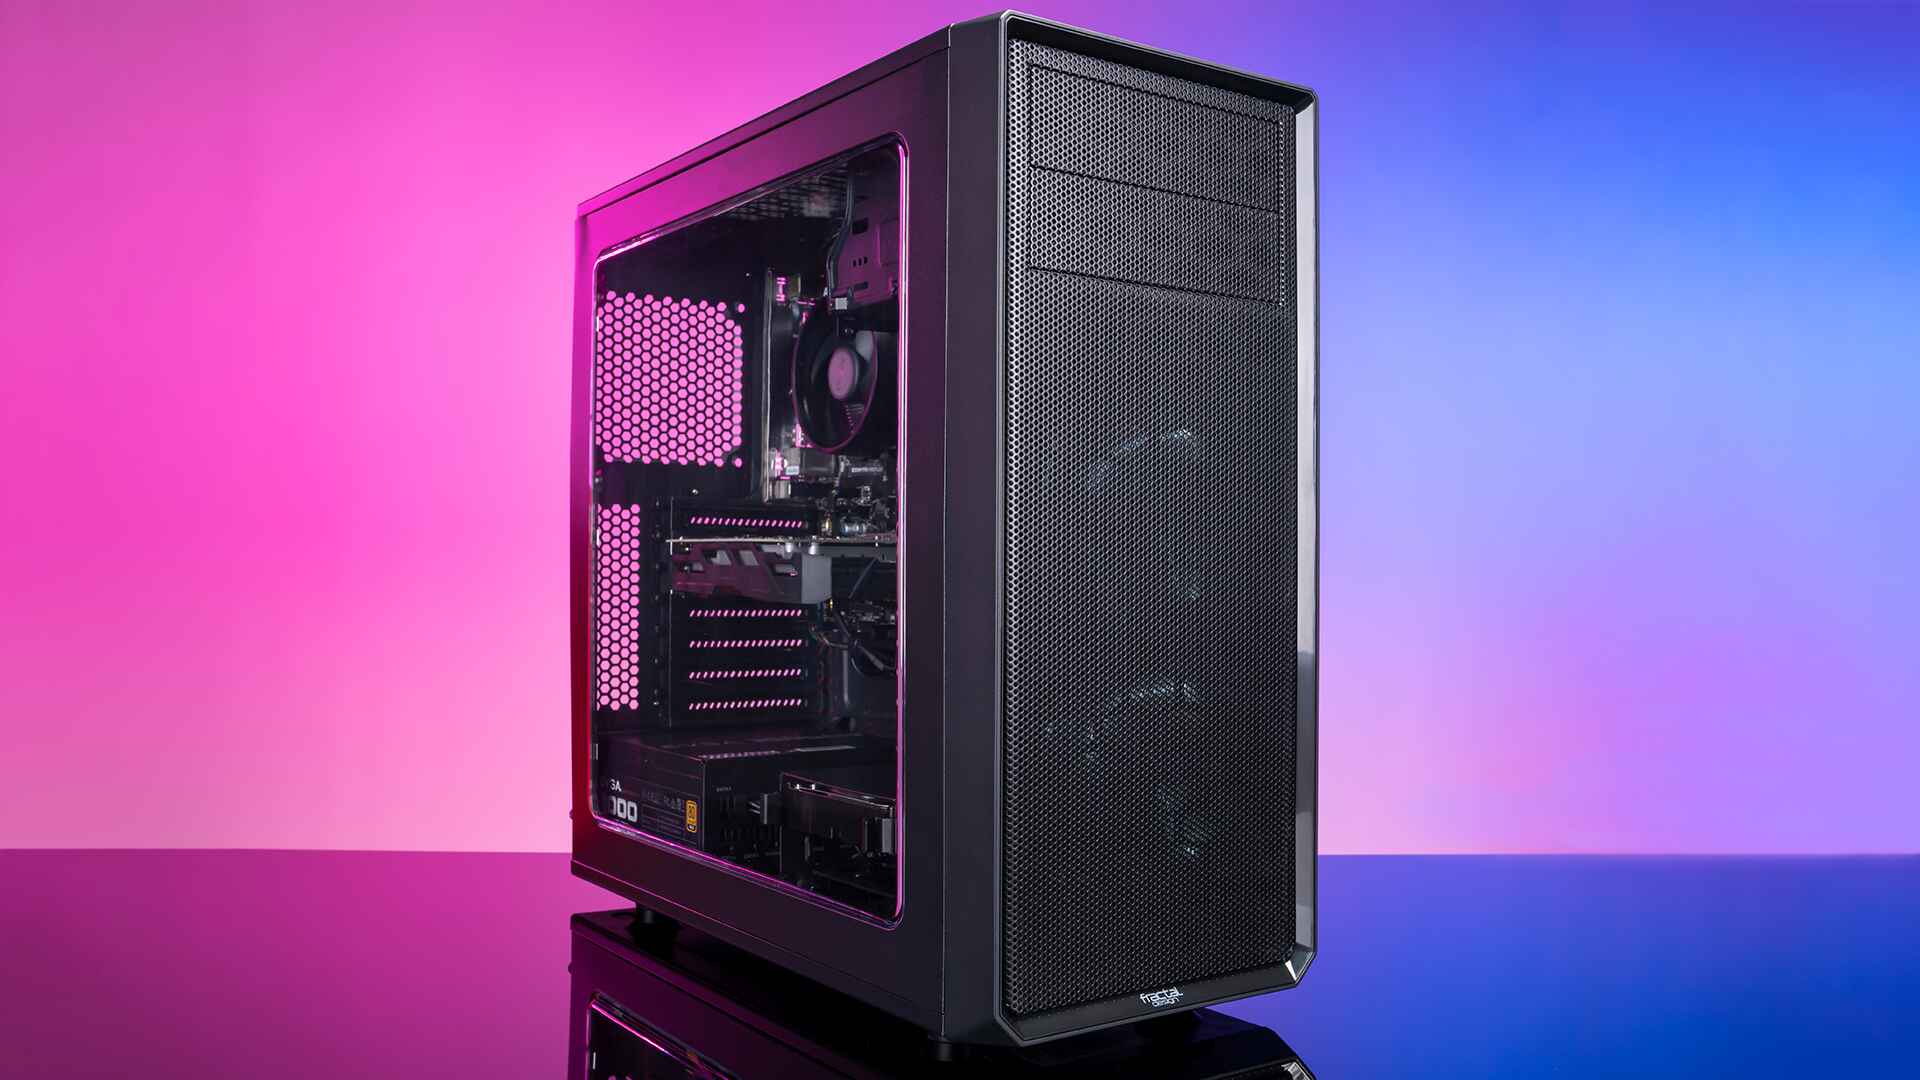
If your PC case has a side panel window, take a moment to assess the overall appearance of the build. Make any necessary adjustments to cables or components to improve the aesthetics.
Consider the optimal placement of your PC within your workspace. Ensure that there is enough airflow around the case and that the exhaust fans are not obstructed by any objects or walls.
Finally, power on your PC and enter the BIOS to verify that all components are detected and functioning properly. Monitor temperatures and fan speeds to ensure everything is within optimal ranges. Update the BIOS and drivers as necessary to ensure compatibility and optimize performance.
Congratulations! You’ve successfully completed the process of building your own PC. Enjoy the fruits of your labor and revel in the satisfaction of having a custom-built machine that meets your specific needs and preferences.
Remember, building a PC is a continuous process of learning and improvement. Stay up to date with the latest hardware advancements, software updates, and troubleshooting techniques to keep your system running smoothly and efficiently.
Conclusion
Building your own PC can be a rewarding experience that allows you to customize every aspect of your machine. By following the proper order of component installation, you ensure that your PC functions optimally and is protected from any potential damage or interference.
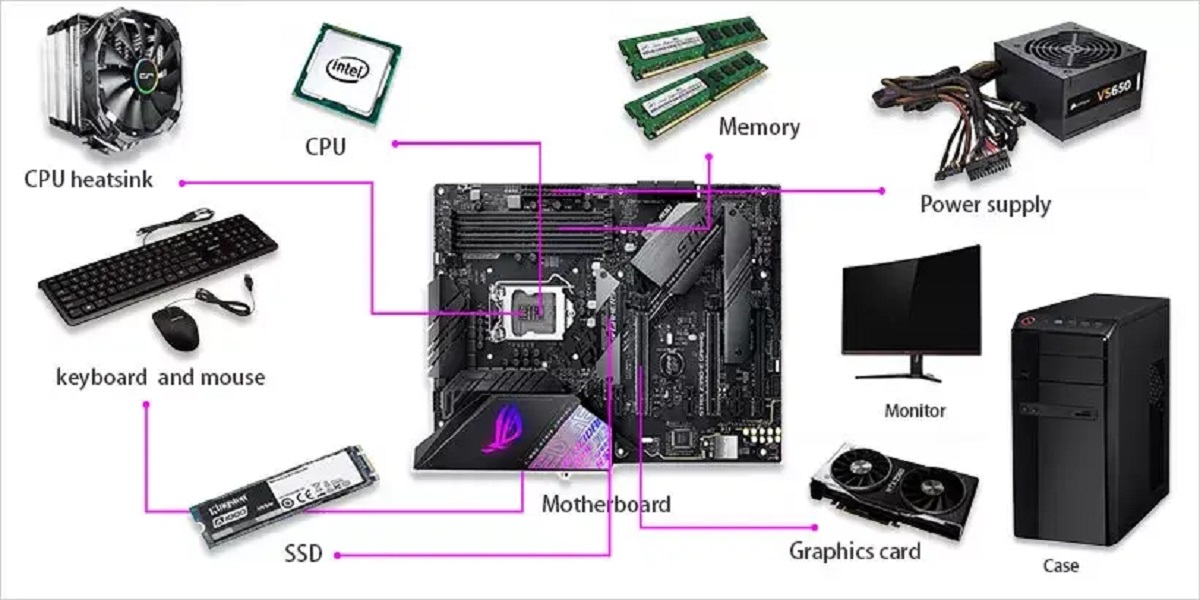
In this guide, we’ve covered the step-by-step process of assembling your PC case. We started with installing the motherboard and power supply, followed by the CPU, RAM, storage devices, graphics card, and any additional expansion cards. We discussed the importance of proper cable management and the installation of case fans for optimal cooling and airflow.
Throughout the process, it’s important to refer to the manuals specific to your case and components for detailed instructions and compatibility considerations. Double-checking all connections, securing components, and organizing cables ensures a clean and functional build.
As you complete your PC assembly, don’t forget to power on your system and verify that all components are functioning correctly. Take the time to familiarize yourself with the BIOS settings and update any necessary drivers or software.
Remember, building a PC is not just a one-time task; it’s an ongoing process of learning and improvement. Stay updated with the latest hardware advancements, software updates, and troubleshooting techniques to keep your system running smoothly.
Now that you have successfully built your PC, you can enjoy the benefits of a powerful, customized machine tailored to your needs. Whether you’re using your PC for gaming, content creation, or everyday tasks, enjoy the performance and satisfaction that comes from building your own PC.
Happy computing and may your PC adventures be filled with success and enjoyment!