Introduction
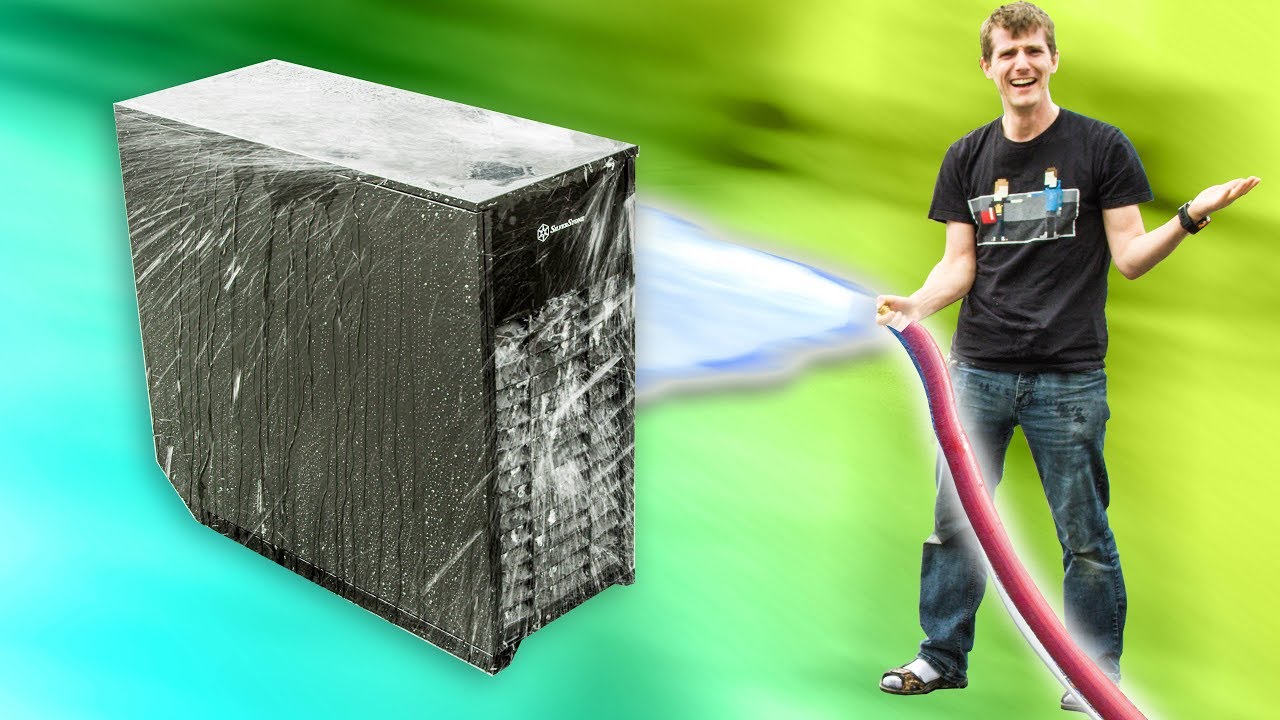
Welcome to our guide on creating a custom PC case cover! If you’re tired of the standard look of your PC case and want to add a touch of personalization, making a custom cover is a fantastic way to do it. Not only will it protect your case from dust and scratches, but it will also give your computer a unique and stylish appearance.
In this article, we’ll take you through the step-by-step process of making your own PC case cover using fabric. Don’t worry if you’re not an experienced seamstress – this project is beginner-friendly and doesn’t require any advanced sewing skills.
Before we dive into the instructions, let’s quickly go over the materials you’ll need:
- Fabric of your choice
- Measuring tape
- Scissors
- Thread
- Sewing machine or needle
- Elastic straps
Now that you have your materials ready, let’s get started with the first step:
Materials Needed
Before you begin making your custom PC case cover, gather the following materials:
- Fabric of your choice: Look for a fabric that complements your personal style and matches the aesthetic of your PC setup. Choose a durable fabric that will withstand regular use and provide sufficient protection.
- Measuring tape: Accurate measurements are crucial for ensuring a proper fit. Use a measuring tape to measure the dimensions of your PC case accurately.
- Scissors: Invest in a sharp pair of fabric scissors that will easily cut through the fabric without fraying the edges. This will make the cutting process smoother and more precise.
- Thread: Choose a high-quality thread that matches the color of your fabric. Opt for a thread designed for sewing with fabric, as it will provide a stronger and more durable seam.
- Sewing machine or needle: Depending on your sewing skills and preferences, you can use either a sewing machine or a needle and thread to stitch your PC case cover. A sewing machine will save you time and effort, while hand sewing offers a more personal touch.
- Elastic straps: Elastic straps will keep your PC case cover securely in place. Select straps that are wide enough to ensure a snug fit but not too tight that they cause tension on the cover. You can find elastic straps in craft stores or repurpose them from old items.
By having these materials readily available, you’ll be prepared to embark on the exciting journey of making your own custom PC case cover. Now that you’re equipped with the necessary supplies, let’s move on to the first step: measuring your PC case.
Step 1: Measure Your PC Case
Before you can start creating your custom PC case cover, it’s essential to measure your PC case accurately. This step ensures that your cover will fit snugly and offer optimal protection. Follow these steps to measure your PC case:
- Take your measuring tape and measure the height, width, and depth of your PC case. Start by measuring the height from the bottom of the case to the top, making sure to include any protruding elements like handles or knobs in your measurements.
- Move on to measuring the width of your PC case. Place your measuring tape horizontally across the case to determine its width. Take note of any additional features, such as side panels or vents, that may affect the width measurement.
- Next, measure the depth of your PC case. Place your measuring tape vertically against the side of the case to measure the depth accurately. Consider any cables or connectors that stick out from the back of the case and account for them in your measurement.
- Once you have recorded all three measurements (height, width, and depth), double-check their accuracy to ensure precise dimensions.
By taking accurate measurements, you’ll be able to create a PC case cover that fits perfectly. Remember to write down the measurements or keep them handy throughout the rest of the process. With the measurements complete, we can now move on to the exciting part: choosing your fabric!
Step 2: Choose Your Fabric
Choosing the right fabric is a crucial step in creating your custom PC case cover. Not only should the fabric complement your personal style, but it should also provide the desired level of durability and protection. Here are some factors to consider when selecting your fabric:
- Material: Look for fabrics that are durable and can withstand regular use. Cotton, canvas, or microfiber fabrics are excellent choices due to their strength and resistance to wear and tear.
- Pattern and Color: Consider the overall aesthetic of your PC setup and choose a fabric that complements it. You can go for solid colors, patterns, or even customized prints. Keep in mind that darker colors and patterns can help conceal dirt and smudges better.
- Texture: Think about the texture of the fabric and how it will feel when in contact with your hands. A smooth fabric may be more comfortable to touch, while a textured fabric can add a unique tactile element to your PC case cover.
- Cleaning and Maintenance: Take into account how easy it will be to clean your fabric. Fabrics that can be easily wiped clean or are machine washable are typically more convenient options for PC case covers.
Consider visiting your local fabric store to browse through their selection and feel the different fabrics firsthand. Alternatively, you can explore online fabric retailers that offer a wide range of choices. Don’t hesitate to ask for swatches or samples to ensure the fabric meets your expectations.
Once you’ve chosen your fabric, make sure you have enough yardage or meters to cover the dimensions of your PC case. It’s always a good idea to purchase a bit more than you need to account for any mistakes or future alterations.
With your chosen fabric in hand, you’re now ready to move on to the next step: cutting the fabric and preparing it for sewing!
Step 3: Cut the Fabric
Now that you have selected the perfect fabric for your custom PC case cover, it’s time to cut it to the appropriate size. Follow these steps to ensure accurate measurements and a clean cut:
- Prepare your fabric by laying it out on a clean and flat surface. Smooth out any wrinkles or folds to ensure an even cut.
- Using the measurements you took earlier of your PC case, mark the dimensions directly onto the fabric. Use a fabric pen or chalk to make the markings, ensuring that they are clearly visible.
- Double-check your measurements before proceeding to cut. Ensure that the markings align with the correct dimensions and that there is ample fabric to cover the full height, width, and depth of your PC case.
- Using sharp fabric scissors, carefully cut along the marked lines to create the main piece of your PC case cover. Take your time to ensure a neat and straight cut, as this will contribute to the overall appearance of the cover.
- If necessary, repeat the cutting process for any additional pieces of fabric needed to cover specific areas of your PC case, such as side panels or ventilation areas. Be sure to label these pieces accordingly to avoid confusion during the sewing process.
Remember to cut the fabric with precision and accuracy to ensure a proper fit and a professional-looking finished product. Take your time and make any necessary adjustments to the measurements and cutting as needed.
With the fabric cut to size, you’re now ready to move on to the exciting next step: sewing the edges of your PC case cover!
Step 4: Sew the Edges
With the fabric cut to the desired size, it’s time to sew the edges of your PC case cover. This step will give your cover a clean and finished appearance while ensuring its durability. Follow these steps to sew the edges:
- Prepare your sewing machine by threading it with a matching thread color and inserting a new needle suitable for sewing fabric.
- Position the fabric under the sewing machine foot, starting with one side of the cover. Leave a small seam allowance, typically around 1/4 inch or according to your preference.
- Lower the sewing machine foot and begin sewing by slowly guiding the fabric under the needle. Use a straight stitch or a zigzag stitch, depending on your desired finish and the fabric’s properties.
- Continue sewing along the entire length of the fabric, ensuring that the seam stays consistent and even. Take your time to avoid any accidental slips or uneven stitches.
- At the end of the first side, backstitch a few stitches to secure the seam. Cut the thread and repeat the process for the remaining sides of the fabric.
- Once all the edges are sewn, inspect the seams to ensure they are strong and neatly stitched. Trim any loose threads and remove any excess fabric, if necessary, for a clean and polished look.
If you’re sewing by hand, follow the same steps using a threaded needle instead of a sewing machine. Use a strong and reliable stitch, such as a backstitch or a whipstitch, to secure the seams in place.
Remember to take your time during the sewing process, as precision and attention to detail will result in a professional-looking finish. With the edges sewn, you’re now ready to move on to the next step: sewing the corners of your PC case cover!
Step 5: Sew the Corners
Now that the edges of your PC case cover are neatly sewn, it’s time to tackle the corners. Sewing the corners will give your cover a snug fit and ensure it stays securely in place. Follow these steps to sew the corners:
- Starting with one corner of the fabric, fold it diagonally to create a triangular shape. Align the edges of the fabric, making sure they match perfectly.
- Pinning the folded edges in place can help keep them secure during the sewing process. Use sewing pins to hold the fabric together, with the pins positioned parallel to the folded edges.
- Next, use your sewing machine or a needle and thread to stitch along the folded edge of the triangle. Sew as close to the edge as possible, ensuring the stitch is strong and secure. Repeat this step for each corner of the fabric.
- If using a sewing machine, carefully guide the fabric under the sewing machine foot, making sure to remove the pins as you go to prevent damaging the machine.
- If sewing by hand, use a small and strong stitch, such as a backstitch or whipstitch, to secure the folded edges of each corner together.
- Once all the corners are sewn, remove any remaining pins and inspect the stitches to ensure they are tight and secure. Trim any excess thread for a clean and polished look.
By sewing the corners, you create a more tailored and precise fit for your PC case cover. This step helps prevent the cover from slipping or shifting, ensuring optimal protection for your PC.
With the corners sewn, you’re now ready to move on to the next step: adding elastic straps to secure your PC case cover in place!
Step 6: Add Elastic Straps
Adding elastic straps to your custom PC case cover will help secure it in place and ensure a snug fit. These straps will prevent the cover from sliding or shifting, providing optimal protection for your PC. Follow these steps to add elastic straps:
- Start by measuring and cutting the elastic straps according to the dimensions of your PC case. Cut the straps slightly shorter than the width of the case to create tension when stretched.
- Position the fabric cover on your PC case, ensuring it is centered and aligned properly. Mark the placement for the elastic straps on the fabric cover.
- Attach one end of each elastic strap to the inside of the fabric cover using pins or clips. Position the straps vertically or horizontally, depending on your preference. Distribute the straps evenly to provide balanced support for the cover.
- Secure the other end of each elastic strap to the opposite side of the fabric cover, aligning them with the corresponding marked positions. Use pins or clips to hold the straps in place.
- Using a sewing machine or needle and thread, stitch the elastic straps securely onto the fabric cover. Sew a square or box pattern to reinforce the attachment points. Ensure the stitches are tight and durable, as they will endure tension when the elastic is stretched.
- Once all the straps are securely attached, remove any pins or clips, and inspect the stitching to ensure it is strong and secure. Trim any excess thread for a clean finish.
By adding elastic straps, you’ll create a firm and adjustable fit for your PC case cover. These straps will ensure the cover remains in place, providing maximum protection and stability.
With the elastic straps in place, you’re now ready to move on to the final step: testing the fit of your custom PC case cover!
Step 7: Test the Fit
After completing all the previous steps, it’s time to test the fit of your custom PC case cover. This step will ensure that the cover fits securely on your PC case and provides the desired level of protection. Follow these steps to test the fit:
- Carefully place the custom PC case cover over your PC case. Ensure that it is centered and aligned properly, covering the entire case without any excess fabric.
- Gently stretch the elastic straps to hook them onto the opposite sides of the cover. Adjust the tension of the straps to achieve a snug and secure fit without applying excessive force.
- Ensure that all the corners and edges of the case are fully covered by the fabric. The cover should fit tightly but still allow for easy access to necessary ports, buttons, and vents.
- Take a step back and visually inspect the cover to ensure it meets your expectations in terms of aesthetics and practicality. Make any necessary adjustments to the strap tension or fabric positioning if needed.
- Test the functionality of your PC with the cover in place. Check that the cover does not obstruct any necessary airflow or interfere with the performance of your PC components.
If the fit or functionality is not optimal, make any necessary adjustments, such as tightening or loosening the elastic straps or trimming excess fabric. Remember to strike a balance between a secure fit and ease of use for your PC case.
Once you’re satisfied with the fit and functionality of your custom PC case cover, you have successfully completed the process. Sit back, admire your handiwork, and enjoy the personalized touch your custom cover brings to your PC setup!
Conclusion
Congratulations on creating your very own custom PC case cover! By following the steps outlined in this guide, you have transformed a standard PC case into a personalized and stylish part of your setup. Not only does your cover offer unique aesthetics, but it also provides protection against dust and scratches.
Throughout the process, you measured your PC case, chose the perfect fabric, cut and sewed the edges and corners, and added elastic straps for a secure fit. Testing the fit ensured that your cover not only looks great but also functions optimally without hindering the functionality of your PC.
Remember, this project is customizable to your preferences and creativity. Feel free to experiment with different fabrics, patterns, and additional design elements to make your cover truly unique. You can also add extra features like pockets or cable management options to enhance the practicality of your cover.
Now that you have acquired some sewing skills and unleashed your creativity, you can continue to explore more DIY projects for your PC setup. Whether it’s creating custom cable sleeves, keyboard wrist rests, or even a matching mouse pad, the possibilities are endless.
We hope you enjoyed creating your custom PC case cover and that it adds a touch of personalization to your computing experience. Share your creation with others and inspire them to embark on their own DIY projects. Happy crafting!