Introduction
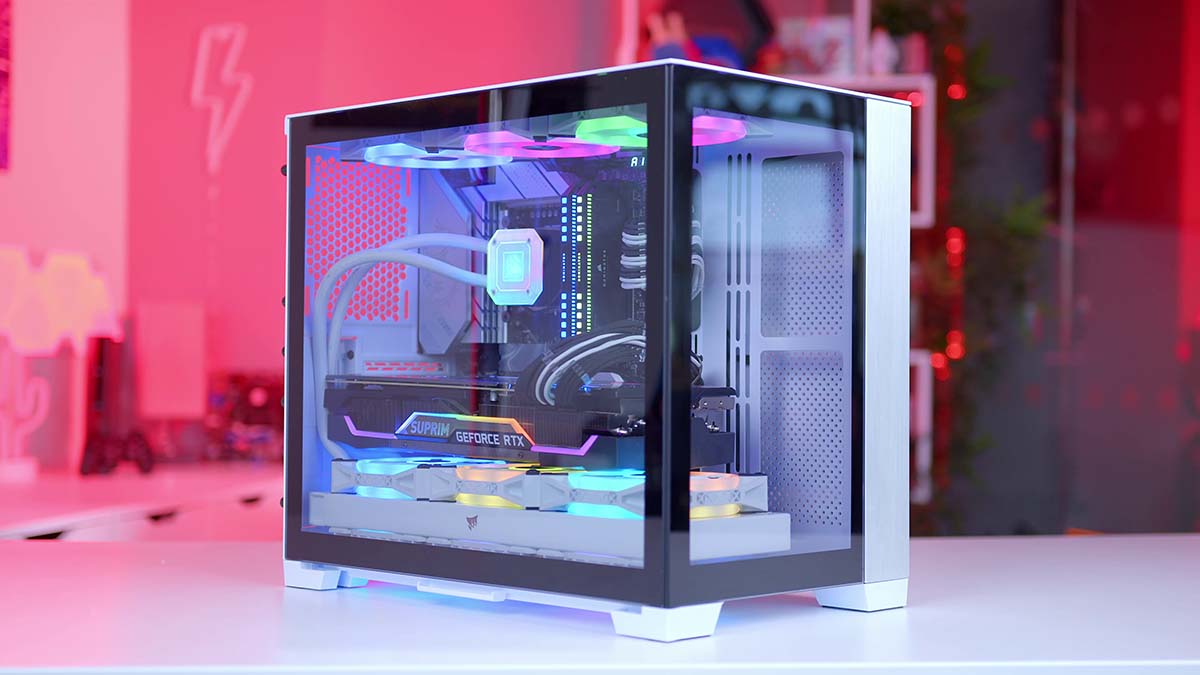
Welcome to the world of PC building and customization! As a PC enthusiast, you probably spend a significant amount of time and effort perfecting every component of your setup. From the powerful processor to the high-resolution monitor, you want everything to be just right.
While focusing on the performance and aesthetics of your PC, an important aspect that often gets overlooked is the protection of your hardware. Accidental spills, moisture, and dust can have a detrimental impact on your PC’s components, causing them to malfunction or even fail.
That’s where waterproofing your PC case comes in. By applying a waterproof coating and sealing any openings or ports, you can safeguard your hardware from potential damage and ensure its longevity.
In this guide, I will walk you through the process of waterproofing your PC case step by step. But before we dive into the details, let’s discuss why waterproofing is crucial for the well-being of your computer.
Why Waterproofing Your PC Case is Important
When it comes to protecting your PC, waterproofing your case is a vital step that shouldn’t be overlooked. Here are some reasons why waterproofing is important:
- Preventing Accidental Spills: We all know that accidents happen. Whether it’s a spilled coffee or a knocked-over water bottle, liquids can wreak havoc on your PC. Waterproofing your case creates a barrier that prevents liquids from seeping into sensitive components, reducing the risk of short circuits and damage.
- Shielding From Moisture and Humidity: Moisture and high humidity levels present a constant threat to your PC. Over time, they can cause corrosion and rust, leading to poor performance and irreversible damage. By waterproofing your case, you create a protective shield that keeps moisture at bay, safeguarding your hardware from these harmful effects.
- Minimizing Dust and Debris: Dust and debris are common culprits behind overheating and performance issues in PCs. By sealing the ports and openings of your case, you prevent dust particles from entering and settling on the components. Waterproofing acts as an additional layer of defense against these unwanted nuisances.
- Ensuring Longevity and Reliability: A waterproofed PC case not only protects your hardware but also extends its lifespan. By shielding your components from potential damage, you can enjoy long-term reliability and avoid costly repairs or replacements.
Now that you understand the importance of waterproofing your PC case, let’s move on to the next section, where we’ll take a look at the things you will need for the waterproofing process.
Things You Will Need
Before you embark on the journey of waterproofing your PC case, it’s essential to gather the necessary tools and materials. Here’s a list of the things you will need:
- Isopropyl Alcohol: This is used for cleaning the case and preparing it for waterproofing. Look for a high-concentration isopropyl alcohol (above 90%) for best results.
- Clean Microfiber Cloth: A lint-free microfiber cloth is ideal for wiping down the case and removing any dust or residue.
- Tape or Sealant: You will need tape or an appropriate sealant to cover the ports, openings, and seams of the case. Waterproof tape or silicone sealant are recommended options.
- Waterproof Coating: Look for a reliable waterproof coating specifically designed for electronics. It should provide excellent protection against moisture and have good adhesive properties.
- Brush or Applicator: You will need a brush or applicator to evenly apply the waterproof coating onto the surfaces of your case.
- Disposable Gloves: Wearing disposable gloves will protect your hands from any potentially harmful chemicals or substances.
- Ventilation: Ensure that you have proper ventilation in your workspace to minimize inhalation of fumes and to allow for adequate drying of the waterproof coating.
Now that you have gathered all the necessary tools and materials, let’s dive into the step-by-step guide on how to waterproof your PC case.
Step-by-Step Guide to Waterproofing Your PC Case
Now that you have all the required tools and materials, let’s get started with the step-by-step process of waterproofing your PC case:
- Prepare the PC Case: Begin by ensuring that your PC case is clean and dry. Use isopropyl alcohol and a microfiber cloth to remove any dust or residue from the surfaces. Take extra care to clean the areas around the ports and openings.
- Seal the Ports and Openings: Use waterproof tape or silicone sealant to cover all the ports, openings, and seams of the case. Make sure to seal them tightly to prevent any moisture from entering. Allow the sealant to dry according to the manufacturer’s instructions.
- Apply Waterproof Coating: Using a brush or applicator, evenly apply the waterproof coating onto the surfaces of your PC case. Start from the top and work your way down, ensuring that all areas are covered. Pay extra attention to the corners and edges. Allow the coating to dry completely as per the manufacturer’s instructions.
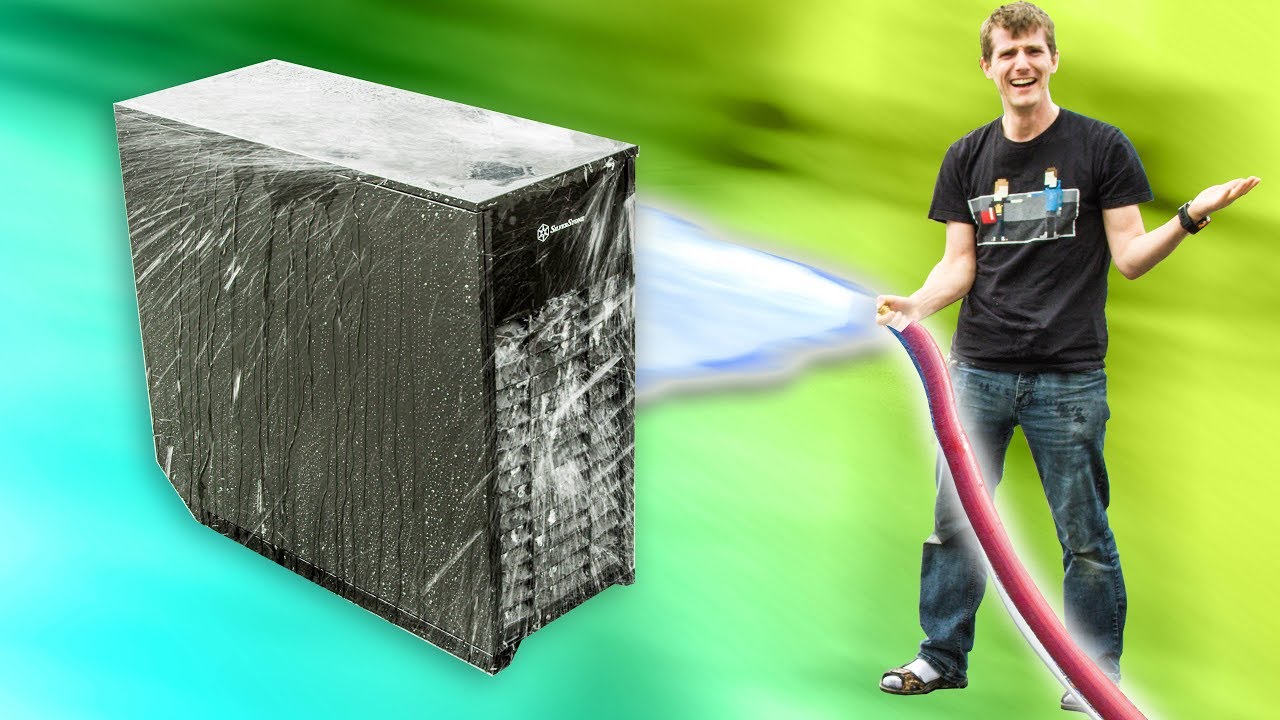
- Test the Waterproofing: Once the waterproof coating is dry, it’s time to perform a quick test. Using a damp cloth or sponge, gently wipe over the sealed areas and the coated surfaces. Check for any signs of water seeping through or damage. If everything appears to be intact, you have successfully waterproofed your PC case.
- Tips and Tricks for Maintaining the Waterproofing: To ensure the longevity of the waterproofing, avoid exposing your PC case to excessive moisture or humidity. Regularly clean the surfaces with a dry or slightly damp cloth. If necessary, reapply the waterproof coating periodically to maintain its effectiveness.
By following these steps and taking proper care of your waterproofed PC case, you can enjoy peace of mind knowing that your hardware is well-protected. Now, go ahead and waterproof your PC case to safeguard your valuable components!
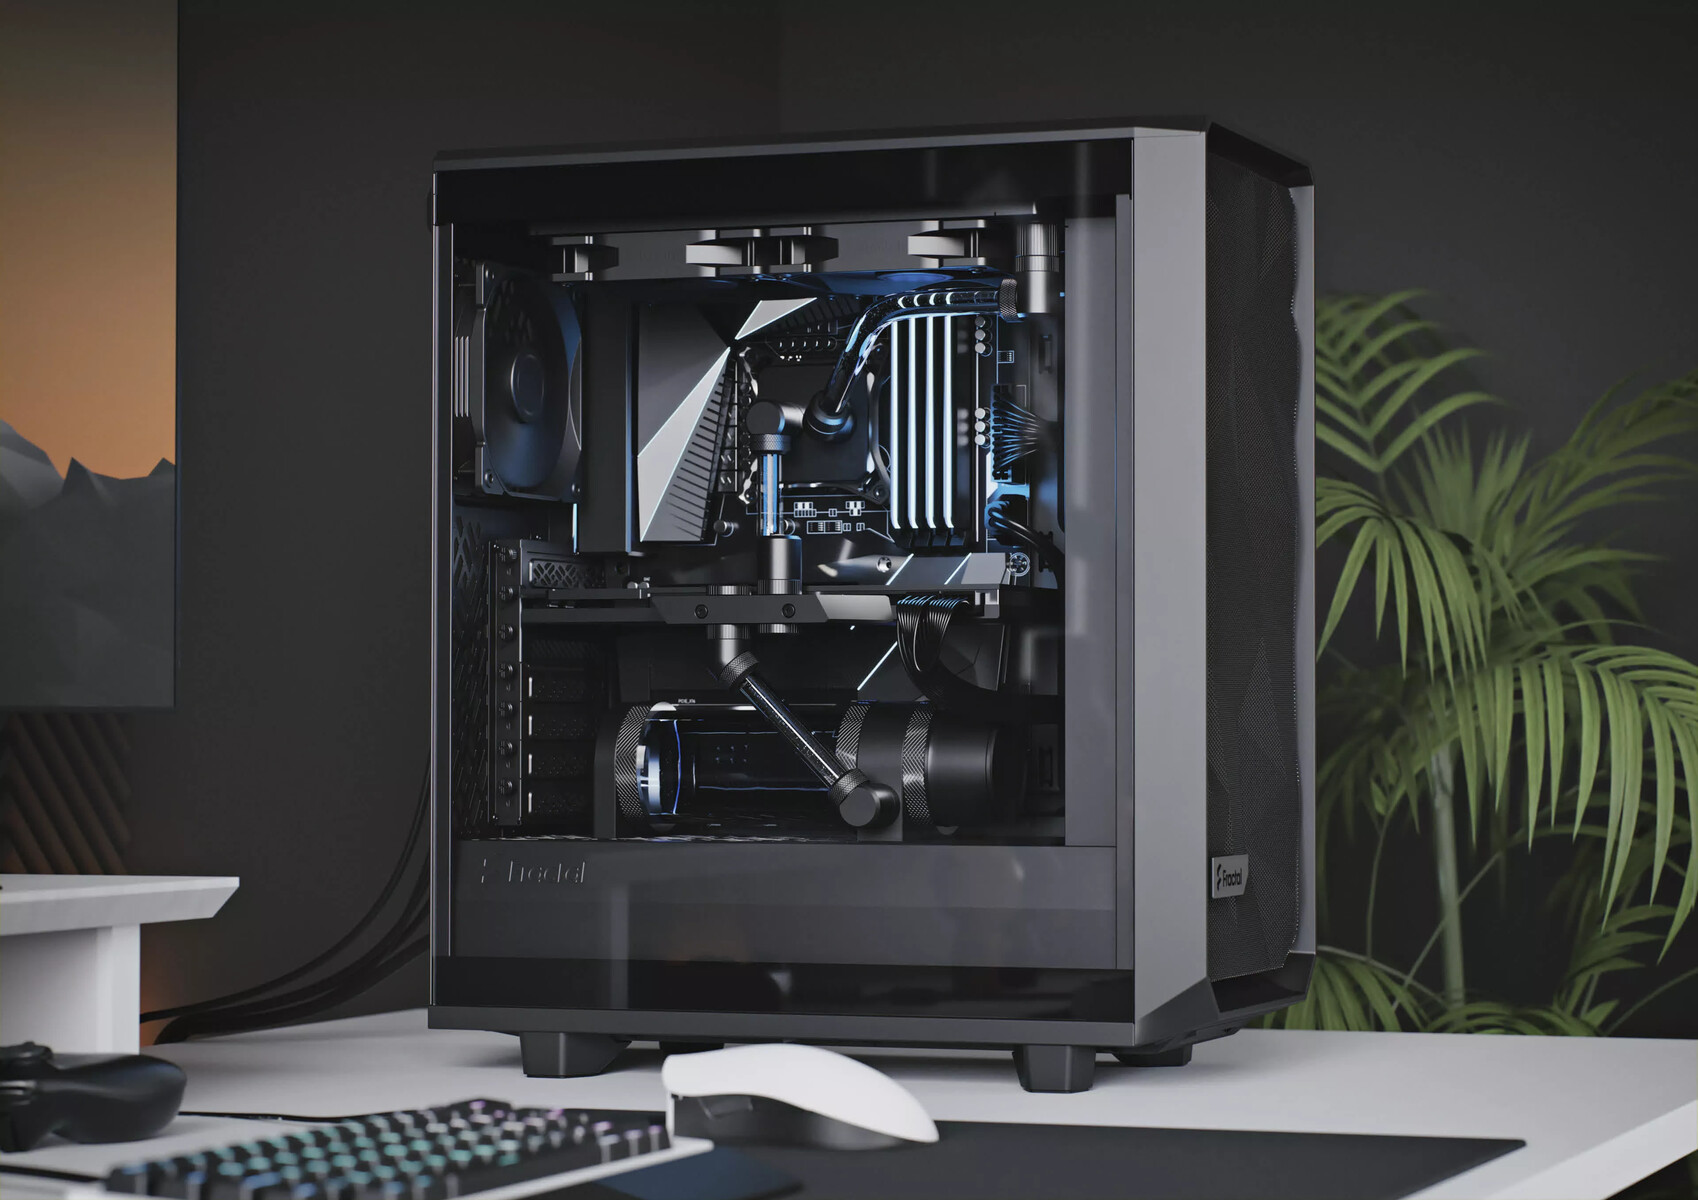
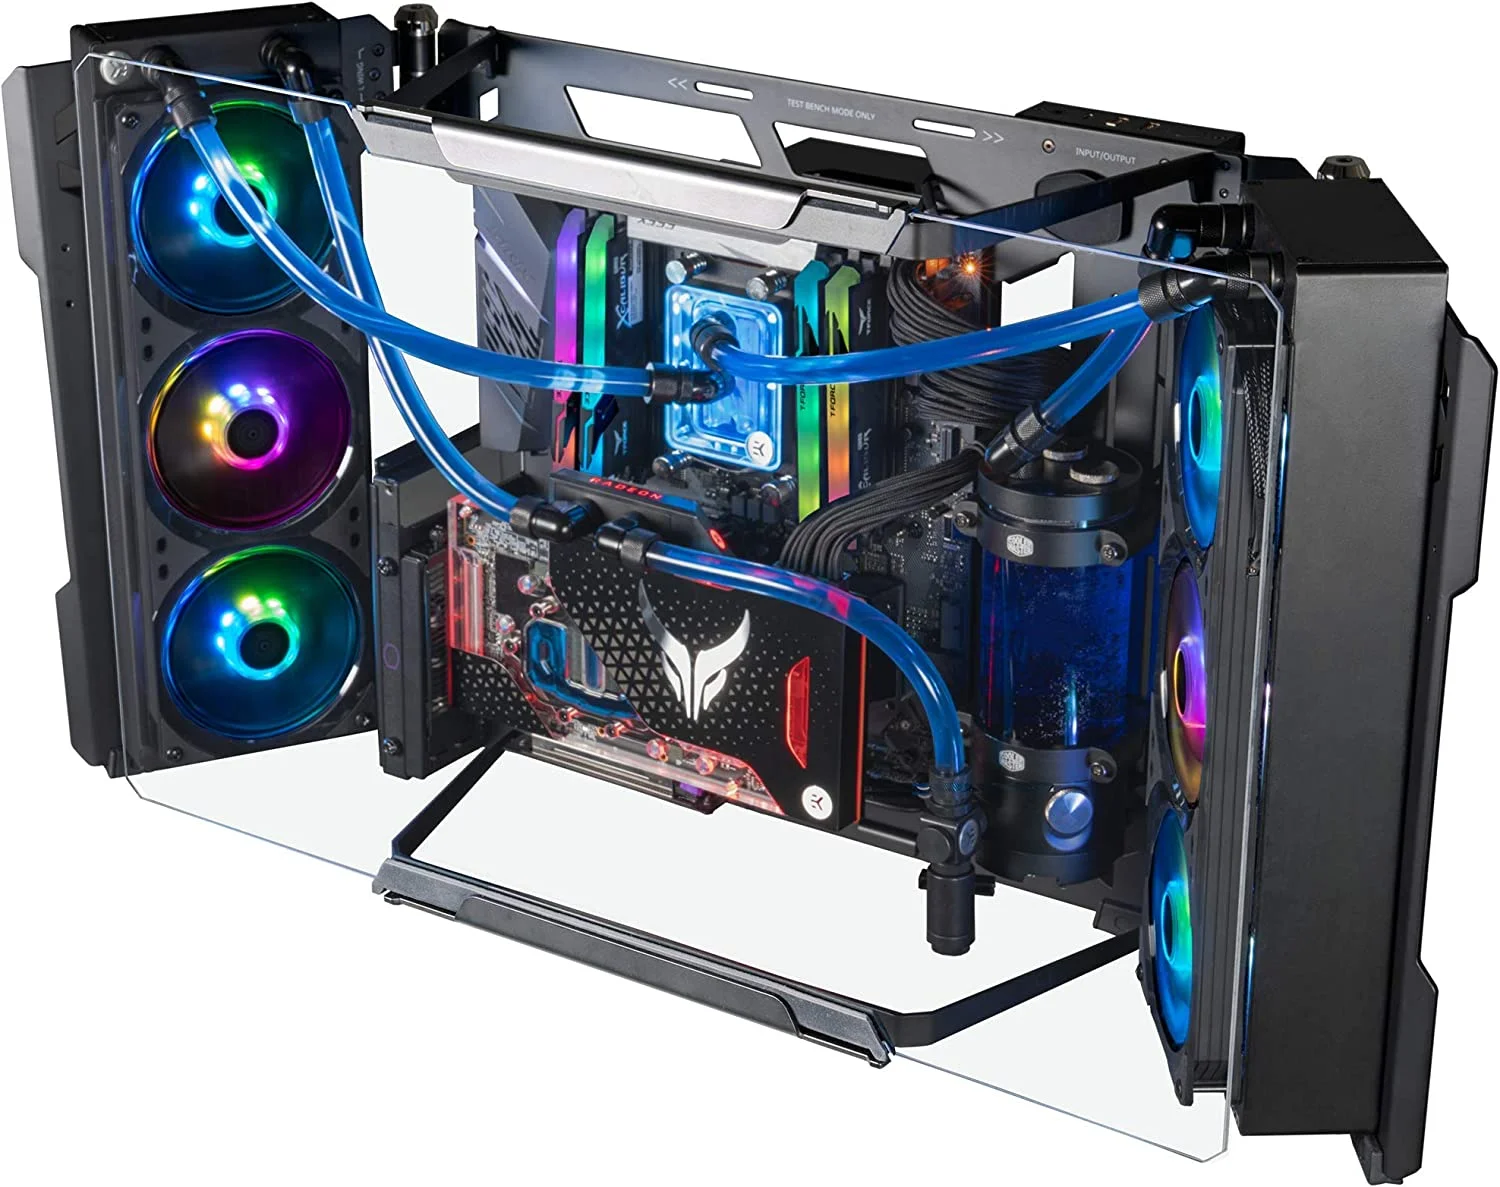
Preparing the PC Case
Before you can start waterproofing your PC case, it’s important to properly prepare the case to ensure optimal results. Here are the steps to follow when preparing your PC case:
- Power off and disconnect your PC: Before doing anything with your PC case, make sure it is powered off and unplugged from the power source. This will ensure your safety and prevent any potential damage to the hardware.
- Open the PC case: Depending on the type of case you have, you may need to remove screws or use a latch mechanism to access the inner components. Refer to your PC case manual for specific instructions on opening the case.
- Remove any components if necessary: If there are any components that obstruct your access to the case’s interior, such as graphics cards or hard drives, carefully remove them to create more space for the waterproofing process.
- Clean the case: Use a soft brush or a can of compressed air to remove any dust or debris from the case’s interior. Pay attention to the fans, heatsinks, and other areas that tend to accumulate dust. This step ensures that there is a clean surface for the waterproofing materials to adhere to.
- Inspect for damages or corrosion: Take a close look at the internal components and the case itself for any signs of damage, corrosion, or rust. Address any issues that you come across before proceeding with the waterproofing process.
- Protect sensitive areas: Identify any areas that you do not want to be coated or sealed during the waterproofing process. This may include connectors, buttons, or other delicate components. Cover these areas with painter’s tape or masking tape to prevent any unwanted coating or sealant from affecting them.
- Create a well-ventilated workspace: Since you will be working with chemicals and sealants, ensure that your workspace is well-ventilated. You can open windows or use a fan to improve air circulation and prevent the accumulation of fumes.
By following these steps and taking the time to properly prepare your PC case, you can ensure a smooth and successful waterproofing process. Once you have completed these preparations, you are ready to move on to the next steps of sealing the ports and applying the waterproof coating.
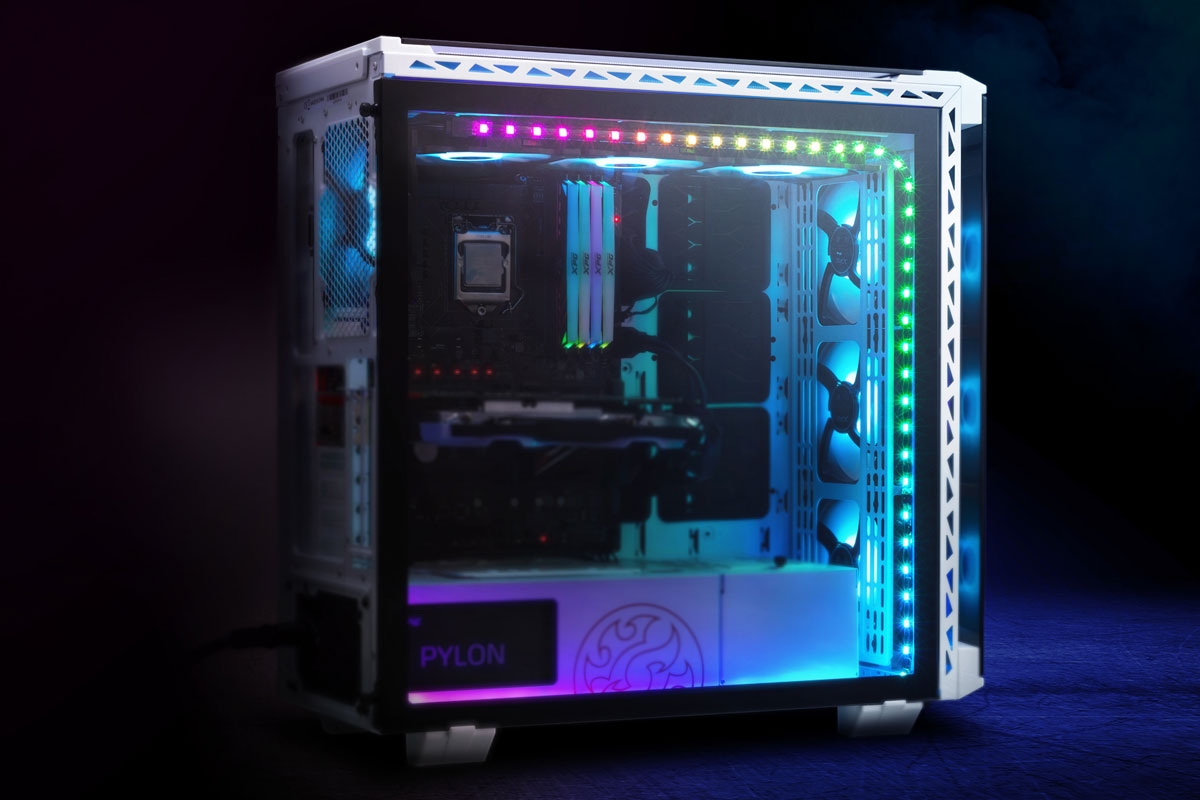
Sealing the Ports and Openings
Now that you have prepared your PC case, the next step in the waterproofing process is to seal the ports and openings. This step is crucial to prevent any moisture or liquids from entering the case and causing damage to your components. Here’s how to effectively seal the ports and openings:
- Identify the ports and openings: Take a close look at your PC case and identify all the ports, such as USB ports, audio jacks, and HDMI ports, as well as any other openings such as ventilation holes or gaps between panels. It’s important to seal all of these areas to ensure comprehensive waterproofing.
- Clean the areas to be sealed: Use a clean, lint-free cloth and isopropyl alcohol to wipe down the surfaces around the ports and openings. This will remove any dirt, dust, or oils that could interfere with the adhesion of the sealant.
- Choose an appropriate sealant: Depending on the material of your PC case, choose a suitable sealant to seal the ports and openings. Waterproof tape or silicone sealant are common options that provide reliable waterproofing. Be sure to read the manufacturer’s instructions for the sealant to ensure proper application.
- Apply the sealant: Carefully apply the sealant around the edges of each port and opening. Use a small brush or the applicator provided with the sealant to ensure precise application. Take your time to cover every part, ensuring complete sealing.
- Smooth and remove excess sealant: Once you have applied the sealant, use a small, clean brush or a gloved finger to smooth out the sealant and remove any excess. This will create a clean and neat look while ensuring a tight seal.
- Allow the sealant to dry: Follow the instructions provided with the sealant to determine the appropriate drying time. Ensure that the sealant is completely dry before moving on to the next steps to avoid any interference with the waterproof coating.
By properly sealing the ports and openings of your PC case, you significantly reduce the risk of moisture and liquids entering the case and causing damage. Once you have completed this step, you are ready to move on to the next phase of applying the waterproof coating.
Applying Waterproof Coating
With the ports and openings of your PC case sealed, it’s time to apply the waterproof coating. This coating will provide an additional layer of protection against moisture and ensure the longevity of your components. Here’s a step-by-step guide on how to apply the waterproof coating:
- Choose a suitable waterproof coating: Look for a reliable waterproof coating specifically designed for electronics. Ensure that it provides excellent protection against moisture and has good adhesive properties. Read the manufacturer’s instructions for proper application and drying time.
- Prepare your workspace: Ensure that your workspace is well-ventilated and free from any dust or debris. This will help in achieving smooth and even application of the waterproof coating. Consider placing a protective covering on your workspace to catch any drips or spills.
- Shake or mix the waterproof coating: Follow the instructions provided with the waterproof coating to shake or mix it thoroughly. This ensures that the coating is mixed well and ready for application.
- Apply the waterproof coating: Using a brush or applicator, apply the waterproof coating onto the surfaces of your PC case. Begin from the top and work your way down, covering all areas evenly. Pay extra attention to corners, edges, and hard-to-reach areas to ensure comprehensive coverage.
- Smooth out the coating: After applying the waterproof coating, use a brush or the applicator to smooth out the surface and remove any excess coating. This will help in achieving a more uniform appearance and ensure that the coating adheres properly.
- Allow the coating to dry: Follow the drying time recommended by the manufacturer. It’s important to allow the coating to dry completely before moving or reassembling your PC case. Avoid touching the coated surfaces until the coating is fully cured.
By carefully applying the waterproof coating to your PC case, you provide a durable and effective layer of protection against moisture and other potential damage. Once the coating is dry, you can move on to the next step of testing the waterproofing to ensure its effectiveness.
Testing the Waterproofing
After applying the waterproof coating to your PC case, it’s important to test the effectiveness of the waterproofing before fully reassembling your system. Testing the waterproofing will give you the confidence that your components are adequately protected. Here’s how to perform a quick test:
- Prepare a damp cloth or sponge: Dampen a clean cloth or sponge with water. Make sure it is not soaking wet, but damp enough to simulate a spill or accidental exposure to moisture.
- Gently wipe over the sealed areas and coated surfaces: Starting with the sealed ports and openings, as well as the coated surfaces, gently wipe the damp cloth or sponge over these areas. Pay close attention to any corners or edges where moisture could potentially seep in.
- Check for signs of water seepage: After wiping, inspect the areas for any signs of water seepage. Look for moisture or water droplets on or around the sealed areas. If you notice any seepage, carefully dry the area and assess if additional sealing or coating is required.
- Examine the interior of the case: Carefully open your PC case and inspect the interior for any signs of moisture or water droplets. Pay attention to sensitive components such as the motherboard, graphics card, and storage drives. If you find any signs of moisture, quickly address it by drying the affected areas and ensuring proper sealing.
- Repeat the test if necessary: If there are areas that did not pass the initial test or if you have made adjustments to the sealant, you may want to repeat the testing process to ensure the effectiveness of the waterproofing. It’s better to be thorough before fully reassembling your PC.
By performing this quick test, you can ensure that the waterproofing is working as intended and your PC case is adequately protected. If the results are satisfactory, you can proceed with reassembling your PC and enjoy the added peace of mind knowing that your components are well-protected.
Tips and Tricks for Maintaining the Waterproofing
Now that you have successfully waterproofed your PC case, it’s important to maintain the waterproofing to ensure its long-term effectiveness. Here are some tips and tricks to help you preserve the waterproofing and keep your components protected:
- Avoid exposing your PC case to excessive moisture: While the waterproofing adds an extra layer of protection, it’s still important to prevent unnecessary exposure to moisture. Keep your PC away from areas prone to leaks, spills, or high humidity levels. If you live in a humid climate, consider using a dehumidifier in the room where your PC is located.
- Regularly clean your PC case: Dust and debris can accumulate over time and compromise the effectiveness of the waterproofing. Regularly clean the surfaces of your PC case using a soft brush or a can of compressed air. This will prevent dust from settling on the components and potentially interfering with the waterproofing.
- Use a dry or slightly damp cloth for cleaning: When cleaning the surfaces of your PC case, avoid using excessive water or harsh cleaning agents. Instead, opt for a dry or slightly damp cloth to gently wipe away any dirt or smudges. This will minimize the risk of introducing excess moisture to the case.
- Reapply the waterproof coating if needed: Over time, the waterproof coating may wear off or become less effective. Keep an eye on the condition of the coating and reapply it as needed. Follow the manufacturer’s instructions for proper application and drying time. Regularly inspect the coated surfaces for any signs of peeling or damage.
- Monitor for signs of damage or water seepage: Periodically check the sealed ports and openings for any signs of damage or water seepage. If you notice any cracks, gaps, or signs of moisture, address it promptly. Reapply the sealant or coating if necessary to maintain the integrity of the waterproofing.
- Consider using waterproof cable management: In addition to waterproofing your case, you can also invest in waterproof cable management solutions. These include cable covers and waterproof cable sleeves that provide an extra layer of protection for your cables, reducing the risk of water damage.
- Keep the inner components clean: While waterproofing protects the exterior of your PC case, it’s important to also keep the inner components clean and free from dust and debris. Regularly clean your components using compressed air or specialized cleaning tools to prevent overheating and maintain optimal performance.
By following these tips and tricks, you can ensure that the waterproofing of your PC case remains effective and your components stay well-protected. Performing regular maintenance and being vigilant about potential risks will contribute to the longevity and reliability of your system.
Conclusion
Congratulations on successfully waterproofing your PC case! By following the step-by-step guide and implementing the tips and tricks mentioned, you have taken an important step in protecting your valuable components from moisture, spills, and dust.
Remember, the waterproofing process involves sealing the ports and openings of your PC case, as well as applying a waterproof coating to provide an added layer of protection. Regular maintenance, such as cleaning and reapplying the coating as needed, will help to maintain the integrity of the waterproofing over time.
By ensuring your PC case is waterproofed, you can enjoy peace of mind knowing that your components are safeguarded against potential damage. Whether it’s accidental spills, moisture, or dust, your hardware is now better equipped to handle the challenges of daily use.
Keep in mind that waterproofing your PC case is not a one-time task. Regularly assess the condition of the waterproofing and make any necessary adjustments or improvements. By doing so, you can ensure the longevity and reliability of your computer system.
Now that you have completed the waterproofing process, it’s time to fully reassemble your PC and get back to enjoying your customized setup. Take pride in your efforts to protect your investment and continue exploring the exciting world of PC building and customization!