Introduction
Welcome to this comprehensive guide on how to create a PSU shroud. If you’re a PC enthusiast looking to take your computer’s aesthetics to the next level, a PSU shroud is the perfect addition to your build. In this article, we will walk you through the step-by-step process of designing and crafting a PSU shroud that not only conceals your power supply unit but also adds a sleek and professional look to your PC setup.
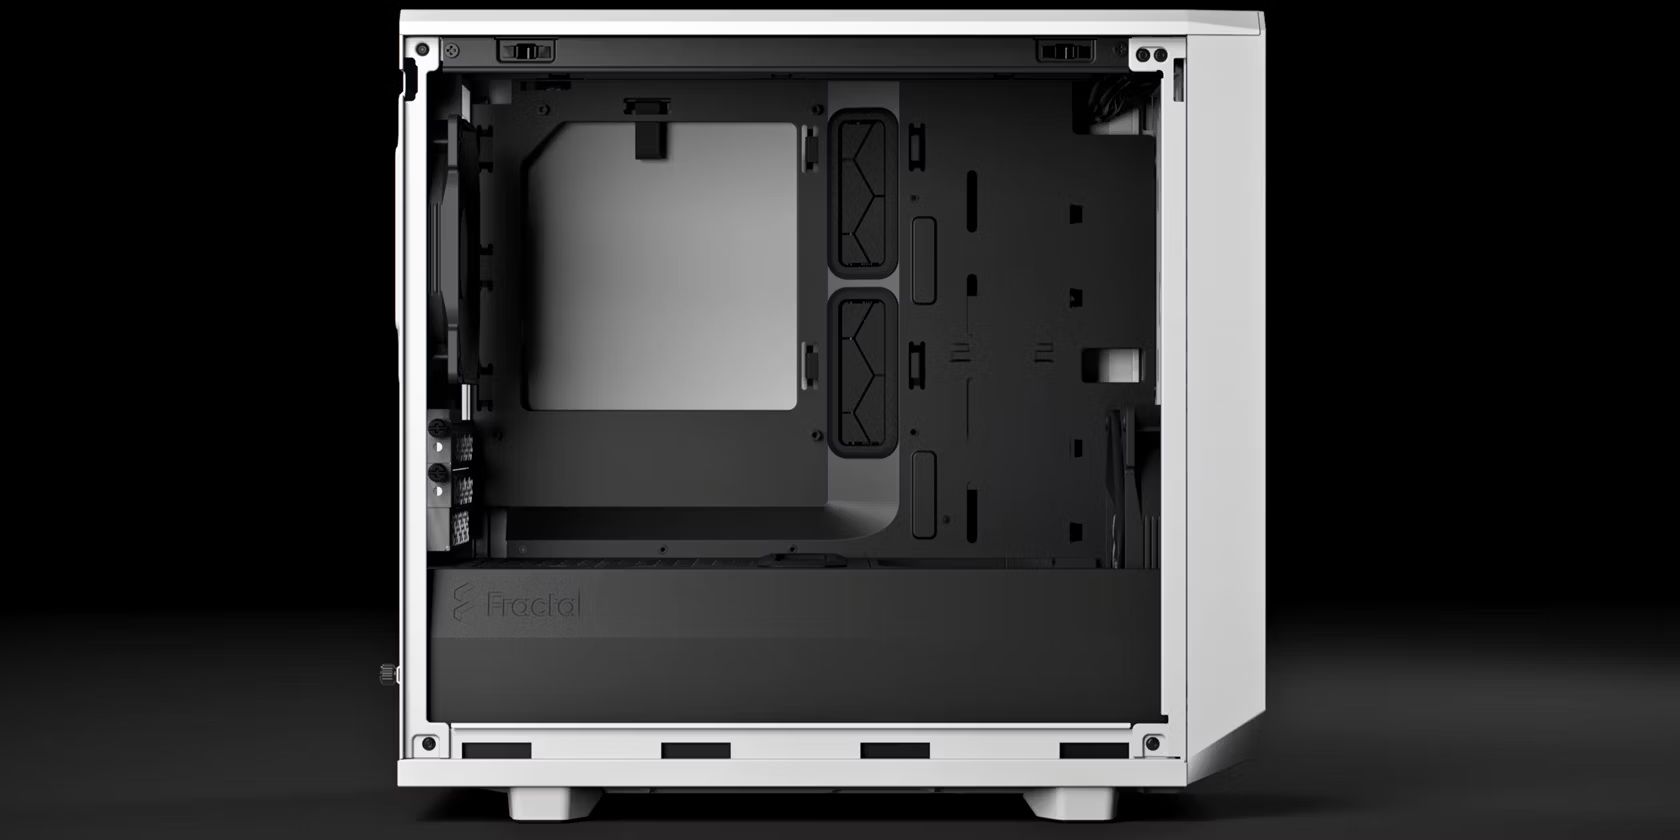
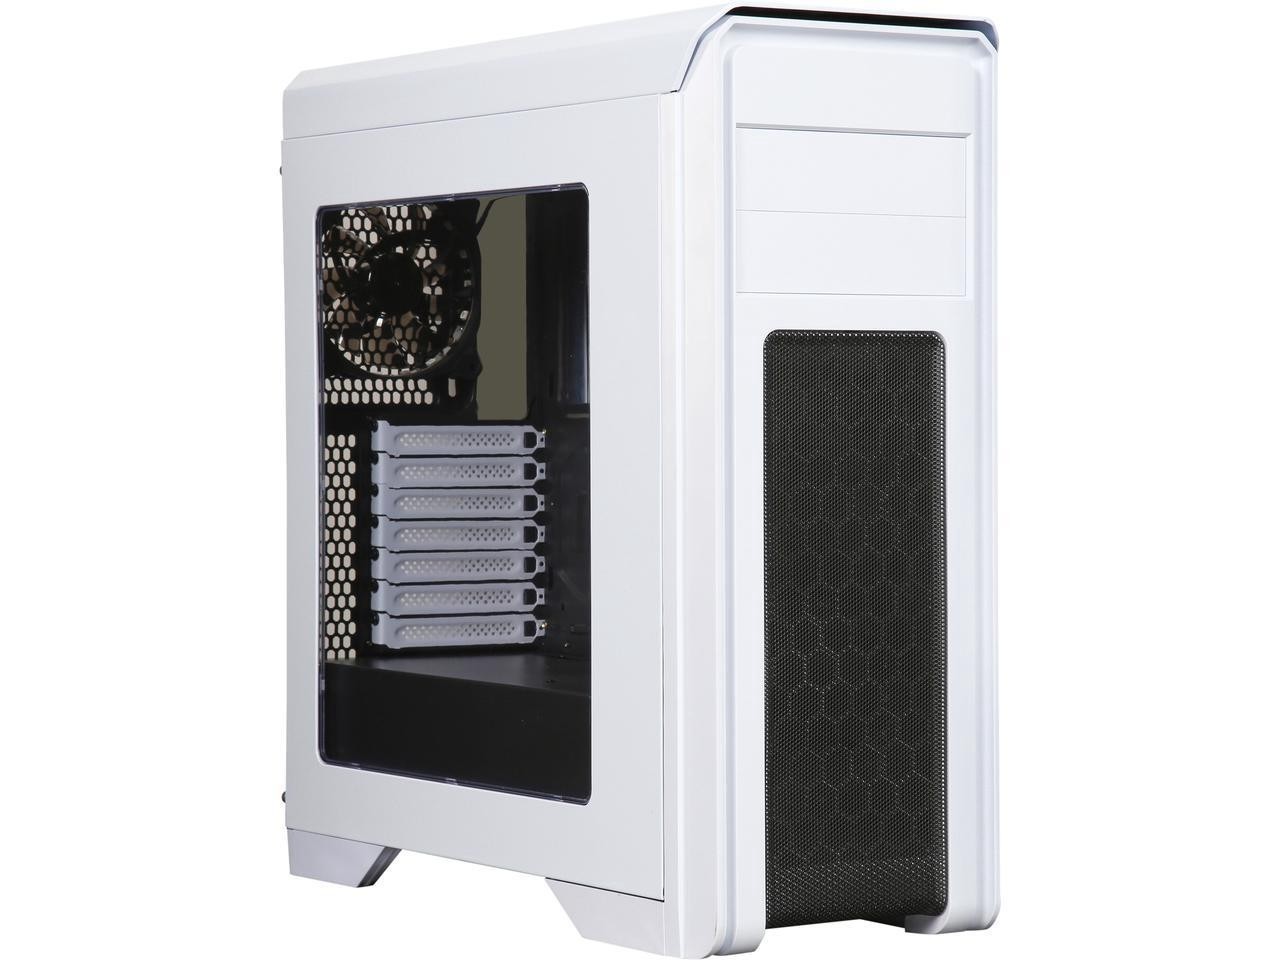
A PSU shroud, short for power supply unit shroud, is a cover placed over the PSU area in a PC case. Its main purpose is to hide the unsightly cables and wires connected to the power supply, creating a clean and organized appearance. A well-designed PSU shroud not only enhances the overall aesthetics of your build but also improves airflow by directing it in a more efficient manner.
By following this guide, you’ll be able to create a custom PSU shroud that perfectly fits your PC case and complements your desired style. Whether you’re a seasoned modder or a beginner, this step-by-step guide will provide you with all the information you need to successfully complete your PSU shroud project.
Before we dive into the detailed instructions, let’s take a moment to discuss the benefits of using a PSU shroud in your PC build and the tools and materials you’ll need for this project. So, grab your tools and let’s get started on transforming your PC into a work of art!
What is a PSU Shroud?
A PSU shroud, short for power supply unit shroud, is essentially a cover that is placed over the power supply unit area in a PC case. Its primary purpose is to hide the cables and wires connected to the power supply, providing a clean and organized appearance to your PC build.
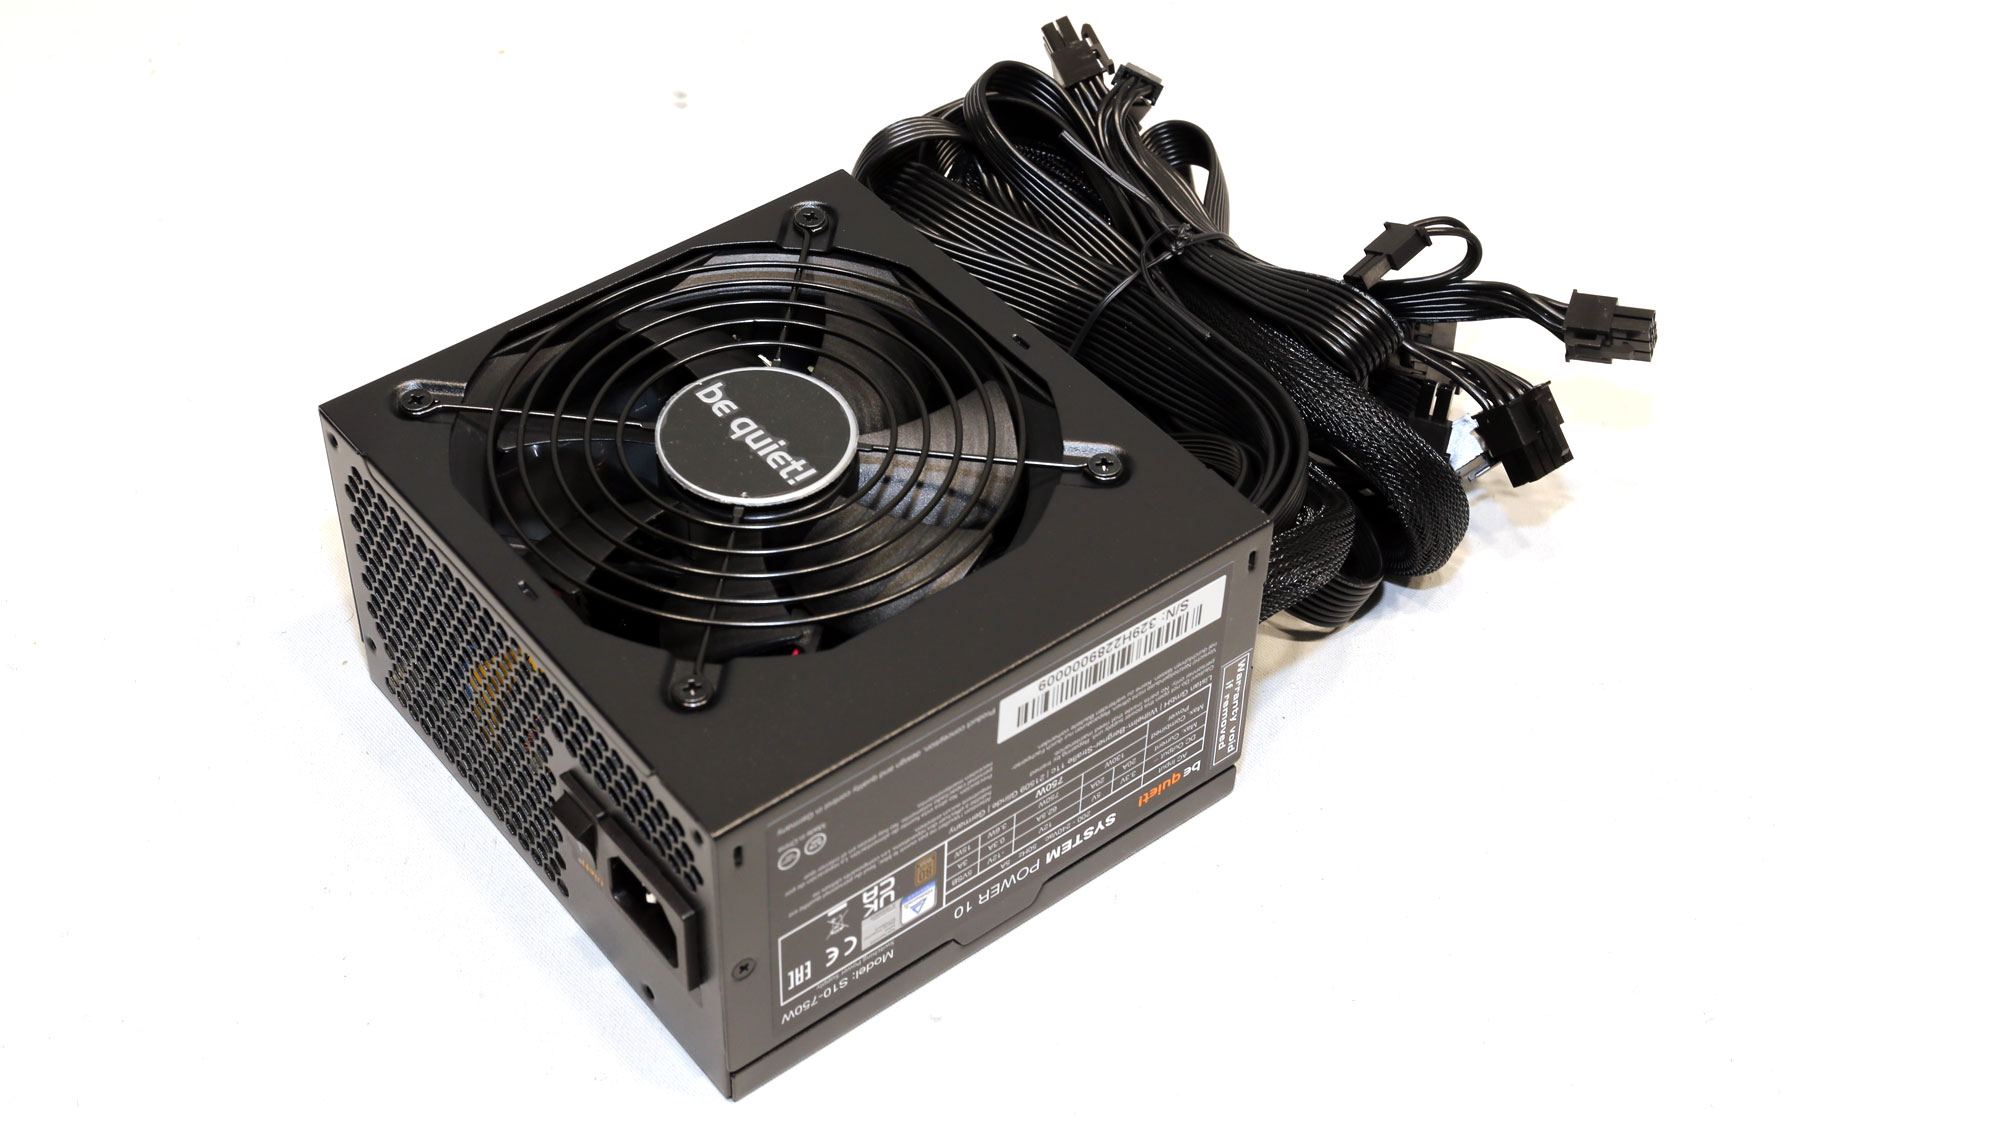
Traditionally, power supply units and the cables connected to them are not the most visually appealing elements inside a computer case. The cables can be messy and cluttered, which can take away from the overall aesthetics of your build. That’s where a PSU shroud comes in. By concealing the unsightly cables, it creates a seamless and professional look that showcases only the essential components of your PC.
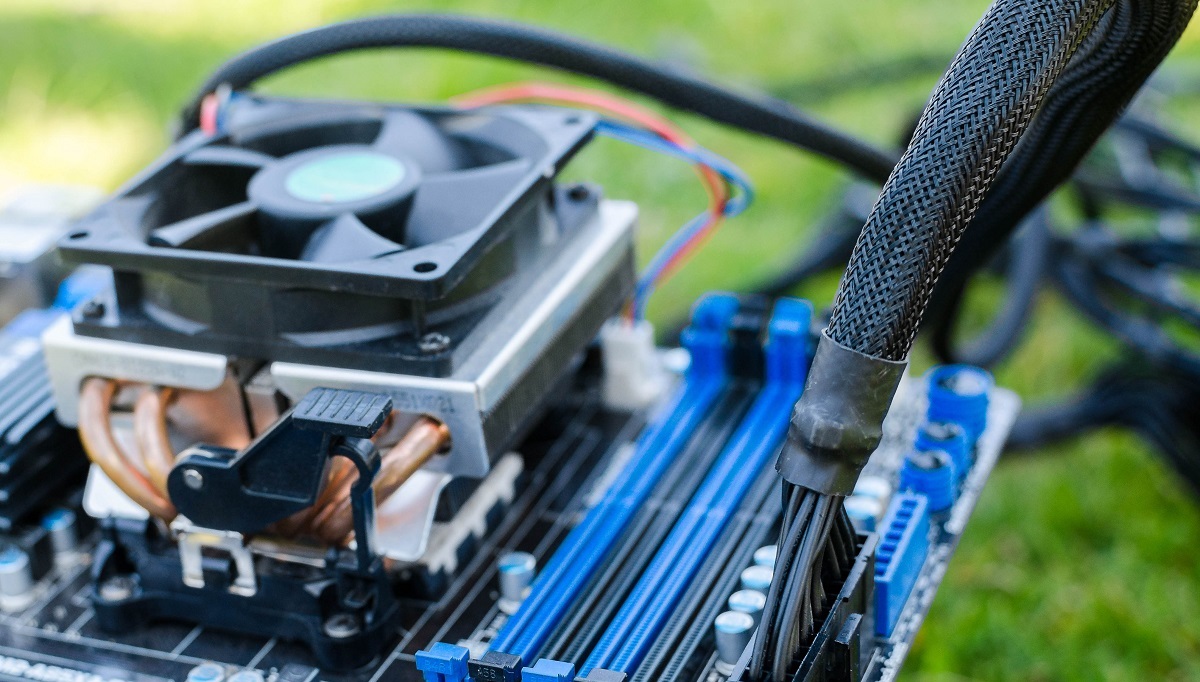
Not only does a PSU shroud hide the cables, but it also serves as a tool for cable management. With a well-designed shroud, you can route the cables behind it, keeping them out of sight and allowing for better airflow within the case. This improves the overall cooling efficiency and reduces the risk of cables obstructing fans or other components. Additionally, a PSU shroud can act as a barrier, preventing dust and debris from entering the power supply unit area.
Another advantage of a PSU shroud is its ability to enhance the overall aesthetics of your PC build. With a customized shroud, you can add your personal touch and complement the theme or color scheme of your build. It opens up the opportunity for creativity and customization, making your PC build stand out from the crowd.
PSU shrouds come in various shapes, sizes, and materials, allowing you to choose one that suits your preferences and fits your PC case perfectly. Whether you opt for a pre-made shroud or decide to craft one yourself, the end result will be a visually appealing and organized PC setup that you can proudly showcase.
Now that you have a clear understanding of what a PSU shroud is and its benefits, let’s move on to the next section, where we’ll discuss the tools and materials you’ll need to create your own PSU shroud.
Benefits of a PSU Shroud
Integrating a PSU shroud into your PC build offers a range of advantages that go beyond just improving the appearance of your system. Let’s explore some of the key benefits of using a PSU shroud:
- Cable Management: One of the primary benefits of a PSU shroud is its ability to tidy up cable routing. By hiding the cables connected to the power supply, you can achieve a clean and organized look. With proper cable management, you not only improve aesthetics but also enhance airflow and cooling efficiency within the case.
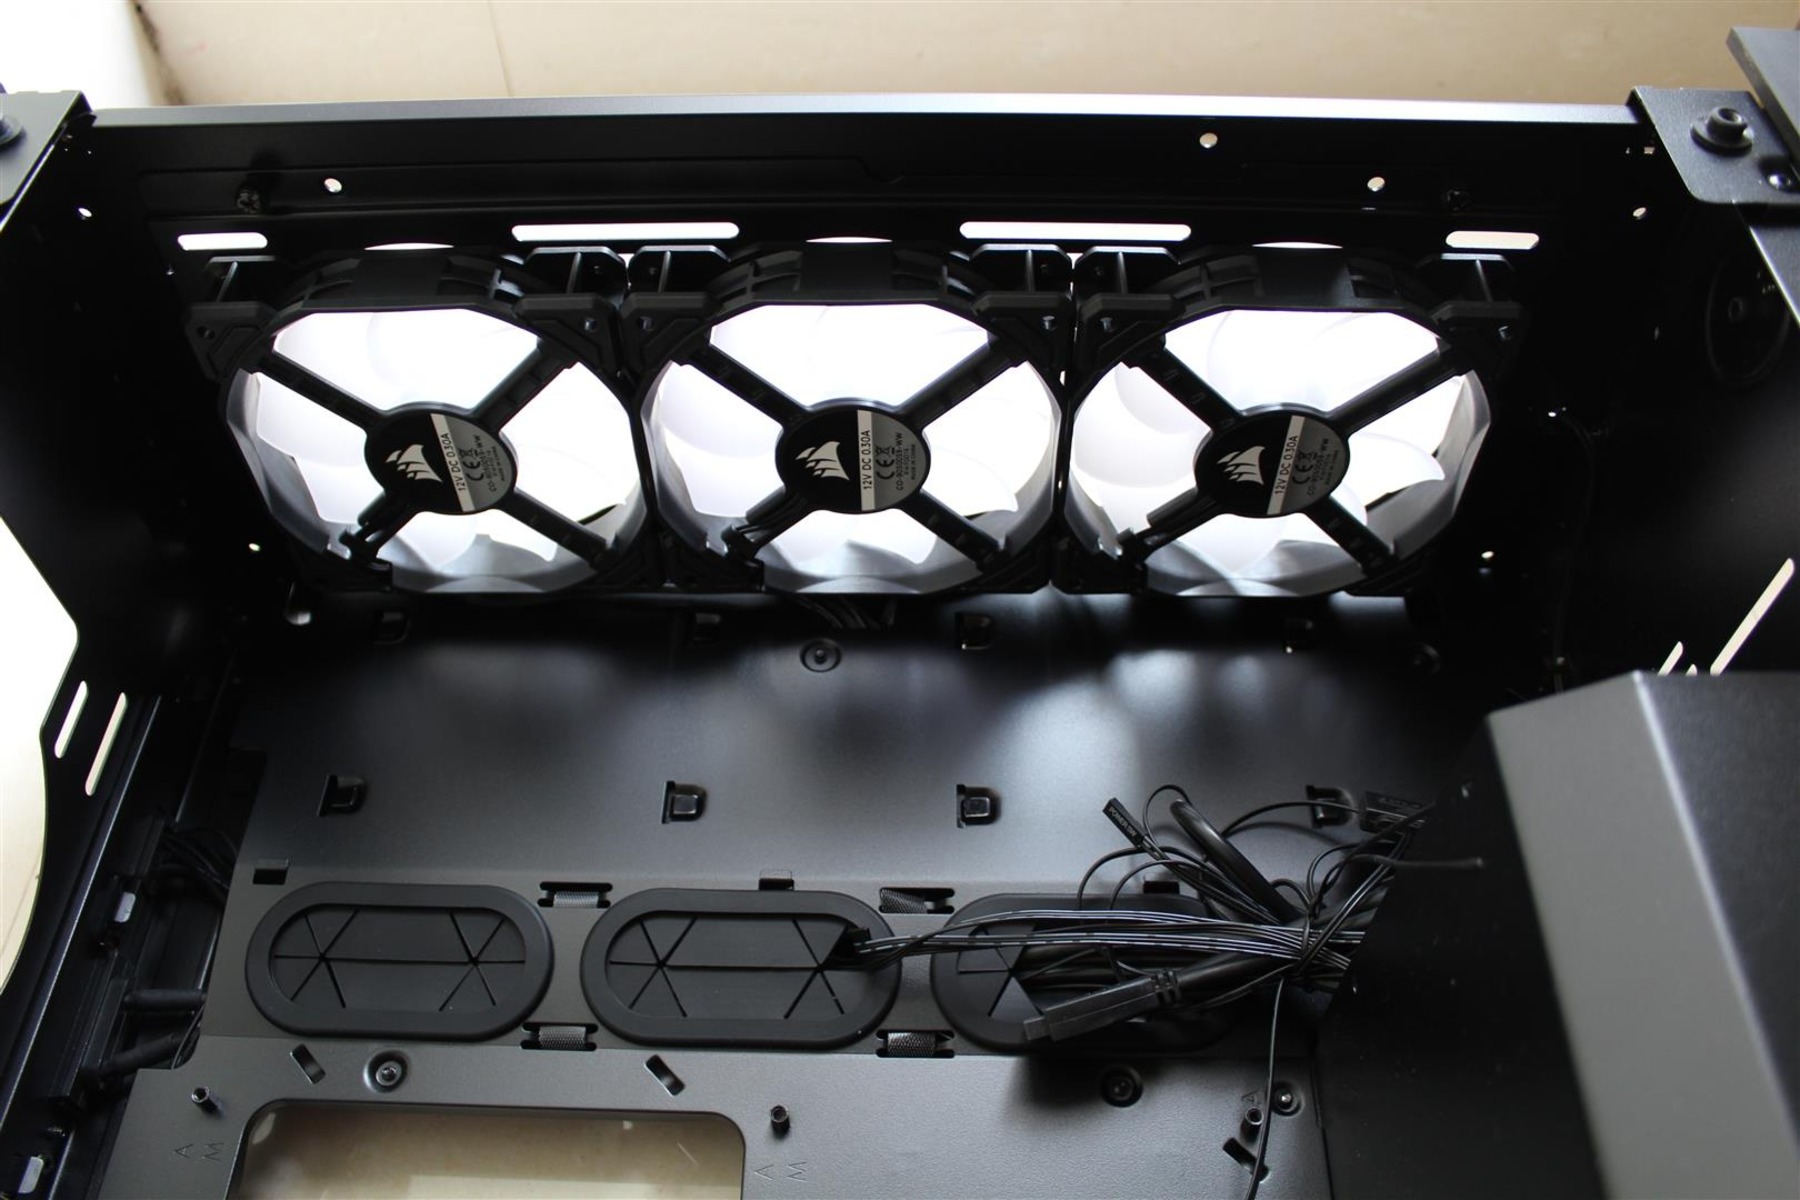
- Improved Airflow: A well-designed PSU shroud can help optimize airflow within your PC case. By routing the cables behind the shroud, you can ensure that they don’t obstruct the airflow path. This allows cool air to flow freely, reaching the components that need it the most, such as the CPU and graphics card. Improved airflow can prevent overheating and enhance the overall performance and longevity of your system.
- Reduced Noise: The cables connected to the power supply can sometimes emit electrical noise, which can impact the audio quality of your system. By using a PSU shroud to shield and separate the power supply unit from other components, you can minimize the electrical interference and reduce noise levels, resulting in a quieter computing experience.
- Dust Prevention: Dust accumulation inside your PC case can impair the performance of your components and increase the risk of overheating. By installing a PSU shroud, you create a barrier that helps keep dust and debris out of the power supply unit area. This reduces the amount of cleaning and maintenance required, keeping your system in optimal condition for longer periods.
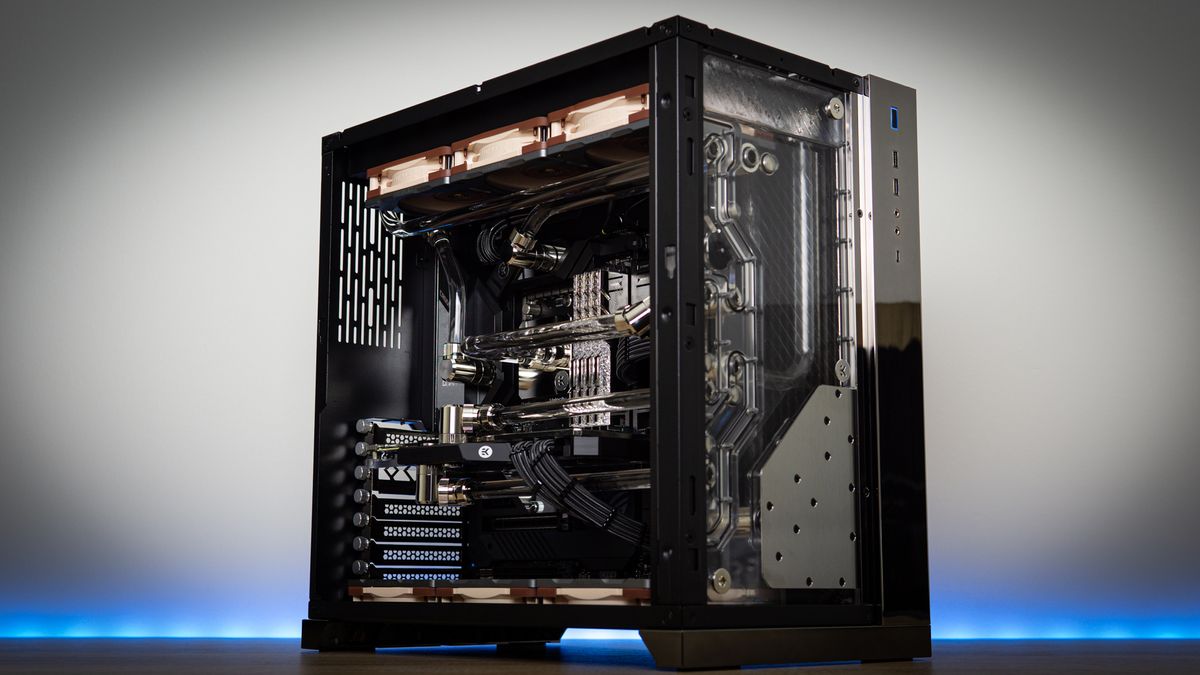
- Aesthetic Enhancement: Perhaps the most obvious benefit of a PSU shroud is its visual appeal. It allows you to hide the cables and present a clean, minimalist look for your PC build. Moreover, many PSU shrouds are customizable, enabling you to match the shroud to the overall theme and color scheme of your build. This level of personalization adds a unique touch, making your system stand out from the crowd.
By incorporating a PSU shroud into your PC build, you can enjoy these benefits and create a sleek, well-organized, and efficient system that reflects your style and attention to detail.
Next, we’ll move on to the tools and materials you’ll need to create your own PSU shroud.
Tools and Materials Needed
Before getting started with creating a PSU shroud, it’s important to gather the necessary tools and materials. Here’s a list of what you’ll need:
Tools:
- Measuring tape or ruler
- Marker or pencil
- Utility knife or scissors
- Drill or rotary tool
- Sandpaper or file
- Spray paint or acrylic paint (optional for customization)
- Paintbrush or spray gun (if using paint)
- Clamps or adhesive (to secure the shroud)
Materials:
- Sheet material for the shroud (such as acrylic, wood, or metal)
- Velcro straps or cable ties
- Ventilation grilles or perforated sheets (if desired)
- Screws or other fasteners
- Primer (if using paint)
- Clear coat (if using paint)
The type of sheet material you choose for the shroud will depend on your personal preference and the desired look for your PC build. Acrylic is a popular choice due to its versatility, ease of customization, and availability in various colors. Wood and metal can also be used for a more unique and robust appearance, but they may require additional tools and skills for cutting and shaping.
If you wish to add ventilation holes to the shroud for improved airflow, you’ll need ventilation grilles or perforated sheets. These can be found at hardware stores or online, and they come in different sizes and patterns. Additionally, if you plan to customize the shroud with paint, make sure to have spray paint or acrylic paint, as well as primer and clear coat for a durable and professional finish.
To secure the shroud in your PC case, you can use clamps or adhesive, depending on the design of your case and the chosen material for the shroud. Velcro straps or cable ties can be handy for managing the cables behind the shroud and keeping them organized.
Now that you have all the necessary tools and materials, it’s time to move on to the step-by-step guide on creating a PSU shroud.
Step-by-Step Guide to Creating a PSU Shroud
Now that you have all the required tools and materials, let’s dive into the step-by-step process of creating a PSU shroud:
1. Planning and Measurement
Start by carefully measuring the dimensions of your PC case and the space where the PSU shroud will be placed. Take into consideration any clearance needed for cables and connectors. Note down these measurements and use them as a reference throughout the process.
2. Cutting the Material
Using the measurements, mark the dimensions on the sheet material for the shroud. Use a ruler or measuring tape to ensure accuracy. Once marked, use a utility knife or scissors to cut the material along the lines.
3. Adding Ventilation Holes
If desired, mark the locations for ventilation holes on the shroud. Use a drill or a rotary tool to carefully create the holes. You can use ventilation grilles or perforated sheets to cover these holes for a more uniform and polished look.
4. Painting the Shroud
If you plan to customize the shroud with paint, this is the time to do so. Start by cleaning the surface of the shroud to ensure good adhesion. If using acrylic paint, apply a primer coat first. Once dry, apply multiple thin coats of paint, allowing each coat to dry before applying the next. Finish off with a clear coat for added protection and durability. Allow the paint to dry completely according to the manufacturer’s instructions.
5. Installing the PSU Shroud
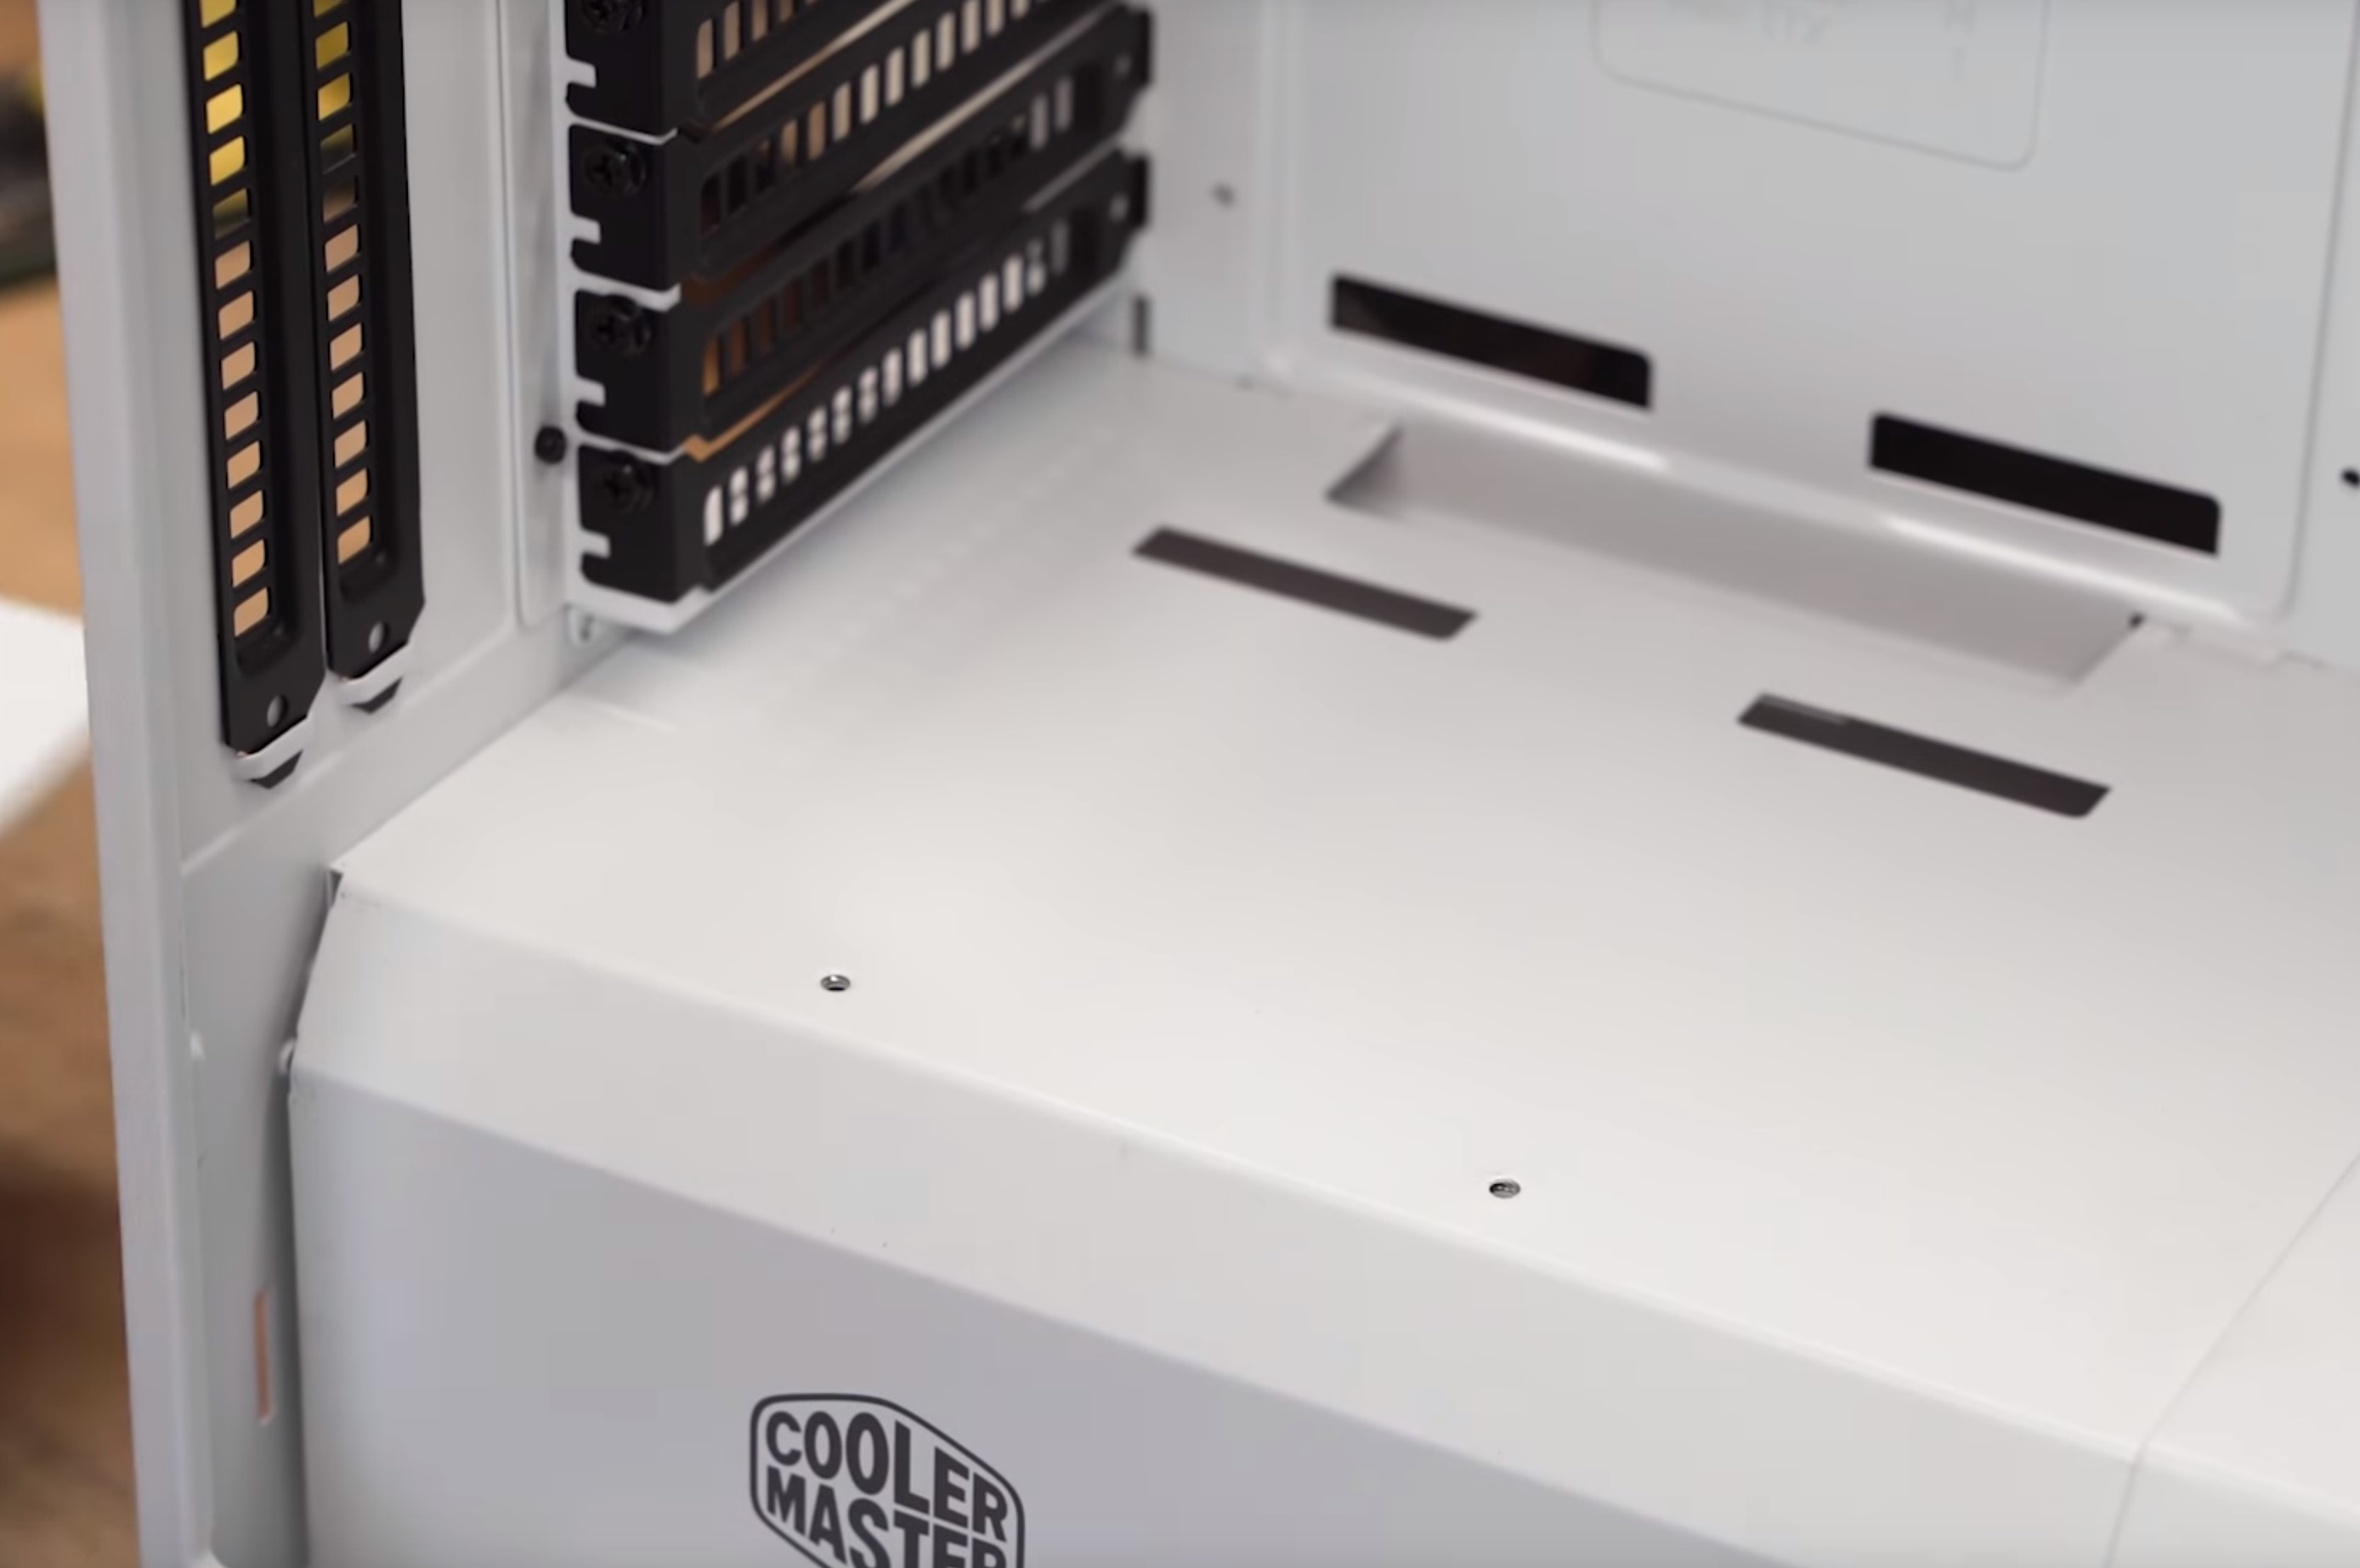
Now that the shroud is cut and painted, it’s time to install it in your PC case. Carefully place the shroud in the designated area, making sure it fits properly and aligns with the screw holes or attachment points. Secure the shroud using screws or other fasteners. If necessary, use clamps or adhesive to ensure a firm and stable installation.
Consider using Velcro straps or cable ties to manage and organize the cables behind the shroud. This will help maintain a tidy and clutter-free interior.
And there you have it—the step-by-step process of creating and installing a PSU shroud for your PC build. Take a step back and admire the transformation as your system now boasts a clean and professional appearance.
In the next section, we’ll provide you with some tips and tricks to enhance your PSU shroud creation process.
Planning and Measurement
The first step in creating a PSU shroud is careful planning and accurate measurement. Proper planning ensures that the shroud fits perfectly in your PC case and meets your design requirements. Here’s how to proceed:
1.1 Assess Your PC Case: Examine your PC case to determine the ideal location for the shroud. Look for an area that provides enough clearance for the power supply unit and cables, while also considering the airflow and component layout of your case.
1.2 Measure the Space: Use a measuring tape or ruler to measure the dimensions of the selected area. Take precise measurements of the width, height, and depth, considering any obstructions or components that might affect the placement of the shroud.
1.3 Clearances and Cable Routing: Consider the amount of clearance needed for the cables to pass through the shroud comfortably. Ensure that your chosen design allows easy routing of cables to their respective destinations, such as motherboard connectors, graphics card, and storage drives.
1.4 Marking the Measurements: Transfer the measurements to the sheet material you have chosen for the shroud. Use a marker or pencil to mark the dimensions accurately. Double-check your measurements before proceeding to the cutting phase.
1.5 Consider Future Expansion: If you plan on upgrading or adding components in the future, keep that in mind while designing your PSU shroud. Leave room for potential adjustments or modifications to accommodate future changes to your PC build.
1.6 Design Considerations: Think about the aesthetic and functional aspects of the shroud. Consider incorporating design elements that complement your overall PC theme or color scheme. Decide on any additional features, such as ventilation holes or cable management cutouts, that you want to include in your shroud design.
By carefully planning and measuring the dimensions of your PSU shroud, you can ensure a precise fit and streamline the overall creation process. Take your time during this stage to avoid any mistakes or issues that may arise later. Once you have completed the planning and measurement phase, you can move on to cutting the material for your PSU shroud.
Cutting the Material
After completing the planning and measurement stage, it’s time to cut the sheet material for your PSU shroud. Proper cutting ensures that your shroud fits precisely in your PC case. Follow these steps to achieve clean and accurate cuts:
2.1 Gather Your Tools: Make sure you have the necessary tools for cutting the chosen material, such as a utility knife or scissors. Different materials may require different cutting methods, so choose the appropriate tool accordingly.
2.2 Mark the Dimensions: Transfer the measurements from the planning stage onto the sheet material for the shroud. Use a ruler or measuring tape to ensure precise markings. Double-check the dimensions before proceeding to the cutting phase.
2.3 Cutting Techniques: Use a utility knife with a sharp blade or a pair of scissors depending on the material you are working with. Apply steady pressure to cut along the marked lines. It’s often better to make multiple light cuts rather than trying to cut through the material in one go.
2.4 Cutouts for Cable Routing: If your design requires cutouts for cable routing, mark the locations on the material. Use the appropriate cutting tool to create the desired holes or slots. Make sure the cutouts are clean and aligned with the connectors that need to pass through the shroud.
2.5 Smooth the Edges: Once the main cuts are complete, use sandpaper or a file to smooth out any rough edges or sharp corners. This step is crucial to ensure a professional and refined look for your PSU shroud.
2.6 Test Fitting: After cutting and smoothing the edges, perform a test fitting of the shroud in your PC case. Make any necessary adjustments to ensure the shroud fits properly and aligns with the screw holes or attachment points. Take your time during this step to fine-tune the fitment before proceeding to the next stages of the process.
Remember, take caution when handling sharp tools and be mindful of safety. Use appropriate protective gear, such as gloves or safety glasses, to prevent any accidents or injuries. Properly cutting the material is essential for achieving the desired look and fit of your PSU shroud.
Once you have completed cutting the material for your PSU shroud, the next step is to add ventilation holes and customize the shroud with paint if desired.
Adding Ventilation Holes
Adding ventilation holes to your PSU shroud helps improve airflow and prevent heat buildup within your PC case. By allowing hot air to escape and cool air to enter, you can maintain optimal operating temperatures for your components. Follow these steps to add ventilation holes to your PSU shroud:
3.1 Determine the Placement: Decide where you want to add ventilation holes on your PSU shroud. Consider the areas that generate the most heat, such as near the power supply unit or components like the graphics card or CPU. Additionally, think about the pattern and size of the holes to achieve the desired aesthetic and airflow.
3.2 Mark the Hole Locations: Use a marker or pencil to mark the positions of the ventilation holes on your shroud. Ensure that the markings are evenly spaced and aligned according to your design preference. Use a ruler or other measuring tools if necessary.
3.3 Choose the Hole Size: Determine the appropriate size for your ventilation holes based on the airflow needs of your PC case. Smaller holes offer more structural integrity, while larger holes provide increased airflow. Strike a balance between aesthetics, structural integrity, and airflow to achieve the desired result.
3.4 Drill the Holes: Use a drill with a drill bit appropriate for the size of the ventilation holes you want to create. Start with a small pilot hole to guide the larger drill bit. Carefully drill through the marked locations on the PSU shroud, ensuring that the holes are clean and evenly spaced. Take your time to avoid any damage to the shroud or injury.
3.5 Use Ventilation Grilles: To achieve a clean and uniform look, consider using ventilation grilles or perforated sheets to cover the created holes. Measure the size of the holes and cut the ventilation grilles to fit. Attach them to the shroud using adhesive or screws, ensuring a secure and aesthetically pleasing finish.
3.6 Test the Airflow: After adding the ventilation holes and grilles, perform a test to ensure that the airflow is adequate and unobstructed. Run your PC and monitor the temperatures of your components to confirm that the introduced airflow is effective in cooling the system.
Adding ventilation holes to your PSU shroud not only enhances cooling performance but also adds a visually appealing element to your PC build. Ensure precision and accuracy during the hole placement and drilling process to achieve optimal results.
Next, we will explore the step of painting the shroud to add a personal touch to your PC build.
Painting the Shroud
Painting your PSU shroud allows you to customize its appearance and integrate it seamlessly into your PC build’s overall aesthetic. Follow these steps to paint your shroud:
4.1 Prepare the Surface: Before painting, ensure that the surface of the shroud is clean and free from dust or debris. Use a mild cleaner or isopropyl alcohol to remove any contaminants that may affect the paint adhesion.
4.2 Apply a Primer: Primer helps create a smooth and even base for your paint. Use a spray primer specifically designed for the material of your shroud. Apply a thin and even coat of primer, following the instructions on the product. Allow the primer to dry fully before proceeding to the next step.
4.3 Choose Your Paint: Select a spray paint or acrylic paint that suits your desired color and finish. Opt for paint specifically formulated for the material of your shroud, such as acrylic paint for acrylic shrouds. Consider using multiple coats for better coverage and depth of color.
4.4 Apply the Paint: Start applying the paint in smooth, even strokes, holding the can or paintbrush at a consistent distance from the surface. Apply each coat thinly and allow it to dry before applying the next. Repeat the process until you achieve the desired color and finish. Follow the manufacturer’s instructions regarding drying times and the number of coats required.
4.5 Optional Clear Coat: To further protect the paint and enhance its durability, you can apply a clear coat. Clear coats help prevent chipping, scratches, and fading over time. Follow the same process as the paint application, ensuring even coverage and allowing proper drying between coats.
4.6 Finishing and Curing: Once the final coat is applied, allow the paint to dry and cure thoroughly according to the manufacturer’s instructions. This ensures that the paint is fully hardened and ready for handling and installation in your PC case.
4.7 Touch-Ups: If necessary, perform any touch-ups or additional detailing to perfect the appearance of your shroud. Use a small brush or fine-tipped paint marker to address any imperfections or add intricate designs.
By painting your PSU shroud, you can create a custom look that matches your overall PC build’s theme or color scheme. Take your time and be patient during the painting process for a professional and polished finish.
Next, we’ll discuss the final step of installing your newly painted PSU shroud in your PC case.
Installing the PSU Shroud
After completing the customization of your PSU shroud, it’s time to install it in your PC case. Follow these steps to ensure a secure and professional installation:
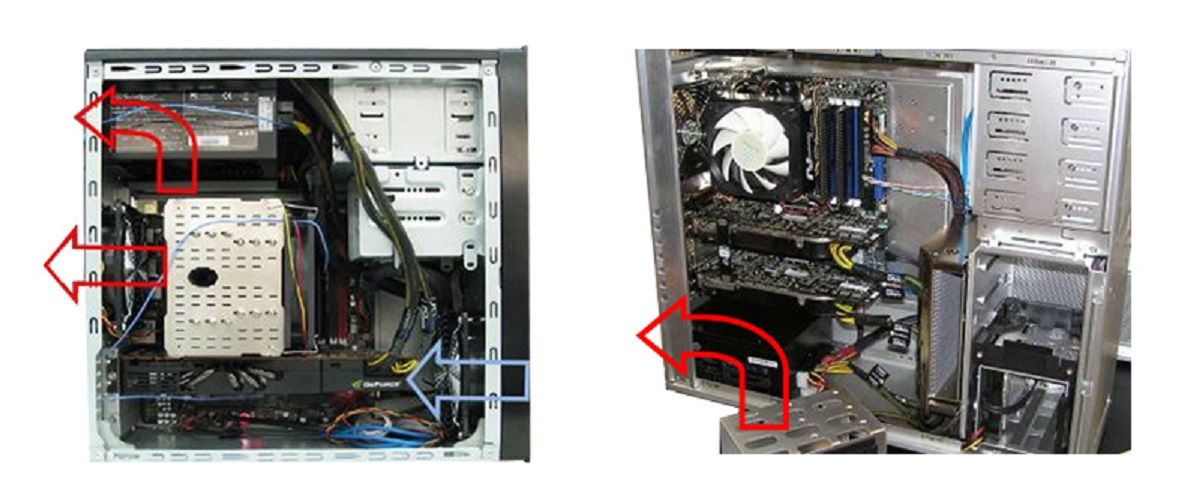
5.1 Prepare Your PC Case: Turn off your PC and disconnect all power sources before proceeding with the installation. Open up your PC case by removing the side panel or any other access points that allow you to access the PSU area.
5.2 Position the Shroud: Carefully place the PSU shroud in the designated area of your PC case. Ensure that it aligns properly with the screw holes or attachment points. Make any necessary adjustments to achieve a snug fit.
5.3 Secure the Shroud: Depending on your PC case’s design, you can use screws, nuts, or other fasteners to secure the shroud in place. Refer to the manufacturer’s instructions or search for any specific guidelines for your PC case model.
5.4 Cable Management: Use cable ties, Velcro straps, or other cable management tools to neatly route and secure the cables behind the PSU shroud. This helps maintain a clean and organized appearance, while also improving airflow within the case.
5.5 Check for Clearance: Ensure that there is enough clearance between the shroud and other components in your PC case. Make sure that cables are not being pressed against any fans or blocking access to connectors.
5.6 Test Fitment and Functionality: Once the shroud is installed, perform a test fitment by carefully closing the PC case and checking that everything fits properly without obstruction or interference. Power on the PC to confirm that all components are functioning correctly.
5.7 Make Final Adjustments: If you notice any issues or areas that require further adjustment, make the necessary changes to ensure optimal fit, functionality, and aesthetics. Take your time to fine-tune the installation until you are completely satisfied.
Once the PSU shroud is securely installed, take a moment to appreciate the transformed appearance of your PC build. The shroud not only conceals the power supply cables but also adds a sleek and professional look to your system.
Overall, installing the PSU shroud is the final step in completing your custom PC build. Enjoy the improved aesthetics and functionality as you showcase your creativity and attention to detail.
In the next section, we will share some additional tips and tricks to enhance your PSU shroud creation process.
Tips and Tricks
Creating a PSU shroud is a rewarding DIY project that allows you to personalize and enhance your PC build. Consider the following tips and tricks to make the most of your PSU shroud creation process:
1. Plan and Measure Twice: Careful planning and accurate measurements are essential for a successful PSU shroud project. Double-check your measurements before cutting any materials to avoid unnecessary mistakes.
2. Take Your Time: Creating a PSU shroud requires patience and attention to detail. Take your time during each step of the process, ensuring precision. Rushing the project can lead to errors, affecting the final outcome.
3. Practice Safety: When working with tools, materials, and paint, prioritize safety. Use protective gear, such as gloves and safety glasses, to prevent accidents. Follow safety guidelines and manufacturer instructions to minimize risks.
4. Consider Cable Length: Before finalizing the design of your PSU shroud, consider the length of your cables. Ensure that they have enough slack to reach their respective connectors and components without strain or tugging.
5. Optimize Cable Management: Use cable ties, Velcro straps, or clips to neatly manage your cables behind the PSU shroud. Organized cables not only improve the aesthetics but also enhance airflow and cooling within the PC case.
6. Test Fitment and Functionality: Before permanently securing the shroud, perform a test fitment to ensure that all components can be properly installed and accessed. Test the functionality of your PC to ensure optimal performance after the shroud is installed.
7. Experiment with Paint: Get creative with your shroud’s paint job. Experiment with different colors, finishes, or even design patterns to add your personal touch to the final appearance. Consider using stencils or masking techniques for more intricate designs.
8. Seek Inspiration: Browse online forums, PC modding communities, and social media platforms for inspiration. Learn from the experiences and ideas of others to spark your creativity and discover unique designs for your PSU shroud.
9. Take Maintenance into Account: Consider how easy it will be to clean and maintain your PSU shroud. Opt for materials, finishes, and designs that allow for effortless dusting or cleaning to keep your PC looking pristine.
10. Share Your Creation: Don’t forget to share your PSU shroud creation with the PC modding community. Showcase your work on forums or social media platforms and inspire others with your design and craftsmanship.
Remember, each PSU shroud creation project is unique, and you should use these tips and tricks as a guideline to tailor the process to your specific needs. Enjoy the journey of creating a PSU shroud that adds a touch of individuality to your PC build.
In the final section, we’ll conclude our guide on creating a PSU shroud.
Conclusion
Congratulations on completing your journey to create a PSU shroud! By following the step-by-step guide, you have transformed your PC build into a visually appealing and organized system.
A PSU shroud not only conceals the cables and wires of the power supply unit, but it also enhances the overall aesthetics of your PC. This DIY project allows you to showcase your creativity and attention to detail while optimizing airflow and cable management.
We started by understanding what a PSU shroud is and the benefits it provides, such as improved cable management, enhanced airflow, reduced noise, and dust prevention. We then discussed the tools and materials needed for the project, including measuring tools, cutting tools, ventilation grilles, and paint supplies.
The step-by-step guide provided insights on planning and measurement, cutting the materials, adding ventilation holes, painting the shroud, and installing it in your PC case. These detailed instructions, along with the accompanying tips and tricks, ensured that you were able to create a customized and professional-looking PSU shroud.
Remember, take your time, prioritize safety, and pay attention to detail during each step of the process. Whether you’re a PC enthusiast or a beginner, this guide has equipped you with the knowledge and skills to successfully complete your PSU shroud project.
Now, sit back and admire your handiwork as you enjoy the clean and sleek appearance of your PC build. Be proud of the personal touch you’ve added, and don’t forget to share your creation with the PC modding community to inspire others.
Thank you for joining us on this journey to create a PSU shroud. Happy modding!