Introduction
Welcome to the world of DIYPC D480-BK, a versatile and stylish PC case that gives you the freedom to build your dream computer. When it comes to assembling your rig, one crucial aspect to consider is the power supply unit (PSU). The PSU plays a vital role in providing stable and sufficient power to all the components of your PC, ensuring smooth operation and optimum performance.
In this guide, we will explore the DIYPC D480-BK case and dive into the important factors to consider when selecting a PSU for it. Whether you are a seasoned PC builder or a newcomer, understanding the compatibility and maximum size of the PSU that can fit into the DIYPC D480-BK case is crucial.
But first, let’s take a closer look at the DIYPC D480-BK case itself. This mid-tower case features a sleek and modern design, with a tempered glass side panel that showcases your hardware in all its glory. Its spacious interior provides ample room for high-end components, multiple storage drives, and efficient cooling solutions.
Now that you have an overview of the DIYPC D480-BK case, let’s dive into the world of power supply units and gain a better understanding of their importance and how to determine the right size for your specific needs.
DIYPC D480-BK Overview
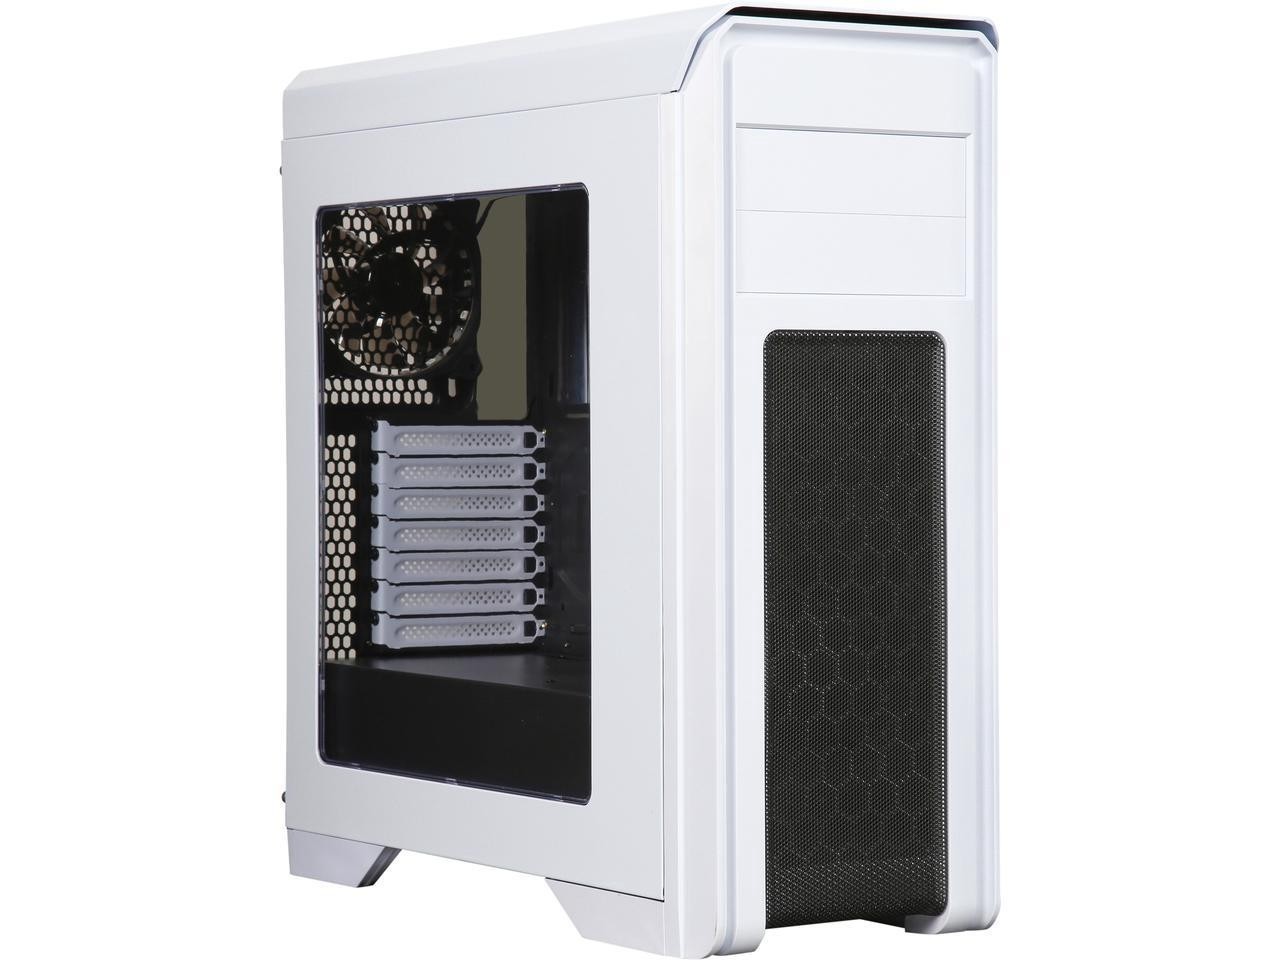
The DIYPC D480-BK is a mid-tower PC case that offers a stylish and functional platform for your computer build. With its modern design and high-quality construction, this case is perfect for both gamers and professionals alike.
One of the standout features of the DIYPC D480-BK is its sleek aesthetic. The case boasts a black exterior with a clean, minimalistic look that will complement any setup. The front panel is equipped with a brushed aluminum finish, giving it a premium and sophisticated feel.
When it comes to versatility, the DIYPC D480-BK doesn’t disappoint. It supports both ATX and micro ATX motherboards, allowing you to choose the right motherboard for your specific needs. The case also offers plenty of room for expansion, with support for graphics cards up to 380mm in length and a CPU cooler height clearance of 175mm.
Storage is another key consideration when choosing a PC case, and the DIYPC D480-BK delivers in this aspect. It includes four 3.5″ drive bays and three 2.5″ drive bays, providing ample space for your hard drives and SSDs. The case also has convenient cable management options, ensuring your build looks clean and tidy.
Cooling is crucial for maintaining optimal performance, especially during intense gaming sessions or demanding tasks. The DIYPC D480-BK offers excellent cooling options with support for up to six 120mm fans or three 140mm fans. It also comes with a pre-installed rear 120mm fan to get you started. Furthermore, there is enough space at the top and front of the case to accommodate radiators for liquid cooling solutions.
Accessibility and convenience are priorities for the DIYPC D480-BK. It features a top-mounted I/O panel that includes two USB 3.0 ports, two USB 2.0 ports, audio jacks, and a fan controller. This allows for easy access to essential ports and the ability to control fan speed for optimal cooling.
In summary, the DIYPC D480-BK is a well-designed and feature-rich mid-tower case that provides the perfect balance between style and functionality. Its sleek aesthetics, compatibility with various components, ample storage options, excellent cooling capabilities, and convenient accessibility make it an ideal choice for building your dream PC.
Power Supply Unit (PSU) 101
The power supply unit (PSU) is one of the most critical components of your PC. It is responsible for converting the AC (alternating current) power from your wall outlet into DC (direct current) power that your computer can use to function. Without a reliable and suitable PSU, your PC may encounter stability issues, performance limitations, and even potential damage.
When selecting a PSU, there are several important factors to consider:
- Wattage: The wattage of a PSU indicates its maximum power output. It determines how much power your PSU can deliver to your components. To determine the appropriate wattage, you need to consider the power requirements of your CPU, graphics card, and other components. It is generally advised to go for a PSU with higher wattage to provide ample power for future upgrades and to ensure stability.
- Efficiency: PSU efficiency refers to how effectively it converts AC power into DC power. It is measured as a percentage, with higher percentages indicating higher efficiency. An efficient PSU helps minimize power wastage, generates less heat, and can save you money on energy bills in the long run.
- Modularity: A modular PSU allows you to detach and connect only the necessary cables. This helps improve airflow, reduce cable clutter, and simplify cable management. Modular PSUs are highly recommended for clean and organized PC builds.
- Certifications: Look for PSUs that have certifications such as 80 PLUS. These certifications indicate that the PSU meets certain efficiency and reliability standards.
- Connectors: Ensure that the PSU you choose has the necessary connectors to power your components. Common connectors include 24-pin motherboard power, 4/8-pin CPU power, SATA power, and PCIe power connectors.
- Noise Level: Consider the noise level of the PSU, especially if you value a quiet computing environment. PSUs with larger, quieter fans and advanced cooling technology tend to operate more silently.
Choosing the right PSU is crucial for the overall stability, performance, and longevity of your PC. It is important to carefully consider the specifications, quality, and reviews of different PSUs to ensure you select one that meets your system’s requirements.
Determining the PSU Size
Before purchasing a power supply unit (PSU) for your DIYPC D480-BK case, it’s essential to determine the appropriate size that will fit snugly and securely. Choosing the right PSU size is crucial to ensure compatibility and efficient utilization of the available space.
The first step in determining the PSU size is to assess your computer’s power requirements. Calculate the combined power consumption of all your components, including the CPU, graphics card, RAM, hard drives, and any additional peripherals. You can usually find the power requirements for individual components in their respective manuals or on the manufacturer’s website. This total power value will give you an idea of the wattage capacity you need in a PSU.
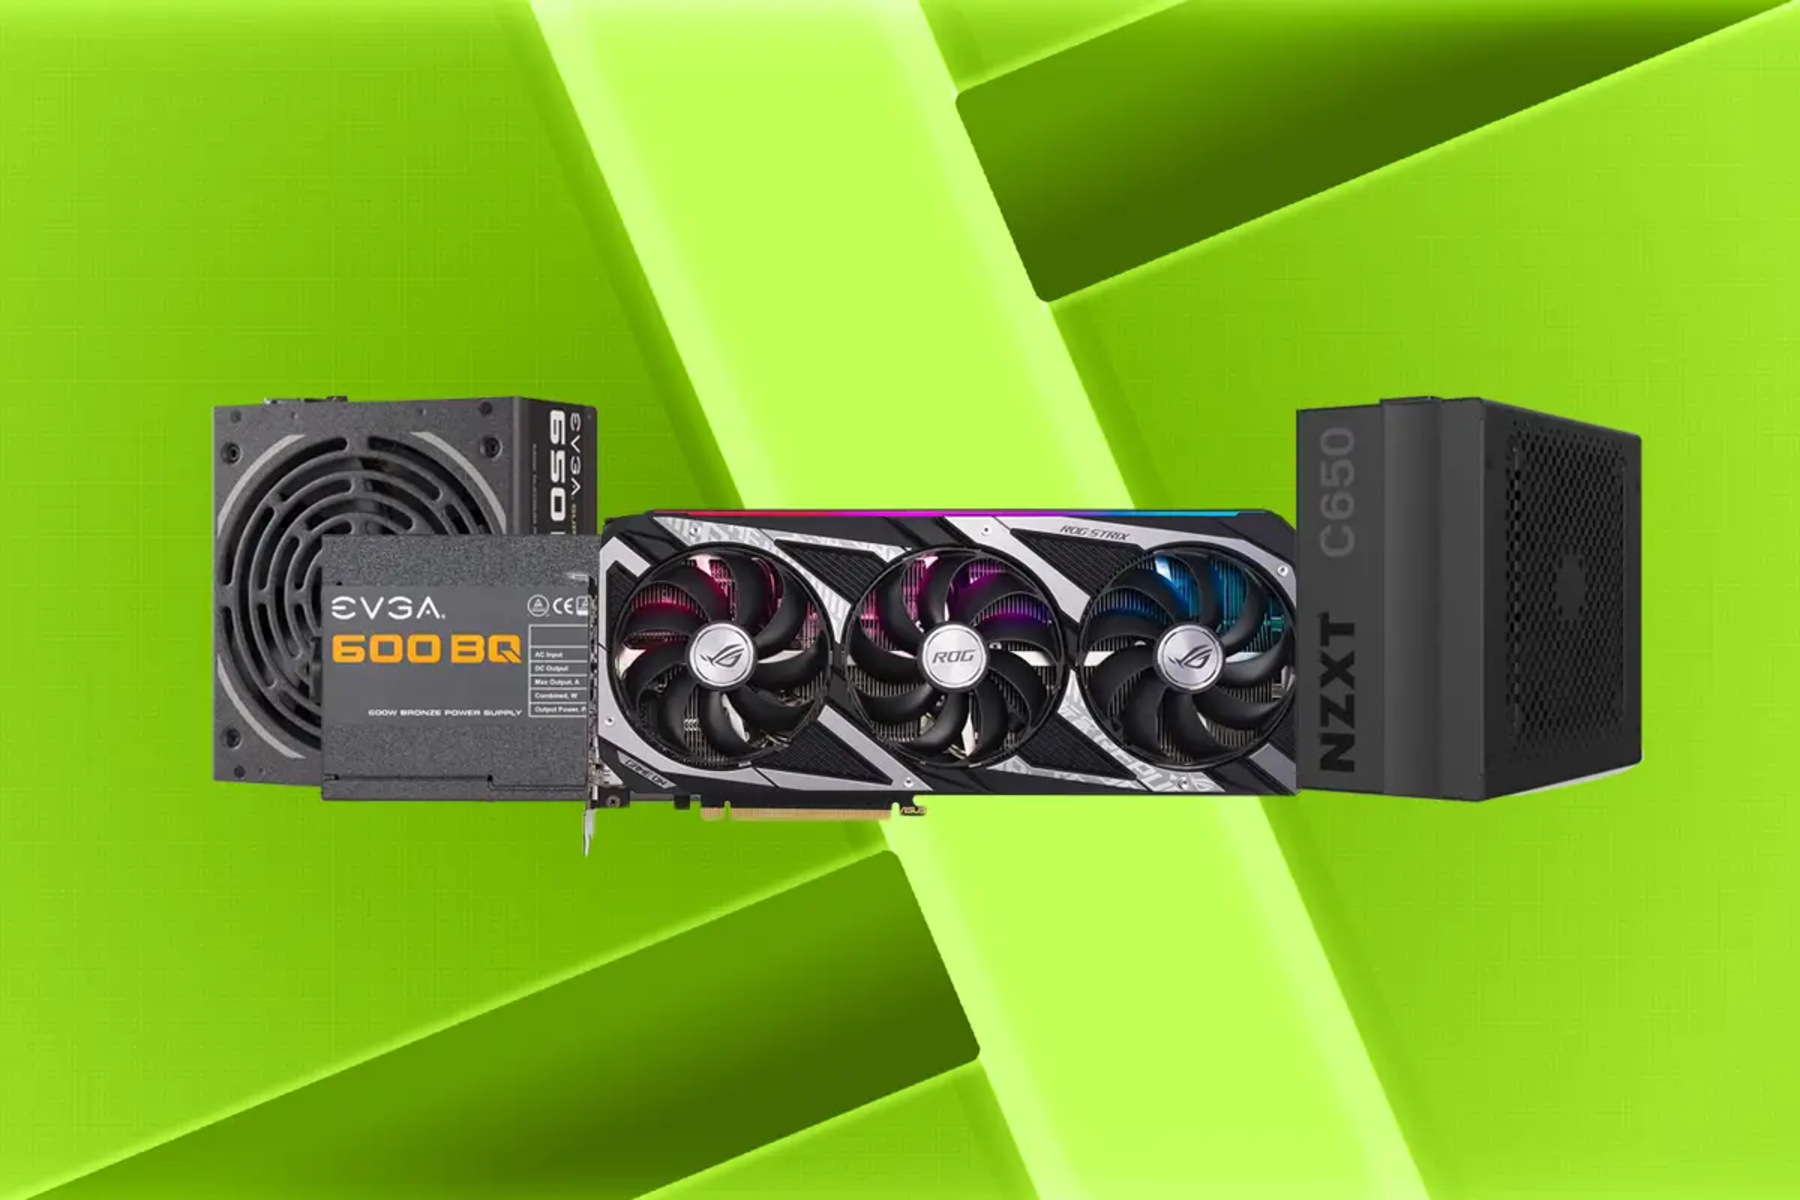
Next, consider the physical dimensions of the PSU. PSU sizes are typically standardized, with common form factors being ATX, SFX, and TFX. The DIYPC D480-BK case is compatible with standard ATX PSUs. These PSUs are larger and provide higher wattage capacity compared to smaller form factors. Make sure to choose a PSU with dimensions that fit comfortably into the PSU mounting area of the case.
It’s worth noting that the DIYPC D480-BK case has a PSU shroud, which hides the PSU from view and enhances the overall aesthetic. However, this shroud can limit the length of the PSU that can be installed. Measure the available space behind the PSU shroud to determine the maximum length that can be accommodated. This measurement will help you select a PSU that fits properly without any clearance issues.
Additionally, take into account any extra cables or connectors attached to the PSU. These can add to the overall dimensions and may affect the fit within the case. Ensure that the PSU you choose has enough clearance not only for its physical size but also for any additional cables or connections.
Lastly, consider the future expansion plans of your PC. If you’re planning to add more components or upgrade existing ones, it’s advisable to opt for a PSU with slightly higher wattage capacity than your current requirements. This allows for flexibility and ensures that you won’t need to replace the PSU in the future to accommodate new hardware.
By carefully assessing the power requirements, physical dimensions, and future expansion plans, you can determine the appropriate PSU size for your DIYPC D480-BK case. Taking these factors into consideration will help you select a PSU that provides sufficient power, fits comfortably within the case, and allows for seamless installation and cable management.
Maximum PSU Size for DIYPC D480-BK
When it comes to determining the maximum power supply unit (PSU) size for the DIYPC D480-BK case, it’s essential to consider the available space and compatibility with the case’s design. The DIYPC D480-BK case offers ample room for various components, including the PSU, ensuring that you can install a PSU that meets your power requirements without any issues.
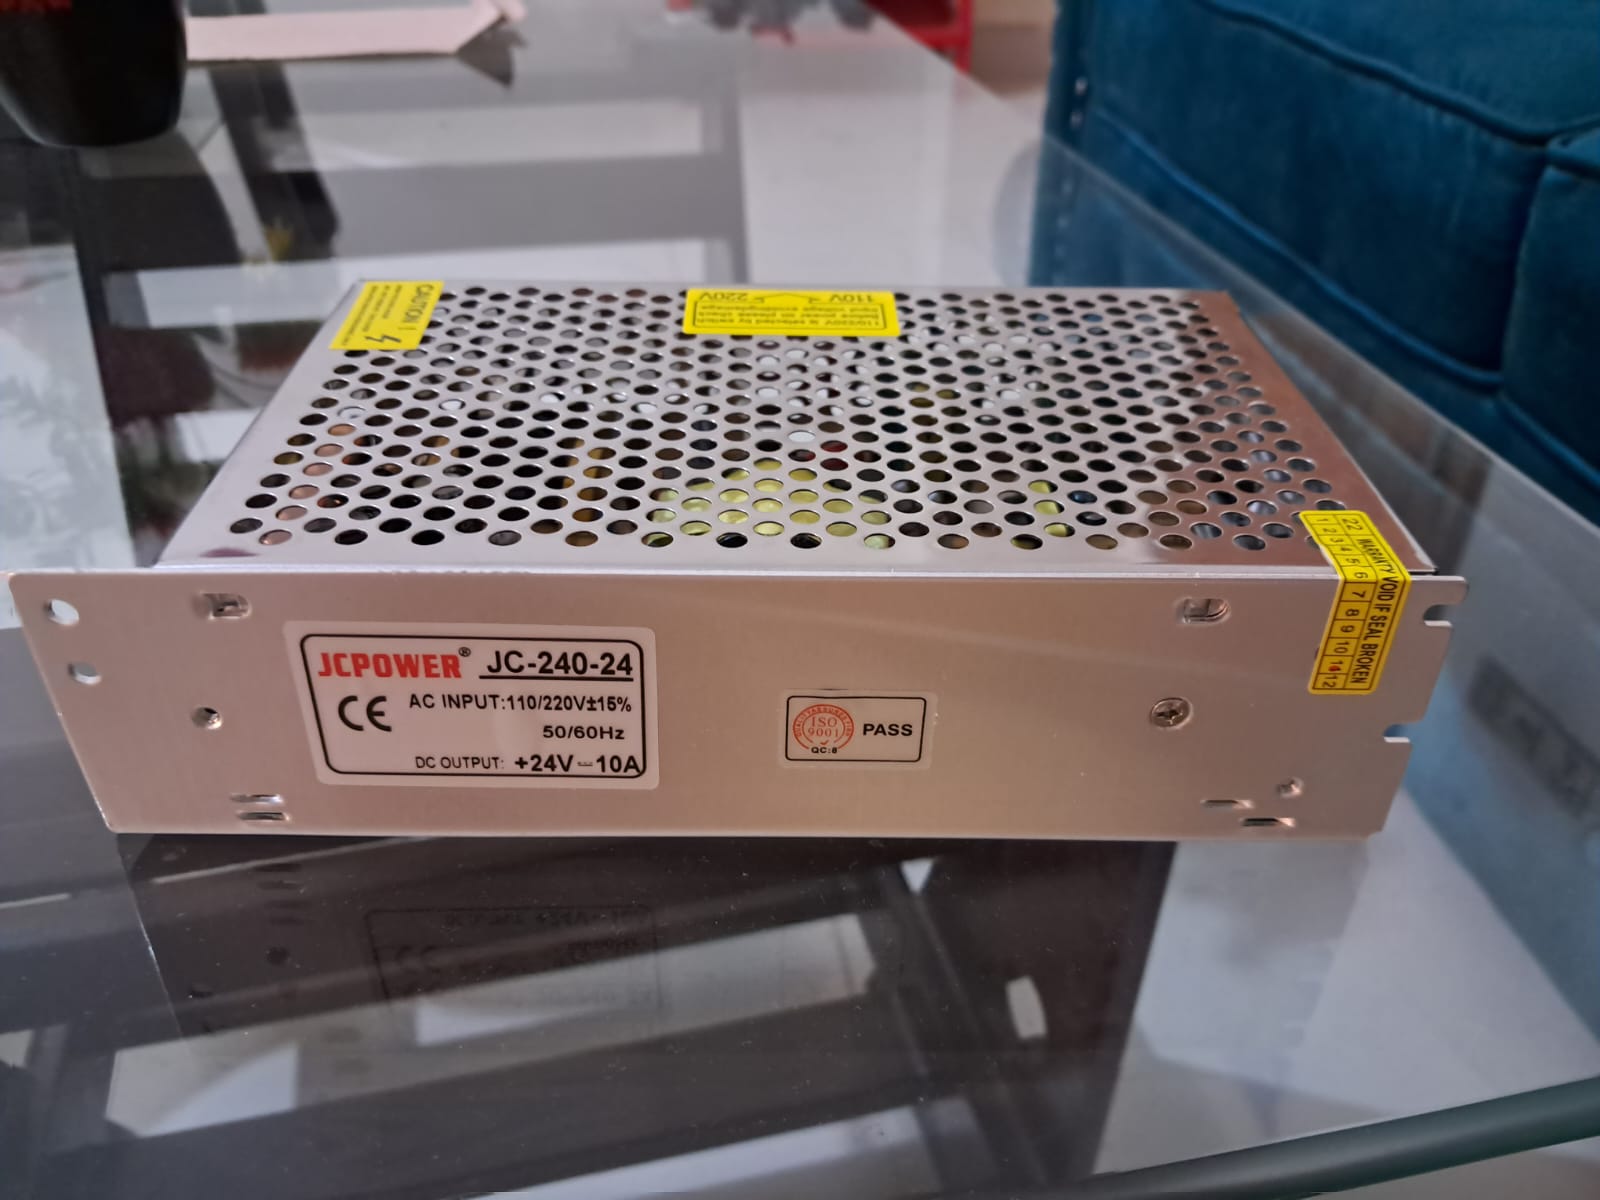
The DIYPC D480-BK case has a dedicated PSU compartment located at the bottom of the case. This compartment is hidden by a PSU shroud, providing a clean and organized appearance. The dimensions of this compartment allow for the installation of standard ATX PSUs.
The maximum PSU size compatible with the DIYPC D480-BK case is up to 175mm in length. This measurement accounts for the available space behind the PSU shroud, ensuring that you can securely install a PSU without any clearance issues.
It’s important to note that the PSU length selection is critical, as choosing a PSU that is too long may result in difficulty closing the side panel or interference with other components. Conversely, selecting a PSU that is too short may result in an improper fit or rattling inside the case.
To ensure a proper fit, it’s recommended to check the measurements of the PSU you are considering and compare them to the maximum size allowed by the DIYPC D480-BK case. This verification process helps guarantee that the PSU fits securely within the designated compartment and leaves enough clearance for proper cable management.
It’s worth mentioning that some manufacturers provide PSU size compatibility information specific to their future upgrades or modifications. It’s always best to refer to the official documentation of your hardware components or consult the manufacturer’s website for the most accurate and up-to-date information regarding PSU compatibility and size.
By adhering to the maximum PSU size of 175mm, you can confidently choose a PSU that meets your power requirements and easily fits within the DIYPC D480-BK case. Remember to verify the dimensions of the PSU you intend to purchase and plan for adequate cable management to ensure a clean and tidy build.
Tips for Choosing the Right PSU
Choosing the right power supply unit (PSU) for your DIYPC D480-BK case is crucial for the stability, performance, and longevity of your PC. Here are some helpful tips to consider when selecting a PSU:
- Calculate your power requirements: Determine the total power consumption of all your components to ensure you choose a PSU with sufficient wattage capacity. Consider the power needs of your CPU, graphics card, RAM, storage drives, and any additional peripherals you plan to connect.
- Research PSU brands and models: Look for reputable PSU brands known for their reliability, efficiency, and quality. Read reviews and customer feedback to gain insights into the performance and reliability of different models.
- Consider efficiency: Look for PSUs with high efficiency ratings, such as 80 PLUS certified. Higher efficiency PSUs tend to produce less heat, consume less power, and have lower operating costs in the long run.
- Modularity: Consider a modular PSU that allows you to detach and connect only the cables you need. This helps improve cable management, airflow, and overall aesthetics of your build.
- Check for necessary connectors: Ensure the PSU has the necessary connectors to power your components. This includes connectors for your motherboard, CPU, graphics card, storage drives, and any other peripherals you plan to connect.
- Consider noise level: If having a quiet PC is important to you, look for PSUs with larger, quieter fans and features like fanless mode for silent operation.
- Budget: Set a budget for your PSU and choose a model that offers the best balance of features and performance within your price range.
- Warranty: Look for PSUs that come with a reputable manufacturer warranty. A longer warranty period indicates the manufacturer’s confidence in the product’s reliability.
- Futureproofing: Consider your future upgrade plans and choose a PSU with slightly higher wattage capacity to accommodate any additional components you may add later.
By following these tips and considering your specific needs and requirements, you can make an informed decision when choosing the right PSU for your DIYPC D480-BK case. Remember to thoroughly research and consider the specifications, features, and customer reviews of different PSU models to ensure a reliable and efficient power supply for your PC.
Installing a Large PSU in DIYPC D480-BK
If you have opted for a larger power supply unit (PSU) for your DIYPC D480-BK case, it’s important to ensure a proper and secure installation. The following steps will guide you through the process of installing a larger PSU in your case:
- Prepare your workspace: Before beginning the installation process, clear a clean and static-free workspace. Remove any unnecessary cables or objects that may obstruct your access to the case.
- Open the case: Remove the screws on the side panel of the DIYPC D480-BK case. Carefully slide off the panel to gain access to the internal components.
- Locate the PSU mounting area: Identify the PSU compartment at the bottom of the case. Take note of the provided screws or brackets for securing the PSU.
- Prepare the PSU: Ensure the PSU is unplugged from the power source. Attach any necessary cables to the PSU, such as the motherboard power, CPU power, and peripheral connectors.
- Align the PSU: Carefully align the PSU with the mounting area in the DIYPC D480-BK case. Ensure that the fan is facing in the correct direction, typically towards the interior of the case for proper airflow.
- Secure the PSU: Using the provided screws or brackets, secure the PSU in place. Tighten the screws firmly but avoid over-tightening to prevent damage to the case or PSU.
- Connect the PSU cables: Connect the necessary cables from the PSU to your components. Ensure that each connection is secure and properly aligned to avoid any loose connections.
- Cable management: Arrange the cables neatly to improve airflow and maintain a clean and organized interior. Utilize cable management features in the DIYPC D480-BK case, such as routing holes and tie-down points, to keep the cables tidy.
- Close the case: Carefully slide the side panel back onto the DIYPC D480-BK case and secure it with the screws. Ensure that the panel is snugly in place.
- Power on and test: Plug your PC into a power source, switch on the PSU, and press the power button. Verify that your system boots up correctly and all components are functioning as expected.
It’s crucial to follow these steps carefully to ensure a secure and reliable installation of a larger PSU in your DIYPC D480-BK case. Double-check the connections, cable management, and proper alignment of components to avoid any potential issues or damage to your PC.
If you encounter any difficulties during the process, refer to the manual of the DIYPC D480-BK case or consult online resources for further guidance. Proper installation of a larger PSU will ensure a stable power supply and optimal performance for your PC build.
Conclusion
Choosing the right power supply unit (PSU) for your DIYPC D480-BK case is a crucial step in building a reliable and high-performance PC. By considering factors such as wattage, efficiency, modularity, certifications, connectors, and noise level, you can find a PSU that meets your needs and enhances your overall computing experience.
The DIYPC D480-BK case offers a versatile and spacious platform for building your dream PC. With its sleek design, ample room for expansion, efficient cooling options, and convenient accessibility, it provides an excellent foundation for a powerful and visually appealing build.
When determining the maximum PSU size for the DIYPC D480-BK case, keep in mind the available space and the compatibility with the PSU compartment, particularly the length limitations imposed by the PSU shroud. This ensures that you select a PSU that fits securely and avoids any clearance issues.
Installing a larger PSU in the DIYPC D480-BK case requires careful preparation, proper alignment, secure mounting, and effective cable management. Following the steps outlined above will help you successfully install a larger PSU, ensuring proper power delivery to your components and maintaining a clean and organized interior.
Remember to conduct thorough research on PSU brands and models, read reviews, and consider your specific power requirements and budget. By selecting a reliable and efficient PSU, you can provide stable power to your components, optimize performance, and safeguard your PC.
With these considerations in mind, you are now equipped to confidently choose and install the right PSU for your DIYPC D480-BK case, setting the stage for an exceptional PC building experience and a powerful gaming or productivity system.