Introduction
Welcome to the world of computer building! Connecting a power supply unit (PSU) to a motherboard is one of the essential steps in building your own PC. The PSU is responsible for providing electrical power to all the components of your computer, while the motherboard acts as the central hub that connects and controls these components.
Whether you are a beginner or an experienced enthusiast, understanding how to properly connect a PSU to a motherboard is crucial to ensure the smooth operation and longevity of your computer system. In this guide, we will walk you through the step-by-step process of connecting a PSU to a motherboard, ensuring that you have all the necessary cables and equipment, and providing troubleshooting tips along the way.
Before we dive into the process, it’s important to note that different motherboards and PSUs may have slightly different layouts and connectors. Therefore, it’s always a good idea to consult the user manuals of your specific motherboard and PSU to ensure accurate and proper installation. With that said, let’s get started!
Step 1: Gather Your Equipment
Before you begin, make sure you have all the necessary equipment and tools. Here’s a checklist of what you’ll need:
- A power supply unit (PSU) with the appropriate wattage to support your computer’s components.
- A motherboard compatible with your chosen CPU and other components.
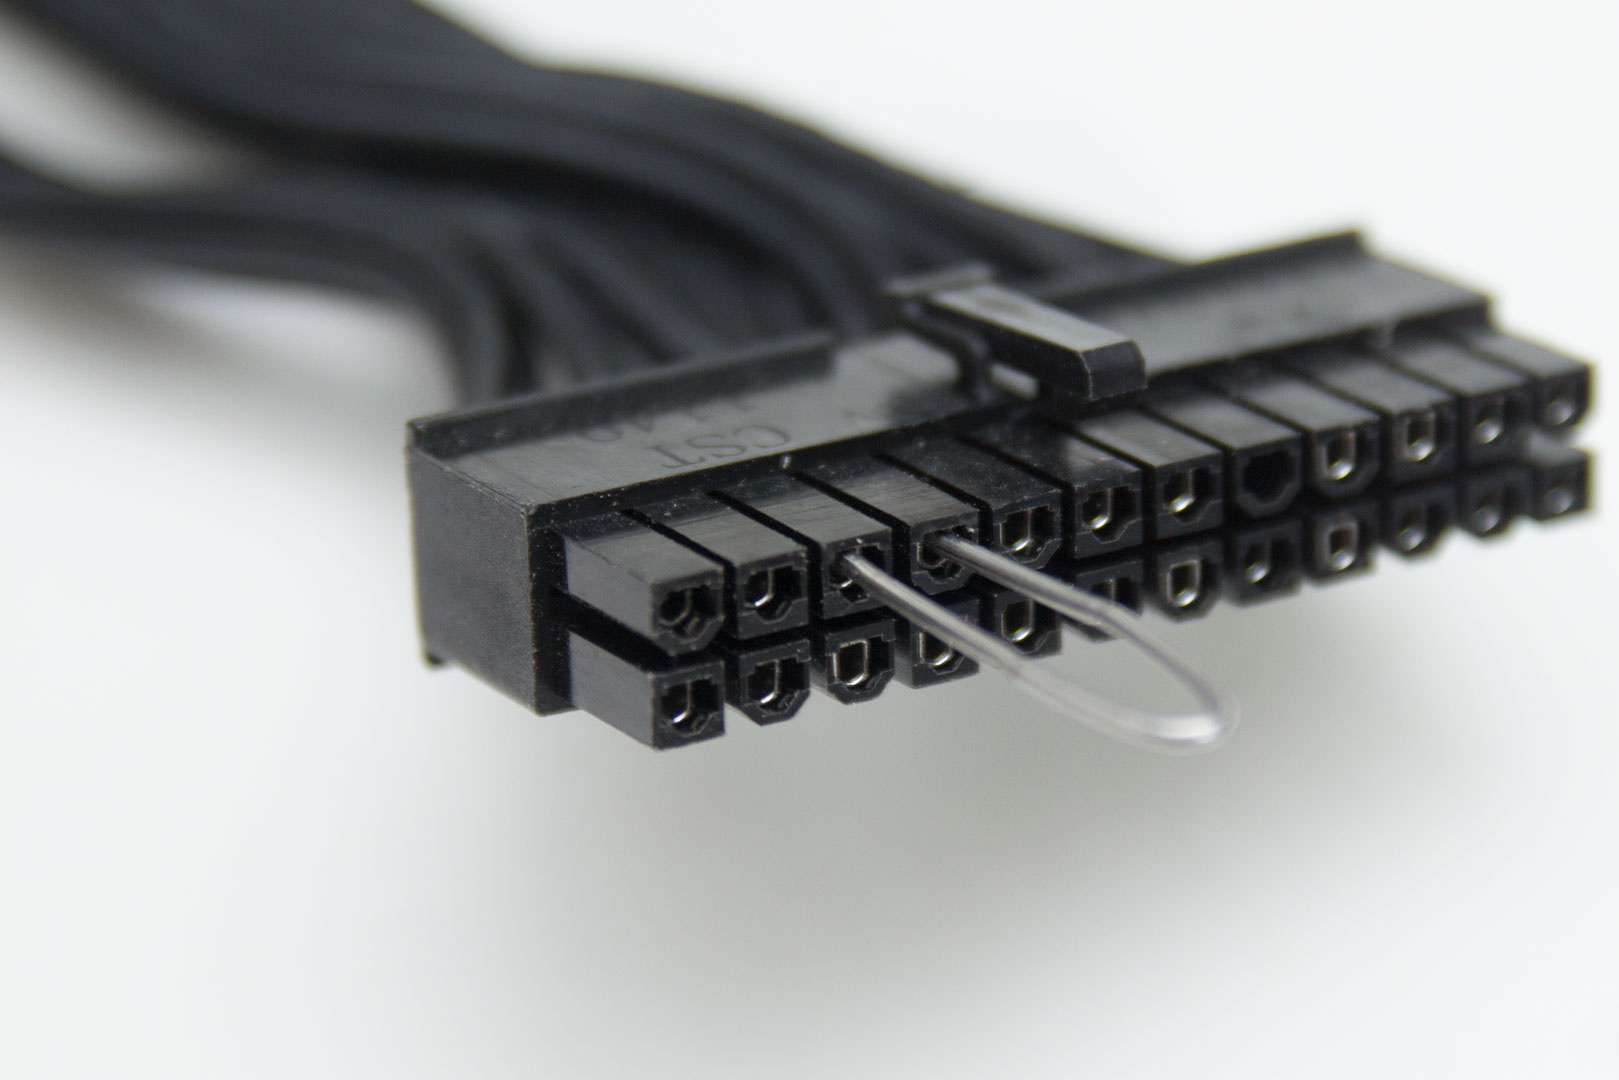
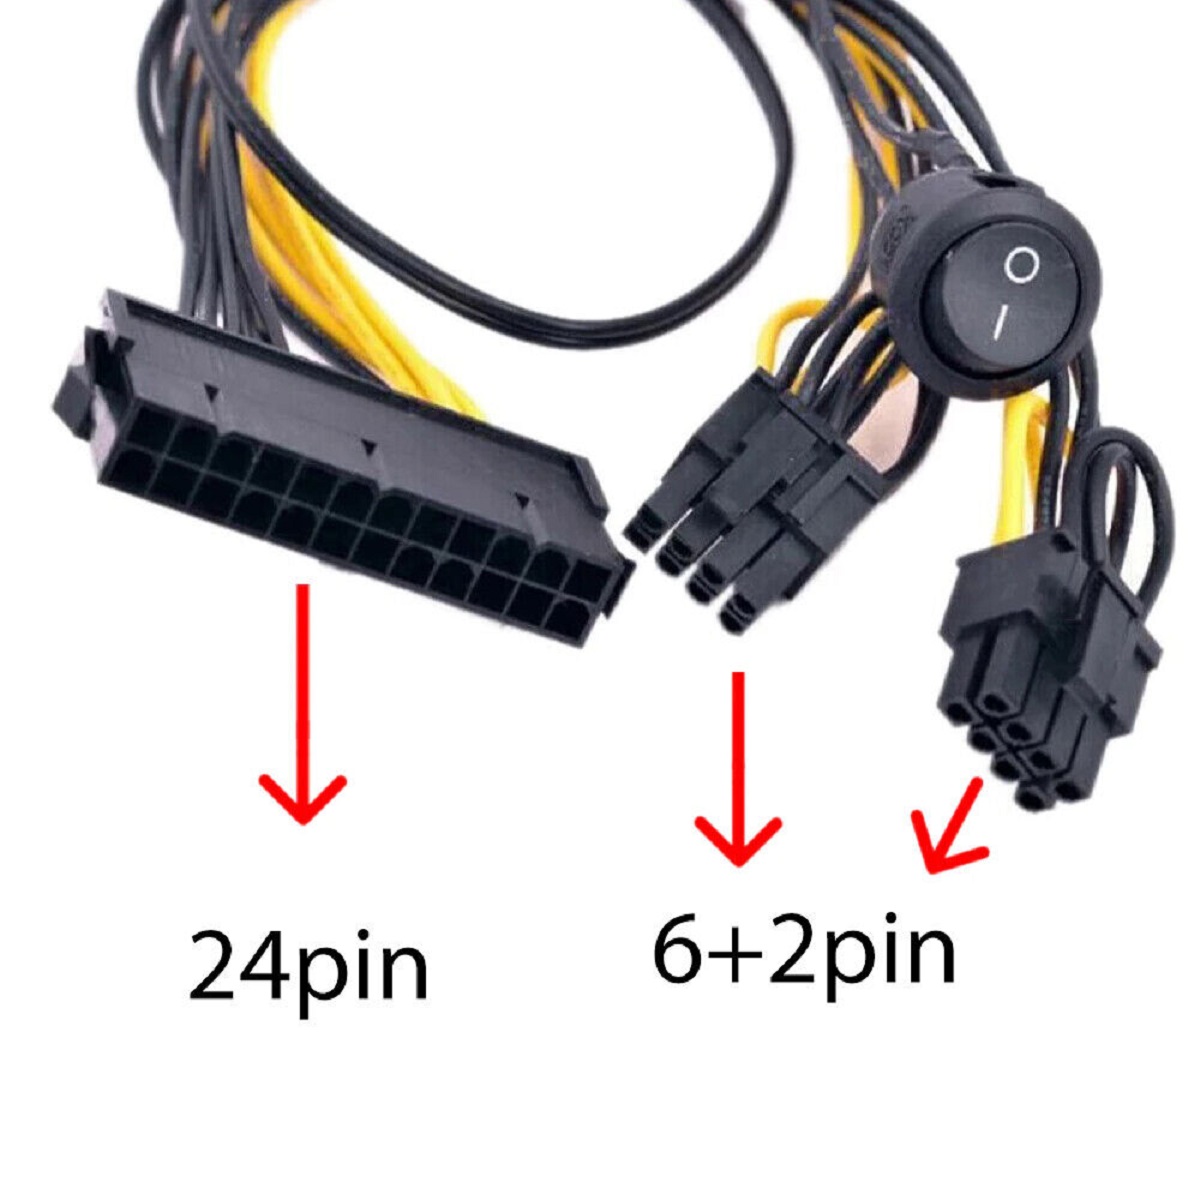
- The PSU’s power cable, typically a 24-pin or 20+4-pin connector.
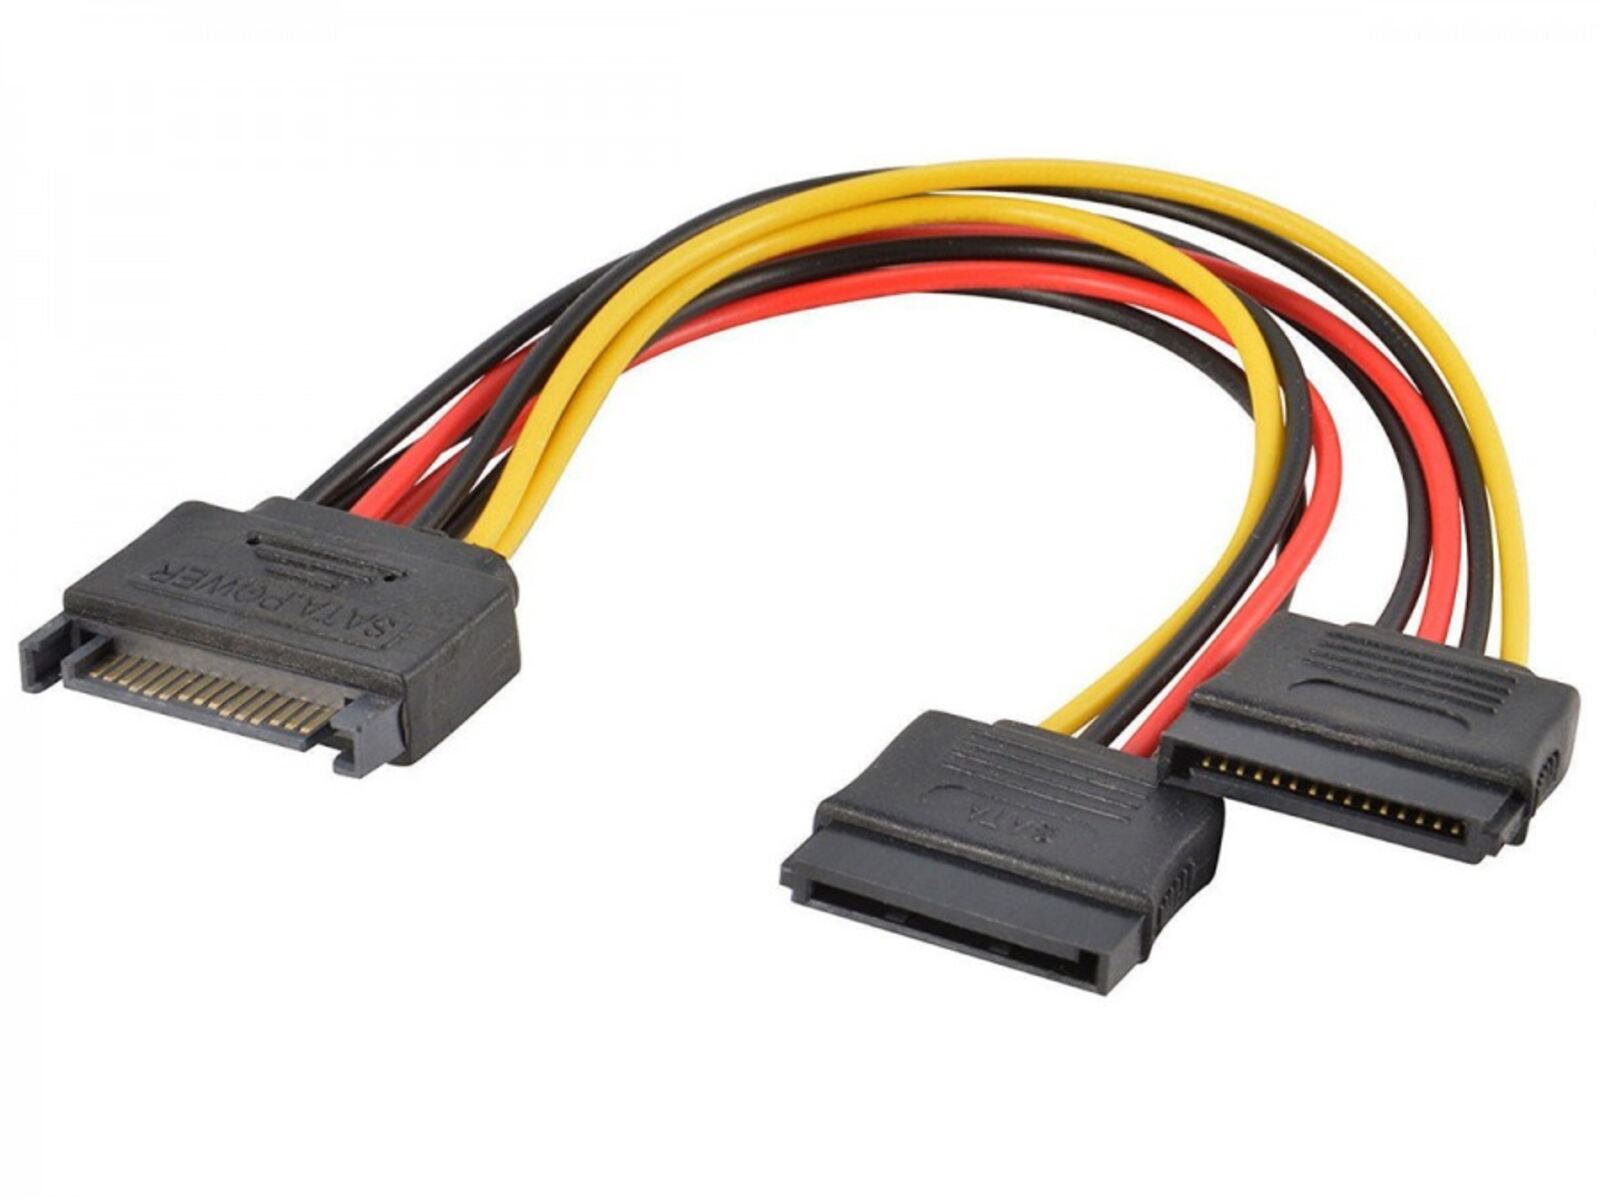
- Any additional power cables required for specific components, such as a CPU power connector or SATA power cables for storage devices.
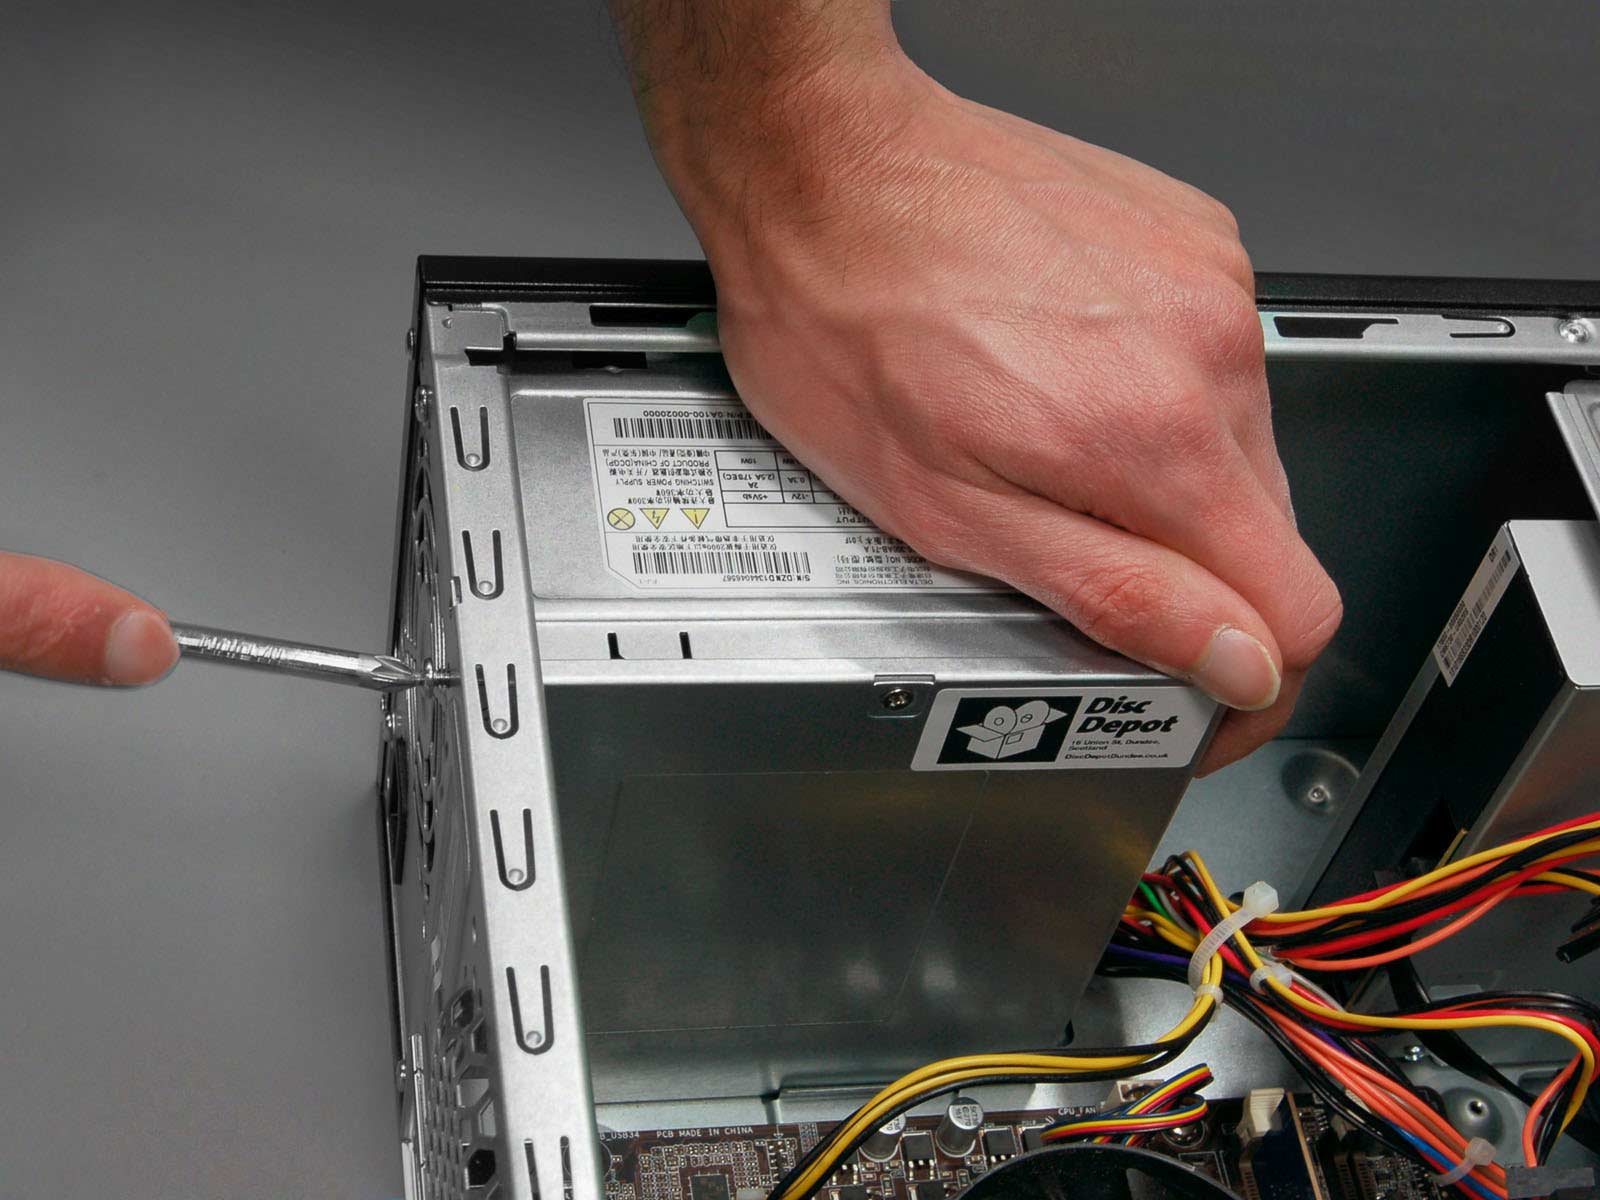
- A screwdriver for securing the motherboard to the case.
It’s essential to ensure that all the equipment is in good working condition and compatible with each other. Verify that the PSU and motherboard have compatible connectors, and check the PSU’s power rating to ensure it meets the requirements of your computer build.
Additionally, take note of the location of the power supply unit in your computer case. Some cases may have a PSU shroud or a separate compartment specifically designed for the PSU, while others may have the PSU mounted at the top or bottom of the case. Familiarize yourself with the layout of your computer case before proceeding.
Once you have gathered all the necessary equipment, you’re ready to move on to the next step.
Step 2: Identify the Motherboard Power Socket
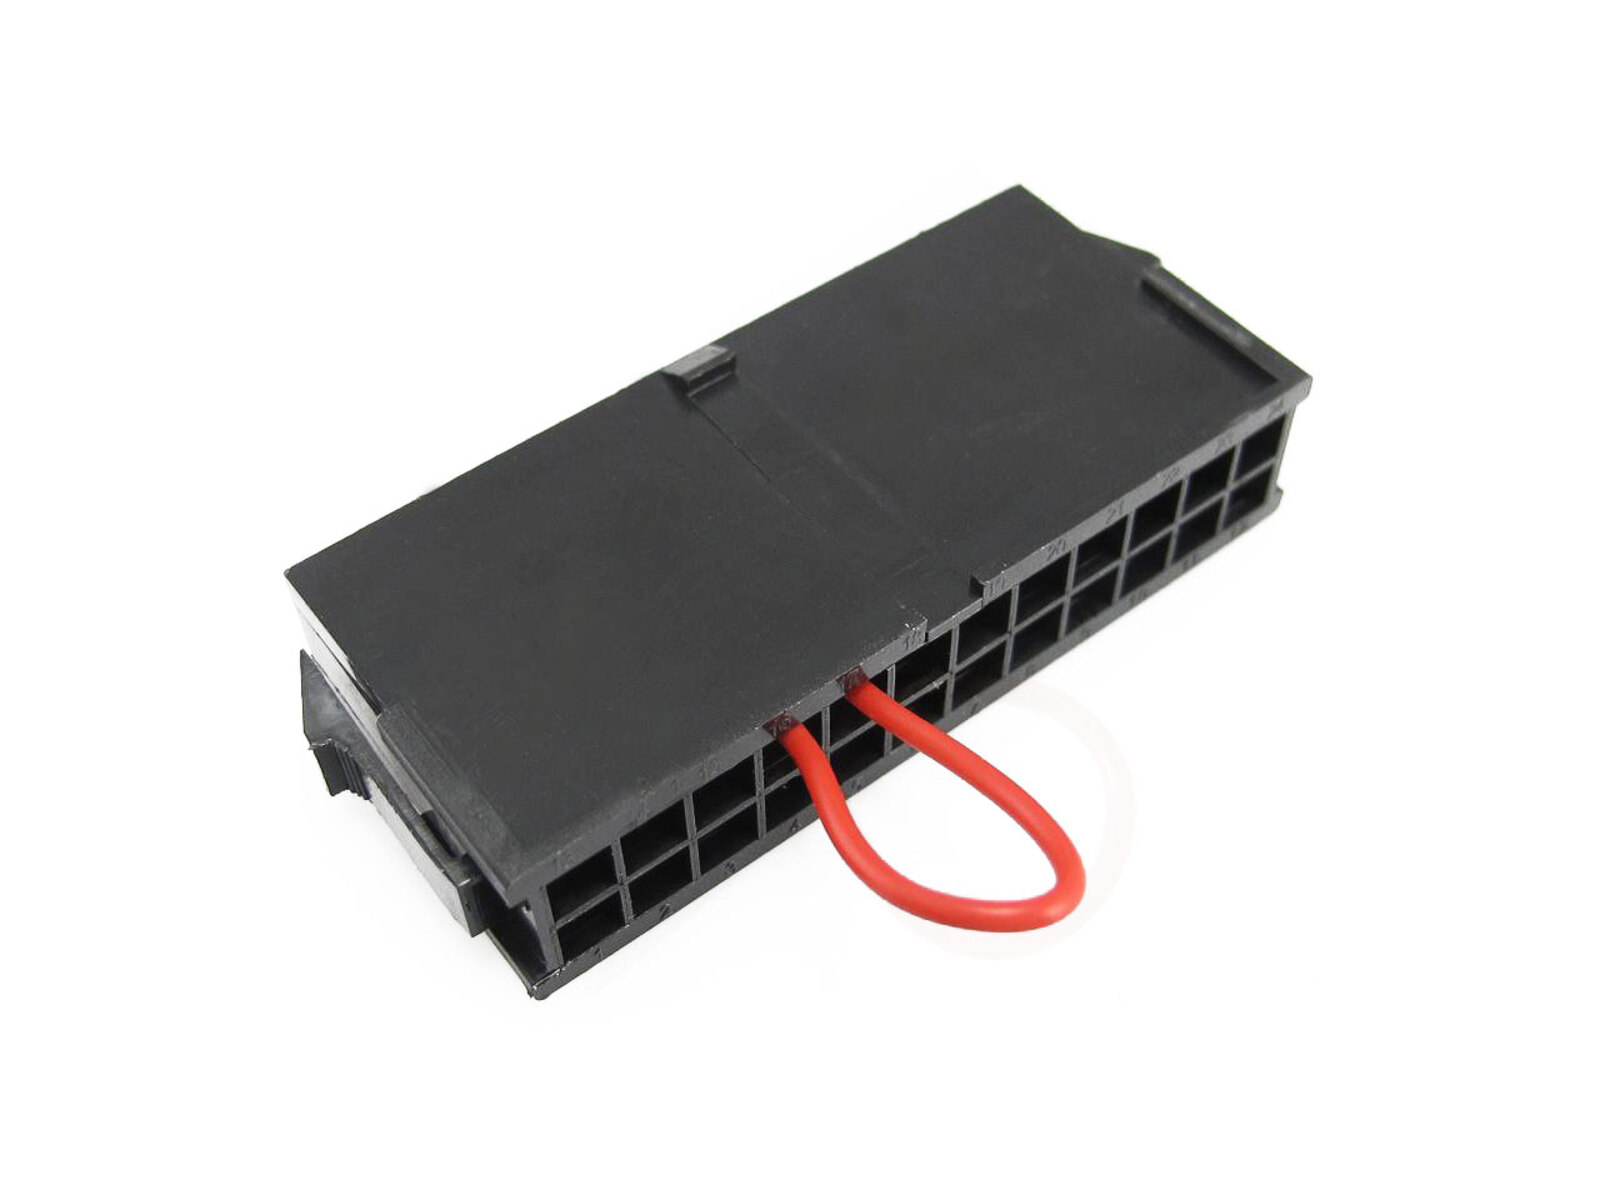
The next step is to identify the motherboard power socket. This is where you will connect the power cable from the PSU. The motherboard power socket is usually located near the edge of the motherboard and is labeled as “ATX power connector” or “24-pin power connector.”
Take a close look at your motherboard and locate the socket. It typically consists of a rectangular-shaped slot with a row of pins or holes. The PSU power cable, with its corresponding connector, will fit into this socket.
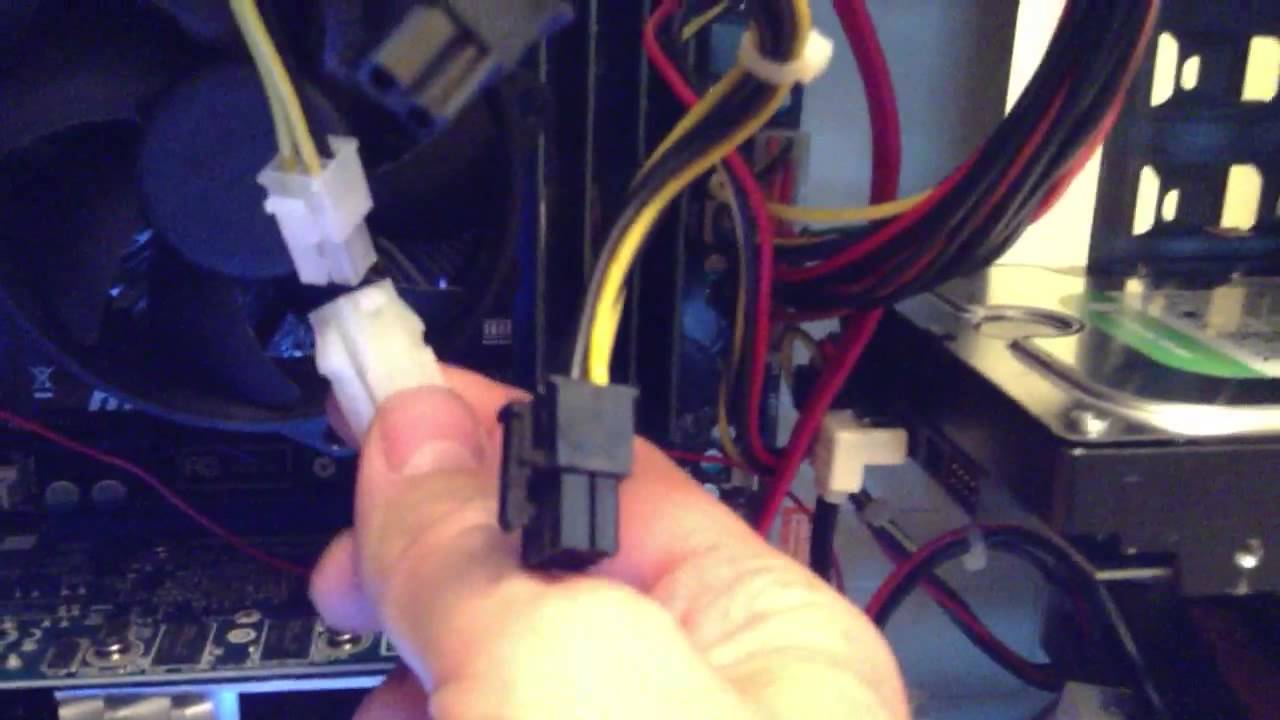
It’s important to note that some motherboards may have an additional 4-pin or 8-pin CPU power connector located near the CPU socket. This connector provides power directly to the CPU and is separate from the main motherboard power socket.
Read your motherboard manual or refer to the manufacturer’s website to ensure that you correctly identify the location and type of power connectors on your specific motherboard.
Once you have located the motherboard power socket, you’re ready to proceed to the next step.
Step 3: Locate the PSU Power Cable
Now that you have identified the motherboard power socket, it’s time to locate the corresponding PSU power cable. The PSU power cable is a thick, multi-wire cable that is usually bundled with the power supply unit.
Look for the 24-pin or 20+4-pin connector on the PSU power cable. This connector is designed to provide power to the motherboard and is compatible with the motherboard power socket you identified in the previous step.
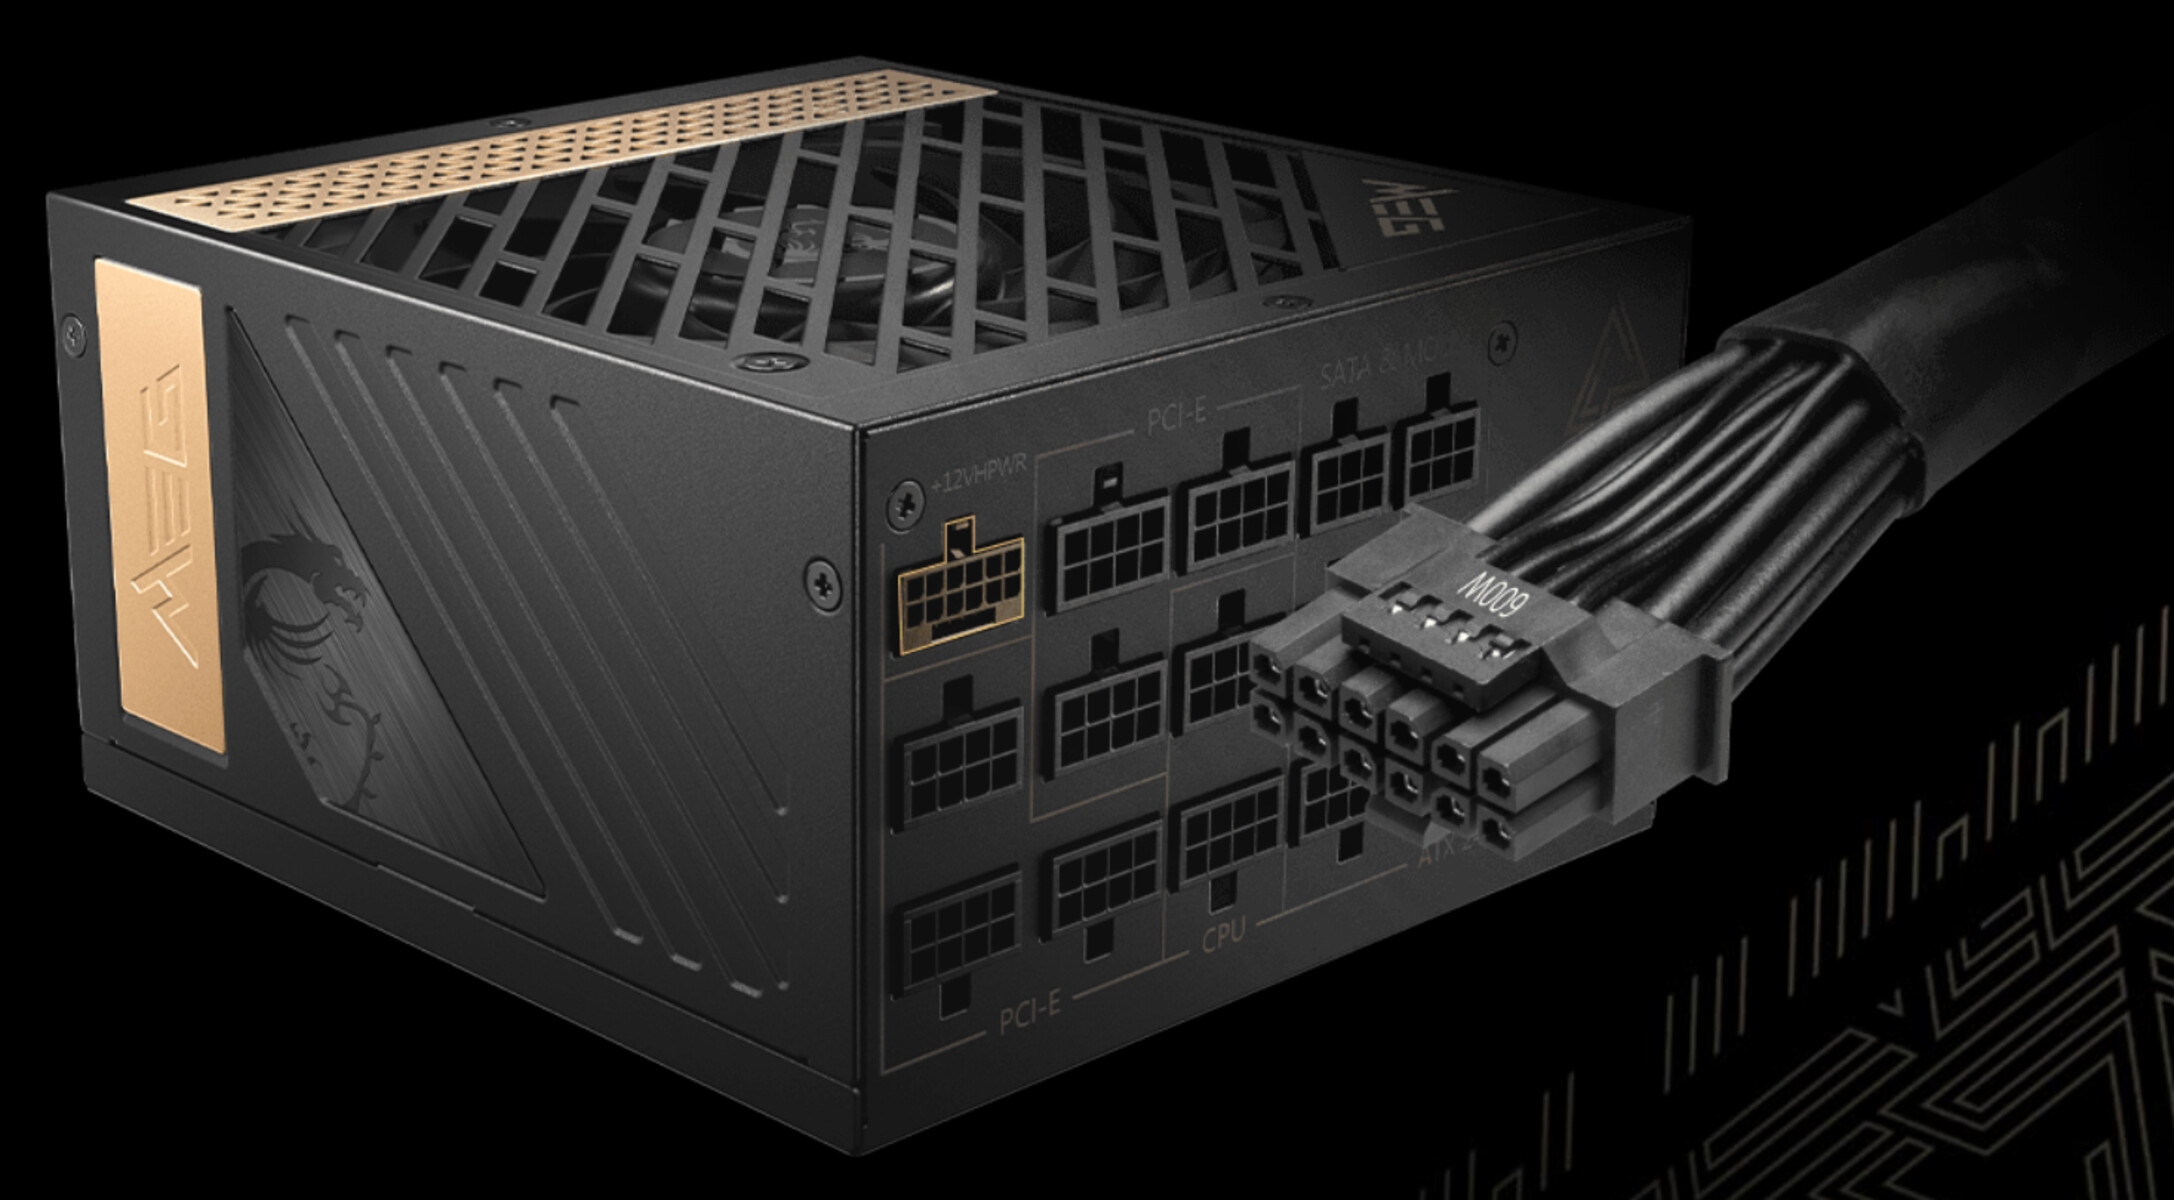
It’s worth noting that some PSUs may have modular cables, allowing you to connect only the necessary cables for your specific components. In such cases, ensure that you have the required modular cable with the 24-pin or 20+4-pin connector.
Before proceeding, double-check that the PSU power cable is in good condition and free from any damage or fraying. Also, make sure the cable is long enough to comfortably reach the motherboard power socket without any tension or strain.
If your PSU has multiple 24-pin or 20+4-pin connectors, ensure that you use the one designated for the motherboard power connection. Using the wrong connector could potentially damage your motherboard or other components.
Now that you have located the PSU power cable, we can move on to connecting it to the motherboard in the next step.
Step 4: Connect the PSU Power Cable to the Motherboard
With the motherboard power socket and PSU power cable identified, it’s time to connect them together. Follow these steps to ensure a secure and proper connection:
- Take the PSU power cable and align the 24-pin or 20+4-pin connector with the motherboard power socket.
- Gently but firmly push the connector into the socket. The pins on the connector should align with the corresponding holes in the socket.
- Make sure the connector is fully inserted into the socket. You may need to apply a bit of pressure, but be careful not to use excessive force.
- Double-check to ensure that the connector is securely in place and there are no loose connections. Wiggle the cable gently to confirm its stability.
Ensure that the cable is not twisted or bent in a way that could strain the connection. If necessary, adjust the cable’s path or use cable ties to keep it organized and out of the way of other components.
If your PSU has modular cables, connect only the necessary cables for your specific build. It’s important to avoid clutter and unnecessary cable connections, as they can obstruct airflow and lead to inefficient cooling.
Once the PSU power cable is properly connected to the motherboard, you’re ready to move on to the next step.
Step 5: Secure the Connection
After connecting the PSU power cable to the motherboard, it’s essential to secure the connection to ensure it stays in place during the operation of your computer. Follow these steps to properly secure the connection:
- Inspect the area around the motherboard power socket to ensure there are no obstructions or components that could interfere with the cable or cause it to come loose.
- If your case has a power supply shroud or a separate compartment for the PSU, make sure the PSU is securely mounted in its designated place.
- Take note of any cable management features in your case, such as cable routing holes or tie-down points. Utilize these to keep the PSU power cable neatly organized and prevent it from obstructing other components.
- Use cable ties or Velcro straps to secure the PSU power cable along its path, keeping it taut but not overly tight.
- Ensure that there is no tension on the cable that could pull it loose from the motherboard power socket. Adjust the cable’s path or use cable ties to eliminate any excessive strain.
- If your computer case has a side panel, carefully reattach it, ensuring that there is no pressure on the PSU power cable.
By securing the connection and managing the cables properly, you minimize the risk of accidental disconnection and ensure the longevity of your system. A well-organized interior also promotes better airflow, contributing to cooler and more stable operation.
With the connection secure, it’s time to proceed to the next step in connecting your PSU to the motherboard.
Step 6: Test the Connection
With the PSU power cable securely connected to the motherboard, it’s time to test the connection and ensure that everything is functioning properly before proceeding with other components. Follow these steps to test the connection:
- Double-check that all other components are properly connected, including the CPU, RAM, and graphics card.
- Plug in the power cord for your PSU into a wall outlet or surge protector.
- Turn on the power supply unit by flipping the switch located on the back of the PSU.
- If your motherboard has a power button, press it to turn on the computer. If not, use a small screwdriver to momentarily bridge the two pins on the motherboard labeled “power switch.”
- Observe the fans and lights on your motherboard. If they all turn on and spin, and the LEDs light up, it indicates that the PSU power cable is properly connected.
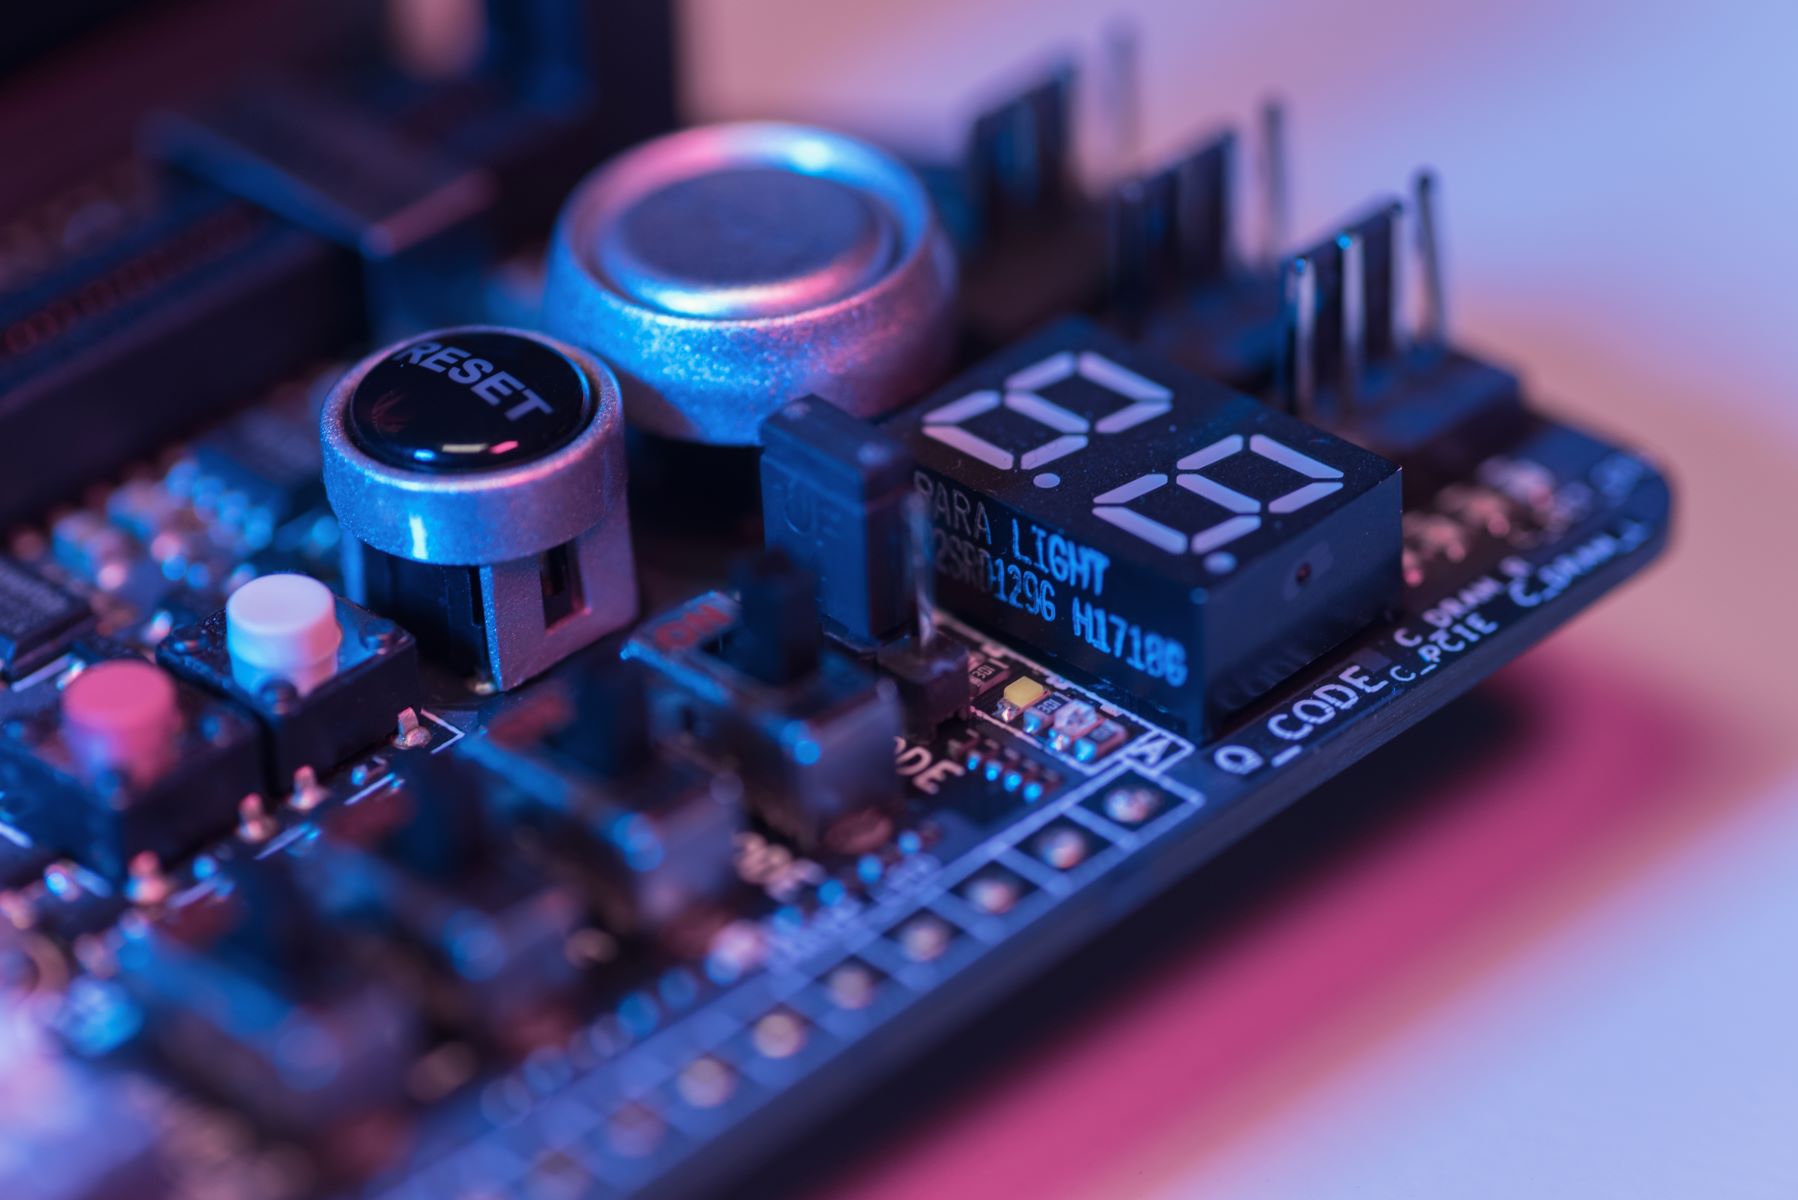
- If you have access to the BIOS or UEFI, check that the motherboard is detecting all the connected components and that their power status is displayed correctly.
- Once you have confirmed that the connection is working, turn off the computer by either shutting it down through the operating system or pressing and holding the power button.
If the fans and lights do not turn on, or if you encounter any issues during the testing process, double-check all the connections and consult the user manuals or online resources for troubleshooting advice specific to your motherboard and PSU.
Testing the connection and ensuring that everything is functioning properly gives you peace of mind and allows you to move forward with confidence to connect the rest of your components.
Step 7: Troubleshooting Tips
While connecting a PSU to a motherboard is a relatively straightforward process, you may encounter some issues along the way. Here are some troubleshooting tips to help you address common problems:
- No Power: If your computer does not turn on at all after connecting the PSU to the motherboard, double-check that all connections are secure and properly aligned. Ensure that the power switch on the back of the PSU is turned on, and verify that the power outlet or surge protector is functioning correctly.
- Intermittent Power: If your computer experiences intermittent power loss or random restarts, check the PSU power cable for any loose connections. Additionally, ensure that the PSU is supplying enough power to support the components in your system.
- Overheating: If you notice excessive heat coming from the PSU or other components, verify that the cooling system is functioning correctly. Clean any dust buildup around the PSU and ensure that the case ventilation is adequate.
- Error Messages or Beeps: If you encounter error messages or hear beeping sounds during startup, refer to the motherboard manual or manufacturer’s website for a list of error codes and troubleshooting steps. Common issues may include incompatible components or faulty connections.
- Check for Compatibility: Always ensure that the PSU and motherboard are compatible with each other. Consult their respective manuals or online resources to verify compatibility and avoid any potential issues.
Remember to take your time and follow the installation instructions provided by the motherboard and PSU manufacturers. If you are unsure about any step, refer to their documentation or seek assistance from knowledgeable sources such as online forums or technical support.
By troubleshooting any problems that arise, you can ensure a smooth and successful connection between the PSU and motherboard, leading to a well-functioning computer system.
Conclusion
Connecting a PSU to a motherboard is a crucial step in building your own computer. By following the steps outlined in this guide, you can ensure a proper and secure connection, allowing your computer to receive the necessary power to function efficiently.
Remember to gather all the necessary equipment, including the PSU power cable and compatible motherboard, before starting the process. Take the time to identify the motherboard power socket and locate the corresponding PSU power cable. Once connected, secure the connection and test it to ensure proper functionality.
If you encounter any issues during the process, refer to the troubleshooting tips provided to address common problems. Double-check all connections, consult the user manuals, and seek assistance from online forums or technical support if needed.
By successfully connecting the PSU to the motherboard, you are one step closer to completing your computer build. Be sure to proceed with the installation of other components, such as the CPU, RAM, and storage devices, and follow proper guidelines to ensure a well-built and functional computer system.
Building your own computer can be a rewarding experience, and understanding how to connect a PSU to a motherboard is an essential skill. With the proper knowledge and attention to detail, you can confidently build a computer that fits your needs and specifications.