Introduction
Testing the power of a motherboard is an essential step in troubleshooting any issues you may be experiencing with your computer. Whether your system fails to turn on or exhibits intermittent power problems, it is important to identify if the motherboard’s power supply is functioning properly. In this guide, we will explore various methods to test the power of your motherboard and determine if any components need attention.
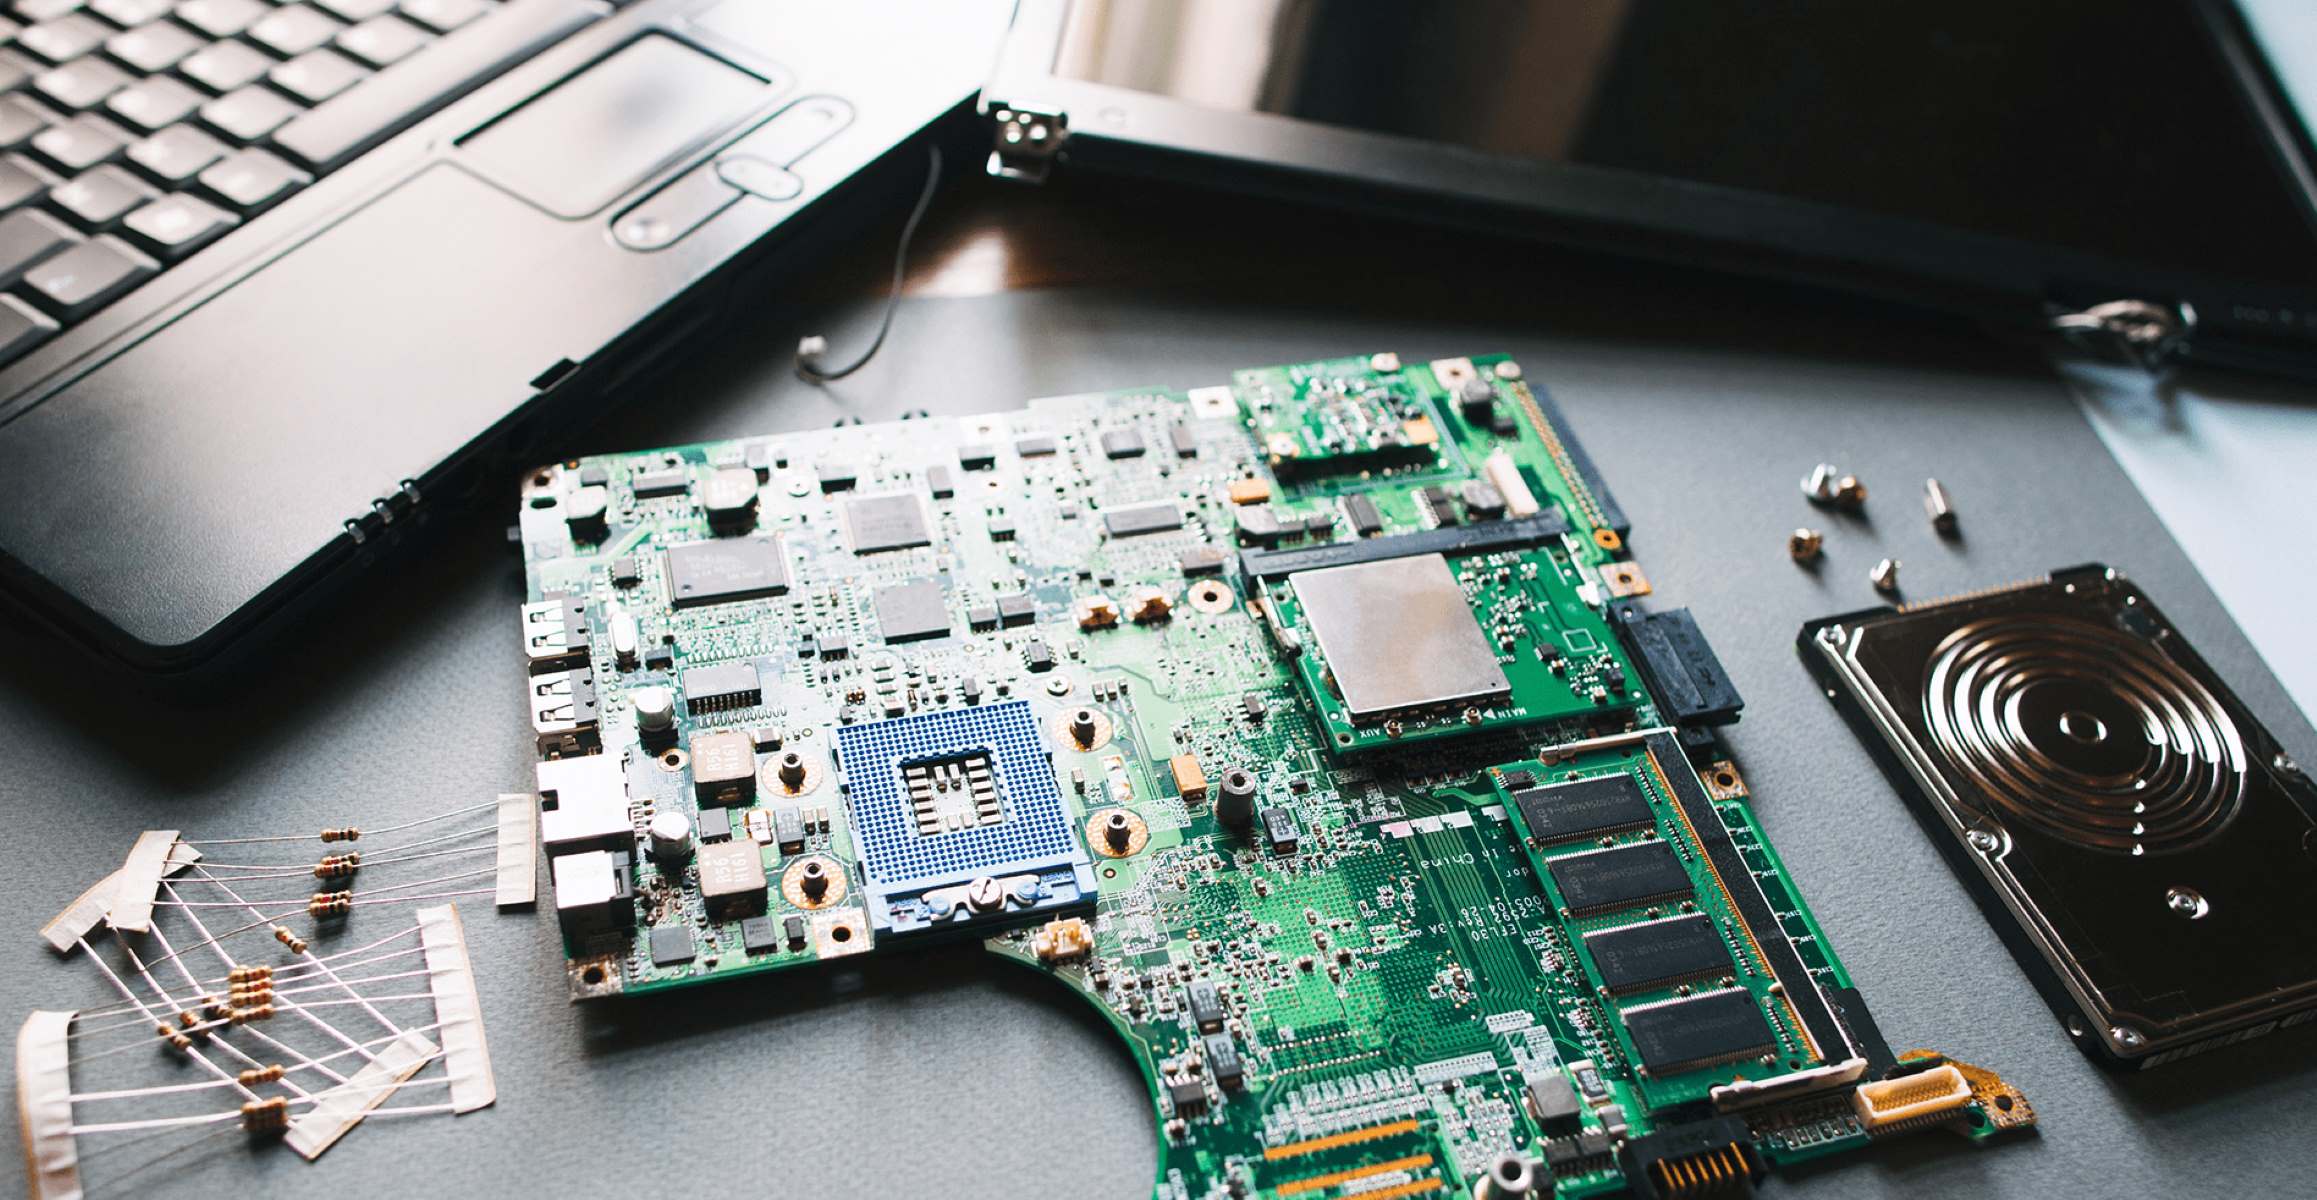
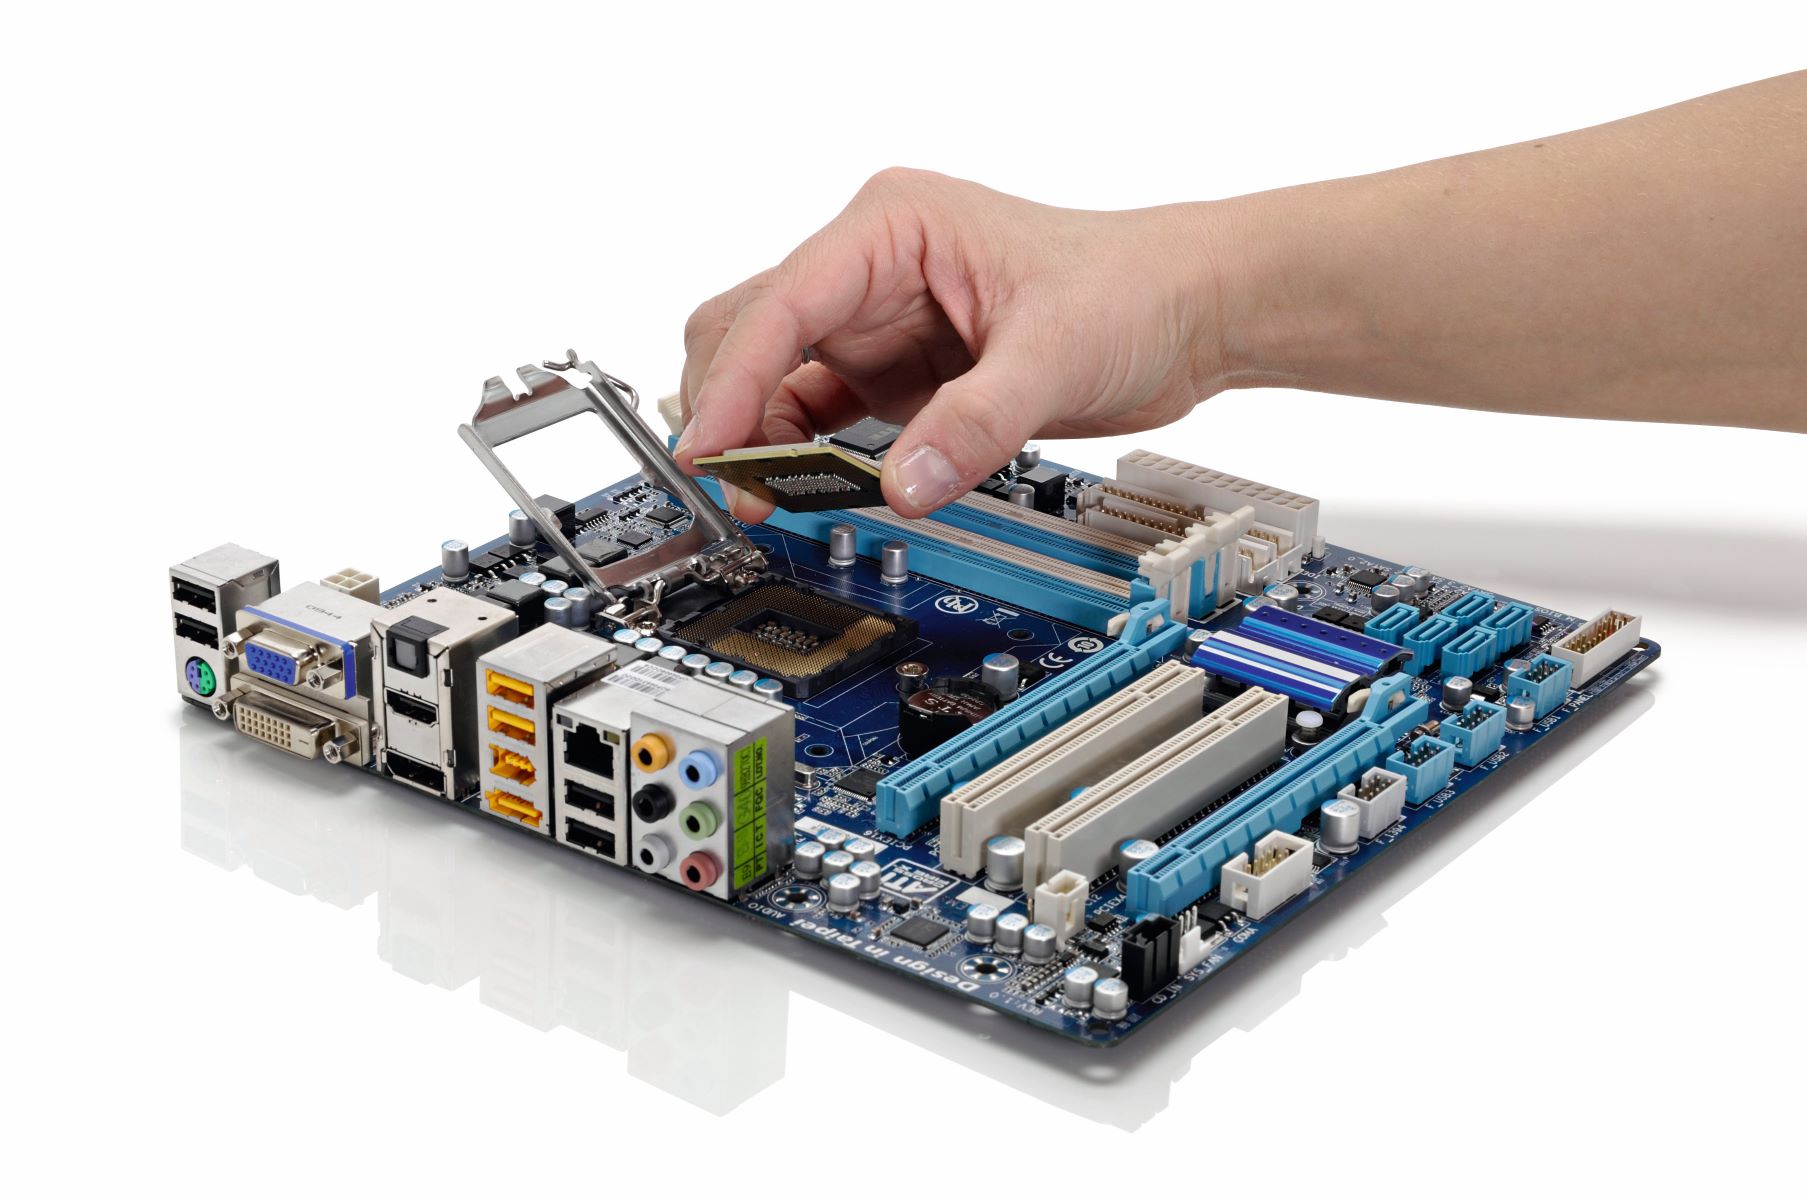
The motherboard is the central hub of your computer, connecting all the hardware components and allowing them to communicate with each other. Without a properly functioning power supply, the motherboard and the entire computer system may fail to operate correctly.
By performing a systematic analysis of the motherboard’s power components, you can identify potential issues and take appropriate measures to resolve them. This troubleshooting process can help you save time and money by avoiding unnecessary component replacements or repairs.
In the following sections, we will discuss several methods to test the power supply of your motherboard. These methods will cover checking the power supply unit, testing power connectors, verifying the CMOS battery, inspecting power sockets and switches, analyzing LED indicators, troubleshooting the power on/off circuit, utilizing a power supply tester tool, and seeking professional help. Each technique will provide valuable insights into the condition of your motherboard’s power supply and help you diagnose any underlying problems.
It’s worth mentioning that before performing any testing, ensure that your computer is completely shut down and disconnected from the power source. Additionally, exercise caution while handling any electrical components to avoid damage to your computer or personal injury.
Checking the Power Supply Unit
The power supply unit (PSU) is responsible for supplying the necessary electrical power to all the components of your computer, including the motherboard. A malfunctioning PSU can cause various issues, such as a complete system failure or intermittent power problems. To ensure that the power supply unit is working correctly, follow these steps:
- Visual Inspection: Start by visually inspecting the power supply unit. Check for any physical damage, such as frayed cables or bulging capacitors. Ensure that all connections are secure and free from dust or debris.
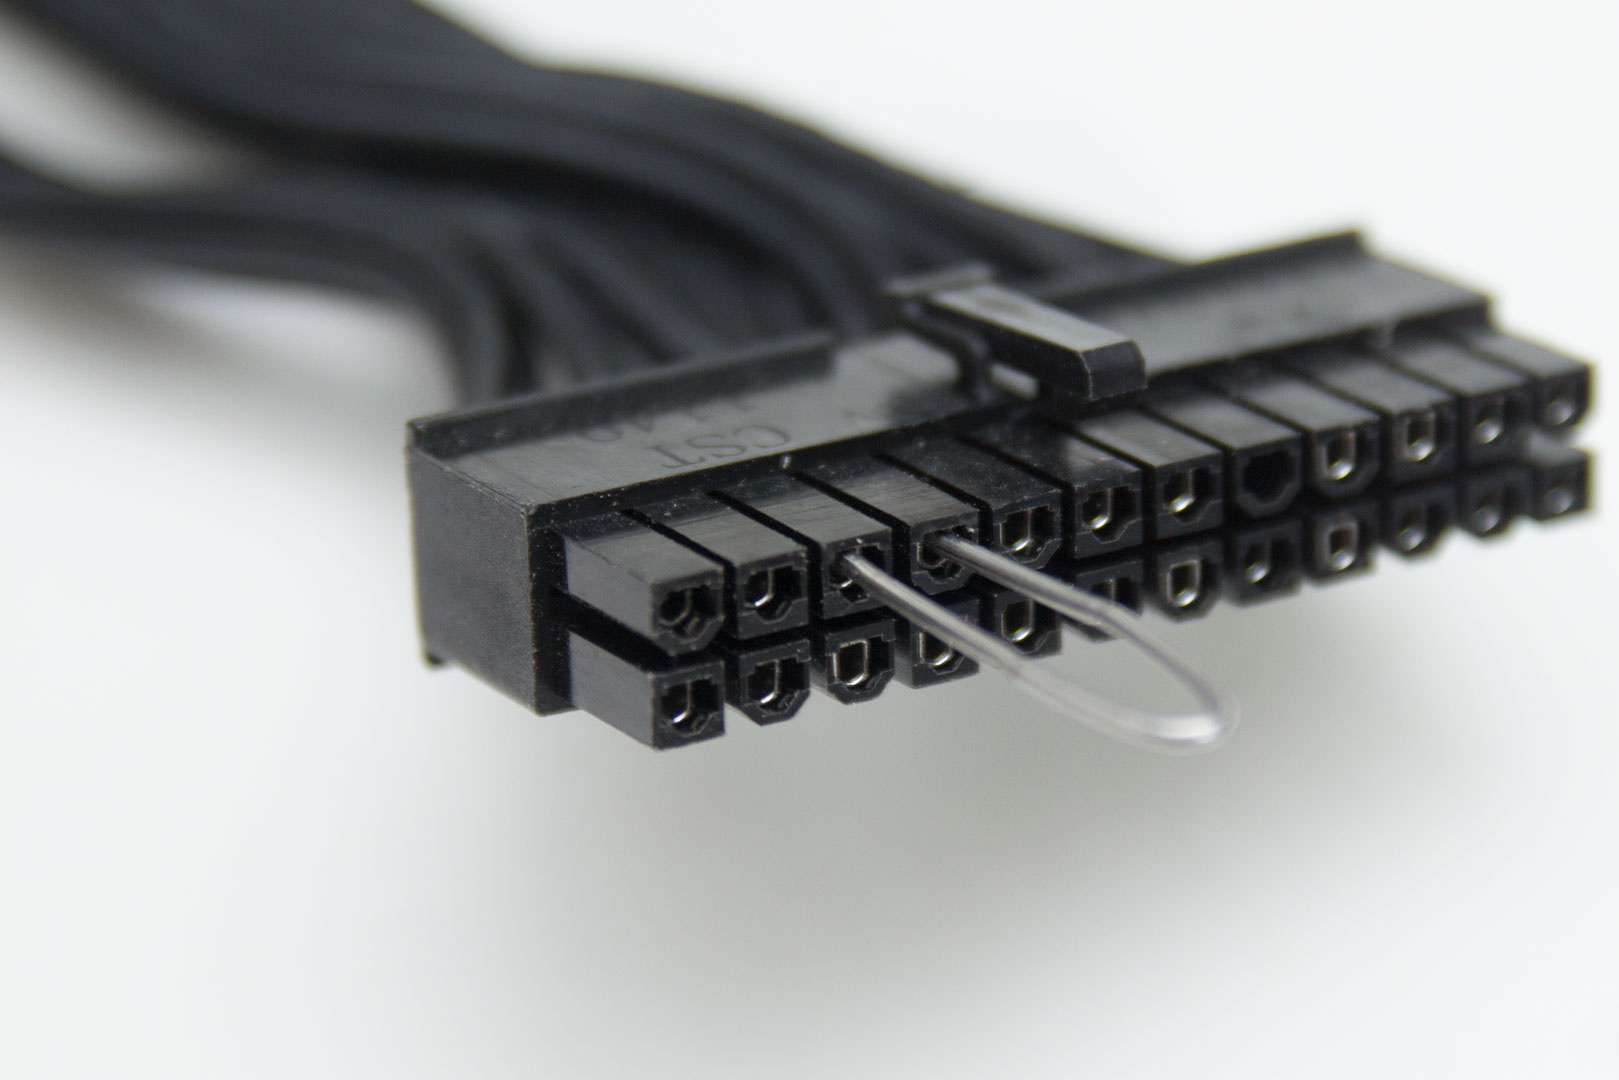
- Power Output: Use a multimeter to test the power output of the PSU. Set the multimeter to the DC voltage range and touch the red probe to the yellow wire on the 24-pin ATX power connector and the black probe to a ground (usually any black wire). A functioning PSU should deliver +12V, +5V, and +3.3V readings within an acceptable range.
- Power Load: Disconnect the PSU from all components except the motherboard. Turn on the PSU and measure the voltage across the 24-pin ATX power connector. Check if the readings remain stable or fluctuate excessively.
- PSU Tester: If you don’t have a multimeter, consider using a PSU tester tool. These tools provide an easy and quick way to check the power output of a PSU by plugging the connectors into the tester and observing the LED indicators.
- Replacement: If the PSU fails any of the above tests, it is likely faulty and needs to be replaced. Ensure that you choose a PSU with sufficient wattage to support your computer’s components.
Checking the power supply unit is the first step in determining the health of your motherboard’s power supply. If the PSU is working correctly, you can move on to the next section to test the power connectors on the motherboard.
Testing the Power Connectors
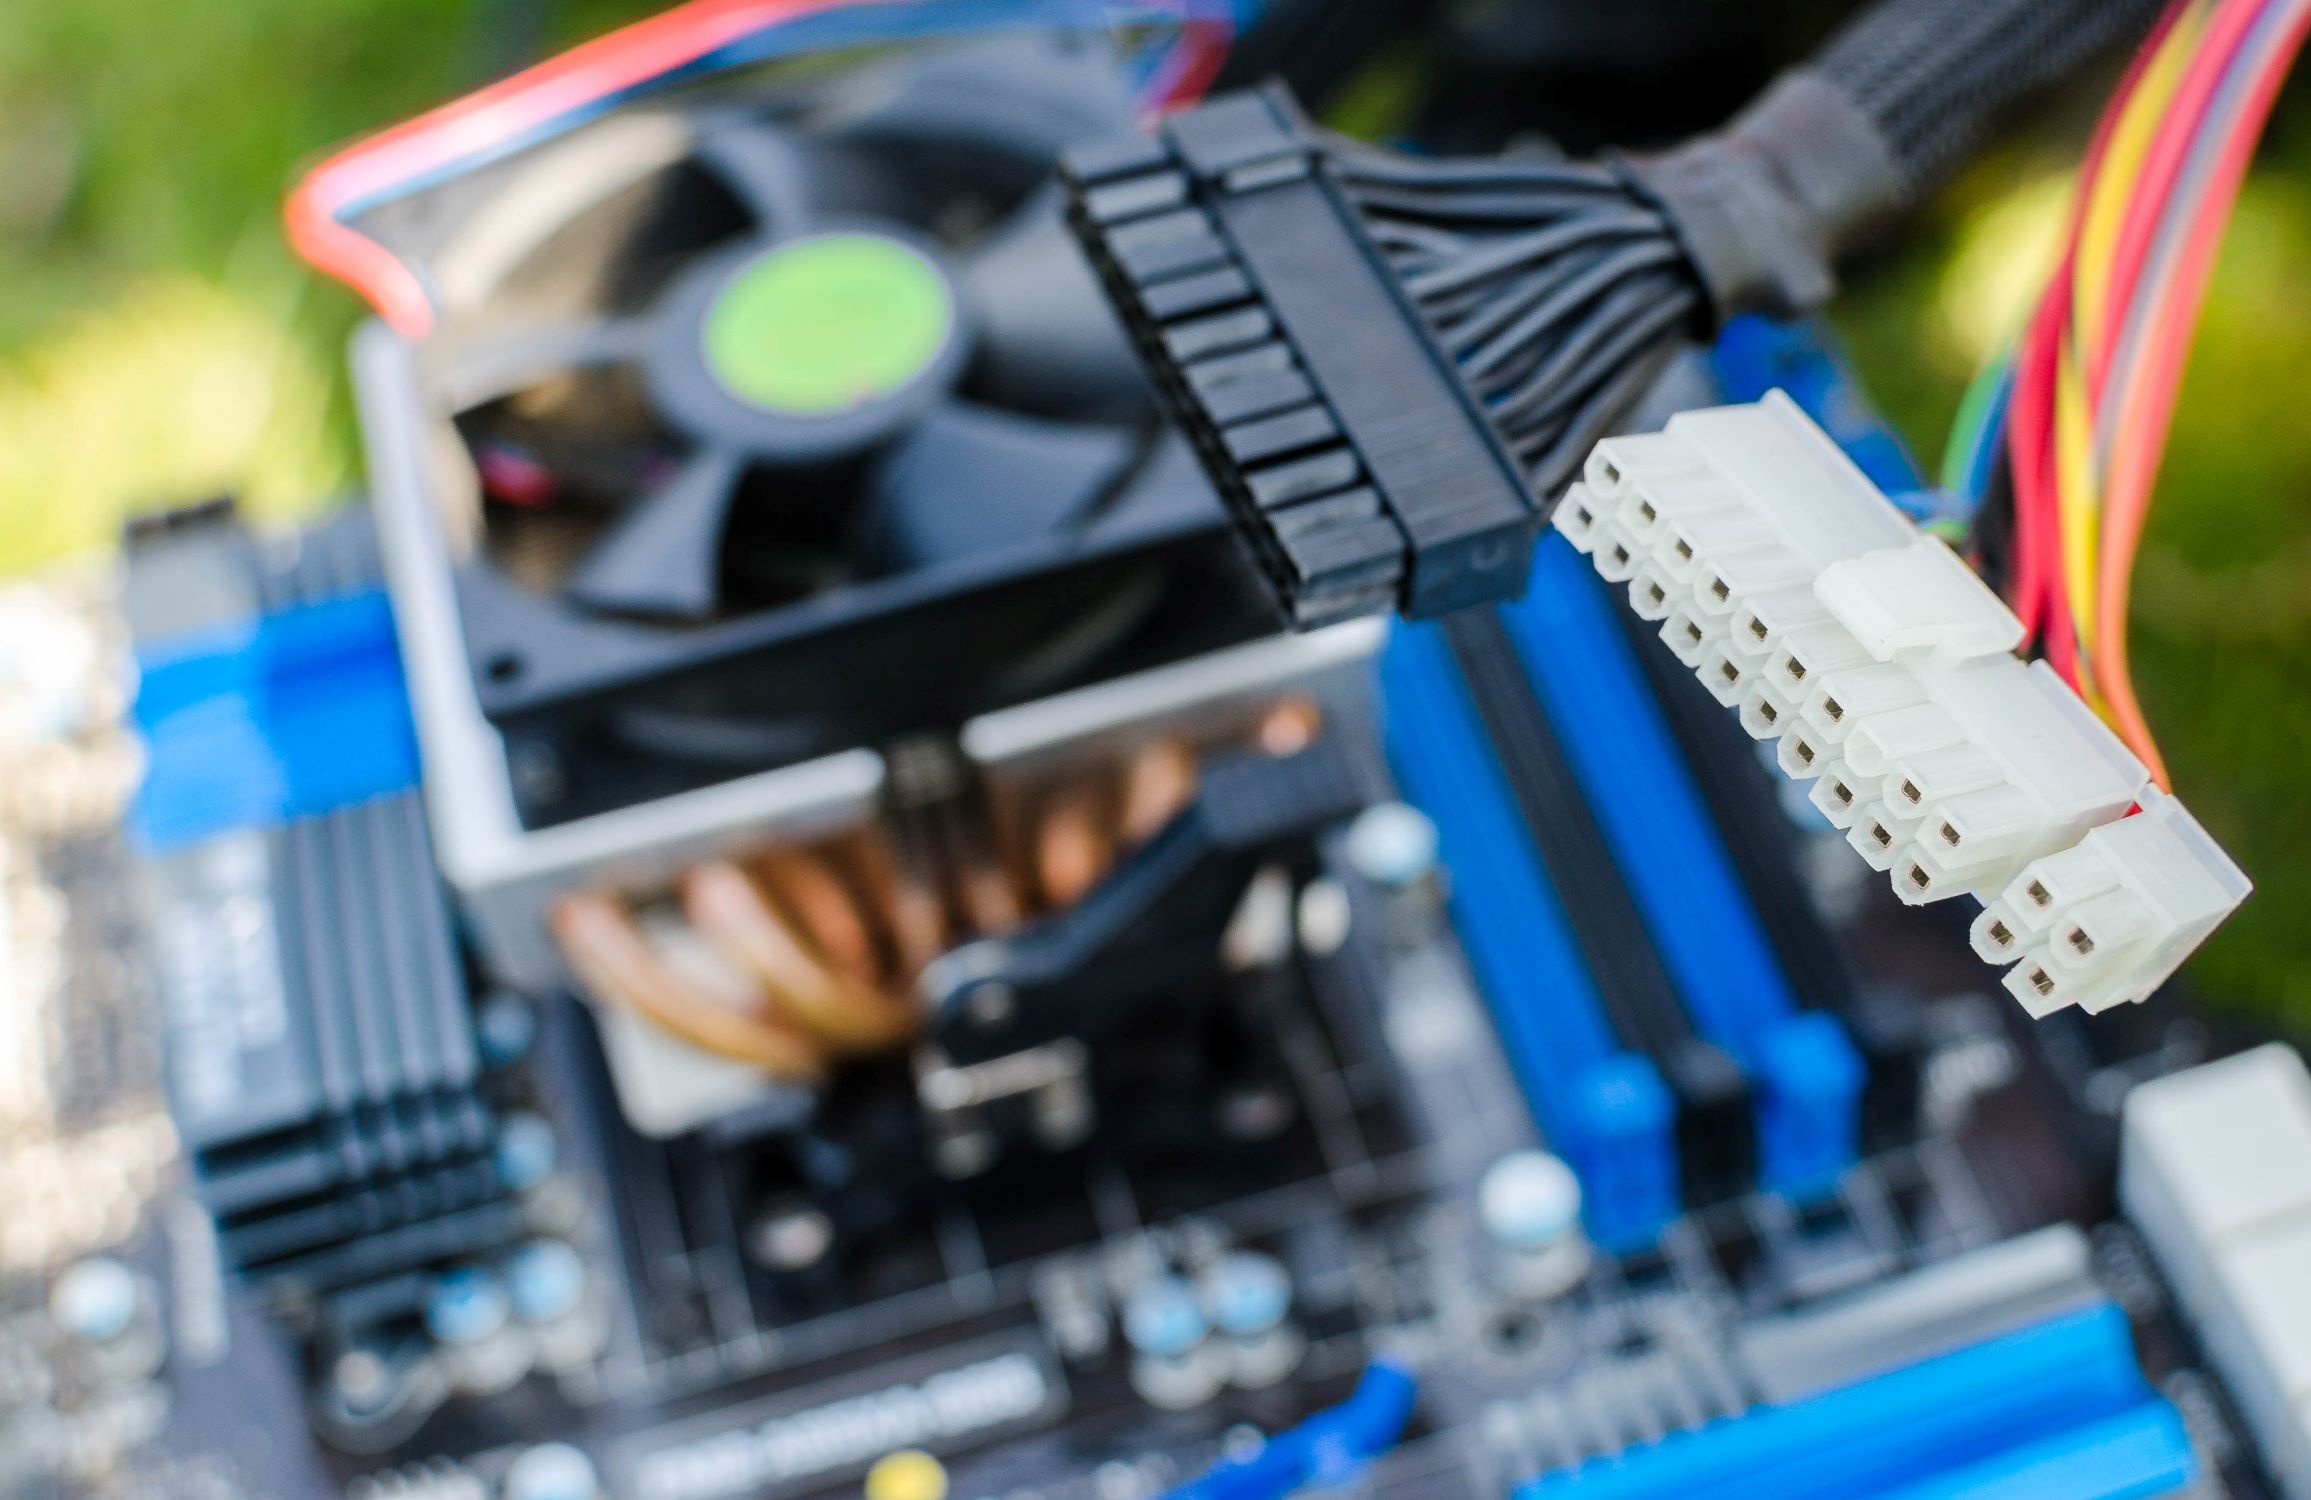
The power connectors on the motherboard are crucial for delivering the necessary power to the various components attached to it. If these connectors are not functioning properly, it can lead to power-related issues. To test the power connectors on the motherboard, follow these steps:
- Visual Inspection: Start by visually inspecting the power connectors on the motherboard. Ensure that all the connectors are firmly plugged in and there are no bent or damaged pins.
- Power Connector Pins: Use a multimeter to test the voltage on the power connector pins. Set the multimeter to the DC voltage range and touch the red probe to the power connector pin and the black probe to a ground (usually any black wire on the 24-pin ATX connector). Check if the voltage readings match the specifications provided by the motherboard manufacturer.
- Power Connector Wiggling: Gently wiggle the power connectors while the system is powered on. If the power supply flickers or the computer restarts, it indicates a loose or faulty connection that needs to be addressed.
- Connector Replacement: If any power connector is found to be faulty, consider replacing it with a new one. Ensure that the replacement connector matches the specifications required by the motherboard.
Testing the power connectors is an important step in evaluating the power supply to the motherboard. By ensuring that the connectors are firmly connected and providing the correct voltage, you can eliminate them as potential sources of power-related issues. However, if the power connectors are functioning correctly and the motherboard still exhibits power problems, it might be necessary to investigate the CMOS battery.
Verifying the CMOS Battery
The CMOS battery on the motherboard is responsible for providing power to the CMOS memory, which stores the system’s BIOS settings. If the CMOS battery is dead or low on power, it can cause various issues, including power-related problems. To verify the CMOS battery’s condition, follow these steps:
- Locating the CMOS Battery: Identify the location of the CMOS battery on your motherboard. It is typically a round, silver-colored battery that is easily accessible.
- Visual Inspection: Check the CMOS battery for any signs of leakage or corrosion. If you notice any damage, replace the battery with a new one.
- Testing Voltage: Use a multimeter to test the voltage of the CMOS battery. Set the multimeter to the DC voltage range and touch the red probe to the positive terminal of the battery and the black probe to the negative terminal. A fully charged CMOS battery should typically read around 3 volts. If the voltage is significantly lower or the battery is dead, it needs to be replaced.
- Battery Replacement: If the CMOS battery is found to be faulty, replace it with a new one of the same type. Gently remove the old battery and insert the new one, ensuring the correct polarity.
Verifying the CMOS battery is essential as it plays a vital role in maintaining the motherboard’s BIOS settings and power supply. By ensuring the CMOS battery is working correctly, you can eliminate it as a possible cause of power-related issues. However, if the CMOS battery is functioning correctly and the power problems persist, it may be necessary to inspect the power sockets and switches on the motherboard.
Inspecting the Power Sockets and Switches
The power sockets and switches on the motherboard are critical components that facilitate the flow of electricity to your computer. If these sockets or switches are damaged or not functioning correctly, it can result in power supply issues. To inspect the power sockets and switches on the motherboard, follow these steps:
- Visual Inspection: Start by visually inspecting the power sockets and switches on the motherboard. Look for any physical damage, loose connections, or signs of burnt components.
- Reseating Connections: Gently unplug and re-insert the power connections, ensuring they are firmly and securely attached.
- Testing with a Multimeter: Use a multimeter to test the continuity of the power sockets and switches. Set the multimeter to the continuity mode and touch the probes to the pins or terminals of the sockets and switches. If there is no continuity or if it is intermittent, there may be a problem with the component that needs further investigation.
- Cleaning: If you notice any dirt, debris, or corrosion on the power sockets or switches, carefully clean them using compressed air or a soft brush. Ensure that the motherboard is completely dry before reconnecting the power supply.
- Replacement: If any power sockets or switches are found to be faulty, consider replacing them with new ones. Consult the motherboard manufacturer’s documentation or seek professional assistance if necessary.
By inspecting the power sockets and switches on the motherboard, you can identify any potential issues that might be affecting the power supply. Ensuring they are clean and making secure connections reduces the chances of power-related problems. Nonetheless, if the power sockets and switches are functioning properly and the power issues persist, it’s time to examine the LED indicators on the motherboard.
Analyzing LED Indicators
LED indicators on the motherboard serve as visual cues to help identify any potential power-related issues. These indicators can provide valuable information about the status of the power supply and other components. To analyze the LED indicators, follow these steps:
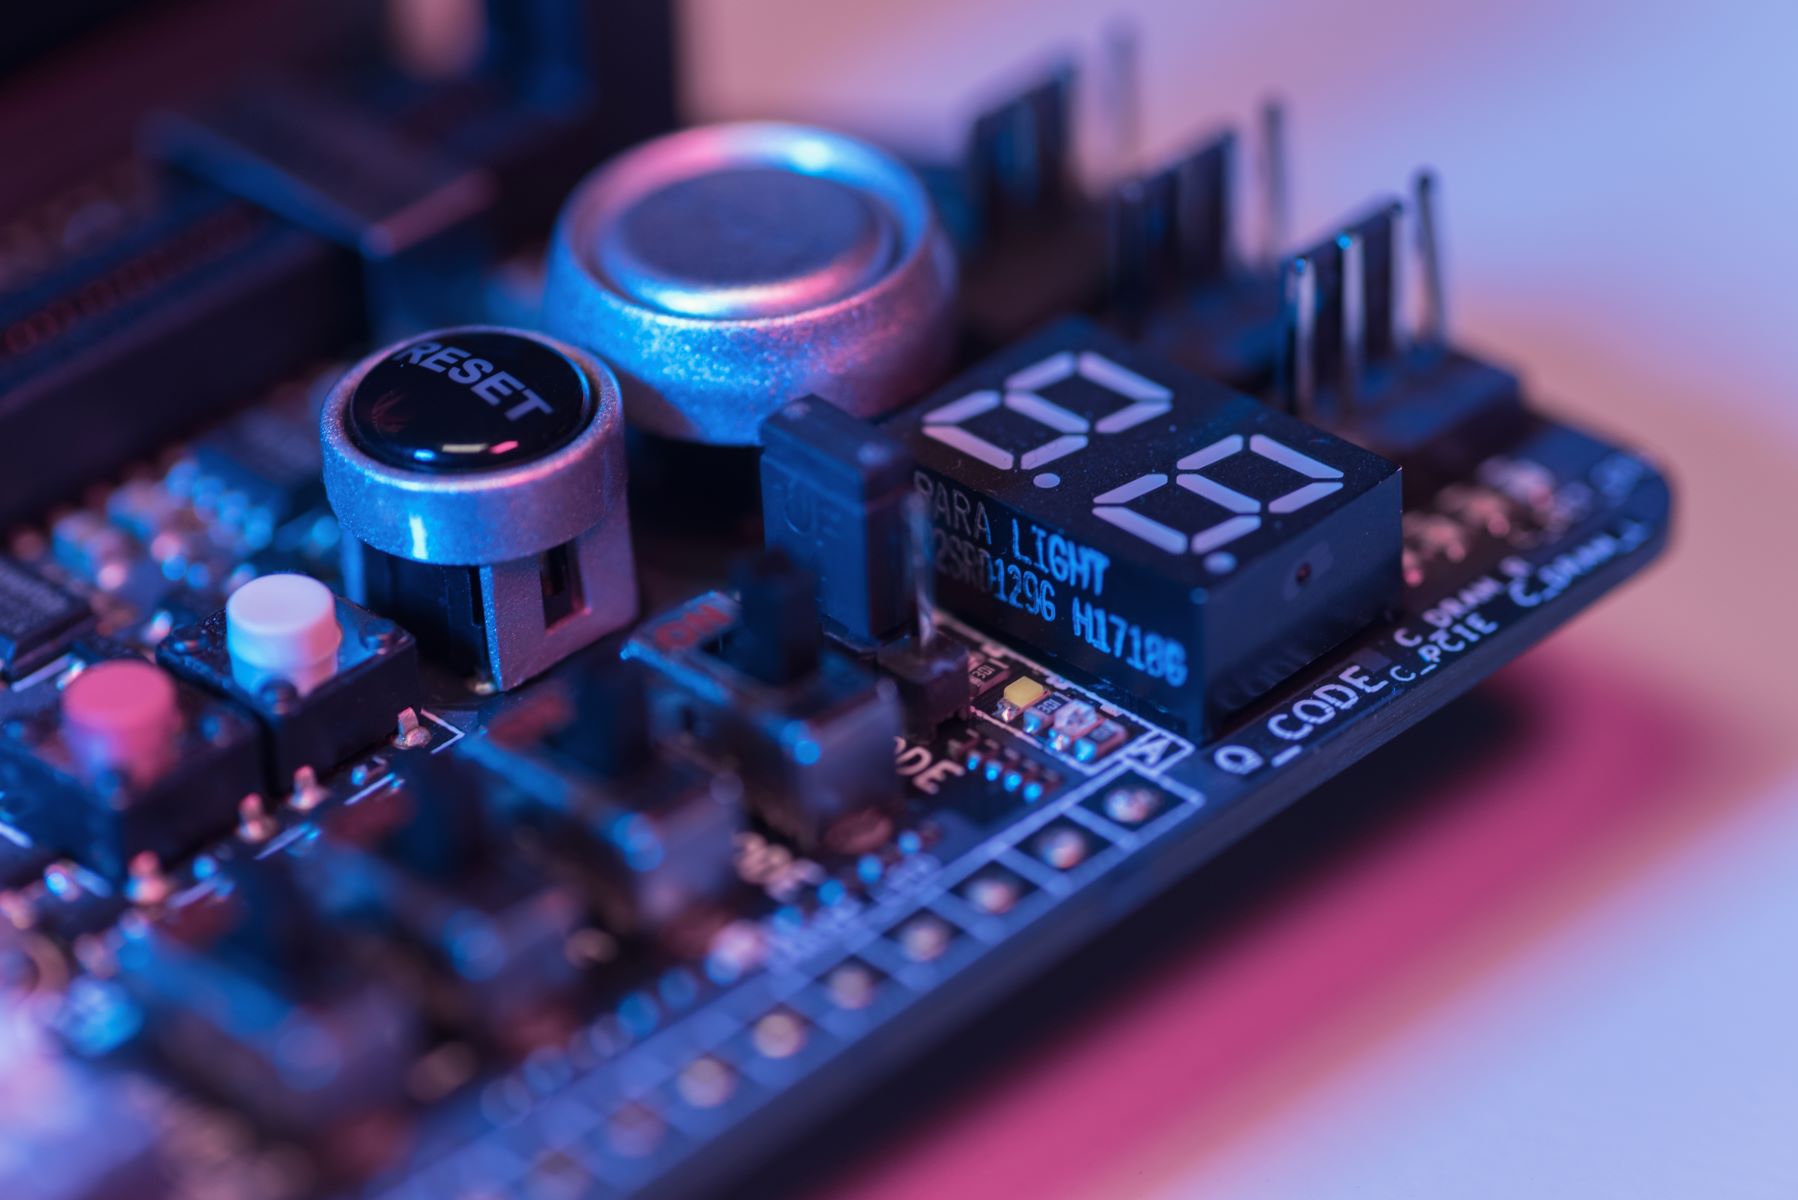
- Locating the LED Indicators: Identify the location of the LED indicators on your motherboard. They are typically labeled with icons or text indicating their function.
- Power-On LED: The power-on LED indicates whether the motherboard is receiving power. If it doesn’t light up when the computer is turned on, it might suggest a power supply or motherboard problem.
- Error LED: Some motherboards have an error LED that illuminates or blinks in the presence of specific issues. Refer to the motherboard documentation to understand the specific error codes associated with the LED.
- Diagnostic LED: High-end motherboards may have multiple diagnostic LEDs that provide real-time information about various components, including the power supply. Consult the motherboard manual to understand the meaning of each LED and troubleshoot accordingly.
- LED Behavior: Observe the behavior of the LED indicators during system startup and operation. If any LED remains consistently off, on, or blinks in an unusual pattern, cross-reference the motherboard manual to determine the possible cause and take appropriate action.
Analyzing the LED indicators can provide valuable insights into the status of the power supply and other components on the motherboard. By interpreting their behavior and referring to the motherboard documentation, you can pinpoint potential issues and streamline the troubleshooting process. However, if the LED indicators do not reveal any conclusive information or the power issues persist, it may be necessary to troubleshoot the power on/off circuit of the motherboard.
Troubleshooting the Power On/Off Circuit
The power on/off circuit on the motherboard is responsible for controlling the flow of electricity and initiating the startup process when the power button is pressed. If there are issues with this circuit, it can lead to power-related problems. Here are some steps to troubleshoot the power on/off circuit:
- Resetting CMOS: Resetting the CMOS by removing the CMOS battery and/or using the CMOS reset jumper can help resolve any power circuit related issues caused by incorrect BIOS settings. Refer to your motherboard manual for instructions on resetting the CMOS.
- Inspecting the Power Button: Check the power button on your computer case. Ensure that it is not stuck or damaged, preventing it from properly engaging with the power button pins on the motherboard.
- Shorting Power Pins: To test if the power button is the issue, use a screwdriver to briefly short the power pins on the motherboard. If the system powers on, it suggests a faulty power button on your case that needs to be replaced.
- Checking Reset Button and Power LEDs: Inspect the reset button and power LED on your computer case. A malfunctioning reset button can cause the power on/off circuit to behave unexpectedly.
- Checking Internal Power Connections: Examine all the internal power connections on your motherboard. Ensure that the power switch, reset switch, and power LED connectors are correctly attached to their respective pins.
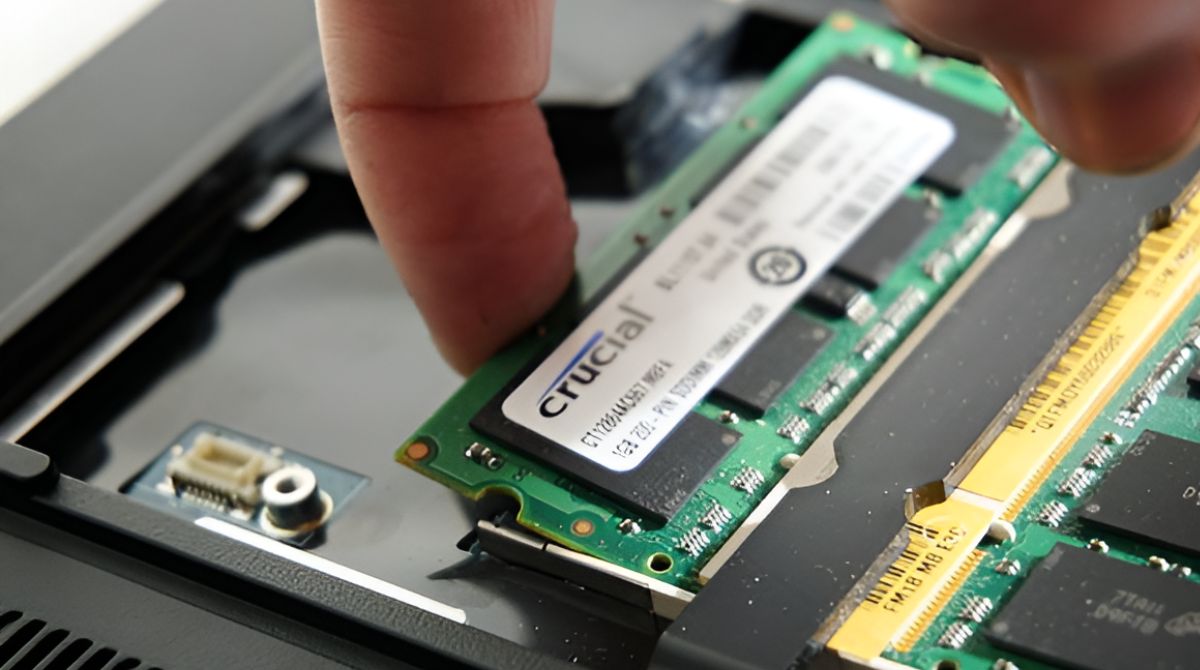
- Reseating Components: Gently reseat components such as RAM, graphics card, and internal power cables. Loose connections can sometimes cause power-related issues.
- Bypassing the Power Switch: If you suspect a faulty power switch, you can bypass it by using a metal object (e.g., a screwdriver) to briefly bridge the two power switch pins on the motherboard. If the system powers on, it indicates an issue with the power switch.
Troubleshooting the power on/off circuit involves checking the power button, inspecting internal connections, and ensuring proper functionality. By following these steps, you can identify and address any issues related to the power on/off circuit. However, if the power problem persists even after troubleshooting the circuit, it might be necessary to rely on a specialized power supply tester tool for a more accurate assessment.
Utilizing a Power Supply Tester Tool
A power supply tester tool is a specialized device designed to assess the functionality of a power supply unit (PSU). It provides a quick and accurate way to diagnose power-related issues within the PSU. Here’s how you can utilize a power supply tester tool:
- Obtain a Power Supply Tester: Purchase or borrow a power supply tester tool that is compatible with your PSU. These tools are widely available and come in different varieties based on the type of connectors your PSU utilizes.
- Power Supply Disconnection: Disconnect the power supply from all components, including the motherboard, drives, and peripherals.
- Plug in the Power Supply Tester: Connect the appropriate cables from the power supply tester tool into the corresponding connectors on the PSU.
- Power On the Tester: Turn on the power switch on the tester device or use any buttons or switches provided to initiate the testing process.
- Read the Test Results: Refer to the power supply tester tool’s digital display or LED indicators. The tool will indicate the voltage levels of each wire and whether they are within the acceptable range. Any deviations or irregularities can assist in identifying potential PSU issues.
- Interpreting the Results: Consult the documentation that accompanies the power supply tester tool or refer to the manufacturer’s guidelines to understand the significance of the test results. It will help you determine if the PSU is faulty or if there are any potential power-related issues.
- Replacement or Repair: Depending on the test results, consider replacing or repairing the power supply unit if it is found to be faulty. Ensure that you choose a PSU that meets the power requirements of your system.
Utilizing a power supply tester tool is an effective way to precisely evaluate the functionality of your PSU. By interpreting the test results, you can identify any potential power-related issues and take appropriate measures to resolve them. If the power supply tester tool does not uncover any PSU problems, it may be necessary to seek professional help in diagnosing and resolving the power issues you are experiencing.
Seeking Professional Help
Sometimes, diagnosing and resolving power-related issues with your motherboard may require professional assistance. If you have thoroughly tested and examined various components, but the power problems persist, it may be time to seek the expertise of a professional computer technician or a reputable computer repair service. Here’s how seeking professional help can be beneficial:
- Experience and Knowledge: Professional technicians have extensive experience in diagnosing and troubleshooting power-related issues. They possess in-depth knowledge of computer hardware and can quickly identify the root cause of the problem.
- Specialized Tools and Equipment: Professionals have access to specialized tools and equipment that allow for accurate diagnosis and repair. They possess advanced testing equipment, oscilloscopes, power supply analyzers, and other tools that may not be accessible to typical users.
- Efficiency and Time-Saving: Seeking professional help can save you valuable time and effort. Technicians are trained to diagnose and fix issues efficiently, minimizing the downtime of your computer.
- Preventing Further Damage: Incorrect handling or diagnosis can lead to further damage to your system. A professional technician can ensure that the repairs are performed correctly, reducing the risk of additional damage to the motherboard or other components.
- Warranty and Guarantee: Reputable computer repair services often provide warranties and guarantees for their work. If the power issues persist even after their repair, they usually offer follow-up services to rectify the problem at no additional cost.
When seeking professional help, look for certified and experienced technicians who specialize in motherboard repairs. Check customer reviews and ratings to ensure their reliability and trustworthiness. Be prepared to provide them with detailed information about the power issues you are encountering, including any relevant tests or steps you have already performed.
Remember that seeking professional help is a viable option when all other troubleshooting methods have been exhausted. With their expertise and resources, professionals can help resolve complex power-related problems and get your computer up and running smoothly again.
Conclusion
Testing the power supply of your motherboard is an essential step in troubleshooting performance issues or failures. By following the methods outlined in this guide, you can effectively diagnose and resolve power-related problems, ensuring the proper functioning of your computer system.
Begin by checking the power supply unit for any physical damage or abnormalities. Test the power connectors to ensure they’re delivering the correct voltage to the motherboard. Verify the condition of the CMOS battery, as a faulty battery can lead to power issues. Inspect the power sockets and switches for any signs of damage or loose connections, and analyze the LED indicators to identify any potential problems.
If the issue persists, troubleshoot the power on/off circuit, which involves checking the power button, inspecting internal connections, and ensuring the circuit is functioning correctly. Consider utilizing a power supply tester tool to accurately assess the functionality of the power supply unit. If all else fails, seeking professional help from experienced technicians can provide valuable expertise and specialized equipment to diagnose and resolve the problem.
Remember to exercise caution when working with electrical components, and consult the documentation or seek professional assistance if you’re unsure about any steps. By diligently testing and troubleshooting the power supply of your motherboard, you can identify and rectify power-related issues, ensuring the smooth operation of your computer system.