Introduction
Welcome to this guide on how to fix a motherboard. A motherboard is the central component of any computer system and is responsible for connecting all the hardware components together. Over time, motherboards can develop problems due to various reasons, such as electrical surges, overheating, or simply wear and tear. When your computer starts experiencing issues, it’s essential to troubleshoot and fix the motherboard to ensure optimal performance.
In this guide, we will take you through the step-by-step process of identifying common motherboard problems and solving them. We’ll also provide you with safety precautions to follow to prevent any accidental damage. Whether you’re a computer enthusiast or a novice, this guide will equip you with the knowledge and skills to fix your motherboard and get your computer running smoothly again.
Before we dive into the troubleshooting steps, it’s important to note that fixing a motherboard can be challenging and may require technical expertise. If you’re not confident in your abilities or if your computer is still under warranty, it’s advisable to seek professional help. However, for those who are willing to learn and take on the challenge, let’s get started with identifying the problem.
Identifying the Problem
When your computer is experiencing issues, it’s crucial to determine whether the problem lies with the motherboard or another component. Here are some common signs that indicate a motherboard problem:
- No Power: If your computer doesn’t power on at all, it could be due to a faulty motherboard. Check if the power supply is functioning properly and all connections are secure.
- Random Shutdowns or Restarts: If your computer shuts down or restarts unexpectedly, it could be caused by a motherboard issue. This can be due to overheating, power supply problems, or faulty components.
- Unresponsive or Error Messages: If you’re encountering frequent error messages or your computer becomes unresponsive, it could be a result of a faulty motherboard. These issues can manifest as blue screens, freezes, or software crashes.
- Peripheral Malfunctions: If your USB ports, audio jacks, or other peripherals stop working, it might indicate a problem with the motherboard’s connectivity or integrated circuits.
- Failed BIOS or POST: If your computer fails to go through the BIOS (Basic Input/Output System) or POST (Power-On Self-Test) process, it could be indicative of a motherboard issue. This might be accompanied by beeping sounds or an error message on the screen.
Once you’ve identified one or more of these symptoms, it’s highly likely that your motherboard is causing the problem. However, it’s essential to rule out other potential issues, such as faulty power supply, RAM, or storage devices. Troubleshooting these components can help pinpoint the exact cause of the problem and ensure an accurate diagnosis.
Before proceeding with any motherboard repairs, it’s crucial to take some safety precautions to protect yourself and your equipment. Let’s explore these precautions in the next section.
Safety Precautions
Working on a motherboard involves handling delicate and sensitive components, as well as dealing with potentially hazardous electrical currents. To ensure your safety and prevent any accidental damage, it’s important to follow these safety precautions:
- Power Off and Disconnect: Before starting any work on your computer’s motherboard, make sure to power off the computer and unplug it from the wall socket. This will prevent any electrical shocks and protect your components.
- Ground Yourself: Static electricity can damage sensitive electronic components. To avoid this, ground yourself by wearing an anti-static wristband or by regularly touching a grounded metal object. This will discharge any built-up static electricity from your body.
- Work in a Clean and Static-Free Area: Find a clean and well-lit area to work on your motherboard. Ensure that the surface is free from static-causing materials such as rugs, carpets, or clothing. Ideally, use an anti-static mat or work on a non-conductive surface.
- Handle Components with Care: Motherboard components are delicate, so handle them with care. Hold them by the edges and avoid touching any exposed pins. Use an anti-static bag or place components on a non-conductive surface when not in use.
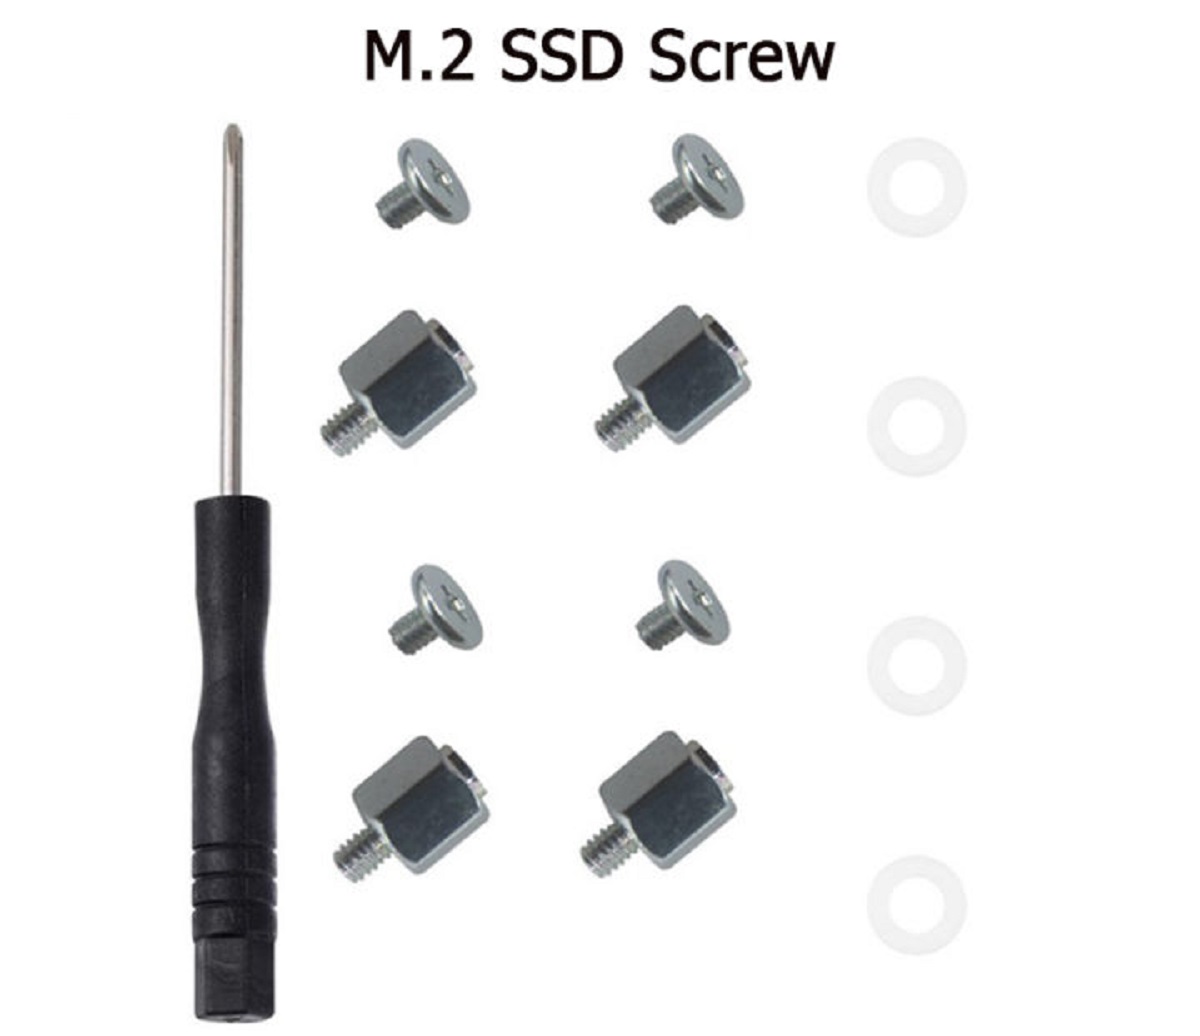
- Protect Against Static Discharge: When removing or installing components, avoid touching the golden contacts or any exposed circuitry. It’s recommended to only handle components by their edges and to use proper tools, such as a screwdriver, to avoid accidental damage.
- Avoid Excessive Force: When inserting or removing components, apply gentle and even pressure. Excessive force can cause damage to connectors or the motherboard itself.
- Keep Track of Screws and Cables: As you disassemble the motherboard, keep track of screws and cables. Consider using small containers or a magnetic mat to store and organize them. This will prevent any loss or confusion when reassembling.
- Follow Manufacturer Guidelines: Refer to the motherboard manufacturer’s documentation and guidelines for specific instructions on handling and repairing your motherboard model. Each motherboard may have unique requirements and precautions.
By following these safety precautions, you can minimize the risk of electrostatic damage and ensure a safe environment for working on your motherboard. In the next section, we’ll go through the troubleshooting steps to identify and resolve common motherboard issues.
Troubleshooting Steps
Now that you’ve identified the symptoms and taken the necessary safety precautions, it’s time to troubleshoot and fix the motherboard. Follow these steps to diagnose and resolve common motherboard issues:
- Check the Power Supply: Ensure that the power supply unit (PSU) is functioning correctly. Verify that all power cables are securely connected to the motherboard and peripherals. Consider testing the PSU using a power supply tester or replacing it if necessary.
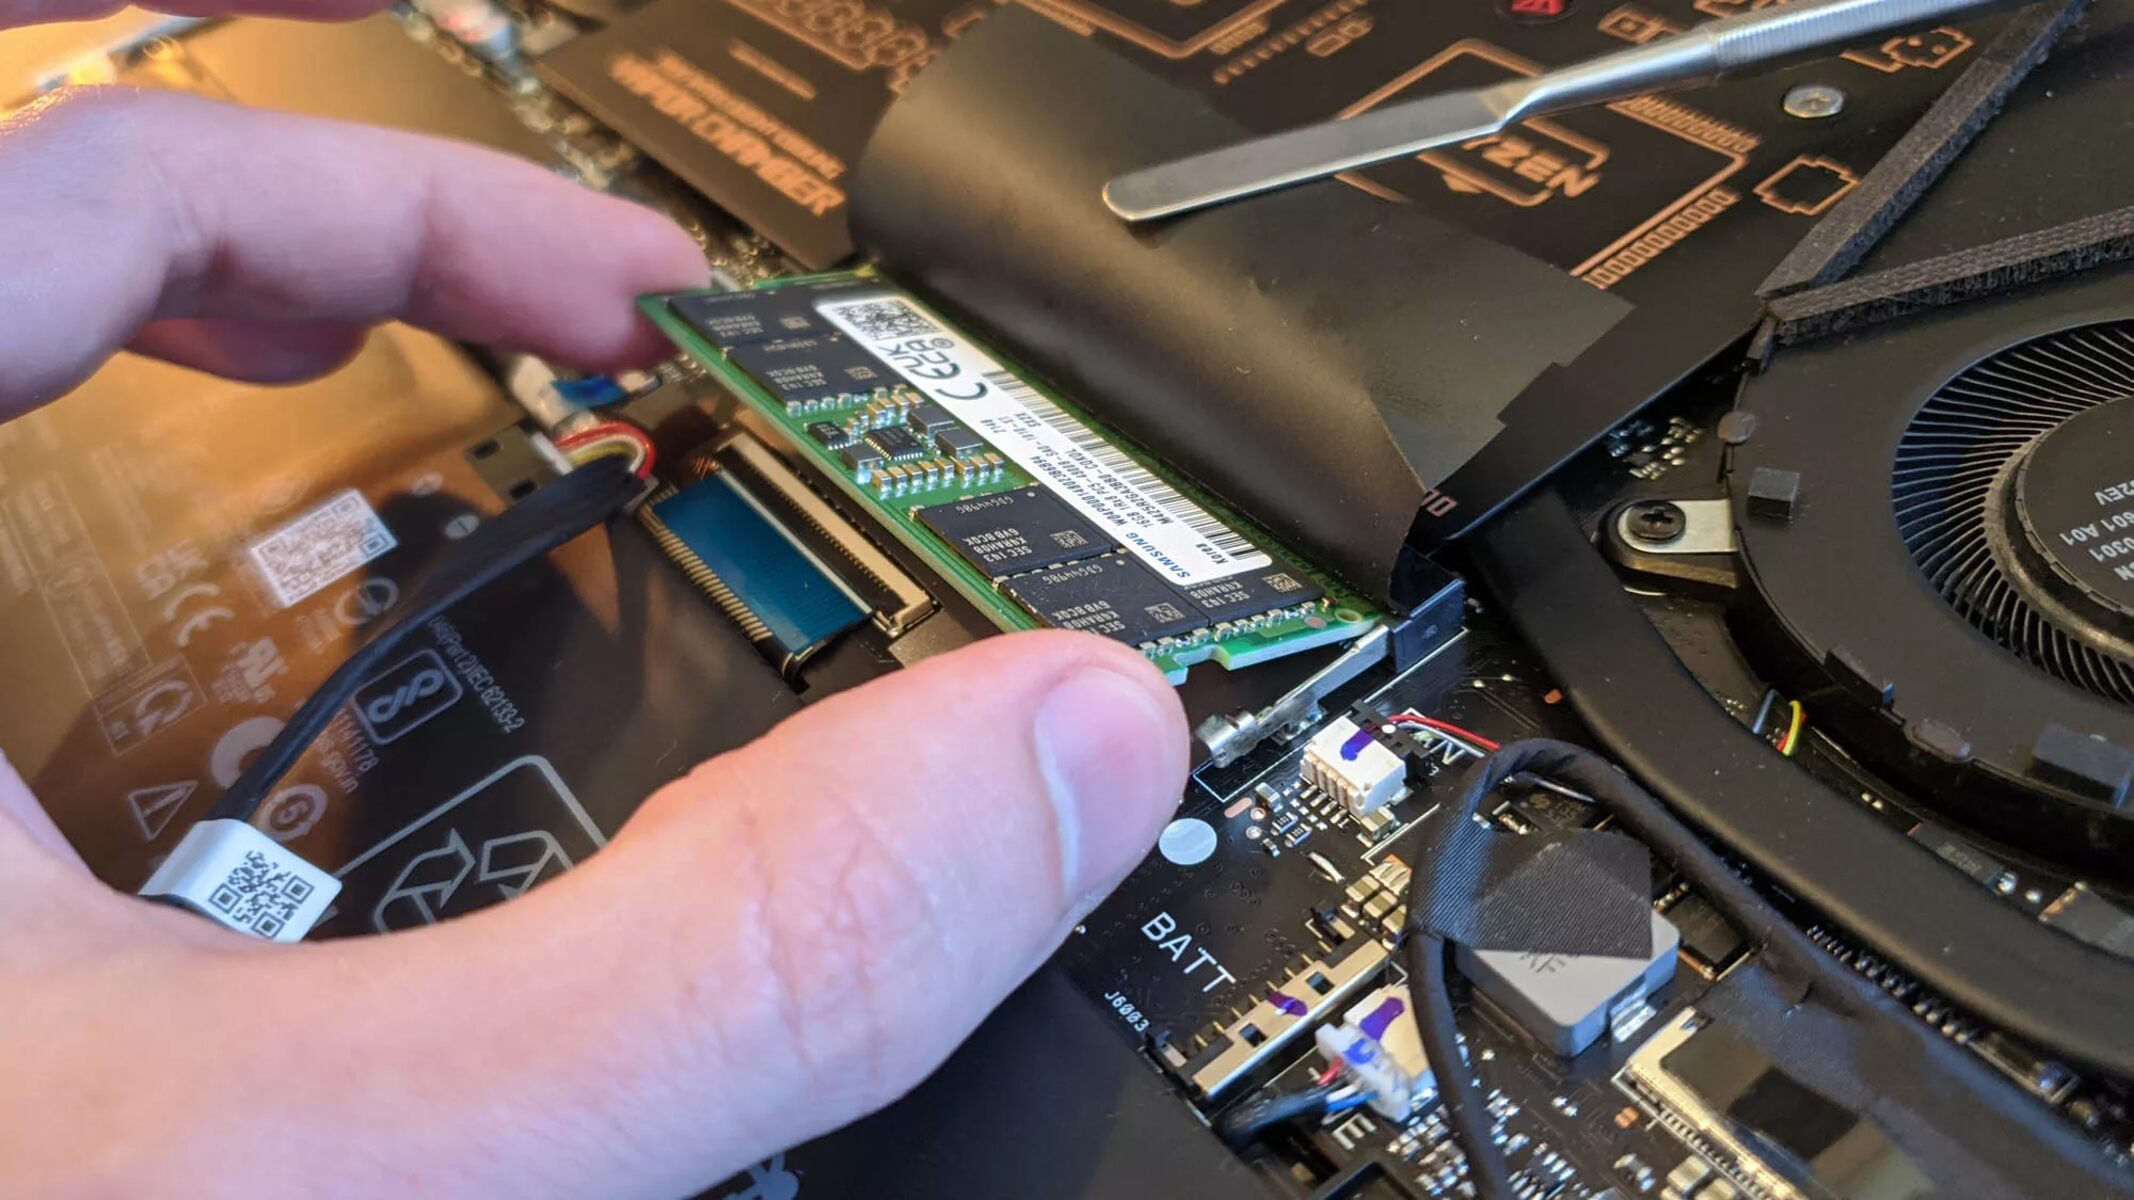
- Inspect RAM Modules: Remove and reseat the RAM modules. Make sure they are properly seated in their slots and are compatible with the motherboard. If you have multiple RAM sticks, try booting the computer with each stick individually to identify any faulty modules.
- Test the Graphics Card: If you have a separate graphics card, remove and reseat it in its slot. Ensure that it is receiving sufficient power and that the display cables are connected securely. Consider testing the system with a different graphics card if possible.
- Disconnect and Reconnect Peripherals: Disconnect all peripherals (such as hard drives, SSDs, optical drives, and USB devices) from the motherboard. Then, one by one, reconnect them and test the system after each connection to identify any faulty peripherals.
- Remove CMOS Battery: Locate the CMOS battery on the motherboard and remove it. Wait for a few minutes and then reinstall the battery. This can help reset the motherboard’s BIOS settings and resolve certain issues.
- Inspect Capacitors: Check for any visibly swollen or leaking capacitors on the motherboard. Faulty capacitors can cause various motherboard problems. If you notice any issues, it’s recommended to replace the motherboard or seek professional assistance.
- Run Diagnostic Software: Utilize diagnostic software or operating system utilities to perform tests on your motherboard. These tools can help identify specific hardware or software issues that could be affecting the motherboard.
By systematically going through these troubleshooting steps, you can narrow down the potential issues and find the root cause of your motherboard problem. Remember, if you’re unsure or uncomfortable performing these steps, it’s always best to consult a professional technician. In the next section, we’ll explore cleaning and dusting the motherboard to ensure optimal performance.
Cleaning and Dusting
Dust accumulation on the motherboard can hinder its performance and cause various issues, including overheating and component failure. Regularly cleaning and dusting the motherboard can help maintain its functionality and extend its lifespan. Follow these steps to clean your motherboard:
- Power Off and Unplug: Before cleaning, power off your computer and unplug it from the power source. This is crucial to prevent any electrical accidents or damage to the components.
- Ground Yourself: To avoid static electricity, wear an anti-static wristband or touch a grounded object regularly to discharge any static charge.
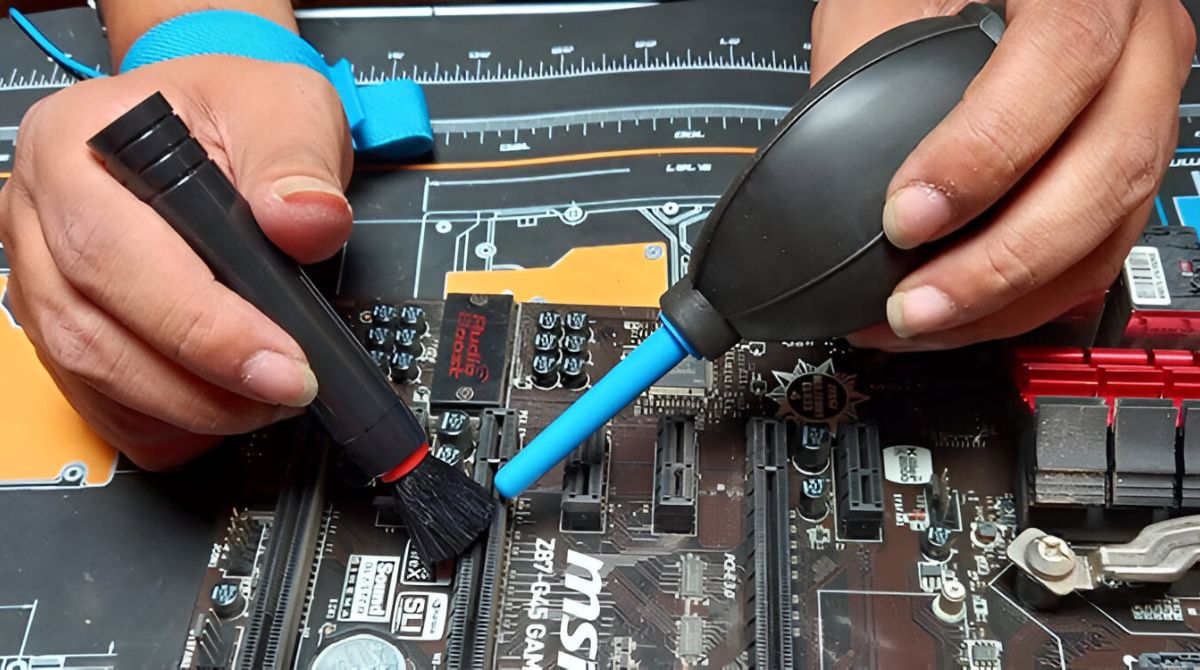
- Prepare Cleaning Tools: Gather soft, lint-free cloths, compressed air cans, a small soft-bristle brush, and isopropyl alcohol (70% or higher concentration).
- Remove Dust with Compressed Air: Use compressed air cans to blow away dust from the motherboard, focusing on areas such as the CPU socket, RAM slots, PCIe slots, and other connectors. Be careful not to hold the can too close or tilt it, as this can release cold liquid that may damage the components.
- Gently Brush Away Stubborn Dust: For more stubborn dust, use a small soft-bristle brush to gently sweep it away. Avoid applying excessive force or scrubbing, as this can damage delicate components.
- Clean Connectors with Isopropyl Alcohol: Dampen a cloth or cotton swab with isopropyl alcohol and gently wipe the connectors on the motherboard, such as the RAM slots and PCIe slots. This will help remove any dirt or corrosion that could affect the connectivity.
- Allow for Drying Time: After cleaning with isopropyl alcohol, allow the motherboard to dry completely before reassembling. This is important to prevent any damage from moisture.
- Reassemble and Test: Once the motherboard is thoroughly cleaned and dry, reassemble your computer, making sure all connections are secure. Power it on and test for any improvements in performance.
Regular cleaning of your motherboard should be part of your computer maintenance routine. Aim to clean it at least every few months or more frequently if you live in a dusty environment. By keeping your motherboard free of dust, you can ensure optimal performance and longevity.
In the next section, we’ll explore how to reset the CMOS (Complimentary Metal-Oxide-Semiconductor) and its potential benefits.
Resetting CMOS
Resetting the CMOS (Complementary Metal-Oxide-Semiconductor) can help resolve certain motherboard issues, especially related to BIOS settings or configuration conflicts. It essentially restores the motherboard’s BIOS settings to their default state. Follow these steps to reset the CMOS:
- Power Off and Unplug: Ensure that your computer is powered off and unplugged from the power source to prevent any electrical accidents.
- Locate CMOS Battery and Jumper: Identify the CMOS battery on your motherboard. It is typically a circular silver battery. Also, look for the CMOS jumper, a small two-pin connector near the battery.
- Change Jumper Position: Use the motherboard documentation to determine the correct position of the CMOS jumper for resetting the CMOS. Usually, you will need to move the jumper from its original position (often labeled “Normal” or “Operating”) to the reset position (usually labeled “Clear” or “Reset”).
- Remove CMOS Battery: If you cannot locate the CMOS jumper, or if your motherboard does not have one, you can remove the CMOS battery instead. Gently pry the battery from its socket using a small tool or your fingers. Ensure that you handle the battery with care.
- Wait and Reinstall: Regardless of whether you used the jumper or removed the battery, wait for a few minutes before proceeding. This allows the residual electrical charge to dissipate. Then, reinstall the CMOS jumper to its original position or reinsert the CMOS battery into its socket.
- Power On and Test: Reconnect the power and turn on your computer. The CMOS reset should have cleared any BIOS settings conflicts or corruption. Check if the previous issues have been resolved and if the computer is functioning correctly.
Resetting the CMOS can be a useful troubleshooting step, especially if you are encountering problems related to BIOS settings. However, keep in mind that resetting the CMOS will also reset any BIOS customization, such as boot order or overclocking settings. Therefore, you may need to reconfigure these settings after the CMOS reset.
If resetting the CMOS doesn’t address the motherboard issues you’re facing, it might be necessary to further investigate and potentially replace certain components. The next section will guide you through checking and replacing components on your motherboard.
Checking and Replacing Components
If you have followed the previous steps and are still experiencing issues with your motherboard, it may be necessary to check and potentially replace certain components. Here are the key steps to undertake:
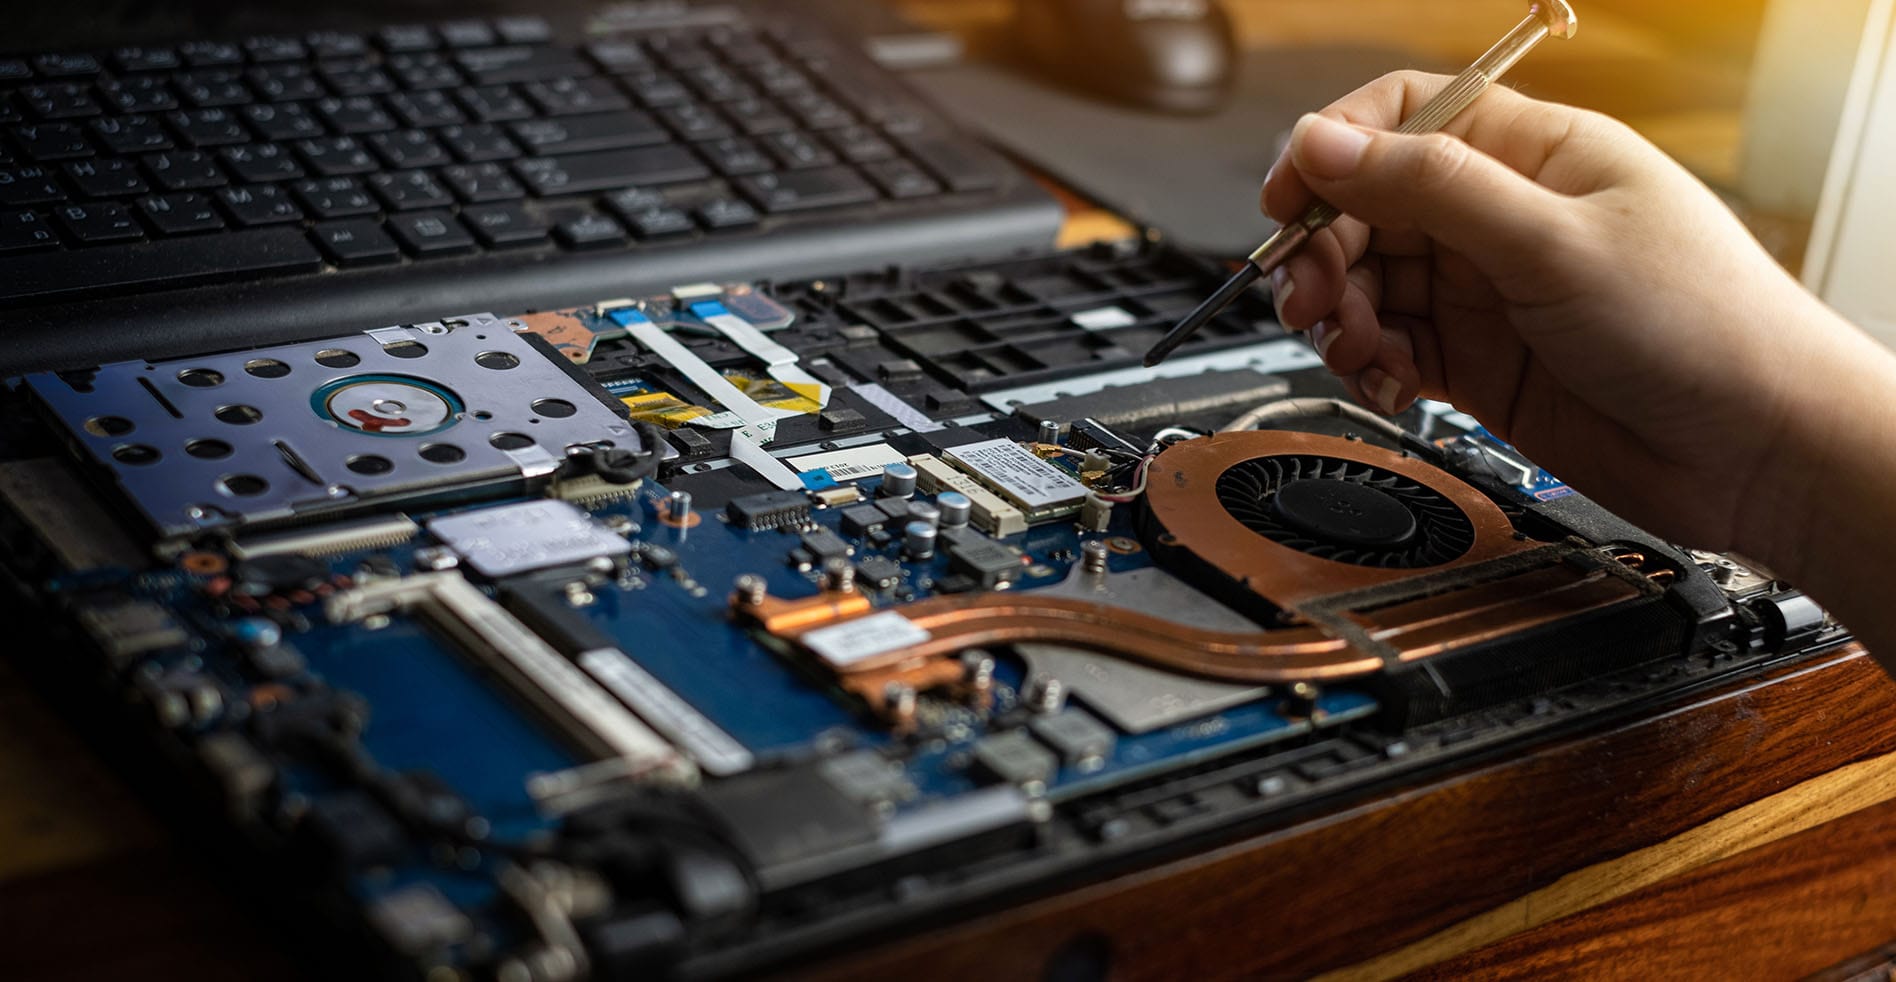
- Inspect and Reseat Components: Carefully examine all components connected to the motherboard, such as the CPU, RAM modules, graphics card, and expansion cards. Ensure that they are properly seated in their respective slots and firmly attached.
- Test Individual Components: If possible, test each component individually on a working system to determine if any of them are causing the problem. This involves swapping components into a known working system or using compatible spare parts for testing.
- Check Power Supply Unit (PSU): A faulty PSU can cause various motherboard issues. Test the PSU using a power supply tester or substitute it with a known working one to rule out any issues with power delivery.
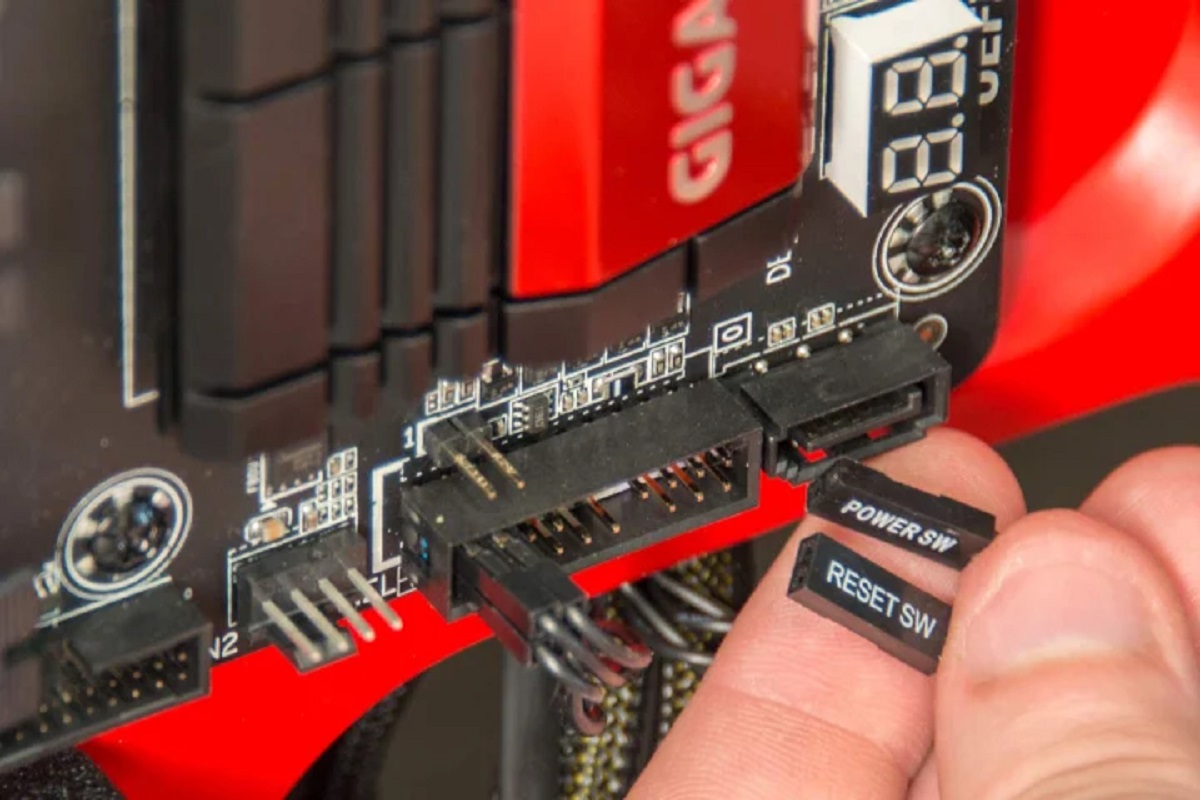
- Examine Cables and Connectors: Check all cables and connectors, including SATA cables, power cables, and data cables, to ensure they are securely connected. Replace any damaged cables or connectors if necessary.
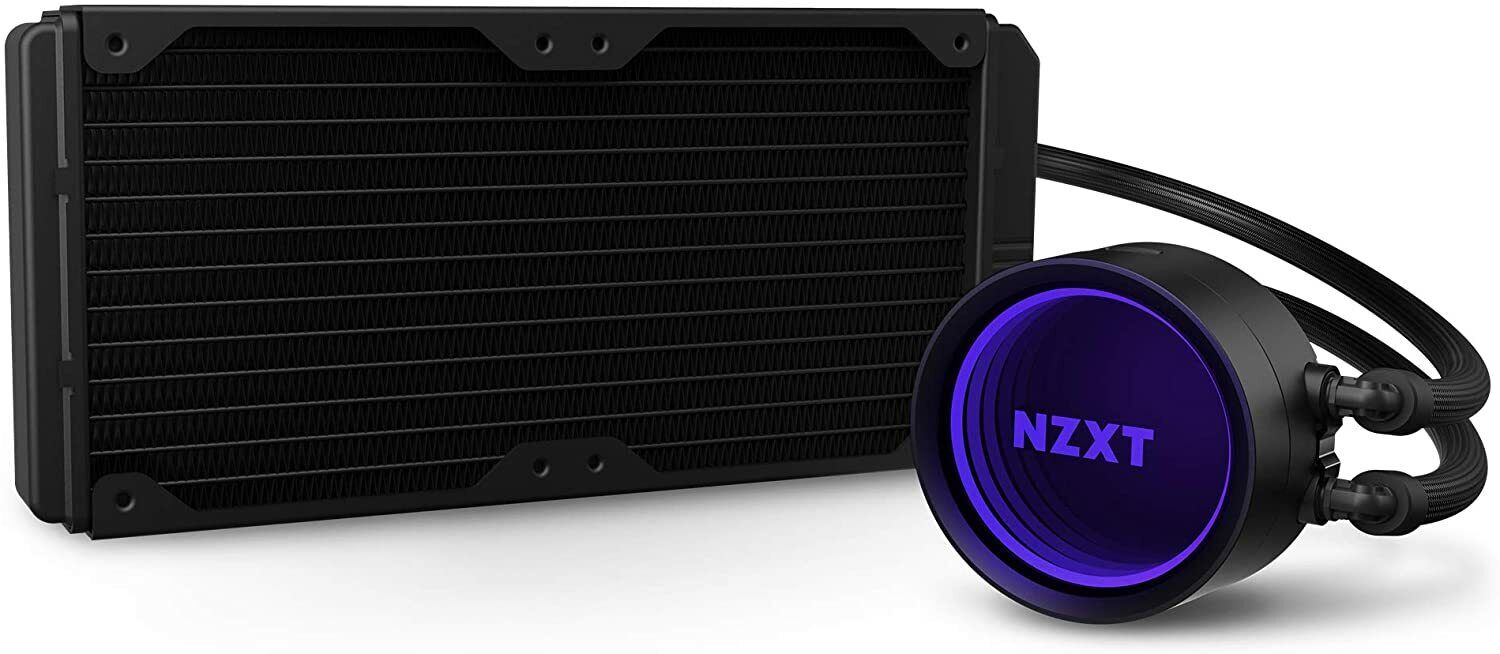
- Monitor Temperature: Overheating can cause instability and malfunctions. Monitor the temperature of your components, especially the CPU and graphics card, using software tools or BIOS utilities. If temperatures are excessively high, consider improving cooling with additional fans or an aftermarket CPU cooler.
- Inspect and Replace CMOS Battery: If you suspect that the CMOS battery is faulty, visually inspect it for any signs of leakage or damage. If any issues are detected, replace the CMOS battery with a new one of the same type.
- Consider Professional Diagnosis: If you have exhausted all troubleshooting steps and are still unable to identify the problem, it may be best to consult a professional technician. They have specialized tools and expertise to diagnose and repair complex motherboard issues.
Remember to take proper precautions such as grounding yourself, powering off the system, and disconnecting all power sources before handling any components. This will help prevent electrical accidents or damage to the hardware.
By carefully examining and testing the components connected to your motherboard, you can pinpoint the faulty component and replace it accordingly. However, if these measures do not resolve the motherboard issues, it may be necessary to consider updating the BIOS, as we will explore in the next section.
Updating BIOS
Updating the BIOS (Basic Input/Output System) of your motherboard can often provide compatibility improvements, bug fixes, and performance enhancements. It’s important to note that updating the BIOS should be done with caution, as improper procedures or failures during the update process can lead to irreversible damage to the motherboard. Follow these steps to update your BIOS:
- Identify Your Motherboard: Determine the exact model and version of your motherboard. This information can usually be found on the motherboard itself or in the system documentation.
- Check for BIOS Updates: Visit the manufacturer’s website and navigate to the support or downloads section. Look for any available BIOS updates for your specific motherboard model. Take note of the version number and release notes for each update.
- Backup Your Important Data: It’s always wise to back up your important data before proceeding with any BIOS update. Although rare, there is a slight risk of data loss or system instability during the update process.
- Download and Prepare BIOS Update: Download the appropriate BIOS update file from the manufacturer’s website. Follow the manufacturer’s instructions to correctly prepare the update file, which may involve extracting it onto a USB flash drive or creating a bootable disk.
- Enter BIOS Setup: Restart your computer and enter the BIOS setup by pressing the designated key during the boot process (e.g., Del, F2, F10). The specific key may vary depending on your motherboard manufacturer.
- Perform the BIOS Update: Within the BIOS interface, navigate to the update section, usually labeled “BIOS Update” or similar. Follow the instructions provided by the manufacturer to initiate and complete the BIOS update process. Avoid interrupting the update or powering off your computer during this process.
- Verify BIOS Version: After the update process is complete and your computer restarts, enter the BIOS setup again to confirm that the new BIOS version has been successfully installed. Take note of any additional settings or configurations that may need adjustment.
- Test and Monitor: Once the BIOS update is successful, monitor your system for any improvements in stability, functionality, or performance. If you encounter any issues after the update, consult the manufacturer’s support documentation or seek assistance from their technical support team.
Always ensure that you are using the correct BIOS update file specifically designed for your motherboard model. Using an incorrect or incompatible BIOS update file can permanently damage your motherboard. If you are unsure or uncomfortable with performing a BIOS update, consider seeking assistance from a professional technician.
With the BIOS updated, you may find that your motherboard issues have been resolved. However, if the problems persist, it may be necessary to consider replacing the motherboard, as discussed in the next section.
Replacing the Motherboard
If all troubleshooting steps have been exhausted and the issues with your motherboard persist, it may be necessary to consider replacing the motherboard altogether. Here are the key steps and considerations involved in replacing a motherboard:
- Compatibility Check: Ensure that the new motherboard is compatible with your existing components, such as the CPU, RAM, graphics card, and storage devices. Refer to the manufacturer’s documentation to confirm compatibility.
- Backup Data and Prepare for Reinstallation: Before replacing the motherboard, back up all your important data. You will likely need to perform a fresh installation of the operating system and reinstall all your applications after the motherboard replacement.
- Disconnect and Remove Components: Power off your computer and disconnect all power cables and connectors. Carefully remove all components attached to the motherboard, including the CPU, RAM modules, graphics card, and storage devices.
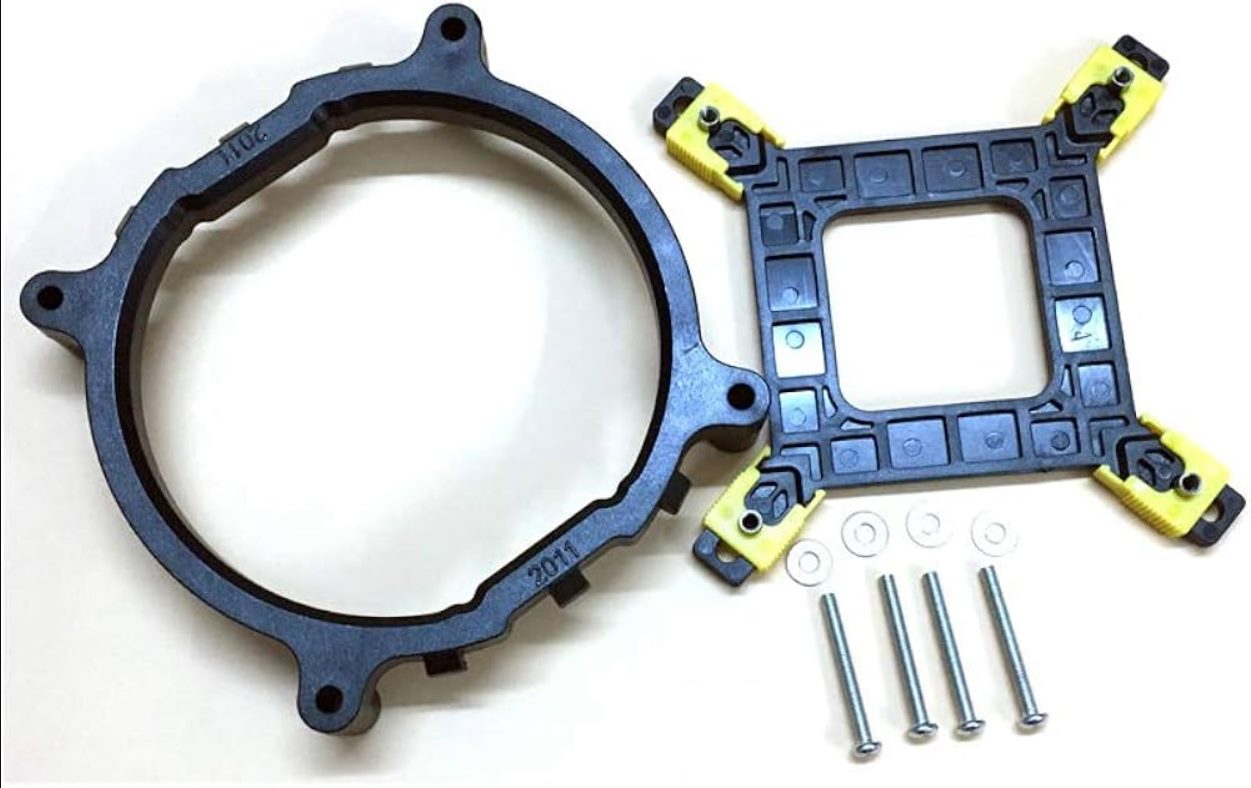
- Remove and Replace the Motherboard: Unscrew and remove the old motherboard from the computer case, taking care to disconnect any remaining cables or connectors. Replace it with the new motherboard, aligning it properly with the case’s mounting holes.
- Reconnect and Install Components: Gently reinstall all the components into the new motherboard, including the CPU, RAM, graphics card, and storage devices. Ensure that all cables and connectors are securely and correctly attached.
- Connect Power Cables and Test: Reconnect the power cables and ensure they are properly connected to the new motherboard. Double-check all connections before powering on the computer. Then, power on the computer and test for proper functionality.
- Install Operating System and Drivers: Perform a fresh installation of the operating system on the computer, following the manufacturer’s instructions. Install all necessary drivers and software to ensure the proper functioning of the new motherboard and associated components.
- Verify Stability and Compatibility: Monitor the stability and compatibility of the new motherboard with your components. Run stress tests and benchmarks to ensure optimal performance. If any issues arise, consult the manufacturer’s documentation or seek assistance from their technical support team.
Replacing a motherboard can be a complex process and requires careful consideration and attention to detail. If you are unsure or uncomfortable with performing this task, it is highly recommended to seek assistance from a professional technician. They have the expertise and tools necessary to ensure a successful motherboard replacement.
With a new motherboard installed, you should have a fully functional computer system. However, it’s important to stay vigilant and regularly maintain your hardware to prevent any future issues. Proper cleaning, monitoring temperatures, and keeping up-to-date with software updates can help ensure the longevity and performance of your computer system.
Conclusion
Fixing a motherboard can be a challenging task, but with the right knowledge and careful steps, you can resolve common issues and restore the functionality of your computer system. Throughout this guide, we’ve covered various troubleshooting steps, safety precautions, and maintenance techniques to help you troubleshoot and fix motherboard problems.
It’s important to start by identifying the problem and ruling out other potential issues with components such as the power supply, RAM, or peripherals. Taking safety precautions, such as grounding yourself and working in a clean environment, is essential to prevent any accidental damage during the repair process.
We’ve discussed cleaning and dusting the motherboard to remove dust accumulation, which can lead to overheating and component failure. Additionally, we explored the process of resetting the CMOS and updating the BIOS, both of which can help resolve certain motherboard issues and improve compatibility.
If all else fails, checking and potentially replacing components is crucial for the proper functioning of the motherboard. However, when all troubleshooting steps have been exhausted, and the problems persist, it may be necessary to replace the motherboard entirely.
Remember that working on a motherboard requires technical expertise, and if you’re unsure or uncomfortable, it’s always best to seek assistance from a professional technician. They have the necessary knowledge, tools, and experience to handle complex motherboard repairs and replacements.
By following the guidance provided in this guide, you can troubleshoot, fix, and, if needed, replace a motherboard effectively. Remember to maintain regular cleaning and monitoring practices to ensure the longevity and optimal performance of your computer system.
We hope this guide has been helpful in your journey to fix a motherboard. Good luck with your repairs!