Introduction
Welcome to our guide on how to clean a motherboard. Over time, dust, dirt, and other debris can accumulate on your motherboard, potentially causing overheating and performance issues. Maintaining a clean motherboard is crucial for the overall health and longevity of your computer.
Before we proceed with the cleaning process, it’s important to note that cleaning a motherboard requires caution and care. Improper handling can lead to damage and void warranties. Therefore, it’s essential to follow the safety precautions and steps outlined in this guide.
In this step-by-step tutorial, we will walk you through the process of safely cleaning your motherboard to ensure it operates optimally. By following these instructions, you can prevent dust buildup and potentially extend the lifespan of your computer components.
Keep in mind that cleaning a motherboard should only be done if necessary. If your computer is working fine and there are no signs of overheating or performance issues, there may not be a need for immediate cleaning.
Now, let’s dive into the safety precautions you should take before starting the cleaning process.
Safety Precautions
Before you begin cleaning your motherboard, it’s important to take certain safety precautions to avoid any damage or injury. Here are some essential safety measures to keep in mind:
- Power Off and Unplug: Before you start cleaning, make sure to turn off your computer and unplug it from the power source. This will prevent any electrical accidents or damage to the motherboard.
- Ground Yourself: To prevent static electricity discharge, which can damage sensitive electronics, it’s crucial to ground yourself. You can do this by touching a grounded metal surface or wearing an anti-static wristband.
- Work in a Well-Ventilated Area: Cleaning a motherboard may involve using cleaning agents or compressed air, which can release fumes. Ensure you’re working in a well-ventilated space to avoid inhaling harmful substances.
- Use Protective Equipment: Consider wearing protective gloves and safety glasses to protect your hands and eyes from any potential hazards during the cleaning process.
- Refer to the Manual: If you’re unsure about the specific cleaning requirements for your motherboard model, consult the manufacturer’s manual or website for guidance. Different motherboards may have unique cleaning instructions.
By following these safety precautions, you can minimize the risk of damage to both yourself and your motherboard. Now let’s move on to the tools you’ll need for the cleaning process.
Tools Required
Before you embark on cleaning your motherboard, it’s important to gather the necessary tools to ensure a smooth and efficient process. Here’s a list of the essential tools you’ll need:
- Compressed Air: Compressed air is an excellent tool for removing loose dust and debris from hard-to-reach areas on your motherboard. Make sure to use a can of compressed air specifically designed for electronics to avoid any moisture or residue.
- Soft Brush: A soft, anti-static brush is useful for gently sweeping away dust particles from the surface and crevices of the motherboard. Ensure the brush is clean and free from any debris or loose bristles that could potentially scratch or damage the motherboard.
- Isopropyl Alcohol: Isopropyl alcohol with a high percentage of purity (70% or higher) is an effective cleaning agent for removing stubborn dirt, grease, and thermal paste from the motherboard. Make sure to use it sparingly and with caution, as excessive use can damage sensitive components.
- Cotton Swabs: Cotton swabs, also known as Q-tips, are helpful for precise cleaning of small areas or tight spaces on the motherboard. Dip the cotton swabs in isopropyl alcohol and gently wipe away grime or residue.
- Microfiber Cloth: A clean, lint-free microfiber cloth is essential for wiping down the surfaces of the motherboard. It is a gentle and non-abrasive option that helps remove any remaining residue after using the cleaning solutions.
- Anti-Static Wrist Strap: An anti-static wrist strap can be used to ground yourself and prevent any discharge of static electricity while working with sensitive electronic components.
Having these tools on hand will ensure that you can effectively clean your motherboard without causing any damage. With the safety precautions in mind and the necessary tools gathered, you’re ready to move on to the step-by-step cleaning process. Let’s begin by powering off and unplugging your computer.
Step 1: Power Off and Unplug
The first and most crucial step in cleaning a motherboard is to power off your computer and unplug it from the power source. This is essential to minimize the risk of electrical accidents and to ensure your safety during the cleaning process.
To power off your computer, follow these steps:
- Save and close all the applications: Before shutting down your computer, make sure to save any unsaved work and close all running applications. This will prevent any data loss or damage due to sudden power interruption.
- Click Start and select Shut Down: In the Windows operating system, click on the Start button located on the bottom-left corner of the screen. From the Start menu, select the Shut Down option. This will initiate the process of shutting down your computer.
- Wait for the computer to power off completely: Once you have initiated the shutdown process, wait for your computer to power off completely. You can identify this by the absence of any noise or the lights on your computer turning off.
After powering off your computer, it’s important to unplug it from the power source to ensure there is no residual electrical current flowing through the motherboard. Here’s how you can do it:
- Locate the power cord: The power cord is usually connected to the back of your computer, near the power supply unit. Follow the cord from the back of the computer to its electrical outlet connection.
- Unplug the power cord: Firmly grip the power cord connector and gently unplug it from the electrical outlet. Ensure that you disconnect it from both the computer and the power source.
By following these steps, you have successfully powered off your computer and disconnected it from the power source. In the next step, we will guide you through removing the motherboard from its casing.
Step 2: Remove the Motherboard
Once you have powered off your computer and unplugged it from the power source, the next step is to remove the motherboard from its casing. This will allow you to have better access to clean it thoroughly. Follow these steps to safely remove the motherboard:
- Prepare a clean, static-free workspace: Find a clean, flat surface to work on. Ideally, use an anti-static mat or place an anti-static bag on the surface to prevent any static electricity from damaging the motherboard.
- Open the computer case: Remove the screws or unsnap any latches securing the side panels of your computer case. Gently slide the side panel off to reveal the internal components.
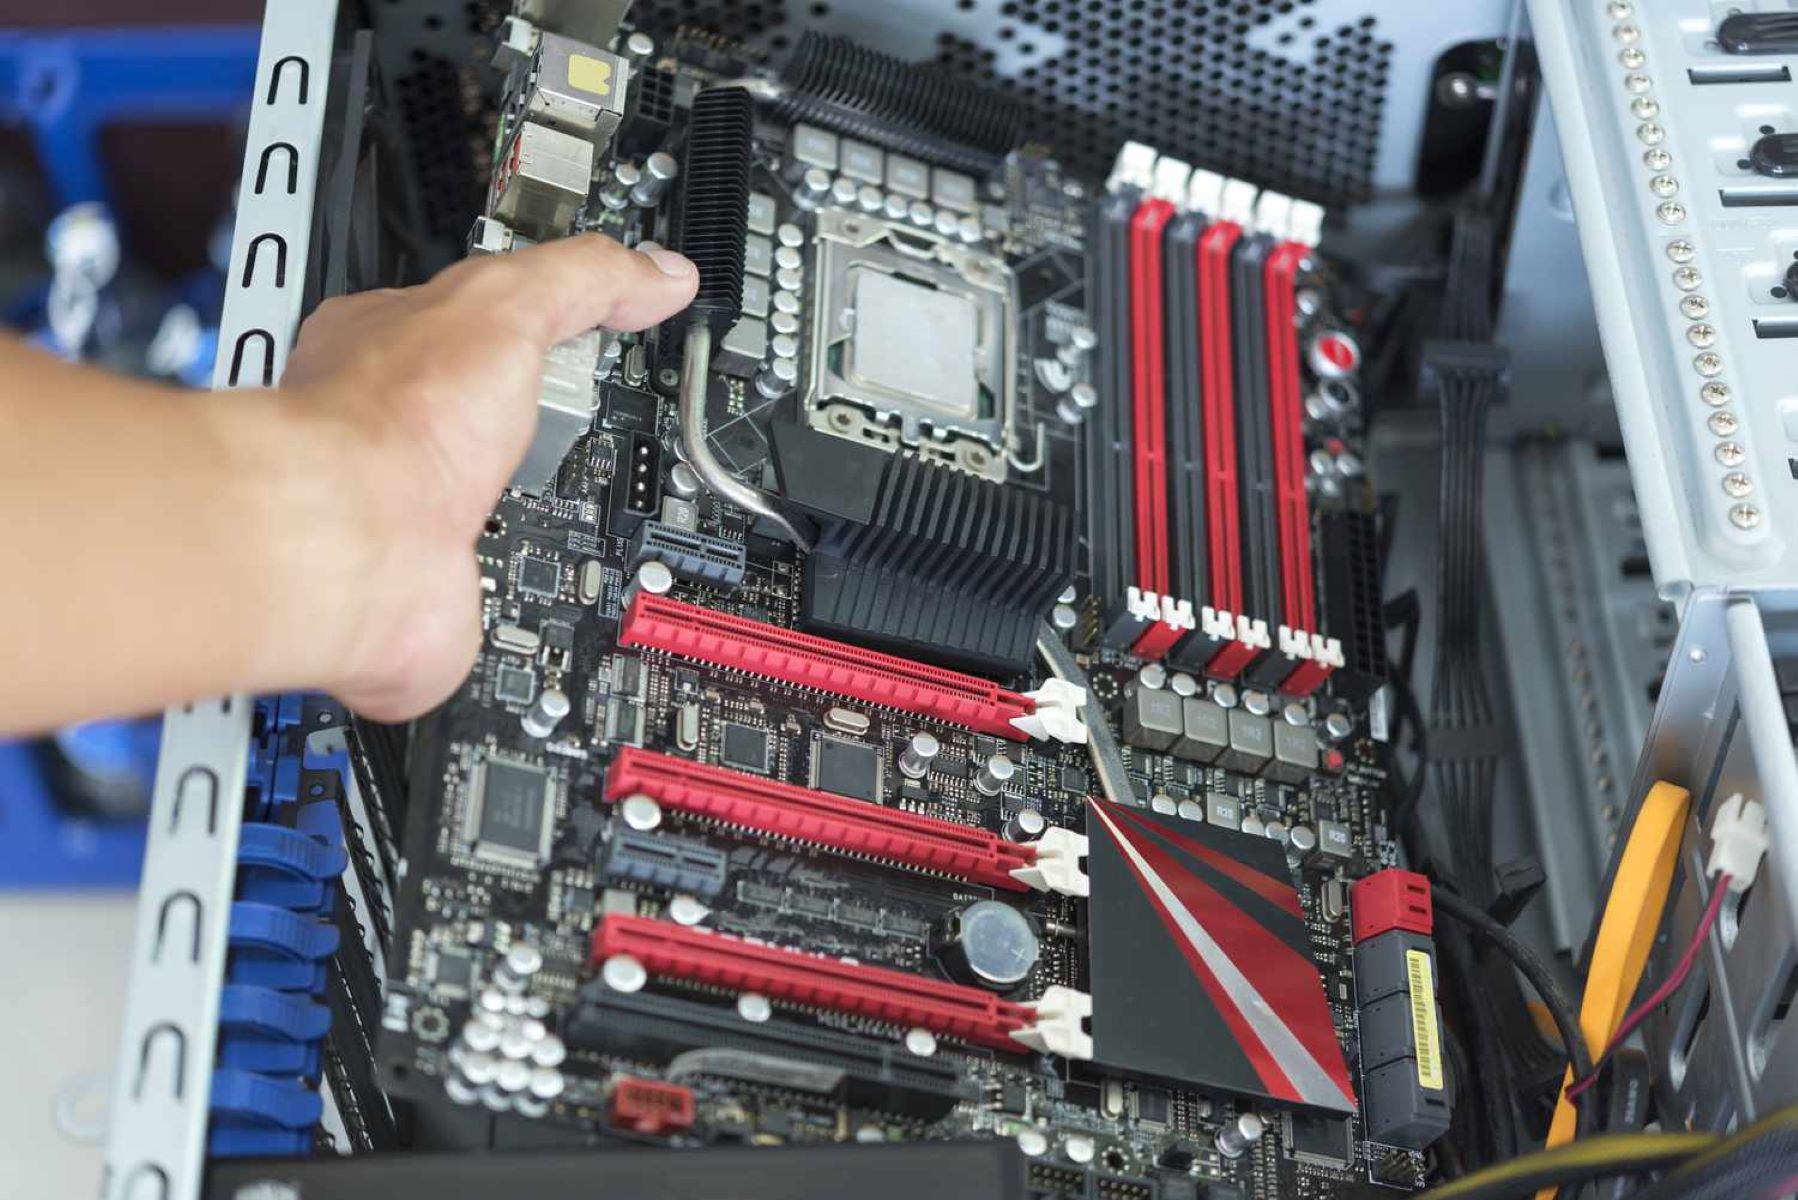
- Identify the motherboard: Locate the motherboard inside the computer case. It is usually the largest circuit board and is mounted horizontally on raised stands, typically near the back of the case.
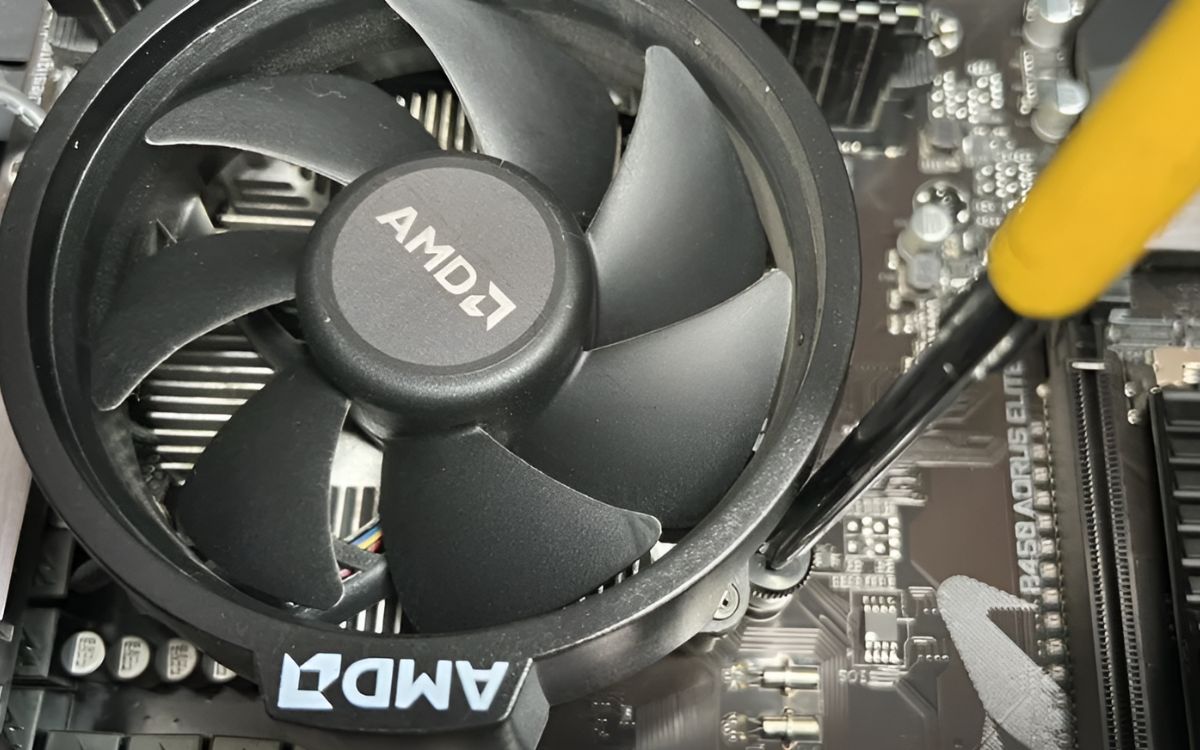
- Disconnect cables and components: Carefully unplug any cables connected to the motherboard, such as the power cables, data cables, and fans. Take note of their positions to easily reconnect them later.
- Remove screws securing the motherboard: Identify the screws holding the motherboard in place. These are usually located along the edges of the motherboard. Unscrew them using a screwdriver, keeping the screws in a safe place to avoid losing them.
- Gently remove the motherboard: Once the screws are removed, gently lift the motherboard out of the case, using both hands to support it. Be cautious not to drop or bump the motherboard against any components.
- Place the motherboard on a clean surface: Once the motherboard is removed, place it on the static-free workspace or an anti-static mat. This will prevent any damage from electrostatic discharge.
You have now successfully removed the motherboard from its casing, which will allow you to clean it more effectively. In the next step, we will guide you through the process of removing dust from the motherboard.
Step 3: Dust Removal
With the motherboard removed from its casing, it’s time to tackle the task of removing dust and debris. Dust can accumulate on the surface and in the crevices of the motherboard, hindering its performance and causing potential overheating issues. Follow these steps to effectively remove dust from the motherboard:
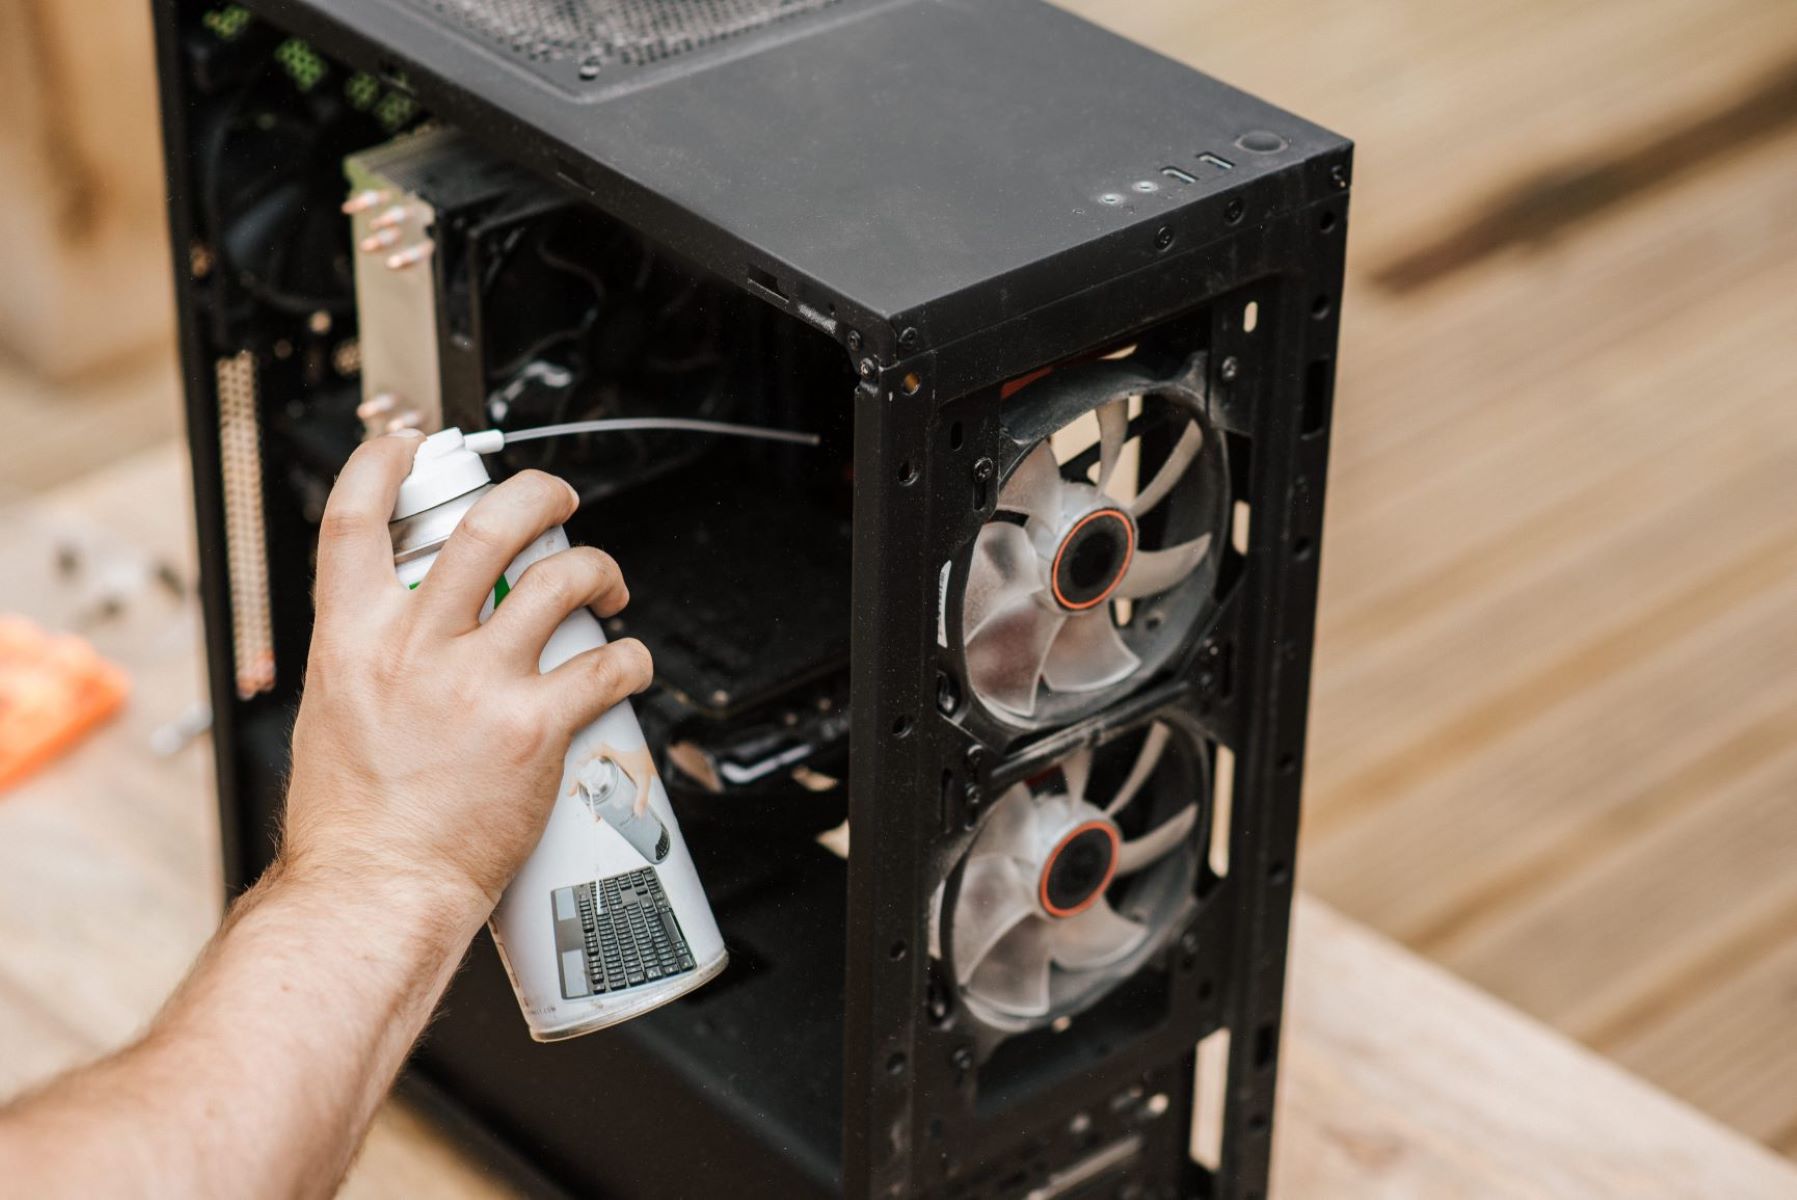
- Use compressed air: Hold the can of compressed air upright and use short bursts to blow away loose dust particles from the surface of the motherboard. Pay close attention to areas with heavy dust buildup, such as the heatsinks, slots, and connectors. Ensure you hold the can a few inches away from the motherboard to prevent any damage from the force of the air.
- Use a soft brush: After using compressed air, gently brush away any remaining dust using a soft-bristle brush. This will help dislodge any stubborn debris or dust that is stuck on the motherboard’s surface or in hard-to-reach areas. Be careful not to apply excessive pressure or scratch the motherboard.
- Brush the slots and connectors: Pay attention to the memory slots, expansion card slots, and connectors on the motherboard. Use the soft brush to carefully remove any dust or debris that may have accumulated in these areas, as it can affect the connections and performance of these components.
- Inspect for stubborn dust: After brushing, inspect the motherboard for any areas where dust remains. If necessary, use compressed air and the soft brush again to clean those specific spots until the motherboard appears dust-free.
Remember to be gentle and thorough while removing dust from the motherboard. Taking your time with this step will ensure the effective removal of all dust particles. In the next step, we will guide you through the process of gently wiping the motherboard with isopropyl alcohol to remove grime and grease.
Step 4: Gently Wipe with Isopropyl Alcohol
After removing the dust from the motherboard, it’s time to tackle any grime, grease, or thermal paste residue that may be present. Isopropyl alcohol is an effective cleaning agent for this purpose as it evaporates quickly and leaves no residue behind. Follow these steps to gently wipe the motherboard with isopropyl alcohol:
- Dampen a cotton swab or lint-free cloth: Moisten a cotton swab or lint-free cloth with a small amount of isopropyl alcohol. Ensure that it is not dripping wet, as excessive moisture can damage the motherboard. Alternatively, you can use a small spray bottle to mist the alcohol onto the cloth.
- Gently wipe the surface: Carefully wipe the surface of the motherboard, focusing on areas with visible grime, grease, or thermal paste residue. Use gentle, circular motions to effectively remove the dirt. Be cautious around delicate components and avoid applying excessive pressure to prevent damage.
- Clean the slots and connectors: Pay special attention to the memory slots, expansion card slots, and connectors. Use the dampened cotton swab or cloth to clean these areas, ensuring that any dirt, residue, or corrosion is removed.
- Replace the cotton swab or cloth as needed: If the cotton swab or cloth becomes too dirty during the cleaning process, replace it with a fresh one. This will prevent any cross-contamination and ensure thorough cleaning.
- Allow the motherboard to dry: After wiping with isopropyl alcohol, allow the motherboard to air dry completely before proceeding to the next step. This will ensure that any residual moisture evaporates, minimizing the risk of damage.
By gently wiping the motherboard with isopropyl alcohol, you’ll effectively remove any grime, grease, or residue that could potentially affect its performance. Remember, it’s important to be cautious and gentle during this step to avoid causing any harm to the motherboard. In the next step, we will guide you through the process of air drying or using a hairdryer, if necessary.
Step 5: Air Dry or Use a Hair Dryer
After wiping the motherboard with isopropyl alcohol, it’s important to ensure that it is completely dry before reassembling it. Moisture can cause damage to the motherboard and its components if not properly dried. Follow these steps to effectively dry the motherboard:
- Air drying: The most common method to dry the motherboard is to simply let it air dry. Place the cleaned motherboard in a well-ventilated room and allow it to dry naturally. Avoid exposing it to direct sunlight or high temperatures, as excessive heat can damage the components.
- Using a hairdryer (if necessary): If you prefer to speed up the drying process, you can use a hairdryer on the lowest heat setting or set it to cool air. Hold the hairdryer at least 12 inches away from the motherboard and move it gently back and forth to evenly distribute the air. Be cautious not to apply too much heat, as it can cause damage. Keep an eye on the temperature and avoid overheating the motherboard.
- Ensure thorough drying: Regardless of the method you choose, make sure the motherboard is completely dry before reassembling it. Check for any remaining moisture or condensation, especially in hard-to-reach areas. It is crucial to eliminate all moisture to prevent potential damage.
Take your time and be patient during the drying process. Rushing can lead to trapped moisture, which may cause issues when the computer is powered on. Once you’re confident that the motherboard is completely dry, you can proceed to the next step of reassembling it.
Step 6: Reassemble the Motherboard
After the motherboard has completely dried, it’s time to reassemble it back into the computer case. Reassembling the motherboard properly is crucial to ensure proper functioning of your computer. Follow these steps to reassemble the motherboard:
- Align the motherboard: Carefully place the motherboard back into the computer case, ensuring that it is properly aligned with the screw holes and standoff mounts.
- Secure the motherboard: Insert the screws into the screw holes previously identified and tighten them gently using a screwdriver. Ensure that the motherboard is securely held in place but do not overtighten the screws, as it could damage the motherboard or cause misalignment.
- Reconnect cables and components: Locate the cables that were disconnected in Step 2 and carefully reconnect them to their respective connectors on the motherboard. Pay close attention to the correct positioning and alignment of the connectors.
- Secure other components: If there were any removable components, such as expansion cards or memory modules, make sure to reinstall them securely into their slots or sockets.
- Close the computer case: Place the side panel back onto the computer case and secure it using screws or latches. Ensure that it is properly aligned and fastened to maintain a secure and dust-free environment.
- Plug in and power on: Once you have reassembled the motherboard and closed the computer case, plug in the power cord and other necessary cables. Power on your computer to ensure that it boots up properly and that all components are functioning correctly.
By following these steps, you have successfully reassembled the motherboard into the computer case. Take a moment to ensure that all connections are secure, and there are no loose screws or cables. Now you can move on to the final step, where we will wrap up the cleaning process.
Conclusion
Congratulations! You have successfully completed the process of cleaning your motherboard. By following the steps outlined in this guide, you have taken important measures to enhance the performance and longevity of your computer. Let’s recap the key points:
First, we discussed the importance of maintaining a clean motherboard to prevent overheating and performance issues. We then emphasized the importance of following safety precautions to ensure your safety throughout the cleaning process.
Next, we identified the essential tools required for cleaning a motherboard, including compressed air, a soft brush, isopropyl alcohol, cotton swabs, a microfiber cloth, and an anti-static wrist strap.
We then walked through the six essential steps in the cleaning process:
- Powering off and unplugging your computer
- Removing the motherboard from its casing
- Removing dust from the motherboard using compressed air and a soft brush
- Gently wiping the motherboard with isopropyl alcohol to remove grime and grease
- Air drying or using a hairdryer to ensure thorough drying
- Reassembling the motherboard back into the computer case
By carefully following each step, you have effectively cleaned your motherboard and reduced the risk of performance issues caused by dust and grime buildup.
Remember, cleaning the motherboard should be done only when necessary. If your computer is working fine and not showing any signs of overheating or performance issues, there may not be an immediate need to clean the motherboard.
We hope this guide has provided you with the necessary knowledge and confidence to clean your motherboard effectively. Regular maintenance and cleaning will help ensure that your computer operates at its best.
Thank you for taking the time to read this guide, and happy computing!