Symptoms of a Fried Motherboard
A motherboard is the central component of a computer system, responsible for connecting and powering all the hardware components. When a motherboard becomes “fried,” it means that it has suffered a critical failure, often rendering the entire system unusable. Recognizing the signs of a fried motherboard is crucial in determining whether it can be repaired or needs to be replaced. Here are some common symptoms to watch out for:
- No Power: If you press the power button, but nothing happens, it could indicate a fried motherboard. Check if the power supply is functioning correctly and connected properly.
- Spontaneous Shutdowns: If your computer suddenly shuts down without warning or randomly restarts, it could be a sign of a failing motherboard.
- No Boot or Boot Failure: If your computer fails to boot up or frequently encounters boot failures, it may be attributed to a malfunctioning motherboard. This can happen even if the power supply and other components are working fine.
- Unresponsive Peripherals: Keyboard, mouse, and USB devices frequently not responding or not recognized could indicate problems with the motherboard’s USB controller.
- Unusual Beeping Sounds: If your computer emits repetitive beeping sounds during startup or while in operation, it could suggest issues with the motherboard or other components.
- Overheating: A fried motherboard can disrupt the temperature management system, causing overheating of the CPU or other components.
- Visual Damage: Physical damage to the motherboard, such as burn marks, leaking capacitors, or bulging components, is a clear indication of a fried motherboard.
While these symptoms are indicative of a fried motherboard, it’s important to note that they may also overlap with other hardware or software issues. Therefore, it’s crucial to perform a comprehensive diagnosis to confirm the motherboard’s condition.
Checking for Power Issues
When your computer fails to power on or exhibits intermittent power problems, it’s essential to investigate potential power-related issues before concluding that the motherboard is fried. Here are some steps to check for power issues:
- Check the Power Supply: Ensure that the power supply unit (PSU) is correctly plugged into the wall outlet and the motherboard. Verify that the power switch on the back of the PSU is in the “on” position.
- Test the Power Outlet: Try plugging another electronic device into the same power outlet to confirm if it’s functioning correctly. Faulty power outlets can cause power-related issues.
- Inspect Power Cables: Examine all power cables connecting components to the motherboard, such as the 24-pin ATX power connector and the 8-pin CPU power connector. Make sure they are securely attached.
- Reset the CMOS: Clearing the CMOS (Complementary Metal-Oxide-Semiconductor) can help resolve power-related issues. Locate the CMOS battery on the motherboard and remove it for a few minutes before reinserting it.
- Test with a Spare Power Supply: If possible, borrow a known working power supply and connect it to your system to rule out a faulty PSU as the cause of the power problem.
After going through these steps, if the power issues persist, it’s a good indication that the problem lies beyond just power-related concerns. In such cases, it may be necessary to move on to diagnosing other potential causes, such as a fried motherboard.
Diagnosing Boot Failure
Boot failure occurs when a computer fails to start up properly or encounters recurring boot errors. While boot failures can be caused by various factors, such as software issues, faulty hardware, or incompatible settings, it’s crucial to diagnose the problem accurately. To determine if a fried motherboard is the cause of boot failure, consider the following steps:
- Listen for POST Beep Codes: When you turn on your computer, listen for any beeping sounds. Certain beep patterns correspond to specific hardware issues, including problems with the motherboard.
- Disconnect External Devices: Disconnect all unnecessary external devices, such as USB devices, printers, and external hard drives, and attempt to boot the system. Faulty or incompatible peripherals can cause boot failure.
- Check BIOS/UEFI Settings: Access the BIOS/UEFI settings and ensure that the boot order is correctly configured. If your computer can’t access the hard drive or bootable device, it may result in boot failures.
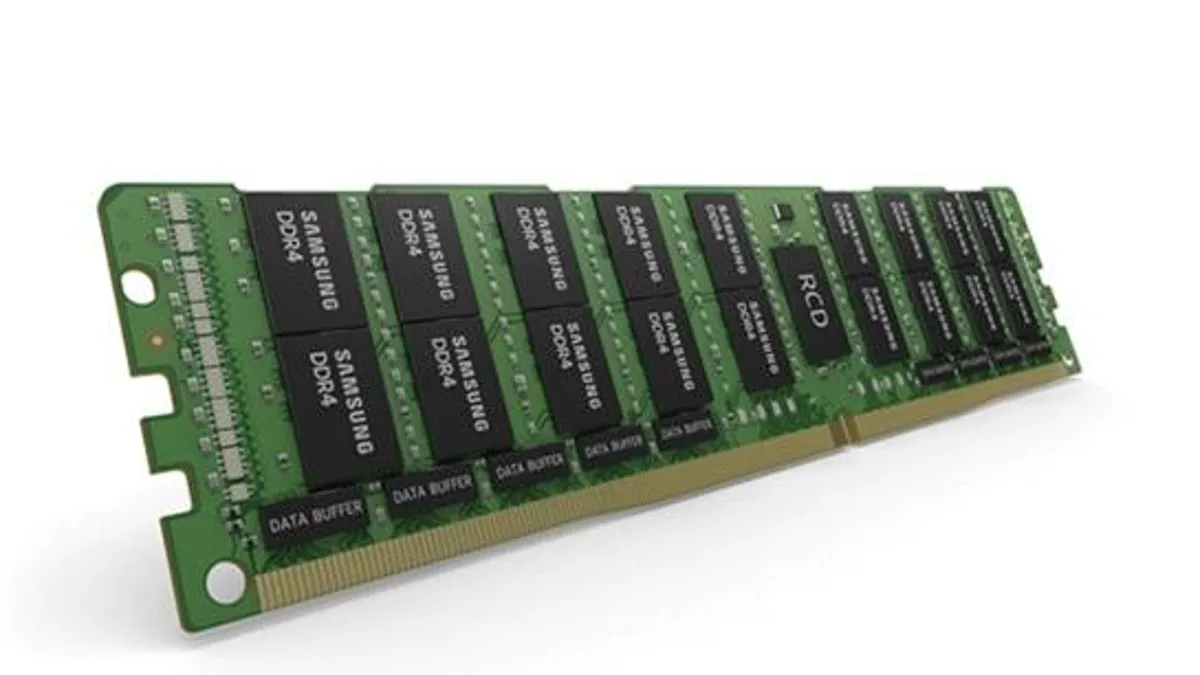
- Test RAM Modules: Remove and reseat the RAM modules one at a time. Faulty or improperly seated RAM can cause boot issues. Swap RAM slots or try with a known working RAM module if needed.
- Inspect Internal Connections: Make sure all internal cables, such as SATA cables for hard drives or SSDs, are securely connected to both the motherboard and the storage device. Loose connections can prevent proper booting.
- Check Hard Drive/SSD Health: Use diagnostic tools to check the health of your hard drive or SSD. A failing storage device can lead to boot failures.
If you have exhausted these troubleshooting steps and boot failure persists, it’s important to consider the possibility of a fried motherboard. At this point, further investigation or seeking professional assistance may be necessary to confirm the issue.
Conducting a Visual Inspection
Performing a visual inspection of your motherboard can provide valuable insights into its condition. While this method does not guarantee a conclusive diagnosis, it can help identify any visible signs of damage or issues. Follow these steps to conduct a visual inspection:
- Power Off and Disconnect: Before inspecting the motherboard, power off your computer and disconnect it from the power source to ensure safety.
- Open the Case: Remove the side panel of your computer case to gain access to the internal components. Take note of any instructions or precautions mentioned in your computer’s manual.
- Observe the Motherboard: Carefully examine the motherboard for physical damage, such as burn marks, bulging capacitors, or scorched areas. These signs indicate a fried motherboard.
- Inspect Capacitors: Capacitors on the motherboard should have a flat top surface. If you notice any capacitors that are bulging, leaking fluid, or have burst open, it’s a clear indication of motherboard damage.
- Check for Loose Connectors: Ensure that all connectors, such as power cables, RAM modules, and expansion cards, are securely seated in their respective slots. Loose connections can interfere with the motherboard’s functionality.
- Clean Dust and Debris: Use a can of compressed air or a soft brush to clean any accumulated dust or debris on the motherboard. Excessive dust can cause overheating and affect the motherboard’s performance.
- Take Pictures: If you notice any physical damage or abnormalities, take clear pictures as evidence for further analysis or when seeking professional help.
A visual inspection can help you identify visible issues, but keep in mind that some problems may not be easily detectable. If you find any significant damage or suspect a fried motherboard, it’s advisable to involve a professional technician or consult the motherboard manufacturer for further assistance.
Using Diagnostic Software
Diagnostic software can be a valuable tool in identifying issues with your motherboard and other hardware components. These programs can help detect and diagnose various problems, including those related to a fried motherboard. Here’s how you can use diagnostic software to assess your motherboard’s condition:
- Research and Choose Reliable Software: Look for reputable diagnostic software specifically designed for motherboard diagnostics. Some popular options include HWiNFO, CPU-Z, and MemTest86.
- Download and Install the Software: Visit the official website of the diagnostic software and download the latest version compatible with your operating system. Follow the installation instructions to install it on your computer.
- Launch the Diagnostic Software: Once installed, launch the diagnostic software on your computer. Most programs will provide a user-friendly interface with various tabs and options for different hardware components.
- Run the Motherboard Diagnostics: Navigate to the motherboard or system section of the diagnostic software and initiate the diagnostic tests. These tests may include checking the voltage, temperature, and overall performance of the motherboard.
- Review the Results: After the tests are complete, carefully review the results provided by the diagnostic software. Look for any warnings, error messages, or anomalies that could indicate a fried motherboard or other related issues.
- Consult Online Forums or Support: If you are uncertain about the results or require further assistance, consider seeking guidance from online forums, user communities, or the support documentation provided by the diagnostic software.
Keep in mind that diagnostic software is not infallible and may not always detect or identify all motherboard problems. It’s always a good idea to combine diagnostic software with other troubleshooting methods for a comprehensive analysis of your motherboard’s health.
Testing Component Compatibility
Component compatibility is a crucial factor in determining the functionality and health of a computer’s motherboard. Incompatibilities between hardware components can lead to various issues, including boot failures and system instability. To ensure that your motherboard is not fried due to incompatible components, follow these steps to test for compatibility:
- Check Manufacturer Specifications: Refer to the motherboard’s manual or the manufacturer’s website to review the supported hardware specifications, including CPU sockets, RAM types and capacities, and expansion card slots.
- Verify CPU Compatibility: Ensure that the processor (CPU) you are using is compatible with the motherboard. Check the socket type and compare it to the motherboard’s specifications.
- Check RAM Compatibility: Verify that the RAM modules you are using are compatible with the motherboard in terms of type, speed, and capacity. Mismatched RAM can cause system instability.
- Review Expansion Card Compatibility: Check if any expansion cards, such as graphics cards or sound cards, are compatible with the available slots and interfaces on the motherboard. Ensure that the power supply can support these cards as well.
- Update BIOS/UEFI Firmware: In some cases, a fried motherboard can be attributed to outdated firmware. Visit the manufacturer’s website and check for any available BIOS/UEFI updates that address compatibility issues.
- Perform Component Swaps: If you suspect compatibility issues, try swapping components with known compatible ones. For example, swap the RAM modules or try a different graphics card to identify if the motherboard is the source of the problem.
- Consult Component Documentation: Read the documentation and specifications of each hardware component for any known compatibility issues. Manufacturers often provide information on recommended motherboard models.
By thoroughly ensuring component compatibility, you can minimize the risk of a fried motherboard caused by incompatible hardware. If you encounter persistent issues despite checking compatibility, it’s advisable to consult with a professional or the hardware manufacturer for further guidance.
Checking for Physical Damage
Physical damage to a motherboard can result in its failure or malfunction. It’s important to inspect the motherboard for any visible signs of damage to identify whether it is fried or not. Here are the steps to check for physical damage:
- Power Off and Disconnect: Before inspecting the motherboard, make sure to power off your computer and disconnect it from the power source to ensure safety.
- Open the Case: Remove the side panel of your computer case to gain access to the internal components. Refer to your computer’s manual for any specific instructions.
- Visual Examination: Carefully examine the motherboard for physical damage, such as burn marks, scorching, corrosion, or melted areas. Inspect both sides of the motherboard, paying close attention to the areas around capacitors, power connectors, and chipsets.
- Check for Bulging Capacitors: Look for any capacitors on the motherboard that are bulging, leaking fluid, or have burst open. These are clear signs of motherboard damage and often indicate a fried motherboard.
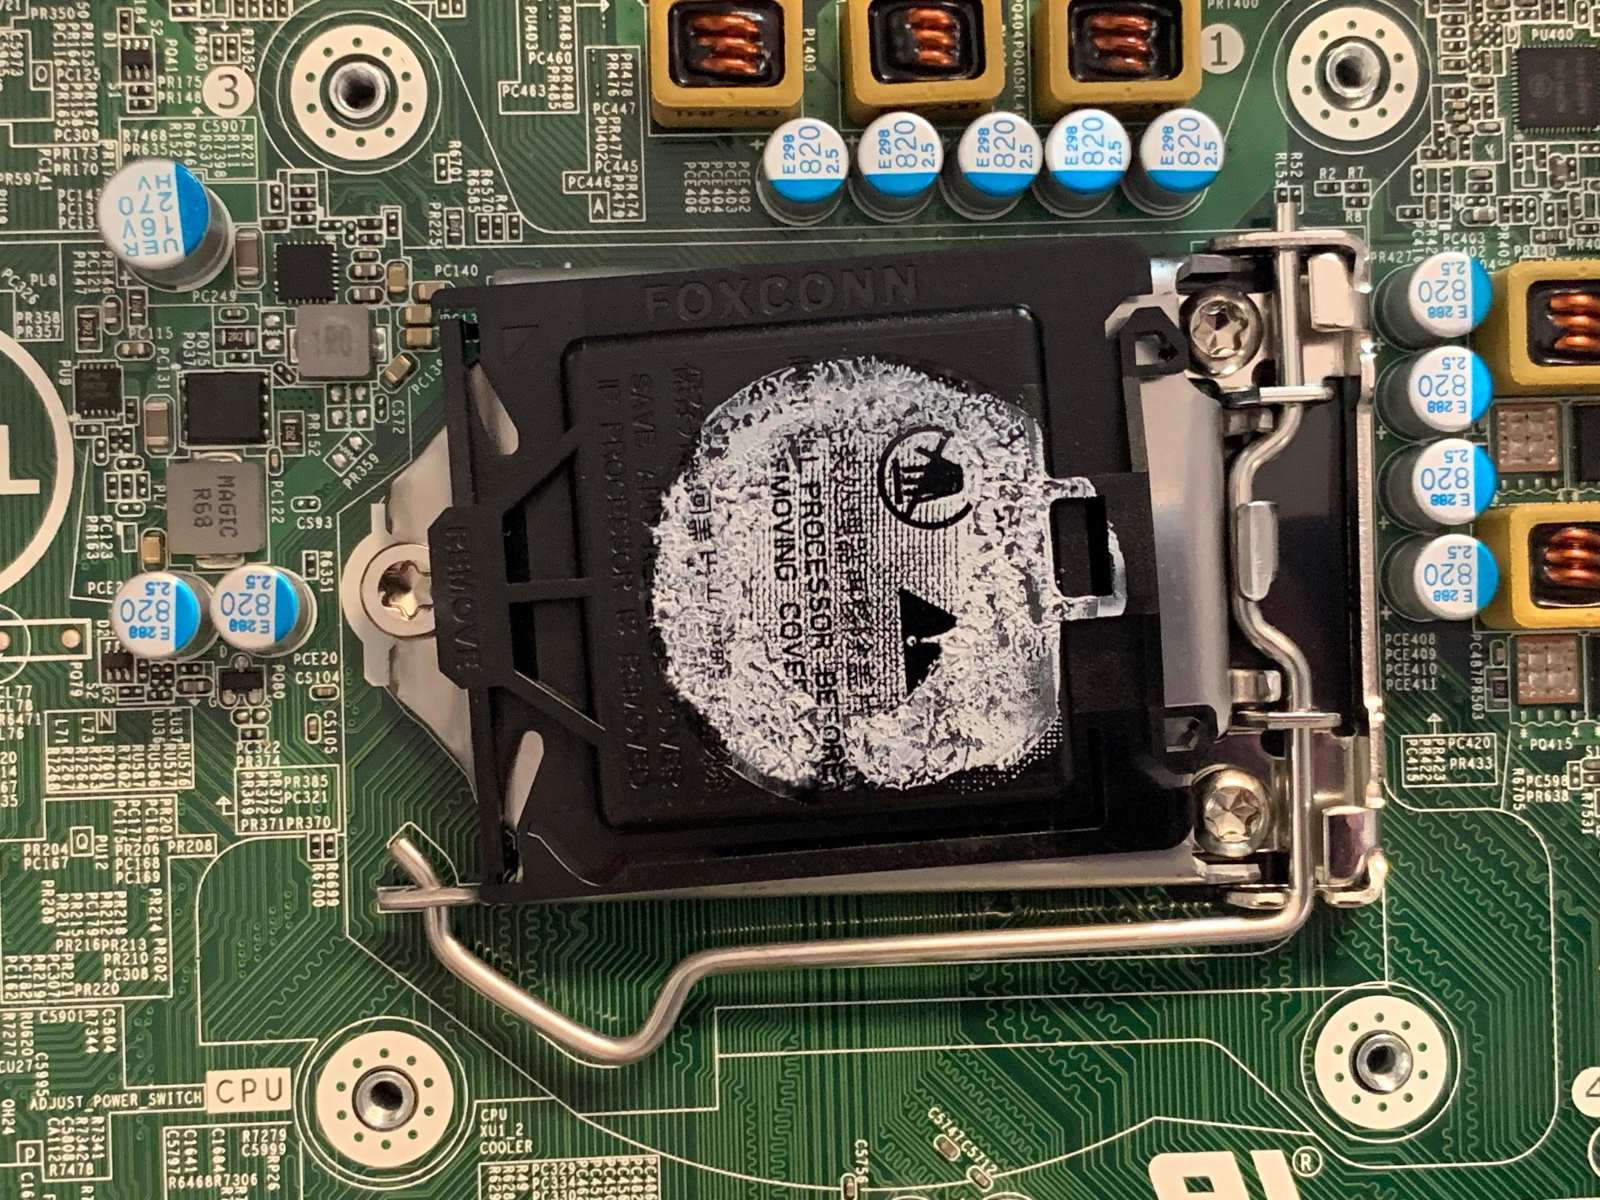
- Inspect the CPU Socket: Ensure that the CPU socket is clean and free from any bent pins or debris that may interfere with the proper seating of the CPU. Bent pins can prevent the motherboard from functioning correctly.
- Examine Other Components: Check other components connected to the motherboard, such as RAM modules and expansion cards, for any damage or signs of malfunction.
- Photograph Evidence: If you identify any physical damage or abnormalities on the motherboard, take clear photographs as evidence for further analysis or when seeking professional help.
A thorough visual inspection can help determine if physical damage is the cause of a fried motherboard. However, it’s important to note that not all motherboard damage may be visible. If you suspect physical damage, it’s wise to consult a professional technician or contact the motherboard manufacturer for further assistance.
Seeking Professional Help
When you’ve exhausted all troubleshooting steps and are still unable to determine the exact cause of a fried motherboard, it may be time to seek professional help. Professional technicians have the knowledge, expertise, and specialized tools to diagnose and repair complex hardware issues. Here are some reasons why seeking professional help is beneficial:
Expert Diagnosis: Professionals have experience in identifying and diagnosing motherboard problems accurately. They can perform in-depth tests and analysis to pinpoint the exact cause of the issue.
Specialized Equipment: Professional repair services have access to specialized equipment and tools that may not be readily available to consumers. These tools enable them to diagnose and repair intricate motherboard problems effectively.
Warranty Coverage: If your computer or motherboard is still under warranty, seeking assistance from a professional service ensures that the repair or replacement is handled within the terms of the warranty, preventing any potential voiding of the warranty.
Save Time and Effort: Troubleshooting hardware issues, especially motherboard-related problems, can be time-consuming and potentially frustrating for individuals without expertise in computer repair. By seeking professional help, you can save time and effort in resolving the problem.
Prevent Further Damage: Attempting to repair a fried motherboard without the necessary skills and knowledge can potentially lead to further damage. Professionals can avoid exacerbating the problem and provide appropriate solutions.
When seeking professional help, make sure to choose a reputable repair service or contact the motherboard manufacturer for authorized technicians. Research customer reviews, ask for recommendations, and inquire about warranties or guarantees offered by the service provider to ensure a satisfactory repair experience.
Remember, professional assistance is particularly important when dealing with advanced issues like a fried motherboard, as attempting DIY repairs without the necessary expertise can result in costly mistakes or irreversible damage.