Introduction
Opening up your PC case may seem like a daunting task, but it is an essential skill for any computer enthusiast or DIY tech lover. Whether you need to clean out dust, upgrade components, or troubleshoot issues, being able to access the internal hardware of your computer is crucial.
In this guide, we will walk you through the step-by-step process of safely opening up your PC case. We will also provide you with helpful tips and precautions to ensure that you do not damage any of the delicate components inside.
Before we begin, it’s important to note that opening your PC case will void any warranty you may have. If your computer is still under warranty and you are unsure about performing any of these steps, it’s best to consult a professional technician or contact the manufacturer for assistance.
Now, let’s gather our tools and get started on this exciting journey of discovering what lies beneath the surface of your computer!
Tools You Will Need
Before you begin opening up your PC case, it’s important to have the right tools on hand. Here are the essential tools you will need:
- Screwdriver: Most PC cases require a Phillips screwdriver for removing the screws on the side panel. Make sure you have the appropriate size that fits your case.
- Anti-static wrist strap: To avoid damaging sensitive components with static electricity, it is recommended to wear an anti-static wrist strap. This will help discharge any static buildup and keep your components safe.
- Compressed air canister: Dust can accumulate inside your PC case over time, so having a compressed air canister will allow you to blow away any dust particles, ensuring optimal airflow and cooling.
- Cable ties: These small plastic ties are handy for organizing and securing cables inside your PC case, preventing them from getting in the way or obstructing airflow.
- Flashlight: A small flashlight will come in handy when working with the inside of your PC case, as it can illuminate hard-to-see areas and help you identify components.
While these are the essential tools, you may also find it helpful to have a pair of tweezers, a small brush, and a can of thermal paste, depending on the specific task you are performing.
Having all the necessary tools readily available before you start will make the process smoother and more efficient, allowing you to complete the task without any interruptions.
Step 1: Power Down Your PC
Before you begin opening up your PC case, it is crucial to power down your computer properly. This will ensure that you do not cause any damage to the internal components and reduce the risk of electric shock. Follow these simple steps:
- Save your work and close all open applications. It’s important to save any unsaved documents or projects to avoid losing any data.
- Click on the Start menu and select “Shut Down”. This will initiate the shutdown process.
- Wait for your computer to completely shut down. You can monitor the shutdown process by observing your monitor and listening for any fans or hard drives to stop spinning.
- Once your computer has powered down, unplug the power cord from the back of the computer. This will ensure that there is no residual electrical current running through the system.
Double-check that your computer is powered off by pressing the power button on the front of the case. If no lights or fans turn on, then you can be confident that your computer is properly shut down.
By following this step, you are ensuring that your computer is in a safe state to be opened up and that you won’t encounter any electrical hazards during the process.
Step 2: Disconnect All Cables
Now that your computer is completely powered down, it’s time to disconnect all cables connected to your PC. This will allow for easier access to the internals of the case. Follow these steps:
- First, unplug the power cable from the back of your PC. This will ensure that there is no electricity flowing through the system while you are working on it.
- Next, disconnect any peripheral cables such as the monitor cable, keyboard, mouse, speakers, and any other devices that may be plugged into your computer.
- If you have any USB devices plugged into your PC, such as external hard drives or flash drives, safely remove them by clicking on the “Safely Remove Hardware” icon in the system tray and selecting the appropriate device.
- For any Ethernet or network cables, gently unplug them from the ports on the back of your computer, ensuring that you do not damage the connectors.
- If you have any additional cables connected, such as audio cables or video cables, undo their connections carefully.
Make sure to keep track of where each cable is connected so that you can easily reconnect them later. Taking a photo or marking the cables with labels can be helpful in this regard.
By disconnecting all cables, you are ensuring that there is no interference or entanglement when removing the side panel of your PC case. This will allow for a smoother and safer process as you proceed to the next steps.
Step 3: Choose the Right Location
Before you begin opening up your PC case, it’s important to choose the right location for the task. Selecting the appropriate area will ensure that you have enough space to work comfortably and that you can avoid any potential damage to your computer or its components. Here are a few things to consider:
- Select a clean and well-ventilated area: It’s crucial to choose a location where there is minimal dust or debris. This will help prevent any contaminants from entering your PC case and ensure optimal airflow for cooling.
- Find a sturdy and flat surface: To maintain stability and prevent any accidental falls or damage, find a surface that is sturdy and level. Avoid working on surfaces that are prone to vibrations, such as carpeted floors or wobbly tables.
- Avoid static-prone environments: Static electricity can pose a risk to sensitive PC components. Stay away from areas with static-generating items like rugs, woolen clothing, or synthetic materials. If possible, work on an anti-static mat or surface.
- Ensure adequate lighting: It’s crucial to have good lighting to see the inside of your PC case clearly. Use a bright lamp or flashlight to illuminate the area and make it easier to identify components and connections.
By choosing the right location, you are setting yourself up for a smoother and safer experience when opening up your PC case. It will help you avoid potential hazards and ensure that you can work efficiently throughout the process.
Step 4: Remove the Side Panel
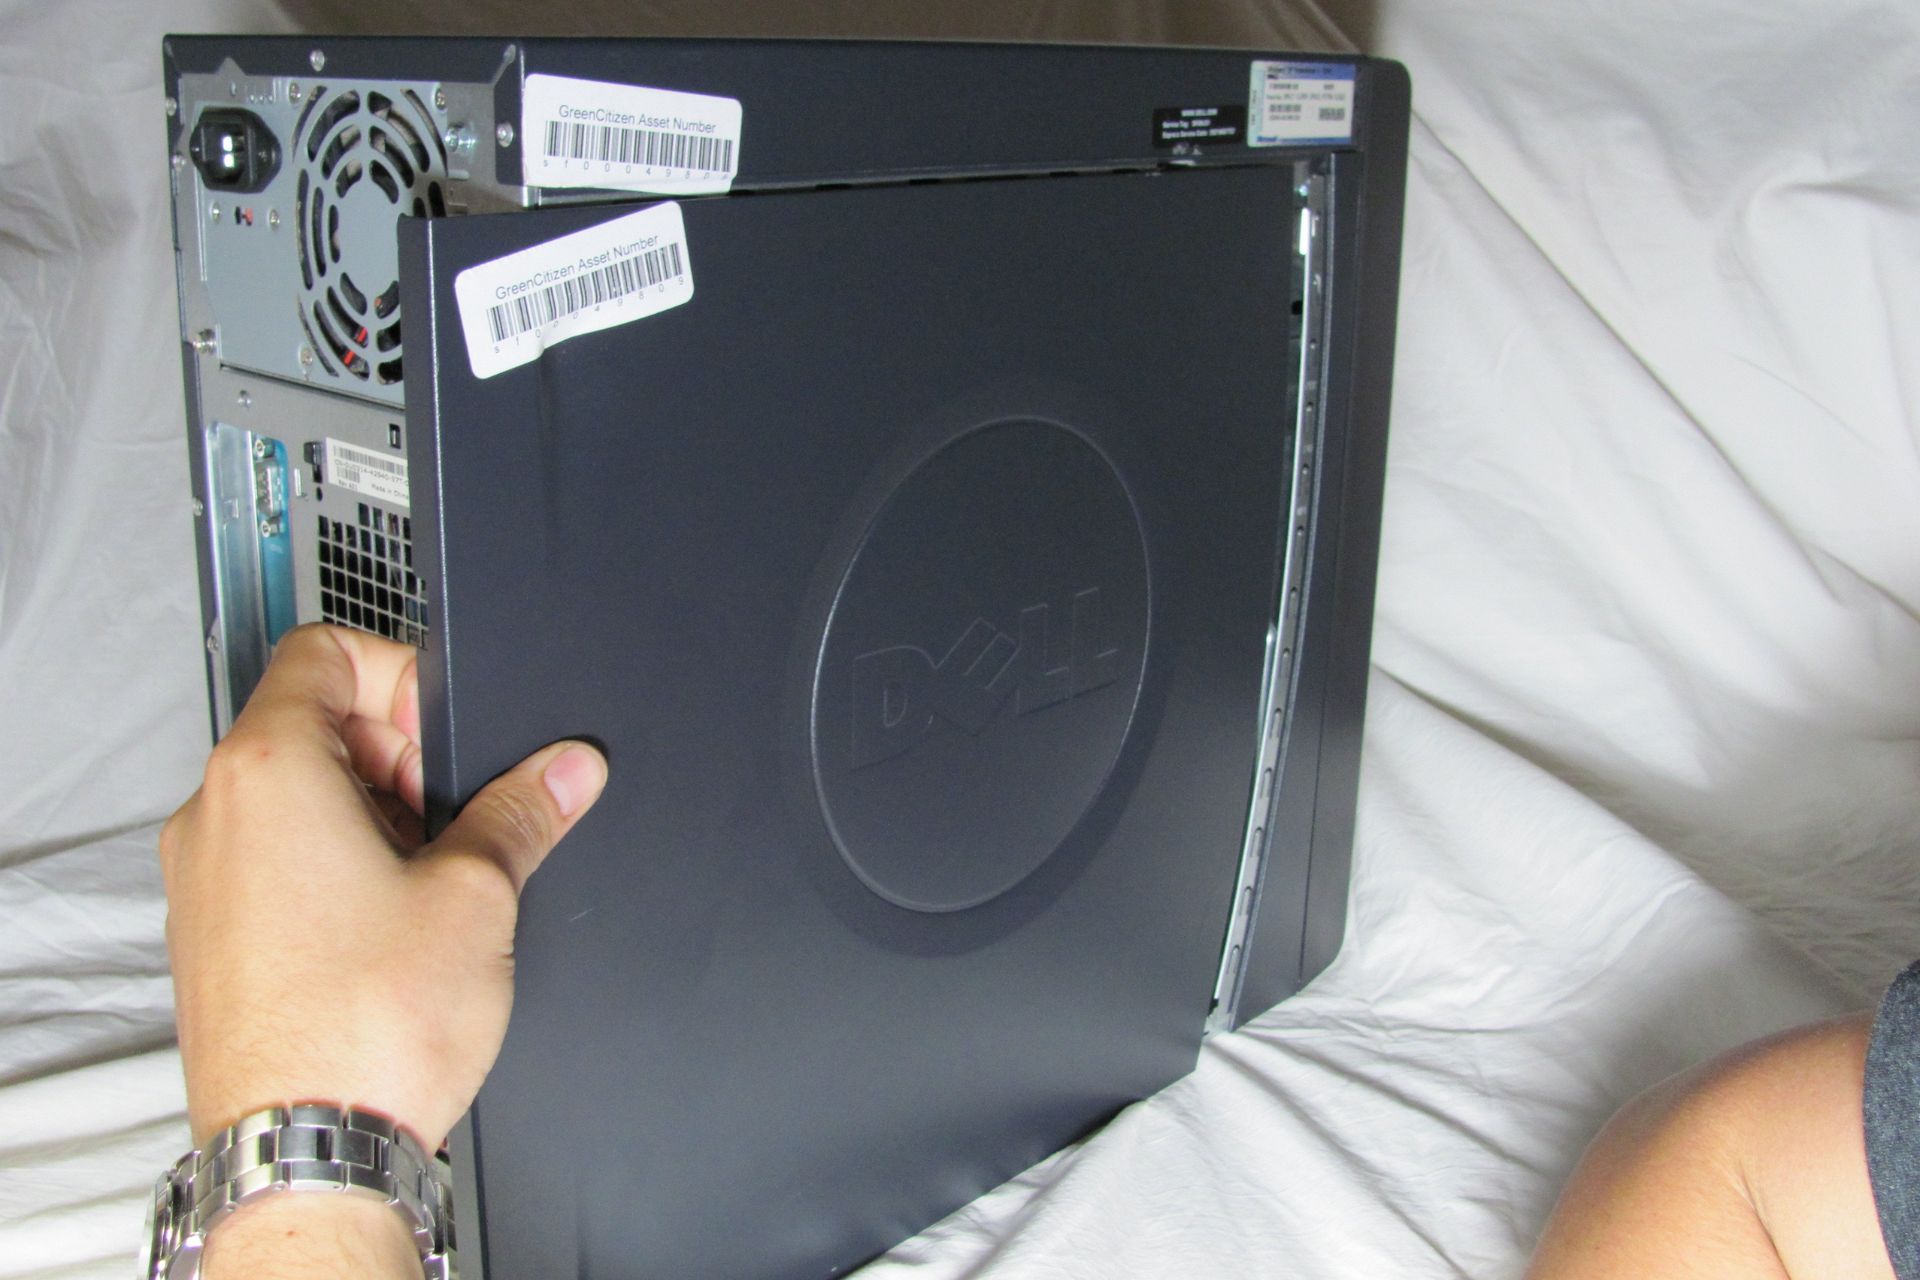
Now that you have chosen the right location and prepared your workspace, it’s time to remove the side panel of your PC case. The side panel provides access to the internal components and is usually secured with screws or latches. Follow these steps to safely remove the side panel:
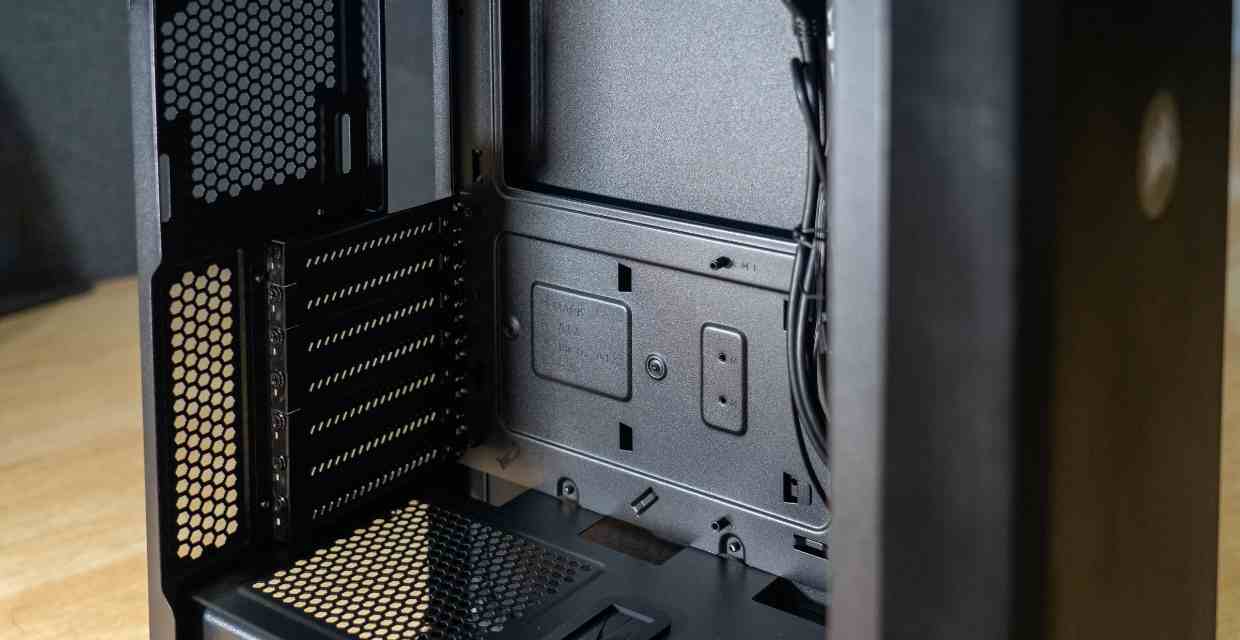
- Locate the screws or latches: Examine the backside of your PC case to identify the screws or latches that secure the side panel. These are usually located towards the back or side of the case.
- If your case has screws, use a screwdriver to unscrew them in a counterclockwise direction. Most cases have two or three screws to secure the side panel.
- If your case has latches, look for small levers or buttons that need to be pressed or flipped to release the side panel. Gently push or lift these latches to unlock the panel.
- Once the screws or latches are undone, carefully slide or swing the side panel away from the case. Some panels may require a bit of force to disengage from the case’s frame.
- Set the side panel aside in a safe place, away from your workspace, to prevent any accidental damage or misplacement.
With the side panel removed, you now have clear access to the internal components of your PC. Take a moment to inspect the inside for any signs of dust, debris, or loose cables. This is also a good opportunity to familiarize yourself with the layout of the components inside the case.
Remember to keep the side panel in a secure location. You will need to reattach it later to ensure the proper functioning and aesthetics of your PC.
Step 5: Ground Yourself
Grounding yourself is an important step to take before handling any of the internal components of your PC. Static electricity can potentially damage sensitive electronic parts, so it’s essential to discharge any static buildup and prevent it from transferring to your computer. Follow these steps to ground yourself:
- Obtain an anti-static wrist strap: An anti-static wrist strap is a small device that you wear on your wrist. It helps to dissipate any static electricity by grounding your body.
- Connect the wrist strap: Attach the metal clip of the wrist strap to a grounded metal object, such as the metal frame of your case or a grounded power outlet. This will ensure that any static electricity is safely transferred away from your body.
- Put on the wrist strap: Slip the band of the wrist strap onto your wrist and adjust it to fit comfortably. Make sure the metal clip remains securely connected to the grounded surface.
- Touch a grounded metal object: Before handling any of the internal components, touch a grounded metal object to discharge any remaining static electricity. This can be the metal frame of the case or any other grounded surface nearby.
Grounding yourself is a simple yet crucial step to protect the delicate components inside your PC from electrostatic discharge (ESD). By taking this precaution, you are minimizing the risk of damaging your computer and ensuring a safe environment for working with the internal hardware.
Step 6: Locate the Components
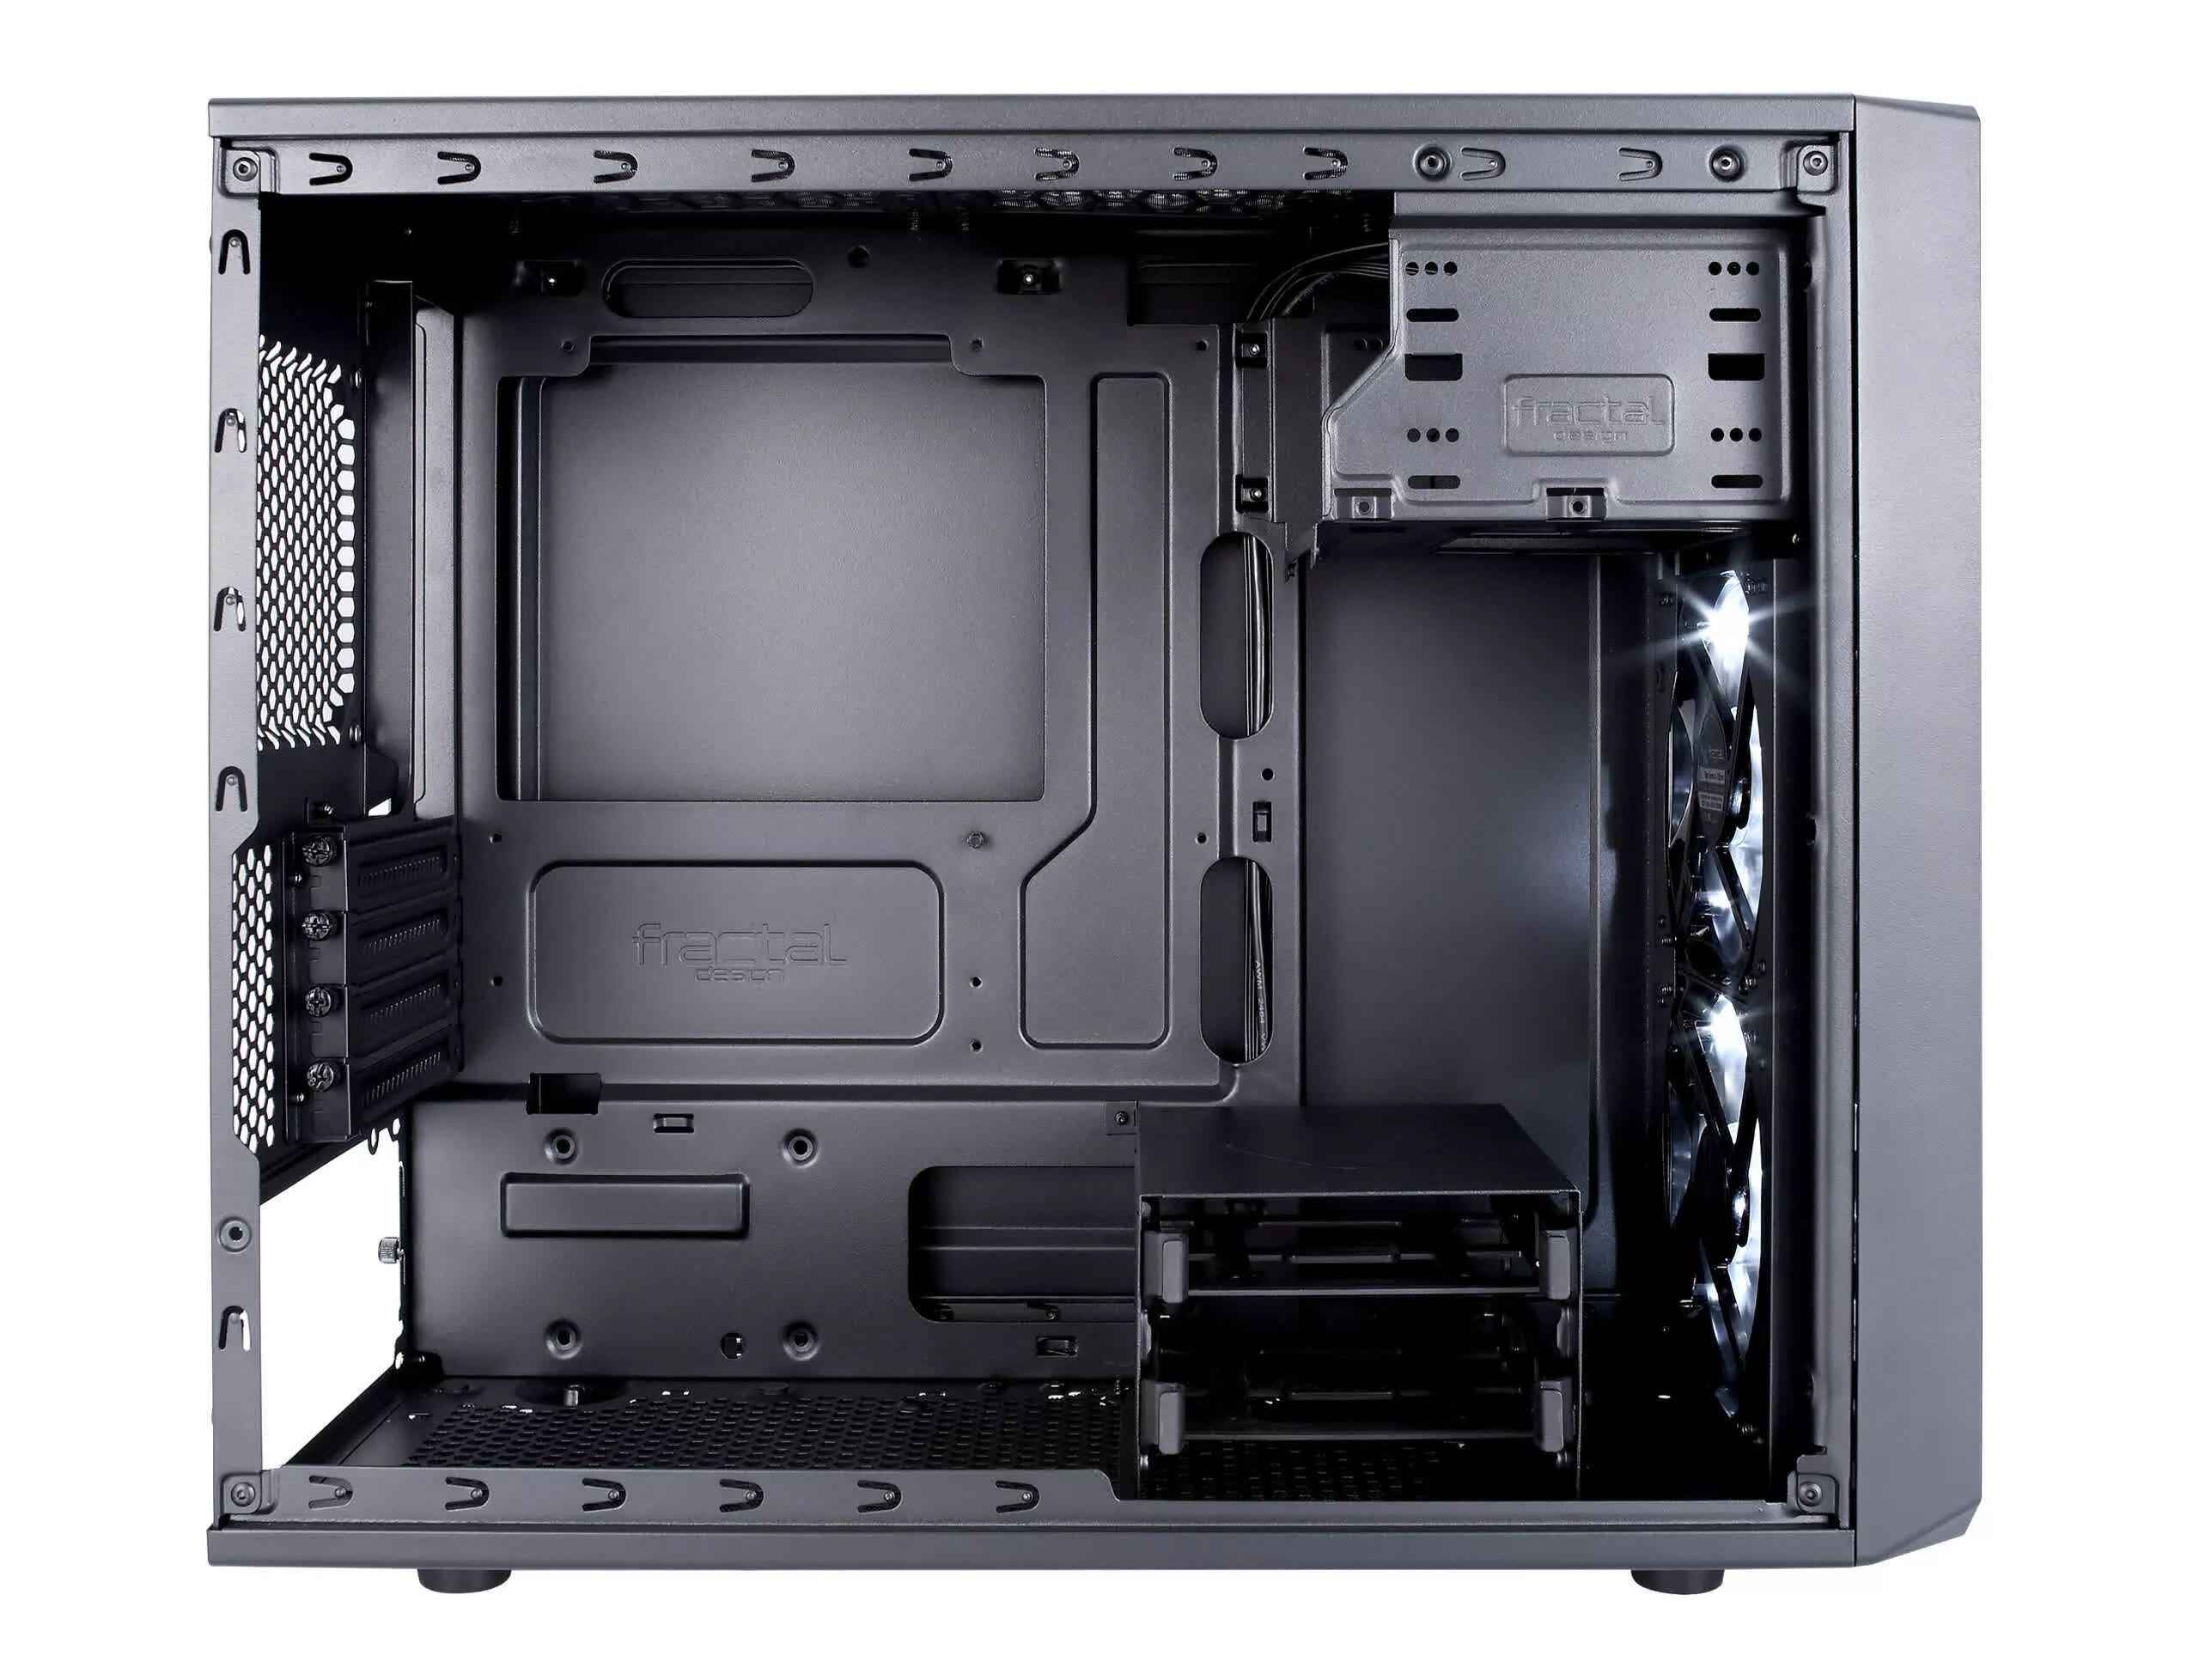
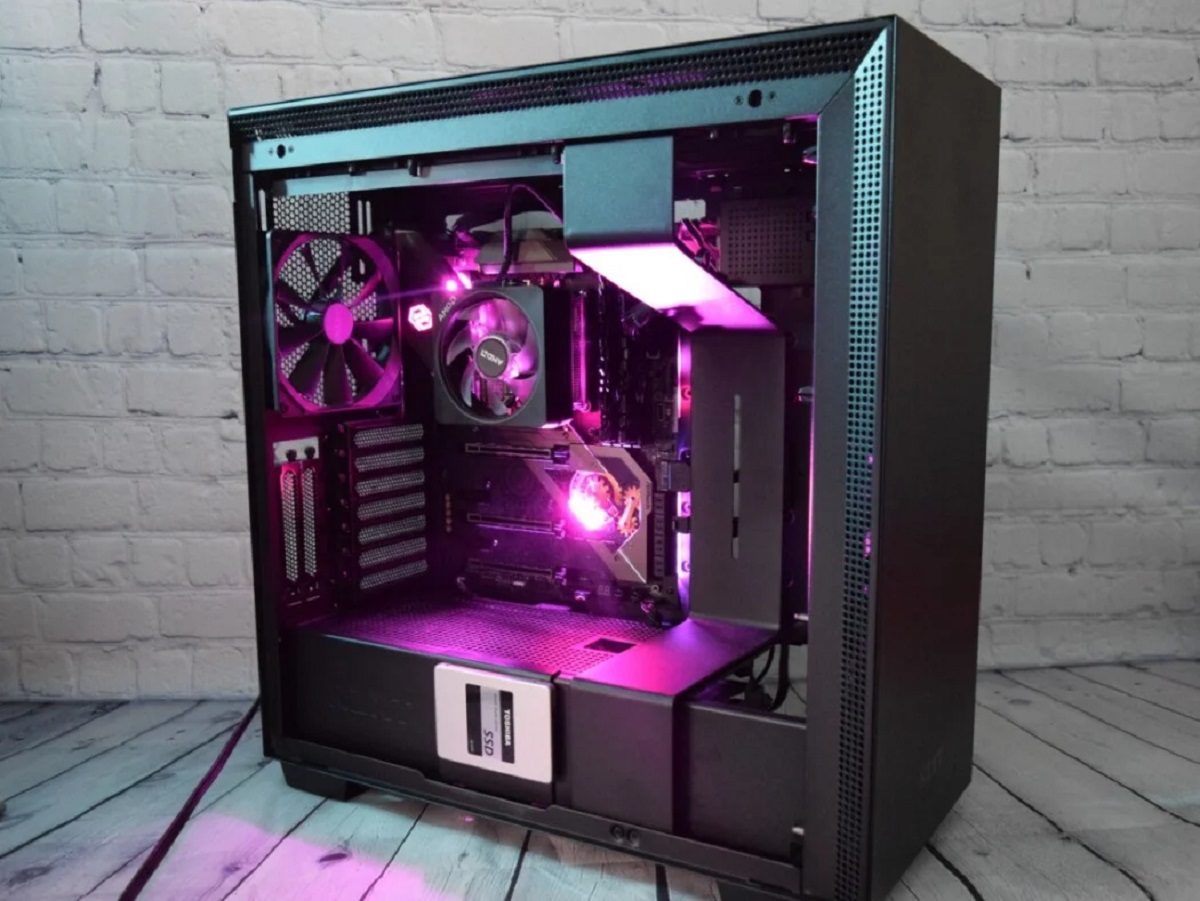
With the side panel removed and yourself properly grounded, it’s time to familiarize yourself with the components inside your PC case. Having a clear understanding of the layout and location of the various components will make it easier to navigate and perform tasks such as upgrading or troubleshooting. Here’s how to locate the components:
- Identify the motherboard: The motherboard is the largest and most central component of your PC. It acts as a hub, connecting all the other components together. It is usually positioned horizontally at the bottom or center of the case.
- Locate the CPU: The CPU (Central Processing Unit) is the “brain” of your computer. It is mounted onto the motherboard and is covered by a heatsink and fan. Look for a rectangular metal or plastic casing with a fan attached.
- Find the RAM slots: Random Access Memory, or RAM, is responsible for storing and accessing data quickly. The RAM slots are typically located near the CPU on the motherboard. They consist of small rectangular slots where you can insert memory modules.
- Spot the storage drives: Your PC may have multiple storage drives, including hard disk drives (HDDs) and solid-state drives (SSDs). These drives are usually found in the front or bottom part of the case and are connected to the motherboard via data and power cables.
- Locate the expansion slots: Expansion slots are used for additional components like graphics cards or sound cards. They are positioned towards the back of the case, near the motherboard. These slots are covered by metal or plastic covers and can be removed when necessary.
- Identify the power supply unit (PSU): The PSU is responsible for supplying power to all the components in your PC. It is usually located at the top or bottom rear of the case and has multiple cables coming out of it.
Take a moment to inspect and familiarize yourself with the various components and their locations. This will help you navigate your PC case effortlessly during future upgrades or maintenance tasks.
Step 7: Remove Expansion Cards
Expansion cards, such as graphics cards, sound cards, or networking cards, are components that can be added or removed to enhance the functionality of your PC. If you need to replace or upgrade an expansion card, follow these steps to safely remove it:
- Power off and unplug your PC: Before working on any internal components, ensure that your PC is powered off and unplugged from the electrical outlet to prevent any electrical risks.
- Locate the expansion card: Identify the expansion card that you want to remove. Most often, these cards are installed in the PCIe (Peripheral Component Interconnect Express) slots on the motherboard.
- Remove any screws or latches: Depending on your PC case and the specific card, there may be screws or latches holding the expansion card in place. Unscrew or unlatch them carefully, ensuring not to damage any other components nearby.
- Release the card from the PCIe slot: Holding the expansion card gently, press down on the retention bracket or release lever that secures it in the PCIe slot. This will unlock the card and allow you to remove it.
- Gently pull the card out: With the retention bracket released, gently pull the card straight out from the slot. Avoid any unnecessary twisting or bending to prevent damage to both the card and the slot.
- Set the card aside: Once the expansion card is successfully removed, place it in a safe and static-free location. If you are planning to replace the card, handle it with care to avoid any damage.
Removing expansion cards requires delicate handling and attention to detail. Ensure that you take your time and follow the steps carefully to prevent any accidental damage to your PC’s components or the expansion card itself.
Step 8: Disconnect Power Cables
When working inside your PC case, it’s important to disconnect the power cables from the components you plan to remove or work on. This will ensure your safety and prevent any accidental electrical damage. Follow these steps to disconnect power cables:
- Identify the power cables: Take a moment to identify the power cables connected to the component you want to work on. Common power cables include the 24-pin motherboard power connector, 8-pin CPU power connector, and SATA power cables for storage drives.
- Unplug the power cables: Firmly grip the connector at the end of the power cable and gently pull it straight out from the component. Avoid pulling on the wires as this can cause damage. It may require some force, but be cautious not to use excessive force to prevent any unintended damage.
- Keep track of cable orientation: As you disconnect the power cables, take note of their positions and orientations. This will make it easier to reconnect the cables correctly later on.
- Secure loose cables: If you have any power cables that are not connected to any components, secure them using cable ties or reposition them away from sensitive areas to avoid interference with other components or obstructed airflow.
It’s essential to exercise caution when disconnecting power cables to avoid damaging the connectors or the components themselves. Take your time and ensure a gentle yet firm grip on the connectors to safely disconnect them without any issues.
Step 9: Remove the Component
Now that you have disconnected the power cables and prepared the area, it’s time to remove the component you are working on. Whether it is a hard drive, RAM module, or any other replaceable part, follow these steps to safely remove it from your PC:
- Identify the component: Determine which specific component you need to remove. This could be a storage drive, RAM module, or any other replaceable part.
- Refer to the manuals or online guides: If you are unsure about the removal process for a specific component, consult the manuals or search for reliable online guides that provide detailed instructions.
- Take necessary precautions: Depending on the component you are removing, there may be additional precautions to keep in mind. For example, if you are removing a storage drive, make sure to back up your data before proceeding.
- Handle the component carefully: Components are delicate, so handle them with caution. Hold the component by its edges or designated handles to avoid touching any sensitive parts.
- Remove screws or latches: Check if there are any screws or latches securing the component in place. Carefully unscrew or unlatch them, being mindful not to drop any loose screws inside the case.
- Gently lift or slide out the component: Once any securing mechanisms are undone, gently lift or slide the component out of its slot or bay. Avoid sudden movements or applying excessive force.
- Place the component in a safe location: Set the removed component aside in a static-free and secure area. If you plan to reinstall it later or replace it with a new one, keep it in a protective anti-static bag.
Removing components requires patience and precision. Take your time, follow the specific instructions for each component, and handle them with care to prevent any damage during the removal process.
Step 10: Clean the Inside of the Case
With the component removed, it’s the perfect time to clean the inside of your PC case. Dust and debris can accumulate over time, hindering airflow and potentially causing overheating issues. Follow these steps to effectively clean the inside of your case:
- Gather your cleaning supplies: Prepare a can of compressed air, a soft brush, and microfiber cloths. These tools will help you remove dust and clean various surfaces.
- Use compressed air to blow away dust: Begin by using the can of compressed air to blow away dust from the various components and hard-to-reach areas. Take caution not to hold the can too close to the components to avoid causing damage.
- Brush away stubborn dust: For areas with stubborn dust or debris, use a soft brush to gently brush it away. Pay special attention to cooling fans, heatsinks, and any vents or grilles.
- Wipe surfaces with a microfiber cloth: Once the loose dust has been removed, use a microfiber cloth to wipe down all surfaces inside the case. This will remove any remaining dust particles and provide a clean finish.
- Check cables and connections: While cleaning, inspect the cables and connections to ensure they are secure and undamaged. If you notice any loose or damaged cables, reposition or replace them as needed.
- Refrain from using liquids: Avoid using liquid cleaners or sprays inside your PC case, as they can damage the components. Stick to dry cleaning methods using compressed air and microfiber cloths.
Cleaning the inside of your PC case on a regular basis will help maintain optimal performance and prevent dust buildup. It’s important to keep your computer clean and free from obstructions to ensure proper airflow and cooling for all components.
Step 11: Reassemble Your PC
Now that you have completed the necessary tasks inside your PC case, it’s time to reassemble your computer. Reassembling the components properly is essential for ensuring their functionality and the overall performance of your PC. Follow these steps to reassemble your PC:
- Place the component back in its slot: Carefully align the component with its respective slot or bay in your PC case. Gently slide or insert it back into position, ensuring it fits securely.
- Secure the component: If there were screws or latches holding the component in place, reattach them snugly. Avoid overtightening the screws to prevent damaging the component or the case.
- Reconnect the power cables: Refer to your notes or photographs from earlier to reconnect the power cables to the appropriate components. Ensure they are properly seated and secured.
- Reattach the side panel: Align the side panel with the case and carefully slide or swing it back into place. Secure it with the screws or latches that were removed previously.
- Reconnect all cables and peripherals: Reconnect all the cables to their respective ports, including the power cable, monitor cable, keyboard, mouse, speakers, and any other peripheral devices.
- Power on your computer: Plug in the power cord, press the power button, and wait for your computer to start up. Monitor its startup process and ensure that everything is functioning correctly.
- Test the reassembled components: Once your computer has booted up, check that all components are functioning as expected. Test any replaced or upgraded components to ensure they are working properly.
Take your time during the reassembly process to ensure everything is done correctly. Double-check all connections and make sure nothing is loose or misplaced. By reassembling your PC properly, you can enjoy a fully functional and reliable computer once again.
Conclusion
Opening up your PC case may seem like a daunting task, but with the right tools, knowledge, and precautions, it can be a rewarding process. Whether you’re upgrading components, troubleshooting issues, or simply giving your PC a thorough cleaning, following these step-by-step instructions will ensure a safe and successful experience.
Throughout this guide, we covered essential steps such as powering down your PC, disconnecting cables, choosing the right location, removing the side panel, grounding yourself, locating and removing components, cleaning the inside of the case, and finally, reassembling your PC. Remember to take your time, be patient, and handle components with care.
By mastering the art of opening up your PC case, you gain the ability to explore and optimize the internal components, expanding your technical knowledge and unlocking new possibilities for customization and upgrades. Additionally, proper maintenance and cleaning of your PC can help improve its performance, extend its lifespan, and prevent potential issues caused by dust or loose connections.
However, it’s important to note that opening up your PC case may void any warranty you have, and if you’re uncertain about performing any steps, it’s always best to consult a professional technician or contact the manufacturer for assistance.
Now armed with the knowledge and confidence to open up your PC case, go ahead and unleash your inner tech enthusiast, and enjoy the benefits of a well-maintained and optimized computer!