Introduction
Welcome to our guide on how to close up open PC case slots. If you are a computer enthusiast or someone who has recently built their own computer, you may have noticed some open slots on the back or side of your PC case. These slots are typically used for expansion cards such as graphics cards, sound cards, or additional USB ports.
While open PC case slots allow for future upgrades or customizations, keeping them closed when not in use is essential for several reasons. Firstly, having open slots can affect the overall airflow inside your computer, potentially leading to overheating and a decrease in performance. Dust and debris can also accumulate, posing a risk to the internal components. Secondly, closing up the unused slots can provide a cleaner and more organized appearance, especially if you take pride in the aesthetics of your PC build.
In this guide, we will walk you through the process of identifying and closing up these open PC case slots. You don’t need to be a computer expert to follow these steps, as we will provide detailed instructions and recommendations along the way. By the end of this guide, you will have a better understanding of why it’s important to close up these slots and how to do it properly.
Before we dive into the step-by-step process, let’s take a quick look at the tools and materials you will need for the job.
Why Close Up Open PC Case Slots?
You might be wondering why it’s necessary to close up open PC case slots. After all, they were designed to accommodate expansion cards and provide flexibility for future upgrades. However, there are a few reasons why it’s beneficial to close these slots when they are not in use.
First and foremost, closing up open PC case slots helps maintain proper airflow within your computer. When slots are left open, air can escape or enter the case without passing through the designated cooling channels. This disrupts the airflow pattern and can lead to overheating of critical components such as the CPU or graphics card. By closing these slots, you help direct the airflow along the intended path, ensuring efficient cooling and optimal performance of your system.
Another reason to close up open slots is to prevent dust and debris from entering your computer. When slots are left uncovered, they become prime entry points for dust, pet hair, and other particles that can accumulate over time. The presence of these contaminants can hamper the cooling efficiency of your computer, leading to higher temperatures and potential hardware issues. By closing the slots, you create a barrier that helps keep the internal components cleaner and reduces the risk of damage caused by dust accumulation.
Aside from the practical benefits, closing up open PC case slots also contributes to the overall aesthetics of your computer. If you take pride in your PC build or have a windowed side panel, having open slots can disrupt the clean and organized appearance. By closing these slots, you create a more visually pleasing and cohesive look.
To summarize, closing up open PC case slots is important for several reasons:
- Improves airflow and cooling efficiency
- Prevents dust and debris from entering the computer
- Enhances the overall aesthetics of your PC build
Now that you understand the importance of closing up these slots, let’s move on to the next section where we will discuss the tools and materials you’ll need for the job.
Tools and Materials Needed
Before you begin closing up open PC case slots, it’s essential to gather the necessary tools and materials. Fortunately, you won’t need any specialized or expensive equipment for this task. Here’s a list of items you’ll need:
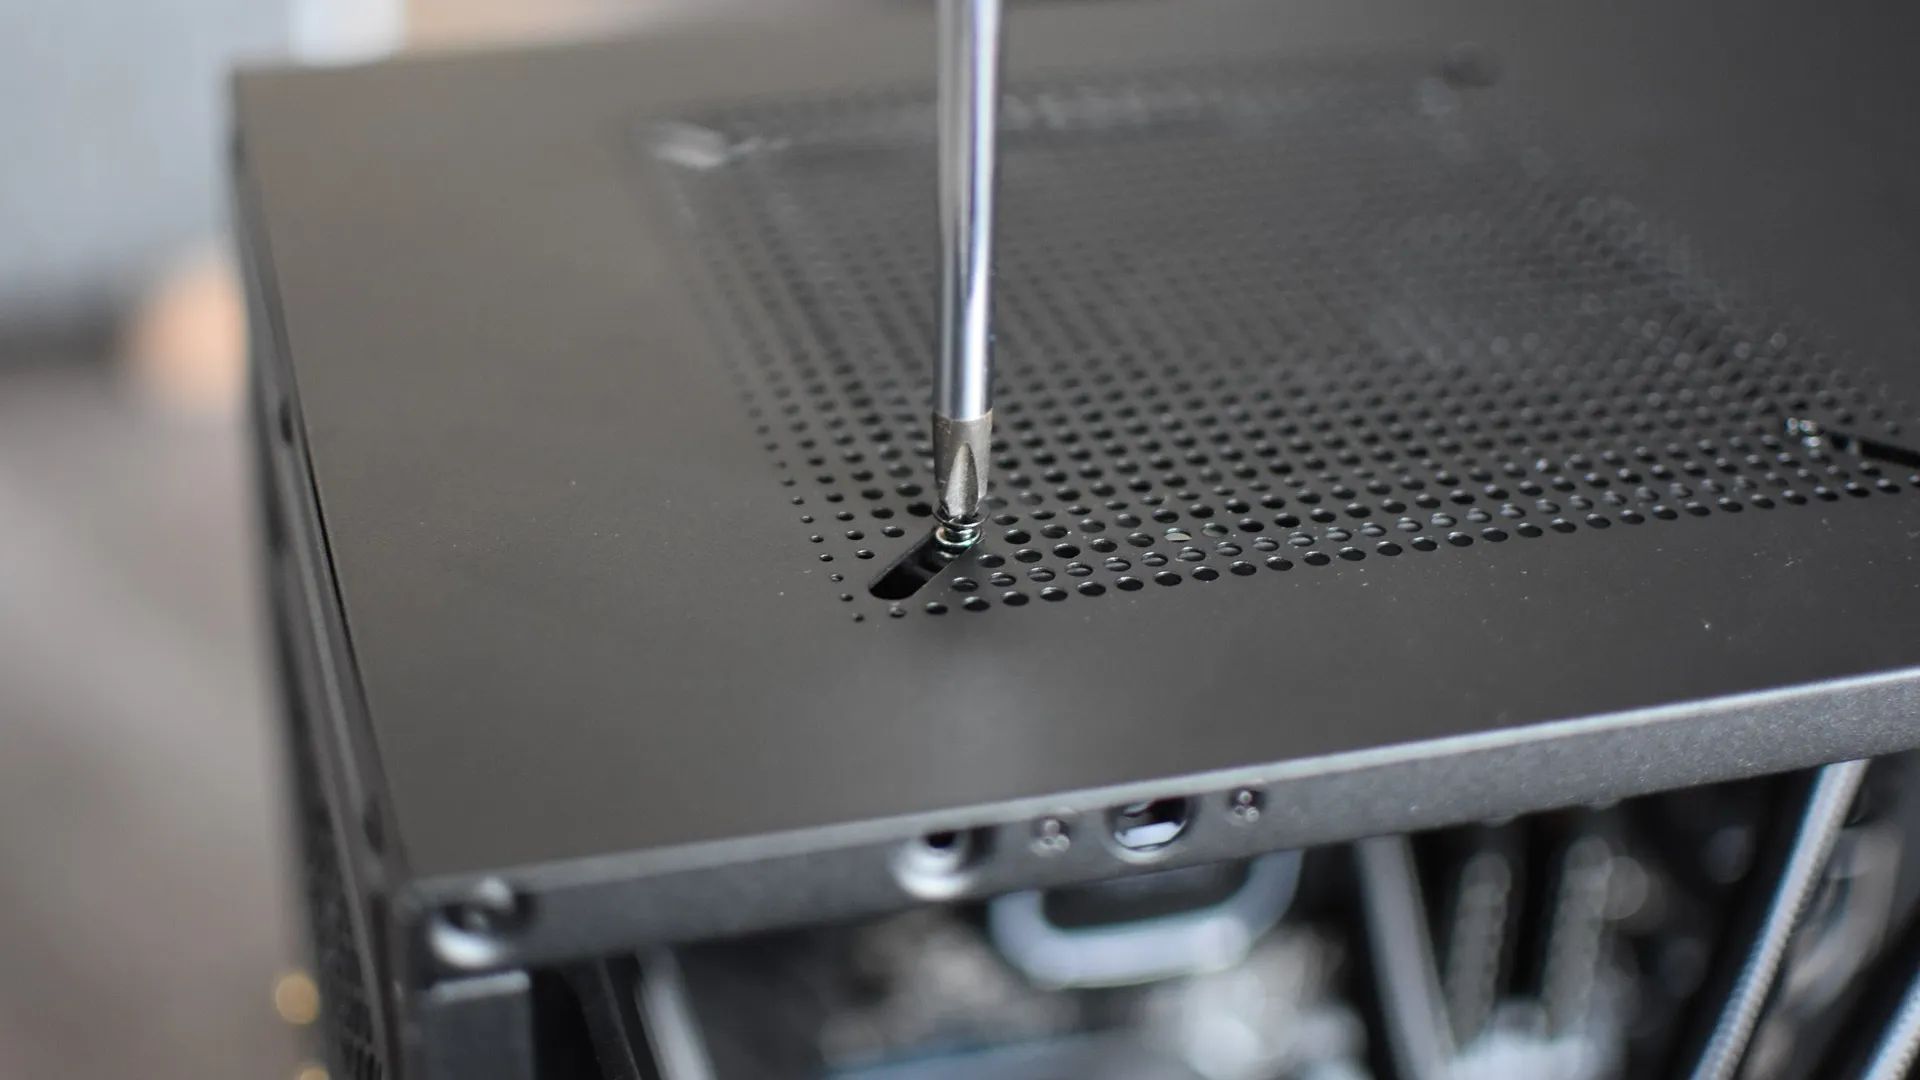
- Screwdriver: You’ll need a compatible screwdriver to open and close the PC case. The type of screwdriver required may vary depending on your case, so make sure to have a few different sizes on hand.
- Slot Covers: These are small metal or plastic plates that fit into the open slots on your PC case. They come in different sizes and types to match the specific slots you need to cover. Ensure you choose the appropriate size and material for compatibility.
- Anti-static Wrist Strap (optional): This strap is used to ground yourself and prevent any static electricity discharge that could potentially damage sensitive computer components. While it may not be necessary for this particular task, it’s always a good idea to use one when working inside your PC case.
- Cleaning Cloth or Brush: Before installing the slot covers, you may want to clean the surrounding area to remove any dust or debris. A microfiber cloth or anti-static brush can help in gently and effectively cleaning these areas.
It’s important to note that the specific tools and materials needed may vary depending on your particular PC case and the types of slots you have. So, it’s a good idea to check your PC case manual or do some research to ensure you have everything you need before proceeding.
With your tools and materials ready, you’re now prepared to begin the process of closing up the open PC case slots. In the next section, we’ll outline the step-by-step instructions to guide you through the process smoothly.
Step 1: Identify the Open PC Case Slots
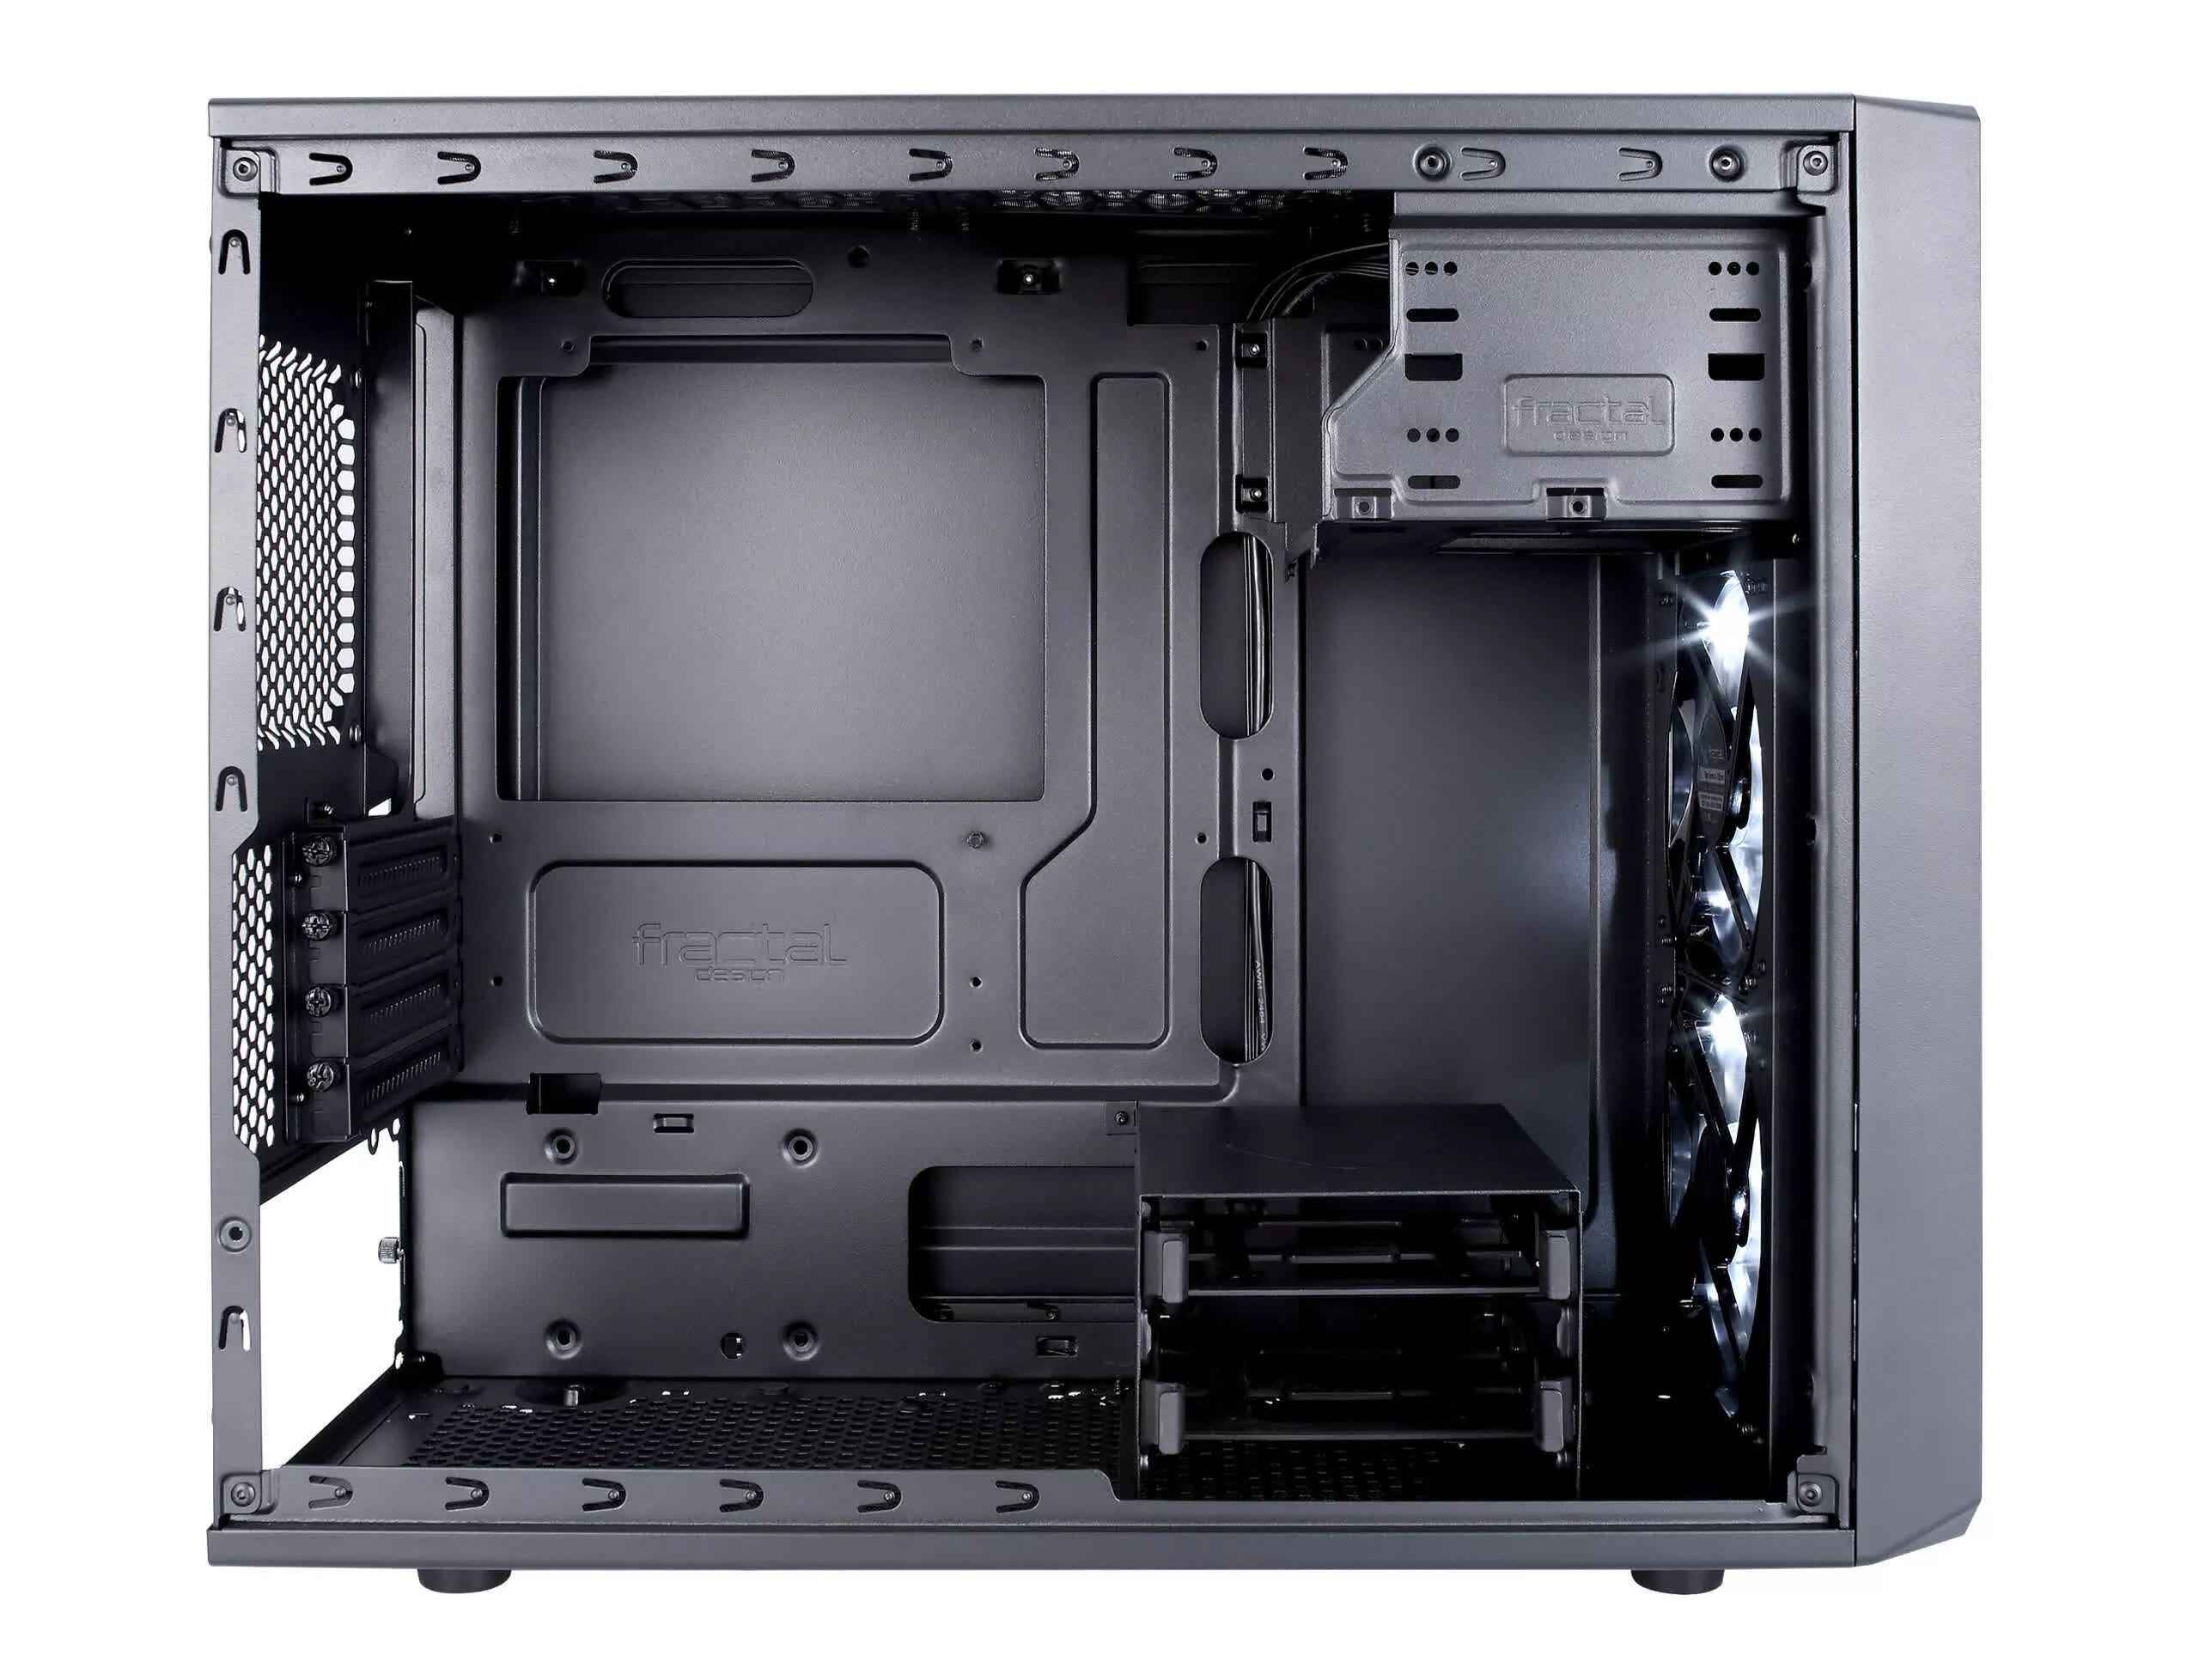
Before you can start closing up the open PC case slots, you need to identify where these slots are located on your computer case. Most PC cases have slots on the back or side of the case, typically near the motherboard area.
To identify the open slots, carefully examine the back and sides of your PC case. Look for rectangular or square openings with exposed metal or plastic. These openings are the open PC case slots that need to be closed.
If your PC case has a removable side panel, you may have to remove it to get a clear view of the open slots. Refer to your PC case manual or manufacturer’s instructions on how to safely remove the side panel without causing any damage.
Once you have identified the open slots, take note of their number and size. You will need this information in the next steps to determine the appropriate slot covers to use.
If you’re unsure whether a particular opening is a slot or something else, consult your PC case manual or do a quick search online for images of open PC case slots to confirm their appearance. It’s essential to be certain before proceeding to avoid mistakenly closing other critical openings such as ventilation holes or fan mounts.
After successfully identifying the open PC case slots and confirming their nature, you’re now ready to move on to the next step: determining the size and type of slot covers needed.
Step 2: Determine the Size and Type of Slot Covers
Once you have identified the open PC case slots, the next step is to determine the size and type of slot covers you’ll need. These covers come in various sizes and materials to fit different types of slots on your PC case.
To determine the size of the slot covers, you can use a ruler or measuring tape to measure the dimensions of the openings. Typically, these measurements are standardized, such as 1/2 inch, 1 inch, or 1/4 of a slot. Make sure to measure the width and height of each opening accurately.
It’s essential to select the correct size of slot covers to ensure a proper fit and to effectively close the open slots. Using covers that are too small may leave gaps, while using covers that are too large may result in a bulky or uneven appearance.
Aside from size, you also need to determine the type of slot covers to use. Slot covers can be made of either metal or plastic, each with their own advantages. Metal slot covers provide durability and better electromagnetic interference (EMI) shielding, while plastic slot covers are lighter and more affordable.
Consider your specific needs and preferences when choosing between metal and plastic slot covers. If you prioritize aesthetics and durability, metal covers may be the better choice. If cost and weight are factors, plastic covers can serve the purpose just fine.
Additionally, some slot covers may have built-in dust filters or mesh panels to further protect your computer from dust and maintain proper airflow. These can be beneficial if you are working in a dusty environment or if your PC case has limited dust filtration capabilities.
Once you have determined the size and type of slot covers needed for your open PC case slots, you’re ready to proceed to the next step: purchasing the correct slot covers.
Step 3: Purchase the Correct Slot Covers
Now that you have determined the size and type of slot covers required for your open PC case slots, it’s time to purchase the correct covers. There are various ways to obtain slot covers, depending on your preference and accessibility.
The easiest and most convenient option is to purchase slot covers from computer supply stores or online retailers specializing in computer components. These stores often carry a wide range of slot covers in different sizes and materials, allowing you to find the exact ones you need for your PC case.
When purchasing slot covers, it’s essential to ensure they are compatible with your PC case. If possible, refer to your PC case manual or manufacturer’s website for recommendations on compatible slot covers. This information can help you make the right choice and avoid purchasing covers that do not fit properly.
If you are unable to find specific slot covers for your PC case, you may consider purchasing a slot cover kit. These kits typically include multiple sizes of slot covers, allowing you to find the closest match for your open slots. However, keep in mind that using slot covers that are slightly smaller than the openings may leave small gaps, whereas using slot covers that are slightly larger may result in a bulkier appearance.
An alternative option is to contact the PC case manufacturer directly. They may be able to provide you with the specific slot covers designed for your case. This is particularly useful if you have a rare or custom PC case that requires unique slot covers.
Once you have purchased the correct slot covers, you are ready to move on to the next step: powering off the computer and disconnecting cables.
Step 4: Power Off the Computer and Disconnect Cables
Before proceeding with any work inside your PC case, it is essential to power off the computer and disconnect all cables. This step ensures your safety and prevents potential damage to your computer components.
Start by shutting down your computer through the operating system. Save any open files or documents and close all applications before selecting the “Shut Down” option.
Once your computer has fully powered off, locate the main power switch on the back of the computer case. Flip the switch to the “Off” position to ensure that no power is flowing to the internal components.
Next, disconnect all cables from the back of the computer case. This includes the power cable, monitor cable, keyboard cable, mouse cable, and any other peripherals that may be connected.
Take care when disconnecting cables to avoid damaging the connectors or causing undue strain on the cables. Gently apply pressure to the connector and pull it straight out.
It’s important to note that some cables, such as those connected to the motherboard or power supply, may be firmly secured with clips or latches. Release these clips or latches before attempting to remove the cables.
Make sure to keep track of which cables go where, as this will make reassembling the computer easier later on. You can take a photograph or label the cables if necessary.
By properly powering off the computer and disconnecting cables, you have ensured your safety and prepared the computer for the next steps. It’s now time to move on to step 5: opening the PC case.
Step 5: Open the PC Case
Now that you have powered off the computer and disconnected all cables, it’s time to open the PC case. Opening the case will give you access to the internal components, including the open PC case slots that need to be closed.
The exact method of opening the PC case can vary depending on the design of your case. Here are some common steps to follow:
- Locate the screws or latches securing the side panel of the PC case. These are typically located on the back or one side of the case.
- If your case has screws, use a compatible screwdriver to remove them. Set the screws aside in a safe place.
- If your case has latches, press or slide them to unlock the side panel.
- Gently slide or lift the side panel off the case and set it aside. Be careful as the panel may still be connected to the case by cables or other fasteners.
Once you have successfully opened the PC case, take a moment to familiarize yourself with the internal layout. Locate the open PC case slots that need to be closed. These slots will be visible and accessible from the inside of the case.
While the case is open, it’s also an excellent opportunity to inspect the components inside and clean any accumulated dust or debris with a soft brush or compressed air. This will help maintain proper airflow and prevent any potential issues.
Remember to handle the internal components with care and avoid applying excessive pressure or touching any exposed circuitry. This will help prevent accidental damage to sensitive parts of the computer.
Now that you have opened the PC case and identified the open slots, it’s time to proceed to step 6: removing the existing slot covers.
Step 6: Remove Existing Slot Covers
With the PC case open and the open slots identified, the next step is to remove the existing slot covers from the PC case. These covers are typically installed to protect the slots during shipping or to prevent dust from entering before components are installed.
Here’s how you can remove the existing slot covers:
- Locate the screws or latches holding the slot covers in place. These may be on the inside or outside of the case, depending on the case design.
- If there are screws, use a compatible screwdriver to carefully unscrew them. Set the screws aside in a safe place.
- If there are latches, press or slide them to release the slot covers.
- Gently pull or slide the slot covers out of the slots, being cautious not to damage any surrounding components or cables.
If the slot covers are firmly secure or difficult to remove, check the PC case manual or manufacturer’s instructions for any specific guidelines on removing them.
As you remove the slot covers, be mindful of their orientation and keep track of which slot covers correspond to which open slots. This will help ensure that you install the correct slot covers in the following steps.
Once you have successfully removed the existing slot covers, set them aside for future use or discard them if they are no longer needed.
With the existing slot covers removed, you are now ready to move on to step 7: installing the new slot covers to close up the open PC case slots.
Step 7: Install the New Slot Covers
Now that you have removed the existing slot covers, it’s time to install the new slot covers to close up the open PC case slots. These new covers will help improve airflow, protect against dust, and enhance the overall aesthetics of your PC build.
Here’s how you can install the new slot covers:
- Take one of the new slot covers that matches the size and type of the open slot.
- Align the slot cover with the corresponding open slot on the PC case.
- Carefully insert the slot cover into the opening, ensuring that it fits flush with the case.
- If the slot cover has screws, secure them using a compatible screwdriver. Be careful not to overtighten the screws, as this may damage the slot cover or the case.
- Repeat the process for each open slot, installing the suitable slot covers one by one.
As you install the new slot covers, double-check that they are aligned correctly and fully inserted into the slots. This will ensure a secure fit and proper closure.
If your new slot covers have dust filters or mesh panels, make sure they are oriented correctly as well. Dust filters should face the exterior of the case to effectively trap dust particles, while mesh panels should be positioned to allow for optimal airflow.
Once you have installed all the new slot covers and ensured their proper alignment, take a moment to inspect the slots from the outside of the PC case. Ensure that all the covers are securely in place and fit seamlessly with the case.
With the new slot covers installed, you have successfully closed up the open PC case slots. In the next step, we will move on to closing the PC case.
Step 8: Close the PC Case
Now that you have installed the new slot covers to close up the open PC case slots, it’s time to securely close the PC case. Properly closing the case ensures the protection of your internal components, maintains proper airflow, and ensures a clean and polished overall appearance.
Here’s how you can close the PC case:
- If you had removed the side panel earlier, carefully align it back into position.
- If your PC case has screws to secure the side panel, use a compatible screwdriver to tighten them. Begin by lightly tightening them in a diagonal pattern, and then gradually tighten them until they are secure.
- If your PC case has latches, press or slide them to lock the side panel into place.
- Ensure that the side panel is flush with the case and that there are no gaps or misalignments.
Once you have closed the PC case, give it a gentle shake or tap to ensure that the side panel is securely attached and does not move or rattle. This will help verify that the case is properly closed and the internal components are well-protected.
Take a moment to inspect the PC case from the outside to ensure that it appears clean and tidy. Check for any loose cables or obstructions that may interfere with the proper closure of the case.
With the PC case securely closed, you have successfully completed this step. All that’s left now is to move on to the final step: powering on the computer.
Step 9: Power On the Computer and Test
After closing the PC case, it’s time to power on the computer and test whether the newly installed slot covers have effectively closed the open slots. This final step will ensure that your computer is functioning properly and that the closed slots are not causing any issues.
Here’s how you can power on the computer and test it:
- Reconnect all the cables that you had removed earlier, including the power cable, monitor cable, keyboard cable, mouse cable, and any other peripherals.
- Ensure that the cables are securely connected, with no loose or partially attached connectors.
- Double-check that all the connections are in the correct ports and that nothing is obstructing the way.
- Flip the main power switch on the back of the computer case to the “On” position.
- Press the Power button on your computer to turn it on.
- Observe the computer’s boot process and check whether it powers on correctly and without any error messages.
- If the computer starts up smoothly and without any issues, you can consider the test successful.
- To ensure that the closed slots are not causing any problems, test the functionality of the components connected to the remaining slots.
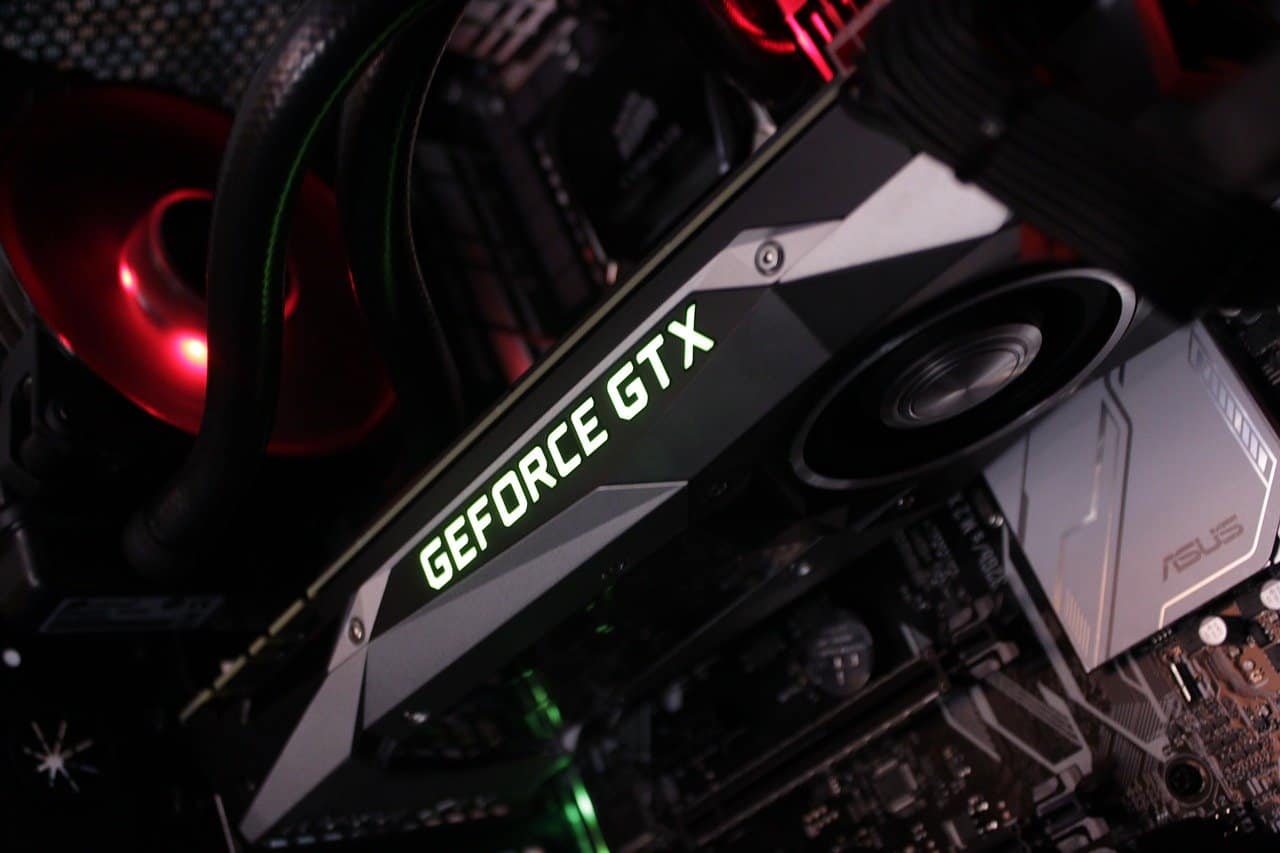
- Check if your graphics card, sound card, USB ports, or any other expansion cards that were connected to the open slots are working as expected.
If you encounter any problems or if the computer doesn’t start up properly, double-check the connections and ensure that all components are seated correctly. If the issue persists, consult with a professional or seek assistance from technical support.
With the computer powered on and functioning properly, you have successfully closed up the open PC case slots and ensured that your components are working as intended.
Congratulations! You have completed the steps to close up open PC case slots. Your computer should now have improved airflow, reduced dust accumulation, and a more polished appearance.
Remember that periodically checking and maintaining your PC case is important for the overall health and longevity of your computer. Cleaning the case and ensuring that the slots remain closed will go a long way in maintaining optimal performance and protecting your valuable components.
Conclusion
Closing up open PC case slots is a simple yet crucial task that can greatly benefit the performance and longevity of your computer. By following the step-by-step instructions outlined in this guide, you have learned how to identify the open slots, determine the size and type of slot covers needed, purchase the correct covers, power off the computer, open the PC case, remove existing slot covers, install new slot covers, close the PC case, power on the computer, and test its functionality.
By closing the open slots, you have improved the overall airflow within the PC case, ensuring efficient cooling of your components. The closed slots prevent dust and debris from entering the case, reducing the risk of overheating and potential hardware issues. Additionally, closing the slots adds to the visual appeal of your computer by creating a cleaner and more organized appearance.
Remember to periodically check and maintain your PC case, ensuring that the closed slots remain free from dust and debris. Regularly cleaning the case and checking the functionality of your components will help maintain optimal performance and protect your valuable hardware.
With the completion of this guide, you now have the knowledge and skills to confidently close up open PC case slots. Enjoy the enhanced performance, cleanliness, and aesthetics of your computer!