Introduction
Welcome to our guide on how to put a graphics card in your PC! If you’re looking to upgrade your computer’s graphics capabilities or replace a faulty graphics card, you’ve come to the right place. Adding a graphics card to your PC can significantly enhance your gaming experience, improve video editing capabilities, and boost overall graphics performance for various applications.
With the advancement of technology, graphics cards have become increasingly powerful and essential components in modern computers. They handle the heavy lifting when it comes to rendering images, videos, and displaying graphics-intensive applications. By installing a dedicated graphics card, you free up your computer’s CPU and memory capacity, allowing them to focus on other tasks and ensuring smooth performance.
Before we dive into the step-by-step process, it’s important to note that while adding a graphics card may seem intimidating for some, it is actually a straightforward process that doesn’t require advanced technical knowledge. However, it’s always a good idea to approach this task with caution and ensure you have the necessary tools and take appropriate safety measures.
In this guide, we will walk you through the process of installing a graphics card into your PC, providing detailed instructions and tips to help you along the way. From gathering the necessary tools to connecting the power cables, we’ve got you covered. So, let’s get started on transforming your PC into a graphics powerhouse!
Step 1: Gather your tools
Before you begin the installation process, it’s crucial to have the right tools and equipment on hand. This ensures a smooth and efficient installation without any hiccups. Here are the essential tools you’ll need:
- Screwdriver: Depending on your computer case, you may need a Phillips or flathead screwdriver to open the case and secure the graphics card.
- Anti-static wrist strap: This is an optional but recommended accessory that helps protect sensitive electronic components from static electricity during the installation process.
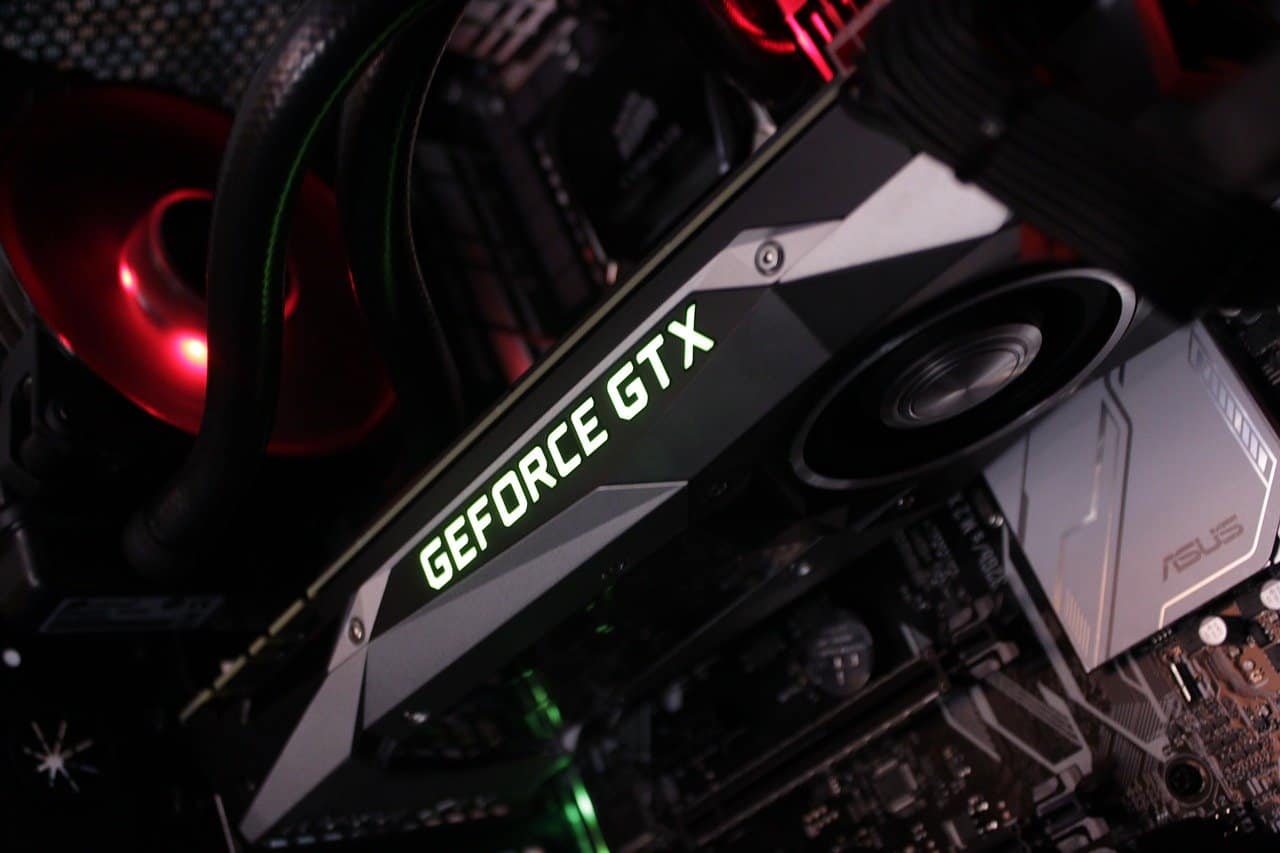
- Graphics card: Of course, you’ll need the graphics card itself. Make sure it is compatible with your motherboard and has the necessary power requirements.
- Power cables: Check if your graphics card requires additional power connections. If so, ensure you have the appropriate power cables available.
- User manual: While not a physical tool, having the user manual for your graphics card handy can be incredibly useful for reference.
Once you have gathered all the necessary tools, make sure you have a clean and well-lit workspace. It’s important to work in an area with enough room to maneuver and avoid any potential accidents. Additionally, ensure that you are grounded and free from any static buildup by either using an anti-static wrist strap or touching a grounded metal object before handling any sensitive components.
By having the tools readily available, you can streamline the installation process and make it a hassle-free experience. With everything in place, you’re now ready to move on to the next step: turning off your computer and preparing it for the graphics card installation.
Step 2: Turn off your computer and unplug it
Before you begin working inside your computer, it’s crucial to completely shut it down and unplug it from the power source to ensure safety. Follow these steps to turn off and unplug your computer:
- Save any open files and close all applications running on your computer.
- Click on the Start button in the bottom left corner of your screen and select “Shut Down” or “Power Off” from the menu. Wait for your computer to fully shut down before proceeding.
- Once your computer is shut down, locate the power cord connected to the back of your computer and unplug it from the power outlet. This step is extremely important as it ensures you’re working with no electrical current running through your computer.
- If you’re using a laptop, make sure to disconnect the charger as well.
By turning off and unplugging your computer, you eliminate the risk of electric shock and prevent any accidental damage to the components. It’s always better to be cautious and take these necessary steps before proceeding.
Once your computer is safely powered down and disconnected from the power source, you’re ready to move on to the next step: opening the computer case.
Step 3: Open the computer case
To install a graphics card, you’ll need to gain access to the internal components of your computer. Follow these steps to open the computer case:
- For a desktop computer: Locate the screws or latches on the back panel of your computer case. Unscrew the screws or release the latches to remove the side panel. You may need to slide the panel toward the back of the case before lifting it off. Set the panel aside in a safe place.
- For a laptop: Most laptops don’t require opening the case to install a graphics card. However, if you have a gaming laptop or a laptop with an external graphics card dock, refer to the manufacturer’s instructions on how to access the internal components.
Once you have successfully opened the computer case, you’ll have a clear view of the internal components of your computer. Take a moment to familiarize yourself with the layout and locate the PCIe slots, which you’ll be using to install the graphics card in the next steps.
Remember to handle the computer case and its components with care to avoid any accidental damage. Avoid touching any exposed circuit boards or components, as static electricity can harm sensitive parts. If you have an anti-static wrist strap, now is the time to put it on to prevent any static discharge.
Now that you have successfully opened the computer case, let’s move on to the next step: locating the PCIe slot where you’ll insert the graphics card.
Step 4: Locate the PCIe slot
Before you can insert the graphics card, it’s essential to locate the PCIe slot on your motherboard. The PCIe (Peripheral Component Interconnect Express) slot is where the graphics card will be installed to establish a connection with your computer’s motherboard. Follow these steps to find the PCIe slot:
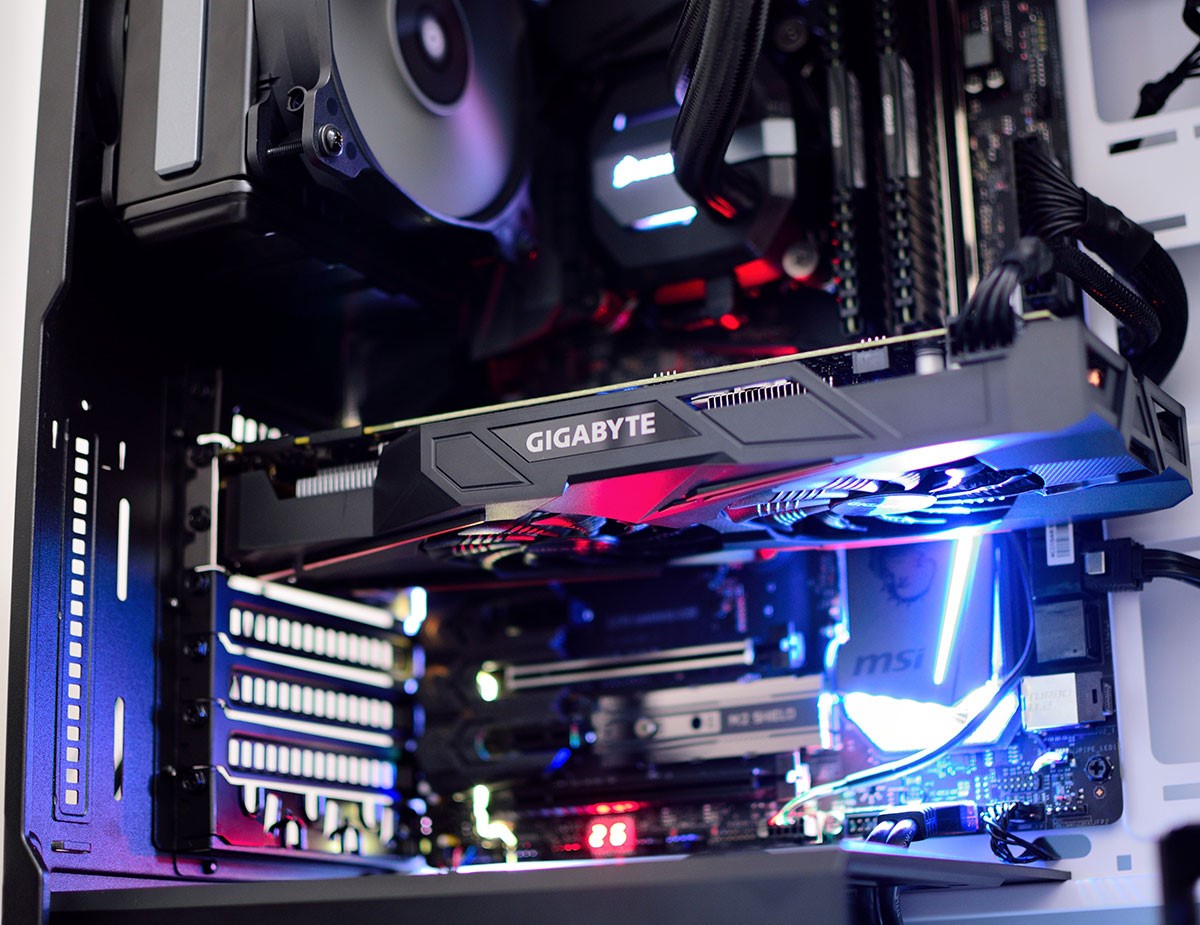
- Look for the long, narrow slots on the motherboard. These are PCIe slots, and they are usually located below the processor and memory slots.
- Identify the PCIe x16 slot, which is the primary slot for graphics cards. It is typically the longest slot and is designed to accommodate high-performance graphics cards.
- If there are multiple PCIe x16 slots, check your computer’s documentation or the motherboard manufacturer’s website to determine the optimal slot for installing your graphics card. The primary slot is usually the one closest to the processor.
Take the time to inspect the PCIe slot and ensure that it is free from any obstructions or debris. Cleaning the slot with compressed air can help remove any dust or debris that may have accumulated over time and ensure a smooth installation process.
By locating the PCIe slot before proceeding, you have a clear understanding of where the graphics card will be installed. With this information in mind, you’re ready to move on to the next step: removing the protective cover from the PCIe slot.
Step 5: Remove the protective cover from the PCIe slot
Before inserting the graphics card into the PCIe slot, you’ll need to remove the protective cover that is usually placed over the slot. This cover helps to protect the slot from dust, debris, and physical damage during transportation and storage. Follow these steps to remove the protective cover:
- Locate the PCIe slot where you will be installing the graphics card.
- Identify the small screw or latch that is holding the protective cover in place.
- Using a screwdriver or your fingers, unscrew or release the screw or latch to loosen the cover.
- Gently lift the cover away from the PCIe slot and set it aside. Keep it in a safe place in case you need to reinstall it in the future.
Once the protective cover has been removed, take a moment to inspect the PCIe slot again. Ensure that no debris or obstructions are present, as this can affect the graphics card’s installation and performance. If necessary, blow compressed air into the slot to remove any dust or debris that may have accumulated.
By removing the protective cover, you’ve prepared the PCIe slot to receive the graphics card. The next step will guide you on how to prepare the graphics card itself before inserting it into the slot.
Step 6: Prepare the graphics card
Now that the PCIe slot is ready, it’s time to prepare the graphics card for installation. Follow these steps to ensure the graphics card is ready for insertion:
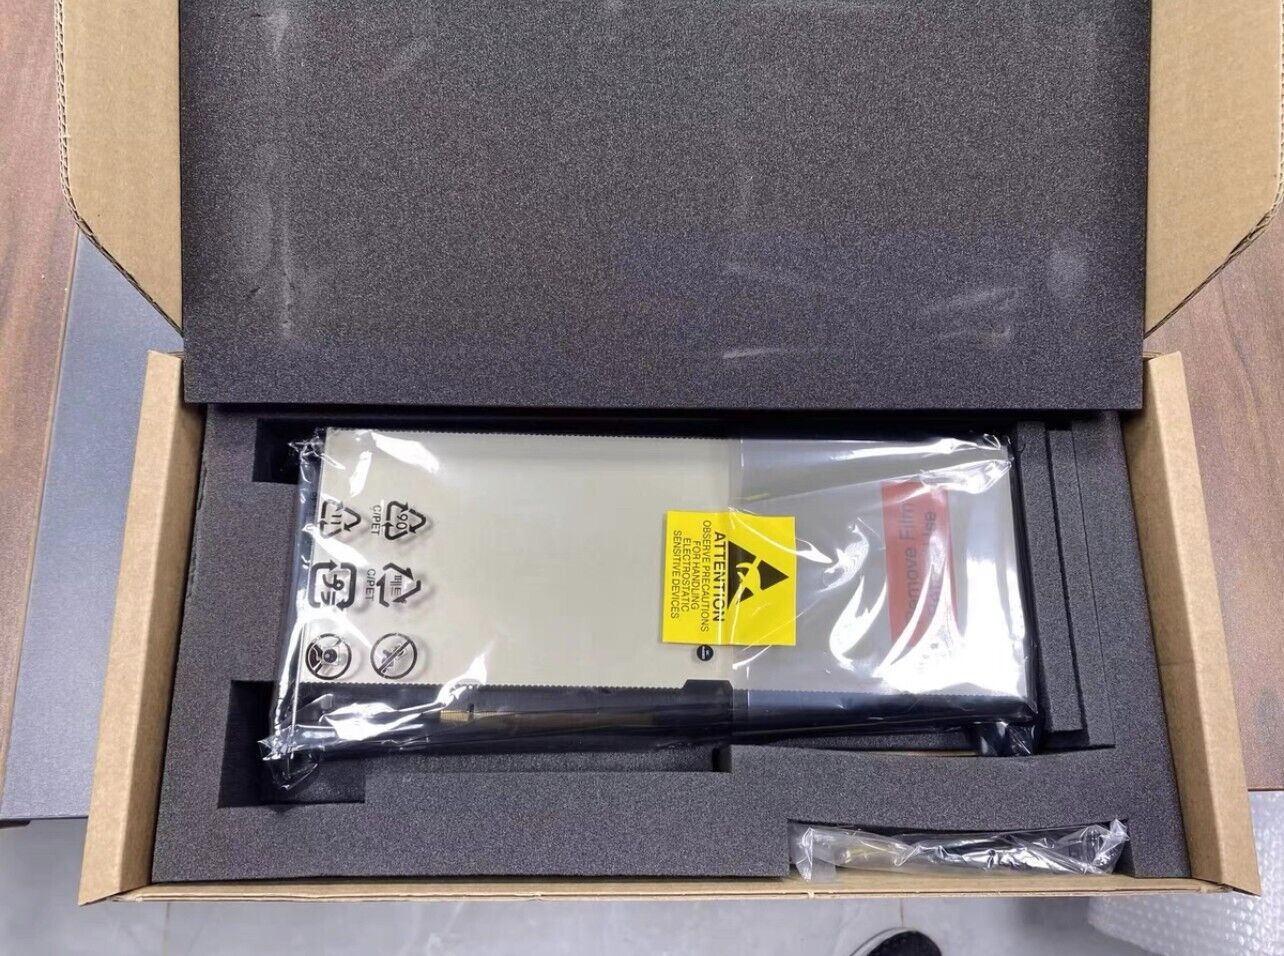
- Begin by carefully removing the graphics card from its packaging. Be sure to hold it by the edges and avoid touching any of the sensitive components or circuits.
- Take a moment to inspect the graphics card for any visible damage or manufacturing defects. Look for any bent pins, loose cables, or signs of physical damage. If you notice any issues, contact the manufacturer for assistance.
- Check if your graphics card requires additional power connections. Most high-performance graphics cards require supplementary power to function properly. Look for the appropriate power connectors on the graphics card and ensure you have the necessary power cables available.
- If your graphics card has a plastic protective cover over the connectors, gently remove it. Avoid touching the gold contacts on the card or expose it to static electricity to prevent any damage.
Before proceeding, it’s a good idea to consult the user manual provided with your graphics card. The manual will provide specific instructions and guidelines unique to your card model.
By preparing the graphics card beforehand, you ensure a smooth installation process and minimize the risk of accidental damage. Once the graphics card is ready, you’re now ready to move on to the next step: inserting the graphics card into the PCIe slot.
Step 7: Insert the graphics card into the PCIe slot
With the PCIe slot prepared and the graphics card ready, it’s time to insert the graphics card into the slot. Follow these steps to ensure a proper installation:
- Hold the graphics card by its edges, making sure to avoid touching any of the sensitive components or circuits.
- Align the gold contacts on the bottom of the graphics card with the PCIe slot on the motherboard.
- Gently and evenly insert the graphics card into the PCIe slot, applying equal pressure on both ends. Be careful not to force the card into the slot as it should fit smoothly.
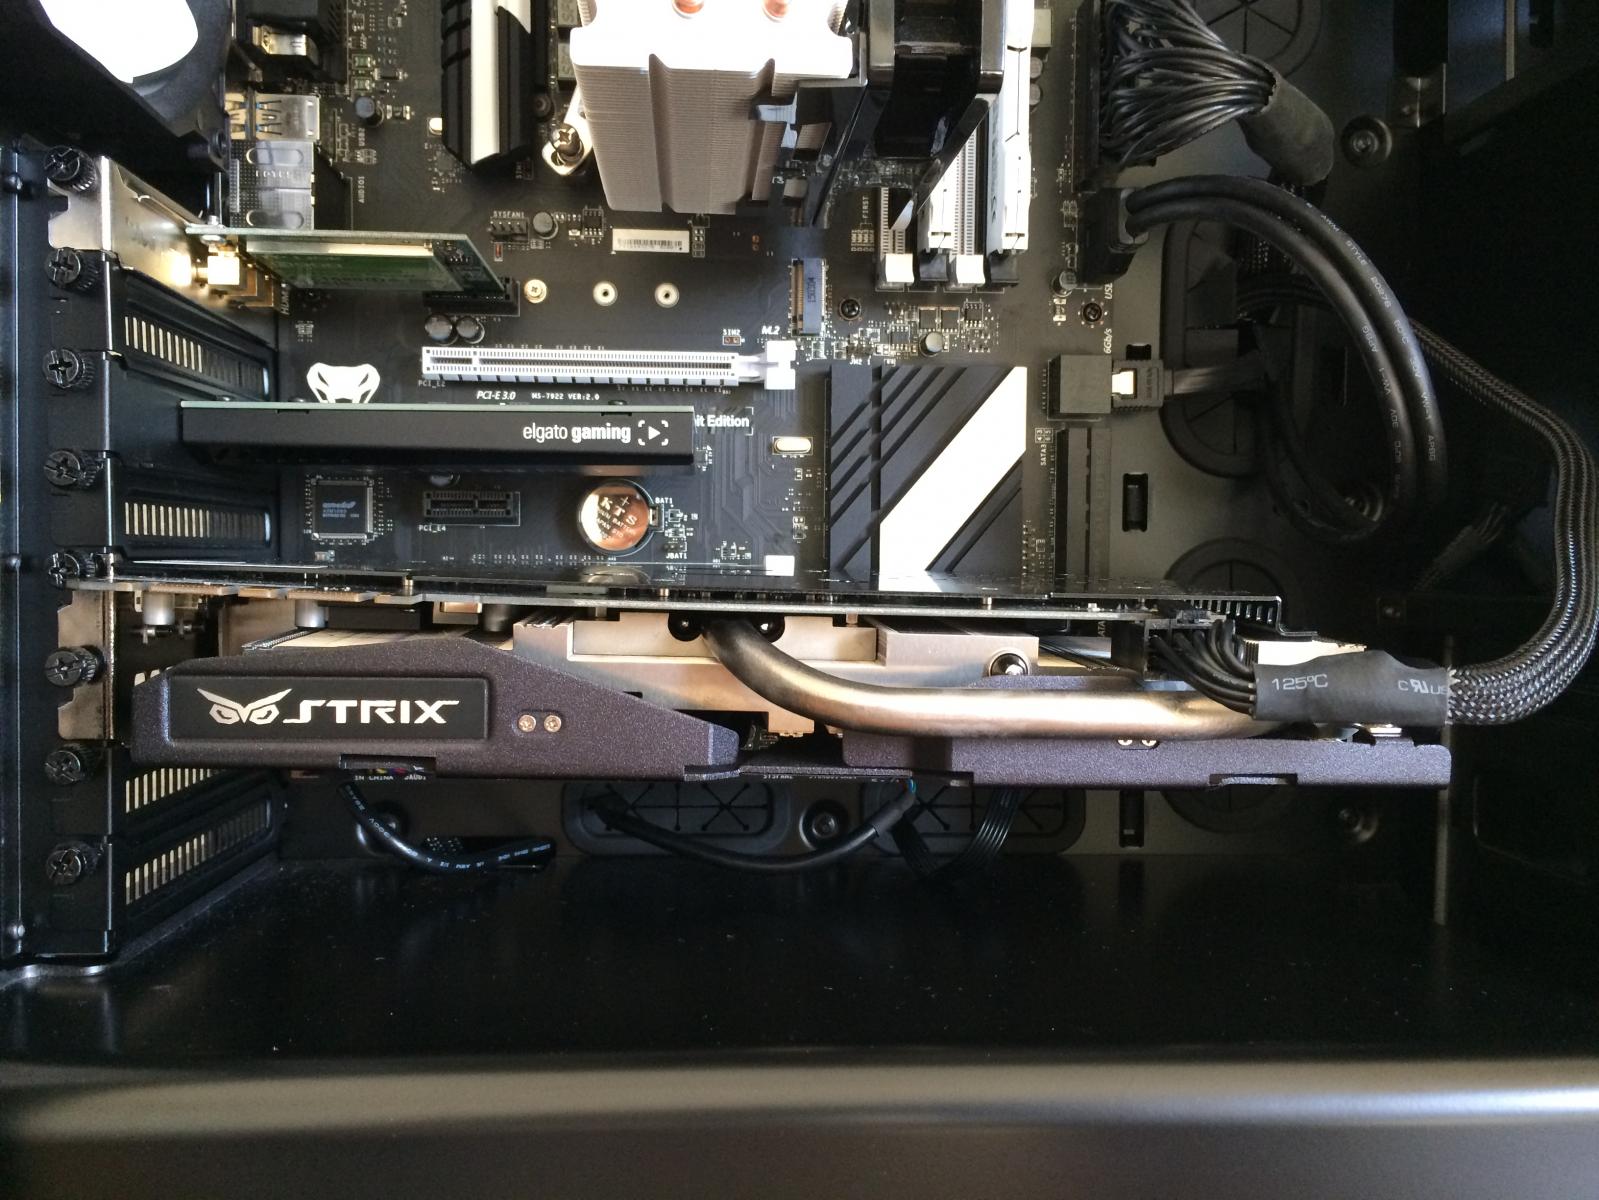
- Once fully inserted, the graphics card should be parallel to the motherboard and securely seated in the PCIe slot. Ensure that the metal bracket at the rear of the card aligns with the opening in the computer case.
It’s important to note that different graphics cards may have different installation mechanisms. Some cards may require you to press down on a latch or secure the card with screws. Refer to your graphics card’s user manual to determine if any additional steps or precautions are necessary.
Take a moment to double-check the installation, making sure the graphics card is correctly seated and securely in place. A loose graphics card can cause instability and disconnection issues.
With the graphics card successfully inserted into the PCIe slot, you’re now ready to move on to the next step: securing the graphics card with screws.
Step 8: Secure the graphics card with screws
After inserting the graphics card into the PCIe slot, it’s important to secure it in place using screws. This step ensures that the card remains firmly attached to the motherboard and prevents any accidental dislodging. Follow these steps to securely fasten the graphics card:
- Locate the screw holes on the metal bracket at the rear of the graphics card. These holes are typically positioned near the edges of the card.
- Using a screwdriver, align the screws with the holes and carefully tighten them. Be sure not to overtighten, as this can damage the graphics card or the PCIe slot.
- If your graphics card requires additional support brackets or screws, check the user manual for instructions on how to properly install them.
Securing the graphics card with screws provides stability and helps in maintaining a proper connection with the PCIe slot. It’s advisable to use all the available screw holes on the bracket for maximum support. If your graphics card doesn’t have any screw holes, double-check the user manual to ensure that it doesn’t require any other type of secure attachment.
Once you have securely fastened the graphics card, take a moment to inspect the installation, ensuring that the card is aligned properly and the screws are tightened correctly. This ensures a firm and stable connection between the graphics card and the motherboard.
With the graphics card securely in place, we can now move on to the next step: connecting power cables to the graphics card.
Step 9: Connect power cables to the graphics card
Once the graphics card is securely installed, you may need to provide it with additional power connections to ensure optimal performance. Many high-performance graphics cards require extra power to operate at their full potential. Follow these steps to connect the power cables to the graphics card:
- Identify the power connectors on the graphics card. These connectors are usually located on the side or top edge of the card.
- Check your power supply unit (PSU) for the necessary power cables. Most modern power supplies come with dedicated PCIe power cables.
- Ensure the power cables are the correct type and have the appropriate connectors that match the graphics card’s power sockets. The connectors may be either six-pin or eight-pin PCIe connectors.
- Insert each power cable securely into the corresponding power socket on the graphics card. Be careful not to force the connectors, and make sure they are aligned correctly before pushing them in.
- If your graphics card requires multiple power connections, make sure to connect each one according to the manufacturer’s instructions.
It’s crucial to provide the necessary power to your graphics card to prevent stability issues and ensure optimal performance. Neglecting to connect the power cables can result in the graphics card not working or performing below its potential.
After connecting the power cables, take a moment to double-check the connection. Ensure that each cable is securely attached and that there are no loose connections. This will minimize the risk of power interruptions or disconnections while using the graphics card.
With the power cables properly connected, you’re now ready to move on to the next step: closing the computer case.
Step 10: Close the computer case
Now that the graphics card is successfully installed and all the necessary connections are in place, it’s time to close the computer case. Safely closing the case ensures the internal components are protected and reduces the risk of dust or debris entering the system. Follow these steps to securely close the computer case:
- First, check that all the cables inside the case are neatly organized and not obstructing any fans or components.
- Gently place the side panel back onto the computer case, aligning it with the screw holes or latches.
- If your case requires screws, use the appropriate screwdriver to secure the side panel in place. Start by loosely screwing in the first screw, then move to the opposite side and do the same. Finally, tighten all the screws evenly to ensure a secure fit, but be cautious not to overtighten.
- Double-check that all edges of the side panel are flush with the case and there are no gaps or misalignments.
Properly closing the computer case is important for maintaining the internal components’ integrity and ensuring optimal performance. The secure housing protects the internal components from dust, debris, and accidental contact.
After closing the case, take a moment to give it a quick visual inspection, ensuring everything looks secure and in place. Additionally, check that the graphics card’s fan (if applicable) has enough clearance for proper airflow.
With the computer case closed and secured, you’re now ready for the final step: plugging in and turning on your computer.
Step 11: Plug in and turn on your computer
After successfully installing the graphics card and closing the computer case, it’s time to plug in and turn on your computer. Follow these steps to complete the installation process:
- Verify that all cables, including the power cable and any other peripherals, are properly connected to your computer.
- Plug the power cable back into the power outlet, ensuring a secure connection.
- Power on your computer by pressing the power button located on the front or top panel.
- As your computer boots up, pay attention to any on-screen prompts or messages. The system may recognize the new graphics card and install the necessary drivers automatically.
- If the drivers are not installed automatically, insert the driver installation disc that came with your graphics card into your computer’s optical drive. Follow the on-screen instructions to install the drivers manually. Alternatively, you can download the latest drivers directly from the manufacturer’s website.
Once your computer is up and running, you can verify that the graphics card is functioning properly. Check your device manager or graphics card control panel to confirm that the graphics card is detected and installed correctly.
It’s important to regularly update the graphics card’s drivers to ensure compatibility, performance improvements, and access to the latest features. You can check for driver updates through the manufacturer’s website or use software tools specifically designed for driver updates.
Congratulations! You have successfully installed a graphics card in your PC. Enjoy the enhanced graphics performance, improved gaming experience, and increased visual capabilities that the new card brings.
Conclusion
Installing a graphics card in your PC is an excellent way to upgrade your computer’s graphics capabilities and enhance its overall performance. By following the step-by-step guide outlined in this article, you can successfully install a graphics card and reap the benefits it offers.
Throughout the installation process, we covered important steps such as gathering the necessary tools, turning off and unplugging your computer, opening the computer case, locating the PCIe slot, removing the protective cover, preparing the graphics card, inserting it into the PCIe slot, securing it with screws, connecting power cables, closing the computer case, and finally, plugging in and turning on your computer.
Remember to refer to the user manual provided with your graphics card for any specific instructions or additional guidance. It’s also crucial to handle the components with care, avoid static electricity, and ensure everything is properly connected before powering up your computer.
Once your computer is up and running with the new graphics card, you can enjoy improved gaming experiences, smoother video editing, and enhanced visuals for various applications. Additionally, regularly updating your graphics card’s drivers will ensure optimal performance and compatibility.
Installing a graphics card may seem daunting at first, but with some knowledge and the right tools, it can be a relatively simple process. By following the steps outlined in this guide, you can confidently install a graphics card and unlock the full potential of your computer.
Now that you have successfully installed a graphics card, it’s time to explore and enjoy the world of high-quality graphics and immersive experiences that await you!