Introduction
Welcome to the exciting world of virtual reality! If you’ve recently acquired a VR headset and want to connect it to your PC for an immersive VR experience, you’ve come to the right place. Whether you’re a gaming enthusiast or someone looking to explore virtual environments, connecting your VR headset to a PC opens up a whole new world of possibilities.
In this guide, we will walk you through the step-by-step process of connecting your VR headset to your PC. From checking PC compatibility to setting up tracking and configuring VR settings, we’ve got you covered. So, let’s dive in and get started on this virtual adventure!
Before we proceed, it’s important to note that different VR headsets may have their own specific requirements and instructions. However, the general process outlined in this guide will provide you with a good starting point for connecting most VR headsets to your PC.
So, whether you have an Oculus Rift, HTC Vive, or any other VR headset, let’s ensure that your PC meets the necessary requirements and get ready for an incredible VR journey!
Requirements
Before you begin the process of connecting your VR headset to your PC, there are a few prerequisites that need to be met. Ensuring that your PC meets the necessary requirements will help ensure a smooth and seamless VR experience. Here’s what you’ll need:
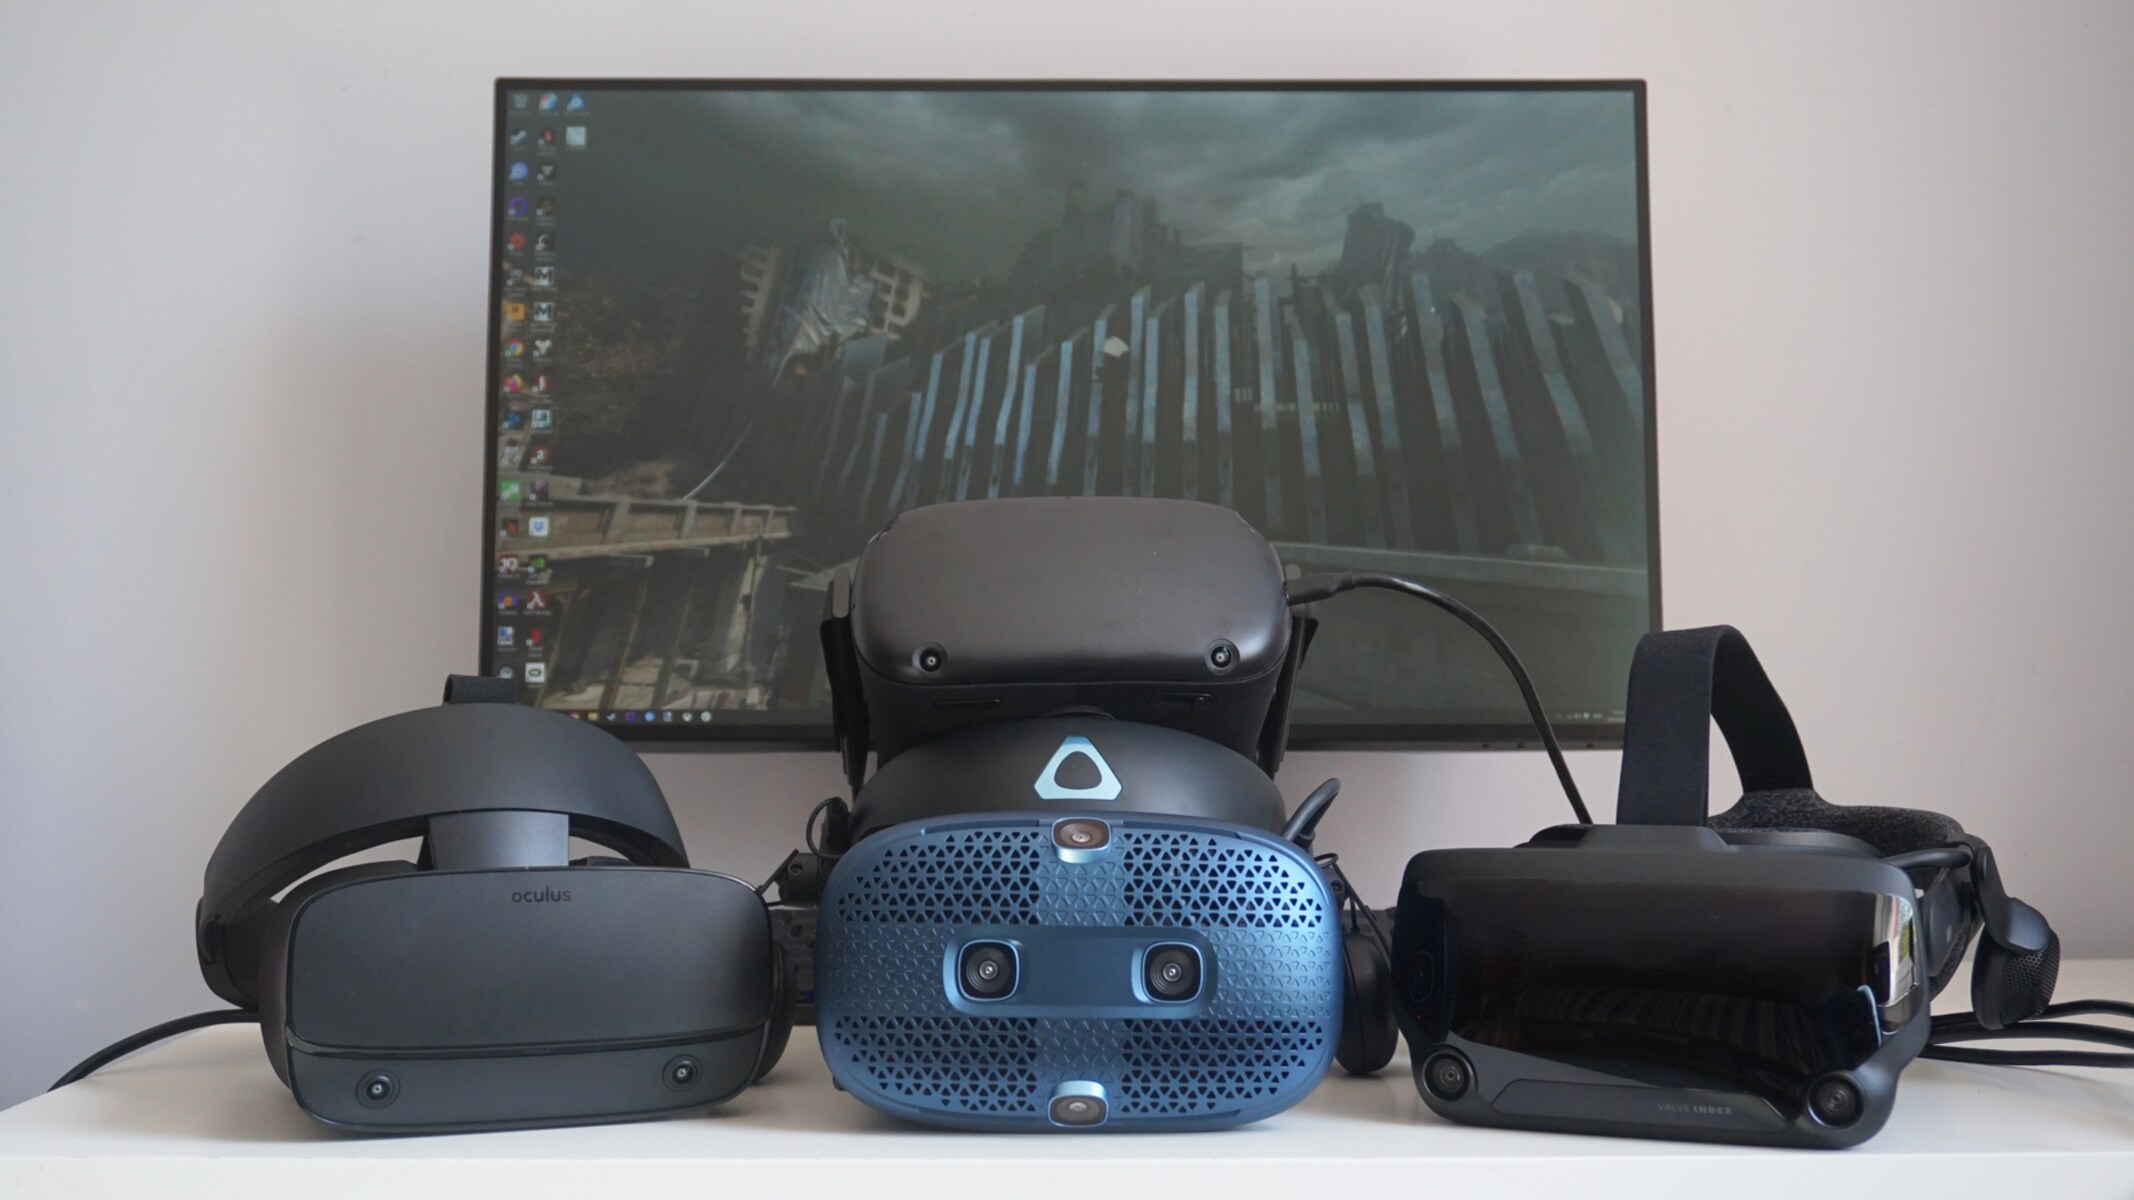
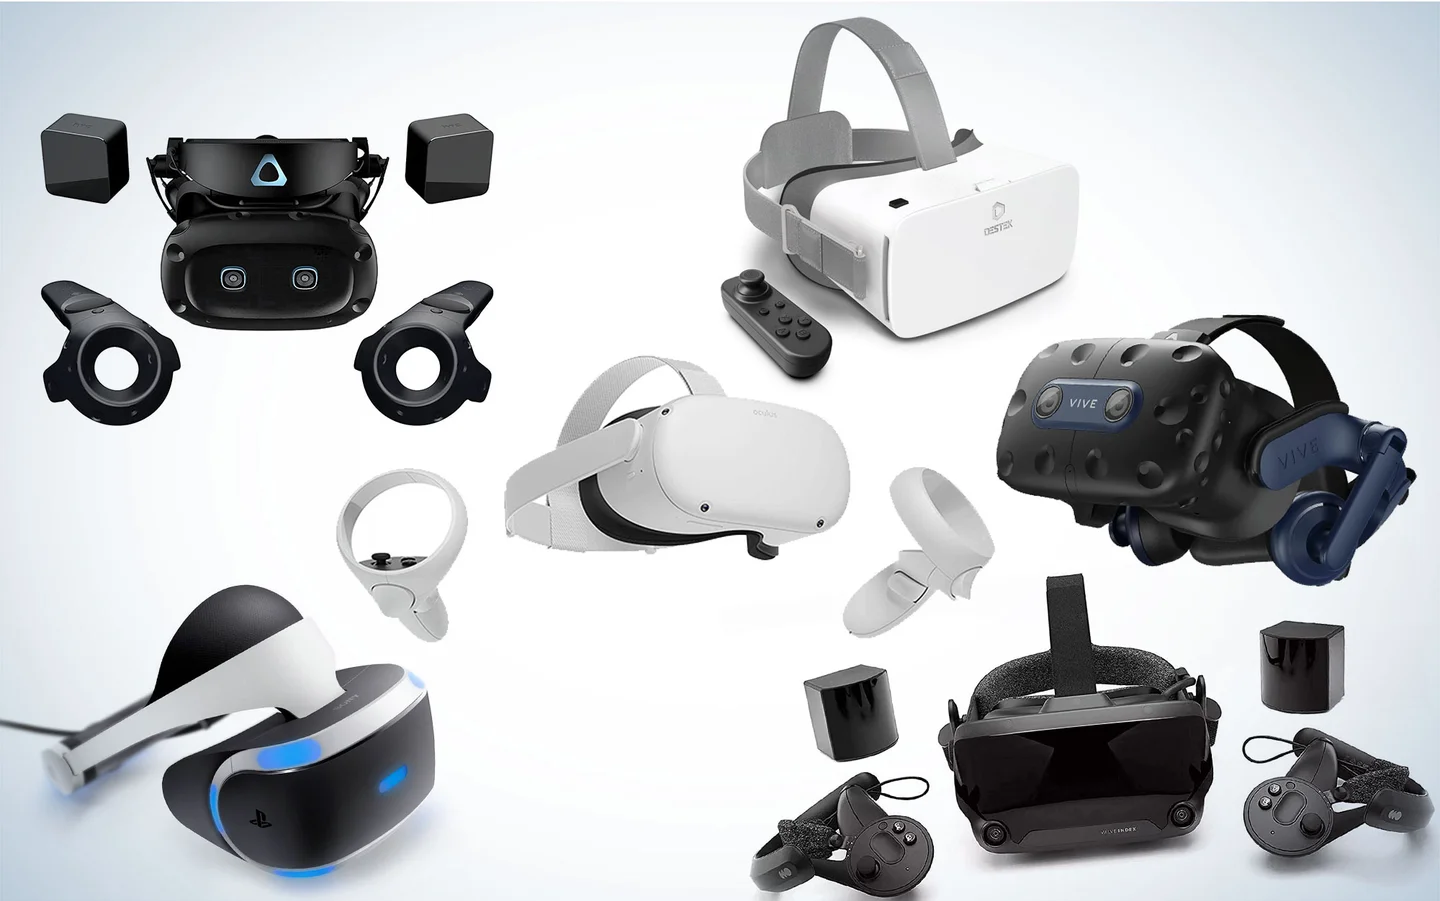
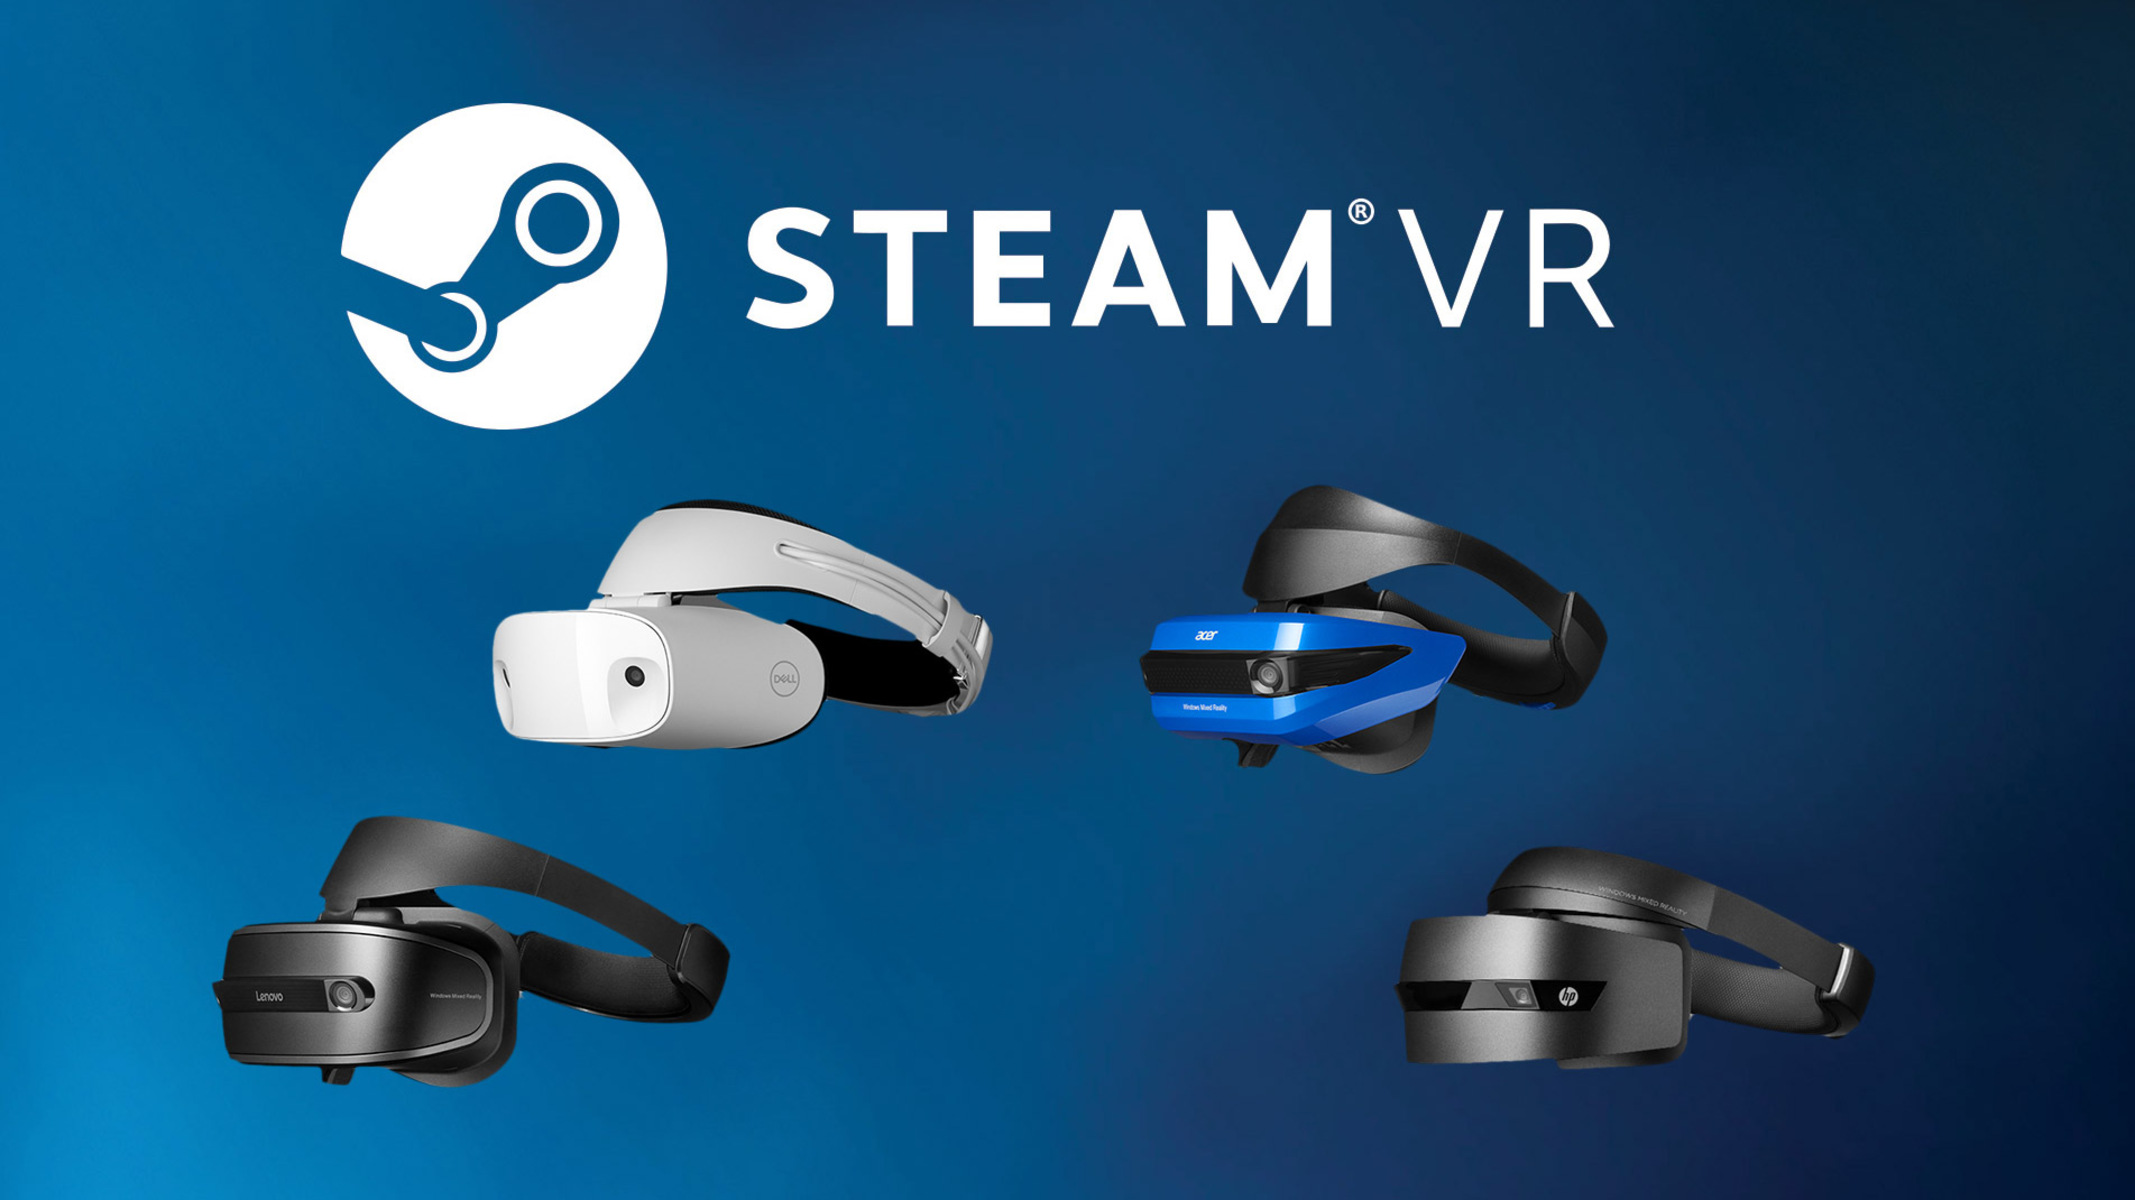
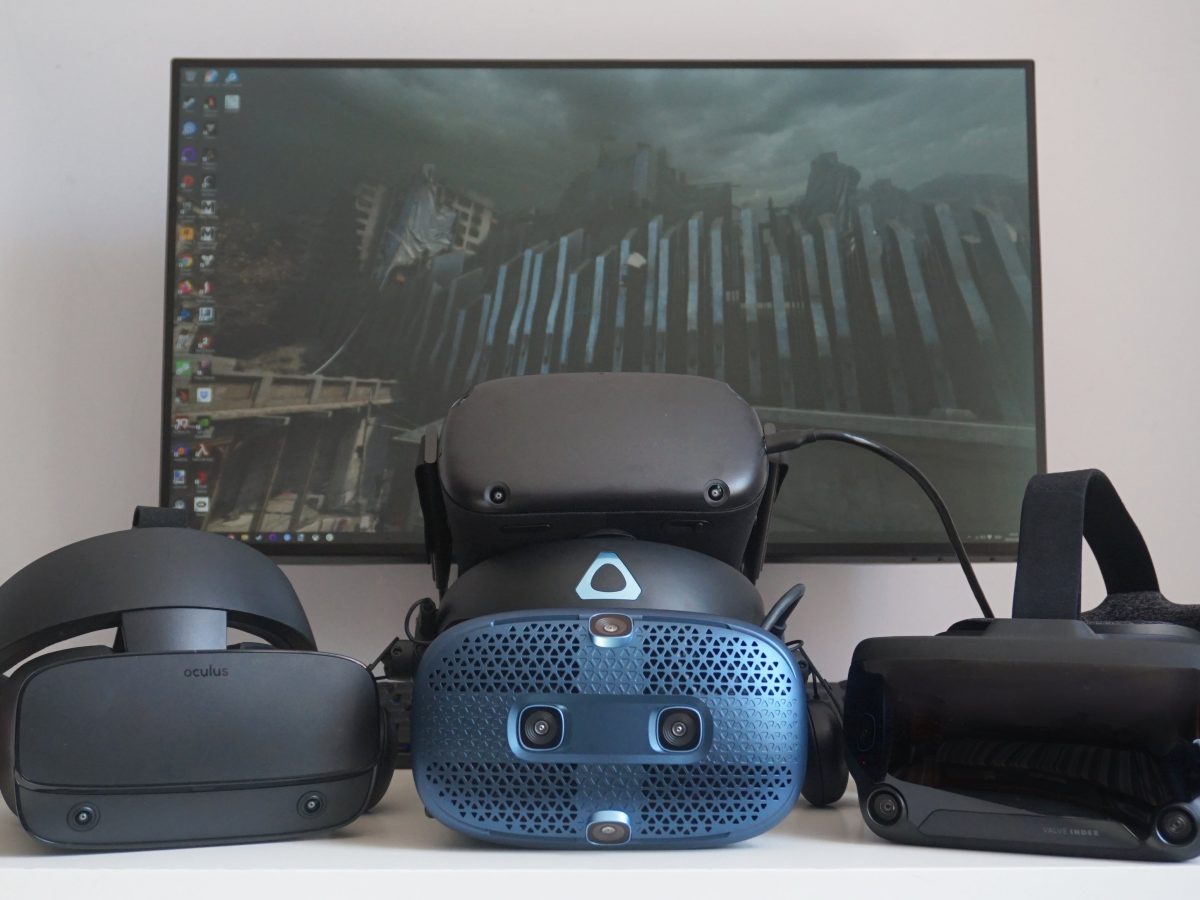
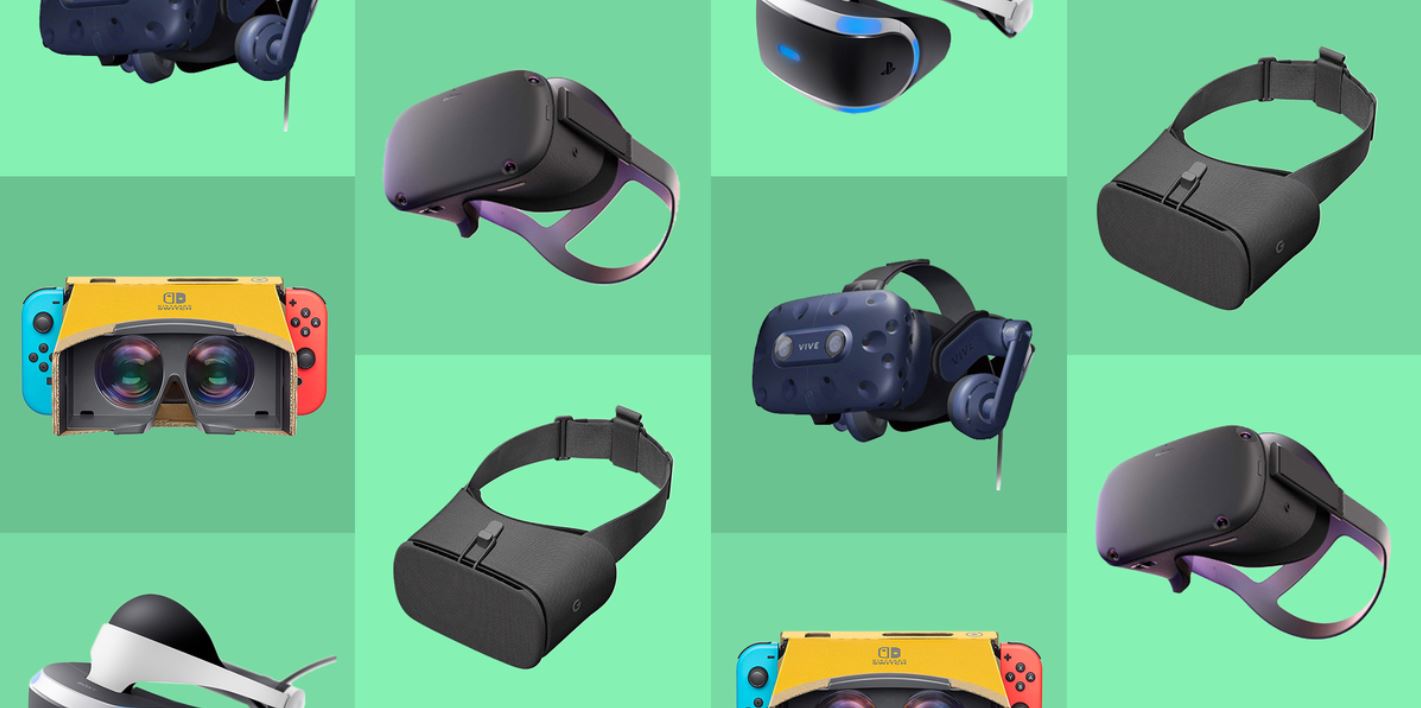
- A compatible VR headset: You’ll need a VR headset that is designed to be connected to a PC. Popular options include the Oculus Rift, HTC Vive, and Windows Mixed Reality headsets.
- A powerful PC: Virtual reality experiences require a lot of processing power, so it’s essential to have a capable PC. Check the recommended specifications provided by the VR headset manufacturer to ensure compatibility.
- A dedicated VR graphics card: To handle the demanding graphics and render high-resolution images, a dedicated VR graphics card is crucial. Look for a graphics card that is compatible with your VR headset and meets the recommended requirements.
- Ample storage space: VR games and applications can take up a significant amount of storage space. Ensure that your PC has enough free space to accommodate the VR content you’ll be downloading and installing.
- Headset accessories: Some VR headsets may require additional accessories, such as tracking sensors or controllers. Make sure you have all the necessary accessories that come with your headset.
- Operating system and software: Check the VR headset manufacturer’s website for the recommended operating system and software versions. Make sure your PC meets these requirements to ensure compatibility.
By ensuring that you have a compatible VR headset, a powerful PC with a VR graphics card, ample storage space, headset accessories, and the required operating system and software, you’re well on your way to connecting your VR headset to your PC.
Step 1: Check PC Compatibility
The first step in connecting your VR headset to your PC is to ensure that your computer meets the necessary compatibility requirements. This will ensure that your PC has the capability to deliver a seamless and immersive virtual reality experience.
To check your PC’s compatibility, you can follow these steps:
- Check the VR headset manufacturer’s website: Visit the official website of your VR headset manufacturer and look for the recommended system requirements. This will typically include details about the processor, RAM, graphics card, and operating system.
- Compare your PC’s specifications: Once you have the recommended system requirements, compare them to your PC’s specifications. Pay close attention to the processor speed, RAM capacity, and graphics card model. If your PC falls short in any of these areas, you may experience performance issues or compatibility problems.
- Upgrade if necessary: If your PC doesn’t meet the recommended requirements, you may need to consider upgrading certain components. Upgrading the graphics card or adding more RAM can significantly improve your VR experience. Consult with a professional or refer to the manufacturer’s guidelines for specific upgrade recommendations.
Remember, having a powerful and compatible PC is crucial for a smooth virtual reality experience. Neglecting to check compatibility may result in poor performance, frame rate drops, or even incompatibility issues that prevent you from using your VR headset altogether.
Once you have confirmed that your PC meets the necessary compatibility requirements, you can proceed to the next steps to connect your VR headset to your PC.
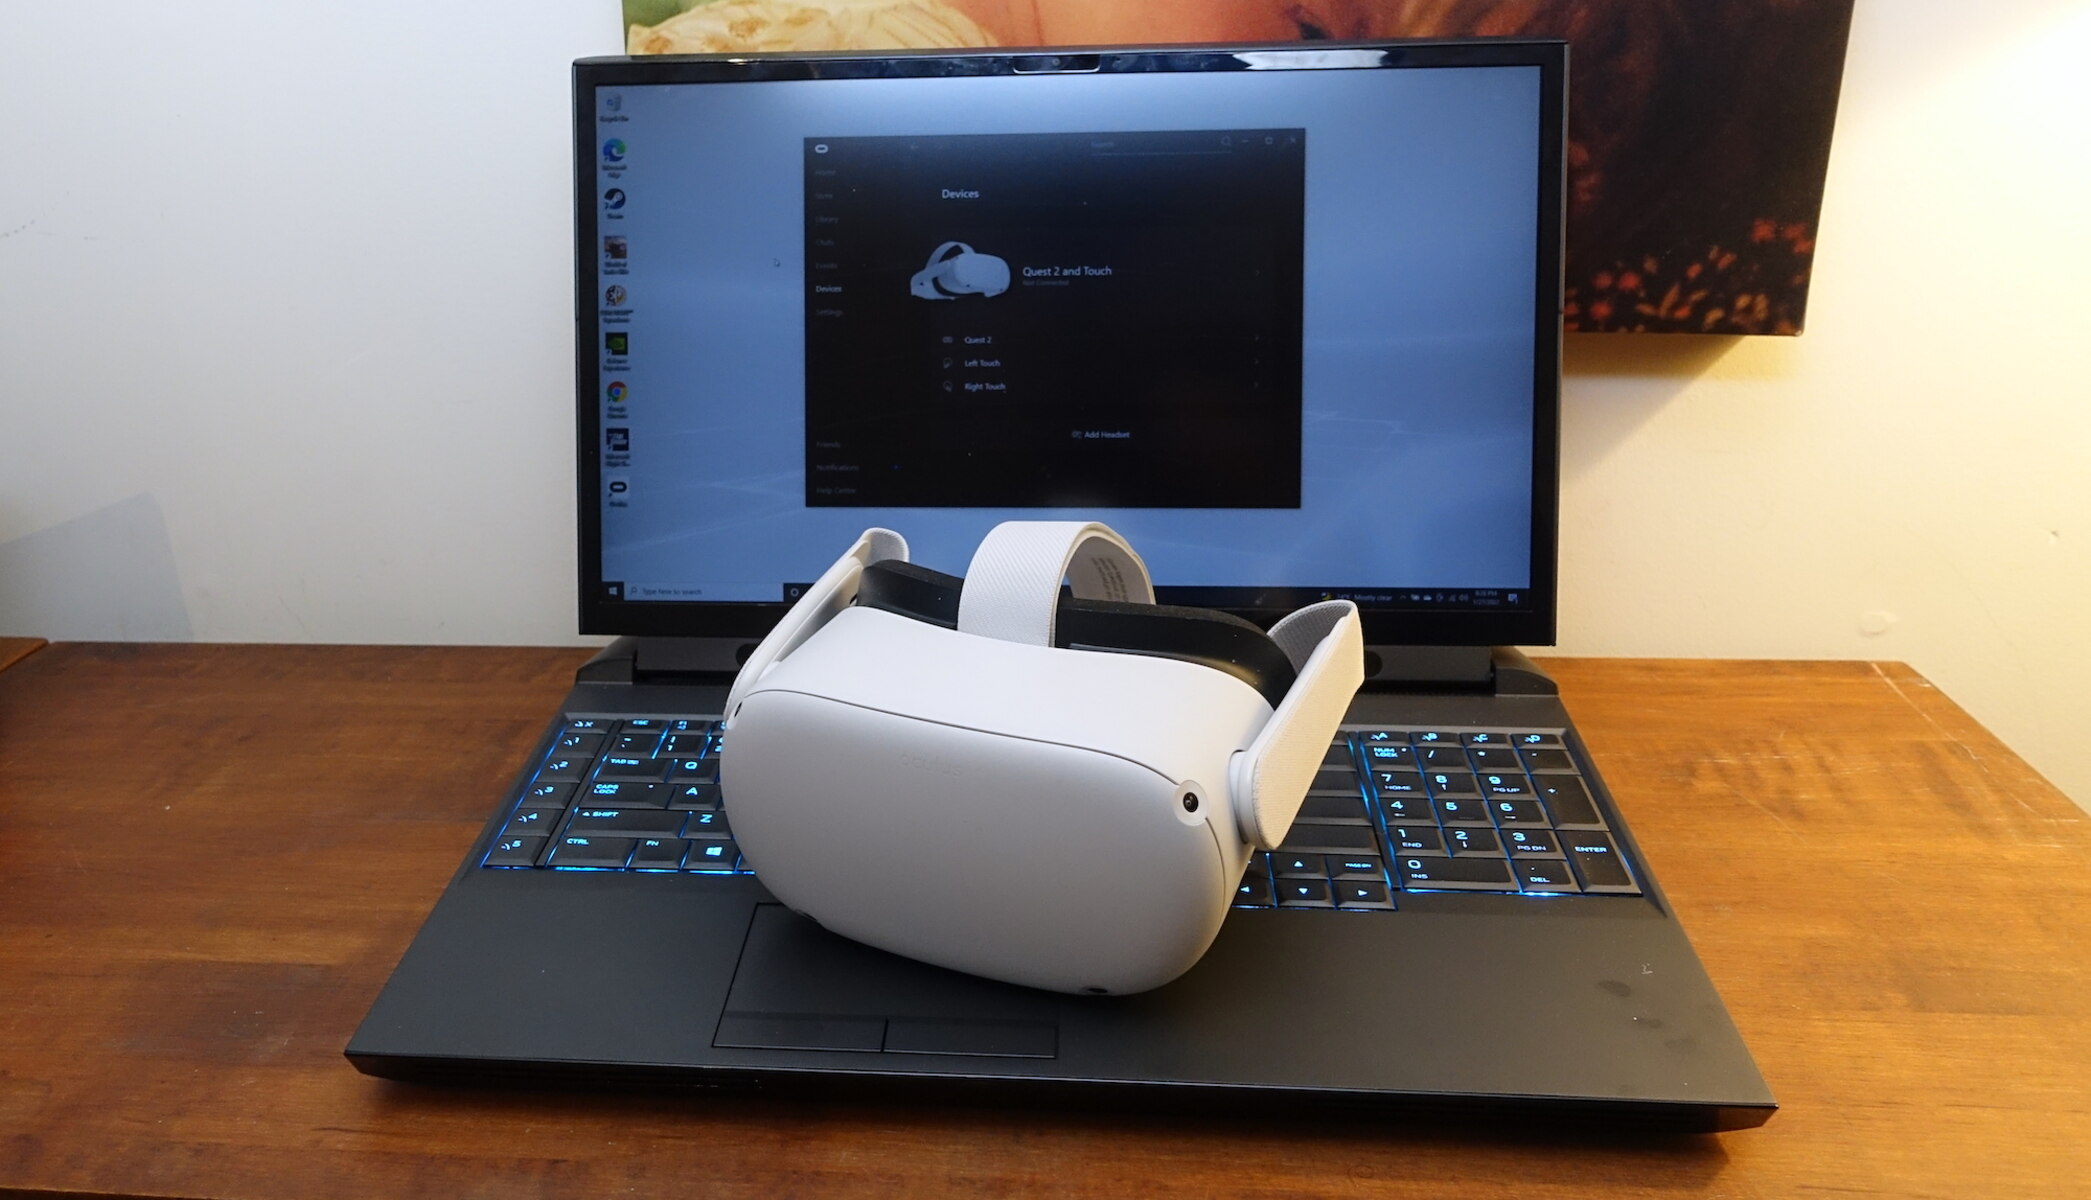
Step 2: Install VR Software
After ensuring your PC is compatible with your VR headset, the next step is to install the required VR software. This software is necessary for your PC to communicate and interact with your VR headset. The specific software you need will depend on the brand and model of your VR headset.
To install the VR software, follow these general steps:
- Visit the VR headset manufacturer’s website: Go to the official website of your VR headset and navigate to the support or downloads section.
- Download the VR software: Look for the VR software or setup files and download them onto your PC. Make sure you choose the appropriate software version for your operating system.
- Run the installation file: Once the software is downloaded, locate the installation file and run it. Follow the on-screen instructions to complete the installation process.
- Connect your VR headset: After the software installation is complete, connect your VR headset to your PC using the provided cables and connectors. Make sure the cables are securely connected to both the headset and the PC.
- Follow any additional setup instructions: Depending on your VR headset, there may be additional setup instructions provided by the manufacturer. This could include pairing controllers, setting up room-scale tracking, or configuring specific settings.
It’s important to note that each VR headset may have its own unique installation process. Therefore, it’s crucial to refer to the manufacturer’s documentation and follow their specific instructions to ensure the software is installed correctly.
Once the VR software is successfully installed and your headset is connected, you can proceed to the next step to set up the tracking system for your VR experience.
Step 3: Connect VR Headset
With the VR software installed on your PC, it’s time to connect your VR headset. Properly connecting your headset ensures that the audio, video, and tracking systems are all functioning correctly. Follow these steps to connect your VR headset:
- Identify the cables: Depending on the brand and model of your VR headset, you may have different cables and connectors. Familiarize yourself with the cables included with your headset, such as HDMI, USB, and audio cables.
- Locate the ports: On your PC, identify the available ports to connect your VR headset. The most common ports used for VR headsets are HDMI and USB ports. Make sure you have enough available ports for the headset’s connections.
- Connect the HDMI cable: Plug one end of the HDMI cable into the HDMI port on your PC’s graphics card or dedicated HDMI port. The other end of the cable will connect to the corresponding HDMI port on your VR headset.
- Connect the USB cable: Connect one end of the USB cable to a USB 3.0 port on your PC. The other end of the cable will connect to the USB port on your VR headset. This USB connection is responsible for transferring data between the headset and the PC.
- Connect the audio cable (if necessary): If your VR headset requires a separate audio connection, plug one end of the audio cable into the audio port on your PC or sound card. Connect the other end to the audio input on the headset. Alternatively, you can use headphones for audio output if your VR headset supports it.
Ensure that all cables are securely and firmly connected to avoid any disruptions or loose connections during your VR experience. Double-check the cable connections at both ends, both on your PC and your headset.
Once the VR headset is properly connected, you can move on to the next step, which involves setting up the tracking system.
Step 4: Set Up Tracking
Setting up the tracking system is a crucial step in ensuring accurate and responsive movement detection within your virtual reality experience. Most VR headsets use external sensors or cameras to track your movements. Follow these steps to set up the tracking system:
- Position the tracking sensors: Depending on your VR headset, you may need to set up external tracking sensors. Place these sensors in strategic locations around your play area according to the manufacturer’s instructions. Make sure the sensors have a clear line of sight to your headset.
- Check the tracking software: Open the VR software on your PC and navigate to the tracking settings. Ensure that the tracking system is enabled and functioning properly. Some VR headsets have built-in tools to assist with setting up and calibrating the tracking system.
- Calibrate the tracking system: Follow the on-screen instructions to calibrate the tracking system. This usually involves standing in a predefined position and allowing the sensors to detect and map the area around you. Follow any prompts or guidelines to ensure accurate tracking.
- Perform a test: Test the tracking system by moving around in your play area. Make sure that your movements are accurately reflected in the virtual environment. If you notice any issues or tracking discrepancies, refer to the troubleshooting steps provided by the VR headset manufacturer.
It’s important to note that the specific tracking setup and calibration process may vary depending on your VR headset. Visit the manufacturer’s website or consult the user manual for detailed instructions on setting up and configuring the tracking system for your particular VR headset.
With the tracking system properly set up and calibrated, you can proceed to the next step, which involves calibrating your VR headset for optimal viewing and comfort.
Step 5: Calibrate VR Headset
Calibrating your VR headset is essential to ensure optimal viewing angles, clarity, and comfort during your virtual reality experience. Proper calibration ensures that the display aligns with your eyesight and provides an immersive and comfortable experience. Here are the steps to calibrate your VR headset:
- Put on your headset: Gently place the VR headset on your head and adjust the straps to ensure a secure and comfortable fit. Make sure the lenses are aligned with your eyes and the display sits properly in front of your face.
- Adjust the IPD (Interpupillary Distance): Depending on your VR headset, there may be a physical adjustment or software setting to change the distance between the lenses. Adjust the IPD setting to match the distance between your eyes for optimal focus and clarity.
- Adjust the headset position: While wearing the headset, adjust the position on your head to achieve the clearest and most comfortable view. Use the straps to securely hold the headset in place and make any necessary adjustments to ensure proper alignment with your eyes.
- Use the built-in adjustments: Many VR headsets have built-in adjustments to fine-tune the VR experience. These adjustments may include focus dials, interpupillary distance sliders, or lens distance settings. Follow the manufacturer’s instructions to make these adjustments according to your preferences.
- Test with VR content: Launch a VR application or game and test the view. Pay attention to the clarity, field of view, and visual comfort. If needed, make additional adjustments to ensure the best experience.
It’s important to note that every individual’s eyesight and comfort preferences may vary. Take the time to experiment with the calibration settings to find the optimal configuration that works best for you.
By properly calibrating your VR headset, you can enhance the visual quality, immersion, and comfort of your virtual reality experience.
Once you have successfully calibrated your VR headset, you can proceed to the next step, where we will explore how to configure various VR settings on your PC.
Step 6: Configure VR Settings
Configuring the VR settings on your PC is an important step to customize your virtual reality experience according to your preferences and hardware capabilities. Adjusting these settings can optimize performance, visuals, and overall comfort. Follow these steps to configure the VR settings:
- Access the VR settings: Open the VR software on your PC and navigate to the settings or options menu. Look for a section specifically dedicated to VR settings or preferences.
- Graphics settings: Adjust the graphics quality settings to find the right balance between visual fidelity and performance. This may include options to adjust resolution, anti-aliasing, texture quality, and other graphical parameters. Take into consideration the capabilities of your PC and the performance requirements of the VR applications or games you intend to use.
- Tracking and room setup: In the settings menu, you may find options to further fine-tune your tracking system. This could include adjusting the sensitivity, re-centering the play area, or defining the boundaries of your VR play space. Make sure to follow the manufacturer’s instructions for accurate tracking and a comfortable play area.
- Audio settings: Explore the audio settings to customize the sound output of your VR experience. You may have options to choose between headphones or speakers, adjust volume levels, or enable specific audio effects. Experiment with these settings to find the audio setup that enhances your immersion.
- Controller settings: If your VR headset comes with motion controllers, you may have options to customize controller settings. This could include button mapping, sensitivity adjustments, and haptic feedback preferences. Take some time to configure the controllers to your liking, ensuring optimal comfort and responsiveness.
- Additional settings: Depending on the VR software and headset you are using, there may be additional settings to explore. These can include locomotion preferences, comfort settings, performance optimizations, and more. Familiarize yourself with these options and make adjustments based on your VR preferences.
Take the time to experiment and find the VR settings that provide the best balance of performance, visuals, and comfort for your personal VR experience. Regularly revisit these settings to make any necessary adjustments based on new VR applications, games, or hardware upgrades.
Once you have configured the VR settings, you are ready to move on to the final step, testing your VR headset.
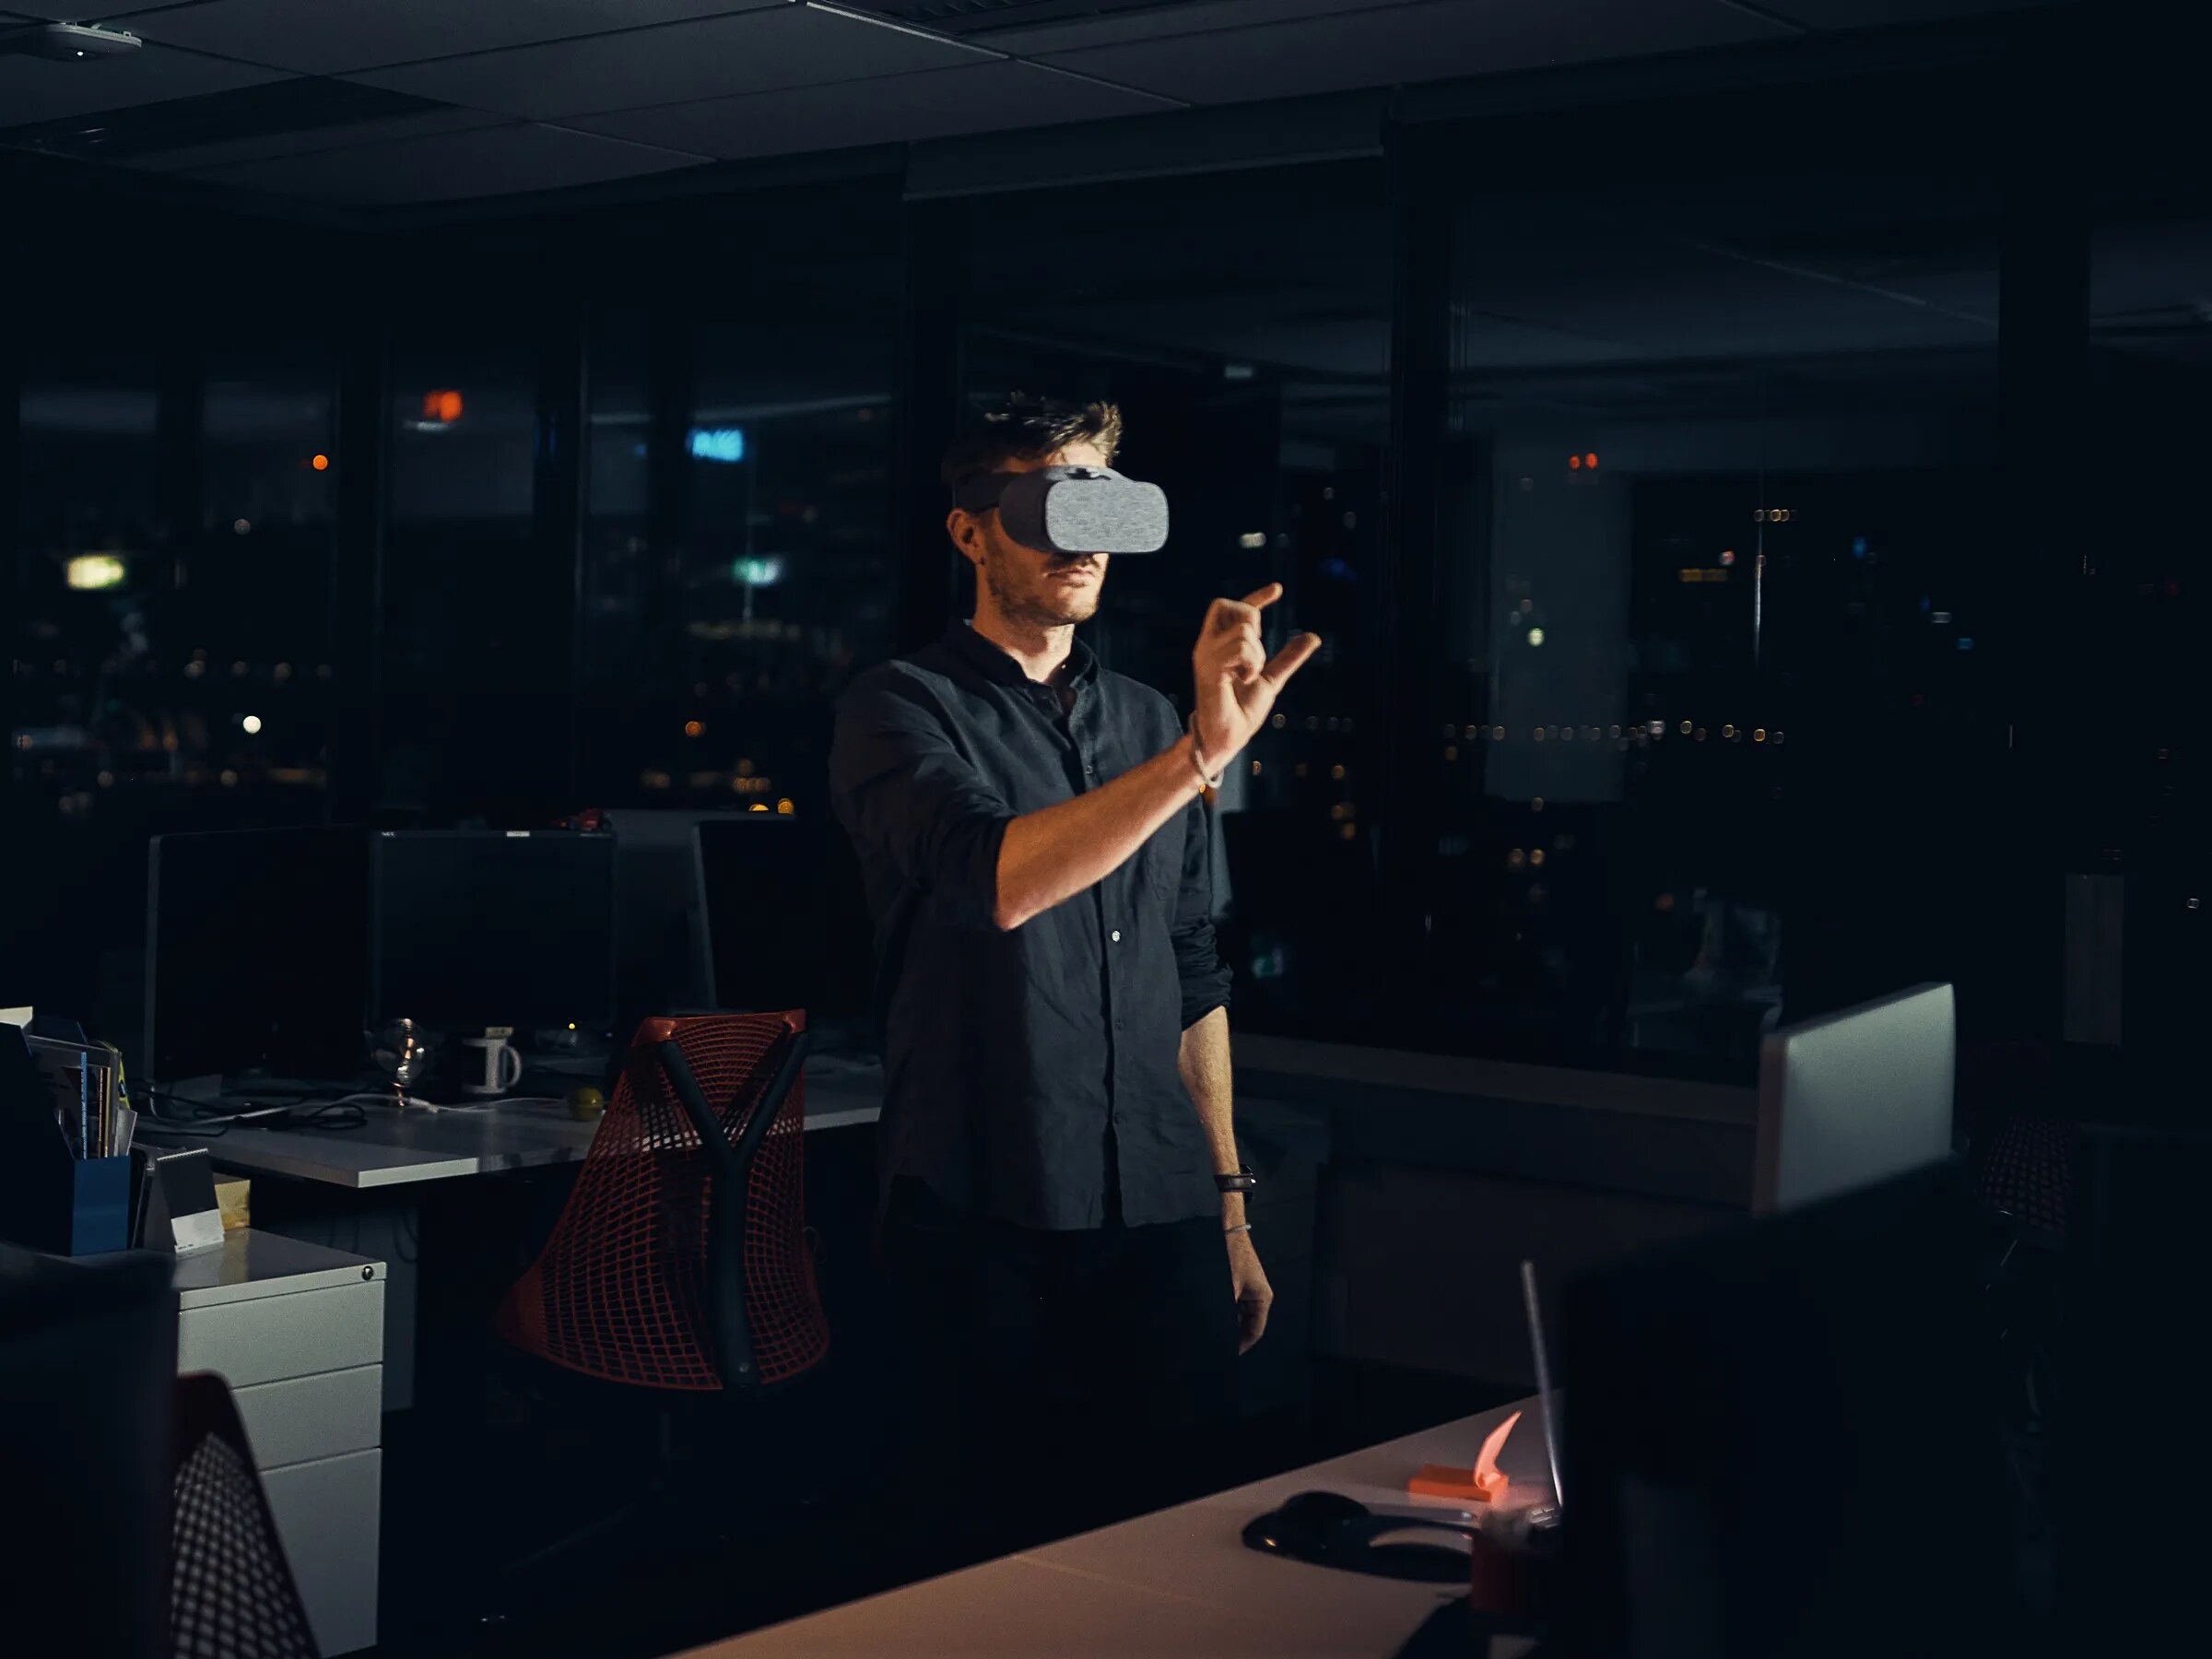
Step 7: Test VR Headset
Now that you have connected, calibrated, and configured your VR headset, it’s time to put it to the test. This final step involves testing your VR headset to ensure everything is working correctly and to familiarize yourself with the immersive virtual reality experience. Here’s what you should do:
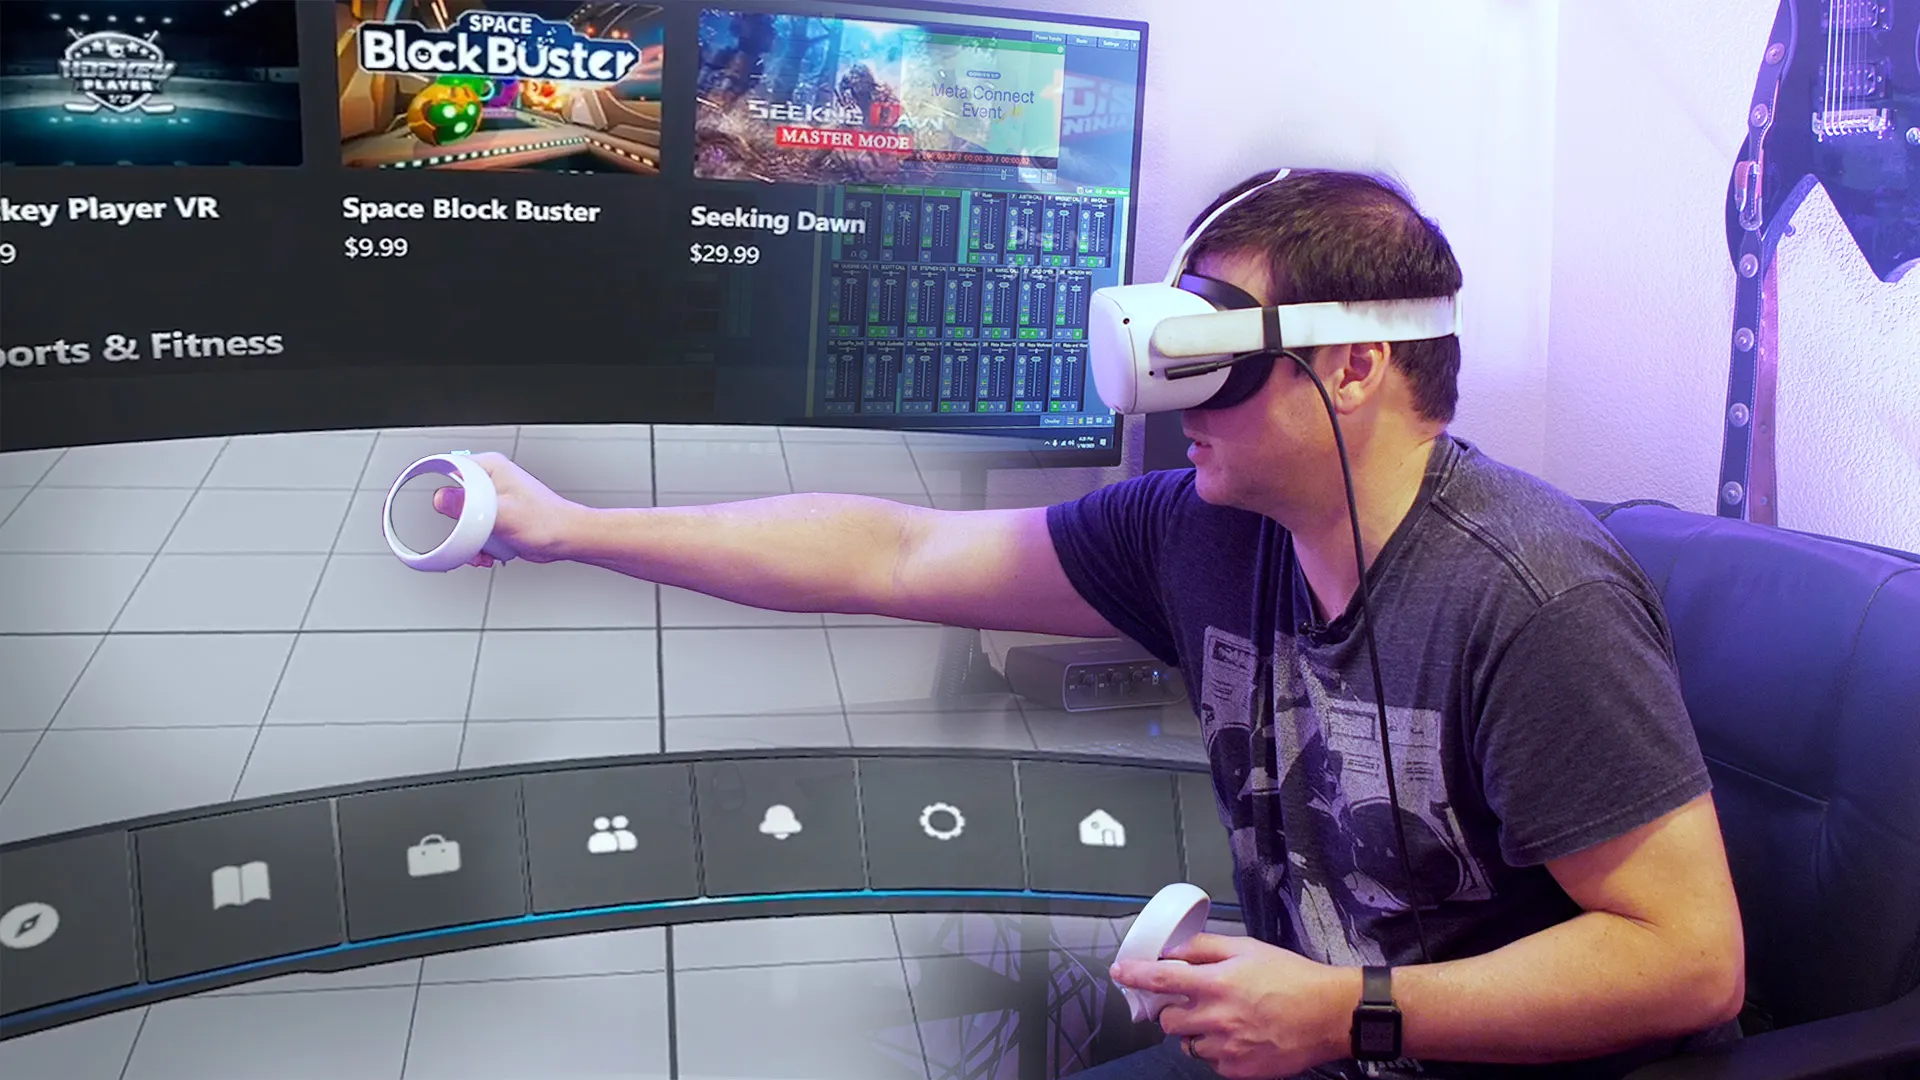
- Launch a VR application or game: Open a VR application or game of your choice on your PC. This could be a virtual reality game, a 360-degree video, or a VR simulation experience.
- Put on your VR headset: Securely wear your VR headset and adjust it for a comfortable fit. Make sure the lenses align properly with your eyes and the straps hold the headset securely in place.
- Interact with the virtual environment: Use the motion controllers or any other input devices provided with your VR headset to interact with the virtual world. Try out the various actions and gestures to get a feel for the responsiveness and immersion of the VR experience.
- Move within the play area: If you have set up a room-scale VR environment, move around and explore the space. Walk, crouch, or reach out to objects within the virtual environment to experience the full freedom of movement.
- Assess comfort and visuals: Pay attention to the comfort level of the headset during your VR experience. Ensure that the visuals are clear, the frame rate is smooth, and there are no issues with motion sickness or discomfort. Adjust any settings if needed to enhance the overall experience.
- Explore different VR content: Experiment with different VR applications, games, or experiences to fully explore the capabilities of your headset. Try out different genres, settings, and levels of interactivity to find your favorite VR content.
During the testing phase, take note of any issues or areas where you feel the VR experience can be further enhanced. Refer to the manufacturer’s documentation or online resources for troubleshooting tips or optimizations specific to your VR headset.
Through testing and exploring various VR content, you will familiarize yourself with the possibilities of virtual reality and begin to fully enjoy the immersive and captivating experiences it offers.
Congratulations! You have successfully connected, calibrated, configured, and tested your VR headset with your PC. Now it’s time to delve into exciting virtual worlds and embark on unforgettable adventures!
Conclusion
Connecting a VR headset to your PC opens the door to a whole new world of immersive experiences and virtual adventures. By following the steps outlined in this guide, you have learned how to successfully connect, calibrate, configure, and test your VR headset with your PC.
Starting with checking PC compatibility, you ensured that your computer meets the necessary requirements to deliver a seamless VR experience. You then installed the required VR software, connected your headset, and set up the tracking system for accurate movement detection.
Calibrating your VR headset allowed you to customize the viewing angles and optimize comfort, while configuring the VR settings on your PC allowed you to fine-tune the performance, graphics, audio, and controller preferences to suit your preferences.
Finally, you tested your VR headset by launching VR applications or games, exploring the virtual environments, and assessing the comfort, visuals, and overall experience. This testing phase allowed you to familiarize yourself with the potential of VR and identify any further optimizations or improvements that may be needed.
Now that you are equipped with the knowledge and skills to connect and set up your VR headset, it’s time to delve into the vast library of VR content and enjoy incredible adventures from the comfort of your home.
Remember to regularly check for software updates, firmware updates, and new VR content to keep your VR experience up to date and fresh. And most importantly, have fun and let your imagination run wild in the immersive virtual reality world!