Introduction
Welcome to this guide on how to cast your Reolink NVR to your Google Smart Home Hub. If you own a Reolink NVR (Network Video Recorder) and a Google Smart Home Hub, you may be wondering how to integrate these devices and make the most out of their capabilities. By following the steps outlined in this article, you will be able to seamlessly cast the live feed from your Reolink NVR to your Google Smart Home Hub, enabling you to conveniently monitor your security cameras on a larger screen.
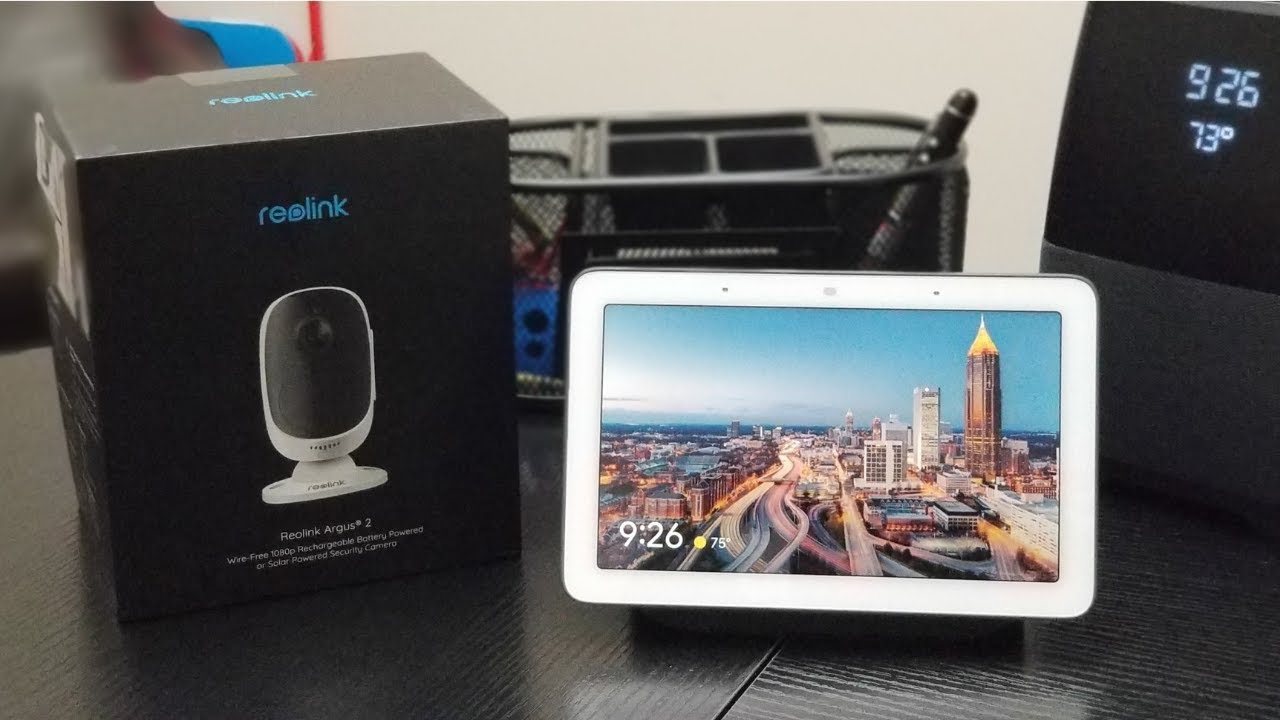
The Reolink NVR is a powerful device that allows you to record, store, and manage the video footage from your Reolink security cameras. On the other hand, the Google Smart Home Hub serves as a centralized hub for controlling various smart devices in your home, including security cameras. By connecting your Reolink NVR to your Google Smart Home Hub, you can effortlessly monitor your cameras and check for any suspicious activity.
This guide assumes that you have already set up both your Reolink NVR and Google Smart Home Hub. If you haven’t done so yet, make sure to follow the manufacturer’s instructions for setting up these devices before proceeding with the steps mentioned in this guide.
Before we dive into the step-by-step process, let’s quickly go over the prerequisites to ensure that you have all the necessary components ready:
- A Reolink NVR
- A Google Smart Home Hub
- A stable internet connection
- The Reolink mobile app installed on your smartphone or tablet
- A Google Home app installed on your smartphone or tablet
Now that you have confirmed that you have all the necessary prerequisites, let’s move on to the next step: connecting your Reolink NVR to your Google Smart Home Hub.
Prerequisites
Before you begin the process of casting your Reolink NVR to your Google Smart Home Hub, there are a few prerequisites that you need to ensure are in place. These prerequisites will ensure a smooth and successful integration between the two devices. Let’s take a look at what you need:
- A Reolink NVR: You should have a Reolink NVR installed and set up in your surveillance system. The NVR acts as a central hub for recording and managing the video feed from your Reolink cameras. Make sure that your NVR is connected to your local network and is accessible through the Reolink mobile app.
- A Google Smart Home Hub: You will need a Google Smart Home Hub to serve as the display device for casting the live feed from your Reolink NVR. Ensure that your Smart Home Hub is properly set up and connected to your Wi-Fi network.
- A stable internet connection: Both your Reolink NVR and Google Smart Home Hub need to be connected to a stable internet connection. It is crucial for smooth communication between the devices and ensuring a seamless live video casting experience.
- The Reolink mobile app: Install the Reolink mobile app on your smartphone or tablet. This app will serve as the control center for your Reolink NVR and allow you to access the live feed from your cameras. Make sure you have the latest version of the app installed.
- The Google Home app: Download and install the Google Home app on your smartphone or tablet. This app will enable you to connect and control your Google Smart Home Hub, as well as integrate it with other smart devices in your home.
Once you have confirmed that you have all the necessary prerequisites in place, you can proceed to the next step: connecting your Reolink NVR to your Google Smart Home Hub. In the following sections, we will guide you through the step-by-step process of setting up the integration and casting the live feed from your Reolink NVR to your Google Smart Home Hub.
Step 1: Connect Reolink NVR to Google Smart Home Hub
To cast your Reolink NVR to your Google Smart Home Hub, you need to establish a connection between the two devices. Here’s how you can do it:
- Ensure that both your Reolink NVR and Google Smart Home Hub are powered on and connected to the same local network.
- Open the Reolink mobile app on your smartphone or tablet.
- Navigate to the settings menu within the app and locate the “Device Settings” or “Camera Management” section.
- Select the Reolink NVR that you want to connect to your Google Smart Home Hub.
- Within the NVR settings, look for the option to enable “Google Home” or “Google Assistant” integration. Enable this feature.
- Once enabled, the Reolink NVR will generate a QR code or a pairing code.
- Open the Google Home app on your smartphone or tablet.
- Select the “Add” or “+” button to add a new device.
- Choose “Set up device” and follow the on-screen instructions.
- When prompted, scan the QR code or enter the pairing code that was generated by the Reolink NVR.
- Wait for the Google Home app to establish a connection with your Reolink NVR.
Once the connection is successfully established, you will see a confirmation message in the Google Home app. Your Reolink NVR is now linked to your Google Smart Home Hub, and you can proceed to the next step of setting up the Reolink app.
In this step, we have successfully connected your Reolink NVR to your Google Smart Home Hub. Now that the devices are linked, we can move on to configuring the Reolink app to ensure seamless casting of the live feed. Let’s proceed to the next step.
Step 2: Set up the Reolink App
To efficiently cast your Reolink NVR to your Google Smart Home Hub, you need to configure the Reolink mobile app. This step will ensure that the live feed from your Reolink NVR can be easily accessed and casted to your Google Smart Home Hub. Follow the steps below to set up the Reolink app:
- Launch the Reolink mobile app on your smartphone or tablet.
- Log in to your Reolink account. If you don’t have an account, create one by following the on-screen instructions.
- Once logged in, navigate to the “Device Settings” or “Camera Management” section of the app.
- Locate and select the Reolink NVR that you have connected to your Google Smart Home Hub.
- Within the NVR settings, ensure that the live view feature is enabled for all the cameras connected to the NVR.
- Double-check that the Wi-Fi connection of the Reolink NVR is stable and properly configured.
- Verify that you can access the live feed from your cameras within the Reolink app.
At this point, you have successfully configured the Reolink mobile app. You can now proceed to the next step of adding your Reolink NVR to the Google Home app, which will allow you to cast the live feed to your Google Smart Home Hub. Let’s continue with the next step.
Step 3: Add Reolink NVR to Google Home App
To cast the live feed from your Reolink NVR to your Google Smart Home Hub, you need to add the NVR to the Google Home app. By adding your Reolink NVR as a device in the Google Home app, you can easily control it and stream the video feed to your Google Smart Home Hub. Follow these steps to add your Reolink NVR to the Google Home app:
- Open the Google Home app on your smartphone or tablet.
- Tap on the “Add” or “+” button to add a new device.
- Select the option to set up a new device and choose “Have something already set up?”
- Scroll down and look for “Reolink” in the list of available device types. Select it.
- Follow the on-screen instructions to log in to your Reolink account and grant permission for the Google Home app to access your Reolink devices.
- Once the account linking is complete, the Google Home app will search for connected Reolink devices. Ensure that your Reolink NVR is turned on and connected to the same network as your smartphone or tablet.
- The Reolink NVR should appear in the list of available devices. Select it to continue.
- Customize the device name and assign it to a room in your home for easy organization and voice control.
- Once the setup is complete, the Reolink NVR will be added as a device in the Google Home app.
Congratulations! You have successfully added your Reolink NVR to the Google Home app. You are now one step closer to casting the live feed from your Reolink NVR to your Google Smart Home Hub. In the next step, we will guide you through the process of actually casting the video feed. Let’s move on to the last step of this guide.
Step 4: Cast Reolink NVR to Google Smart Home Hub
Now that you have successfully connected your Reolink NVR to your Google Home app, it’s time to cast the live feed from your NVR to your Google Smart Home Hub. By following these steps, you will be able to monitor your Reolink cameras on a larger screen and have a more convenient surveillance experience:
- Ensure that your Reolink NVR and Google Smart Home Hub are powered on and connected to the same network.
- Use your voice or open the Google Home app on your smartphone or tablet.
- Select the Google Smart Home Hub from the list of available devices.
- On the device page, tap on the “Cast Screen” or “Cast Video” button.
- A list of available casting options will appear. Select your Reolink NVR from the list.
- Wait for the Google Smart Home Hub to establish a connection with your Reolink NVR and start streaming the live video feed.
- Once the live feed is being displayed on your Google Smart Home Hub, you can control the viewing experience, such as zooming in on a specific camera or switching between different cameras if you have multiple connected to your Reolink NVR.
Congratulations! You have successfully casted your Reolink NVR to your Google Smart Home Hub. Now you can conveniently monitor your Reolink cameras on a larger screen, providing enhanced visibility and peace of mind. Keep in mind that you can also control your Reolink NVR using voice commands through the Google Smart Home Hub, making it even more user-friendly.
In this guide, we have gone through the step-by-step process of connecting your Reolink NVR to your Google Smart Home Hub and casting the live feed. By following these instructions, you can fully utilize the capabilities of both devices and enhance your home surveillance system. Enjoy the convenience and control that comes with integrating your Reolink NVR and Google Smart Home Hub!
Conclusion
Integrating your Reolink NVR with your Google Smart Home Hub opens up a world of convenience and enhanced surveillance capabilities. By following the steps outlined in this guide, you have successfully connected your Reolink NVR to your Google Smart Home Hub and learned how to cast the live feed from your cameras to a larger screen. This integration allows you to monitor your Reolink cameras with ease, providing you with greater control and peace of mind.
Throughout this guide, we covered the different prerequisites you need to meet, such as having a Reolink NVR, a Google Smart Home Hub, and a stable internet connection. We also explored how to connect your Reolink NVR to your Google Smart Home Hub, set up the Reolink app, and add your Reolink NVR to the Google Home app. Finally, we walked you through the process of casting the live feed to your Google Smart Home Hub.
Now, you can enjoy a seamless surveillance experience on a larger screen, easily accessing and monitoring your Reolink cameras. Keep in mind that you can control your cameras using voice commands through the Google Smart Home Hub, adding even more convenience to your setup.
We hope that this guide has been helpful in assisting you with the integration of your Reolink NVR and Google Smart Home Hub. Feel free to refer back to this guide whenever you need assistance or want to revisit the steps. With this integration, you can enhance the security of your home and have peace of mind knowing that you can monitor your cameras with ease.
Thank you for following this guide, and we wish you the best in your surveillance endeavors!