Introduction
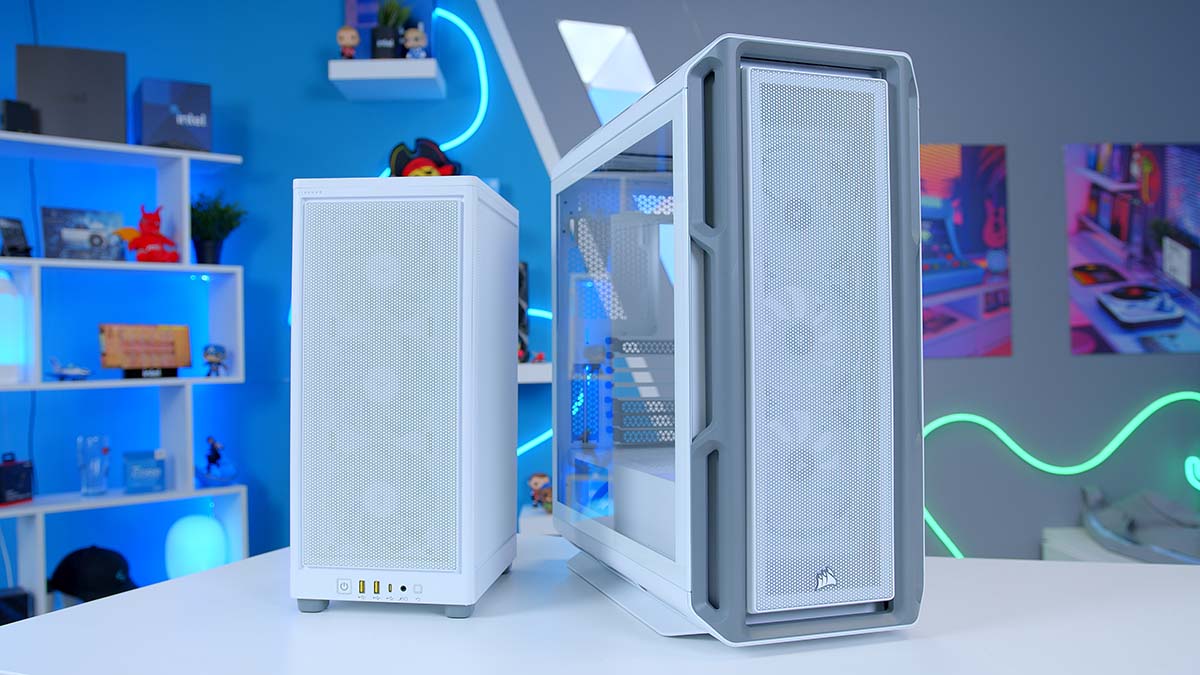
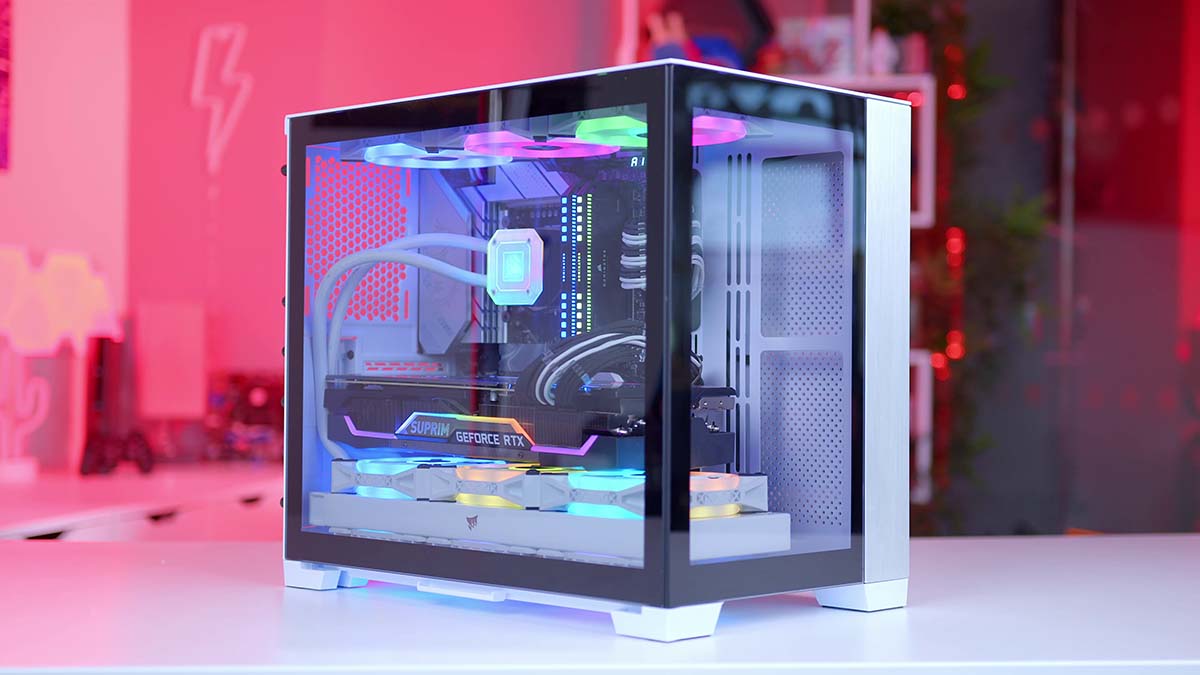
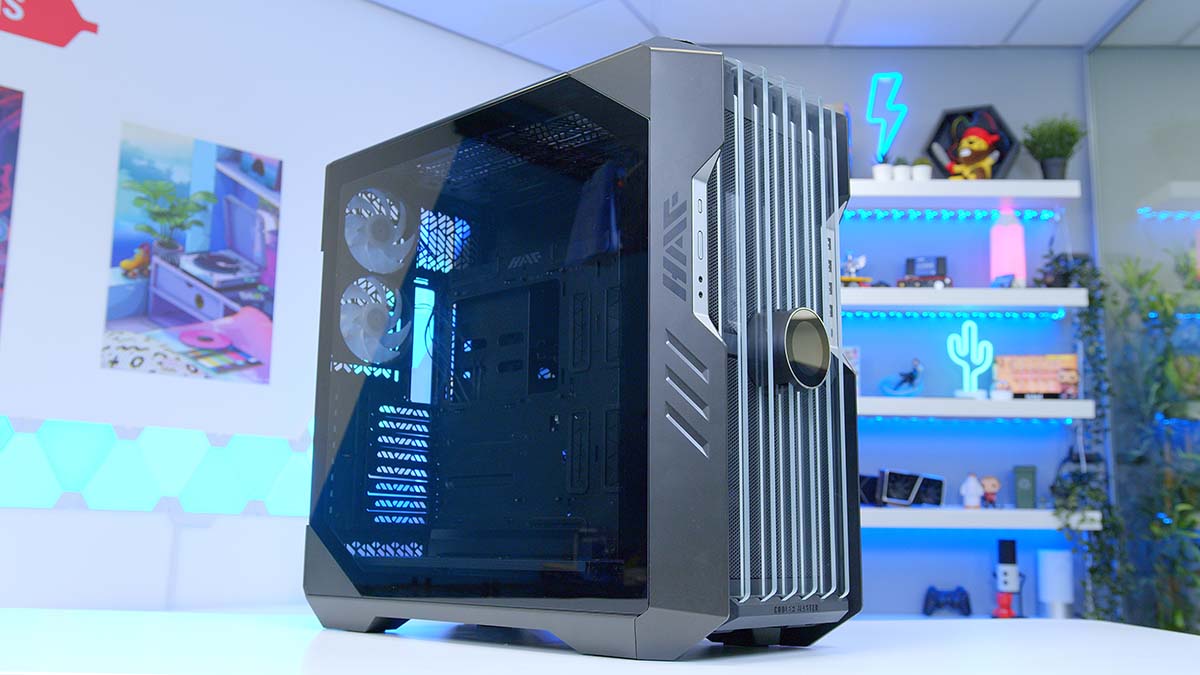
When it comes to customizing or upgrading your PC, removing the front panel of your PC case can be a necessary step. Whether you need to clean dust filters, install additional fans, or modify the front panel design, knowing how to take off the front panel is essential. One popular PC case brand known for its high-quality builds is Corsair. In this guide, we will walk you through the steps on how to take off the front panel of a Corsair PC case.
To safely and successfully remove the front panel of your Corsair PC case, it’s important to have the right tools and follow a step-by-step process. This guide will provide you with the necessary information, including the tools needed and the exact steps to follow.
Before we get started, it is crucial to note that each PC case model may have slight variations in design and attachment methods for the front panel. Therefore, it is always recommended to refer to your specific PC case manual for detailed instructions in addition to this guide.
Now, let’s gather the necessary tools and get started on removing the front panel of your Corsair PC case.
Tools Needed
Before beginning the process of taking off the front panel of your Corsair PC case, gather the following tools:
- Screwdriver set: A set of screwdrivers with different head types and sizes will be essential for removing any screws holding the front panel in place.
- Anti-static wrist strap: To prevent any damage from electrostatic discharge, it is recommended to wear an anti-static wrist strap while working inside your PC case.
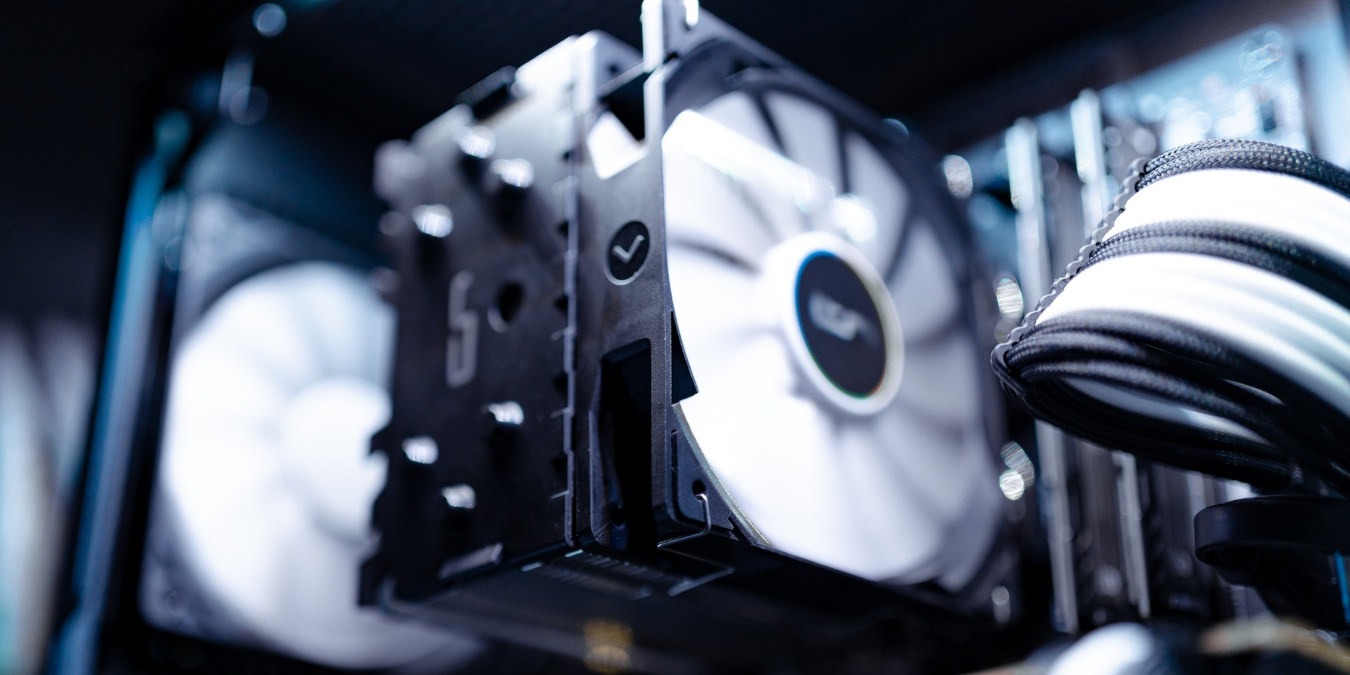
- Tweezers or needle-nose pliers: These tools can be useful for disconnecting any small connectors or wires attached to the front panel.
- Compressed air canister: If your PC case has dust filters on the front panel, having a canister of compressed air will help in cleaning them during the removal process.
Having these tools on hand will make the process of removing the front panel smoother and more efficient. Additionally, ensure that you are working in a well-lit and static-free environment to minimize any potential risks.
Now that you have gathered the necessary tools, let’s move on to the step-by-step process of taking off the front panel of your Corsair PC case.
Step 1: Power Down and Unplug Your Computer
Before starting any work inside your PC case, it is crucial to power down your computer and unplug it from the power source. This step is essential to ensure your safety and prevent any potential damage to your computer components.
To properly power down your computer, follow these steps:
- Save any open documents or files and close all running applications.
- Click on the “Start” menu and select “Shut Down” or “Power Off”.
- Wait for your operating system to shut down completely.
Once your computer is powered down, unplug the power cord from the wall outlet or surge protector. This will ensure that no power is flowing to the computer and minimize the risk of electric shock or damage to sensitive components.
Additionally, it is a good practice to discharge any residual electrical charge from your computer by pressing the power button once after it is unplugged. This helps to dissipate any stored energy and further ensures your safety.
Now that your computer is powered down and unplugged, you can proceed to the next step of removing the front panel of your Corsair PC case.
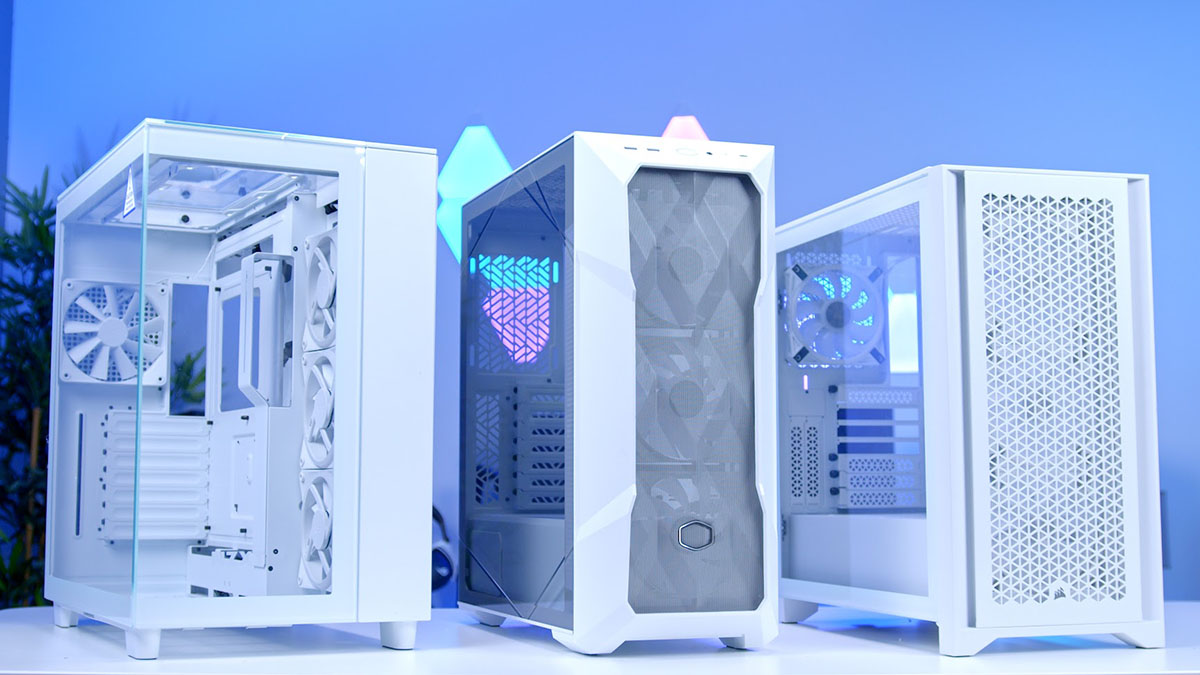
Step 2: Remove Side Panels
With your computer powered down and unplugged, the next step is to remove the side panels of your Corsair PC case. The side panels provide access to the internal components, allowing you to easily remove the front panel.
Follow these steps to remove the side panels:
- Locate the screws securing the side panels to the case. These are typically located on the rear side of the case.
- Using the appropriate screwdriver, carefully unscrew and remove the screws. Set them aside in a safe place, as you will need them later when reassembling your PC case.
- Gently slide or lift off the side panel to reveal the internal components of your PC.
Some PC cases may have different mechanisms for securing the side panels, such as latches or thumbscrews. Refer to your specific Corsair PC case manual for detailed instructions on how to remove the side panels.
Removing the side panels will provide you with a clear view of the front panel and its connections, which we will address in the next step. Keep the side panels in a safe place to reattach them later.
Now that the side panels are removed, we can move on to the next step of locating the front panel connections.
Step 3: Locate the Front Panel Connections
After removing the side panels, you can now locate the front panel connections inside your Corsair PC case. The front panel connections consist of various cables and connectors that are responsible for powering the LEDs, buttons, and other front panel features.
Follow these steps to locate the front panel connections:
- Take a closer look at the front panel area of your PC case. You will see a cluster of cables that are connected to the motherboard.
- Identify the cables that are connected to the front panel components, such as the power button, reset button, USB ports, audio jacks, and any other features present on the front panel.
- Take note of the connectors attached to the cables. These connectors may be labeled with abbreviated names or symbols corresponding to their respective functions.
It is essential to identify and understand the front panel connections to ensure they are correctly reconnected when you reassemble your PC case later.
Keep in mind that the specific arrangement and labeling of front panel connections may vary depending on your motherboard model and the design of your Corsair PC case. Therefore, it is recommended to refer to your motherboard manual for detailed information on the front panel connections.
Now that you have located the front panel connections, let’s move on to the next step of disconnecting them before removing the front panel.
Step 4: Disconnect Front Panel Connections
Before you can remove the front panel of your Corsair PC case, it’s important to disconnect the front panel connections. These connections include various cables and connectors that are responsible for powering the front panel features, such as the power button, LEDs, USB ports, and audio jacks.
Follow these steps to disconnect the front panel connections:
- Gently grasp each connector attached to the front panel cables.
- Using your fingers or a pair of tweezers/needle-nose pliers, carefully unplug each connector from its corresponding port on the motherboard.
- Avoid applying excessive force or pulling directly on the cables to prevent any damage. If a connector seems stuck, double-check for any latches or clips that need to be released before unplugging.
- Once all the connectors are unplugged, set them aside in a safe place, as you will need to reconnect them when reassembling your PC case.
Make sure to handle the connectors and cables with care to avoid bending or breaking the pins. Take note of the arrangement and orientation of the connectors to ensure proper reconnection later.
By disconnecting the front panel connections, you have now prepared the front panel for removal. In the next step, we will focus on taking off any clips or screws that secure the front panel in place.
Step 5: Remove Front Panel Clips or Screws
With the front panel connections disconnected, the next step is to remove any clips or screws that secure the front panel in place. These clips or screws may vary depending on the specific model of your Corsair PC case, so refer to your case manual for detailed instructions if needed.
Follow these steps to remove the front panel clips or screws:
- Closely examine the edges of the front panel to identify any clips or screws that hold it in place. These are typically located along the edges or corners of the front panel.
- If your PC case has clips, use your fingers or a small flat-head screwdriver to gently push or release the clips, allowing the front panel to come loose.
- If your PC case uses screws, use the appropriate screwdriver to carefully unscrew and remove them. Set the screws aside in a safe place for reassembly later.
As you remove the clips or screws, be cautious not to apply excessive force or inadvertently damage any other components. Take your time and ensure that you have removed all the necessary clips or screws.
Some PC cases may have different mechanisms for securing the front panel, such as sliding mechanisms or snap-on designs. Refer to your specific Corsair PC case manual for detailed instructions on how to remove the front panel.
Once you have successfully removed the clips or screws, you are now ready to take off the front panel, which we will cover in the next step.
Step 6: Take Off the Front Panel
With the clips or screws removed, you can now proceed to take off the front panel of your Corsair PC case. Removing the front panel will give you access to the internal components, allowing you to perform maintenance or modifications as needed.
Follow these steps to take off the front panel:
- Gently grasp the edges of the front panel with both hands.
- Apply light pressure and carefully pull the front panel away from the case. Be cautious not to use excessive force and avoid twisting or bending the front panel.
- If the front panel feels stuck, double-check for any remaining clips, screws, or unexpected attachment points that might be holding it in place.
- Continue to gently wiggle and pull the front panel until it fully comes off, revealing the internal components of your PC.
Take note of any cables or wires that may still be attached to the front panel. Ensure that they are not pulling or tugging on any components, and detach them carefully if necessary.
Once the front panel is successfully removed, set it aside in a safe and convenient location. This will allow you to clean or modify the front panel, install additional fans, or perform any necessary maintenance.
Now that the front panel is off, we can move on to the final step of reassembling your Corsair PC case.
Step 7: Reassemble Your PC Case
After completing the necessary tasks involving the front panel, it’s time to reassemble your Corsair PC case. Reassembling the case ensures that all components are securely in place and allows your computer to function properly.
Follow these steps to reassemble your PC case:
- Retrieve the front panel that you set aside earlier.
- Align the front panel with the appropriate slots or attachment points on the case.
- Gently push the front panel into position, making sure it fits snugly and securely. If any clips were present in the removal process, ensure that they properly engage with the case.
- If screws were used to secure the front panel, refer to your case manual to determine the proper screw locations. Carefully insert and tighten the screws using the appropriate screwdriver.
- Reconnect the front panel connections, ensuring each cable is properly aligned with its corresponding port on the motherboard.
- Gently push each connector into its respective port until it is securely in place. Avoid applying excessive force.
- Double-check that all cables and connectors are properly seated and secure.
- Retrieve the side panels that were removed earlier.
- Align the side panels with the corresponding slots on the case.
- Slide or push the side panels back into position, ensuring they fit snugly and securely.
- Use the appropriate screws to reattach the side panels, tightening them carefully but not too tightly.
Once you have successfully reassembled your PC case, you can plug in the power cord and turn on your computer. Verify that the front panel features, such as the power button and LEDs, are functioning correctly.
Congratulations! You have successfully taken off and reattached the front panel of your Corsair PC case. Whether you were cleaning, modifying, or performing maintenance, this process has allowed you to access the internal components and complete your desired tasks.
Remember, if you encounter any difficulties or have any questions during the reassembly process, refer to your Corsair PC case manual or consult with a professional for assistance.
Conclusion
Taking off the front panel of your Corsair PC case may seem daunting at first, but with the right tools and step-by-step instructions, it can be a relatively straightforward process. By following the steps outlined in this guide, you can safely remove the front panel, access the internal components of your PC case, and perform necessary maintenance or customization tasks.
Remember to always power down and unplug your computer before starting any work inside the case. This ensures your safety and prevents any potential damage to your components. Additionally, take your time and handle the front panel, connectors, and cables with care to avoid any accidental damage.
While this guide provides a general overview of the steps involved in removing the front panel, it is essential to refer to your specific Corsair PC case manual for any model-specific instructions or variations in the design. The manual will provide detailed information on the front panel connections, attachment methods, and any additional steps or considerations that are specific to your case.
Once you have completed your desired tasks or modifications, reassembling the PC case is as simple as following the reverse order of the removal steps. Take care to securely reattach the front panel, reconnect the front panel connections with proper alignment, and reinstall the side panels.
By successfully removing and reassembling the front panel of your Corsair PC case, you have gained valuable knowledge and skills in maintaining and customizing your computer. This will not only enhance the performance and aesthetics of your PC but also empower you to take control of your computer’s functionality.
Always remember to prioritize safety and consult with professionals or refer to manufacturer’s instructions if you are unsure about any aspect of the process. Enjoy your newly acquired knowledge and turn your PC case into a reflection of your personal style and preferences.