Introduction
Welcome to the world of custom PC building! One of the most exciting aspects of building your own computer is the opportunity to create a personalized and unique PC case. Enter the acrylic PC case, a sleek and modern option that allows you to showcase your hardware while adding a touch of sophistication to your setup.
Building an acrylic PC case might seem like a daunting task, but with the right tools, materials, and a little bit of planning, you can create a stunning case that will be the envy of your friends.
In this guide, we will walk you through the step-by-step process of building your own acrylic PC case. From choosing the right materials to assembling the frame and installing hardware components, we’ve got you covered. So, grab your tools and let’s dive into the exciting world of acrylic PC case building!
Before we get started, it’s important to note that building an acrylic PC case requires some technical knowledge and skills. It’s recommended that you have a basic understanding of computer hardware and are familiar with the tools and equipment necessary for this project. If you’re new to PC building, we encourage you to do some research and gain a little experience before attempting to build your own acrylic case.
Now, let’s begin our journey into the wonderful world of acrylic PC case building! Strap in, and get ready to unleash your creativity and showcase your hardware in a unique and stylish manner.
Choosing the Right Tools and Materials
Before diving into the construction of your acrylic PC case, it’s essential to gather the right tools and materials. Having the appropriate equipment will not only make the process smoother but also ensure the durability and functionality of your finished case.
Here’s a list of tools and materials you’ll need for building your acrylic PC case:
- Acrylic Sheets: Choose high-quality, transparent acrylic sheets with the desired thickness for your case. Opt for clear acrylic if you want to showcase your hardware or consider colored acrylic for a more unique look.
- Measuring Tools: Use a ruler, tape measure, or calipers to accurately measure the dimensions of your case components.
- Cutting Tools: You’ll need a fine-toothed saw, a jigsaw, or a table saw to cut the acrylic sheets. Alternatively, a laser cutter can be used for precise and clean cuts.
- Deburring Tool: A deburring tool or sandpaper will help smooth out the edges of the cut acrylic sheets and remove any rough or sharp edges.
- Adhesive: Silicone adhesive or acrylic adhesive is essential for securely bonding the acrylic panels together. Make sure to choose a high-quality adhesive designed specifically for acrylic materials.
- Screws and Standoffs: To assemble the frame and secure the hardware components, you’ll need screws and standoffs of various sizes. Opt for stainless steel or brass screws for their durability and corrosion resistance.
- Power Tools: Depending on your design, you may need a power drill, screwdriver, or allen wrench set for attaching hardware components and securing panels.
- Cable Management Accessories: Cable ties, adhesive cable clips, and cable sleeves will help you keep your cables organized and reduce clutter inside the case.
When choosing your materials, consider the overall design and aesthetics you want to achieve. Take measurements carefully and double-check them before purchasing or cutting the acrylic sheets to ensure a precise fit.
By investing in high-quality tools and materials, you’ll ensure the longevity and professional finish of your acrylic PC case. Now that we have our tools and materials ready, it’s time to move on to the exciting part – designing your case!
Designing Your Case
The design of your acrylic PC case is where your creativity can truly shine. This is your opportunity to create a case that reflects your personal style and showcases your hardware in the most appealing way. Before you start cutting any acrylic sheets or assembling the components, take some time to plan and visualize your design.
Here are some key points to consider when designing your acrylic PC case:
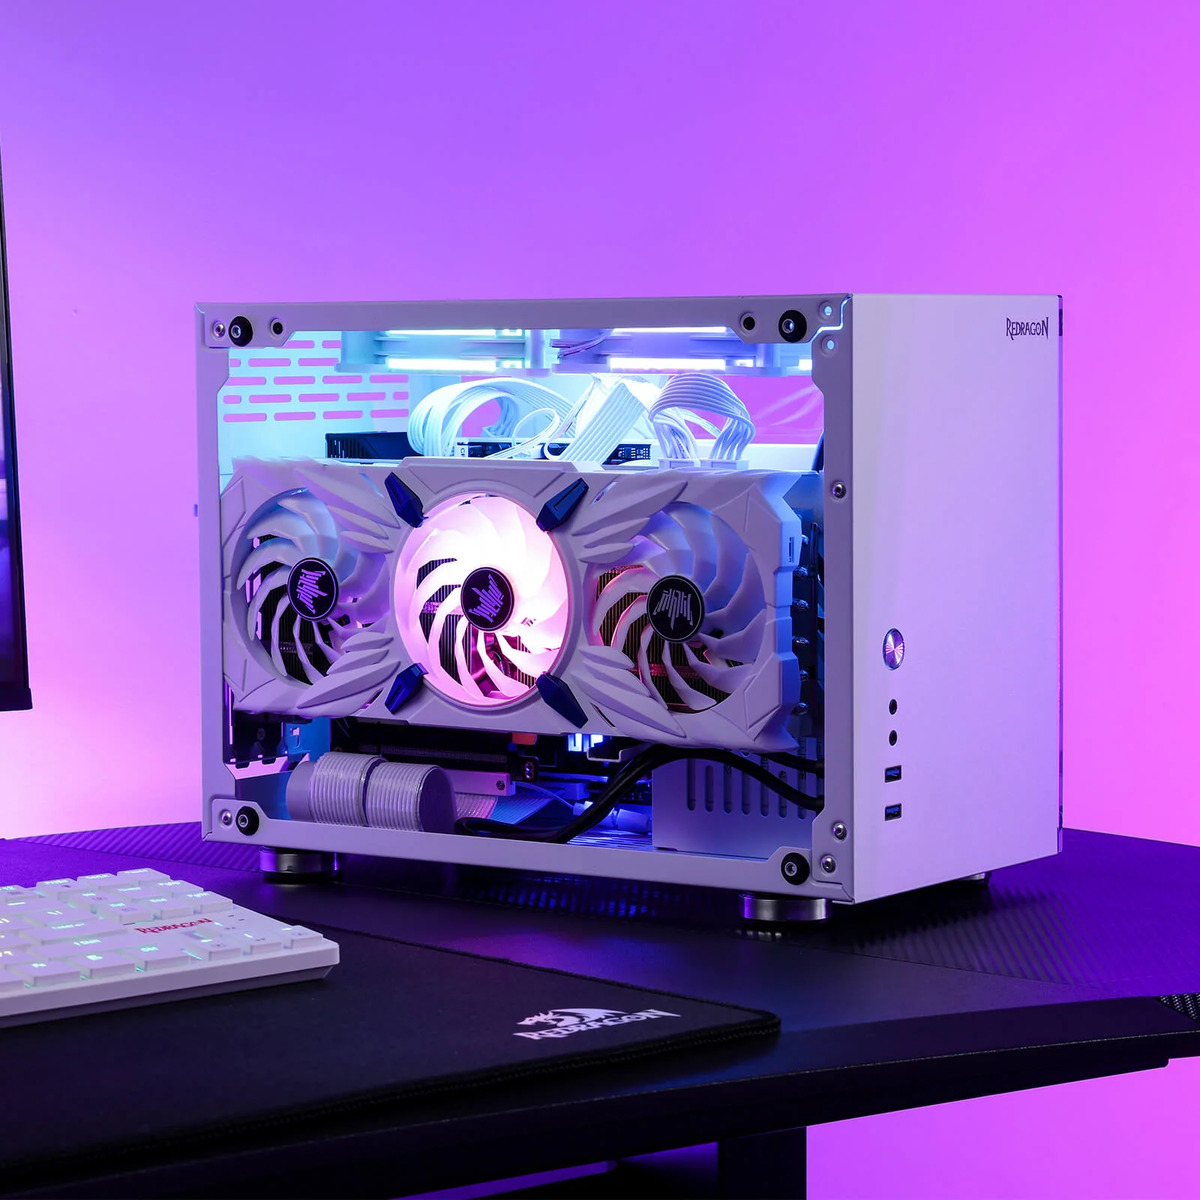
- Form Factor: Decide on the form factor of your case – whether you want it to be a traditional tower case, a compact mini-ITX case, or maybe even a unique shape. Consider the dimensions and compatibility with your hardware.
- Layout and Component Placement: Determine where you want to position your motherboard, graphics card, power supply, storage drives, and other components. Consider airflow and cable management when deciding on component placement.
- Ventilation and Cooling: Plan for proper ventilation and cooling to ensure that your components stay cool under heavy load. Consider adding fans or liquid cooling solutions and plan for adequate airflow through the case.
- Cable Management: Design your case with cable management in mind. Create pathways and spaces to route and hide cables to achieve a clean and organized look.
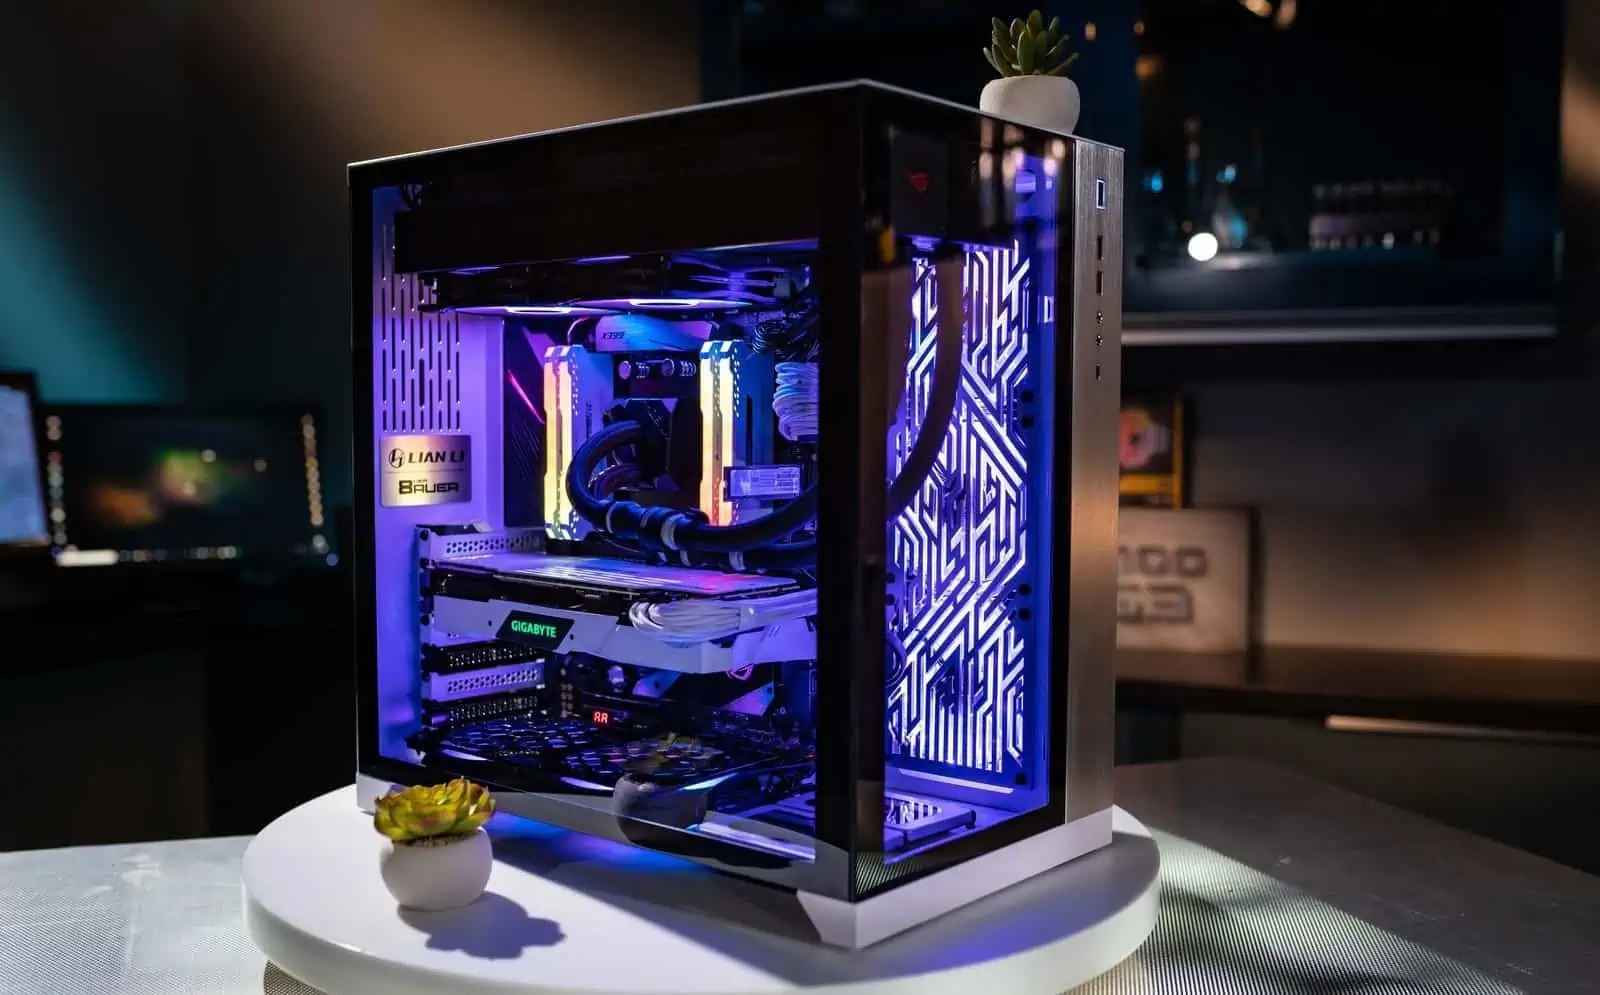
- Showcasing Hardware: If you want to showcase your hardware, consider adding transparent panels or windows in strategic places. This will allow you to highlight your components and add visual interest.
- Modularity and Expandability: Think about the future. Plan your case design to allow for future upgrades and expansion, such as adding additional storage drives or upgrading your graphics card.
Sketch out your design ideas on paper or use computer-aided design (CAD) software to create a visual representation of your case design. This will help you refine your design and identify any potential issues before proceeding to the actual construction.
Remember, the design process is where you can unleash your creativity and make your acrylic PC case truly unique. Don’t be afraid to experiment and think outside the box to achieve a design that reflects your personal style and showcases your hardware in the best possible way.
With your design finalized, it’s time to move on to the next step: measuring and cutting the acrylic sheets.
Measuring and Cutting Acrylic Sheets
Now that you have your design in hand, it’s time to bring it to life by measuring and cutting your acrylic sheets. Accurate measurements and precise cuts are crucial for a properly functioning and visually appealing acrylic PC case.
Follow these steps to measure and cut your acrylic sheets:
- Take Accurate Measurements: Use your design plans to determine the dimensions of each acrylic panel. Measure twice to ensure accuracy, and note down the measurements for each piece.
- Mark the Panel: Using a ruler or measuring tape, mark the measurements directly on the protective film of the acrylic sheet. Double-check the marks to ensure they are correct before moving on.
- Prepare the Cutting Area: Set up a clean and well-lit work area to perform the cutting. Ensure that you have a stable surface and enough space to maneuver the acrylic sheets.
- Choose the Cutting Method: Depending on the thickness and complexity of your design, you can cut the acrylic sheets using various methods. A fine-toothed saw can be used for straight cuts, while a jigsaw or table saw can handle more intricate cuts. Alternatively, a laser cutter can provide precise and clean cuts.
- Make the Cuts: Follow the marked lines on the acrylic sheet and use your chosen cutting tool to carefully cut through the material. Take your time and apply gentle and consistent pressure to avoid cracking or splintering the acrylic.
- Smooth the Edges: After cutting, use a deburring tool or sandpaper to smooth out any rough or sharp edges. This will give your acrylic panels a clean and professional finish.
Remember to take proper safety precautions while cutting acrylic sheets, such as wearing safety goggles and gloves. Always follow the manufacturer’s instructions for the specific cutting tool you are using.
Keep in mind that mistakes happen, and it’s okay to make adjustments or recut a piece if needed. Measure twice and cut once to minimize errors, but don’t be discouraged if you need to make changes along the way.
With your acrylic panels cut to the correct sizes, you are now one step closer to building your custom PC case. Next, we will cover the preparations required for assembling the acrylic components.
Preparing the Acrylic Components
With your acrylic sheets cut to size, it’s time to prepare the components for assembly. Proper preparation ensures that the acrylic components fit together seamlessly and securely, resulting in a sturdy and visually appealing PC case.
Follow these steps to prepare the acrylic components for assembly:
- Remove the Protective Film: Carefully peel off the protective film from both sides of each acrylic panel. This will reveal the clear and pristine surface of the acrylic and prevent any residue from interfering with the adhesive bonding process.
- Deburr and Smooth Edges: Use a deburring tool or sandpaper to smooth out any remaining rough or sharp edges on the acrylic panels. This step is important for a professional and polished final result.
- Test-Fit the Components: Before applying any adhesive, test-fit the acrylic panels together to ensure they align correctly and form a snug fit. Make any necessary adjustments or slight trims if needed.
- Prepare the Adhesive: Follow the manufacturer’s instructions to prepare the adhesive. Some adhesives may require mixing, while others are ready to use out of the tube. Use a disposable applicator or brush to apply the adhesive evenly on the edges of the acrylic panels.
- Apply the Adhesive: Carefully position the acrylic panels in their designated places and press them firmly together. The adhesive will bond the panels together, creating a strong and permanent connection. Remove any excess adhesive that squeezes out along the edges.
- Allow the Adhesive to Cure: Follow the curing time mentioned in the adhesive instructions. Place the assembled components in a clean and dust-free area and avoid any movement or disturbance while the adhesive is setting.
It’s crucial to follow the adhesive manufacturer’s instructions carefully, as different types of adhesives may have varying curing times and application techniques. Some adhesives require clamping during the curing process to ensure optimal bond strength.
Take your time during the preparation and assembly process to ensure accuracy and precision. Double-check the alignment and fit of the acrylic panels before applying the adhesive, as any mistakes or misalignments can be difficult to rectify once the adhesive sets.
With the acrylic components properly prepared and bonded together, your custom PC case will start to take shape. In the next section, we will move on to assembling the frame of the case to further strengthen its structure.
Assembling the Frame
Now that your acrylic components are prepared, it’s time to assemble the frame of your PC case. The frame is what provides the structure and stability to your case, ensuring that all the components are securely held in place.
Follow these steps to assemble the frame of your acrylic PC case:
- Refer to Your Design Plans: Use your design plans as a reference to determine the order in which the components need to be assembled. This will help ensure a smooth and efficient assembly process.
- Identify and Arrange the Frame Components: Take out the various frame components, such as brackets, rails, and support bars. Organize them in the correct order, according to your design, for easy access during assembly.
- Attach the Components: Begin attaching the frame components by following your design plans. Use the appropriate screws, standoffs, or connectors to securely join the different parts together. Ensure that everything is aligned properly as you assemble.
- Check for Stability: Regularly check the stability of the frame as you progress through the assembly process. Make any necessary adjustments to ensure that the frame is solid and doesn’t wobble.
- Test Component Fit: At various stages of the assembly, check the fit of the acrylic components within the frame to ensure they align correctly and can be easily installed. Make any necessary modifications to the frame if needed.
While assembling the frame, pay attention to cable routing and clearance for proper cable management and component installation. Design and position openings or channels in the frame to facilitate easy and organized cable routing.
It’s important to use the recommended screws, standoffs, or connectors specified for your case and components. This ensures the proper fit and function of the frame, as well as compatibility with your chosen hardware.
Take your time during the assembly process to ensure accuracy and precision. Double-check the alignment and stability of the frame as you progress to avoid any issues later on.
With the frame assembled, your PC case is starting to come together. In the next section, we will cover the installation of the hardware components to bring your custom PC to life.
Installing Hardware Components
With the frame of your acrylic PC case assembled, it’s time to install the hardware components that will power and drive your PC. Proper installation of these components ensures optimal performance and functionality of your custom-built computer.
Follow these steps to install the hardware components in your acrylic PC case:
- Motherboard Installation: Carefully position and align your motherboard onto the designated standoffs in the case. Use the appropriate screws to secure the motherboard, ensuring a tight and stable fit.
- Processor and RAM Installation: Install your processor onto the motherboard’s socket according to the manufacturer’s instructions. Insert the RAM sticks into the appropriate slots, making sure they are fully seated and latched in place.
- Graphics Card Installation: If you have a dedicated graphics card, insert it into the appropriate PCIe slot on the motherboard. Ensure it is properly aligned and securely fastened using the PCIe brackets or screws provided.
- Storage Drive Installation: Install your storage drives, such as solid-state drives (SSDs) or hard disk drives (HDDs), into the designated drive bays. Use the provided screws or brackets to secure them in place.
- Power Supply Installation: Position the power supply unit (PSU) into its designated spot in the case. Attach the necessary cables to the motherboard, graphics card, and storage drives. Ensure a tidy cable routing for better airflow and aesthetics.
- Additional Component Installation: Install any additional components, such as a CPU cooler, case fans, or custom lighting, according to their respective instructions. Ensure proper connections and secure mounting.
As you install each component, double-check all connections and ensure that they are secure and properly seated. Pay attention to cable management to keep the interior of your case tidy and optimize airflow.
Refer to the manuals and instructions provided by the component manufacturers for specific installation guidelines. Following their recommendations will ensure a successful and trouble-free installation process.
With the hardware components installed, your PC build is nearing completion. In the next section, we will focus on securing the acrylic panels to finalize the construction of your acrylic PC case.
Securing the Panels
With the hardware components installed and the frame assembled, it’s time to secure the acrylic panels to complete the construction of your acrylic PC case. Securing the panels not only provides protection for your components but also adds a sleek and polished finishing touch to your build.
Follow these steps to securely attach the acrylic panels to your PC case:
- Identify the Panel Placement: Refer to your design plans to determine the placement of each acrylic panel. Identify the front, back, sides, and top panels according to your desired configuration.
- Apply Adhesive: Apply a thin and even layer of adhesive to the edges of the acrylic panels. Ensure that you use adhesive designed specifically for bonding acrylic.
- Carefully Position the Panels: Carefully align each panel to its designated spot on the frame. Apply gentle pressure to secure the panels in place, allowing the adhesive to create a strong bond.
- Secure the Panels: Use clamps or temporary supports to hold the panels in place while the adhesive cures, following the instructions provided with the adhesive. Ensure that the panels are firmly held against the frame during this process.
- Allow the Adhesive to Cure: Give the adhesive sufficient time to cure and bond the panels to the frame. Follow the recommended curing time mentioned in the adhesive instructions to ensure a strong and durable bond.
During the panel placement process, be mindful of any openings or gaps required for ventilation and cable management. Ensure that the panels do not obstruct the airflow and provide sufficient space for routing and organizing the cables.
While the adhesive cures, avoid moving or disturbing the case to allow the panels to set securely. This will help ensure that the bond between the acrylic panels and the frame is strong and long-lasting.
After the adhesive has cured, carefully remove any excess adhesive or residue from the edges and surfaces of the acrylic panels. Use a soft cloth or cotton swab and a gentle cleaner suitable for use on acrylic materials to avoid scratching or damaging the panels.
With the panels securely attached, your acrylic PC case construction is almost complete. In the next section, we will cover the important steps of wiring and cable management to ensure a clean and organized interior.
Wiring and Cable Management
Proper wiring and cable management are essential for not only a clean and organized interior but also optimal airflow and efficient operation of your acrylic PC case. With a little planning and attention to detail, you can achieve a tidy and aesthetically pleasing setup.
Follow these steps to effectively manage your wiring and cables:
- Plan Your Cable Routes: Before connecting any cables, plan the routes inside your case to minimize clutter and obstructions. Consider the locations of your components and choose the most efficient paths for your cables.
- Use Cable Ties and Clips: Securely bundle and route your cables using cable ties and adhesive cable clips. This helps keep your cables organized and prevents them from tangling or interfering with cooling components.
- Group Similar Cables: Group cables that perform similar functions, such as power cables or data cables, together using cable ties. This makes troubleshooting and maintenance easier in the future.
- Utilize Cable Sleeves: Consider using cable sleeves or wraps to create a cleaner and more uniform appearance of your cables. Cable sleeves come in various colors and patterns, allowing you to match your case’s aesthetics.
- Leave Room for Expansion: When routing your cables, ensure that you leave sufficient space for future upgrades or the addition of new components. This allows for easier cable management when making changes to your setup.
- Avoid Excess Cable Length: Trim or tuck away any excess cable length to reduce clutter and improve airflow within your case. Excessive cable length can obstruct cooling fans or interfere with other components.
Take your time with cable management and ensure that each cable is securely connected to the appropriate component. Double-check all connections to prevent any loose or disconnected cables that could cause performance issues or malfunctions.
Remember to keep airflow in mind when routing your cables. Proper cable management allows for better airflow and heat dissipation, which can help maintain lower temperatures and improve overall system performance.
Regularly inspect and maintain your cable management to keep everything organized and tidy. A clean interior not only improves aesthetics but also makes future upgrades or maintenance much easier.
With wiring and cable management complete, your acrylic PC case is now ready for testing and troubleshooting, which we will cover in the next section.
Testing and Troubleshooting
After completing the construction and cable management of your acrylic PC case, it’s crucial to thoroughly test the system to ensure everything is functioning correctly. Testing allows you to identify any potential issues or compatibility concerns and troubleshoot them before putting your PC into regular use.
Follow these steps to effectively test and troubleshoot your acrylic PC case:
- Power-On Test: Connect your PC to a power source and turn it on. Verify that the fans, lights, and other components are receiving power and functioning as expected.
- BIOS Setup: Enter the BIOS settings to ensure that all hardware components are detected and functioning properly. Make any necessary adjustments or updates based on the motherboard manufacturer’s recommendations.
- System Benchmarking: Run system benchmarking tools or stress tests to evaluate the performance and stability of your hardware components under heavy load. Monitor temperatures and ensure they stay within safe ranges.
- Software and Driver Installation: Install the necessary software and drivers for your hardware components, ensuring compatibility and optimal performance. Update the drivers to the latest versions if necessary.
- Functional Testing: Test the functionality of each component, such as audio output, network connectivity, and USB ports. Ensure that they are working properly and meeting your requirements.
- Troubleshooting: If you encounter any issues during testing, consult the manuals, online forums, or support resources specific to the problematic component. Troubleshoot the issue systematically, checking connections, drivers, and compatibility until a solution is found.
Keep track of any troubleshooting steps and solutions that you find, as they may be helpful for future reference or system maintenance.
If you are unsure about any aspect of testing or troubleshooting, don’t hesitate to seek assistance from online communities or professional resources. There are many experienced PC builders and technicians who can offer valuable advice and guidance.
Remember, testing and troubleshooting is an iterative process. It may take some time to ensure that your system is stable and functioning as expected. Be patient and thorough in your testing to have confidence in the reliability of your PC.
Once you have completed the testing and troubleshooting phase, you are ready to put your acrylic PC case to regular use and enjoy the fruits of your hard work and creativity.
Final Touches and Maintenance
With your acrylic PC case built and tested, it’s time to add some final touches and ensure proper maintenance to keep your case in top condition. These final steps will help enhance the aesthetics, longevity, and functionality of your custom-built PC.
Here are some final touches and maintenance tips to consider:
- Cleaning and Dusting: Regularly clean the exterior and interior of your PC case to remove dust and debris. Use a soft, lint-free cloth or compressed air to gently clean the surfaces, vents, and fan blades. Avoid using abrasive materials or strong solvents that may damage the acrylic panels.
- Customization and Personalization: Consider adding custom decals, LED lighting, or other accessories to further personalize your PC case. This is an opportunity to showcase your style and creativity.
- Upgrade Planning: Keep an eye on the latest hardware advancements and plan for future upgrades. Stay informed about new technologies and components that can enhance the performance and capabilities of your PC.
- Regular Maintenance: Monitor your PC’s temperature, fan speed, and overall performance using software monitoring tools. Check for any unusual behavior or signs of hardware issues and address them promptly.
- Backup and Data Protection: Set up a regular backup routine to safeguard your valuable data. Consider using external storage or cloud-based services to ensure data redundancy and protection against potential data loss.
- System Organization: Keep your cables organized and tidy, ensuring they do not obstruct airflow or interfere with any components. Regularly check and re-secure any loose cables to maintain proper cable management.
Remember to consult the documentation and guidelines from component manufacturers for specific maintenance tips related to your hardware.
Lastly, enjoy your custom acrylic PC case! Admire its elegant design, showcase your hardware, and take pride in the fact that you have created a unique and personalized computer system.
With proper maintenance and periodic upgrades, your acrylic PC case will continue to provide a reliable and visually appealing computing experience for years to come.
Conclusion
Congratulations on successfully building your own acrylic PC case! By following the steps outlined in this guide, you have created a personalized and unique computer case that showcases your hardware and reflects your style.
Throughout the process, you learned how to choose the right tools and materials, design your case, measure and cut acrylic sheets, prepare the components, assemble the frame, install hardware components, secure the panels, manage wiring and cables, and test and troubleshoot your PC.
With your acrylic PC case complete, you now have a functional and visually appealing system that is ready to be used for work, gaming, or any other computing needs. Your attention to detail and careful planning have resulted in a custom PC case that you can be proud of.
Remember to regularly maintain and clean your case to ensure optimal performance and longevity. Stay informed about hardware advancements and consider future upgrades to keep your system up to date.
Building your own PC case is a rewarding experience that allows you to showcase your creativity, technical skills, and passion for technology. It provides a deep sense of satisfaction and ownership over your computer system.
Now go ahead, power on your custom-built PC, and enjoy the performance and beauty of your acrylic PC case!