Introduction
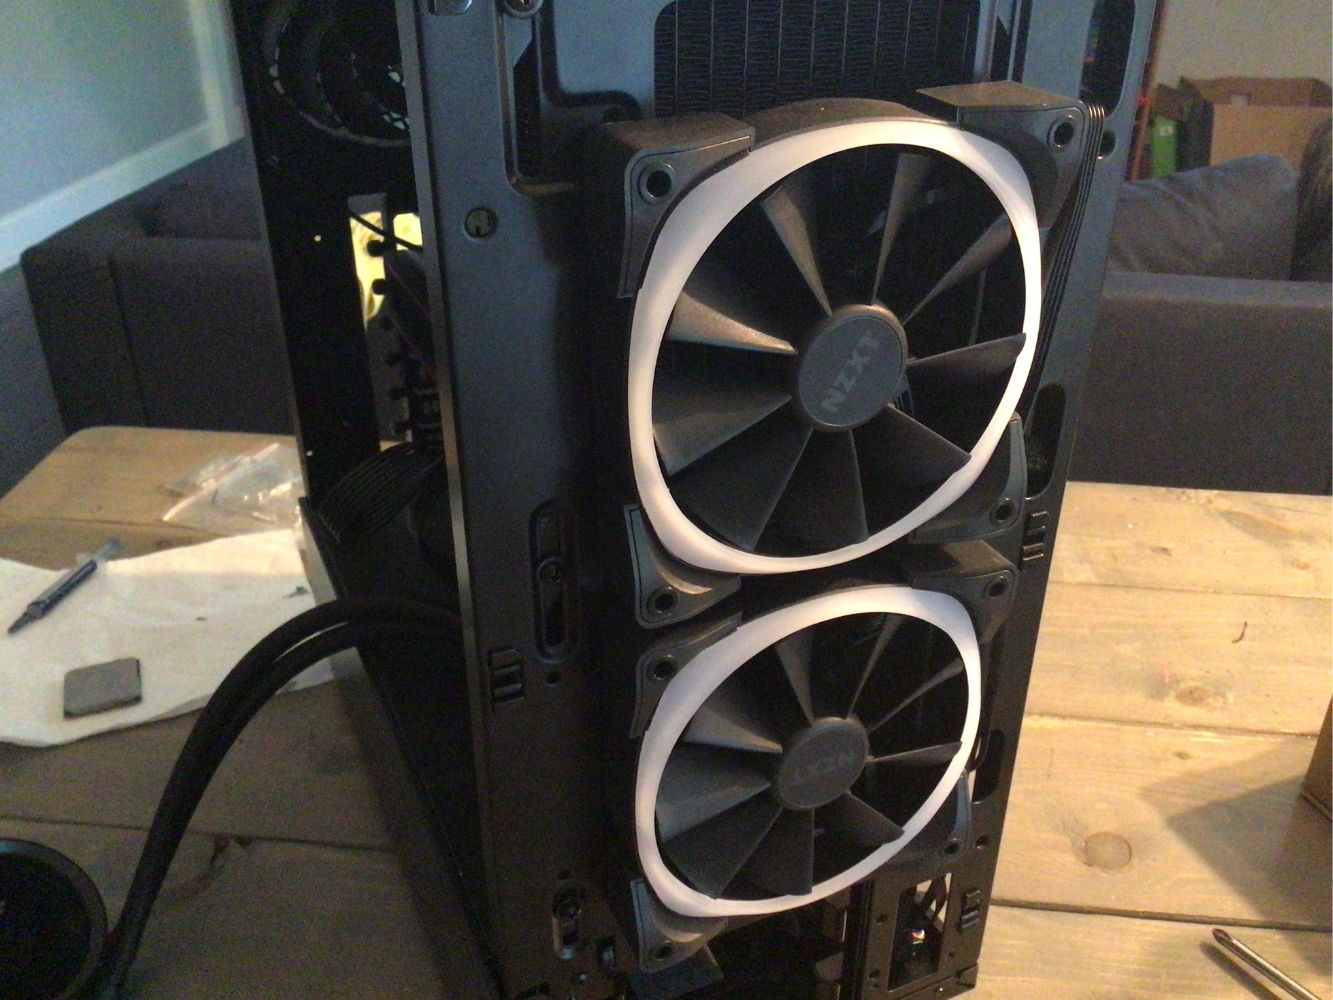
Modifying your PC case can be a rewarding and practical venture, allowing you to customize and upgrade your computer to your specific needs. Whether you want to add extra ventilation, install a new fan, or incorporate a liquid cooling system, cutting a clean hole in your PC case is an essential skill to master.
By creating a precise and well-finished hole, you can effectively and safely install various components without compromising the structural integrity of the case. However, it’s crucial to approach this task with caution to avoid damaging your PC or injure yourself.
In this guide, we’ll walk you through the step-by-step process of cutting a clean hole in your PC case. From gathering the necessary tools and materials to installing the component, you’ll learn the techniques to execute this task with precision and finesse.
Remember, patience and attention to detail are key when working with delicate computer components. So, let’s roll up our sleeves and dive into the exciting world of PC case modification!
Tools and Materials Needed
Before you start cutting a hole in your PC case, it’s essential to gather the necessary tools and materials to ensure a smooth and successful process. Here’s a list of what you’ll need:
- Safety goggles: Protect your eyes from any flying debris or metal shavings.
- Gloves: Ensure your hands are protected during the cutting and filing process.
- Marker or scribe: Use this to mark the spot where you’ll be cutting the hole.
- Drill: Invest in a high-quality drill with variable speed settings for greater control.
- Drill bits: Choose the appropriate bit size for the hole you want to create.
- File or deburring tool: Use this to smooth and clean the edges of the hole.
- Sanding block: A sanding block will help you refine the edges and achieve a polished finish.
- Clean cloth or a vacuum: Clear away any debris and dust as you work.
In addition to these tools, it’s important to have a well-ventilated workspace and a stable surface to work on. Make sure to gather all the tools and materials beforehand to avoid interruptions during the process.
Remember, safety should be a top priority when performing any PC case modification. Wear safety goggles and gloves to protect yourself, and work in a well-lit area to ensure precision and avoid accidents.
Preparing the PC Case
Before you begin cutting a hole in your PC case, it’s essential to prepare the case to ensure a smooth and successful modification. Follow these steps to get started:
- Power off your computer and unplug it from the power source. This step is crucial for your safety and to prevent any damage to the components.
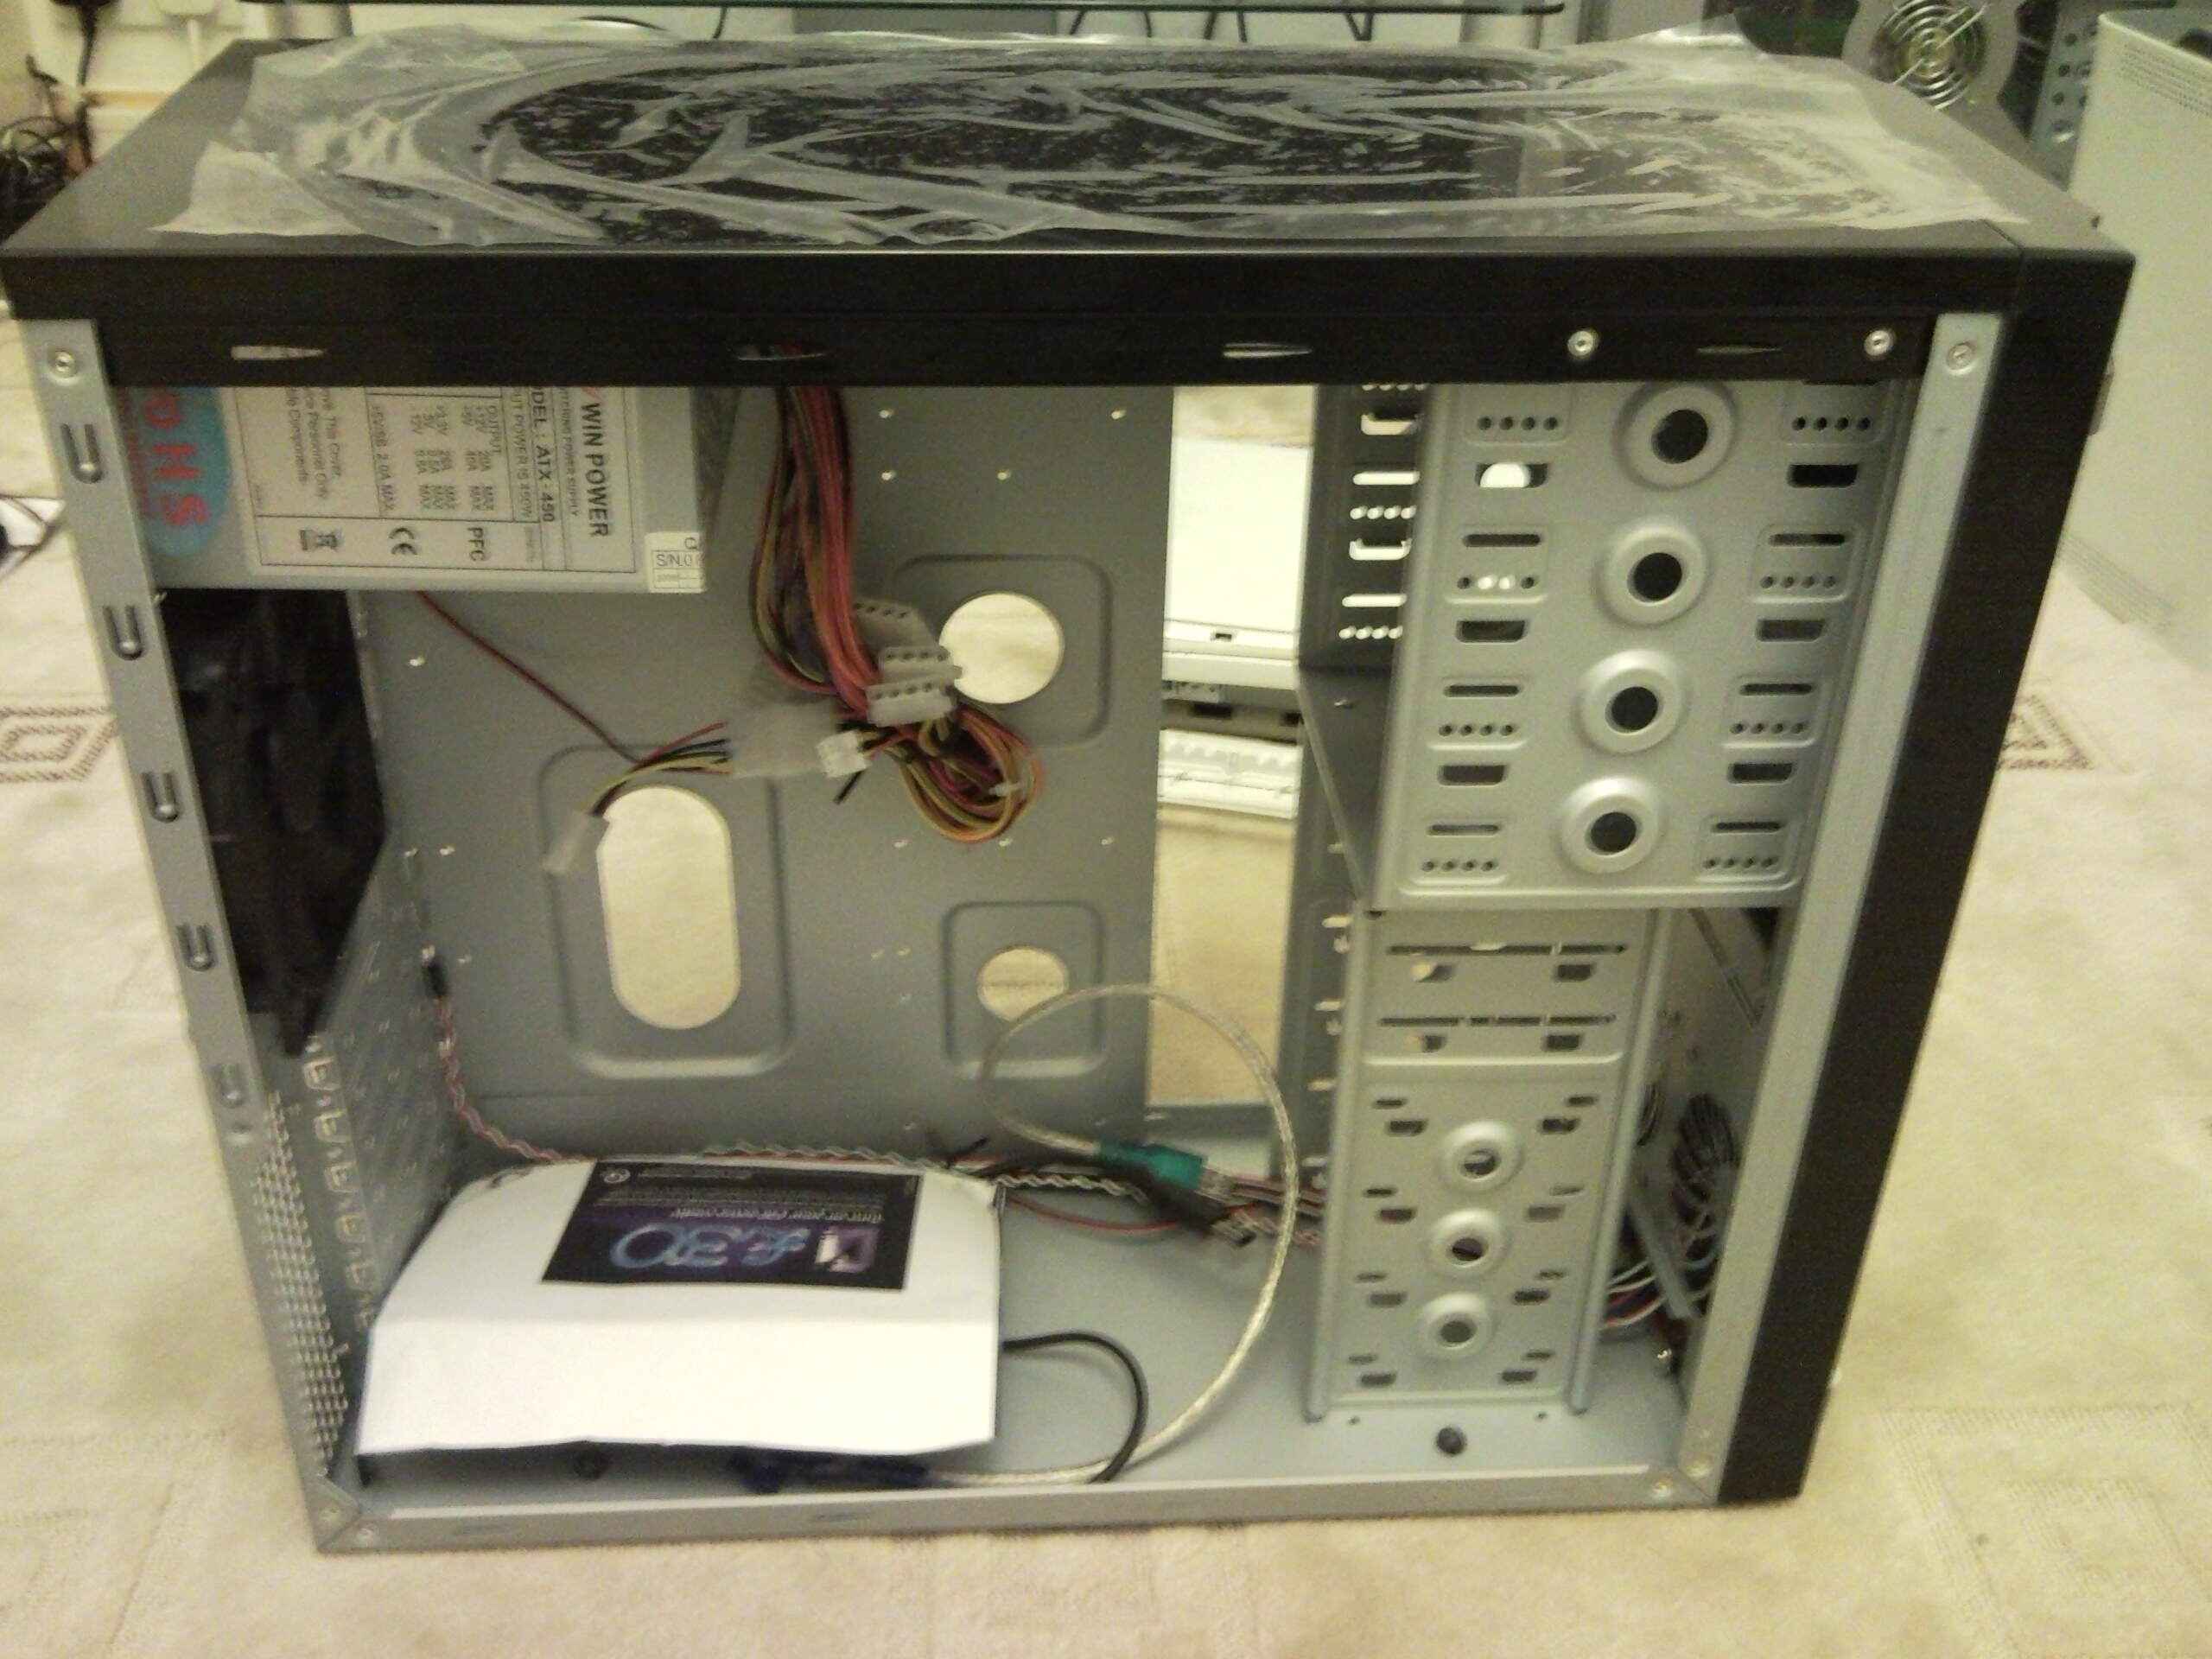
- Open the PC case by removing the side panel. Refer to the manufacturer’s instructions specific to your case if you’re unsure how to do this.
- Identify the area where you want to cut the hole. Consider the size and placement of the component you’ll be installing and choose a suitable location. Ensure there is enough space and clearance for the component to fit properly.
- Clean the area around the chosen spot on the PC case. Remove any dust, dirt, or debris using a clean cloth or a vacuum. This will help maintain a clean and organized workspace.
- Inspect the interior of the case to ensure there are no cables, wires, or sensitive components in close proximity to the chosen area. If there are any, carefully reroute or secure them to prevent accidental damage.
- If necessary, remove any plastic or rubber grommets or covers from the chosen area. These can often be found in pre-drilled holes and may need to be removed to create a larger hole.
By following these preparatory steps, you’ll ensure that your PC case is ready for the modification process. Taking the time to clean the case and assess the area will help you work with precision and minimize the risk of damaging any internal components.
Marking the Hole
Once your PC case is prepared, it’s time to mark the spot where you’ll be cutting the hole. This step is crucial for ensuring accuracy and precision in the final result. Follow these steps to mark the hole:
- Place the component you’ll be installing against the case to determine the exact position and orientation. Take note of any screw holes or mounting points that need to align with the hole.
- Using a marker or scribe, carefully mark the outline of the hole on the PC case. Ensure your markings are clear and visible.
- Double-check the markings for accuracy and alignment. This is especially important if you’re planning to cut irregular-shaped or non-standard sized holes.
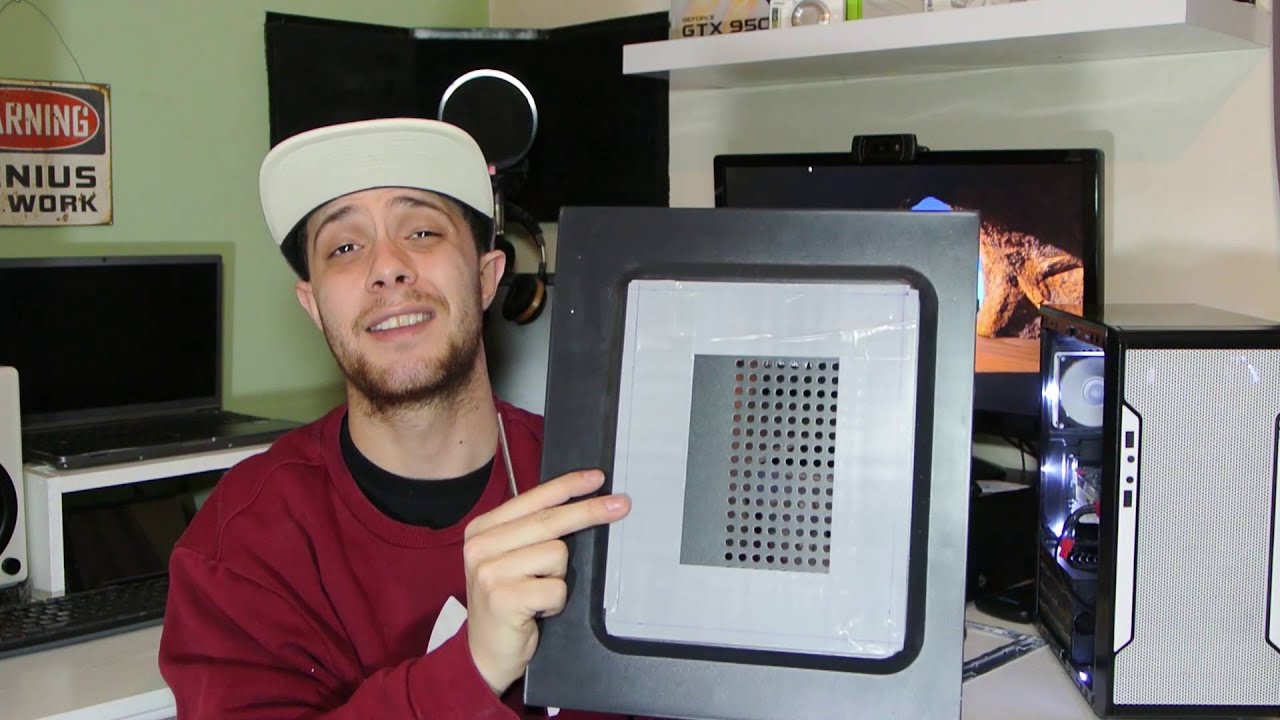
- If you’re unsure about the placement, consider using a template or stencil to guide your marking process. Templates can be easily created using paper or cardboard.
Remember, taking your time to mark the hole accurately will save you from potential errors during the cutting process. You want to ensure the hole aligns perfectly with the component you’ll be installing to avoid any compatibility issues or undesired gaps.
Once you’re satisfied with the markings, take a final moment to review and confirm their accuracy before proceeding to the next step.
Drilling the Hole
Now that you have marked the spot, it’s time to move on to the drilling phase. Follow these steps to drill a clean hole in your PC case:
- Put on your safety goggles and gloves to protect yourself during the drilling process.
- Choose the appropriate drill bit size for the hole you’ll be creating. It should match the size of the hole you have marked.
- Ensure your drill is set to the appropriate speed. Higher speeds are typically used for metal cases, while lower speeds are suitable for plastic or acrylic cases.
- Place the drill bit on your marked spot and start drilling slowly. Apply gentle and consistent pressure, letting the drill bit do the work.
- Keep the drill perpendicular to the surface and maintain a steady hand as you drill. This will ensure a straight and even hole.
- Periodically pause and remove any debris or shavings from the hole using a clean cloth or vacuum. This will help you maintain visibility and prevent the drill bit from getting clogged.
- Continue drilling until you have penetrated the entire depth of the case. Take your time and be patient to avoid any mistakes.
- Once the hole is complete, turn off the drill and carefully remove the drill bit from the hole.
After drilling the hole, take a moment to inspect it for any rough edges or burrs. If necessary, use a deburring tool, file, or sandpaper to smooth and clean the edges, ensuring a professional and polished finish.
Remember, drilling can generate heat, so avoid excessive pressure or prolonged drilling in one spot to prevent damage to the case or the component you’ll be installing.
Filing and Smoothing the Edges
After drilling the hole in your PC case, it’s important to file and smooth the edges to achieve a clean and professional look. Follow these steps to effectively file and smooth the edges:
- Put on your gloves to protect your hands during the filing process.
- Inspect the edges of the hole for any sharp or uneven edges. These can be caused by the drilling process and need to be addressed.
- Using a file or deburring tool, gently file the edges of the hole. Apply light pressure and work in a circular motion to gradually smooth out any rough spots.
- Be mindful of the material of your PC case. Different materials may require different filing techniques. For example, plastic cases may require lighter pressure compared to metal cases.
- Periodically check the smoothness of the edges by running your gloved finger over them. If you feel any sharpness or roughness, continue filing until the edges are smooth to the touch.
- Once you are satisfied with the smoothness, use a sanding block or sandpaper to refine the edges further. This will help achieve a polished finish and remove any remaining imperfections.
- Wipe away any dust or debris from the filing and sanding process using a clean cloth or vacuum.
By taking the time to file and smooth the edges, you’ll not only enhance the aesthetics of the hole but also ensure that there are no sharp edges that could potentially cause injury or damage to cables or components.
Remember, patience is key during this step. Take your time to file and smooth the edges with precision to achieve the best possible result.
Installing the Component
Now that you have successfully cut and prepared the hole in your PC case, it’s time to install the component you’ve been working towards. Follow these steps to ensure a secure and proper installation:
- Refer to the manufacturer’s instructions for the specific component you’re installing. Familiarize yourself with any additional installation requirements or steps.
- Position the component against the case, aligning the mounting holes or screws with the newly created hole.
- Ensure the component fits securely and snugly into the hole. If necessary, use additional screws or fasteners provided with the component to secure it in place.
- Double-check that all cables and wires are properly routed and not obstructing the component or the newly created hole.
- Tighten the mounting screws or fasteners to secure the component firmly into place, but avoid over-tightening to prevent damage or straining of the case.
- Connect any necessary cables or wiring to the newly installed component, following the manufacturer’s instructions for correct installation.
Once the component is securely installed and all connections are made, double-check that everything is functioning properly. Power on your computer and ensure that the component is recognized and operational.
If you encounter any issues or have difficulties during the installation process, consult the manufacturer’s instructions or seek assistance from online forums or support communities.
Congratulations! You have successfully cut a clean hole in your PC case and installed the desired component. Now you can enjoy the benefits and improvements that the modification brings to your computer system!
Conclusion
Cutting a clean hole in your PC case is a skill that allows you to customize and enhance your computer system. By following the step-by-step process outlined in this guide, you can successfully modify your PC case and install components with precision.
Remember to gather the necessary tools and materials, prepare the PC case, mark the hole accurately, and use caution when drilling. Filing and smoothing the edges ensure a professional finish, while installing the component requires attention to detail and proper alignment.
Throughout this process, safety should be a priority. Wear protective gear, work in a well-ventilated area, and be mindful of sharp edges or potential hazards.
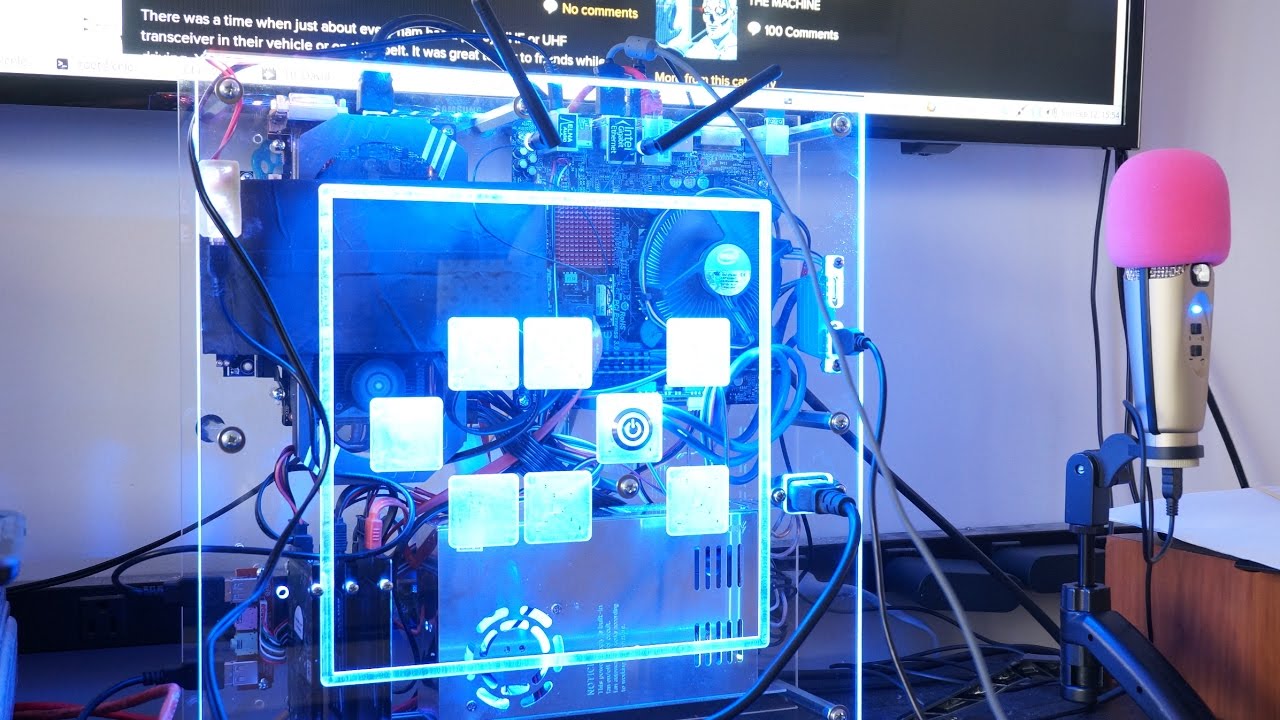
Whether you’re adding extra ventilation, integrating a new fan, or incorporating a liquid cooling system, cutting a clean hole in your PC case opens up a world of possibilities for customization and improved performance.
Now that you’ve learned the essential steps in cutting a clean hole in your PC case, you can confidently undertake future modifications and upgrades to optimize your computer system.
So, grab your tools, get creative, and let your PC case become a canvas for your personalized computer setup!


