Introduction
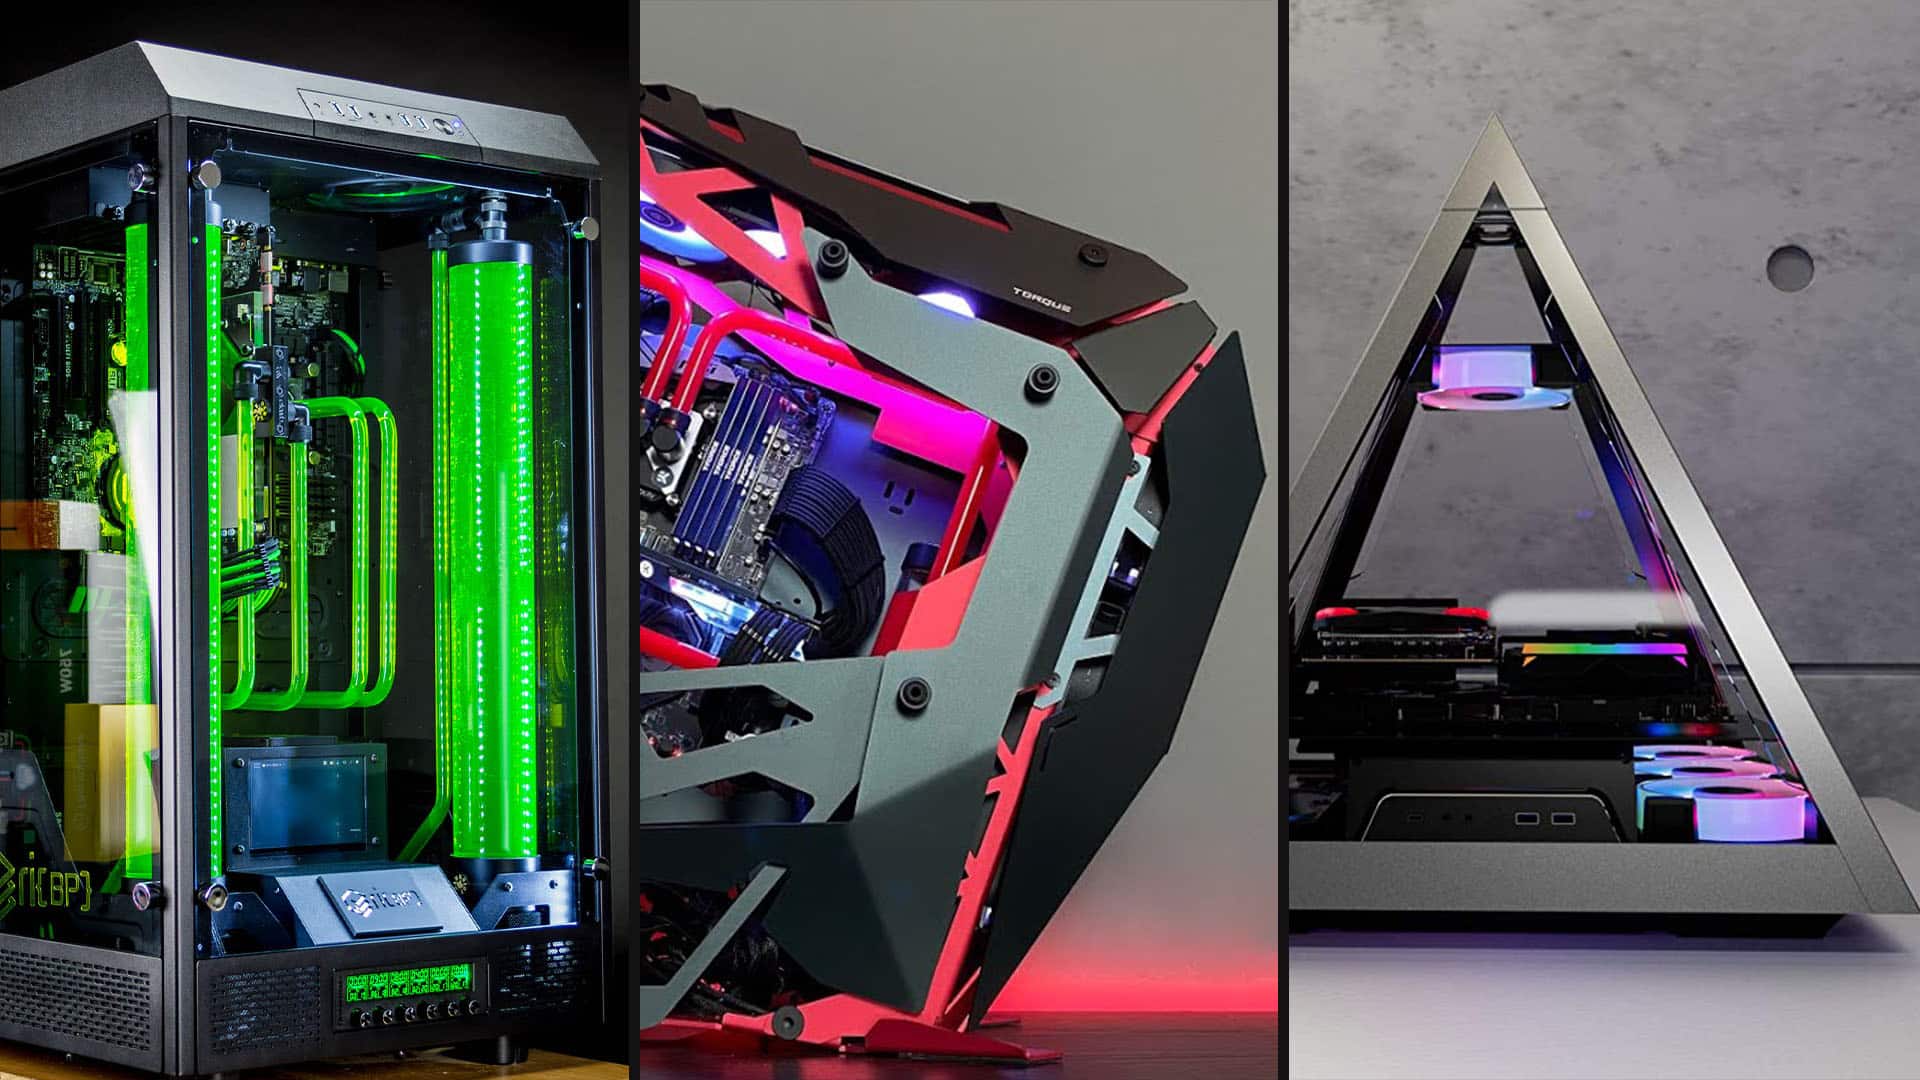
Welcome to the world of custom PC building, where the possibilities are endless and the creativity knows no bounds. One of the most popular modifications enthusiasts make to their PC cases is adding a window panel. A PC case window not only adds a stylish touch to your setup but also allows you to showcase your hardware and lighting effects.
Building a PC case window may seem like a daunting task, but fear not – with the right materials, tools, and a little bit of patience, you can create a professional-looking window that will make your PC stand out from the crowd.
In this guide, we will walk you through the step-by-step process of building a PC case window. We will cover everything from choosing the right case to installing the window panel and adding the finishing touches. Whether you are a seasoned PC builder or a beginner looking to add a personal touch to your rig, this guide is for you.
Before we dive into the details, it is important to note that building a PC case window requires some basic knowledge of using tools like a drill and a file. If you are not comfortable using these tools or don’t have access to them, we recommend seeking assistance from someone with experience or considering alternative methods such as purchasing a pre-made window panel.
Now, let’s gather our materials and get ready to turn your PC case into a work of art!
Materials Needed
Before starting the process of building a PC case window, it’s important to gather all the necessary materials. Having everything on hand will ensure a smooth and efficient DIY experience. Here are the materials you’ll need:
- PC Case: Choose a case that suits your needs and preferences. Make sure it has enough internal space to accommodate the components you plan to install.
- Window Panel: You can either purchase a premade window panel specifically designed for your case model or opt for a custom acrylic or tempered glass sheet that you can cut to fit.
- Measuring Tape: Essential for accurately measuring the dimensions of the window opening.
- Marker or Pencil: Use this to mark the window placement on your case.
- Masking Tape or Protective Film: This will prevent scratches on the case surface during the cutting and installation process.
- Drill: A power drill with various drill bit sizes is necessary for creating holes for the window mounting.
- Jigsaw or Dremel Tool: Depending on the material of your case and the window panel, you’ll need either a jigsaw or a Dremel tool to cut the window opening.
- File: Use a file to smoothen any rough edges after cutting the window opening.
- Sandpaper: For sanding the surface of the window opening to ensure a clean finish.
- Screwdriver: To attach the window panel to the case using fasteners.
- Cleaning Cloth and Cleaner: To wipe down the case and remove any dust or debris after installation.
Having these materials readily available will make the process more convenient, allowing you to complete each step without interruptions.
Now that we have our materials sorted, let’s move on to the next step: choosing the perfect PC case for your project.
Step 1: Choose a PC Case
The first step in building a PC case window is selecting the right case for your project. Consider these factors when choosing the case:
Compatibility: Ensure that the case you choose is compatible with your motherboard size, power supply, and other components. It should have enough clearance and space to accommodate your hardware.
Aesthetics: Look for a case that matches your desired aesthetic. Choose a design, color, and form factor that aligns with your personal style and preferences. Remember, the goal is to showcase your hardware through the window panel, so choose a case that enhances the visual appeal of your internal components.
Cable Management: Check whether the case offers good cable management options. A clean and organized internal layout will not only improve airflow but also make your PC look more professional through the window.
Size and Expandability: Determine the size you need based on the number of components you plan to install. Consider future expandability if you want to add more components later on. Ensure that the case has enough drive bays, expansion slots, and fan mounting locations to meet your needs.
Budget: Set a budget for your case and look for options within your price range. There are cases available at various price points, so you should be able to find one that suits your budget and requirements.
Take your time when choosing a case, as it is a significant investment that will impact the overall look and functionality of your PC. Research different models, read reviews, and consider your specific needs to make an informed decision.
Once you have chosen the perfect case, you can move on to the next step: measuring and marking the window placement.
Step 2: Measure and Mark the Window Placement
After selecting the ideal PC case for your project, it’s time to measure and mark the placement for your window panel. Proper measurement and marking ensure that the window is centered and properly aligned on your case. Follow these steps:
1. Prepare the case: Remove any side panels or components that may obstruct your access to the side of the case where you plan to install the window.
2. Measure the dimensions: Use a measuring tape to carefully measure the dimensions of the window panel you plan to install. Take note of the width, height, and any additional space requirements for mounting fasteners.
3. Mark the window placement: With the measurements in hand, use a marker or pencil to lightly mark the four corners of the window panel onto the side panel of your case. Ensure that the marks are accurate and symmetrical to create a visually pleasing window placement.
4. Double-check the placement: Step back and visually inspect the marked area to ensure that it aligns with your desired vision. Make any adjustments or corrections as needed.
5. Consider internal clearance: Open up the case and check that there is adequate clearance inside for the window panel. Ensure that the window won’t interfere with any components or cause any potential issues with airflow.
By carefully measuring and marking the window placement, you’ll be ready for the next steps of actually cutting the window panel and preparing it for installation.
Now that you have your measurements and window placement marked, let’s move on to gathering the tools and equipment needed for the next steps.
Step 3: Gather the Tools and Equipment
Before diving into the process of building a PC case window, it’s essential to gather all the necessary tools and equipment. Having the right tools on hand will ensure a smooth and efficient workflow. Here are the tools and equipment you’ll need:
1. Power Drill: A power drill with various drill bit sizes is essential for creating holes for the window mounting and other necessary modifications.
2. Jigsaw or Dremel Tool: Depending on the material of your case and window panel, you’ll need either a jigsaw or a Dremel tool to cut the window opening. A jigsaw is ideal for cutting through metal cases, while a Dremel tool is better suited for acrylic or plastic cases.
3. File: After cutting the window opening, a file is necessary for smoothing out any rough edges. This step is crucial to ensure a clean and professional finish.
4. Sandpaper: Use sandpaper to smooth the surface of the window opening and remove any imperfections. This will provide a clean and polished look to your window panel.
5. Marker or Pencil: Use a marker or pencil to mark the window placement on the case, as mentioned in the previous step.
6. Protective Tape or Film: Apply masking tape or a protective film to the surrounding area where you’ll be working. This will help prevent scratches and damage to the case surface during the cutting and installation process.
7. Screwdriver: A screwdriver will be necessary to attach the window panel to the case using fasteners. Make sure you have the right type and size that matches the screws or fasteners provided.
8. Cleaning Cloth and Cleaner: Have a cleaning cloth and a suitable cleaner on hand to wipe down the case and remove any dust or debris after installation. This final step will give your PC case a polished and pristine appearance.
Ensure you have all the tools and equipment gathered before proceeding further. It’s important to work in a well-organized and prepared manner to achieve the best results for your PC case window.
Now that you have all the necessary tools and equipment, we can move on to the next step: cutting the window panel.
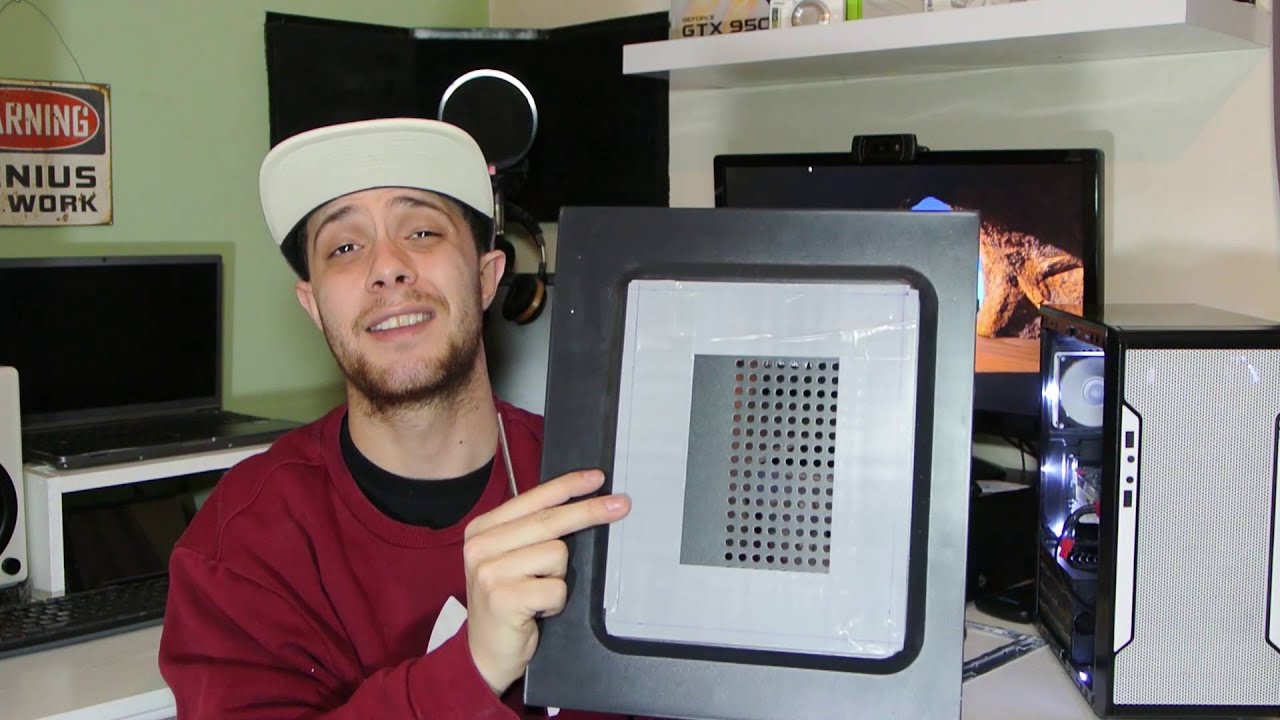
Step 4: Cut the Window Panel
Now that you have gathered all the necessary tools and equipment, it’s time to cut the window panel for your PC case. Follow these steps carefully to ensure a precise and clean cut:
1. Prepare the window panel: If you are using a custom acrylic or tempered glass sheet, ensure that it is the correct size and shape based on the measurements you took earlier. If needed, use a marker or pencil to mark the dimensions on the panel.
2. Secure the panel: Place the window panel on a flat and stable surface. Use clamps or other securing methods to ensure the panel does not move during the cutting process.
3. Set up the cutting tool: Depending on the material of your case and the window panel, use a jigsaw or Dremel tool with the appropriate blade or cutting attachment. Ensure that the blade or attachment is securely in place and ready for use.
4. Start cutting: Begin cutting along the marked lines, taking your time to make precise and controlled movements. Follow the shape and dimensions of the window opening you planned earlier. Be cautious of any curves or corners and adjust your cutting technique accordingly.
5. Maintain a steady hand: Keep a firm grip on the cutting tool and maintain a steady hand throughout the cutting process. Take breaks if needed to avoid fatigue and ensure accuracy.
6. Double-check the cut: Once you have completed the cutting process, carefully inspect the window panel to ensure that the cut matches the dimensions and aligns with the markings on your case.
7. Remove any burrs or rough edges: Use a file to smoothen any rough edges or burrs on the cut edges of the window panel. This step is crucial to achieve a professional-looking finish.
8. Clean the window panel: Wipe down the window panel with a cleaning cloth to remove any dust or debris from the cutting process.
Remember to work slowly and cautiously during the cutting process to avoid any accidents or damage to the window panel or yourself. Once you have completed cutting the window panel, you are ready to move on to the next step: filing the edges and sanding the surface.
Step 5: File the Edges and Sand the Surface
After cutting the window panel, it’s important to file down the edges and sand the surface to achieve a smooth and professional finish. Follow these steps to ensure your window panel is ready for installation:
1. File the edges: Use a file to carefully and gently file down the edges of the cut window panel. This step helps to remove any rough or sharp edges that may pose a risk of injury and provides a clean and polished look.
2. File in a single direction: When filing, it’s best to move the file in a single direction instead of back and forth. This helps to maintain control and prevent accidental damage to the panel or yourself.
3. Check for smoothness: After filing, run your fingers along the edges to check for any remaining rough spots or sharp edges. If you notice any, use the file to further smoothen those areas until they feel completely smooth.
4. Sand the surface: Once the edges are filed down, use sandpaper to sand the surface of the window panel. Start with a coarse-grit sandpaper to remove any larger imperfections or unevenness and gradually move towards a finer-grit sandpaper for a smoother finish.
5. Sand in a circular motion: When sanding, use a gentle circular motion to ensure even sanding and prevent creating any noticeable scratches or marks on the surface. Be consistent in your movements to achieve a uniform finish.
6. Wipe off dust and debris: After sanding, wipe off any dust or debris from the panel using a cleaning cloth. This will help to reveal the true surface of the window panel and remove any unwanted particles.
7. Inspect the window panel: Take a moment to carefully inspect the window panel to ensure that the filed edges are smooth and the surface has a clean and polished appearance. Make any necessary touch-ups if needed.
By filing the edges and sanding the surface of the window panel, you’ll create a professional and visually pleasing result. Now, it’s time to move on to the next step: applying tape or protective film.
Step 6: Apply Tape or Protective Film
Once you have filed the edges and sanded the surface of the window panel, it’s time to protect it from any potential scratches or damage. Applying tape or a protective film will help maintain the pristine condition of your window panel during the rest of the installation process. Follow these steps to ensure a protected and flawless window panel:
1. Clean the window panel: Use a cleaning cloth and a suitable cleaner to thoroughly clean the window panel. This will help remove any dust, fingerprints, or oils that may affect the adhesion of the tape or film.
2. Cut the tape or film: Measure and cut the tape or protective film to the appropriate size, ensuring that it covers the entire window panel. Leave a small margin around the edges to ensure complete coverage.
3. Apply the tape or film: Carefully apply the tape or protective film to the surface of the window panel, ensuring that it aligns with the edges and covers the entire exposed area. Take your time to avoid air bubbles and ensure a smooth application.
4. Smooth out any air bubbles: If you notice any air bubbles trapped under the tape or film, use a credit card or a soft cloth to gently smooth them out from the center towards the edges. This will ensure a flat and even application.
5. Trim the excess: Trim any excess tape or film using a sharp blade or scissors. Be careful not to cut into the window panel or leave any jagged edges.
6. Double-check and adjust if necessary: Take a moment to inspect the applied tape or film. Ensure that it is securely adhered and covers the entire window panel without any gaps or uneven areas. Make any necessary adjustments if needed.
7. Remove the protective backing: If you applied a protective film, remove the backing carefully to reveal the clear and protected window panel underneath.
Applying tape or a protective film will safeguard your window panel from scratches, fingerprints, and other potential damage throughout the remaining installation steps. Now that your window panel is protected, we can move on to the next step: drilling holes for the window mounting.
Step 7: Drill Holes for the Window Mounting
With the window panel protected, it’s time to drill holes in your PC case for mounting the window. Properly positioned and aligned holes will ensure a secure and sturdy attachment. Follow these steps to drill the necessary holes:
1. Prepare the case: Remove any side panels or components that may obstruct your access to the side of the case where you plan to install the window panel. This will provide a clear workspace for drilling.
2. Mark the hole positions: Use a pencil or marker to mark the positions where you want to drill the holes on the case. Ensure that these markings align with the holes or slots on the window panel.
3. Choose the right drill bit: Select a drill bit that matches the size of the screws or fasteners you will be using to attach the window panel. The diameter of the drill bit should provide a snug fit for the screws, ensuring stability and strength.
4. Begin drilling: Start drilling slowly and steadily at the marked positions, applying gentle pressure. Use a drill press or a handheld drill with a steady hand to maintain control and accuracy.
5. Drill through the case: Continue drilling until the drill bit goes completely through the case material. Be mindful of the type of case you have – some materials may require slower drilling speeds or lubrication to prevent overheating or damage.
6. Remove any debris: Once the holes are drilled, blow away any dust or debris from the drilling process. You can use compressed air or a soft brush to ensure that the holes are clean and ready for the mounting process.
7. Double-check alignment: Before proceeding, double-check the alignment of the drilled holes with the markings on the window panel. Ensure that they are perfectly lined up to guarantee a proper fit.
8. Repeat for any additional holes: If your window panel requires multiple mounting points, repeat the drilling process for each marked position.
By following these steps, you will have successfully drilled the necessary holes for mounting the window panel. Now, you are ready to move on to the next step: installing the window panel!
Step 8: Install the Window Panel
Now that you have drilled the holes for mounting, it’s time to install the window panel onto your PC case. Follow these steps to ensure a secure and precise installation:
1. Prepare the window panel: Double-check that the window panel is clean and free of any dust or debris. Remove the protective film or backing if you applied one during the earlier steps.
2. Position the window panel: Carefully align the window panel with the drilled holes and the markings on the case. Ensure that it fits precisely and sits flush against the case surface.
3. Insert the fasteners: Insert the appropriate screws or fasteners into the drilled holes on the case and through the corresponding holes on the window panel. Start with the corners and gradually move to the other holes, ensuring an even distribution of fasteners.
4. Tighten the fasteners: Using a screwdriver, tighten the screws or fasteners gently, tightening each one a little at a time in a diagonal pattern. This will help distribute the pressure evenly and ensure a secure attachment.
5. Test the stability: Once all the fasteners are tightened, gently check the stability of the window panel. Ensure that it is securely attached and does not wobble or move excessively.
6. Check the alignment: Examine the alignment of the window panel to ensure it is straight and properly positioned. Make any adjustments if necessary by slightly loosening the fasteners and repositioning the window panel.
7. Secure any additional parts: If your window panel requires additional brackets, clips, or support mechanisms, securely attach them according to the manufacturer’s instructions. This will provide extra stability and support for the window panel.
8. Inspect the completed installation: Step back and inspect the installed window panel. Ensure that it aligns with your initial vision and that it sits seamlessly on the case surface. Look for any gaps, unevenness, or issues with the installation.
By following these steps, you will have successfully installed the window panel onto your PC case. Now, your case will not only showcase your hardware but also add a stylish touch to your setup!
Step 9: Attach Window Fasteners
After installing the window panel onto your PC case, the next step is to attach the window fasteners. These fasteners will ensure that the window panel remains securely in place and provide a clean and finished look. Follow these steps to attach the window fasteners:
1. Choose the appropriate fasteners: Depending on the type of window panel and case you have, determine the type of fasteners that will best suit your setup. Common options include screws, thumb screws, or specially designed window mounting hardware.
2. Position the fasteners: Decide on the placement of the fasteners along the edges of the window panel. This will depend on the design and layout of your case. Mark the mounting points with a marker or pencil, ensuring that the fasteners align with the pre-drilled holes on the case and window panel.
3. Insert the fasteners: Insert the chosen fasteners through the marked mounting points on the window panel and into the pre-drilled holes on the case. Start by lightly threading the fasteners by hand to ensure proper alignment before fully tightening them.
4. Tighten the fasteners: Once the fasteners are inserted, use a screwdriver or your fingers to tighten them securely. Be careful not to overtighten and risk damaging the window panel or the case. Ensure that the fasteners provide a snug fit without causing any deformation or stress on the materials.
5. Double-check the alignment: Step back and visually inspect the window panel and the attached fasteners. Ensure that the window panel is straight, aligned properly with the case, and sits flush against the surface. Make any adjustments if necessary by slightly loosening the fasteners and repositioning the window panel.
6. Test the stability: Gently test the stability of the window panel by gently pressing on it. It should feel secure and not move or rattle. If the panel feels loose, double-check the tightness of the fasteners and make any necessary adjustments.
7. Inspect the completed attachment: Carefully inspect the completed attachment of the window fasteners. Ensure that all of them are securely in place and provide a visually pleasing, seamless look. Look for any gaps or inconsistencies that may need to be addressed.
Following these steps will help you attach the window fasteners securely and provide a professional finish to your PC case window. With the fasteners in place, you are almost done – it’s time for the final touches and cleaning!
Step 10: Final Touches and Cleaning
After successfully attaching the window fasteners, it’s time for the final touches and cleaning to complete your PC case window installation. These last steps will ensure that your window looks its best and your PC setup is pristine. Follow these steps:
1. Remove any protective film: If you applied any protective film during the installation process, now is the time to carefully remove it. Peel it off slowly and gently to avoid any damage to the window panel.
2. Inspect for any imperfections: Examine the window panel and the surrounding case area for any imperfections or marks that may have occurred during the installation process. Use a soft cloth and mild cleaner to clean any smudges or fingerprints on the window pane.
3. Check for proper alignment: Verify that the window panel is properly aligned and perfectly centered within the case. Make any necessary adjustments by slightly loosening the fasteners and repositioning the window panel if needed.
4. Clean the entire PC case: Use a microfiber cloth or a cleaning solution suitable for your PC case material to clean the entire case. Wipe down the exterior surfaces, paying attention to any dust, fingerprints, or smudges. Ensure that both the window panel and the rest of the case are free from any debris or dust particles.
5. Organize cable management: Take the opportunity to tidy up your cable management inside the case. Use zip ties or cable management solutions to neatly bundle and organize your cables, ensuring good airflow and visual appeal through the window.
6. Test the visibility: Power on your PC and observe the visibility of the components through the window. Adjust the lighting and position of the internal components as necessary to achieve the desired visual impact.
7. Final inspection: Step back and inspect the finished installation. Ensure that the window panel is securely attached, clean, and presentable. Take this moment to appreciate the aesthetics of your PC case window and the enhanced appeal it brings to your setup.
With the final touches and cleaning complete, your PC case window installation is finished! Now you can enjoy the view of your hardware and the added visual flair that the window brings to your PC setup.
Remember to periodically clean and maintain your PC case window to keep it looking its best. With proper care, your window will continue to showcase your hardware and impress others with its sleek and professional appearance.
Conclusion
Congratulations! You have completed the process of building a PC case window. By following the step-by-step instructions in this guide, you have transformed your PC case into a visually appealing masterpiece that showcases your hardware and adds a touch of personalization to your setup.
Throughout the journey, you learned the importance of selecting the right case, measuring and marking the window placement, gathering the necessary tools and equipment, cutting the window panel, filing the edges, and sanding the surface. You also discovered how to apply tape or a protective film, drill holes for window mounting, install the window panel, attach window fasteners, and add the final touches while ensuring a clean and polished finish.
Remember to take pride in your DIY accomplishment, and don’t hesitate to show off your new PC case window to friends and fellow PC enthusiasts. It’s a testament to your skills and creativity, reflecting your personal style and attention to detail.
Keep in mind that proper maintenance and cleaning of your PC case window will ensure it continues to look its best. Regularly wipe down the window panel and the rest of the case to remove any dust or fingerprints. Also, take the time to organize your cable management, enhancing both airflow and the visual appeal of your PC setup.
Thank you for joining us on this journey to build a PC case window. We hope you enjoyed the process and are thrilled with the results. Now, sit back, admire your handiwork, and enjoy the stunning view of your hardware through your stylish window!