Introduction
Modifying your PC case is a great way to personalize your setup and improve its functionality. Whether you want to add extra cooling options, upgrade the hardware, or simply enhance the aesthetics, cutting a PC case can give you the freedom to create a customized computer experience. However, it’s important to approach this task with caution and precision to avoid any damage to your components or risk compromising the integrity of the case.
In this guide, we will walk you through the step-by-step process of cutting a PC case, providing valuable insights and safety precautions to ensure a successful outcome. Before diving into the cutting process, it’s essential to gather the necessary tools and materials, adhere to safety measures, and have a well-thought-out plan in place to achieve your desired modifications.
By following this comprehensive guide, you can confidently embark on your PC case modification journey and unleash your creativity, all while maintaining the integrity of your hardware. So, let’s dive in and learn how to cut a PC case like a pro!
Tools and Materials Needed
Before you begin cutting your PC case, gather the following tools and materials to ensure a smooth and successful process:
- Safety goggles: Protect your eyes from any debris or metal shards that may be produced during the cutting process.
- Gloves: Keep your hands safe and avoid any potential injuries by wearing protective gloves.
- Marker or pen: Use a marker or pen to mark the areas that need to be cut on your PC case.
- Measuring tape or ruler: Accurately measure the dimensions for your cutout areas to ensure a precise fit.
- Power drill: Use a power drill to make pilot holes before cutting through the case material.
- File or sandpaper: Smooth out any rough edges or burrs on the cut areas with a file or sandpaper.
- Metal cutting tool: Depending on the material of your PC case, you will need a suitable cutting tool such as a hacksaw, Dremel tool with a cutting disc, or a jigsaw with a metal-cutting blade.
- Cleaning cloth: Wipe away any dust or debris after cutting and filing the case to maintain a clean working environment.
It’s important to note that the specific tools and materials you’ll need may vary depending on the type of case you have and the modifications you plan to make. Make sure to assess your individual requirements before starting the cutting process.
Once you have gathered all the necessary tools and materials, you’ll be ready to proceed with the next steps in cutting your PC case.
Safety Precautions
Cutting a PC case involves working with sharp tools and potentially hazardous materials. To ensure your safety throughout the process, it’s crucial to follow these important safety precautions:
- Wear protective gear: Prioritize your safety by wearing safety goggles to protect your eyes from debris and gloves to safeguard your hands from sharp edges or potential cuts.
- Work in a well-ventilated area: Make sure you’re in a well-ventilated space or work outdoors to minimize the inhalation of dust or fumes that may be produced during the cutting process.
- Double-check for electrical connections: Ensure your PC is fully unplugged and disconnected from any power sources to prevent electric shocks or accidents while working on the case.
- Secure the case: To avoid accidental movements and potential damage, secure the PC case in a stable position using clamps or brackets.
- Plan your cuts: Take the time to plan and mark the areas to be cut accurately. This will prevent any unnecessary or incorrect cuts that could compromise the structural integrity of the case.
- Make pilot holes: Before cutting through the case material, create pilot holes using a power drill and an appropriate drill bit. This will help guide the cutting tool and prevent any accidental slips.
- Use proper cutting techniques: When cutting, maintain a steady grip on the cutting tool and follow a controlled and measured cutting motion. Avoid rushing the process or applying excessive force.
- Take breaks: If you feel fatigued or your concentration starts to wane, take regular breaks to prevent accidents or mistakes due to reduced focus.
- Keep the work area clean: Clear away any debris, metal shavings, or dust from the work area to maintain a clean and safe environment.
Remember, safety should always be your top priority when working on any PC modifications. Following these precautions will help ensure that you complete the cutting process safely and achieve the desired results without compromising your well-being.
Step 1: Planning and Marking
Before diving into the cutting process, it’s crucial to plan and mark the areas of your PC case that you want to modify. This step is essential to ensure precision and accuracy in your cuts, as well as maintaining the overall structural integrity of the case. Here’s how to approach this initial step:
- Identify your purpose: Determine the reason behind the modification. Are you looking to add more cooling options, install a larger graphics card, or create a window panel for aesthetic purposes? Understanding your goals will help you plan the areas that need to be cut.
- Assess the case: Take a close look at your PC case and examine its internal layout and exterior design. Identify areas that have enough space to accommodate the modifications you have in mind. Consider the positioning of existing components and how the modifications may impact airflow or cable management.
- Measure carefully: Use a measuring tape or ruler to precisely measure the dimensions of the areas you plan to cut. This step is crucial for achieving a proper fit for the new components or hardware you intend to install.
- Mark with precision: Once you have determined where the modifications will take place, use a marker or pen to mark the exact outlines of the cutout areas on the PC case. Double-check your measurements and ensure the lines are straight and accurate.
Remember to be patient and methodical during the planning and marking process. Rushing this step can lead to mistakes or inaccuracies that may compromise the overall outcome of your modifications. Take your time to envision and consider all the factors before proceeding to the next steps in the cutting process.
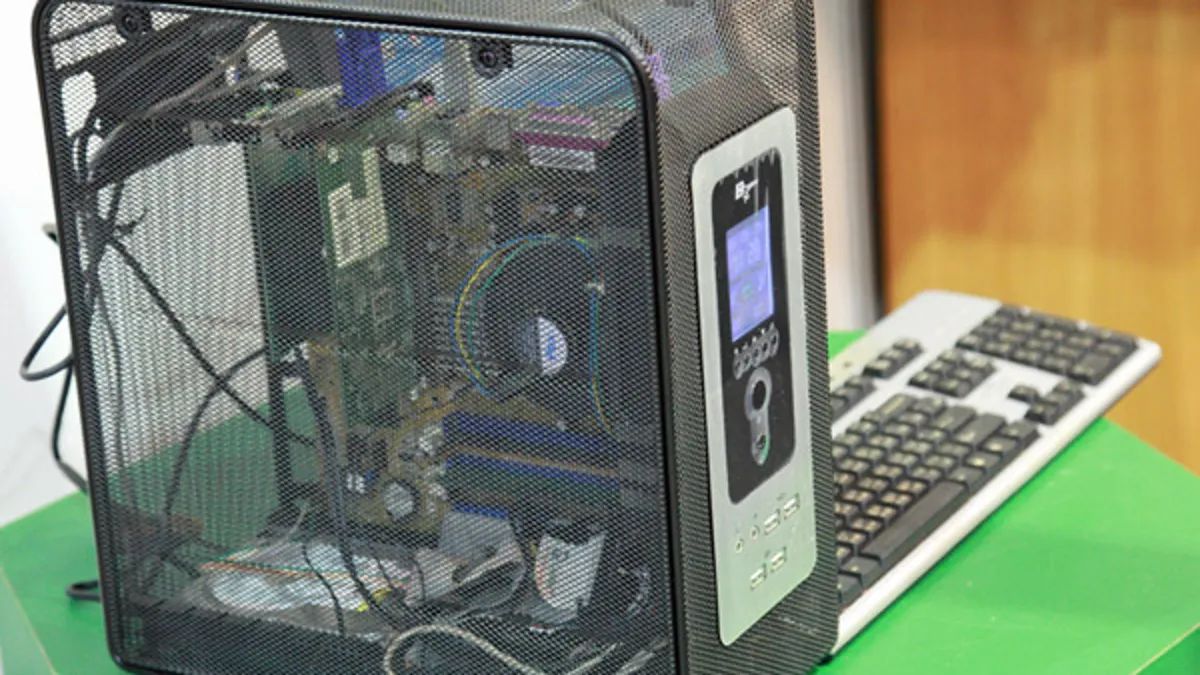
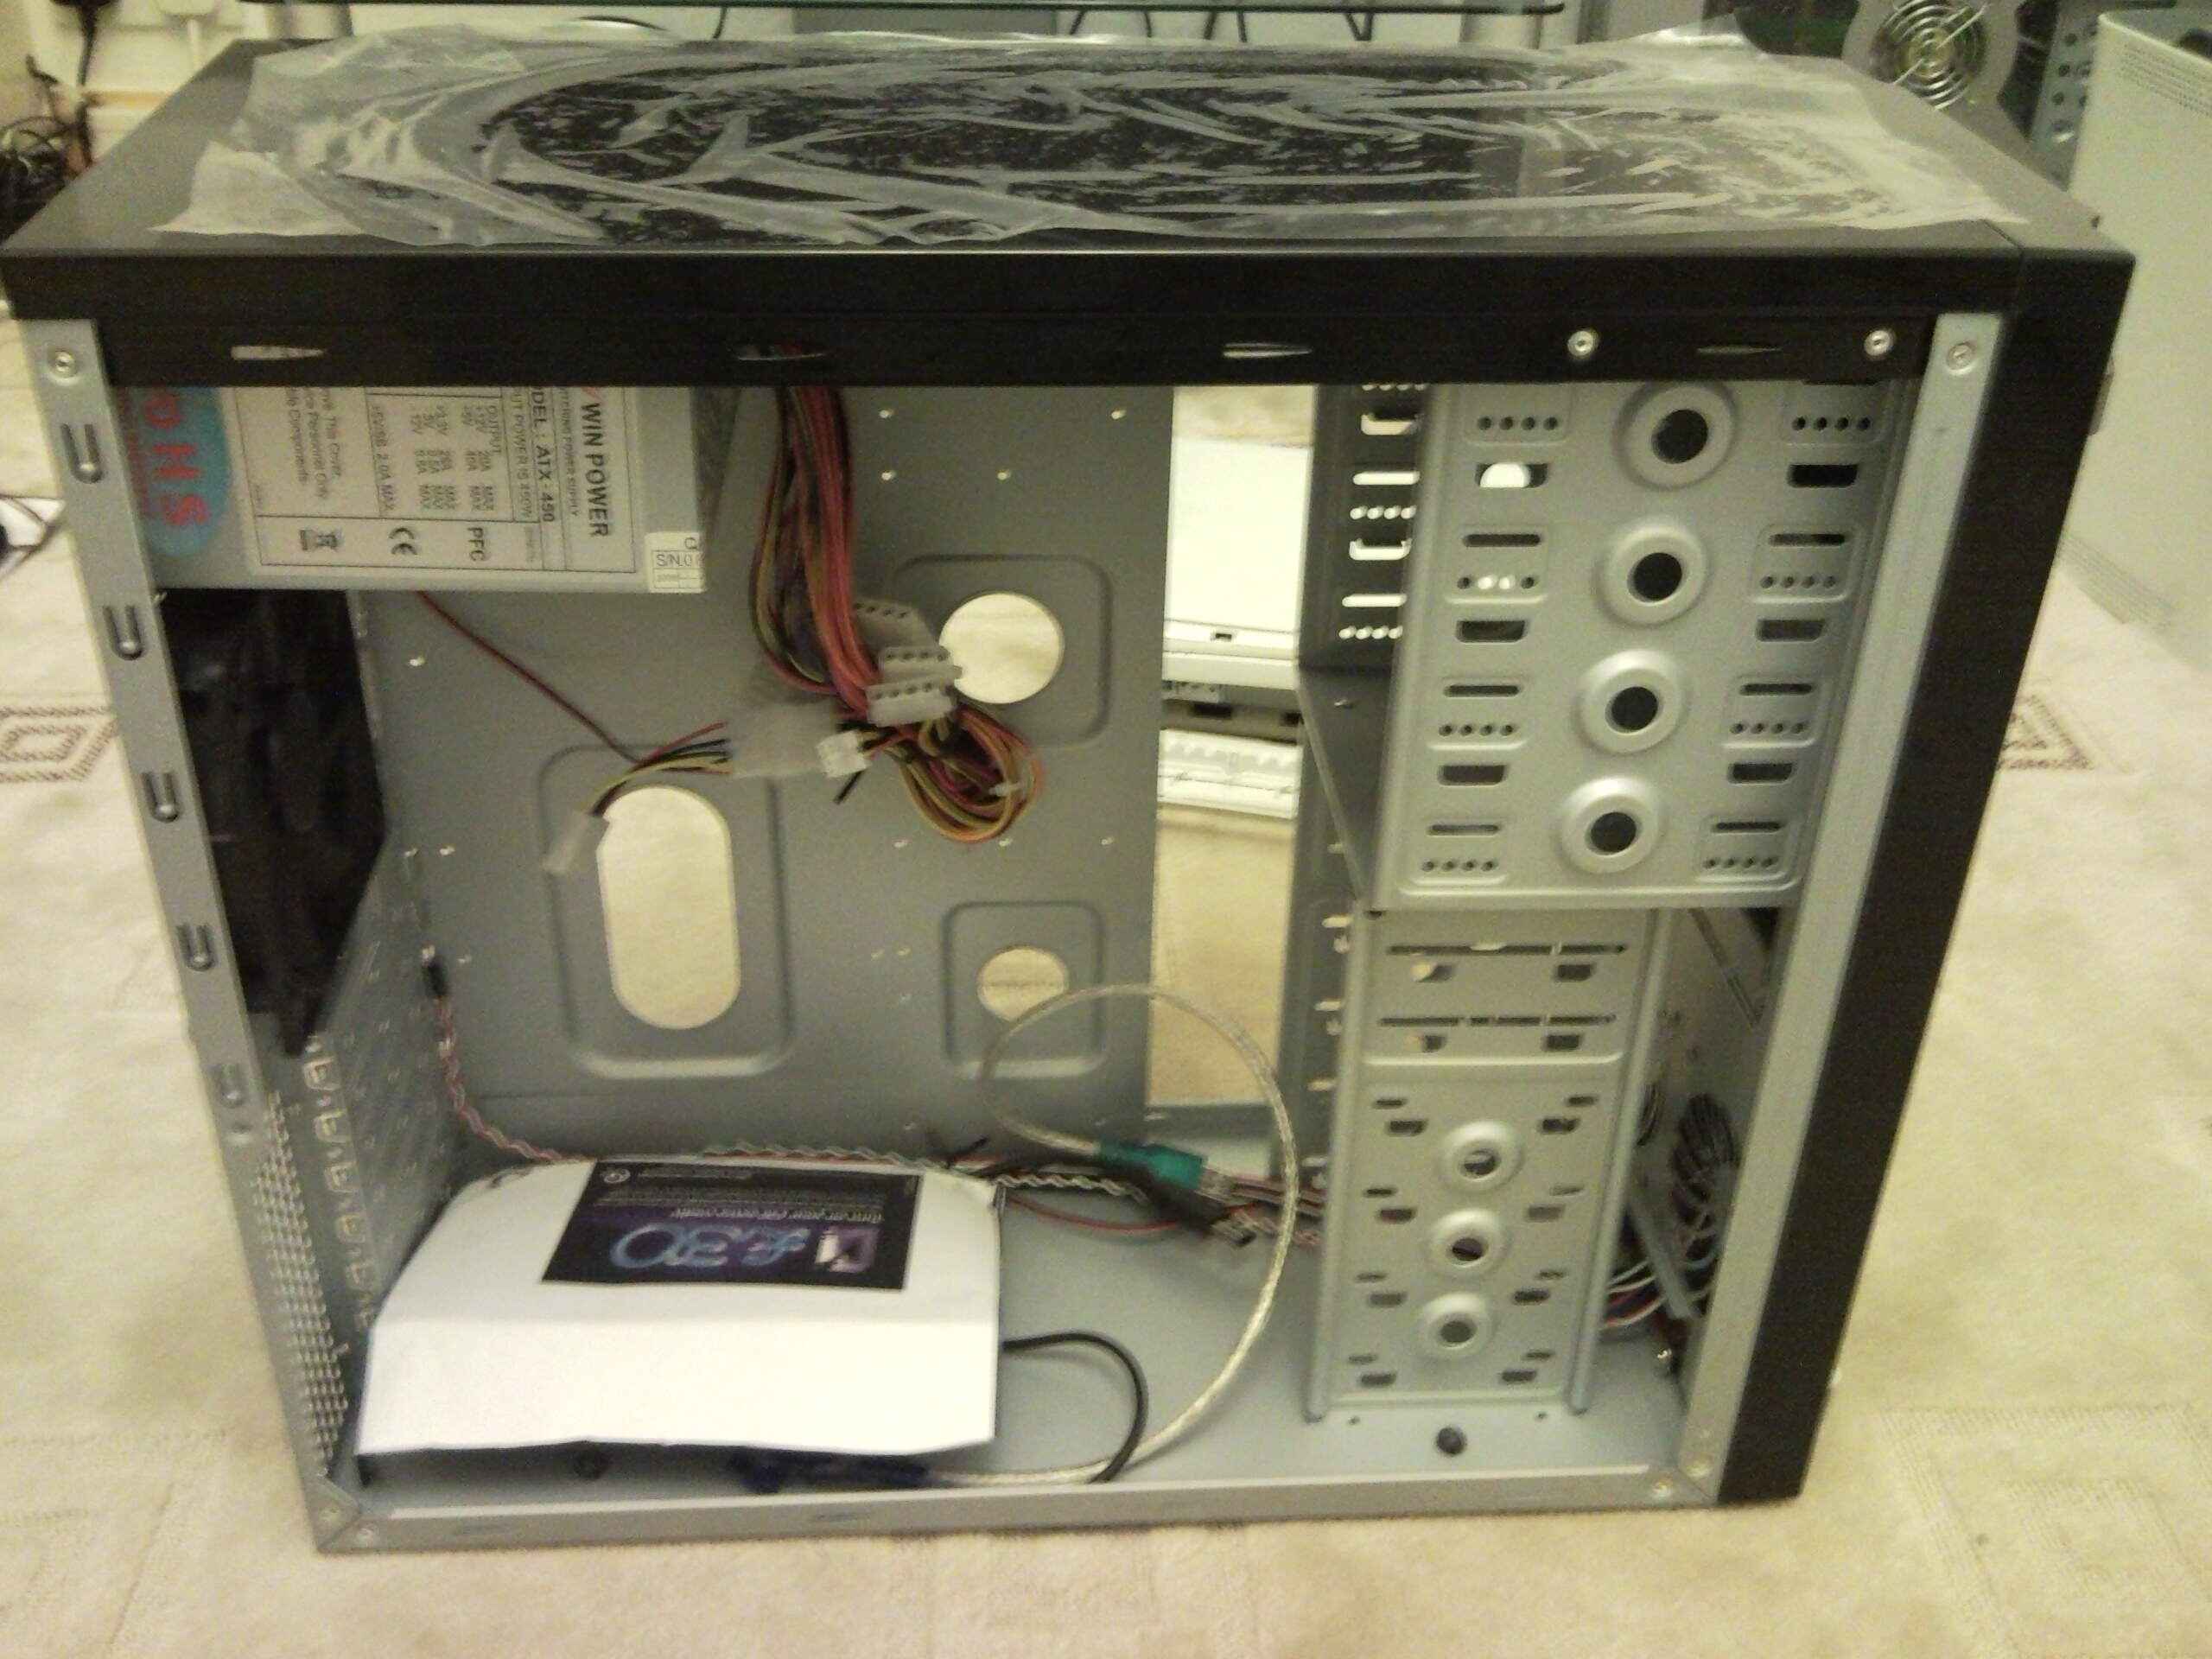
Step 2: Removing Side Panels
Before you start cutting your PC case, it’s essential to remove the side panels to gain easier access to the internal components. Removing the side panels will allow you to work more comfortably and reduce the risk of accidentally damaging any components. Here’s how to remove the side panels:
- Shut down your PC: Ensure your computer is turned off and unplugged from the power source to prevent any electrical hazards while handling the case.
- Locate the side panel screws: Examine the back of your PC case and locate the screws securing the side panels. Most cases will have thumb screws or Phillips head screws.
- Unscrew the side panel: Use a screwdriver or your hands to loosen and remove the screws holding the side panel in place. Set the screws aside in a safe place for reassembly later.
- Gently slide off the side panel: Once the screws are removed, carefully slide or lift off the side panel from the case. It may require a bit of gentle force, but be cautious not to damage any components or cables on the inside.
- Repeat for the other side: If your PC case has two side panels, repeat the above steps to remove the other side panel. Keep track of the screws for both panels.
By removing the side panels, you’ll have a clear view of the interior of the case and be ready to proceed with the next steps of the cutting process. Store the side panels and screws in a safe place to ensure they are not damaged or lost during the modifications.
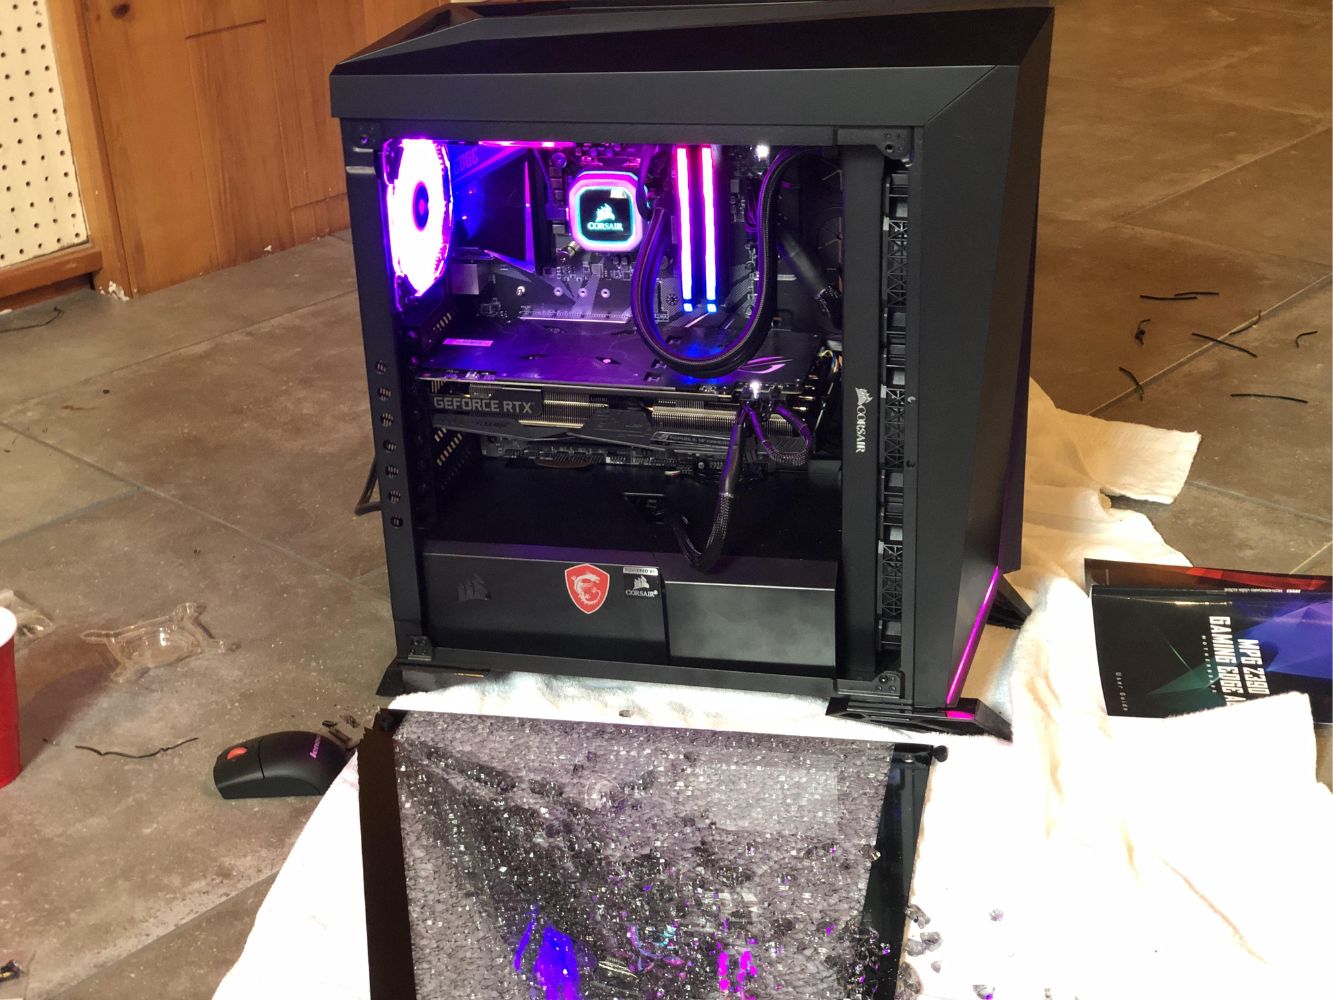
Step 3: Removing Unneeded Components
Before you begin cutting your PC case, it’s important to identify and remove any components that may obstruct your modifications or are no longer necessary for your setup. Removing these components will provide you with more space and flexibility for cutting and installing new hardware. Here’s how to remove unneeded components:
- Assess the interior: Take a look inside your PC case and identify any components that may need to be removed. These components may include hard drives, optical drives, cable management brackets, or any other non-essential hardware.
- Disconnect cables: If there are any cables connected to the components you are removing, carefully disconnect them. Remember to take note of their positions or take pictures for reference, ensuring you can reconnect them correctly later.
- Unscrew and remove: Use a screwdriver or appropriate tools to unscrew and remove the components from the case. Take your time to avoid damaging any other components or cables in the process. Store the removed components in a safe place for future use or proper disposal.
- Keep important components in mind: Ensure that you don’t remove any components that are essential for the functioning of your PC. Leave CPU, GPU, RAM, power supply, and any other necessary components intact.
By removing unneeded components, you’ll create a more open space within the case and make it easier to proceed with the cutting process. Remember to handle the components with care and keep track of any screws or cables that were associated with them.
Step 4: Measuring and Marking Cutout Areas
Once you have assessed your PC case and removed any unneeded components, it’s time to measure and mark the precise areas that you’ll be cutting. Measurement and marking are crucial steps to ensure that the cutout areas align with your desired modifications. Here’s how to measure and mark the cutout areas:
- Refer to your plan: Review your original plan and measurements to confirm the exact areas that you want to cut. Make sure you have a clear vision of the modifications you intend to make.
- Prepare the case: Ensure that your PC case is positioned securely and levelled. It’s helpful to use clamps or brackets to hold the case steady during the measuring and marking process.
- Take accurate measurements: Use a measuring tape or ruler to measure the dimensions of the cutout areas on the case accurately. Double-check your measurements to avoid any errors that could affect the final outcome.
- Mark the cutout areas: With the measurements in mind, use a marker or pen to mark the precise outlines of the cutout areas on the PC case. Make sure your lines are straight, clean, and easily visible.
- Consider airflow and cable management: Take into account the airflow and cable management of your PC case when marking the cutout areas. Ensure that the modifications will not obstruct proper cooling or cause cable routing issues.
It’s important to be patient and meticulous when measuring and marking the cutout areas. Accurate measurements and clear markings will contribute to a successful cutting process and a precise fit for the new components you plan to install in your modified PC case.
Step 5: Cutting the Case
Now comes the exciting part – cutting the PC case to bring your modifications to life. It’s essential to be cautious and precise during this step to achieve clean cuts without damaging the case or any internal components. Here’s how to cut the case:
- Put on your safety gear: Before starting, put on your safety goggles and gloves to protect yourself from any potential debris or sharp edges.
- Review your markings: Double-check your markings on the case to ensure they are accurate and align with your desired modifications.
- Create pilot holes: Using a power drill equipped with a small drill bit, create pilot holes at the corners or edges of your marked cutout areas. These holes will serve as starting points for the cutting tools and help maintain control during the cutting process.
- Select your cutting tool: Depending on the material of your PC case, choose the appropriate cutting tool. Hacksaws, Dremel tools with cutting discs, or jigsaws with metal-cutting blades are commonly used for cutting PC cases.
- Follow a steady cutting motion: Carefully guide the cutting tool along the marked lines, using your pilot holes as starting points. Apply even pressure and maintain a steady hand to ensure clean, straight cuts. Take your time and avoid rushing to prevent mistakes or accidents.
- Take breaks if needed: Cutting through the PC case can be physically demanding. If you start feeling fatigued, take breaks to rest your hand and regain focus to maintain precision and control throughout the cutting process.
- Remove any burrs or rough edges: After making the cuts, use a file or sandpaper to smooth out any rough edges or burrs on the cutout areas. This step will prevent any potential injuries and ensure a clean finish.
Remember, cutting the case requires patience and precision. Take your time, maintain focus, and follow the proper technique to achieve the desired outcomes without compromising the integrity of your PC case.
Step 6: Filing and Sanding the Cuts
Once you have finished cutting the case, it’s important to give attention to the edges to ensure a clean and professional-looking finish. Filing and sanding the cuts will not only remove any rough or jagged edges but also prevent any potential injuries. Here’s how to file and sand the cuts:
- Inspect the cuts: Take a close look at the cutout areas and assess if there are any sharp edges, burrs, or rough surfaces that need to be smoothed out.
- Use a file: Begin by using a file to gently file down any rough edges or burrs along the cut edges. Make sure to apply even pressure and use smooth, controlled strokes.
- Sand the edges: After filing, use a fine-grit sandpaper to further smooth out the edges of the cutout areas. Move the sandpaper in a back-and-forth motion along the edges to achieve a clean and uniform surface.
- Check for sharpness: Run your fingers along the edges of the cutout areas to check for any remaining sharp edges. If you feel any sharpness, continue sanding those areas until they are smooth to the touch.
- Clean the case: Once you are satisfied with the smoothness of the cut edges, clean the case to remove any dust or debris that may have accumulated during the filing and sanding process.
Filing and sanding the cuts may require some time and attention to detail, but it is a crucial step for achieving a professional-looking finished result. Taking the time to properly smooth the edges will not only enhance the appearance of your modified PC case but also ensure the safety of your hands and any components that come in contact with the cutout areas.
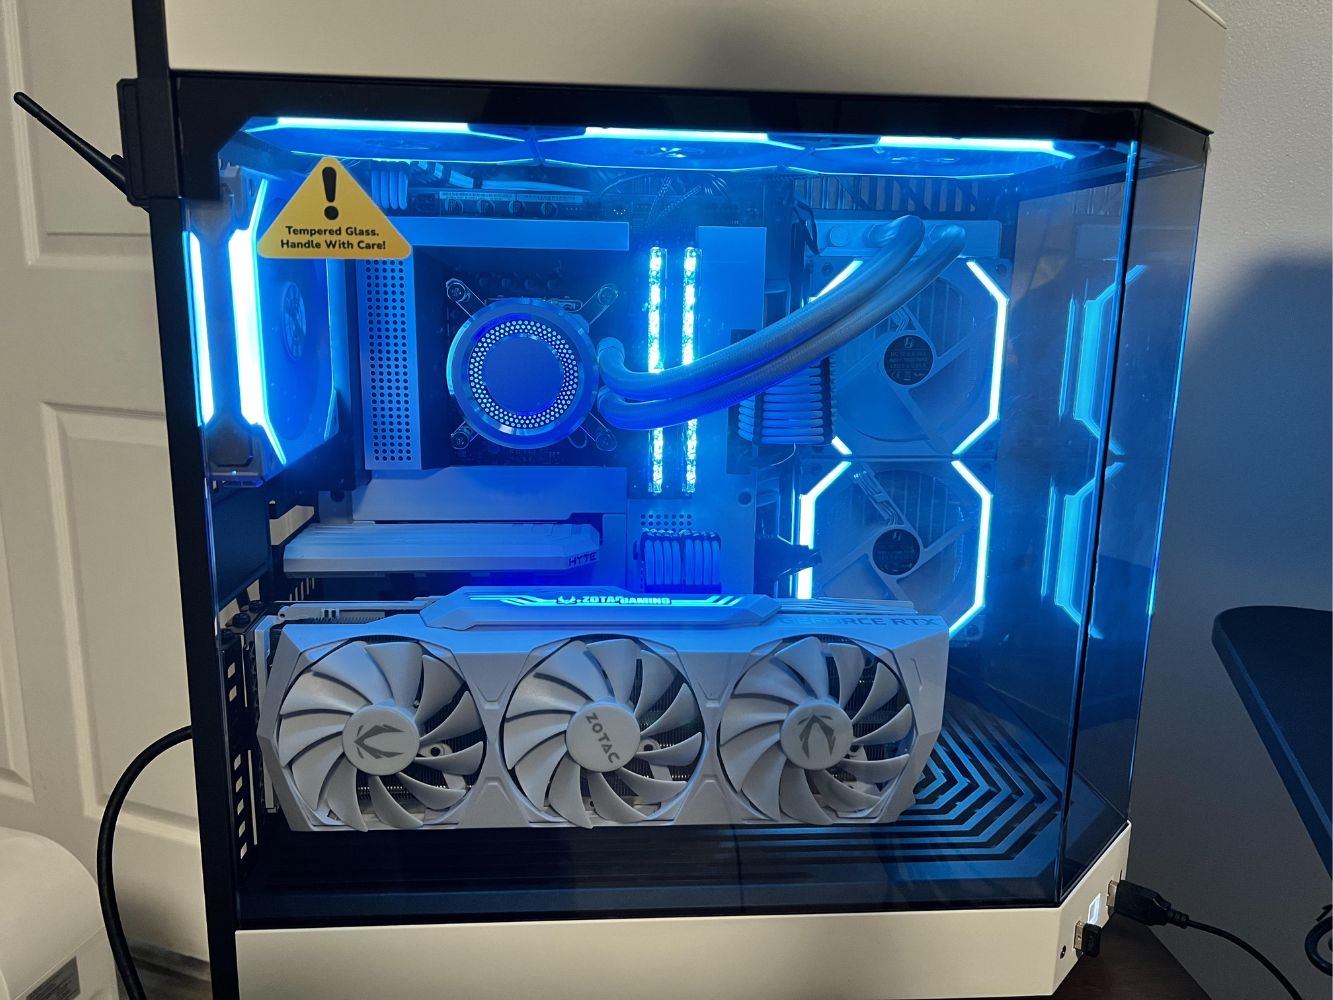
Step 7: Installing Additional Hardware or Components
With the cutting and finishing steps complete, it’s time to install any additional hardware or components that you plan to incorporate into your modified PC case. This step allows you to upgrade your system or customize it further to suit your needs and preferences. Follow these guidelines to successfully install the additional hardware or components:
- Refer to the user manuals: Before installation, carefully read and refer to the user manuals of the specific hardware or components you are installing. This will provide you with the necessary instructions and guidelines for proper installation.
- Prepare the components: Inspect the additional hardware or components, making sure they are clean and free of any dust or debris. If necessary, remove any packaging or protective covers.
- Identify the appropriate mounting points: Determine where the additional hardware or components will be installed in the PC case. Refer to your original plan or consult the user manuals for specific guidance.
- Secure the hardware or components: Use the appropriate screws, brackets, or mounting mechanisms to secure the hardware or components firmly in place. Follow the provided instructions to ensure proper alignment and secure attachment.
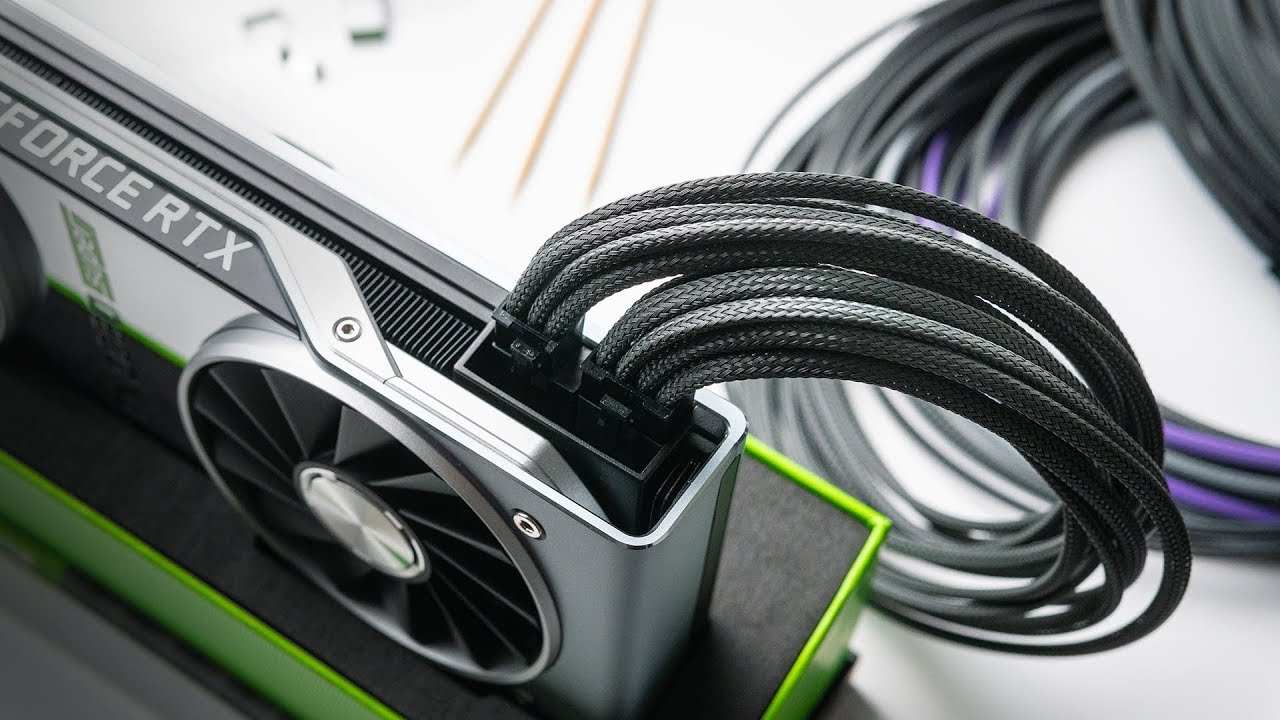
- Connect cables and wires: Once the hardware or components are securely installed, connect the necessary cables and wires according to the user manuals. Organize the cables neatly and consider cable management techniques to ensure good airflow and aesthetics.
- Double-check the connections: Before closing up the PC case, double-check that all connections are secure and cables are properly connected. This will help prevent any operational issues or potential damage due to loose connections.
By following these steps, you can successfully install additional hardware or components into your modified PC case. Take your time, refer to the user manuals, and ensure that everything is properly secured and connected before moving to the final step – reassembling the case.
Step 8: Reassembling the Case
After completing the modifications and installing additional hardware or components, it’s time to reassemble your PC case. This step involves putting all the pieces back together to restore the case to its original form while ensuring a secure and functional setup. Follow these steps to reassemble your PC case:
- Organize the components: Gather all the components, including the side panels, screws, and any other accessories or parts that were removed during the cutting and installation process.
- Position the side panels: Start by aligning the side panels with the corresponding slots on the case. Carefully slide or snap the panels back into place, ensuring a snug fit.
- Secure the side panels: Once the side panels are in place, use the screws that were removed earlier to secure them back onto the case. Tighten the screws firmly, but be careful not to overtighten and strip the screw threads.
- Check for proper alignment: Double-check that the side panels are aligned properly and flush with the rest of the case. This will ensure a clean and seamless appearance.
- Test the functionality: Plug in and power on your PC to test that all the hardware and components are functioning as expected. Check for any abnormal noises, overheating, or other issues that may occur after the modifications.
- Final cleanup: Wipe down the exterior of the case with a clean, lint-free cloth to remove any fingerprints, smudges, or dust that may have accumulated during the modifications.
Once you’ve completed these steps, you’ve successfully reassembled your PC case. Take pride in your customized setup and enjoy the enhancements you’ve made to both the functionality and aesthetics of your computer.
Conclusion
Modifying a PC case can be a rewarding experience that allows you to personalize your computer setup and unlock new possibilities. By following the steps outlined in this guide, you can confidently cut and modify your PC case while maintaining its structural integrity and ensuring the safety of your components.
Throughout the process, it’s crucial to prioritize safety by wearing protective gear, working in a well-ventilated area, and following proper techniques. Take the time to plan, measure, and mark the cutout areas accurately, as this will directly impact the success of your modifications. Use the appropriate tools to cut the case, and remember to file and sand the edges for a clean and professional finish.
Installing additional hardware or components allows you to take your modifications to the next level, enhancing functionality and personalization. Securely attach the hardware and ensure proper cable management for optimal performance and airflow.
Finally, reassembling the case brings all the pieces together and restores your PC to its original form. Double-check the alignment, functionality, and cleanliness before powering on your newly modified PC.
By following these steps and exercising patience and attention to detail, you can successfully cut a PC case and create a customized computer setup that reflects your style and meets your specific needs. Enjoy your new and improved PC and the satisfaction of knowing that you accomplished the modifications with precision and care.