Introduction
Welcome to an informative guide on how to sound dampen a PC case. If you’re a passionate gamer or work in an environment that requires a quiet computer, the noise generated by your PC can be quite bothersome. Fortunately, there are effective techniques and materials available to help reduce and control the noise produced by your PC case.
When it comes to PC cases, noise can originate from various sources, such as cooling fans, hard drives, and power supplies. These components can create vibrations and generate sound, which can be particularly noticeable during intense gaming sessions or when performing resource-intensive tasks. Sound dampening aims to minimize these noises, providing a more peaceful and enjoyable computing experience.
Aside from the obvious benefit of a quieter PC, sound dampening also has other advantages. It can help improve concentration and focus, create a more comfortable working environment, and provide a more immersive gaming experience without distraction. Additionally, reducing noise levels can also be beneficial for those who record audio or produce content, enabling them to achieve higher-quality recordings.
Before diving into the process of sound dampening your PC case, it’s important to assess your current situation. Take note of the specific noises that bother you the most and locate the components that are responsible for generating them. This will help you determine the areas in your PC case that require sound dampening and guide your material selection.
In the following sections, we will discuss the materials needed for sound dampening, walk you through a step-by-step guide on how to sound dampen your PC case, and offer additional tips to enhance the effectiveness of the process. By the end of this guide, you will have the knowledge and resources to transform your noisy PC into a whisper-quiet machine.
Why Sound Dampening is Important
Sound dampening is an essential consideration for anyone looking to create a quieter and more enjoyable computing experience. Let’s explore why sound dampening is important and the benefits it brings:
Reduced Noise Levels: The most obvious advantage of sound dampening is the reduction in noise levels. By implementing various techniques and using appropriate materials, you can significantly decrease the sound produced by your PC case. This is especially important if you use your computer for tasks that require concentration, such as studying, working, or recording audio.
Improved Focus and Productivity: Excessive noise can be distracting and disrupt your focus. By dampening the sound of your PC case, you create a more peaceful environment where you can concentrate on your work or engage in intense gaming sessions without interruption. This improved focus can lead to increased productivity and better overall performance.
Enhanced Gaming Experience: When playing video games, audio plays a crucial role in creating an immersive experience. However, the noise generated by components like cooling fans can interfere with the game’s audio and break the immersion. By dampening the sound of your PC case, you can better appreciate the in-game sounds and enjoy a more immersive gaming experience.
Improved Audio Recording: If you’re a content creator or work with audio recording, sound dampening is vital. Background noise from your PC case can impact the quality of your recordings. By reducing the noise levels, you can achieve cleaner and more professional audio recordings, whether it’s for podcasts, voice-overs, streaming, or music production.
Minimized Disruption: Noise can be disruptive not only to yourself but also to those around you. If you share your living space or work in close proximity to others, having a quiet PC case can prevent unnecessary disturbances. This is particularly important in shared workspaces, dorm rooms, or apartments where maintaining a peaceful and harmonious environment is essential.
Longer Lifespan for PC Components: By reducing vibrations and minimizing the strain on PC components, sound dampening can contribute to extending the lifespan of your hardware. Constant exposure to excessive noise and vibrations can potentially lead to wear and tear, affecting the performance and longevity of your components. With proper sound dampening, you can protect your investment and ensure the longevity of your PC.
In summary, sound dampening is important because it reduces noise levels, improves focus and productivity, enhances gaming experiences, improves audio recording quality, minimizes disruption, and contributes to the longevity of PC components. By implementing sound dampening techniques, you can create a quieter and more enjoyable computing environment.
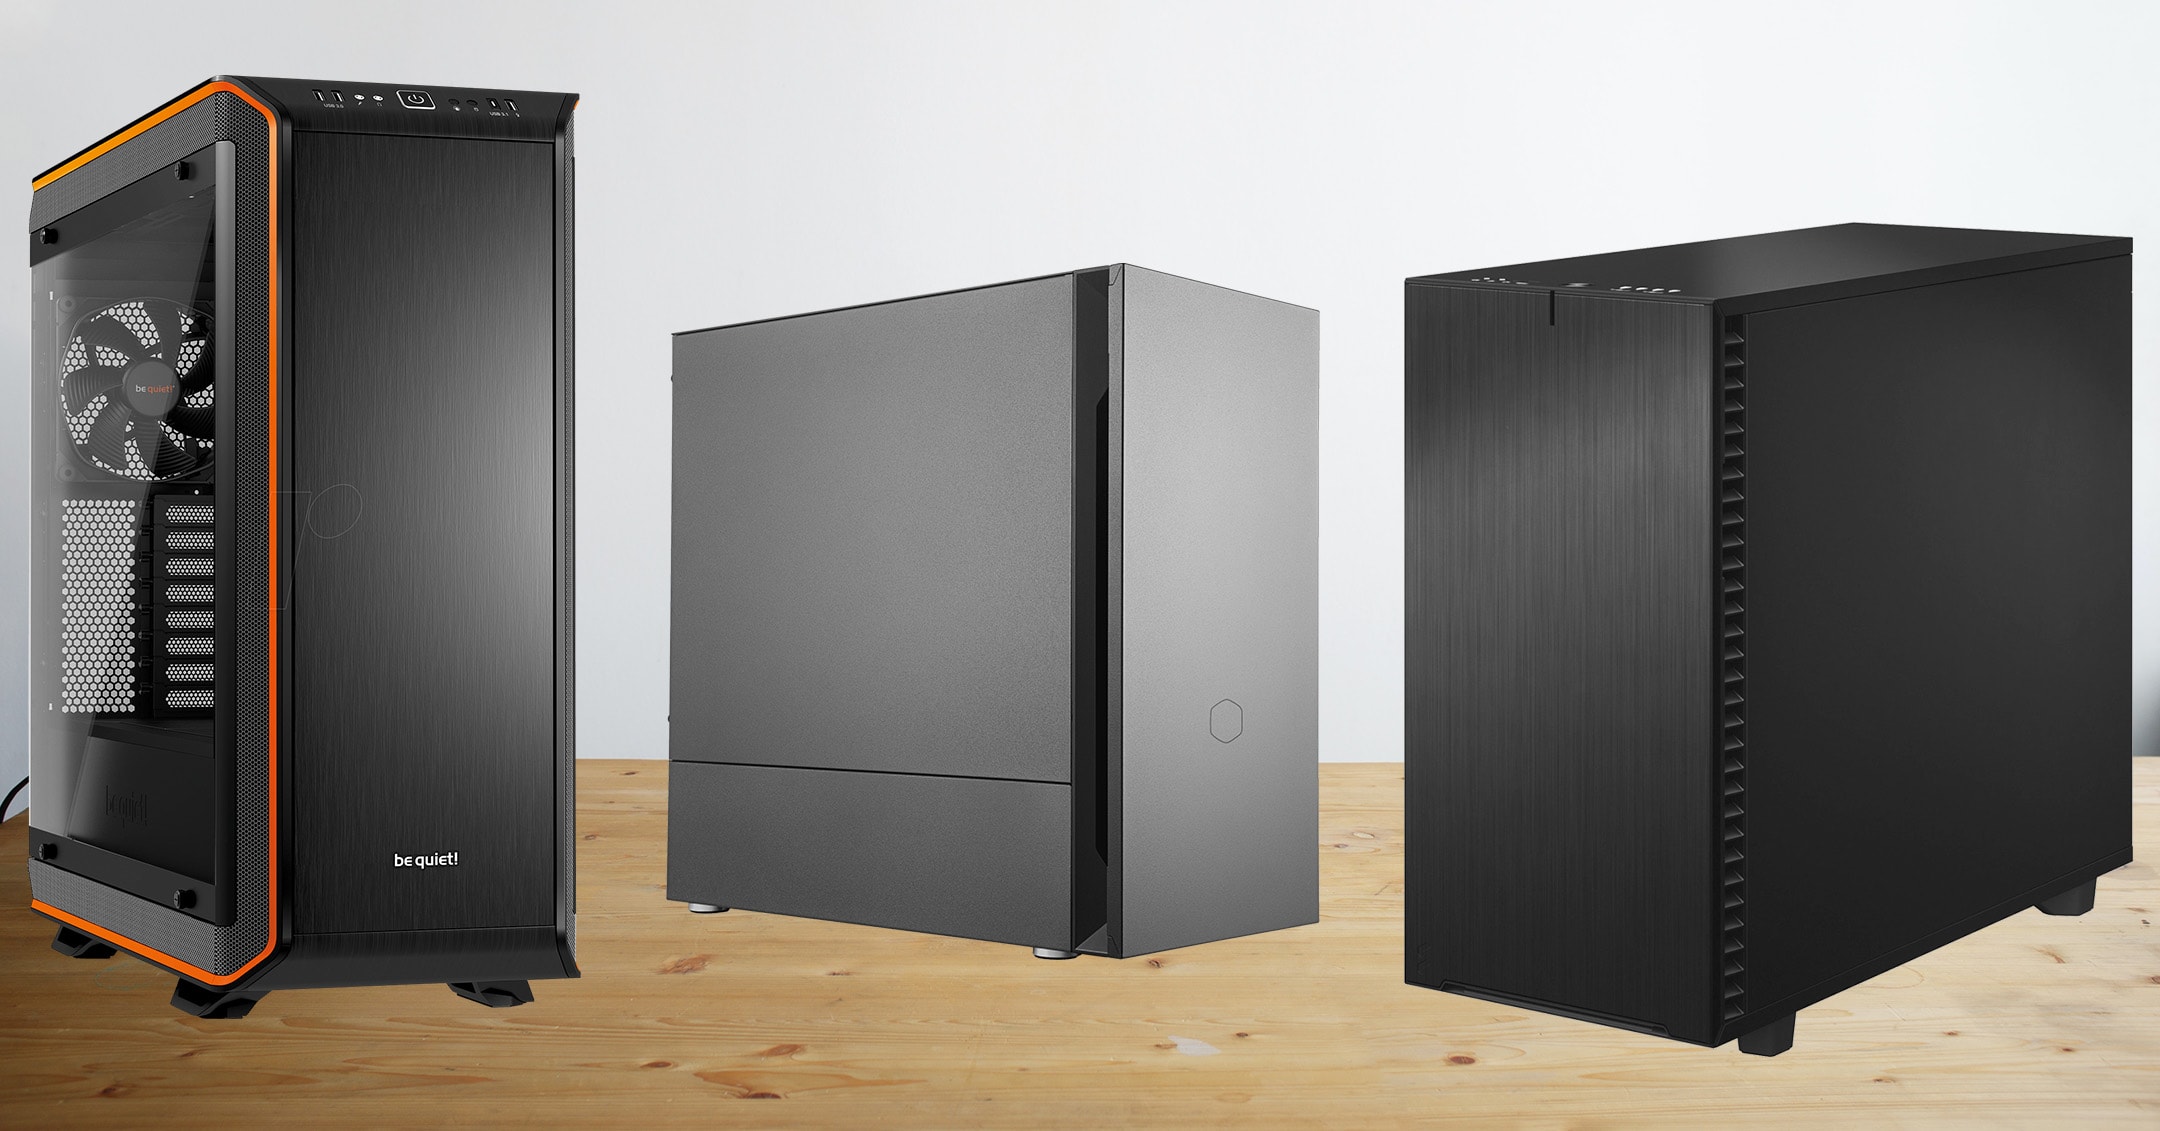
Assessing Your PC Case
Before embarking on the task of sound dampening your PC case, it’s essential to assess its current condition and identify areas that require attention. Here are some steps to help you assess your PC case:
1. Listen for Noise: Start by powering on your computer and carefully listen for any noticeable noises. Pay close attention to fans, hard drives, power supplies, and other components. Take note of the specific areas that generate the most significant noise.
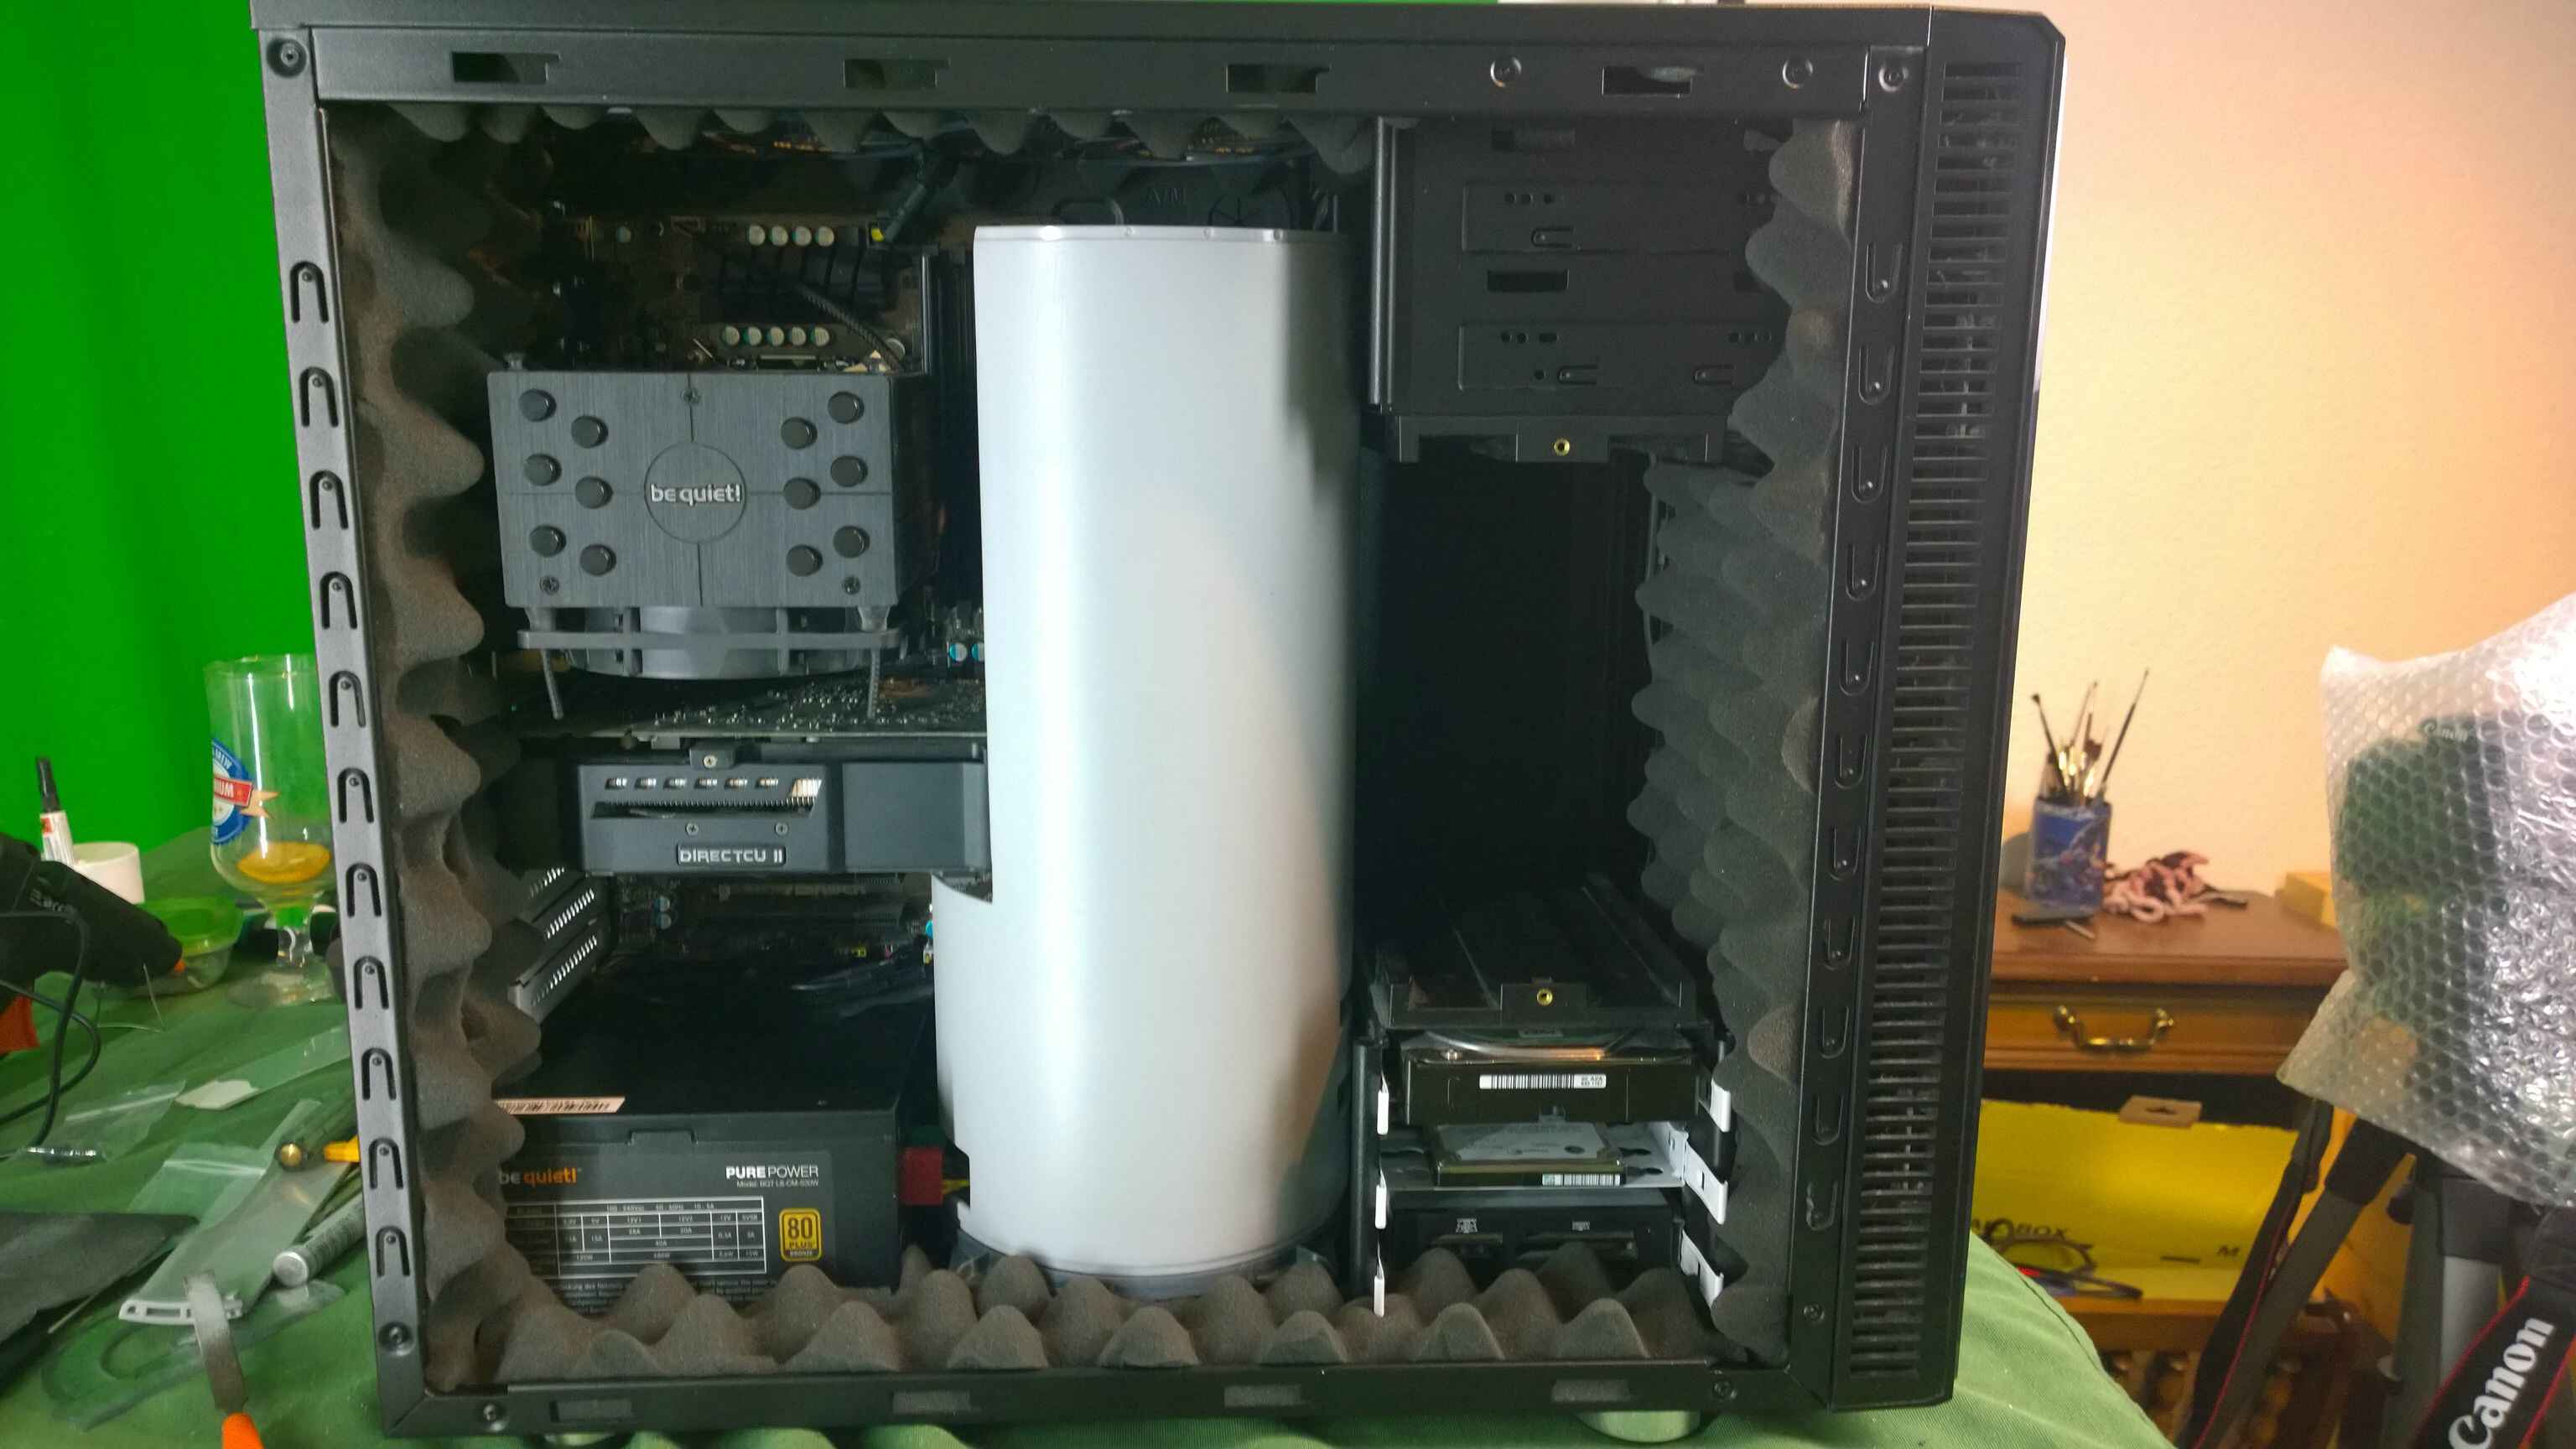
2. Inspect the Case Interior: Open up your PC case and examine the interior. Look for areas that contribute to the noise, such as unsecured components, loose brackets, or inadequate insulation. Check for any signs of excessive vibrations or rattling.
3. Examine Airflow and Cooling System: Assess the airflow within your PC case and the positioning of cooling fans. Improperly placed or malfunctioning fans can generate additional noise. Ensure that your case has adequate cooling to prevent overheating and potential noise issues.
4. Identify Gaps and Vents: Look for any gaps, vents, or holes in your PC case where noise can escape or enter. Examine the front, top, side panels, and rear of the case. These small gaps can contribute to noise leakage and should be addressed during the sound dampening process.
5. Consider Component Upgrades: If you have identified specific components that are causing excessive noise, consider upgrading them to quieter alternatives. For example, replacing a loud stock cooler with a quieter aftermarket cooler can make a significant difference in noise levels.
6. Take Measurements: Measure the dimensions of your PC case, both internally and externally. This will help you determine the amount of sound dampening material required and ensure a precise fit during the installation process.
7. Research Sound Dampening Solutions: Explore different sound dampening materials and techniques available in the market. Read reviews and consider the specific needs of your PC case. Choose materials that are effective, easy to install, and compatible with your case.
By thoroughly assessing your PC case, you can identify the noise sources and problem areas that need attention. This evaluation will guide your sound dampening efforts and help you choose the appropriate materials and techniques to effectively reduce noise levels and create a quieter computing environment.
Materials Needed for Sound Dampening
When it comes to sound dampening your PC case, having the right materials is crucial to achieve effective results. Here are some essential materials you will need:
1. Acoustic Foam: Acoustic foam is a popular choice for sound dampening due to its excellent noise-absorbing properties. It helps reduce vibrations and echoes inside the PC case, effectively minimizing noise. Acoustic foam panels are typically self-adhesive, making them easy to install.
2. Sound Dampening Mats: Sound dampening mats or pads are designed to absorb noise and vibrations. These mats are made of materials with sound-absorbing properties, such as rubber or foam. They can be placed on the interior surfaces of the PC case to reduce noise generated by components.
3. Silicone Dampeners: Silicone dampeners are small rubber inserts that are placed between the case and the screws holding components like hard drives or fans. These dampeners help isolate and absorb vibrations, resulting in reduced noise levels. Silicone dampeners are particularly effective for minimizing hard drive noise.
4. Anti-Vibration Mounts: Anti-vibration mounts are specially designed brackets or mounts that isolate components from the PC case. These mounts are used to suspend devices such as fans, hard drives, and power supplies, reducing the transmission of vibrations and minimizing noise generation.
5. Cable Management: Proper cable management is essential for reducing clutter and preventing cables from touching or rubbing against components, which can cause vibrations and noise. Use zip ties, cable clips, or cable sleeves to organize and secure cables, keeping them away from fans and other moving parts.
6. Dust Filters: While not directly related to sound dampening, dust filters help maintain proper airflow and prevent dust buildup inside your PC case. Clogged fans can create additional noise due to increased friction and strain. Installing dust filters can help keep your components clean and minimize noise caused by restricted airflow.
7. Screwdrivers and Tools: You will need a set of screwdrivers or tools to disassemble and reassemble your PC case. Make sure you have a variety of sizes to fit different screw types commonly found in computer cases.
8. Safety Equipment: When working with electronics, it’s essential to prioritize safety. Consider wearing anti-static wristbands to prevent static electricity damage, as well as protective eyewear and gloves for added safety during the installation process.
These are the primary materials you will need for effectively dampening the sound in your PC case. Before purchasing, research and ensure that the materials you choose are compatible with your PC case and suitable for the specific noise issues you are addressing. By using the right materials, you can achieve optimal sound dampening results and enjoy a quieter computing experience.
Step-by-Step Guide to Sound Dampen Your PC Case
Now that you have assessed your PC case and gathered the necessary materials, it’s time to embark on the process of sound dampening. Follow these step-by-step instructions to effectively sound dampen your PC case:
Step 1: Safety First
Before getting started, ensure that you have taken necessary safety precautions. Make sure your PC is powered off and unplugged, and wear anti-static wristbands to prevent any static electricity damage to the components.
Step 2: Remove the Side Panels
Using the appropriate screwdriver or tool, remove the side panels of your PC case. This will provide access to the interior and allow for easy application of sound dampening materials.
Step 3: Apply Acoustic Foam
Begin by applying acoustic foam to the interior surfaces of the PC case. Cut the foam into appropriately sized pieces and adhere them to areas that generate the most noise, such as the side panels, bottom, and top of the case. The foam will help absorb vibrations and minimize noise reflections.
Step 4: Attach Dampening Material to the Case Interior
Next, attach sound dampening mats or pads to other interior surfaces of the PC case. Cut the mats to fit the specific areas where noise is generated and adhere them securely. Focus on covering areas near fans, hard drives, and other noisy components. Ensure a tight fit to maximize the dampening effect.
Step 5: Apply Silicone Dampeners
For components like hard drives, fans, and power supplies, use silicone dampeners or rubber grommets to isolate them from the PC case. Replace the standard screws with dampeners by inserting them between the component and the screw holes. This will help dampen vibrations and reduce noise.
Step 6: Seal Small Gaps and Vents
Identify any small gaps or vents in your PC case where noise can escape or enter. Use foam tape or similar materials to seal these gaps and openings. Pay close attention to areas around panels, vents, and where cables enter or exit the case. This will help contain and minimize noise leakage.
Step 7: Reassemble Your PC Case
Once you have completed the sound dampening modifications, carefully reattach the side panels of your PC case. Ensure that all screws are properly tightened but be cautious not to overtighten and damage the case or components.
Step 8: Testing the Sound Dampening Effects
After reassembling your PC case, power it on and listen for any noticeable reduction in noise levels. Monitor the temperatures of your components to ensure that the sound dampening modifications haven’t hindered the cooling efficiency of your PC.
Step 9: Fine-tune as Needed
If you still experience excessive noise or discover new sources of noise, make further adjustments as necessary. Consider additional foam padding or using anti-vibration mounts for specific components. Continually assess and fine-tune the sound dampening to achieve the desired level of quietness.
By following these step-by-step instructions, you can effectively sound dampen your PC case and enjoy a quieter computing experience, free from the disturbances caused by excessive noise.
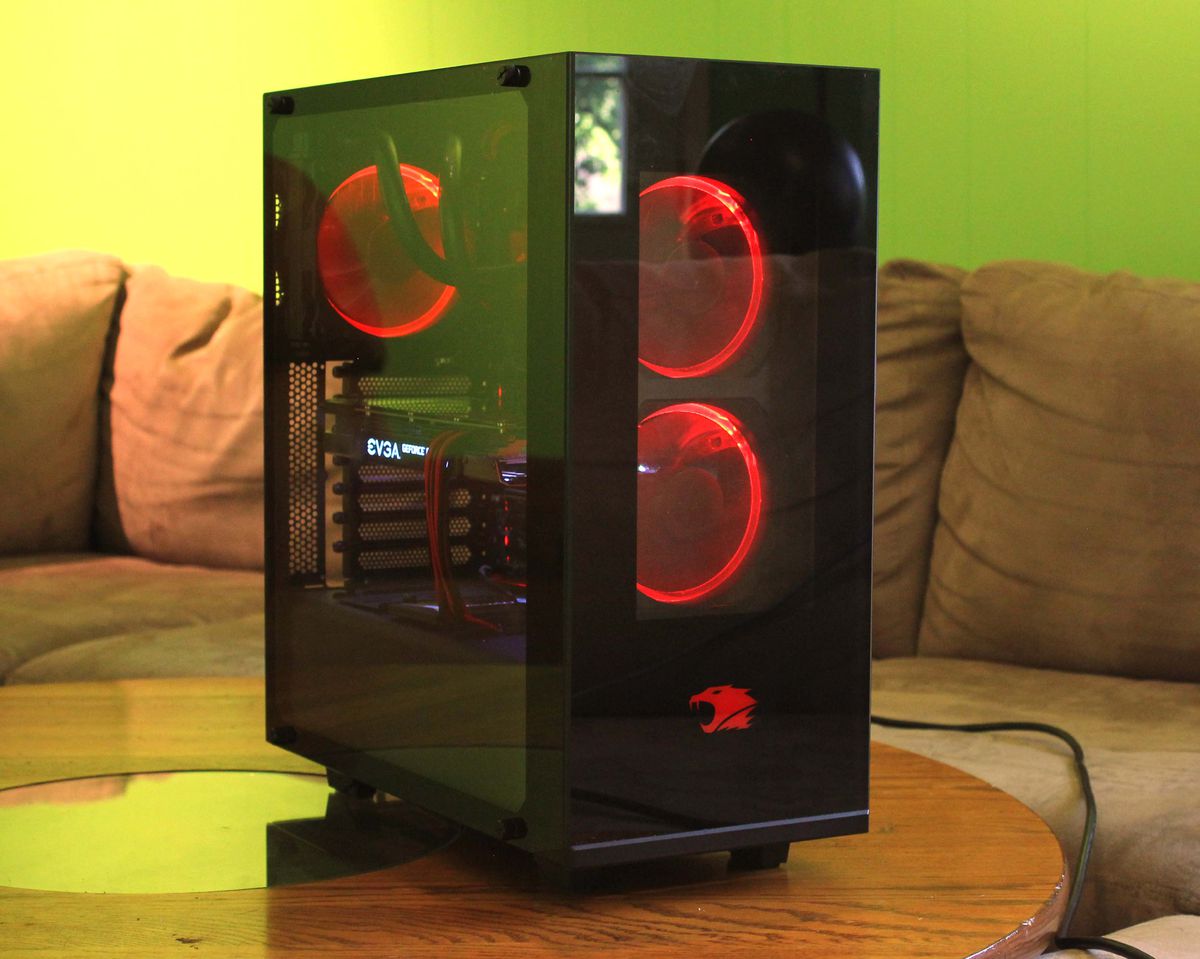
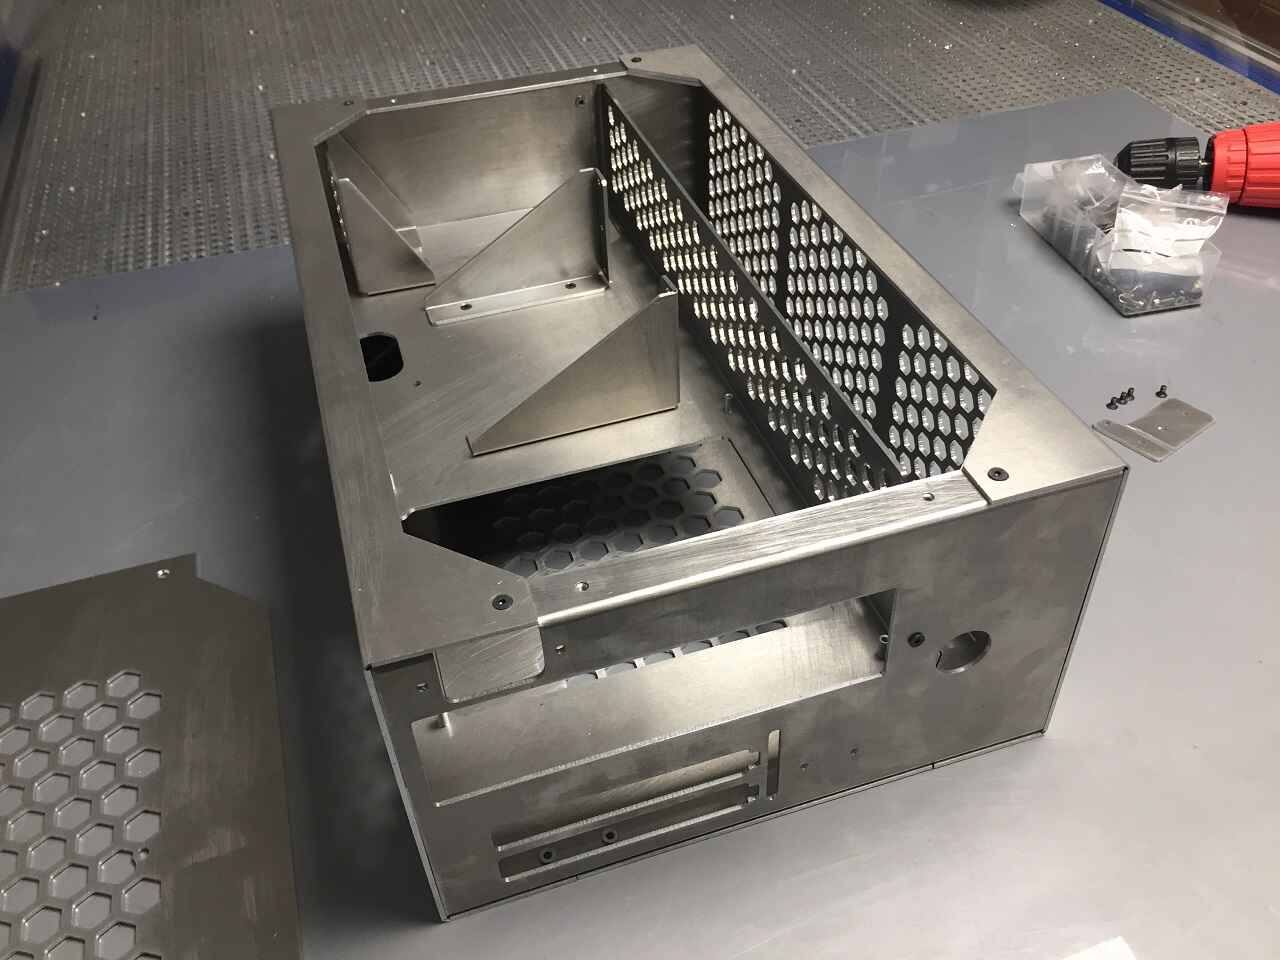
Removing the Side Panels
Removing the side panels of your PC case is the initial step in the process of sound dampening. This allows you easy access to the interior of the case for applying sound dampening materials. Here is a step-by-step guide on how to safely remove the side panels:
Step 1: Power Off and Unplug
Before handling your PC case, make sure to power off your computer and unplug it from the power source. This will ensure your safety and prevent any electrical accidents.
Step 2: Identify the Side Panels
Take a look at your PC case and identify the side panels. Most cases have two side panels – one on the left and one on the right. These panels are typically held in place by screws or latches.
Step 3: Gather the Necessary Tools
Depending on the type of screws used to secure the side panels, you may need a Phillips-head screwdriver or another suitable tool. Make sure you have the appropriate tool handy before moving on to the next steps.
Step 4: Remove the Screws
Using the designated screwdriver or tool, locate the screws that are holding the side panel in place. Typically, there will be several screws along the edges of the panel. Loosen and then remove these screws, being careful not to drop them inside the case.
Step 5: Slide or Swing Open
Once all the screws have been removed, you can slide or swing open the side panel. Different PC cases have different mechanisms for removing the panel, so consult the case manual if you are unsure. Some cases may have latches or clips that need to be released before sliding or swinging open the panel.
Step 6: Set Aside the Side Panel
Once the side panel is open, carefully set it aside in a safe location. Make sure it is kept away from any potential hazards, such as liquids or sharp objects, to prevent damage.
Step 7: Repeat for the Other Side Panel
If your PC case has two side panels, repeat the same steps to remove the second side panel. This will provide you with full access to the interior of the PC case for sound dampening and other modifications.
Step 8: Keep the Screws Secure
As you remove the screws from the side panels, keep them in a secure place, such as a small container or a magnetic tray. This will prevent them from getting lost and make it easier to locate them when reassembling the case.
By following these step-by-step instructions, you can safely remove the side panels of your PC case and prepare it for the sound dampening process. Remember to exercise care and caution to avoid any damage to the case or its components.
Applying Acoustic Foam
Acoustic foam is a key component in sound dampening your PC case. Its excellent noise-absorbing properties help reduce vibrations and minimize noise reflections. Here is a step-by-step guide on how to apply acoustic foam to your PC case:
Step 1: Prepare the Acoustic Foam
Start by preparing the acoustic foam sheets. Measure and cut the foam into appropriately sized pieces that will fit the areas you plan to cover inside the PC case. Use a utility knife or scissors to ensure clean and precise cuts.
Step 2: Clean the Interior Surfaces
Before applying the acoustic foam, make sure the interior surfaces of your PC case are clean and free from dust or debris. Use a soft cloth or compressed air to gently remove any particles that may interfere with the adhesive quality of the foam.
Step 3: Peel the Adhesive Backing
Once the surfaces are clean, peel off the protective backing from the adhesive side of the acoustic foam. This will reveal the sticky side that will be attached to the interior surfaces of the case. Be careful not to touch the adhesive side with your fingers to maintain its effectiveness.
Step 4: Apply the Acoustic Foam to the Interior
Start applying the acoustic foam to the specified areas inside your PC case. Begin with the side panels, as they are commonly the largest uninterrupted areas where noise can escape or enter. Press the foam firmly against the surface to ensure a secure and effective bond. You may also use a roller or the back of a spoon to smooth out any air bubbles or wrinkles.
Step 5: Cover Other Noise-Generating Locations
Continue applying the acoustic foam to other interior surfaces that contribute to noise, such as the bottom or top of the PC case. Focus on areas near fans, hard drives, power supplies, and any other components that generate significant vibrations or noise. Cut the foam accordingly to fit these specific locations, ensuring maximum coverage.
Step 6: Secure the Foam in Place
After applying the acoustic foam, gently press and hold it in place for a few seconds to ensure proper adhesion. If needed, you can use mounting tape or adhesive spray designed for acoustic foam to secure it more firmly to the surfaces.
Step 7: Repeat for Other Panels
If your PC case has multiple side panels or compartments, repeat the process of measuring, cutting, and applying the acoustic foam to each respective area. Ensure consistent coverage throughout the case to achieve optimal sound dampening results.
Step 8: Trim Excess Foam
Once all the foam is applied, carefully trim any excess material using a utility knife or scissors. This will give your PC case a clean and professional look, while also ensuring that the foam does not interfere with the reinstallation of components.
By following these steps, you can effectively apply acoustic foam to your PC case and significantly reduce noise levels. The foam’s noise-absorbing properties will help make your computing experience quieter and more enjoyable.
Attaching Dampening Material to the Case Interior
Alongside acoustic foam, additional sound dampening materials such as sound dampening mats or pads can further enhance the reduction of noise in your PC case. Here’s a step-by-step guide on how to attach dampening material to the interior of your PC case:
Step 1: Prepare the Dampening Material
Start by preparing the sound dampening material, whether it’s mats or pads, that you will be using. Measure and cut the material into appropriately sized pieces that correspond to the areas you want to cover inside the PC case. Use a utility knife or scissors to achieve accurate cuts.
Step 2: Clean the Interior Surfaces
Before attaching the dampening material, clean the interior surfaces of your PC case to remove any dirt, dust, or debris. Wipe the surfaces gently with a soft cloth or use compressed air to ensure a clean and smooth bonding surface.
Step 3: Peel the Backing
If your dampening material has an adhesive backing, peel off the protective layer exposing the adhesive side. Make sure not to touch the adhesive surface to maintain its stickiness.
Step 4: Apply the Dampening Material
Begin attaching the dampening material to the interior surfaces of your PC case. Start with the side panels, placing the material on areas that typically generate noise or vibrations. Press the material firmly against the surface, smoothing out any wrinkles or air bubbles as you go. Use a roller or the back of a spoon to ensure even adhesion.
Step 5: Cover Other Noise-Prone Areas
Continue applying the dampening material to other interior surfaces that contribute to noise, such as the bottom or top of the case. Focus on places near fans, hard drives, power supplies, and any other components that generate significant vibrations. Customize the size and shape of the material to fit each specific location, ensuring comprehensive coverage.
Step 6: Secure the Material
To ensure secure attachment, firmly press and hold the dampening material against the surface for a few seconds. You may also use additional adhesives specifically designed for the material, like adhesive spray or mounting tape, to reinforce its adhesion if needed.
Step 7: Repeat for Other Panels
If your PC case has multiple side panels or compartments, repeat the process of measuring, cutting, and attaching the dampening material to each corresponding area. Aim for consistent coverage throughout the case for optimal noise reduction.
Step 8: Trim Excess Material
Once all the dampening material is attached, carefully trim any excess material using a utility knife or scissors. This will give your PC case a neat and professional appearance while ensuring that the material doesn’t interfere with the reinstallation of components.
By following these steps, you can effectively attach dampening material to the interior of your PC case. The additional sound dampening properties of these materials will help significantly reduce noise and vibration, creating a more peaceful computing environment.
Sealing Small Gaps and Vents
Sealing small gaps and vents in your PC case is an important step in the sound dampening process. By minimizing air leakage and preventing noise from escaping or entering, you can further enhance the effectiveness of your sound dampening efforts. Here’s a step-by-step guide on how to seal small gaps and vents:
Step 1: Identify the Gaps and Vents
Before sealing, carefully inspect your PC case to identify any small gaps, vents, or openings where noise can escape or enter. Common areas to check include the edges of removable panels, cable routing holes, and any other areas where components meet the case.
Step 2: Clean the Areas
Clean the areas around the gaps and vents using a soft cloth or compressed air. This ensures that the surfaces are free from dust, dirt, or debris, allowing for better adhesion of the sealing materials.
Step 3: Choose the Right Sealing Material
Select an appropriate material to seal the gaps and vents. Options include foam tape, rubber grommets, or silicone sealant. Consider the size of the gaps or vents and the flexibility of the material to ensure a proper fit and effective seal.
Step 4: Cut and Apply the Sealing Material
Measure and cut the sealing material to fit the specific gaps or vents you identified earlier. For foam tape or rubber grommets, cut them to the appropriate lengths to cover the gaps completely. Apply the sealing material firmly and evenly, ensuring secure adhesion.
Step 5: Cover Cable Routing Holes
If your PC case has cable routing holes, they can be potential sources of noise leakage. Apply foam grommets or rubber grommets around these holes, providing a tight seal for cables passing through and minimizing noise transmission.
Step 6: Address Ventilation Openings
While sealing gaps and vents helps with sound dampening, it’s essential to maintain proper airflow and ventilation. If you seal off ventilation openings entirely, your components may overheat. Use dust filters to cover ventilation openings, preventing dust from entering while still allowing airflow to keep your components cool.
Step 7: Test for Air Leakage
Once the sealing is complete, power on your PC and listen for any noticeable reduction in noise. Additionally, place your hand near the sealed gaps and vents to feel for air leakage. If you detect any leakage, reapply the sealing material or consider using a more robust sealant to achieve a proper seal.
Step 8: Double-Check Sealed Areas
Periodically inspect the sealed areas to ensure that the sealing material is intact and in good condition. Over time, the adhesive may weaken or the material may deteriorate, compromising the effectiveness of the seal.
By following these steps, you can effectively seal small gaps and vents in your PC case, preventing noise from escaping or entering. This additional step enhances the overall sound dampening effects and contributes to a quieter computing environment.
Reassembling Your PC Case
After completing the necessary sound dampening modifications, it’s time to reassemble your PC case. Follow this step-by-step guide to ensure a smooth and successful reassembly:
Step 1: Organize Components
Gather all the components and screws you removed during the disassembly process. Organize them in a safe and easily accessible area to prevent any loss or confusion.
Step 2: Prepare the Side Panels
If you removed both side panels, ensure that you have the correct panel for each side of the case. Remove any remaining dust or debris from the panels using a soft cloth or compressed air. This will ensure a clean surface for reattachment.
Step 3: Check Cable Connections
Before reassembling, double-check all cable connections inside the PC case. Ensure that all power cables, data cables, and fan connections are properly connected. This will prevent any issues or malfunctions when you power on your PC again.
Step 4: Position the Side Panels
Begin by aligning the first side panel with its corresponding side of the case. Gently slide or swing the panel back into place, making sure that it fits snugly and aligns properly with any locking mechanisms or screw holes.
Step 5: Secure the Side Panels
Using the appropriate screws or latches, secure the side panel to the case. Start with the top screws or latches to ensure proper alignment, then move to the sides and bottom. Tighten the screws firmly, but be cautious not to overtighten, as this can damage the case or strip the screw holes.
Step 6: Reinstall Components
Take the components you removed during the disassembly process and reinstall them in their appropriate places. Follow the appropriate installation procedures for each component, such as securing them with screws or latches. Pay attention to any specific instructions or guidelines provided by the component manufacturers.
Step 7: Check for Loose Connections
After reinstalling the components, double-check all connections to ensure they are secure and properly seated. This includes checking that all cables are fully plugged in and that any expansion cards or memory modules are firmly inserted into their respective slots.
Step 8: Test the PC
Once everything is reassembled, connect your PC to the power source and power it on. Listen for any abnormal noises or vibrations that could indicate an issue with the reassembly. Monitor the temperature of your components to ensure they are running within an appropriate range.
Step 9: Final Check
Take a final look inside your PC case to verify that all components are seated correctly, cables are neatly routed, and there are no loose screws or other objects that could cause interference or damage. Ensure that the sound dampening materials are properly in place and have not shifted during the reassembly process.
By following these steps, you can safely and effectively reassemble your PC case after sound dampening modifications. Enjoy the benefits of a quieter computing experience as you power on your PC and embrace the improved noise reduction achieved through your efforts.
Testing the Sound Dampening Effects
After completing the sound dampening modifications to your PC case, it’s important to test the effectiveness of your efforts. Testing allows you to confirm the reduction in noise levels and ensures that your sound dampening measures have been successful. Here’s how you can test the sound dampening effects:
Step 1: Power On Your PC
Ensure that your PC is properly reassembled and connected to the power source. Power on your PC and place it in its usual operating position, whether it’s on a desk or the floor.
Step 2: Listen for Noise Reduction
Take a moment to listen for any noticeable reduction in noise levels. Listen for the specific sources of noise that bothered you before the sound dampening modifications, such as fan noise, hard drive noise, or power supply noise. Pay attention to the overall sound quality and whether the noise is less pronounced.
Step 3: Monitor Component Temperatures
While listening for noise reduction, monitor the temperatures of your PC components. Ensure that the sound dampening modifications have not negatively affected the cooling efficiency of your PC. Watch for any abnormal temperature spikes, as this could indicate a potential issue with airflow or heat dissipation.
Step 4: Assess Noise Levels During Intense Tasks
Engage in tasks that typically put a heavy load on your PC, such as gaming or running resource-intensive software. Pay attention to the noise levels during these tasks and compare them to the noise levels experienced before the sound dampening modifications. Assess whether there is a noticeable reduction in noise during these intense activities.
Step 5: Perform Audio Recording Test
If you use your PC for audio recording or content creation, perform a test recording to evaluate the impact of the sound dampening modifications. Record audio and listen for any improvements in the quality, such as reduced background noise or a cleaner recording overall. This will help determine if the modifications have positively affected your recording setup.
Step 6: Request Feedback
If possible, request feedback from others who may have noticed the noise levels of your PC before the sound dampening modifications. Ask if they perceive a difference in the noise levels after the modifications. Their input can provide additional perspectives and help validate the effectiveness of your efforts.
Step 7: Fine-tune if Necessary
If you are not satisfied with the level of noise reduction or notice any areas that require further attention, evaluate and fine-tune your sound dampening modifications. Consider adding additional foam or materials to specific areas where noise is still evident.
By following these steps and assessing the sound dampening effects through careful listening, component monitoring, audio recording tests, and feedback, you can ensure that your PC case is effectively reducing noise levels. These tests will help you validate the success of your sound dampening efforts and provide a quieter and more enjoyable computing experience.
Final Thoughts and Additional Tips
Sound dampening your PC case can significantly improve your computing experience by reducing noise levels and creating a more peaceful environment. Here are some final thoughts and additional tips to keep in mind as you complete your sound dampening journey:
1. Monitor Component Temperatures: Throughout the sound dampening process, closely monitor the temperatures of your PC components. Ensure that the modifications have not caused excessive heat buildup. Consider adjusting fan speeds or upgrading cooling solutions if necessary.
2. Regular Maintenance: Dust can accumulate over time and negatively impact the performance of your PC components. Regularly clean your PC case and components to ensure maximum airflow and minimize noise caused by dust buildup. Use compressed air or an antistatic brush to remove dust from fan blades and heatsinks.
3. Consider Fan Replacements: In addition to sound dampening modifications, consider upgrading your fans to quieter alternatives. Look for fans with lower noise ratings (measured in decibels) and higher airflow to further reduce noise levels without sacrificing cooling performance.
4. Position your PC Case: The placement of your PC case can affect noise levels. Avoid placing your PC directly on the floor or in a tight space where noise has limited escape routes. Optimum positioning can help minimize noise reflection and provide better airflow.
5. Optimize Fan Curves: Adjusting fan curves in your BIOS or using fan control software can help regulate fan speeds based on temperature. This can maintain necessary cooling while reducing noise levels during idle or low-demand situations.
6. Consider Soundproofing Your Room: If you’re seeking an even quieter computing experience, consider soundproofing the room where you use your PC. Use acoustic panels, rugs, or curtains to absorb sound and reduce external noise intrusion.
7. Conduct Regular Sound Checks: Over time, components or case modifications might require adjustment. Conduct periodic sound checks to ensure that noise levels remain under control. Address any emerging noise issues promptly to maintain a quiet PC environment.
8. Share Your Experience: If you have successfully reduced noise levels in your PC case, consider sharing your experience with others. Share your tips and techniques on online forums or social media platforms to help fellow PC enthusiasts achieve a quieter computing environment.
By implementing these additional tips and maintaining a proactive approach to noise management, you can optimize the sound dampening effects of your PC case modifications. Enjoy a quieter workspace, enhanced focus, and a more enjoyable computing experience overall.