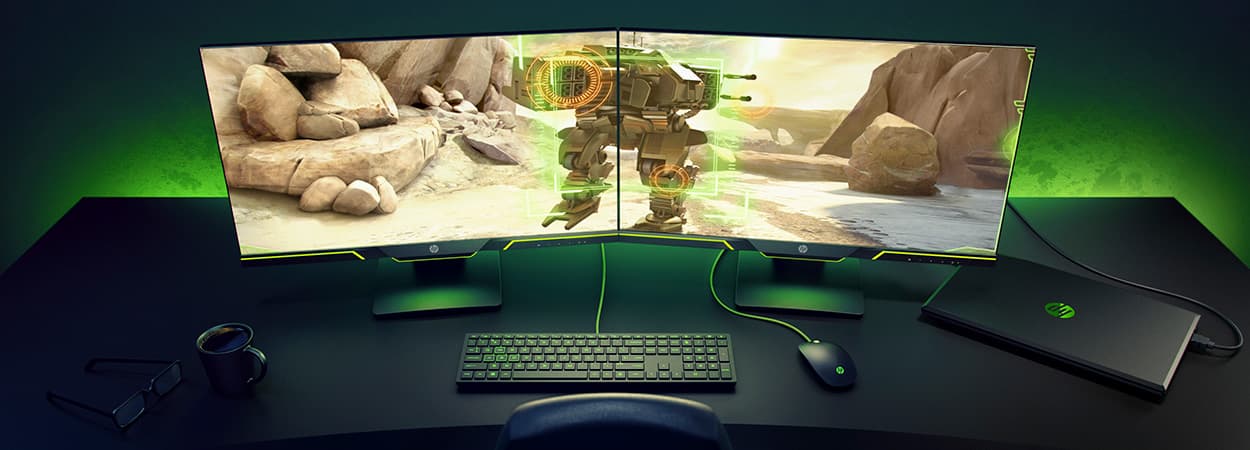
Introduction
Building your own PC can be an exciting and rewarding experience. Not only will it save you money compared to buying a pre-built system, but it also offers you the freedom to customize your machine to meet your specific needs and preferences. Whether you’re a gamer looking for a high-performance rig or a professional in need of a powerful workstation, building your own PC allows you to have full control over the components and design.
However, if you’re new to the world of PC building, the process might seem intimidating at first. Don’t worry, though! In this comprehensive guide, we will walk you through the step-by-step process of building a PC from scratch. We’ll cover everything from choosing the right components to troubleshooting common issues.
Before we dive into the nitty-gritty details, it’s important to note that building a PC requires a certain level of technical knowledge and attention to detail. You’ll need to be comfortable working with computer hardware and have basic understanding of components like the motherboard, CPU, RAM, and graphics card. If you’re new to these concepts, don’t fret! This guide is designed to be beginner-friendly and will explain everything in simple terms.
Building a PC is like solving a puzzle – each component needs to be carefully installed and connected to ensure proper functionality. It’s also an opportunity to learn more about the inner workings of a computer and gain hands-on experience that can come in handy in the future. So, whether you’re a tech enthusiast or simply looking for a new DIY project, building your own PC is a worthwhile endeavor.
Throughout this guide, we’ll provide detailed instructions and tips to help you build your PC with confidence. So let’s roll up our sleeves and embark on this exciting journey of building your very own personal computer!
Choosing the Right Components
Before you start building your PC, it’s crucial to choose the right components that will meet your specific needs and budget. With so many options available in the market, it can be overwhelming to make the right choices. Fear not! We’re here to guide you through the process and help you select the perfect components for your build.
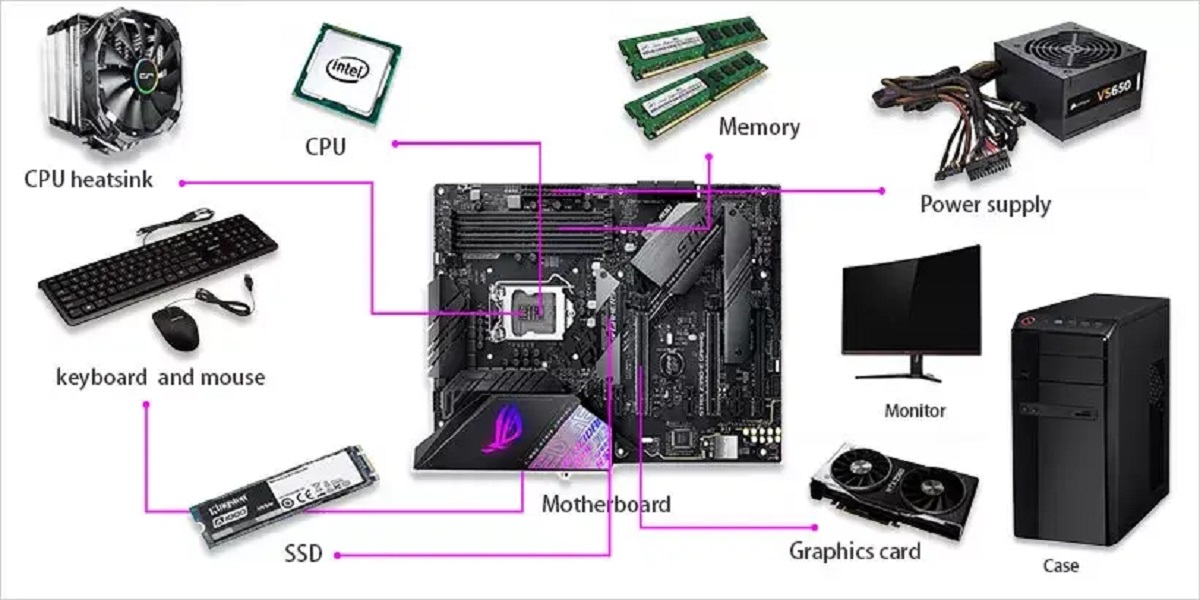
The first and most important component to consider is the motherboard. This is the foundation of your PC and determines what other components you can use. Make sure to choose a motherboard that is compatible with your desired CPU socket and has enough expansion slots for your needs.
Next, you’ll need to choose a processor (CPU). This is the brain of your PC and dictates its performance. Consider factors such as the number of cores, clock speed, and cache size when making your decision. If you’re a gamer or video editor, you’ll want a more powerful CPU, while casual users can opt for a mid-range option.
Memory or RAM is another important component to consider. The amount of RAM you’ll need depends on your usage. For smooth multitasking and gaming, aim for at least 8GB of RAM. However, if you’re into video editing or professional work, 16GB or more is recommended.
A graphics card (GPU) is essential for gamers and those who work with graphically intensive applications. Depending on your needs, you can choose from entry-level to high-end GPUs. It’s recommended to go for a dedicated GPU rather than relying on integrated graphics, as it provides better performance for gaming and design work.
Storage is another consideration. You’ll need both a solid-state drive (SSD) for fast boot times and storage, as well as a hard disk drive (HDD) for bulk storage. Aim for an SSD with at least 250GB for your operating system and frequently used applications, and an HDD with ample space for files, games, and other data.
Power supply units (PSUs) are often overlooked, but they are critical for supplying power to your components. Choose a reputable brand with sufficient wattage for your build. It’s recommended to go for a PSU that has modular cables, as they allow for easier cable management.
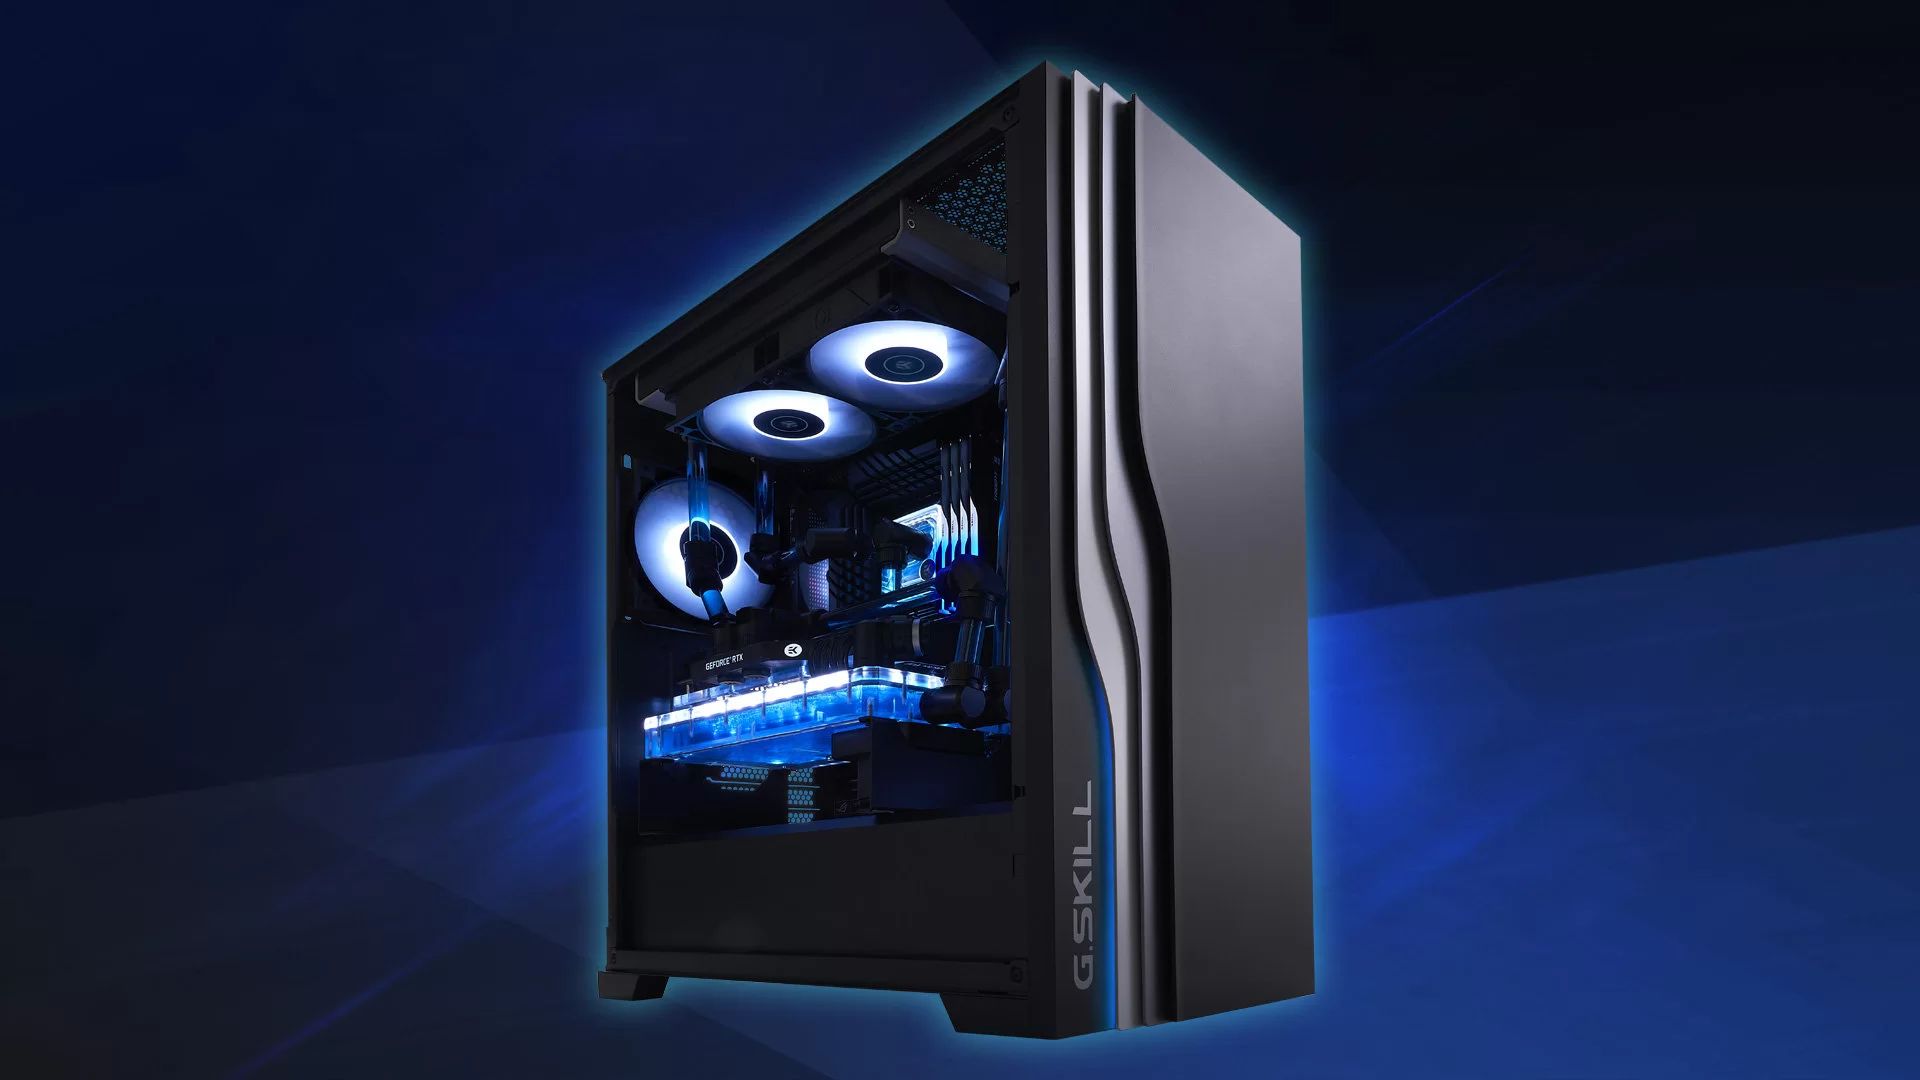
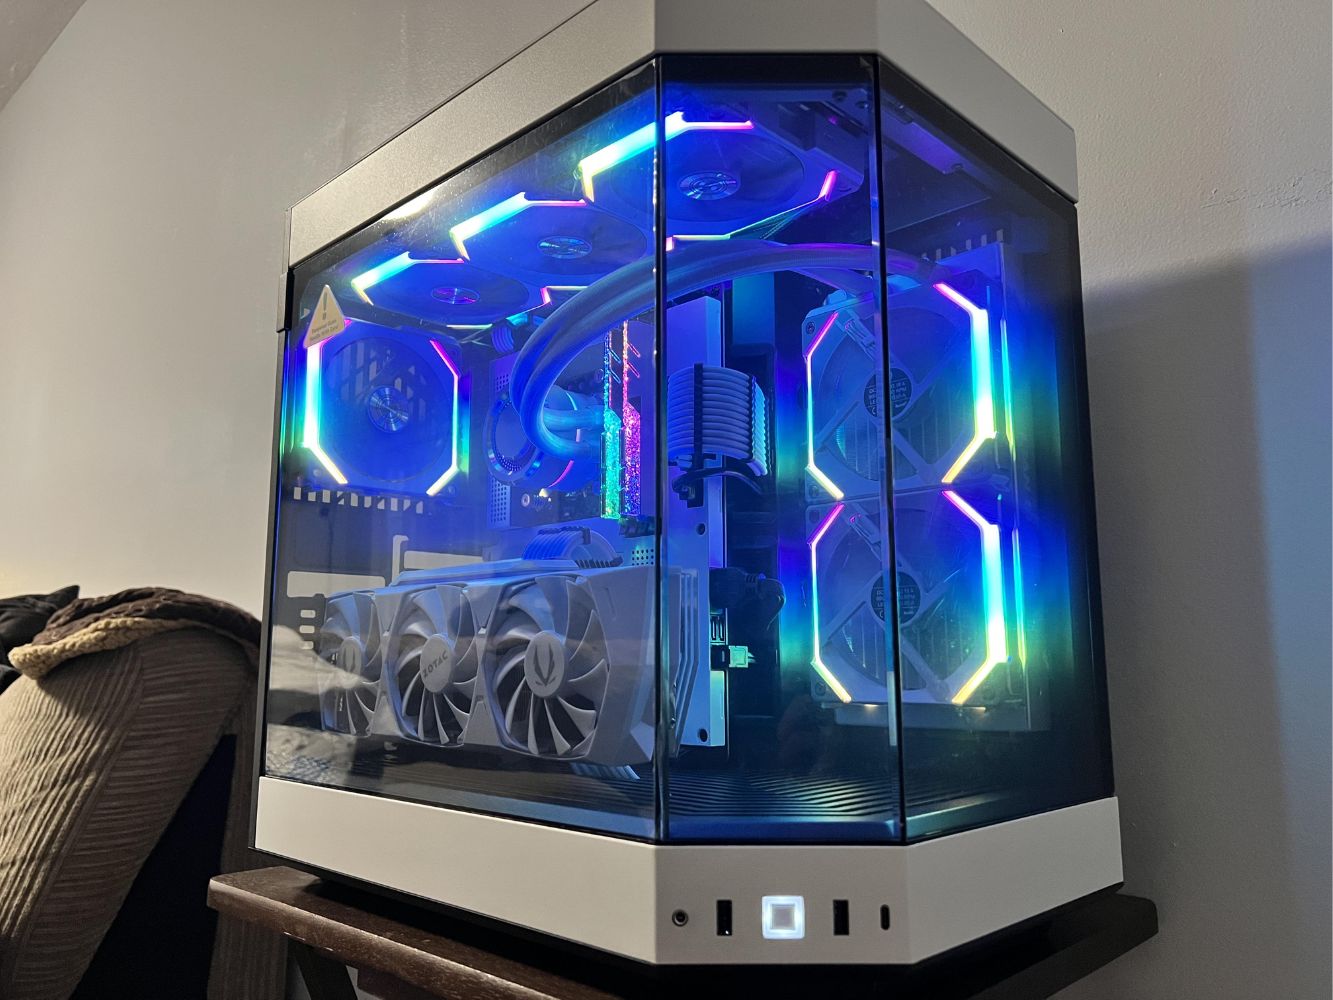
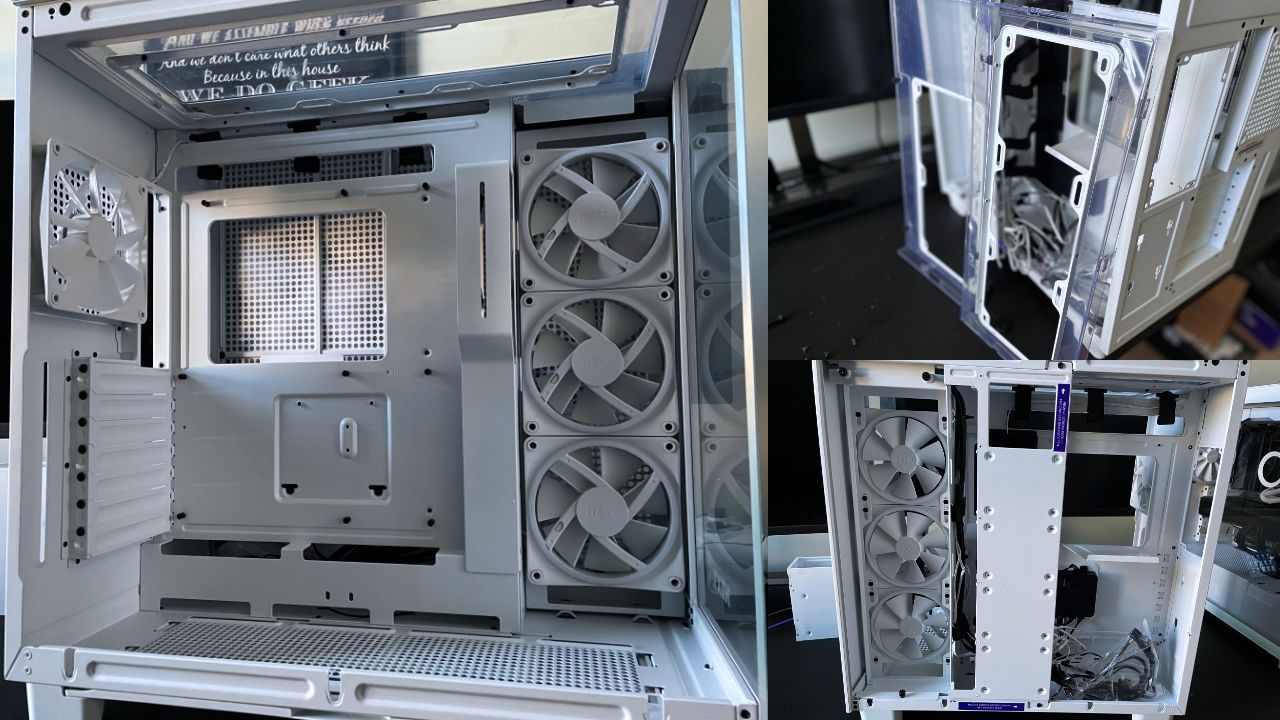
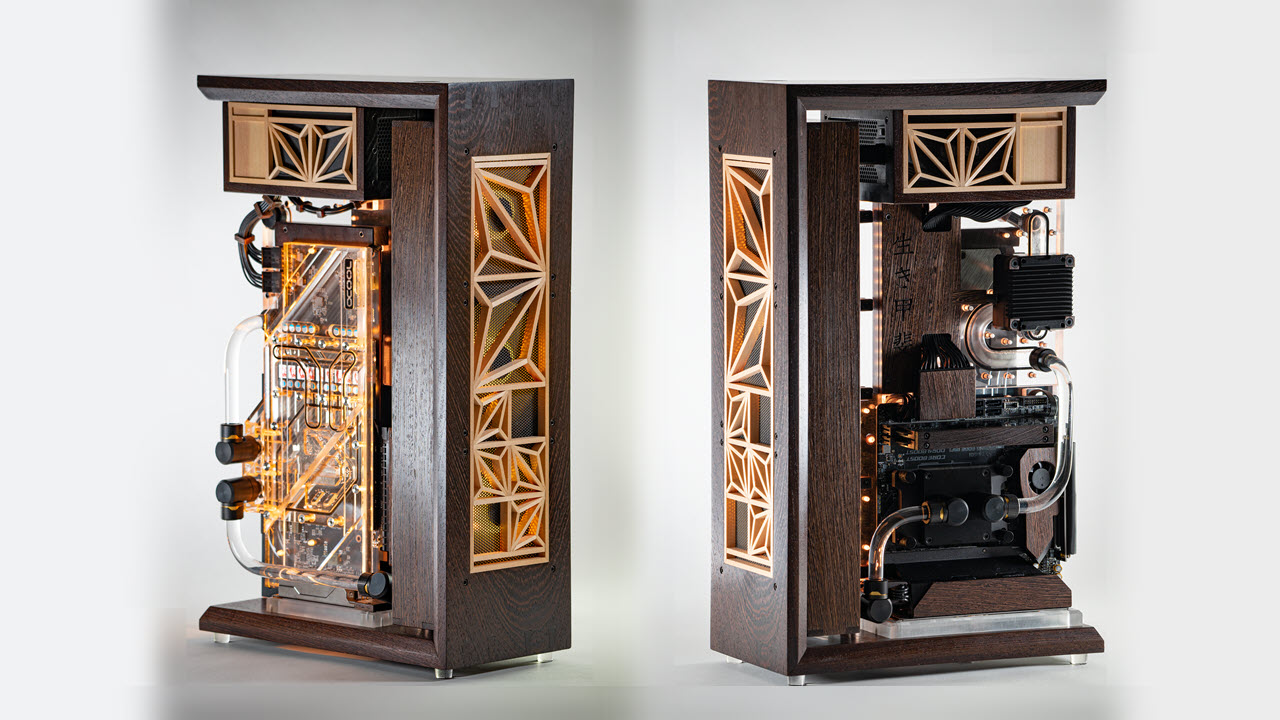
Lastly, consider the case for your build. Look for a case that has sufficient space for your components and good airflow to keep everything cool. Additionally, opt for a case that matches your preferred aesthetics and has room for future expansions.
When choosing components, it’s important to strike a balance between performance, compatibility, and budget. Do some research, read reviews, and compare different options before making a decision. Additionally, remember to choose components that align with your future goals and upgrade plans, as it will save you money in the long run.
Now that you have an understanding of the key components to consider, let’s move on to the next step – preparing the workspace for your PC building adventure!
Preparing the Workspace
Before you begin assembling your PC, it’s essential to set up a clean and organized workspace. Having a dedicated area will not only ensure a smooth building process but also help prevent any damage to delicate components. Here are some steps to prepare your workspace:
- Clean and tidy: Clear the workspace of any clutter and make sure it’s clean. Dust and debris can interfere with your components, so ensure the area is free from any potential hazards.
- Large and flat surface: Find a sturdy table or desk with ample space to lay out your components and tools. Having enough room to maneuver will make the build process much easier.
- Anti-static precautions: Static electricity can damage sensitive PC components. Before you start, ensure you’re properly grounded by wearing an anti-static wrist strap or by regularly touching a grounded metal surface.
- Good lighting: Adequate lighting is crucial to ensure proper visibility during the build process. Position a bright desk lamp or work under natural light to avoid any errors in component installation.
- Essential tools: Gather the necessary tools you’ll need for the build. This may include a screwdriver set, cable ties, thermal paste, and zip ties for cable management.
Now that your workspace is ready, it’s time to move on to the actual build process. Remember to take your time and double-check everything as you go along. Let’s start by installing the power supply unit.
Installing the Power Supply
The power supply unit (PSU) is a vital component that provides electricity to all the other components in your PC. Before installing the PSU, make sure you have chosen a unit that is compatible with your motherboard and has sufficient wattage to power your components.
Here are the steps to install the power supply:
- Unplug the PC: Before working on your PC, ensure that it is completely powered off and unplugged from the power source. This will prevent any potential electrical hazards.
- Choose the mounting location: Most cases have a dedicated compartment at the bottom for the power supply unit. In some cases, it might be mounted on the top or have a separate enclosure. Choose the appropriate location based on your case design.
- Align the PSU: Take your PSU and align it with the mounting holes on the case. The fan on the PSU should be facing either downwards or towards the ventilation area for proper airflow.
- Screw in the PSU: Use the screws provided with your case to secure the PSU in place. Ensure that it is tightly fastened to prevent any vibrations or movement when the PC is running.
- Connect the power cables: Once the PSU is securely mounted, connect the necessary power cables. These include the 24-pin motherboard power connector, CPU power connector, and any additional connectors required for your components (such as SATA power cables for storage devices).
- Manage the cables: Proper cable management is essential for airflow and aesthetics. Use cable ties or Velcro straps to bundle and secure the cables neatly, away from fans and other components.
- Double-check connections: Before moving on to the next steps, double-check all the connections to ensure they are secure and properly seated. Loose connections can cause various issues.
Once you have installed the power supply unit and connected all the necessary cables, you’re ready to move on to the next step – mounting the motherboard. This is where your PC starts to take shape, so continue following the guide for a successful build!
Mounting the Motherboard
The motherboard is like the central nervous system of your PC, dictating the connections and compatibility of all the other components. Properly mounting the motherboard is crucial to ensure stability and proper functioning of your PC. Here’s how to mount the motherboard:
- Prepare the case: Remove the side panel(s) of your PC case to gain access to the internal components. Place the case on a stable surface with the open side facing up.
- Locate the motherboard standoffs: Most cases come with pre-installed standoffs or raised mounting points that correspond to your motherboard’s form factor (ATX, microATX, or mini-ITX). If there are no standoffs pre-installed, use the provided screws to place them in the appropriate locations.
- Align the motherboard: Gently place the motherboard onto the standoffs, aligning the mounting holes on the motherboard with the standoffs. Be careful not to force or bend the motherboard during the process.
- Screw in the motherboard: Once aligned, use the provided screws to secure the motherboard to the standoffs. Start with the corners and then move on to the rest of the screws. Ensure that the motherboard is firmly attached but avoid overtightening to prevent damage.
- Connect the front panel cables: Locate the front panel connectors on the motherboard. These include the power switch, reset switch, power LED, and HDD LED. Consult the motherboard manual to correctly connect these cables.
- Connect other cables: Depending on your motherboard and components, you may need to connect additional cables such as USB, audio, and fan headers. Refer to your motherboard manual for proper cable connections.
- Reinstall the side panel(s): With the motherboard securely mounted and all the necessary cables connected, reattach the side panel(s) of your case, ensuring they are properly aligned and fastened.
Once the motherboard is successfully mounted and all the necessary cables are connected, you’re one step closer to completing your PC build. In the next section, we’ll cover the installation of the CPU and CPU cooler. Keep following the guide to build your PC like a pro!
Installing the CPU and CPU Cooler
The CPU (Central Processing Unit) is the brain of your PC, and proper installation is crucial for optimal performance. Here’s a step-by-step guide on how to install the CPU and CPU cooler:
- Prepare the CPU socket: Before installing the CPU, check your motherboard manual for the location of the CPU socket. Lift the retention arm or lever to open the socket.
- Align the CPU: Take your CPU and locate the alignment markers or notches on both the CPU and the socket. Align them carefully to ensure proper positioning.
- Place the CPU: Gently place the CPU into the socket, taking care not to exert too much pressure. The CPU should sit flush without any forceful movement.
- Secure the CPU: Once the CPU is aligned, lower the retention arm or lever to lock the CPU in place. You’ll feel some resistance, but avoid applying excessive force.
- Applying thermal paste: Thermal paste helps to transfer heat from the CPU to the CPU cooler. Apply a small amount (about the size of a pea) onto the center of the CPU surface.
- Installing the CPU cooler: Take the CPU cooler and position it over the CPU, aligning the mounting brackets or screws with the corresponding holes on the motherboard.
- Securing the CPU cooler: Depending on the type of CPU cooler, secure it in place using the provided brackets, screws, or retention mechanism. Follow the instructions specific to your cooler.
- Connecting the CPU fan: Locate the CPU fan header on the motherboard and connect the CPU cooler’s fan cable to it. This allows the motherboard to control the fan speed for optimal performance.
Proper CPU installation and cooling are essential for the stability and longevity of your PC. Ensure that the CPU is correctly seated and that the CPU cooler is securely fastened. Additionally, make sure that the CPU fan is properly connected for adequate cooling.
Now that the CPU and CPU cooler are installed, it’s time to move on to the next step – inserting the RAM modules. Follow the guide to continue building your PC and bring it one step closer to completion!
Inserting the RAM Modules
RAM (Random Access Memory) is a vital component of your PC, as it provides temporary storage for data that the CPU needs to access quickly. Installing the RAM modules correctly ensures optimal performance and system stability. Here’s how to insert the RAM modules into your motherboard:
- Locate the RAM slots: Identify the RAM slots on your motherboard. These are usually long, rectangular slots located near the CPU socket.
- Unlock the slots: Most motherboards have locking mechanisms on either side of the RAM slots. Gently push down or outwards on these locks to unlock them.
- Match the RAM module to the slot: Check the type and capacity of your RAM modules to ensure compatibility with your motherboard. Align the notch on the RAM module with the tab in the RAM slot.
- Insert the RAM module: Hold the RAM module by its sides and carefully insert it into the slot at a slight angle. Apply gentle pressure until you hear a click and the locking mechanism on both sides secures the module in place.
- Repeat for additional modules: If you have more than one RAM module, repeat the process for each module, starting with the slot closest to the CPU.
- Double-check: Once all the RAM modules are inserted, double-check that they are firmly seated and properly locked in place.
It’s important to note that some motherboards have specific configurations for optimal RAM performance. Consult your motherboard manual to determine the recommended slots to populate first for dual-channel or quad-channel memory configurations.
Once the RAM modules are correctly inserted, you have successfully upgraded your PC’s memory. This will help enhance multitasking capability and overall system performance. In the next section, we will cover the installation of the graphics card. Follow along to continue building your PC!
Installing the Graphics Card
The graphics card, also known as the GPU (Graphics Processing Unit), is responsible for rendering images and videos on your PC. If you’re a gamer or work with graphic-intensive applications, installing a dedicated graphics card is essential. Here’s how to install the graphics card:
- Prepare the PCIe slot: Locate the PCIe slot on your motherboard where the graphics card will be installed. Remove the corresponding expansion slot cover on the rear of the case.
- Check the graphics card dimensions: Ensure that your graphics card will fit into your case and have adequate clearance for other components such as the CPU cooler.
- Unlock the PCIe slot: Most motherboards have a locking mechanism at the end of the PCIe slot. Push down or outwards on this lock to open the slot.
- Align the graphics card: Hold the graphics card by its edges and align it with the PCIe slot. The gold connectors on the graphics card should line up with the PCIe slot on the motherboard.
- Insert the graphics card: Apply gentle but firm pressure on the graphics card to fully insert it into the slot. Ensure that it is seated properly and the locking mechanism engages.
- Secure the graphics card: Use the screws provided with your case to secure the graphics card to the rear of the case. This will prevent it from moving or sagging during use.
- Connect power to the graphics card: Most modern graphics cards require additional power connections. Check the graphics card manual to determine the required power connections and connect the appropriate cables from the power supply unit.
- Connect the monitor: Plug in your monitor’s display cable (HDMI, DisplayPort, or DVI) into the corresponding port on the back of the graphics card.
- Close the case: Once the graphics card is installed and the necessary cables are connected, close the case by reattaching the side panel(s) and securing them with the appropriate screws.
With the graphics card successfully installed, you can now enjoy improved graphical capabilities and performance in games and graphics-intensive applications. In the following sections, we will cover the installation of storage devices, the cooling system, and the connection of power cables. Stay tuned to continue building your PC!
Connecting Storage Devices
Storage devices, including hard disk drives (HDDs) and solid-state drives (SSDs), provide the necessary space to store your operating system, applications, and files. Connecting these devices correctly ensures smooth data transfers and efficient storage management. Here’s how to connect storage devices in your PC:
- Prepare the storage devices: If you’re using a new HDD or SSD, it may need to be mounted in a drive bay or secured to the case using screws or brackets. Refer to the device’s manual or the case’s instructions to properly install the storage devices.
- Identify the SATA ports: Locate the SATA ports on your motherboard. These are rectangular-shaped connectors typically found near the edge of the motherboard.
- Connect the SATA data cable: Take a SATA data cable (usually included with your motherboard or storage device) and connect one end to the SATA port on the motherboard and the other end to the corresponding port on the storage device.
- Connect the SATA power cable: Connect a SATA power cable from your power supply unit to the power port on the storage device. The SATA power cable provides the necessary power for the device to function.
- Secure the cables: Use cable ties or Velcro straps to neatly secure and manage the SATA data and power cables. This helps keep the cables organized and prevents them from interfering with other components.
- Repeat for additional storage devices: If you have more than one HDD or SSD, repeat the process for each device, ensuring that each one is properly connected to both the SATA data and power cables.
When connecting storage devices, it’s important to note that the order of the SATA connectors on the motherboard may determine the boot order of the drives. Consult your motherboard manual or UEFI/BIOS settings to set the desired boot priority if necessary.
With the storage devices connected, you now have the capability to store and retrieve data on your PC. In the next section, we will cover the installation of the cooling system to keep your components running at optimal temperatures. Keep following the guide to continue building your PC!
Installing the Cooling System
Proper cooling is crucial for maintaining optimal performance and longevity of your PC’s components. Installing an effective cooling system helps dissipate heat and prevents overheating. Here’s how to install the cooling system in your PC:
- Choose the cooling system: Decide on the type of cooling system you want to install. You can choose either an air cooler or a liquid cooler, depending on your preferences and budget.
- Prepare for installation: Ensure that the installation area for the cooling system is clear and free of any obstructions. Remove any dust or debris from the case to optimize airflow.
- Install the CPU cooler (if applicable): If you’re using an aftermarket CPU cooler, refer to the manufacturer’s instructions for proper installation. Typically, this involves attaching the CPU cooler to the designated mounting bracket on the motherboard using screws or clips.
- Mount the case fans: Install the case fans in the appropriate locations. Most cases have designated mounting points for fans, such as front, rear, and top. Secure the fans using the provided screws or any other mounting mechanism specified by your case.
- Connect the fan cables: Connect the fan cables to the fan headers on the motherboard. Ensure that the cables are securely plugged in and that the fans are oriented in the correct direction for optimal airflow.
- Position the radiator (if using liquid cooling): For liquid cooling systems, mount the radiator in a position that allows for efficient cooling. This may involve attaching it to the top or the front of the case, depending on the available space and configuration.
- Attach the liquid cooling unit (if applicable): If you’re using a liquid cooling system, follow the manufacturer’s instructions to attach the water block or pump to the CPU and connect the tubing to the radiator. Secure all connections properly to prevent leaks.
- Manage cables and ensure proper airflow: Tidy up the cables inside your case, using cable ties or Velcro straps to keep them organized and away from the fans and other components. Verify that the fans and radiators are correctly positioned to ensure optimal airflow.
Properly installing the cooling system is essential for preventing your components from overheating and ensuring their longevity. By maintaining optimal temperatures, you can enjoy stable performance and reliable operation of your PC.
With the cooling system installed, you’re one step closer to completing your PC build. In the next section, we will cover connecting the power cables to power up your system. Continue following the guide to finish building your PC!
Connecting the Power Cables
Connecting the power cables to your PC is a critical step in the building process. Properly connecting the power cables ensures that your components receive the necessary electrical power to function. Here’s how to connect the power cables:
- Locate the power supply cables: Identify the power supply unit (PSU) cables that are required to power your components. Common power cables include the 24-pin ATX cable for the motherboard, the 8-pin CPU power cable, and the SATA power cables for storage devices.
- Connect the 24-pin ATX cable: Take the 24-pin ATX power cable and insert it into the corresponding socket on the motherboard. Ensure that it is fully inserted and securely connected.
- Connect the CPU power cable: Locate the CPU power socket on your motherboard, usually an 8-pin or 4+4-pin connector. Connect the CPU power cable from the PSU to the socket, ensuring a snug fit.
- Connect the SATA power cables: Take the SATA power cables from your PSU and connect them to the SATA power ports on your storage devices. Ensure a secure connection and that the cables are not strained or twisted.
- Connect additional power cables: Depending on the components in your build, you may need to connect additional power cables. This includes power cables for your graphics card, case fans, or any other peripherals you are using.
- Organize and secure the cables: Proper cable management is crucial for maintaining good airflow and aesthetics. Use cable ties, Velcro straps, or other cable management solutions to organize and secure the power cables, keeping them away from fans and other components.
- Double-check connections: Before proceeding, double-check all the power cable connections to ensure they are properly seated and secure. Loose connections can cause system instability or potential damage.
Once all the power cables are properly connected and secured, you’re almost ready to power up your PC for the first time. But before that, make sure you have connected all necessary peripherals as well. In the next section, we will cover connecting peripherals such as the monitor, keyboard, and mouse. Stay tuned to complete your PC build!
Connecting Peripherals
Connecting peripherals, such as the monitor, keyboard, and mouse, allows you to interact with your PC and make the most out of its capabilities. Here’s how to connect your peripherals:
- Connect the monitor: Take the cable from your monitor (HDMI, DisplayPort, or DVI) and connect it to the corresponding port on your graphics card. Ensure a firm connection.
- Connect the keyboard and mouse: If you are using USB peripherals, connect the keyboard and mouse to the available USB ports on your PC. USB ports are typically located on the front and back of the case.
- Connect speakers or headphones: If you are using external speakers or headphones, connect them to the appropriate audio jacks on the rear or front of your PC case. Make sure the connection is secure.
- Connect other peripherals: If you have any additional peripherals, such as a webcam, printer, or external storage devices, connect them to the appropriate ports on your PC.
- Power on the peripherals: Ensure that all connected peripherals are powered on and ready to use.
Once all your peripherals are connected, you’re ready to power up your PC for the first time and start enjoying the fruits of your labor. Before doing so, double-check all connections and ensure that everything is properly connected and secured.
In the next section, we will cover the essential steps for booting up your PC and testing its functionality. Follow along to complete your PC build and embark on your computing journey!
Booting Up and Testing the PC
After successfully building your PC and connecting all the necessary components, it’s time to boot up the system and ensure everything is functioning properly. Here are the essential steps to boot up and test your PC:
- Double-check connections: Before powering on your PC, double-check all connections to ensure they are secure and properly seated. This includes power cables, data cables, RAM modules, and any expansion cards.
- Turn on the power supply: Locate the power switch on the back of the power supply unit (PSU) and turn it on. You may also need to switch on the voltage selector if applicable.
- Press the power button: Locate the power button on your PC case and press it to power on the system. The fans should start spinning, and lights on the motherboard or components should become active.
- Monitor the boot process: Watch the monitor connected to your PC for any startup screens or the motherboard’s logo. If you see these, it means your PC is successfully booting up.
- Access the BIOS/UEFI: During the boot process, press the indicated key (usually Del, F2, or F12) to enter the BIOS/UEFI settings. This allows you to configure system settings and ensure everything is recognized.
- Verify component recognition: Within the BIOS/UEFI settings, verify that all the connected components, such as the CPU, RAM, and storage devices, are correctly recognized by the system.
- Save and exit the BIOS/UEFI: Once you have confirmed that everything is recognized and the settings are appropriate, save any changes made in the BIOS/UEFI settings and exit the menu.
- Install or update the operating system (OS): If you have not yet installed an operating system, insert the installation media (such as a USB drive or DVD) into the appropriate drive and follow the instructions to install the OS. If you have already installed the OS, ensure that it is up to date with the latest updates and drivers.
- Test system stability: After the OS is installed and updated, run various stress tests or benchmarking software to test the stability and performance of your PC. This includes running CPU and GPU stress tests, checking temperature levels, and evaluating system responsiveness.
By following these steps and conducting thorough testing, you can ensure that your PC is functioning properly and can handle the demands of your intended usage, whether it’s gaming, content creation, or everyday tasks.
If any issues or errors arise during the testing process, refer to troubleshooting resources or seek assistance from technical support to address and resolve them. Once you’re satisfied with the performance and stability of your PC, you can begin using it fully and enjoy the benefits of your custom-built machine!
Troubleshooting Common Issues
Despite careful attention to detail during the PC building process, it’s possible to encounter issues or errors along the way. Troubleshooting common problems can help resolve issues and ensure your PC is running smoothly. Here are some common issues and their potential solutions:
- No power or boot: If your PC doesn’t power on or boot up, check that all power cables are securely connected. Ensure the power supply switch is turned on and the outlet is receiving power. Verify that the RAM modules, CPU, and graphics card are properly seated.
- Overheating: Excessive heat can cause system instability or even damage components. Check that the CPU cooler is properly installed with thermal paste applied. Ensure the case fans are functioning and there is proper airflow. Consider adding more fans or upgrading your cooling solution if necessary.
- BSOD (Blue Screen of Death) or system crashes: Random system crashes or blue screens can be caused by faulty or incompatible hardware, outdated drivers, or software conflicts. Update your drivers to the latest versions and ensure your operating system is up to date. Check for any hardware issues or conflicts by running diagnostic tools or stress tests.
- Unrecognized components: If certain components, such as the graphics card or storage devices, are not recognized by the system, double-check all connections. Ensure that drivers for the components are installed and up to date. In some cases, a BIOS/UEFI update may be necessary for proper compatibility.
- Slow performance or lag: Slow performance or lag can be caused by various factors, such as insufficient RAM, a slow storage drive, or resource-intensive software. Ensure that your PC meets the recommended specifications for the software you are using. Consider adding more RAM or upgrading to a faster storage drive if necessary.
- Intermittent connectivity issues: If you experience intermittent connectivity issues with your peripherals, check that the cables are securely connected. Update drivers for the affected devices. If using wireless peripherals, ensure that the batteries are properly charged and there are no signal interferences.
If you encounter any of these issues or others during the troubleshooting process, consult online resources, forums, or seek advice from technical support. In most cases, solutions can be found by identifying the root cause and following step-by-step troubleshooting procedures.
Remember, troubleshooting and resolving issues is a common part of the PC building process. With patience and careful investigation, you can overcome obstacles and ensure that your PC is running smoothly and optimally.
With any identified issues resolved, you’re now ready to fully enjoy your custom-built PC. Congratulations on your successful build!
Conclusion
Building your own PC can be an exciting and rewarding experience. Throughout this guide, we have covered the step-by-step process of building a PC, from choosing the right components to troubleshooting common issues. By following these instructions and tips, you have gained the knowledge and confidence to embark on your PC building journey.
Remember, building a PC requires attention to detail, patience, and careful handling of components. Take your time to research and select the right components that meet your needs and budget. Properly installing each component ensures optimal performance and longevity for your system.
During the build process, we emphasized the importance of cable management, proper cooling, and thorough testing. Good cable management not only improves airflow but also contributes to a clean and visually appealing build. Efficient cooling keeps your components operating at optimal temperatures, preventing overheating issues. Thorough testing helps identify any potential problems early on, ensuring your PC runs smoothly.
While troubleshooting issues can be frustrating, it is part of the PC building process. By following troubleshooting procedures and seeking assistance when needed, you can overcome challenges and ensure your PC is running optimally. Remember to consult online resources, manuals, or seek advice from technical support if necessary.
Congratulations on completing your PC build! You now have a custom-built machine that meets your specific requirements. Whether you’re a gamer, content creator, or simply looking for a powerful workstation, your PC is ready to tackle any task you throw at it.
Enjoy the performance, flexibility, and satisfaction that come with building your own PC. Stay up to date with the latest updates and drivers, and periodically maintain and clean your system to ensure its longevity. With your newfound knowledge, feel free to upgrade or modify your PC in the future to adapt to changing needs and technologies.
Thank you for following this guide, and we hope you have found it helpful in your PC building journey. Wishing you success and enjoyment with your custom-built PC!