Introduction
Welcome to the world of PC customization! As PC enthusiasts, we always strive to create a visually appealing and organized setup. One aspect that is often overlooked is the back of the PC case. While the front of the case is usually the focal point with its shiny RGB fans and tempered glass panels, the back can be a mess of tangled cables, unsightly holes, and exposed wiring.
Why should you bother with covering these holes, you might be wondering? Well, aside from the visual aspect, covering the holes in the back of your PC case offers a multitude of benefits. First and foremost, it helps improve airflow. By minimizing gaps and openings, you can ensure that the airflow is directed precisely where it needs to be, optimizing cooling performance and preventing hot spots.
Additionally, covering the holes helps with dust management. Dust is the arch-nemesis of any PC builder, and the back of the case is a prime spot for dust accumulation. By sealing off these entry points, you can significantly reduce the amount of dust that enters your system, leading to less frequent cleanings and potentially extending the lifespan of your components.
Moreover, covering the holes can help with cable management. When cables are left exposed, they can easily become tangled and create a cluttered and messy appearance. By implementing effective hole cover solutions, you can tuck away and hide cables, achieving a sleek and organized look.
In this guide, we will explore various options for covering holes in the back of your PC case, ranging from using solid cover plates to utilizing cable management grommets and DIY solutions. Whether you are a seasoned PC builder or a beginner, there will be an option suitable for your needs and skills.
So, let’s dive in and discover the most effective ways to cover those unsightly holes and transform the back of your PC case into a clean and professional-looking setup!
Why Covering Holes In Your PC Case Matters
Covering the holes in the back of your PC case is not just about aesthetics; it plays a crucial role in maintaining the overall performance and longevity of your system. Let’s explore why it matters:
1. Improved Airflow: When you cover the holes in the back of your PC case, you can direct the airflow more effectively. By minimizing unnecessary openings, you ensure that the cool air from the front or side fans is directed towards the components that require cooling, such as the CPU and GPU. This optimized airflow helps to prevent thermal throttling and keeps your system running at optimal temperatures.
2. Dust Prevention: Dust is the enemy of any computer system. It can accumulate on sensitive components, leading to heat buildup and potential performance issues. By covering the holes in the back of your PC case, you reduce the entry points for dust, minimizing its impact on your system. This means less frequent cleaning and maintenance, and a cleaner environment for your components to operate in.
3. Cable Management: A tidy and well-organized cable management system not only looks professional but also improves airflow and facilitates easier maintenance. By covering the holes in the back of your PC case, you can conceal and manage the cables more effectively. This reduces cable clutter, prevents them from obstructing airflow, and makes troubleshooting or upgrading your system much more convenient.
4. Enhanced Aesthetics: Let’s not forget the visual aspect. Covering the holes in the back of your PC case can significantly improve the overall appearance of your setup. Instead of a jumbled mess of wires and exposed openings, you’ll have a clean and professional-looking back panel. This attention to detail creates a more pleasing and cohesive visual experience, making your PC setup stand out.
5. Noise Reduction: Covering the holes in the back of your PC case can also help reduce noise levels. The openings in the case can act as pathways for sound to escape. By covering these holes, you can contain and minimize the noise generated by your system’s internal components, resulting in a quieter and more peaceful computing environment.
6. Protection against Accidental Damage: Uncovered holes in the back of your PC case pose a potential risk of accidental damage. Without proper coverings, there’s a chance that foreign objects, such as loose screws or small debris, can enter the case and cause damage to the internal components. By covering the holes, you add an extra layer of protection against such unfortunate incidents.
In summary, covering the holes in the back of your PC case is essential for optimal airflow, dust prevention, cable management, aesthetics, noise reduction, and component protection. In the following sections, we will explore various options and techniques to help you effectively cover these holes and reap the benefits.
Materials and Tools Needed
Before you begin covering the holes in the back of your PC case, it’s essential to gather the necessary materials and tools. Here’s what you’ll need:
1. Solid Cover Plate: A solid cover plate is a straightforward solution that covers the entire back of your PC case. It can be made of metal, plastic, or even acrylic. Ensure that the cover plate matches the dimensions of your case and has the necessary mounting holes.
2. Cable Management Grommets: Cable management grommets are rubber or plastic rings that provide a neat and organized way to route cables through holes in the case. They help protect the cables and prevent them from rubbing against sharp edges. Choose grommets that are compatible with the size of the holes in your case and the thickness of your cables.
3. Adhesive Cable Clips or Velcro Straps: Adhesive cable clips or velcro straps are useful for managing and securing cables. These small clips can be attached to the case, keeping the cables in place and preventing them from sagging or tangling. Velcro straps offer adjustable options for bundling and organizing multiple cables.
4. DIY Materials: If you prefer a more creative approach, you can opt for DIY solutions using materials like cardboard or foam. These materials can be easily cut and shaped to cover the holes or provide a barrier between cables and components. Look for sturdy, durable materials that can withstand the heat generated by your system.
5. Screwdriver or Allen Key: Depending on the type of cover plate you choose, you may need a screwdriver or Allen key to remove the existing screws and install the new plate. Ensure you have the appropriate tools for your specific case design.
6. Cleaning Supplies: Before you cover the holes, it’s a good idea to clean the back of your PC case. Gather some cleaning supplies, such as compressed air, microfiber cloths, and isopropyl alcohol, to remove dust, debris, and fingerprints. This step will ensure that the surface is clean and ready for the hole coverings.
Make sure to check the specifications of your PC case and consider any specific requirements or recommendations from the manufacturer. It’s also helpful to have a clean and clutter-free workspace to make the process more efficient.
Now that we have the necessary materials and tools ready, we can proceed to cover the holes in the back of your PC case using various options and techniques. Let’s dive into the steps in the next section!
Steps to Cover Holes in the Back of Your PC Case
Now that you have gathered the materials and tools needed, let’s walk through the steps to cover the holes in the back of your PC case. Follow this guide to achieve a clean and organized setup:
Step 1: Prepare your workspace: Before you start, ensure you have a clean and spacious workspace to work on. Clear any clutter and have all your materials and tools readily accessible.
Step 2: Power down and disconnect: To ensure safety, turn off your PC and unplug it from the power source. This will prevent any unintentional damage to your components or electrical discharges during the process.
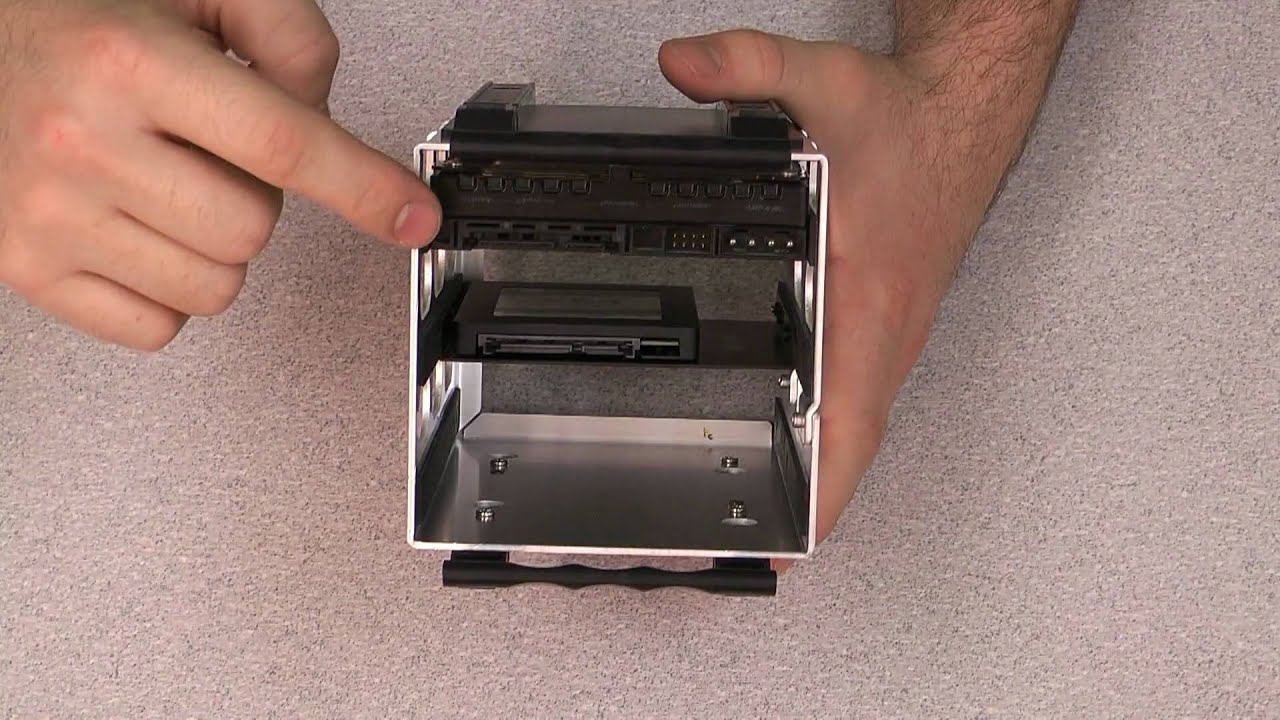
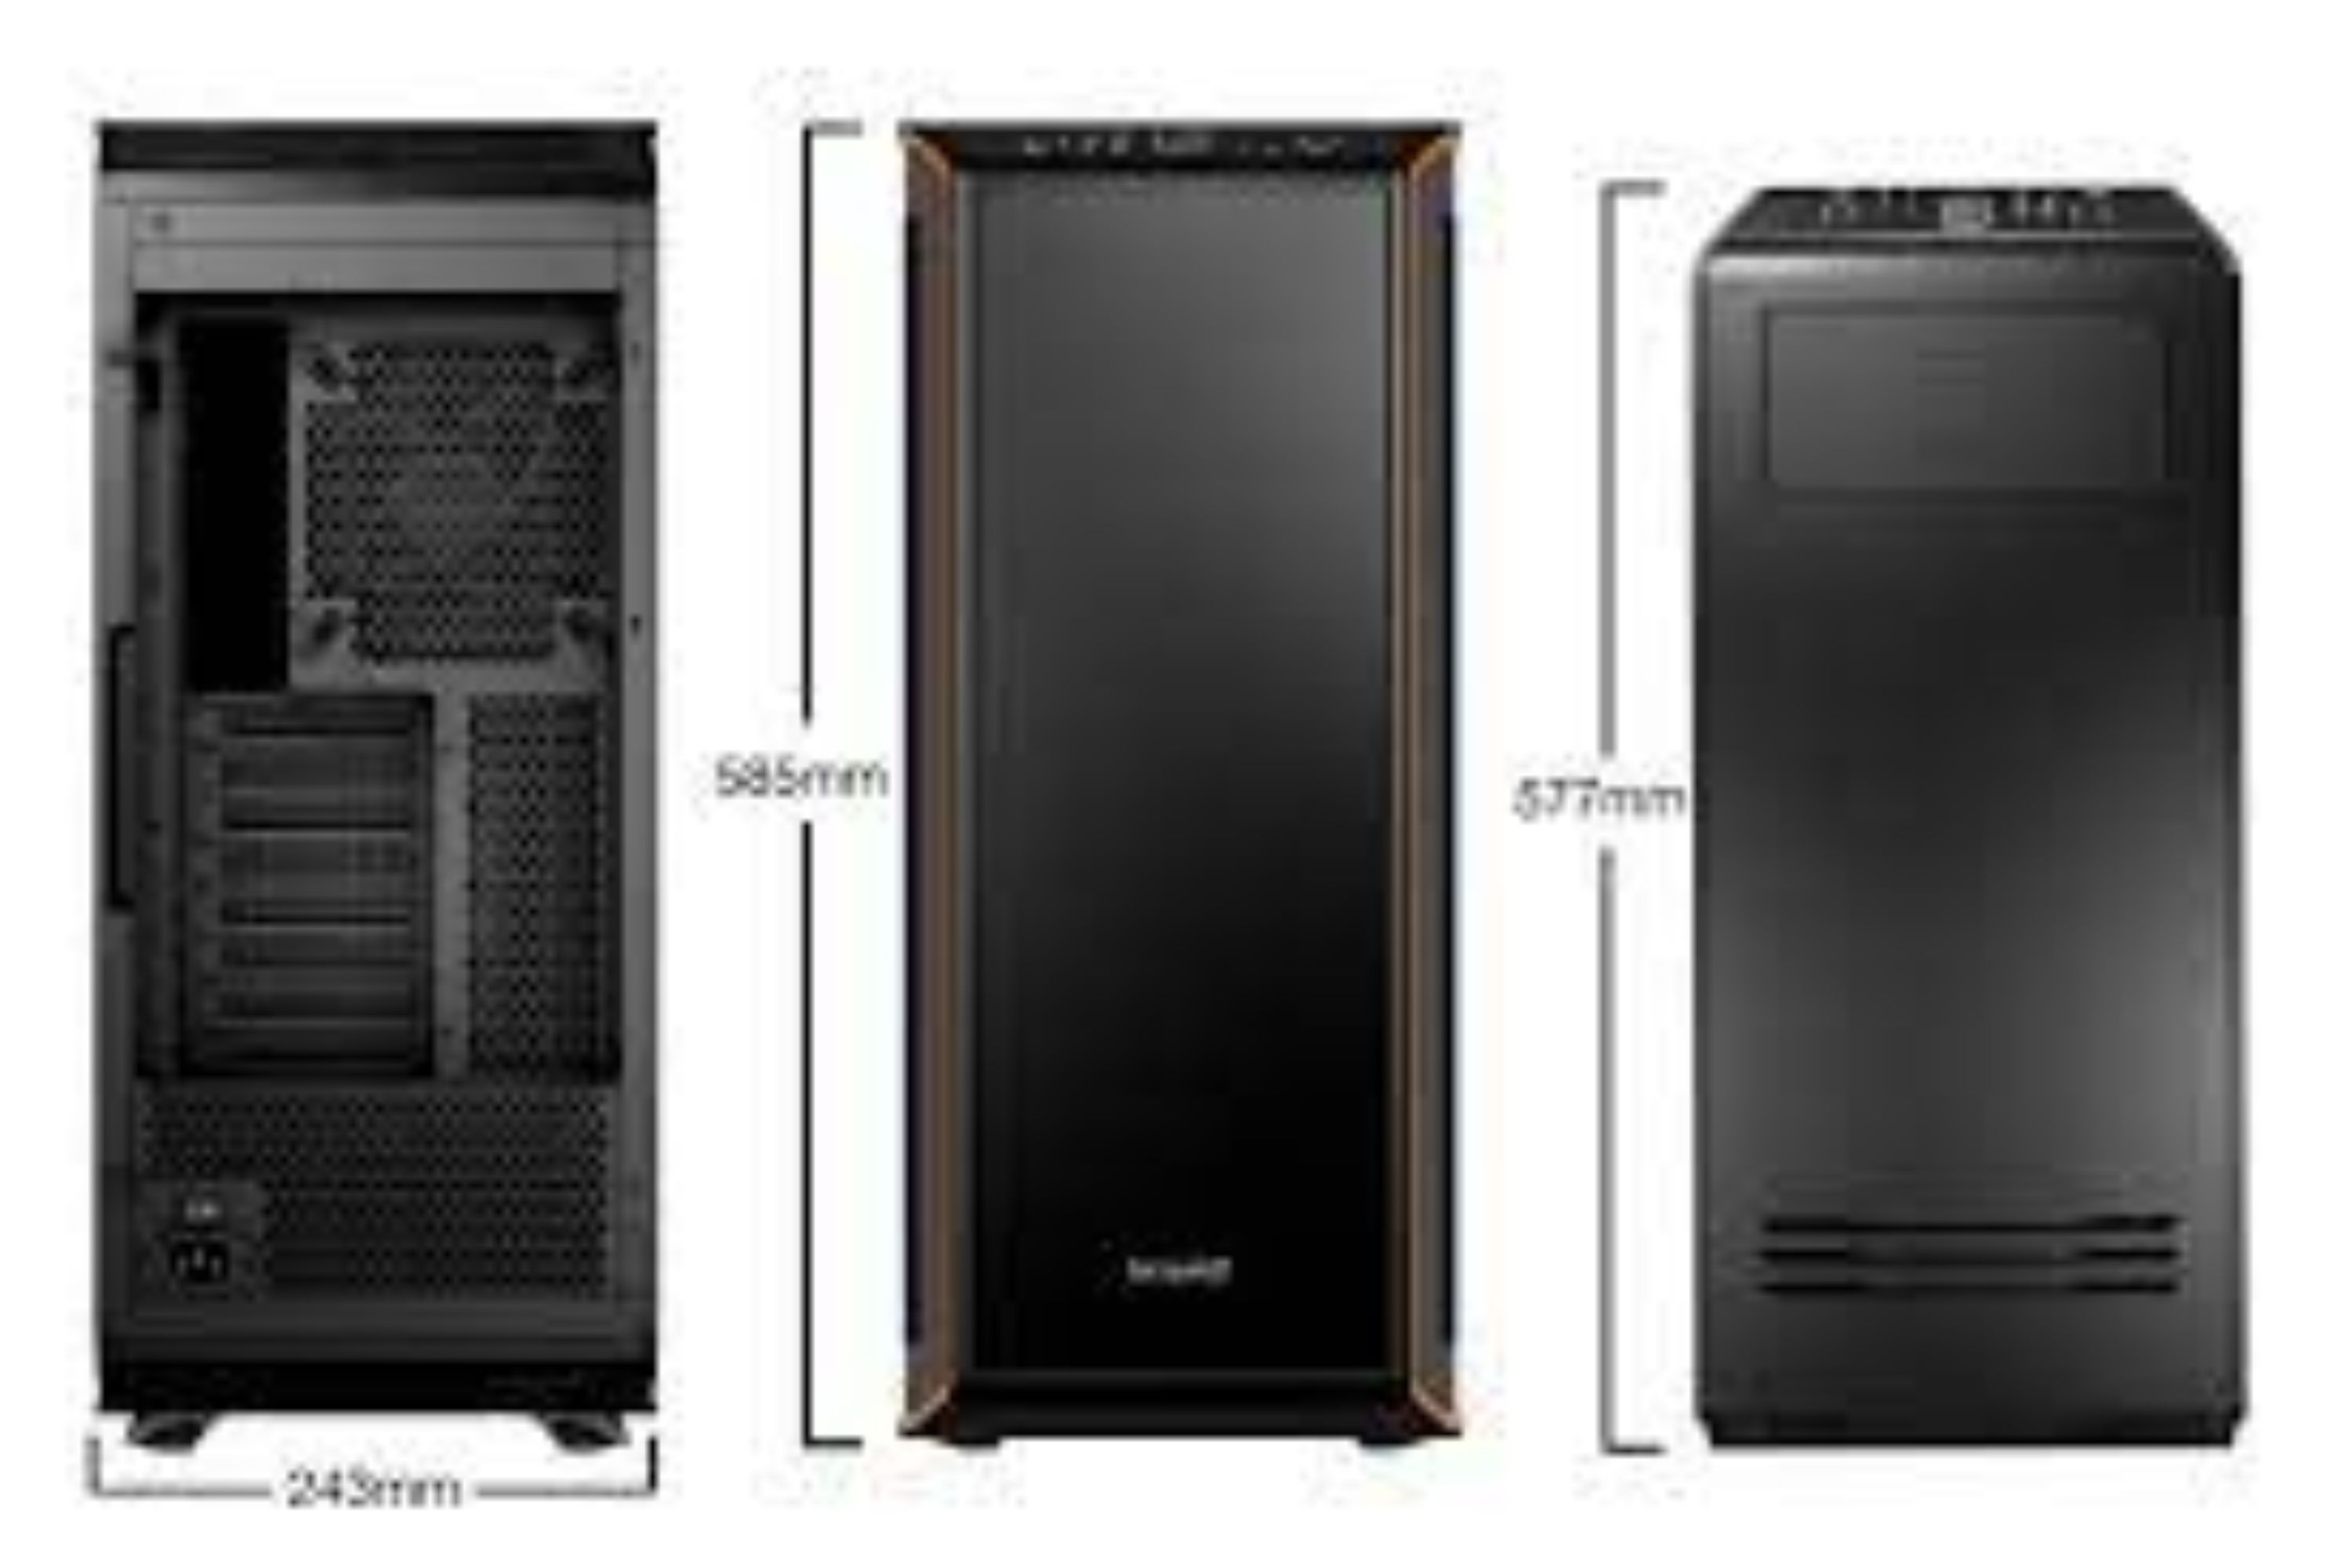
Step 3: Remove side panels: Remove the side panels of your PC case to gain access to the interior. Consult your case manual for specific instructions on how to remove the panels, as the process may vary depending on the case model.
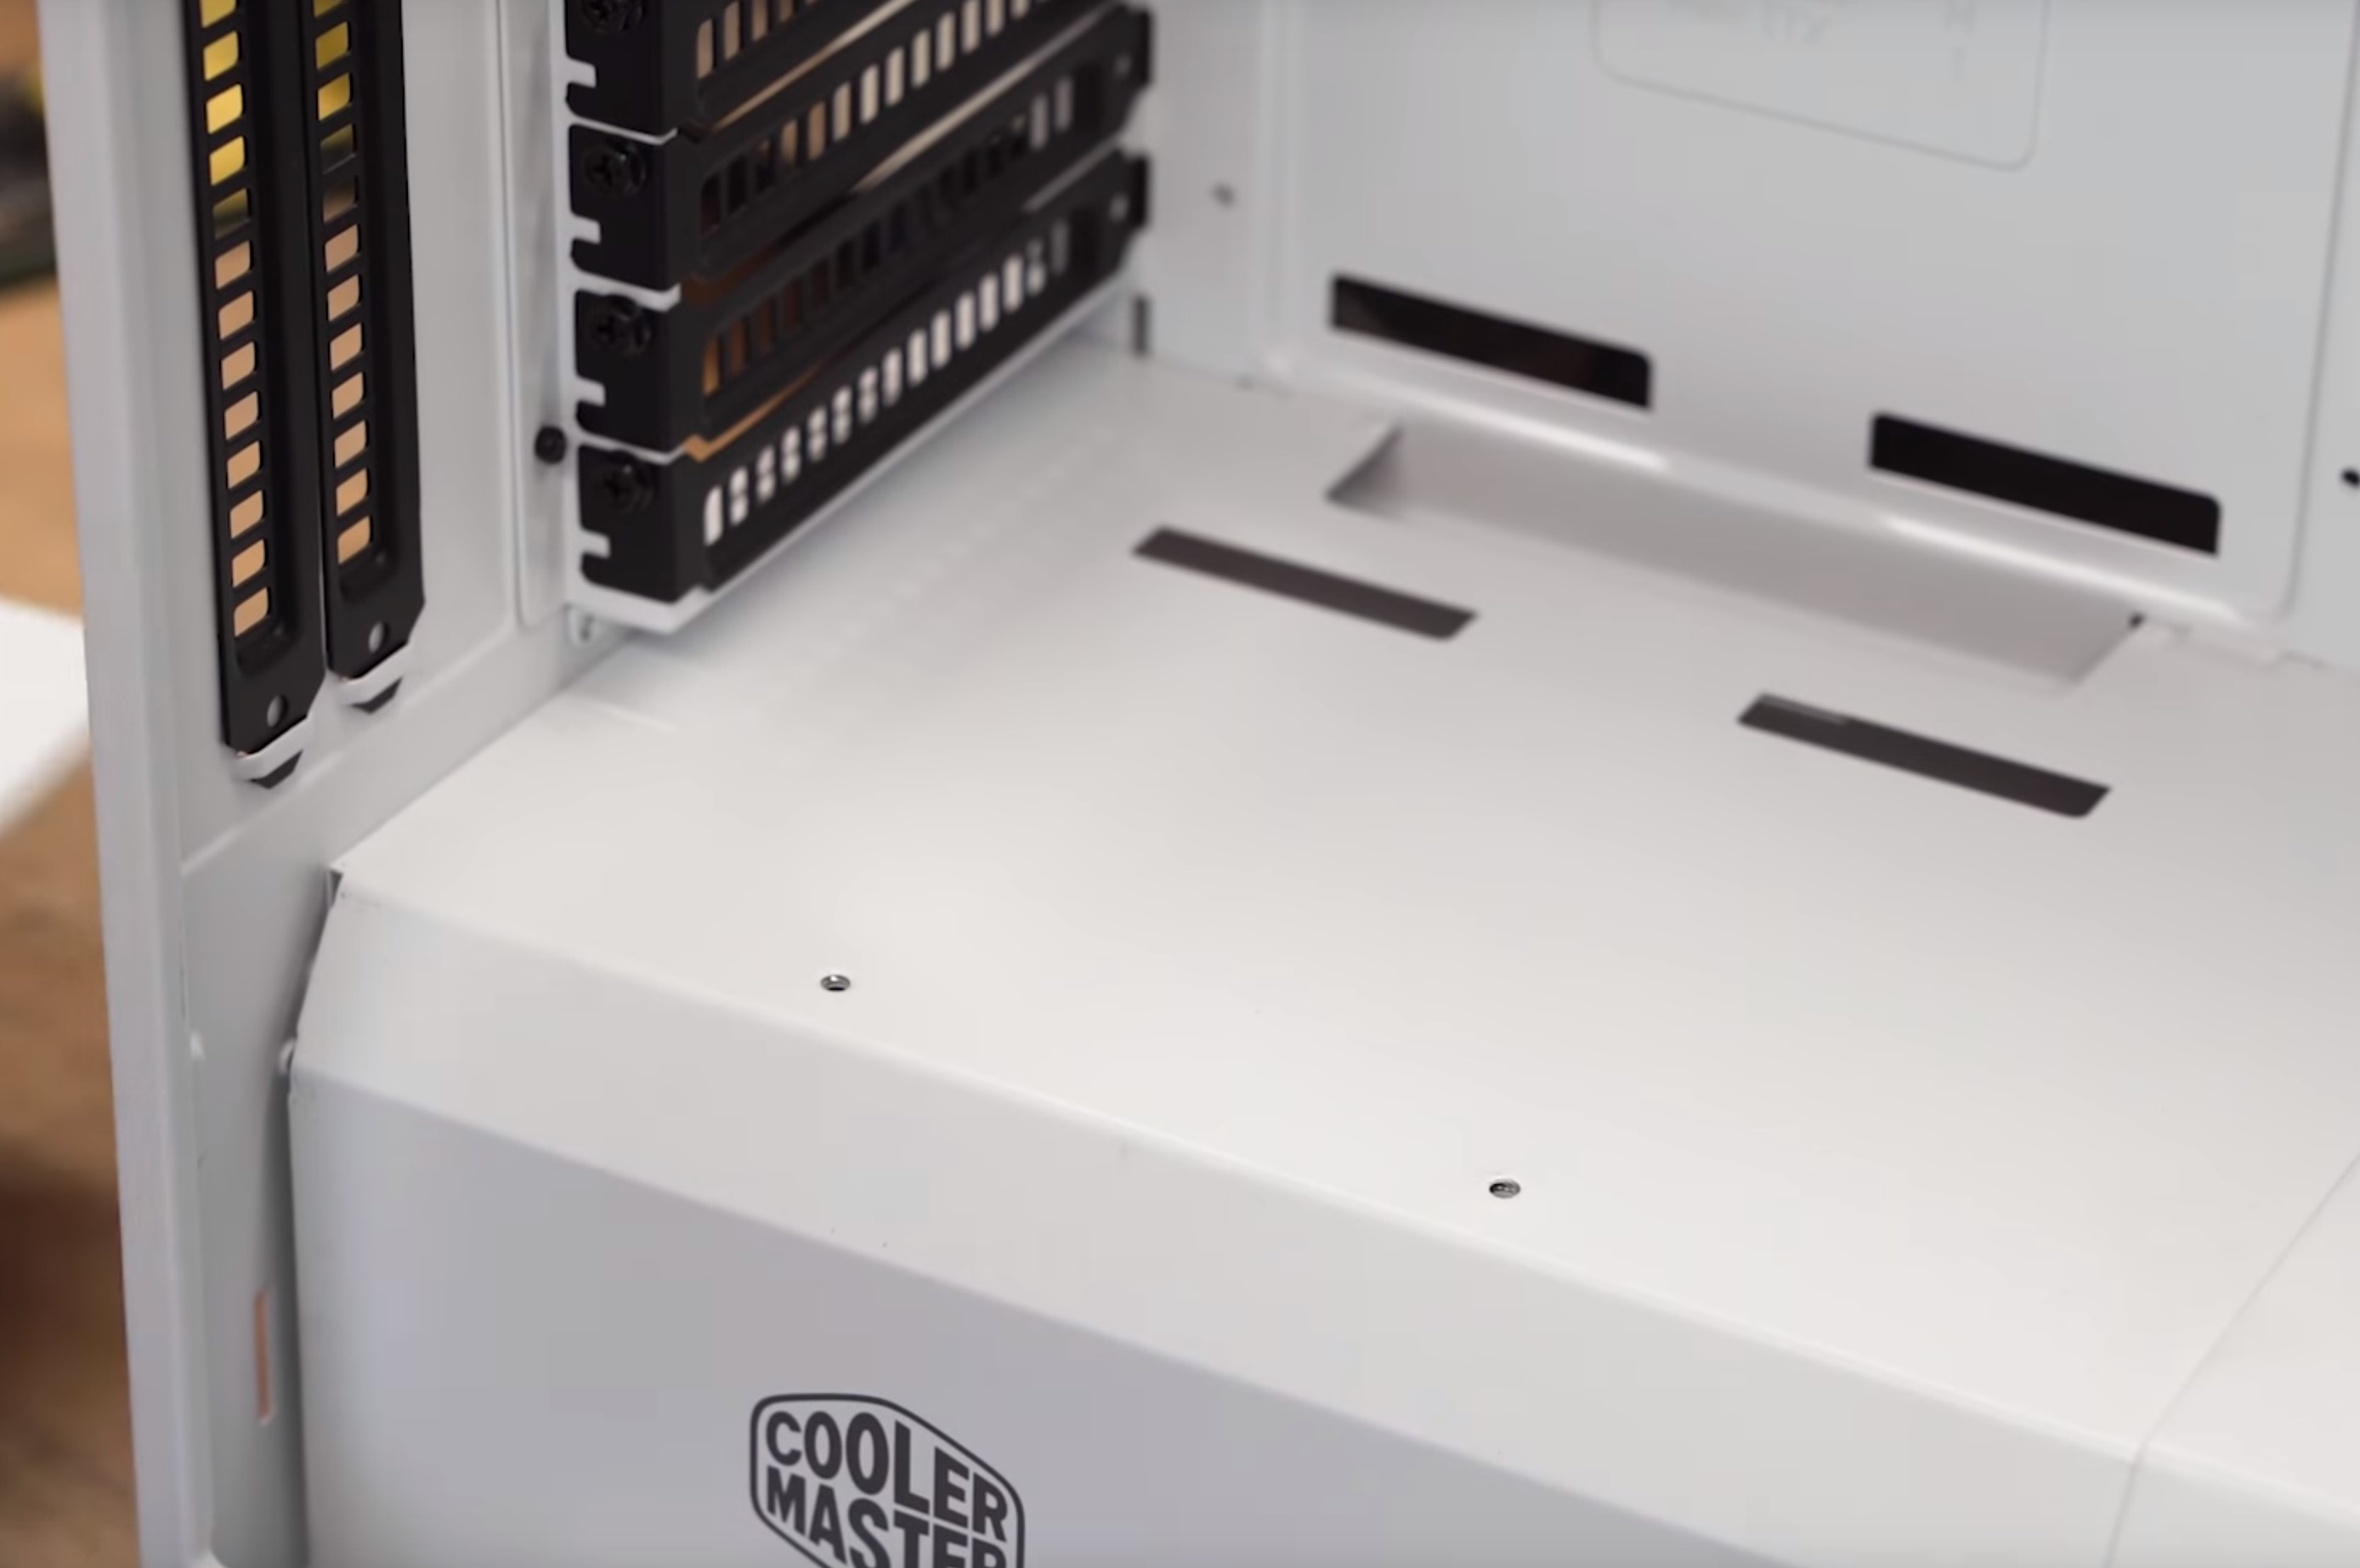
Step 4: Identify the holes to be covered: Take a careful look at the back of your PC case and identify the holes that you want to cover. These may be the holes where cables pass through or any unnecessary openings that you want to seal.
Step 5: Choose the hole covering solution: Based on your preference and the identified holes, choose the most suitable hole covering solution from the options mentioned earlier. Whether it’s a solid cover plate, cable management grommets, adhesive cable clips, velcro straps, or a DIY solution, select the option that aligns with your needs and aesthetic preferences.
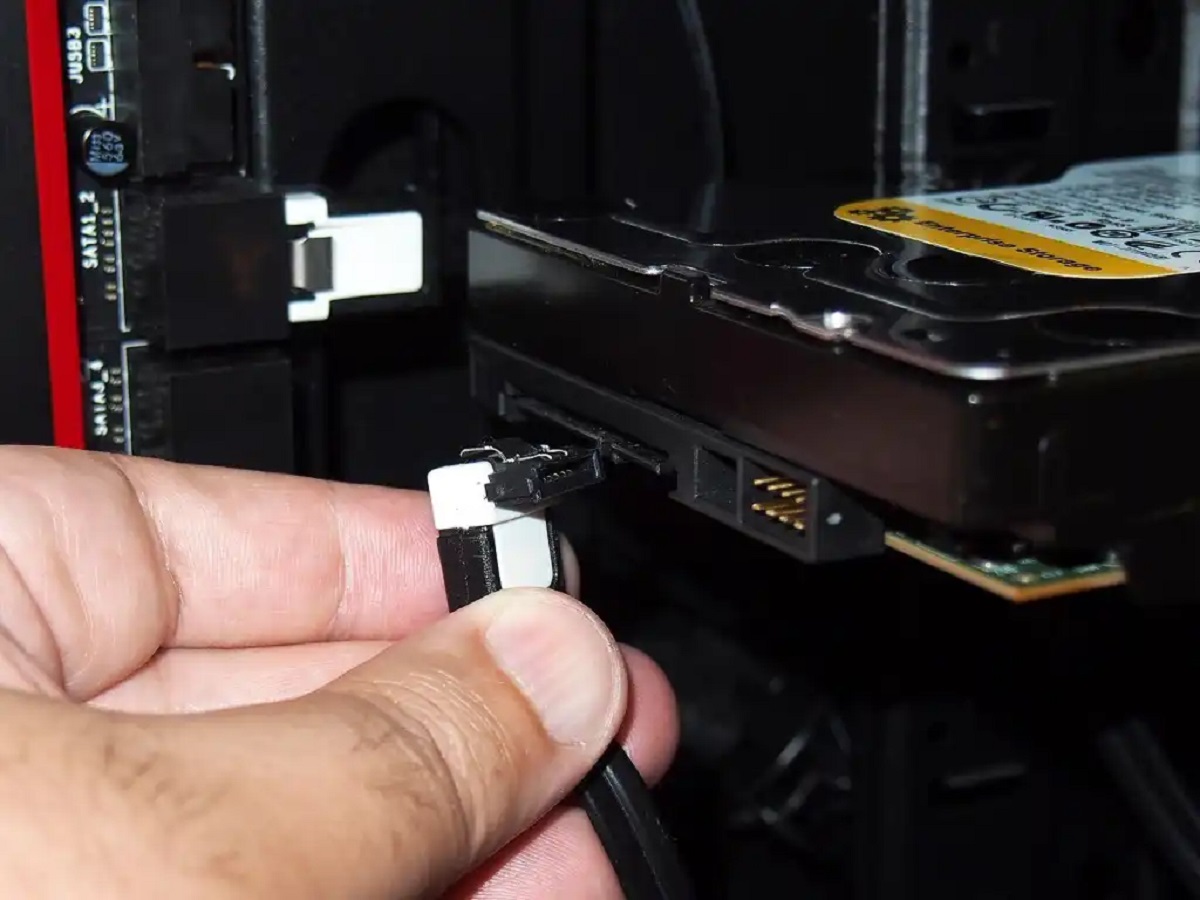
Step 6: Install the hole covering: Follow the specific instructions provided with your chosen hole covering solution. If you’re using a solid cover plate, remove the existing screws, place the plate over the holes, and secure it in place using the provided screws or fasteners. If you’re using cable management grommets, insert the grommet into the hole, then pass the cables through the grommet for a clean and organized routing.
Step 7: Organize and secure cables: Once the holes are covered, take the opportunity to organize and secure the cables in the back of your PC case. Use adhesive cable clips or velcro straps to bundle and route the cables neatly. This will not only improve the aesthetics but also aid in proper airflow and maintenance.
Step 8: Clean and reassemble: Before you reassemble the side panels, take the time to clean the back of your PC case. Use compressed air, microfiber cloths, and isopropyl alcohol to remove any dust or fingerprints. Once clean, carefully reattach the side panels, ensuring a secure fit.
Step 9: Power up and enjoy: Once everything is in place, plug in your PC and power it up. Take a moment to admire your newly covered holes and appreciate the clean and organized appearance of the back of your PC case.
Congratulations! You have successfully covered the holes in the back of your PC case and achieved a more streamlined and visually appealing setup. Not only will this enhance the overall aesthetics of your system, but it will also improve airflow, minimize dust accumulation, and simplify cable management. Enjoy the benefits of your efforts!
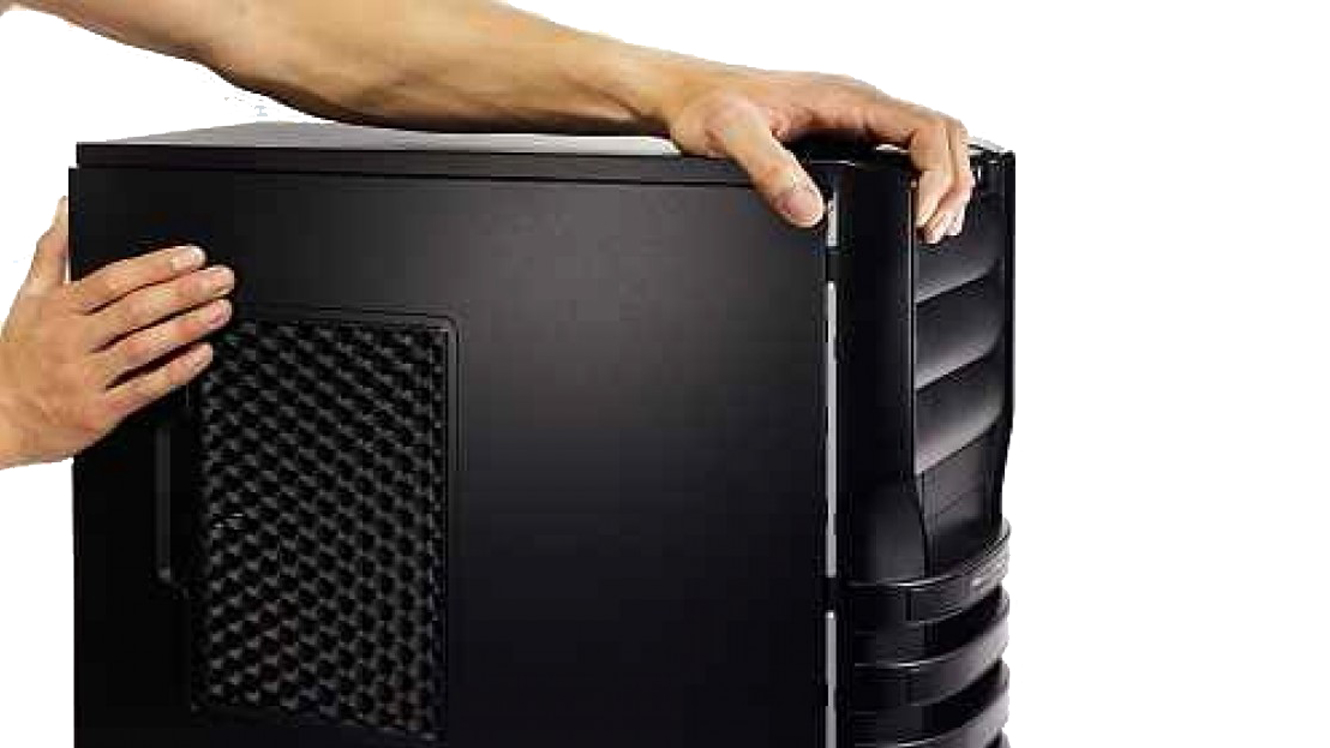
Option 1: Using a Solid Cover Plate
One of the simplest and most effective ways to cover the holes in the back of your PC case is by using a solid cover plate. This option provides a clean and uniform appearance while sealing off all the openings.
Step 1: Choose the right cover plate: Start by selecting a cover plate that matches the dimensions of your PC case. You can find pre-made cover plates made of metal, plastic, or even acrylic. Ensure that the cover plate has the necessary holes or slots for mounting and aligns with the aesthetic of your PC setup.
Step 2: Remove existing screws: Carefully remove the existing screws that are holding any removable panels or grills over the holes. Keep these screws in a safe place, as you may need them later to secure the new cover plate.
Step 3: Position the cover plate: Place the cover plate over the holes on the back of your PC case, making sure it aligns properly with the existing screws or mounting holes. Take your time to ensure a precise fit and secure placement.
Step 4: Secure the cover plate: Once the cover plate is properly positioned, use the screws or fasteners provided with the plate to secure it in place. Tighten the screws firmly but not excessively to avoid damaging the case or cover plate.
Step 5: Test and adjust: After securing the cover plate, double-check that it is aligned correctly and covers all the intended holes. If necessary, make any adjustments to ensure a proper fit and a seamless appearance.
Step 6: Reassemble and admire: With the cover plate securely in place, reassemble the side panels of your PC case. Take a moment to appreciate the clean and uniform look of the back panel. Your PC case now has a sleek and professional appearance, with all the unsightly holes hidden from view.
Using a solid cover plate is a straightforward and effective solution to cover the holes in the back of your PC case. It not only enhances the aesthetics but also helps improve airflow, minimize dust accumulation, and simplify cable management. Consider this option if you prefer a clean and uniform appearance for your PC setup.
Option 2: Utilizing Cable Management Grommets
If you prefer a more organized and structured approach to covering the holes in the back of your PC case, utilizing cable management grommets is an excellent option. These rubber or plastic rings provide a neat and efficient way to route cables while also covering the holes.
Step 1: Choose the right grommets: Select cable management grommets that are compatible with the size and shape of the holes in your PC case. Ensure that they have sufficient space to accommodate the thickness of your cables and that they fit securely in the holes.
Step 2: Remove existing cables: Before installing the grommets, carefully remove any cables that are passing through the holes. This will allow you to work with a clear space and provide a clean installation.
Step 3: Insert the grommets: Insert the cable management grommets into the holes on the back of your PC case. Ensure they fit securely and sit flush with the surface. You may need to apply slight pressure or twist the grommets for a snug fit.
Step 4: Rout cables through the grommets: Once the grommets are in place, route the cables through them. This creates a clean and organized pathway for the cables, preventing them from tangling and improving overall cable management.
Step 5: Secure cables: Use cable ties or adhesive cable clips to secure the cables along the designated paths created by the grommets. This prevents cables from sagging or obstructing airflow while keeping them neatly organized.
Step 6: Test and adjust: After routing and securing the cables, check that they are properly positioned and not causing any strain on the connectors or other components. Make any necessary adjustments to ensure optimal cable management and airflow.
Step 7: Reassemble and admire: Once you are satisfied with the cable routing and management, reassemble the side panels of your PC case. Step back and appreciate the organized and clutter-free appearance of the back panel. With the holes covered by cable management grommets, your PC setup exudes a professional and well-maintained look.
Utilizing cable management grommets not only covers the holes in the back of your PC case but also allows for efficient cable routing and organization. This option ensures improved airflow, minimizes cable clutter, and facilitates easier maintenance and upgrades. Consider utilizing cable management grommets if you value a tidy and structured cable management system in your PC setup.
Option 3: Using Adhesive Cable Clips or Velcro Straps
If you want a flexible and customizable solution to cover the holes in the back of your PC case while effectively managing your cables, using adhesive cable clips or velcro straps is a great option. These versatile accessories allow you to secure and organize cables, preventing them from tangling and providing a clean and tidy appearance.
Step 1: Choose the right cable clips or velcro straps: Select adhesive cable clips or velcro straps that are suitable for the size and thickness of your cables. Opt for clips or straps that have a strong adhesive backing to ensure proper attachment to the surface of your PC case.
Step 2: Clean the surface: Before applying the adhesive cable clips or velcro straps, ensure that the surface of your PC case is clean and free from dust or debris. Use a microfiber cloth and isopropyl alcohol if necessary to remove any dirt or fingerprints.
Step 3: Position the clips or straps: Determine the desired locations for the cable clips or straps on the back of your PC case. Consider the cable lengths, routing paths, and any nearby components that may come in contact with the cables.
Step 4: Apply the clips or straps: Peel off the adhesive backing of the cable clip or velcro strap and firmly press it onto the surface of your PC case. Ensure that the clips or straps are aligned properly and securely attached.
Step 5: Route and secure the cables: Once the clips or straps are in place, carefully route the cables through them. Use the clips to hold individual cables in place or bundle multiple cables together with the velcro straps. Ensure that the cables are secured tightly without exerting excessive pressure.
Step 6: Arrange and tidy the cables: Take the time to arrange and tidy the cables using the cable clips or velcro straps. Straighten any twists or tangles and ensure that the cables are neatly routed throughout the back panel of your PC case.
Step 7: Test and adjust: After securing and organizing the cables, check that they are properly positioned and not causing any strain on the connectors or other components. Make any necessary adjustments to achieve optimal cable management and airflow.
Step 8: Reassemble and admire: Once you are satisfied with the cable organization, reassemble the side panels of your PC case. Step back and admire the clean and organized appearance of the back panel. With the cables secured by adhesive cable clips or velcro straps, the previously exposed holes are now effectively covered.
Using adhesive cable clips or velcro straps provides a practical and customizable solution for covering the holes in the back of your PC case while effectively managing your cables. This option ensures a clean and organized setup, improves airflow, and facilitates easier maintenance and upgrades. Consider using adhesive cable clips or velcro straps if you value flexibility and customization in your cable management system.
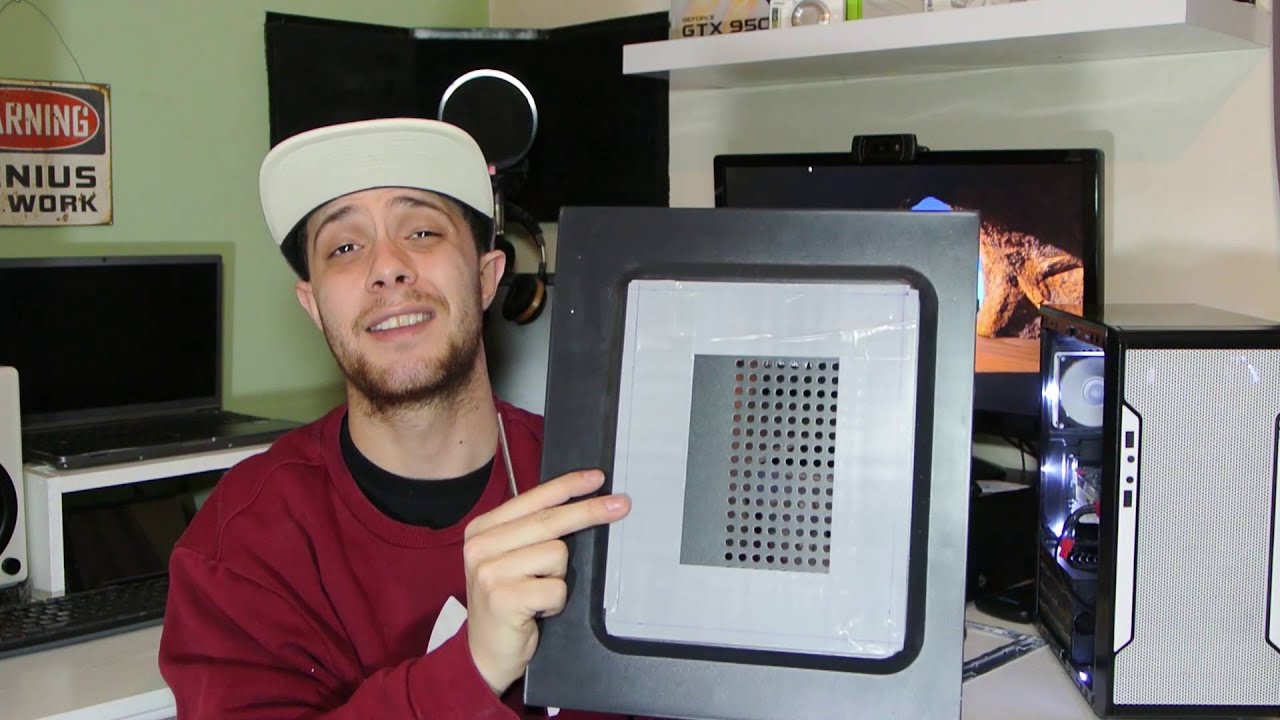
Option 4: DIY Solutions Using Cardboard or Foam
If you’re looking for a budget-friendly and creative way to cover the holes in the back of your PC case, DIY solutions using cardboard or foam can be a fantastic option. These materials are readily available, easy to work with, and can be customized to fit your specific needs.
Step 1: Gather the necessary materials: To create a DIY cover for the holes, you will need cardboard or foam sheets, a marker or pencil for tracing, a ruler or measuring tape for precise measurements, and a cutting tool such as a utility knife or scissors.
Step 2: Measure and trace the holes: Carefully measure the dimensions of the holes you want to cover on the back of your PC case. Transfer these measurements onto the cardboard or foam sheets using the marker or pencil and a ruler.
Step 3: Cut out the cover pieces: Using a utility knife or scissors, carefully cut out the traced shapes from the cardboard or foam sheets. Make sure to cut along the lines as accurately as possible for a proper fit.
Step 4: Test the fit: Once the cover pieces are cut out, test their fit over the holes in your PC case. Trim any excess material if needed to ensure a snug and flush fit. Remember to account for any cables that need to pass through the holes.
Step 5: Secure the covers: Depending on the thickness of the cardboard or foam, you may need to use adhesive tape, glue, or double-sided tape to secure the covers in place. Apply the chosen adhesive method carefully and ensure that the covers are securely attached to the back of your PC case.
Step 6: Modify and refine as needed: If the DIY covers need further modifications or adjustments, such as additional cutouts for cable routing or ventilation, make the necessary changes to meet your specific requirements. This step allows you to customize the covers to suit your cable management and airflow needs.
Step 7: Assess the aesthetic and functionality: Step back and assess the appearance and functionality of the DIY covers. Ensure that they provide adequate coverage for the holes, improve airflow, and offer a visually pleasing and cohesive look to your PC case.
Step 8: Reassemble and enjoy: Once you are satisfied with the DIY covers, reassemble the side panels of your PC case. Stand back and admire your creative and budget-friendly solution for covering the holes. Your personalized DIY covers not only provide functional benefits but also add a unique touch to your PC setup.
Utilizing DIY solutions using cardboard or foam allows you to cover the holes in the back of your PC case with creativity and customization. This option is cost-effective, easily modifiable, and enables you to achieve a tailored solution for your cable management and aesthetic goals. Consider this option for a budget-friendly and personalized approach to covering the holes in your PC case.
Conclusion
Covering the holes in the back of your PC case is an important step in achieving a clean, organized, and visually appealing setup. By implementing the options mentioned in this guide, you can improve airflow, minimize dust accumulation, simplify cable management, enhance aesthetics, and protect your components from accidental damage.
Whether you choose to use a solid cover plate for a seamless appearance, cable management grommets for efficient cable routing, adhesive cable clips or velcro straps for flexibility, or DIY solutions using cardboard or foam for a personalized touch, each option provides its own benefits and suits different preferences and budgets.
Remember to choose the option that aligns with your specific needs and aesthetic goals. Take the time to prepare your workspace, gather the necessary materials and tools, and follow the step-by-step instructions carefully to achieve the best results.
By covering the holes in the back of your PC case and implementing effective cable management techniques, you not only improve the overall appearance and functionality of your system, but also contribute to better airflow, easier maintenance, and a more enjoyable computing experience.
So, dive into your PC customization journey and transform the back of your PC case from a cluttered mess to a clean and organized space. Enjoy the process of creating a setup that reflects your personal style and attention to detail. With proper hole coverings and cable management, your PC setup will look professional, operate efficiently, and stand out from the rest.