Introduction
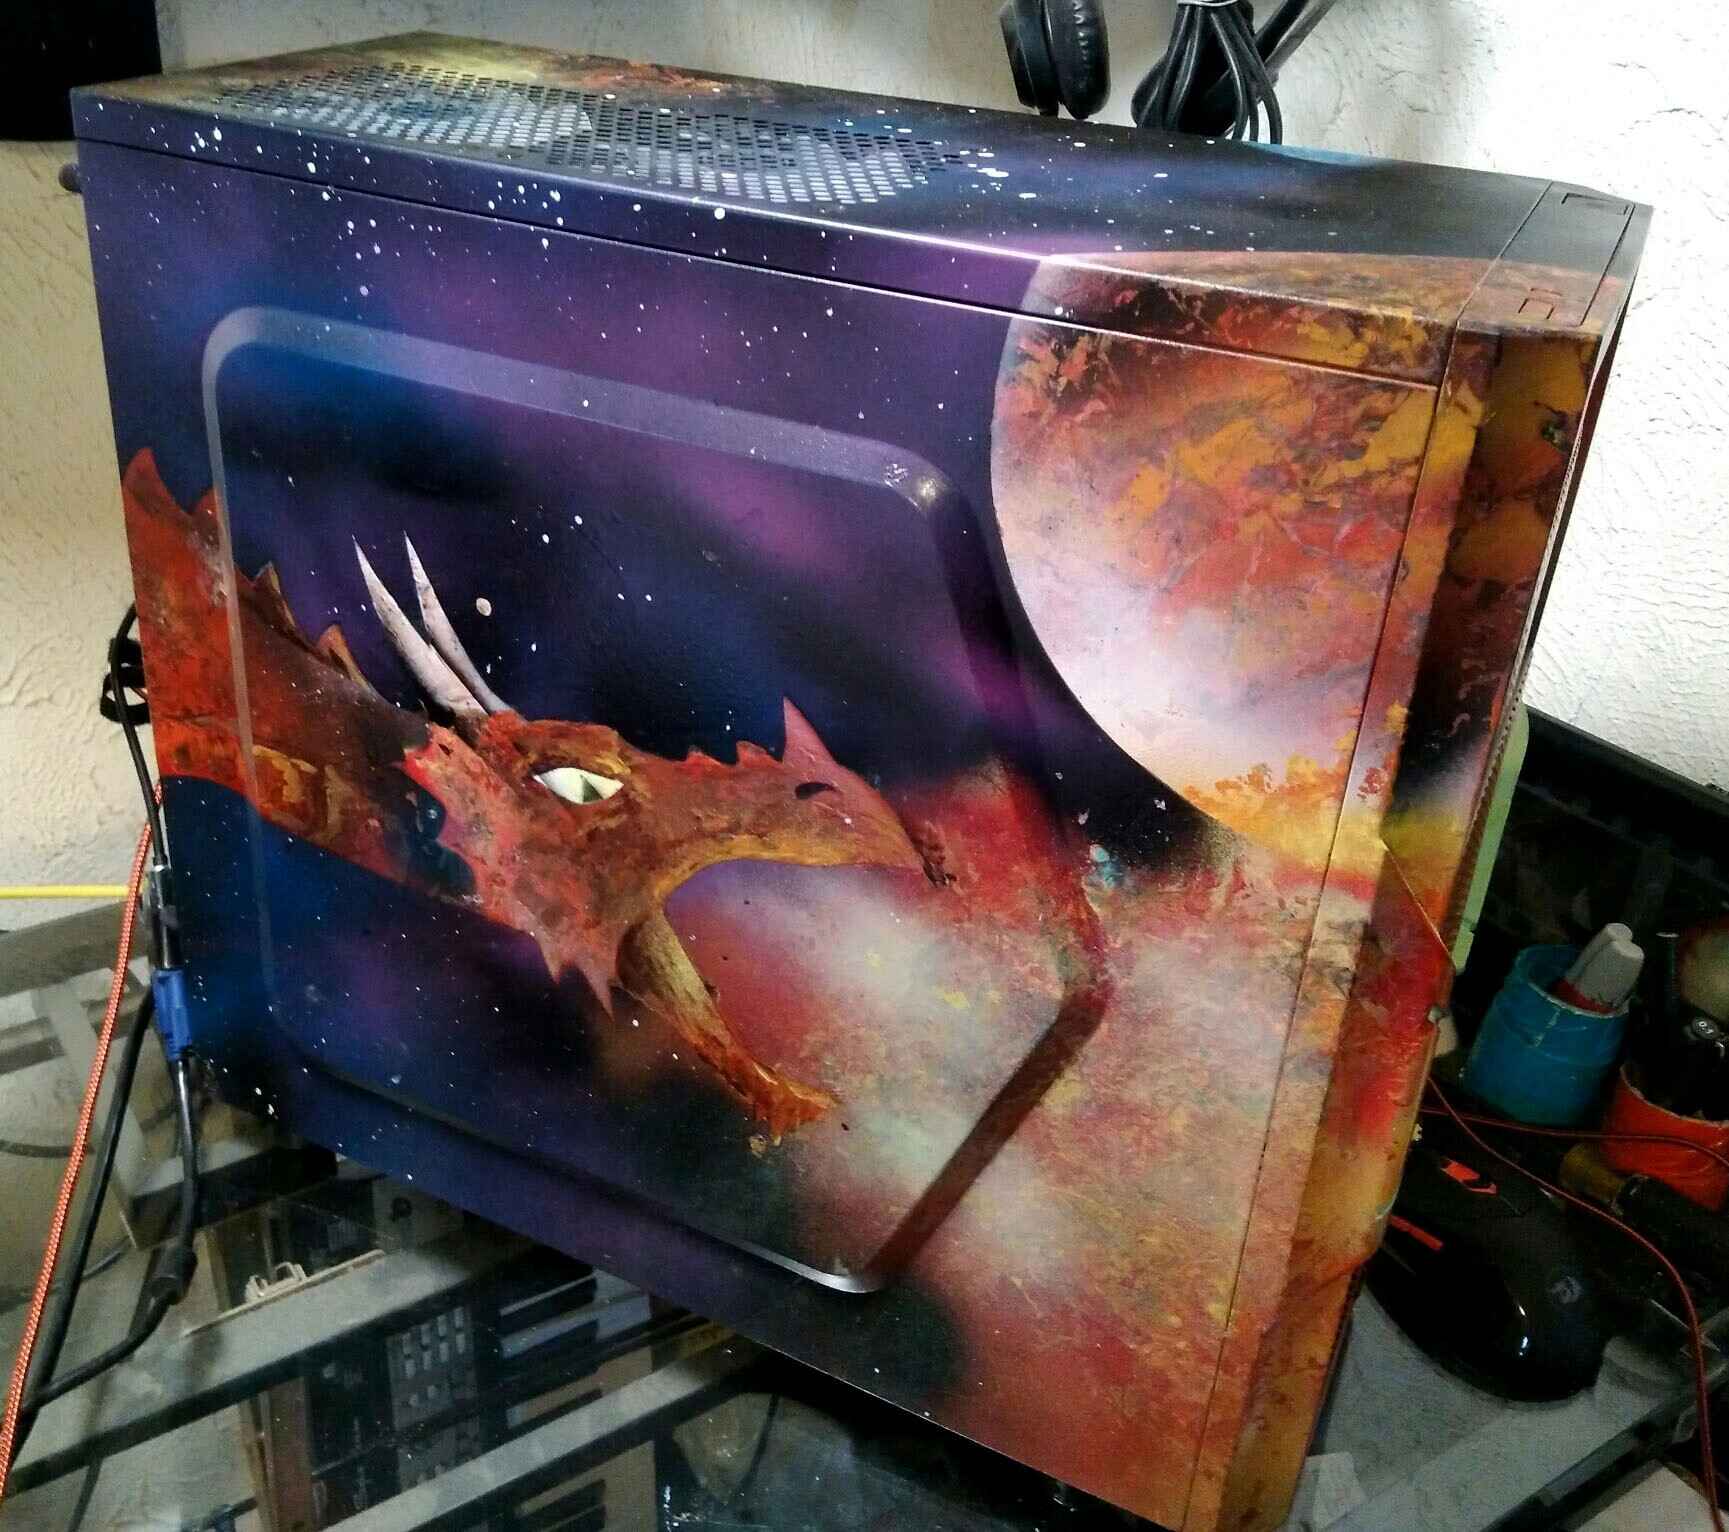
Welcome to the world of customizing your PC case! If you’re tired of the generic look of your computer tower and want to give it a personalized touch, painting your PC case is a great way to do it. Not only does it allow you to express your creativity, but it also adds flair and uniqueness to your setup.
Whether you’re a tech enthusiast, a gamer, or just someone looking to add a splash of color to their workspace, painting your PC case can transform it into a work of art. However, before you pick up a paintbrush, it’s important to understand the process involved and make sure you’re prepared.
In this guide, we’ll walk you through the step-by-step process of painting your PC case, ensuring that you achieve a professional-looking finish. From choosing the right paint to properly priming and applying coats, we’ve got you covered.
But why should you bother painting your PC case? Apart from the aesthetic aspect, painting your PC case can also help protect it from scratches and damage. The paint acts as a barrier, shielding the metal or plastic surface from everyday wear and tear.
Additionally, painting your PC case can help enhance its cooling performance. Dark-colored cases tend to absorb heat, while lighter colors reflect it, keeping your components cooler overall. So, not only will your PC look better, but it may also improve its functionality!
Now that you understand the benefits of painting your PC case, let’s dive into the process step by step. We’ll guide you through the necessary prep work, choosing the right paint, preparation of the surface, techniques for applying the paint, and more. By the end of this guide, you’ll have a show-stopping PC case like no other. Let’s get started!
Prep Work
Before you start painting your PC case, it’s crucial to do some prep work to ensure a smooth and successful painting process. Here are the steps you need to follow:
- Choose a suitable workspace: Find a well-ventilated area with enough space to work comfortably. Make sure to protect the surrounding surfaces from paint splatters by using drop cloths or newspapers.
- Gather the necessary tools: You’ll need a set of screwdrivers, masking tape, sandpaper (preferably in various grits), tack cloth, cleaning solution, and a lint-free cloth. It’s also a good idea to have a dust mask and gloves to protect yourself during the process.
- Disassemble your PC case: Start by removing all the components from your PC case, including the motherboard, power supply, hard drives, and any other internal components. Carefully disconnect all the cables and take note of their placement for easier reassembly later on.
- Clean the case: Use a cleaning solution or rubbing alcohol to thoroughly clean the PC case, removing any dirt, dust, or fingerprint smudges. Be sure to clean both the exterior and interior of the case to ensure proper paint adhesion.
- Mask off any areas: Use masking tape to cover any areas of the case that you don’t want to paint, such as connectors, buttons, or vents. This will help create clean lines and prevent paint from getting on sensitive components.
- Sand the surface: Use sandpaper to gently roughen the surface of the case, providing better adhesion for the paint. Start with a higher grit sandpaper and gradually move to a finer grit for a smoother finish. Remember to clean off any sanding residue with a tack cloth.
- Inspect for imperfections: Take a close look at the case surface and check for any scratches, dents, or imperfections. If necessary, use a filler or putty to repair these areas and sand them down until smooth.
- Final cleaning: Clean the case once again with a lint-free cloth to remove any remaining dust or debris. This ensures a clean surface for painting, preventing any particles from marring the finish.
By following these prep work steps, you’ll set a solid foundation for a successful PC case painting project. Remember to be meticulous in your preparations to achieve professional-looking results. In the next section, we’ll guide you through choosing the right paint for your PC case.
Choosing the Right Paint
When it comes to painting your PC case, selecting the right type of paint is crucial for achieving the desired look and durability. Here are some important considerations when choosing the paint for your PC case:
- Type of paint: Opt for a paint that is specifically designed for metal or plastic surfaces. These types of paints adhere well, provide good coverage, and offer durability that can withstand the daily wear and tear your PC case may encounter.
- Spray paint or brush-on paint: Both options have their advantages. Spray paint is easy to apply and provides a smooth finish, while brush-on paint allows for more precision and control, especially when dealing with intricate designs or small areas.
- Finish: Consider the finish of the paint, such as matte, satin, or gloss. The finish will affect how light reflects off the painted surface. Matte finishes provide a non-reflective look, while gloss finishes offer a shiny appearance.
- Color selection: The color choice depends on your personal preference and the overall theme of your setup. Look for paints that come in a wide range of colors and have good color retention to ensure that your PC case remains vibrant for years to come.
- Durability and resistance: Ensure that the paint you choose is resistant to scratches, fading, and UV damage. This is particularly important if your PC case is exposed to sunlight or if you frequently transport it.
- Drying time and curing: Take note of the drying and curing time of the paint. Some paints may require longer drying times or a curing process to reach maximum hardness and durability. Be patient and follow the manufacturer’s instructions for best results.
When considering these factors, it’s also a good idea to read customer reviews and product descriptions to get an idea of the quality and performance of the paints you are considering. Additionally, you may find specialty paints with unique effects like metallic or textured finishes to add extra visual interest.
Once you have chosen the right paint for your PC case, you’re ready to move on to the next stage of the painting process – removing any old paint or coating. We’ll guide you through this step in the following section.
Removing Old Paint or Coating
If your PC case has an existing paint or coating, it’s essential to remove it before applying a new layer of paint. Here’s how you can remove the old paint or coating from your PC case:
- Assess the condition: Take a close look at the old paint or coating on your PC case. If it’s in good condition, with no chips or peeling, you can choose to sand it lightly and proceed with the surface preparation. However, if the paint is chipped or peeling, it’s best to remove it completely.
- Chemical paint stripper: Use a chemical paint stripper, following the instructions on the packaging. Apply the stripper to the painted areas of the PC case and let it sit for the specified amount of time. This will soften the paint and make it easier to remove.
- Scraping and scrubbing: Once the paint has softened, use a scraping tool or paint scraper to gently remove the softened paint. Be careful not to damage the underlying surface of the PC case. For stubborn areas, you can use a scrub brush or toothbrush to remove the paint residue.
- Sanding: After removing the majority of the old paint, you may still have some residual paint or rough areas on the surface. Use sandpaper to smooth out these areas and create a clean, even surface for painting. Start with a coarse grit sandpaper and gradually move to a finer grit for a smooth finish.
- Clean the case: Once you have removed the old paint or coating, thoroughly clean the PC case to remove any residue from the paint stripper or sanding. Use a cleaning solution or rubbing alcohol and a lint-free cloth to ensure that the surface is clean and free of contaminants.
Removing the old paint or coating may require some time and effort, but it is crucial for achieving a professional-looking finish. The process will also help ensure that the new paint adheres properly to the PC case surface.
After removing the old paint or coating and cleaning the PC case, it’s time to move on to the next step: surface preparation. We’ll guide you through this important stage in the subsequent section.
Surface Preparation
Proper surface preparation is key to achieving a flawless and long-lasting paint finish on your PC case. Follow these steps to prepare the surface before applying the new paint:
- Sand the surface: Using a fine-grit sandpaper, gently sand the entire surface of the PC case. This step helps to remove any remaining imperfections, rough patches, or gloss from the previous paint or coating. Sanding also promotes better adhesion for the new paint.
- Remove dust and debris: After sanding, use a tack cloth or lint-free cloth to wipe away any dust or debris from the surface of the PC case. This ensures that the paint will adhere properly and will result in a smooth finish.
- Fill any dents or scratches: Examine the PC case for any noticeable dents, scratches, or imperfections. Use a filler or putty specifically designed for metal or plastic surfaces to fill these areas. Once the filler is dry, sand it down to be level with the rest of the surface.
- Clean the surface: Thoroughly clean the PC case to remove any oils, grease, or fingerprints. Use a cleaning solution or rubbing alcohol and a lint-free cloth to ensure a completely clean surface for optimal paint adhesion.
- Mask off areas: If there are any parts of the PC case that you want to protect from paint, such as connectors, buttons, or vents, use masking tape to cover them. This will give you clean lines and prevent unwanted paint on delicate components.
- Apply a primer: Applying a primer is highly recommended as it helps the paint adhere better and provides a smooth and even base for the topcoat. Choose a primer specifically made for metal or plastic surfaces and apply it according to the manufacturer’s instructions.
By properly preparing the surface of your PC case, you’ll ensure that the paint adheres well and results in a professional-looking finish. The surface preparation stage may take some time and attention to detail, but it is well worth the effort for a flawless final result.
Now that you have prepared the surface of your PC case, you’re ready to move on to the next step: priming. We’ll guide you through the process of priming in the following section.
Priming
Priming is a crucial step in the painting process that helps ensure optimal adhesion and a smooth finish for your PC case. Here’s a step-by-step guide on how to prime your PC case:
- Select the right primer: Choose a primer specifically designed for the material of your PC case, whether it’s metal or plastic. Look for a primer that offers good adhesion, corrosion resistance (for metal cases), and compatibility with the type of paint you plan to use.
- Prepare your workspace: Make sure you’re working in a well-ventilated area and protect nearby surfaces from overspray. Lay down drop cloths or newspapers to catch any primer or paint drips.
- Prepare the primer: Follow the manufacturer’s instructions to prepare the primer. This may involve shaking the can thoroughly or mixing components together. Ensure that the primer is well-mixed before applying it.
- Apply the primer: Hold the can of primer about 6-8 inches away from the surface of the PC case. Start with a light and even coat, moving the can in a sweeping motion to cover the entire surface. Avoid heavy application that could lead to dripping or uneven coverage.
- Allow the primer to dry: Check the drying time specified on the primer’s packaging and allow enough time for it to fully dry. This will ensure proper adhesion and a smooth base for the topcoat. Avoid touching the surface or disturbing the primer while it’s drying.
- Inspect and sand if necessary: After the primer is dry, visually inspect the surface for any imperfections, bumps, or rough areas. If needed, lightly sand these areas with a fine-grit sandpaper to achieve a smooth and even surface.
- Clean the surface: Use a tack cloth or lint-free cloth to remove any dust or debris from the primed surface. This will ensure that the topcoat goes on smoothly and adheres properly.
Priming is an essential step that prepares the surface of your PC case for the topcoat and enhances the durability and longevity of the paint. It creates a uniform base that helps the paint adhere better and ensures a more professional-looking finish.
Now that your PC case is properly primed, you’re ready to move on to the next step: painting techniques. We’ll explore different techniques for applying the paint in the following section.
Painting Techniques
Applying paint to your primed PC case requires some technique to achieve a smooth and flawless finish. Here are some painting techniques to consider:
- First coat: Start with a light and even first coat of paint. Hold the can about 6-8 inches away from the surface and use smooth, sweeping motions to apply the paint. Aim for thin and even coverage, avoiding heavy application that could result in drips or pooling.
- Overlap strokes: When applying the paint, make sure to overlap each stroke slightly with the previous one. This ensures consistent coverage and helps prevent any patchy areas. Keep your strokes in the same direction, either horizontally or vertically, for a uniform finish.
- Multiple thin coats: It’s better to apply multiple thin coats of paint rather than one thick coat. This helps control the drying time, minimizes the risk of drips, and allows for better adhesion. Follow the recommended drying time between coats as specified on the paint can.
- Keep a consistent distance: Maintain a consistent distance between the can and the surface throughout the painting process. This will help ensure even coverage and prevent variations in the finish. Practice maintaining a steady hand to achieve a smooth result.
- Allow for proper drying: Allow each coat of paint to dry completely before applying the next one. This ensures that the paint cures properly and reduces the risk of smudging or damaging the previous coat. Follow the drying time recommended by the paint manufacturer.
- Touch-ups: If you notice any areas that require touch-ups or additional coverage, wait for the previous coat to dry completely before applying more paint. Use a small brush or foam applicator to carefully touch up these areas and blend them seamlessly with the rest of the surface.
Remember to work in a well-ventilated area and wear appropriate safety gear, such as a dust mask and gloves, when applying paint. Take your time and be patient during the painting process to ensure the best results.
Now that you understand some key painting techniques, it’s time to move on to the next step: applying the paint to your PC case. We’ll guide you through this process in the following section.
Applying the Paint
Now that you have your painting techniques down, it’s time to apply the paint to your PC case. Follow these steps for a successful application:
- Shake the can: Before you begin, shake the can of paint thoroughly to ensure that the pigment is well-mixed and evenly distributed.
- Test spray: Before applying the paint to your PC case, it’s a good idea to do a test spray on a piece of cardboard or scrap material. This will help you gauge the spray pattern and make any necessary adjustments to achieve the desired coverage and finish.
- Hold the can correctly: When spraying, hold the can about 6-8 inches away from the surface of the PC case. Hold it at a 45-degree angle to ensure even coverage and prevent dripping.
- Apply the paint: Use smooth, sweeping motions to apply the paint. Start with a light and even coat, focusing on one section of the PC case at a time. Overlap each stroke slightly to ensure consistent coverage.
- Build up layers: Apply thin layers of paint rather than one thick coat. Allow each layer to dry completely before applying the next one. Building up the layers gradually helps achieve a more professional-looking finish.
- Check for evenness: As you paint, periodically step back and inspect the PC case from different angles to check for any unevenness or missed spots. If necessary, go back and touch up these areas before moving on.
- Follow drying times: Follow the recommended drying times specified by the paint manufacturer. Avoid touching the painted surface until it has fully dried to prevent smudging or damaging the finish.
- Clean up: After you have finished painting, clean the nozzle of the paint can to prevent it from clogging. You can use paint thinner or the appropriate cleaning solution as suggested by the paint manufacturer.
Remember to work in a well-ventilated area and protect surrounding surfaces from overspray. Take your time and be patient with the painting process to achieve the best results.
Once the paint has dried and cured, it’s time to move on to the next step: applying a clear coat. This additional layer will provide added protection and a polished finish to your PC case, and we’ll guide you through it in the following section.
Drying and Curing
After applying the paint to your PC case, it’s crucial to allow it to properly dry and cure. This step ensures a durable and long-lasting finish. Here are some key points to keep in mind during the drying and curing process:
- Drying time: Follow the recommended drying time specified by the paint manufacturer. This duration can vary depending on the type of paint used. Avoid touching or handling the painted surface until it is completely dry to prevent smudging or damaging the finish.
- Avoid dust and debris: During the drying process, it’s essential to keep your PC case in a clean and dust-free environment. This prevents dust or debris from sticking to the paint and compromising the smoothness of the finish. Covering it with a clean cloth or keeping it in a protected area can help minimize the risk of contamination.
- Curing time: While the paint may be dry to the touch, it is generally recommended to allow it to cure fully before reassembling or using your PC case. Curing time can vary depending on the type of paint used, typically ranging from a few hours to a few days. Refer to the manufacturer’s instructions for the specific curing time.
- Avoid extreme temperature or humidity: During the drying and curing process, it’s important to keep your PC case in an environment with stable temperature and humidity levels. Extreme heat or high humidity can disrupt the drying and curing process and may lead to a compromised finish.
- Patience is key: It’s natural to be excited and eager to reassemble your PC case, but it’s crucial to have patience during the drying and curing process. Rushing can result in a subpar finish or even damage to the paint. Allow the paint to fully dry and cure according to the manufacturer’s guidelines for the best outcome.
By allowing proper drying and curing time, you ensure that the paint chemically bonds and hardens, creating a strong and durable finish. Following these tips will help you achieve a high-quality result and protect the longevity of your newly painted PC case.
Once the paint has fully dried and cured, you can move on to the next step: applying a clear coat. This additional protective layer enhances the durability and provides a polished look to your PC case. We’ll guide you through the process in the following section.
Applying Clear Coat
Applying a clear coat is the final step in the process of painting your PC case. The clear coat provides an additional layer of protection to the paint and gives it a polished and glossy finish. Here’s a step-by-step guide on applying the clear coat:
- Choose the right clear coat: Select a clear coat specifically designed for the type of paint you used on your PC case. Look for a clear coat that offers UV protection, durability, and compatibility with the base coat.
- Prepare your workspace: Ensure your workspace is well-ventilated and free from dust or debris. Cover nearby surfaces with drop cloths or newspapers to protect them from overspray.
- Read the instructions: Carefully read and follow the instructions provided by the clear coat manufacturer. Different clear coat products may have specific requirements for application and drying times.
- Test spray: Before applying the clear coat to your PC case, perform a test spray on a piece of cardboard or scrap material. This allows you to assess the spray pattern and adjust accordingly for the desired coverage and finish.
- Apply the clear coat: Hold the can of clear coat approximately 6-8 inches away from the PC case surface. Use sweeping motions to apply an even layer of clear coat. Apply multiple thin coats rather than one thick coat to avoid runs or drips.
- Allow drying time: Follow the recommended drying time specified by the clear coat manufacturer. Ensure that each layer of clear coat is dry to the touch before applying the next coat. Avoid touching or handling the PC case until the clear coat has completely dried.
- Inspect and touch-ups: After the clear coat has dried, inspect the PC case for any imperfections or areas that may require touch-ups. If necessary, lightly sand these areas and apply additional clear coat to achieve a smooth and even finish.
- Clean up: Once you have finished applying the clear coat, clean the nozzle of the can to prevent clogging. Follow any specific cleaning instructions provided by the clear coat manufacturer.
Applying a clear coat adds a layer of protection to your painted PC case, safeguarding the underlying paint from scratches, UV damage, and general wear and tear. It also enhances the overall appearance by giving it a polished and glossy finish.
After the clear coat has thoroughly dried, you’re ready to proceed to the final step: reassembling your PC case. We’ll guide you through this process in the next section.
Reassembling the PC Case
With your PC case painted and the clear coat applied, it’s time to reassemble your computer components and bring your custom PC case back to life. Follow these steps to ensure a smooth and successful reassembly:
- Refer to documentation: Before reassembling, refer to the documentation or guides for your specific PC case and components. This will help you ensure that you reconnect all the cables and components correctly.
- Organize and lay out components: Lay out all the components and cables in a clean and organized manner. This will make it easier to identify and reconnect each component correctly.
- Connect the motherboard and PSU: Begin by reconnecting the motherboard and power supply unit (PSU). Carefully align the motherboard with the screw holes in the PC case and secure it using the appropriate screws. Connect the PSU cables to the motherboard and other components, following the documentation for proper placement.
- Install storage devices and expansion cards: Install your storage devices, such as SSDs or hard drives, into the appropriate slots or drive bays. Install any expansion cards, such as graphics cards or sound cards, into their respective slots on the motherboard. Ensure that all connections are secure.
- Connect peripheral devices: Connect your peripheral devices, such as the monitor, keyboard, mouse, and speakers. Use the appropriate cables and connectors and ensure they are securely connected to the PC case or motherboard ports.
- Manage cables: Take time to manage and organize the cables inside the PC case. Use cable management solutions, such as cable ties or Velcro straps, to keep the cables neat and prevent them from blocking airflow or interfering with components.
- Check airflow and cooling: Ensure that the airflow in your PC case is unobstructed and that cooling fans are working properly. Make sure the CPU cooler and case fans are connected securely and that any dust filters are clean for optimal airflow.
- Secure the PC case: Finally, secure the PC case by tightening all the screws and ensuring that all panels or side covers are properly seated. Double-check that everything is securely in place before powering on your computer.
Reassembling the PC case requires patience and attention to detail to ensure that everything is connected correctly and securely. Taking the time to organize cables and check for proper airflow will contribute to the overall performance and longevity of your system.
Once you have successfully reassembled your PC case, it’s time to power on your computer and enjoy your newly customized setup!
Conclusion
Congratulations on successfully painting and customizing your PC case! You have transformed a generic computer tower into a personalized work of art that reflects your style and creativity. By following the steps outlined in this guide, you have learned how to prepare the surface, choose the right paint and clear coat, and apply them with precision.
Proper prep work, including removing old paint or coating, thorough surface preparation, and applying a primer, ensured a smooth and durable base for the paint. Using the right painting techniques, such as overlapping strokes, multiple thin coats, and allowing for proper drying and curing time, resulted in a professional-looking finish.
Applying a clear coat provided an extra layer of protection and gave your PC case a polished and glossy appearance. Reassembling your PC case with care and attention to detail will ensure that your components are properly connected and the airflow and cooling are optimized.
Remember, the process of painting your PC case requires patience and attention to detail. Take your time, follow the steps, and be sure to work in a well-ventilated area with the appropriate safety gear.
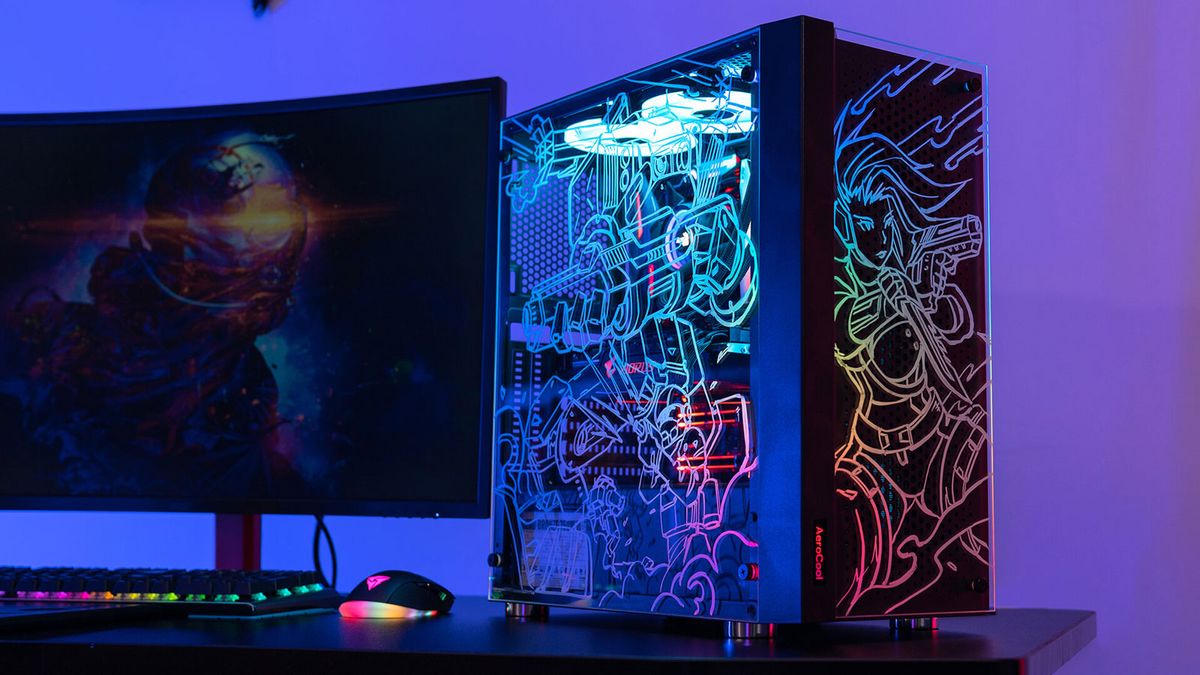
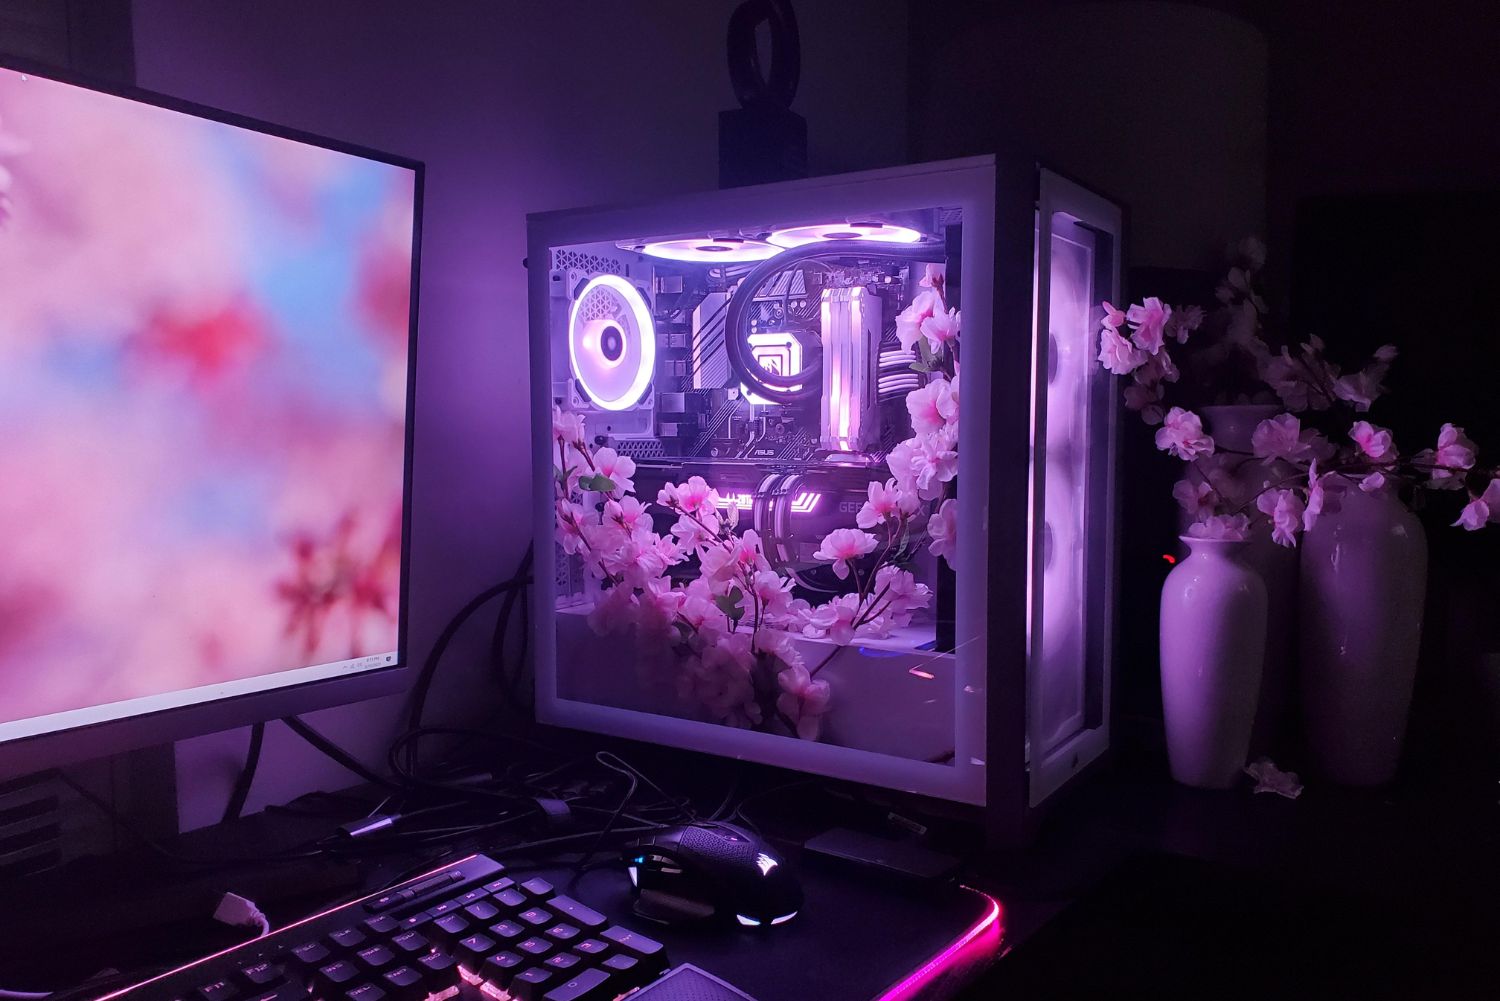
Now, with your newly painted and customized PC case, you can proudly showcase your unique style and make a statement with your computer setup. Whether you’re a gamer, a tech enthusiast, or someone who simply wants to add a personal touch to their workspace, your painted PC case will be a visual centerpiece.
Enjoy the satisfaction of completing a DIY project that not only enhances the aesthetics of your computer system but also provides added protection and functionality. Show off your masterpiece to friends, and inspire others to unleash their creativity and customize their own PC cases.
Thank you for following this guide. We hope you had an enjoyable and rewarding experience creating your custom painted PC case. Happy computing and happy gaming!