Introduction
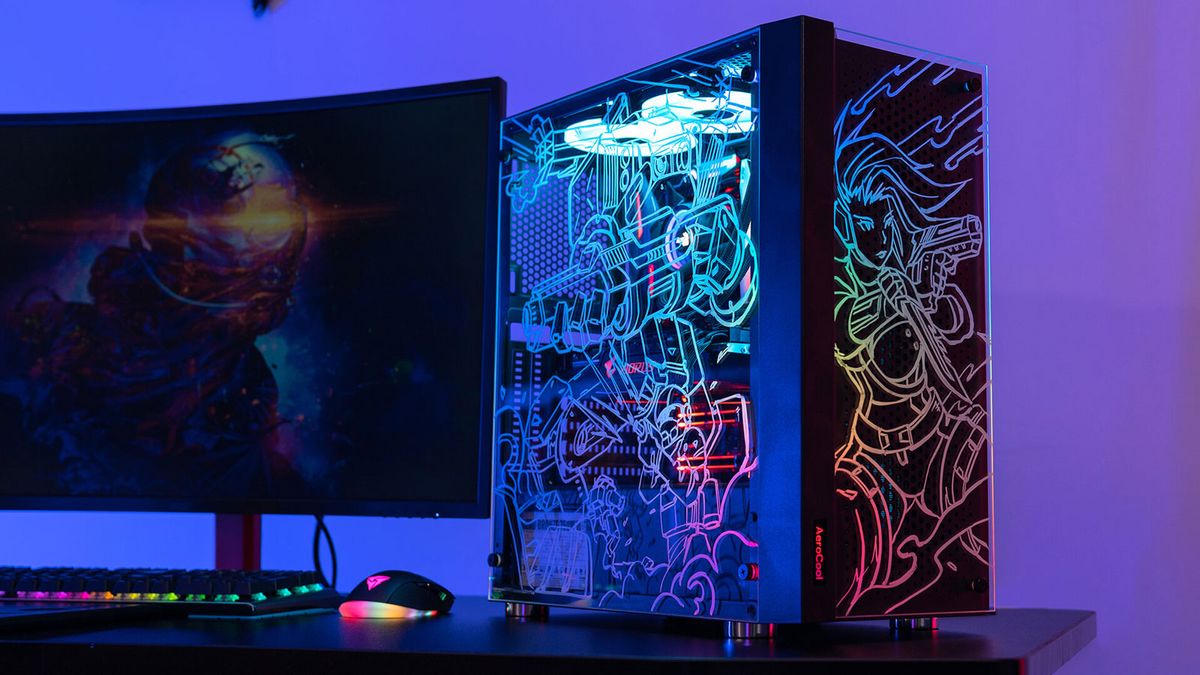
Personalizing your PC case with art is a fantastic way to showcase your creativity and make your computer setup truly unique. Whether you’re a gamer looking to add some flair to your gaming rig or a PC enthusiast aiming to stand out from the crowd, adding art to your PC case can transform it from a simple box into a work of art.
With countless options available, from custom paint jobs to vinyl wraps and LED lights, the possibilities for adding art to your PC case are virtually limitless. This guide will provide you with step-by-step instructions on how to add art to your PC case, giving you the knowledge and confidence to create a stunning design that reflects your personality and style.
Before diving into the creative process, it’s important to gather the necessary materials. You’ll need a PC case that you’re willing to customize, paint or vinyl wrap, primer, a paintbrush or spray paint, decals or stickers (if desired), and LED lights (optional). Make sure to choose high-quality materials to ensure a professional-looking end result.
Once you have all the materials on hand, it’s essential to plan your design. Consider themes, colors, and patterns that resonate with you or align with your PC’s purpose. Whether you prefer a sleek and minimalist look or a bold and vibrant design, take some time to visualize your ideal outcome.
After planning your design, you’ll need to prepare the case for customization. This involves disassembling the case, removing any components or cables, and thoroughly cleaning the surface to ensure proper adhesion. Taking these preparatory steps will ensure a smooth and long-lasting finish for your artwork.
In the next sections, we’ll explore different techniques for adding art to your PC case, such as painting, applying decals or stickers, and using vinyl wraps. Additionally, we’ll delve into the process of enhancing your design with LED lights for that extra wow factor. Finally, we’ll discuss the final touches and the importance of sealing your artwork to protect it from wear and tear.
By following the steps outlined in this guide, you’ll be able to transform your ordinary PC case into a stunning and customized masterpiece. So let’s get started and unleash your creativity!
Materials Needed
To successfully add art to your PC case, you’ll need to gather a few essential materials. Here’s a list of items you’ll need to create your customized masterpiece:
- PC case: Choose a case that you’re willing to customize. Ensure it’s suitable for your hardware and has enough space for any additional components or accessories you plan to add.
- Paint or vinyl wrap: Depending on your preferred method of customization, you’ll need either paint or a vinyl wrap. Paint offers more flexibility in terms of design possibilities, while vinyl wraps provide a quick and easy way to change the look of your case.
- Primer: Opt for a primer suitable for the material of your PC case. It will improve the adhesion of the paint or vinyl wrap and ensure a smooth and even finish.
- Paintbrush or spray paint: If you choose to paint your case, you’ll need a paintbrush or spray paint cans. Consider using high-quality brushes or sprays to achieve a professional-looking result.
- Decals or stickers: If you want to add extra graphics or designs to your case, consider using decals or stickers. These can be easily applied and provide a wide range of options to personalize your design.
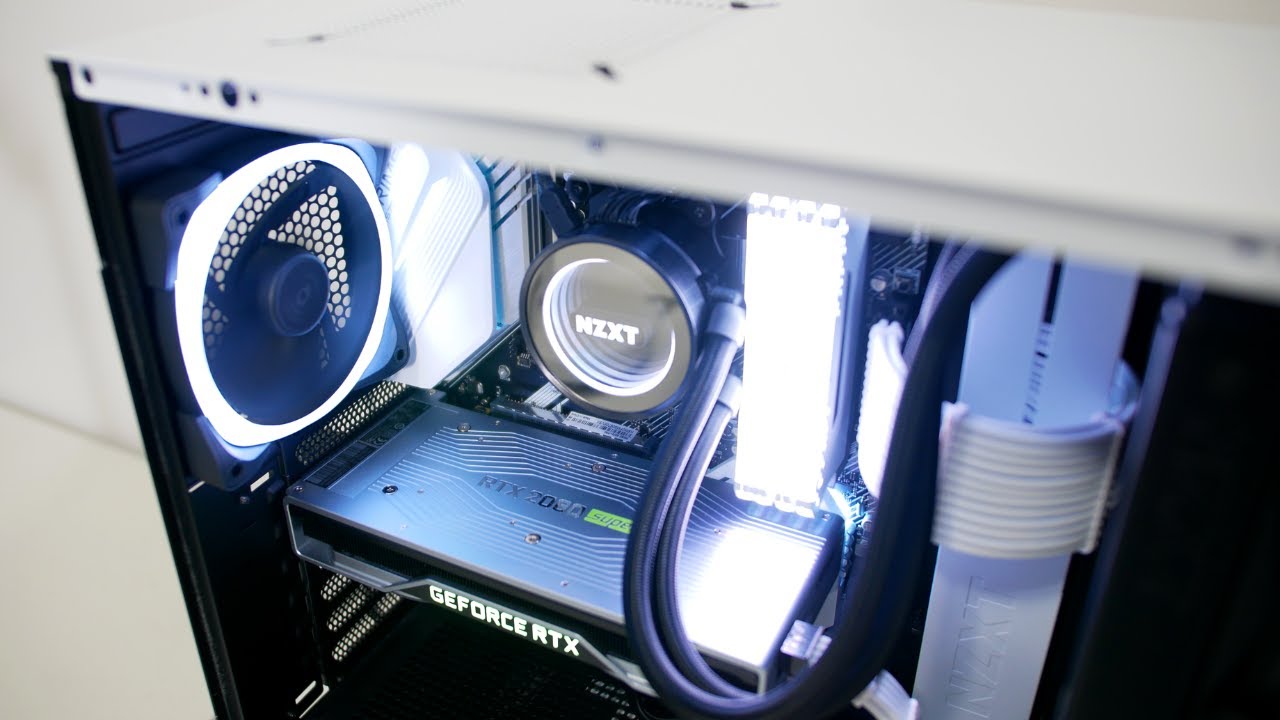
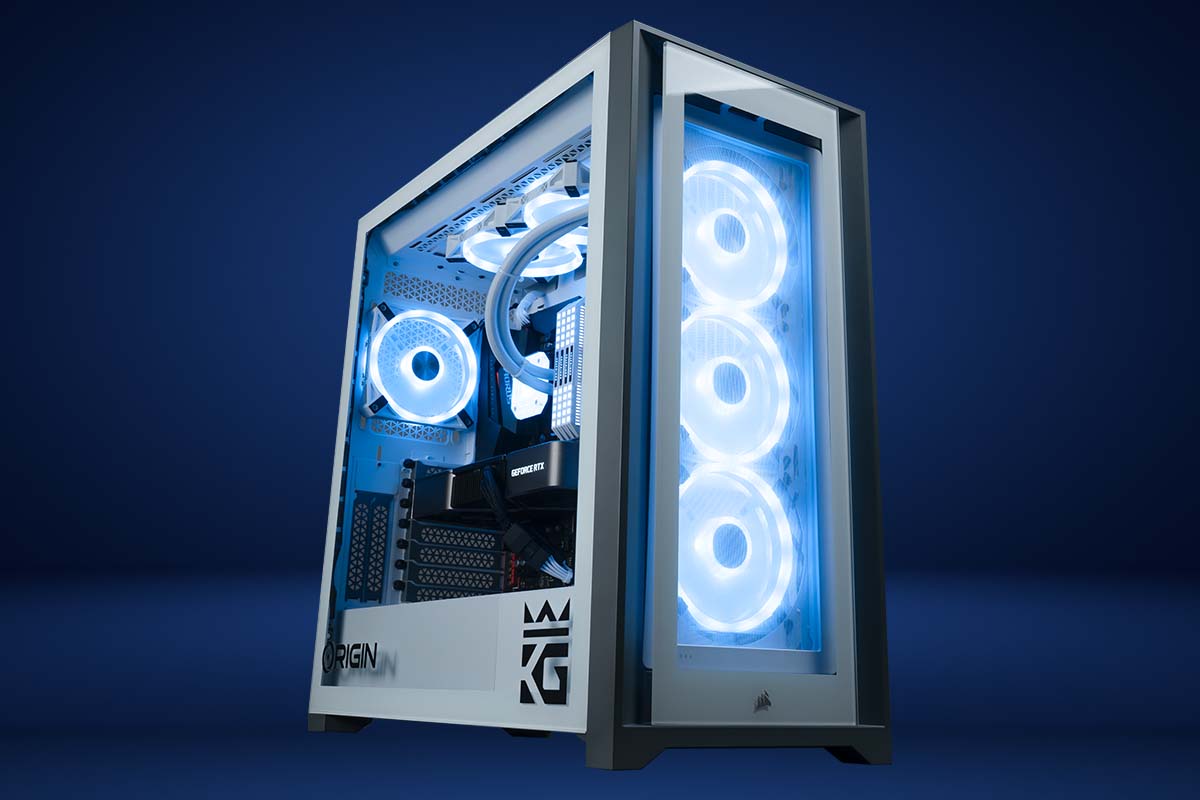
- LED lights: To enhance the aesthetics of your case, you may want to add LED lights. Choose LED strips or individual LEDs that are compatible with your case and allow for easy installation.
- Cleaning supplies: Before customizing your case, you’ll need cleaning supplies to ensure a clean surface. Use a lint-free cloth, isopropyl alcohol, or a gentle cleaner to remove any dirt, dust, or oils from the case.
- Protective equipment: Ensure your safety by wearing protective equipment such as gloves, goggles, and a dust mask. This will protect you from any potential harmful substances or fumes during the customization process.
- Sealant: Once you’ve finished customizing your case, you’ll need a sealant to protect your artwork from scratches and ensure its longevity. Choose a clear acrylic sealant suitable for the material of your case.
Having these materials ready will make the customization process smoother and more enjoyable. Remember to choose high-quality products to achieve the best results and make your PC case truly stand out.
Planning Your Design
Before diving into the process of customizing your PC case, it’s important to spend some time planning your design. This step will help you visualize the final outcome and ensure that your artwork reflects your personal style and preferences.
Consider the theme or concept you want to convey through your design. Are you aiming for a sleek and minimalist look, or do you prefer a bold and vibrant design? Think about the colors, patterns, and images that resonate with you or align with your PC’s purpose.
One helpful tip is to gather inspiration from various sources. Browse online galleries, social media platforms, or even physical art exhibits to explore different design ideas. Pay attention to details like color combinations, textures, and techniques that catch your eye. This research will help you develop your own vision and give you a starting point for your design.
Sketching out your ideas on paper can be a helpful exercise to visualize the overall layout. Experiment with different arrangements of colors, images, and patterns to see what works best for your case. Don’t be afraid to make multiple sketches or iterations until you’re satisfied with the design.
If you’re unsure about the design, you can also seek feedback from friends, online communities, or professional artists. Their input and suggestions can provide valuable insights and help refine your concept.
Another important factor to consider is the compatibility of your design with the shape and size of your PC case. Take note of any pre-existing features or obstacles on the case that may affect the placement of your artwork. This will ensure that your design fits seamlessly and enhances the overall aesthetics of the case.
Remember, customization is all about personal expression, so don’t be afraid to think outside the box and push the boundaries of traditional designs. Your PC case is a blank canvas, waiting for your unique creative touch.
Once you’ve finalized your design, you’ll be ready to move on to the next steps of the customization process. So let your imagination run wild and start planning a design that will make your PC case truly one-of-a-kind.
Preparing the Case
Before you begin adding art to your PC case, it’s crucial to properly prepare the surface to ensure optimal adhesion and a professional finish. Following these steps will ensure that your artwork lasts longer and looks flawless:
1. Disassemble the case: Start by carefully disassembling the PC case. Remove any components, such as the motherboard, graphics card, and power supply, to gain access to the entire surface area that you plan to customize. Keep all the screws and small parts in a safe place for reassembly later.
2. Clean the surface: Use a lint-free cloth, isopropyl alcohol, or a gentle cleaner to thoroughly clean the case. Remove any dirt, dust, oils, or fingerprints from the surface before proceeding. This will ensure that the paint or vinyl wrap adheres properly and prevents any imperfections or blemishes in the final result.
3. Sand the case: If your PC case has a glossy or slippery surface, lightly sand it to create a more receptive base for paint or a vinyl wrap. Use fine-grit sandpaper to roughen up the surface, making it easier for the primer and paint to adhere. Sand in a circular motion, ensuring that you sand evenly across the entire surface.
4. Prime the surface: Apply a thin layer of primer suitable for the material of your PC case. Primer improves adhesion, helps prevent chipping or peeling, and ensures a smoother final finish. Follow the manufacturer’s instructions for the specific primer you’re using and allow it to dry completely before proceeding to the next step.
5. Mask off areas: If you want to protect certain areas of your case from paint or vinyl application, use masking tape or painter’s tape to create boundaries. Cover any ports, connectors, or logos that you want to keep untouched. This step will help you achieve clean lines and prevent unwanted paint or wrap on specific parts of the case.
By properly preparing the case, you are ensuring a clean and receptive surface for your customization. This step will help your artwork to adhere properly and withstand wear and tear over time. Take your time during this process to ensure that every surface is properly cleaned, sanded, and primed. By doing so, you’ll be ready to move on to the exciting part of adding art to your PC case!
Choosing the Right Paint
When it comes to adding art to your PC case, choosing the right paint is essential for achieving a professional and long-lasting finish. Consider the following factors when selecting the paint for your customization project:
1. Compatibility: Ensure that the paint you choose is compatible with the material of your PC case. Different cases are made from various materials such as metal, plastic, or a combination. Research and select a paint that adheres well to the specific material of your case to prevent peeling, chipping, or bubbling.
2. Finish: Decide on the desired finish for your case. You can choose between matte, satin, or glossy finishes, depending on your personal preference. Keep in mind that glossy finishes tend to show fingerprints and smudges more easily, while matte finishes are more forgiving in that regard.
3. Durability: Consider the durability of the paint you choose. PC cases are exposed to a fair amount of wear and tear, so opting for a paint that provides durability and resistance to scratches and dings is crucial. Look for paints labeled as “scratch-resistant” or “durable” to ensure the longevity of your artwork.
4. Color selection: Think about the color palette that matches your aesthetic, theme, or overall design scheme. Consider whether you want a monochromatic look, vibrant and bold colors, or a more subtle and muted color scheme. Many brands offer a wide range of colors, allowing you to find the perfect shade for your creative vision.
5. Application method: Decide whether you prefer using a brush or spray paint for your customization project. Brush painting allows for more precision and control, while spray painting provides an even and smooth finish. Consider your level of experience and comfort with each method to determine the best choice for you.
6. Testing: Before applying the paint to your entire PC case, it’s always a good idea to do a small test patch on an inconspicuous area. This will help you ensure that the paint adheres well and provides the desired finish. It will also allow you to make any necessary adjustments before committing to painting the entire case.
Remember to follow the manufacturer’s instructions for the paint you choose, including proper shaking, mixing, and drying times. Applying thin and even coats will help you achieve the best results. Take your time in choosing the right paint for your project, as it will significantly impact the final look and durability of your customized PC case.
Painting Techniques
When it comes to adding art to your PC case, mastering the right painting techniques is crucial for achieving a professional and visually appealing result. Here are some key techniques to keep in mind:
1. Brush painting: If you choose to hand-paint your PC case, using a brush provides more control over the application. Start by applying thin and even coats of paint, allowing each coat to dry before applying the next. Use a brush suitable for the type of paint you’re using, such as synthetic brushes for acrylic paints or natural bristle brushes for oil-based paints. Patience is key to achieving smooth and brushstroke-free finishes.
2. Spray painting: For a more even and smooth finish, spray painting is a popular choice. Before starting, make sure you’re in a well-ventilated area or wear appropriate respiratory protection. Apply thin and even coats, moving the can in a continuous motion from side to side. Spray from a consistent distance to achieve uniform coverage. Allow each coat to dry thoroughly before applying additional coats. Be mindful of overspray and protect surrounding surfaces if necessary.
3. Layering and blending: Experiment with layering different colors to create depth and dimension in your design. Start with a base color and allow it to dry completely. Then, gradually add layers of different colors to build up the desired effect. Use a dry brush or sponge to blend the colors smoothly for a seamless transition. This technique adds visual interest and can make your artwork appear more dynamic.
4. Masking and stenciling: If you want to incorporate intricate designs or patterns, masking and stenciling can be valuable techniques. Use masking tape or stencils to cover the areas you want to protect while painting. This allows for precise placement of designs and ensures clean lines. Remember to remove the masking tape or stencil carefully to avoid accidentally smudging the paint.
5. Detailing and fine-tuning: Once the base paint is dry, it’s time to add fine details to enhance your artwork. Use smaller brushes or fine-tipped markers to add lines, highlights, shadows, or intricate designs. Pay attention to small details that can make a significant impact on the overall look of your customized PC case.
Remember to take your time and practice these techniques before applying them to your PC case. If you’re unsure, consider practicing on a spare surface or a small test area on the case. This will help you build confidence and achieve the desired effect. By using these painting techniques, you’ll be able to create a truly unique and eye-catching design on your PC case.
Adding Decals or Stickers
Adding decals or stickers to your PC case is a quick and easy way to enhance its appearance and personalize your design. Whether you want to display your favorite logos, icons, or intricate designs, decals and stickers offer a wide range of options. Here’s how to effectively add decals or stickers to your PC case:
1. Clean the surface: Before applying any decals or stickers, ensure that the surface of your PC case is clean and free from dust or oils. Use a lint-free cloth and a gentle cleaner or isopropyl alcohol to wipe down the area where you plan to place the decals. This will ensure a smooth and long-lasting adhesion.
2. Position and plan: Decide where you want to place your decals or stickers on your PC case. Consider the overall design and ensure that the placement enhances the aesthetics. You can create a rough layout by lightly arranging the decals on the case without permanently sticking them down. This step allows you to visualize the final look and make any necessary adjustments.
3. Apply the decals: Start by removing the backing or protective paper from the decal. Carefully place it on the desired spot on your PC case, making sure it aligns correctly with your planned layout. Gently press down on the decal, starting from the center and working your way out to the edges. Use a credit card or a flat, smooth object to smooth out any air bubbles or wrinkles.
4. Secure the decals: If the decals or stickers have a transparent adhesive layer on top, known as a transfer tape, gently peel it off after pressing the decal onto the surface. This will securely adhere the decal to the case. If there are any small edges or corners that are not sticking properly, use a small amount of adhesive or clear sealant to secure them in place.
5. Heat application (optional): Some decals or stickers may benefit from heat application to enhance adhesion. Use a hairdryer set on low heat or a heat gun to warm the area around the decal. This helps the adhesive bond better to the surface. Be cautious not to overheat the decal, as this can cause it to warp or lose its shape.
6. Customize further: If desired, you can further personalize your decals by trimming them, combining multiple decals, or adding additional elements such as text or smaller stickers. Experiment with different combinations and arrangements to create a truly unique design.
Adding decals or stickers to your PC case allows for easy customization without the need for painting or intricate designs. They offer a versatile and flexible way to express your personality and interests. Remember to be patient and precise during the application process to achieve a clean and polished look for your customized PC case.
Applying Vinyl Wraps
Vinyl wraps provide a quick and efficient way to completely transform the look of your PC case. They come in a variety of colors, patterns, and textures, allowing you to create a customized and visually stunning design. Follow these steps to effectively apply vinyl wraps to your PC case:
1. Clean the surface: Prior to applying the vinyl wrap, ensure that the surface of your PC case is clean and free from dust, dirt, or oils. Use a lint-free cloth and a gentle cleaner or isopropyl alcohol to wipe down the entire surface. This will ensure optimal adhesion and prevent any imperfections in the final result.
2. Measure and cut: Measure the dimensions of your PC case and cut the vinyl wrap accordingly, leaving some extra material around the edges to allow for adjustment during the application process. It’s better to have slightly more wrap than you need, as you can trim off the excess later.
3. Peel and position: Carefully peel off a small portion of the backing from the vinyl wrap. Align the exposed edge of the vinyl with the edge of your PC case and gently press it onto the surface. Gradually peel off the backing while simultaneously pressing the vinyl onto the case, working your way across the surface. Use a squeegee or a credit card to smooth out any air bubbles or wrinkles as you go along.
4. Stretch and mold: If necessary, gently stretch or mold the vinyl wrap to conform to the shape of your PC case. Take your time and use heat from a hairdryer or a heat gun on low heat to make the vinyl more pliable and easier to work with. Be careful not to overheat the wrap, as excessive heat can cause it to warp or become damaged.
5. Trim and wrap edges: Once the vinyl wrap is applied across the entire surface of your PC case, carefully trim off the excess material. Use a sharp hobby knife or scissors to cut along the edges, ensuring clean and precise cuts. For curved or complex areas, make small relief cuts to prevent the vinyl from bunching up. Use the squeegee or credit card to firmly press the edges of the wrap, ensuring they adhere securely.
6. Heat application (optional): If desired, use a hairdryer or a heat gun on low heat to apply moderate heat across the wrapped surface. This will activate the adhesive and help the vinyl conform better to the contours of your PC case. Work the heat across the entire surface in a slow and controlled manner, but avoid applying excessive heat to prevent damage to the vinyl.
By following these steps, you can effectively apply vinyl wraps to your PC case, giving it a fresh and personalized look. Remember to take your time during the application process, ensuring smooth and precise placement. With a little practice and patience, you can achieve a professional-looking finish that will make your customized PC case truly stand out.
Enhancing with LED Lights
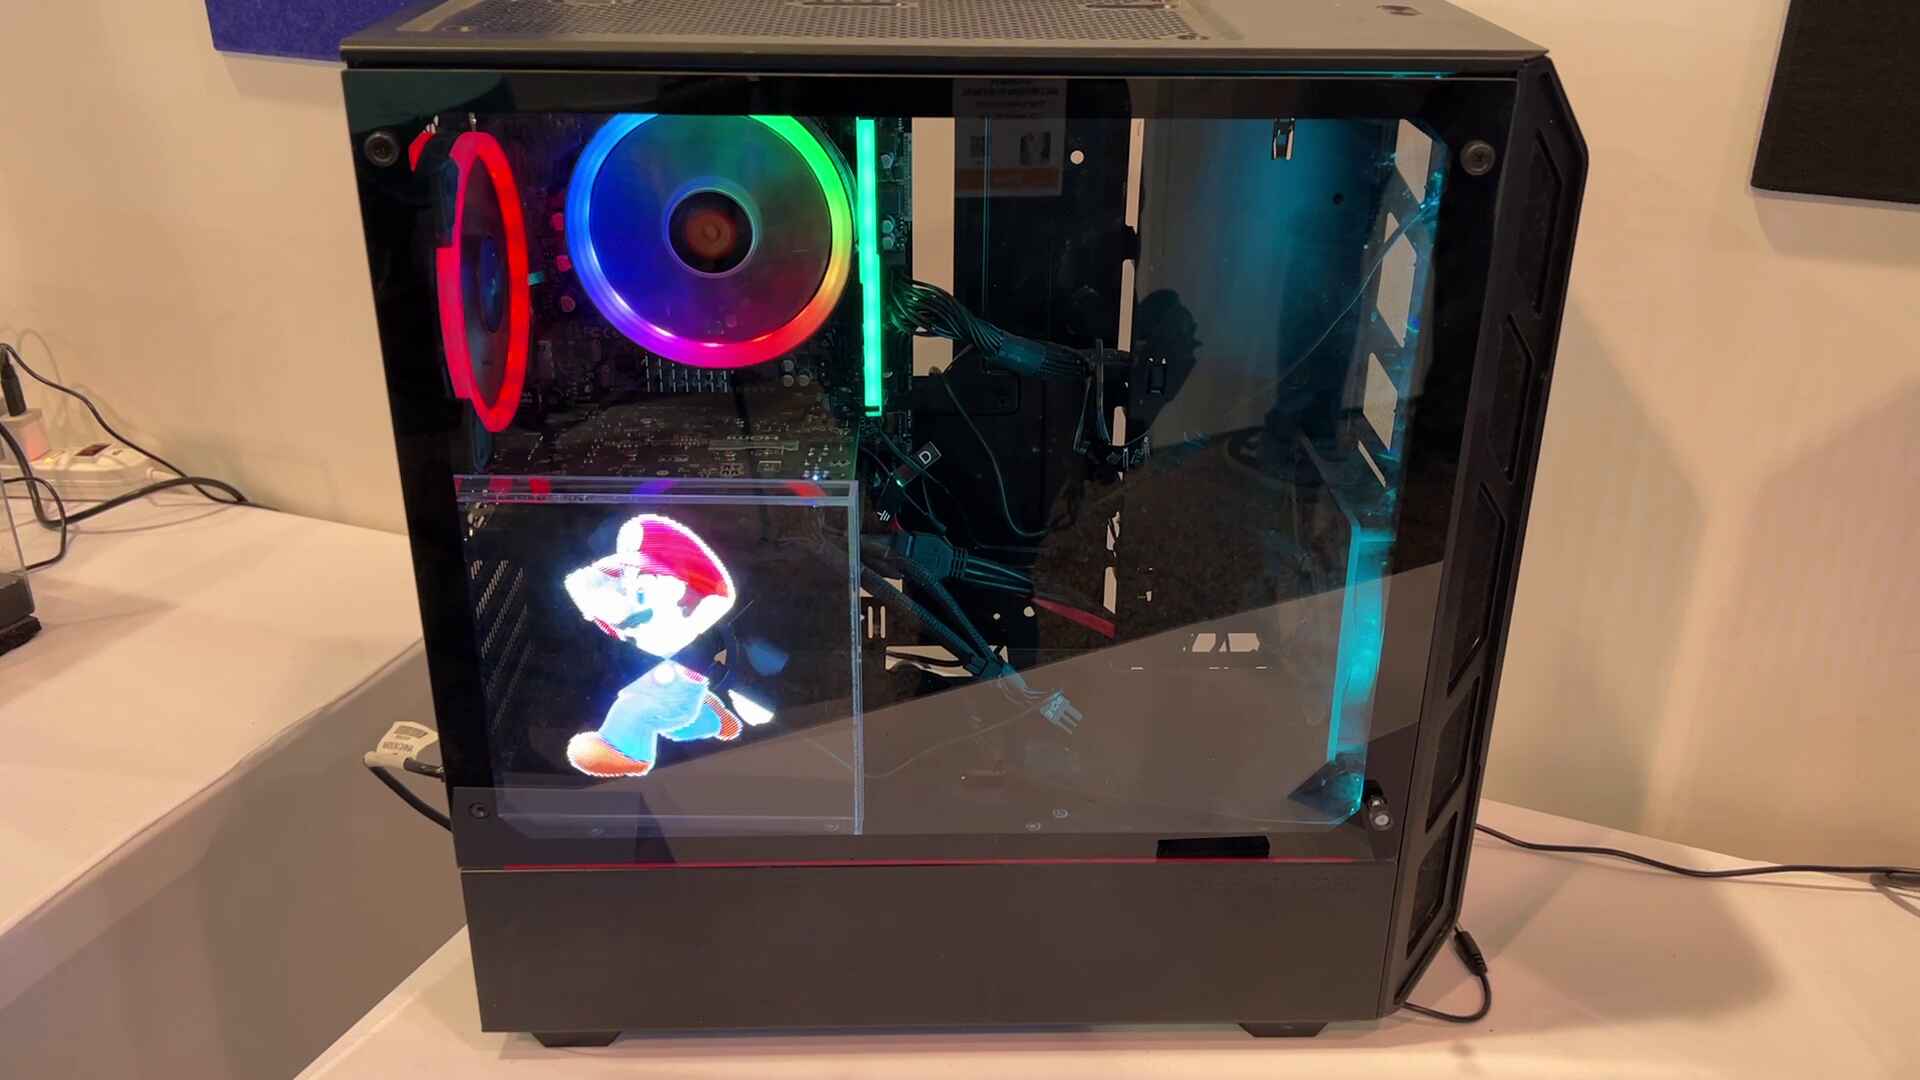
Adding LED lights to your PC case is a fantastic way to elevate its aesthetic appeal and create a stunning visual display. LED lights provide customizable lighting options, allowing you to showcase your creativity and achieve a unique look. Here’s how you can effectively enhance your PC case with LED lights:
1. Planning and placement: Determine how you want to incorporate LED lights into your PC case. Consider the areas you want to highlight, such as the internal components, edges, or specific design elements. Plan the placement of the LED strips or individual lights accordingly to achieve the desired lighting effect and ambiance.
2. Cleaning the surface: Before attaching the LED lights, ensure that the surface of your PC case is clean and free from dust or oils. Use a lint-free cloth and a gentle cleaner or isopropyl alcohol to wipe down the intended areas. This will provide optimal adhesion for the LED lights.
3. Adhering the LED lights: Depending on the type of LED lights you’re using, follow the manufacturer’s instructions for attaching them to your PC case. Most LED lights come with adhesive backing, making installation quick and easy. Carefully apply the lights to the desired areas, ensuring they are straight and evenly spaced. Use gentle pressure to ensure good adhesion.
4. Wiring and power supply: Connect the LED lights to a suitable power supply or controller. Depending on your setup, you may need to route the wires within your PC case or behind the case for a clean and organized look. Take care to avoid obstructing airflow or interfering with other components.
5. Customization and control: Many LED lights come with customization options, such as adjustable brightness levels, color options, and lighting patterns. Explore the available settings and experiment with different colors and effects. Additionally, you may choose to install software or a compatible controller to have more control over the LED lights and synchronize them with other lighting elements in your setup.
6. Tasteful placement: While LED lights can add a captivating visual element, it’s important to use them tastefully and avoid overpowering the overall design. Consider the balance between the light output and your PC case’s aesthetics. Play with different lighting levels to achieve the desired effect without overwhelming the other design elements.
Remember to always follow the manufacturer’s instructions for your specific LED lights. This includes proper installation techniques, power requirements, and any additional features or settings. With strategic placement and careful control, LED lights can transform your PC case into a mesmerizing display of light and color.
Final Touches and Sealant
After customizing your PC case with art, decals, stickers, paint, or vinyl wraps, it’s essential to add the final touches and apply a sealant to protect your artwork. These final steps will ensure that your customization lasts longer and remains in top condition. Here’s what you need to do:
1. Review and touch-up: Take a step back and carefully examine your customized PC case. Look for any imperfections, smudges, or areas that need touch-ups. If you notice any inconsistencies, use touch-up paint, a fine brush, or a marker to correct them. Pay close attention to small details and ensure that your artwork looks clean and polished.
2. Cleaning and dusting: Before applying the sealant, thoroughly clean and dust the entire surface of your PC case. Use a lint-free cloth or a soft brush to remove any dust particles or debris that may have accumulated during the customization process. A clean surface will ensure that the sealant adheres properly and provides a smooth and even finish.
3. Selecting the sealant: Choose a clear acrylic sealant suitable for the material of your PC case. The sealant will act as a protective layer, guarding your artwork against scratches, fading, and other forms of damage. Ensure that the sealant is compatible with the type of paint or vinyl you have used, and follow the manufacturer’s instructions for application.
4. Applying the sealant: Apply the sealant evenly across the entire surface of your PC case. Use a soft brush or a paint sprayer to achieve a thin and even coat. Be cautious when applying the sealant around small details or delicate designs, ensuring that you don’t smudge or disturb the artwork. Allow the sealant to dry completely as per the manufacturer’s instructions.
5. Multiple coats (optional): Depending on the sealant’s recommendations, you may choose to apply multiple coats for added protection. Allow each coat to dry before applying the next, and lightly sand with a fine-grit sandpaper between coats for a smoother finish. Multiple coats strengthen the protective layer and increase the longevity of your customized PC case.
6. Curing time: After applying the final coat of sealant, allow sufficient time for it to cure. The curing time can vary based on the type of sealant and environmental conditions. Follow the manufacturer’s instructions for the recommended curing time before reassembling and using your PC case.
By adding the final touches and applying a sealant, you’re ensuring the durability and longevity of your customized PC case. The sealant will protect against everyday wear and tear, UV damage, and other factors that may impact the appearance of your artwork. Take pride in your creation, knowing that it is both visually appealing and well-protected.
Conclusion
Customizing your PC case with art is an exciting and rewarding process that allows you to showcase your creativity and make your setup truly unique. By following the steps outlined in this guide, you can transform an ordinary PC case into a personalized masterpiece. From planning your design to applying paint, decals, stickers, vinyl wraps, and LED lights, each step contributes to creating a stunning visual display.
Remember to gather the necessary materials, including a suitable PC case, paint or vinyl wrap, primer, brushes or spray paint, decals or stickers, LED lights, cleaning supplies, protective equipment, and sealant. These materials will ensure that your customization process goes smoothly and provides professional-looking results.
Take the time to plan your design, considering themes, colors, and patterns that resonate with you. Properly prepare the case by disassembling, cleaning, and priming the surface to ensure optimal adhesion. For painting, choose the right paint, and apply it using techniques such as brushing or spraying. If you prefer, adding decals or stickers offers a quick and easy way to enhance your PC case’s look.
For a complete transformation, vinyl wraps can be applied, offering a wide range of colors, patterns, and textures. Enhance your design further by adding LED lights strategically, creating captivating lighting effects and ambiances. Remember to secure and customize the LED lights to achieve the desired look.
Finally, applying a sealant adds the finishing touch and protects your artwork from wear and tear. Review and touch up any imperfections, clean the case, and apply the sealant evenly. Multiple coats may be necessary for additional protection.
With these steps, you can create a customized PC case that reflects your personality and style. Whether you’re a gamer, PC enthusiast, or simply someone who wants to add a touch of artistry to their workspace, this guide provides the knowledge and techniques required for a successful customization project.
So, unleash your creativity, explore different artistic avenues, and enjoy the process of transforming your PC case into a stunning masterpiece. Stand out from the crowd, express yourself, and showcase your creativity with a customized PC case that truly represents you.


