Why Clean Your PC Case Fan
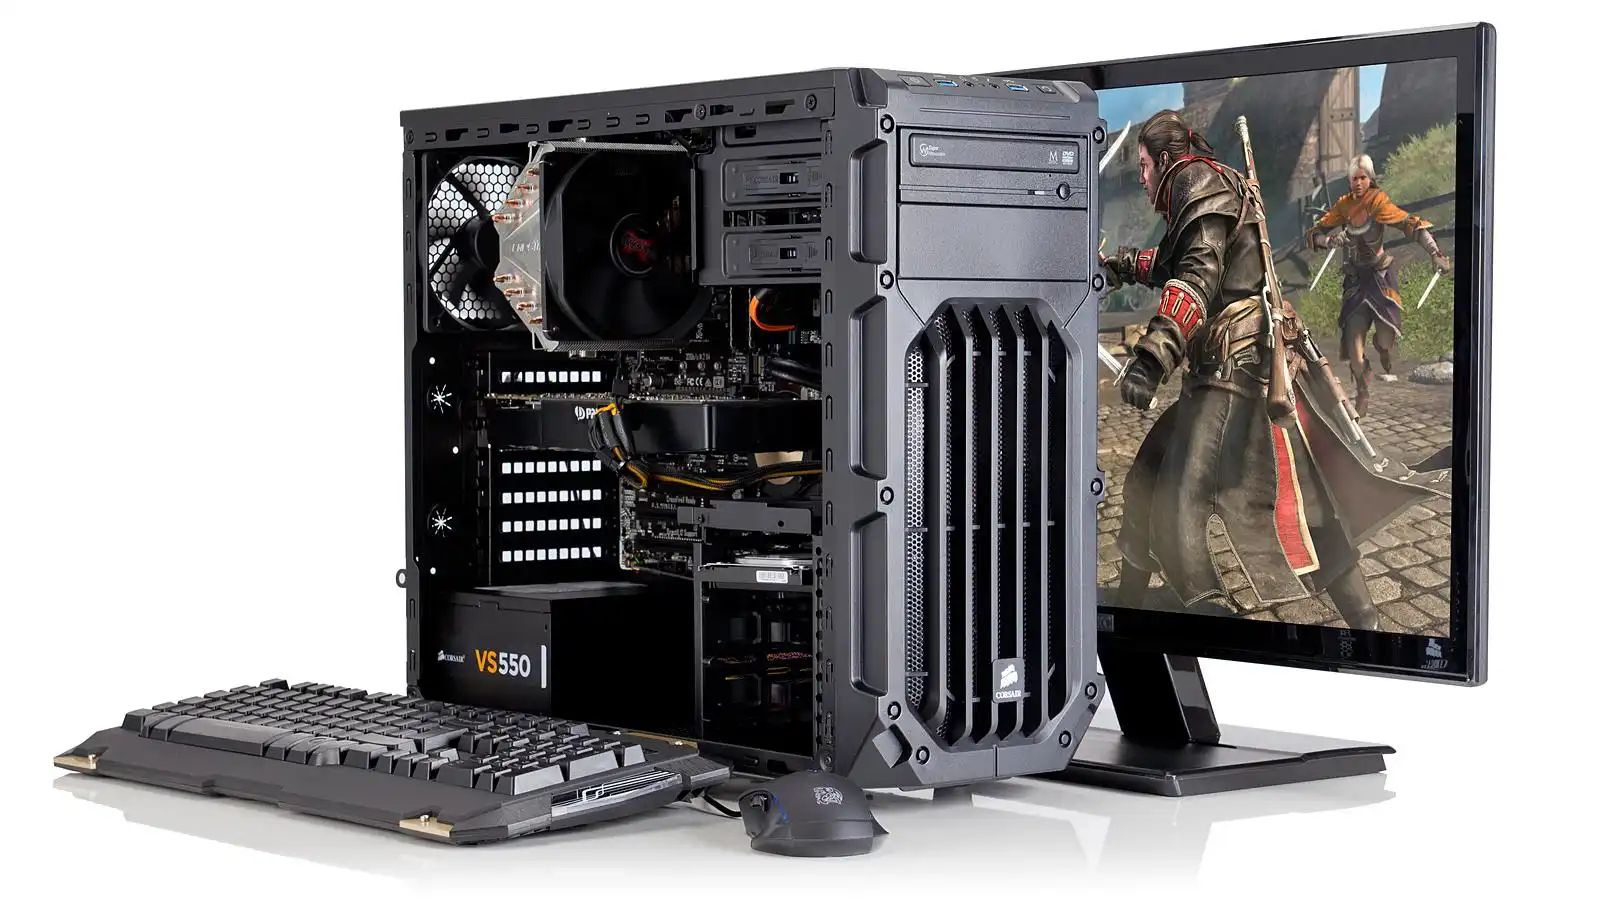
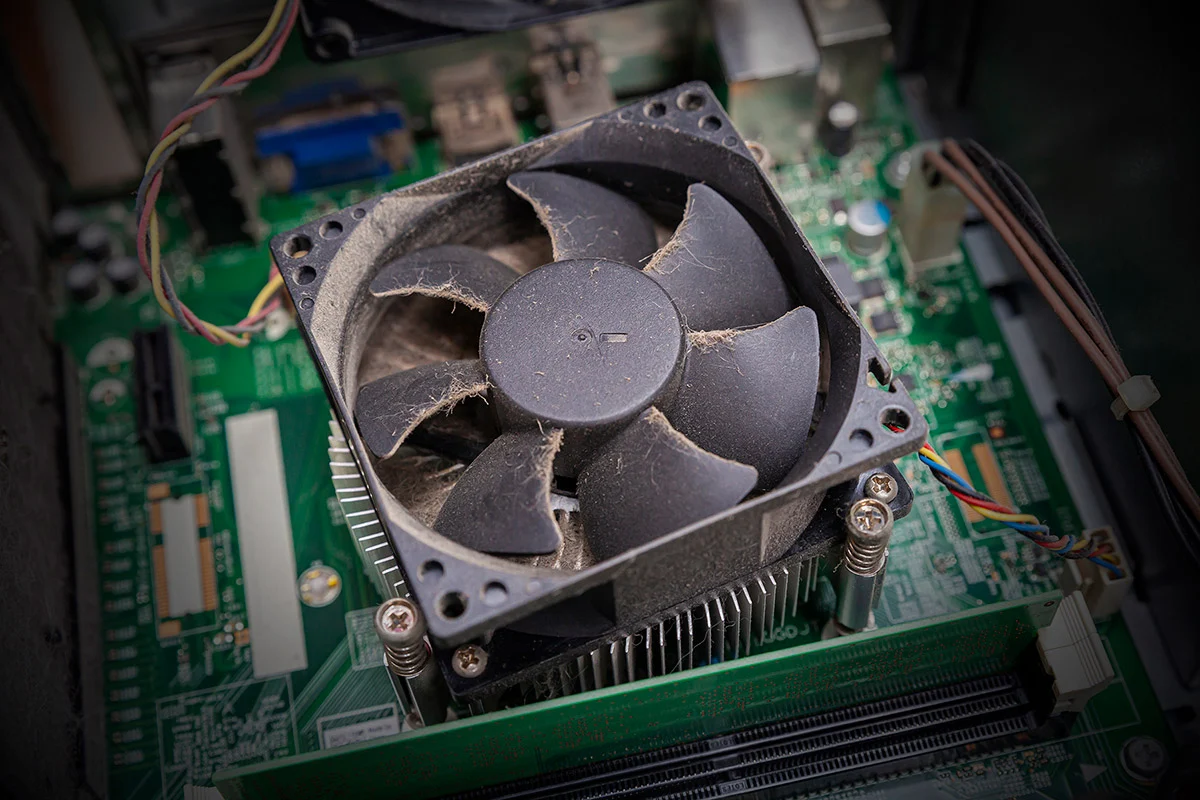
Your PC case fan plays a crucial role in keeping your computer system cool and preventing overheating. It efficiently draws in fresh air and expels hot air out of the case, ensuring that the internal components are not damaged due to excessive heat. However, over time, the fan blades and the surrounding areas can accumulate dust, dirt, and even pet hair, hindering its performance and reducing its cooling efficiency.
Cleaning your PC case fan is essential for several reasons:
1. Improved Performance: A clean fan operates more efficiently, allowing it to cool your computer system more effectively. When the fan is clogged with dust, it has to work harder to push the same amount of air, which can result in increased noise and reduced cooling capacity. Regular cleaning ensures that the fan can spin freely and provide optimal airflow.
2. Longer Lifespan: Dust accumulation on the fan blades can lead to unbalanced spinning, causing unnecessary stress on the motor bearings. Over time, this can result in premature wear and tear, leading to the fan’s failure. By cleaning the fan regularly, you can extend its lifespan, saving you from the hassle and expense of replacing it.
3. Prevent Overheating: When the fan is clogged, it cannot effectively remove hot air from the case, leading to increased temperatures inside. Overheating can cause various issues, including system instability, reduced performance, and even hardware damage. Regular cleaning of the PC case fan helps prevent these problems and ensures that your computer operates at optimal temperatures.
4. Low Noise Levels: Dust accumulation can cause the fan to become unbalanced, resulting in noisy operation. If you notice an increase in fan noise, cleaning it can often help restore it to its quieter state. By keeping your PC case fan clean, you can enjoy a more peaceful computing experience.
Cleaning your PC case fan is a simple and straightforward process. By dedicating a little time to this maintenance task, you can ensure that your computer runs smoothly, stays cool, and remains reliable for years to come.
What You’ll Need
Cleaning your PC case fan requires a few essential tools and supplies. Before you begin, gather the following items:
1. Screwdriver: Depending on the type of fan mounting, you may need a Phillips or a flathead screwdriver to disconnect the fan from the case. Check your PC’s manual or examine the fan to determine which type of screwdriver is required.
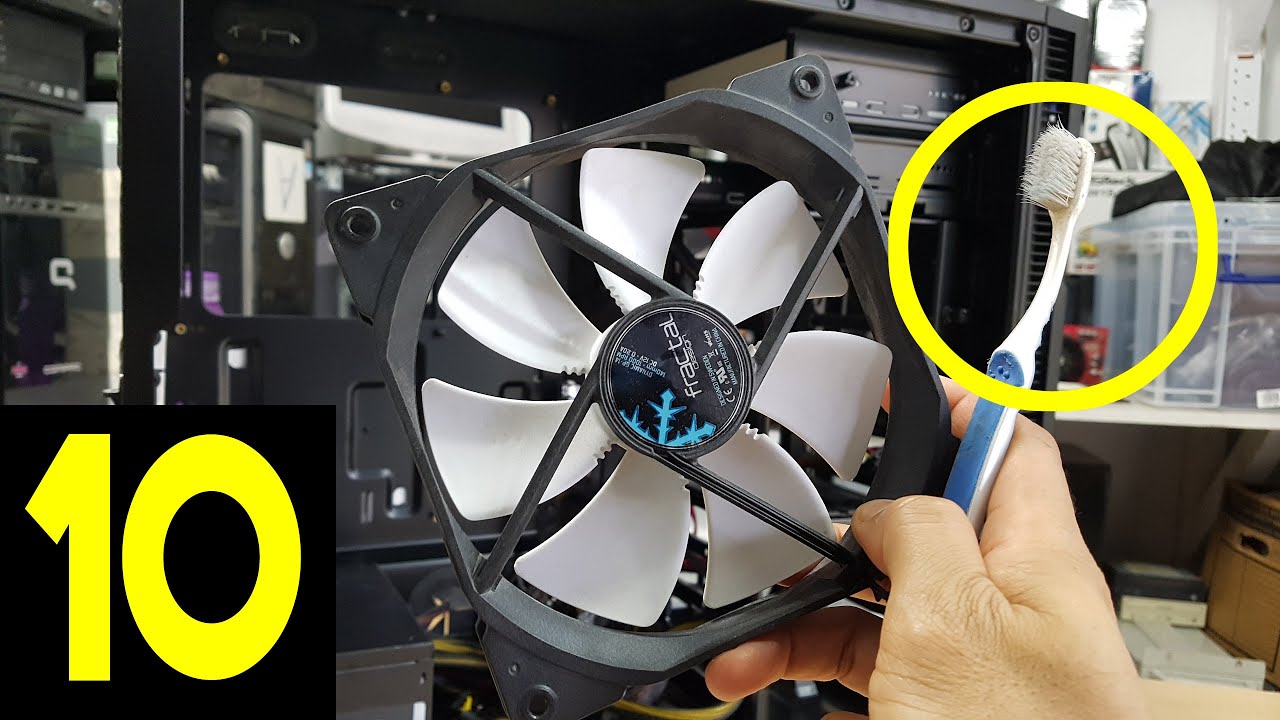
2. Cotton Swabs or Anti-Static Brush: For cleaning the fan blades and removing dust from hard-to-reach areas, cotton swabs or an anti-static brush can be helpful. These tools are gentle enough to avoid damaging delicate components while effectively picking up dust particles.
3. Compressed Air Canister or Electric Air Blower: Using compressed air is an efficient way to blow away loose dust from the fan housing and other internal components. A canister of compressed air or an electric air blower will come in handy for this task. Ensure to use it in a well-ventilated area and follow the manufacturer’s instructions for safe use.
4. Isopropyl Alcohol (Optional): If the fan blades are particularly dirty or sticky, you may need isopropyl alcohol to assist in removing stubborn residues. This can be useful for tackling accumulated grime that cannot be easily wiped away with dry methods.
5. Anti-Static Wrist Strap (Optional): To minimize the risk of static electricity discharge that can potentially damage sensitive components, you may consider using an anti-static wrist strap. This strap helps to ground your body, preventing static charges from building up and being discharged onto the PC components.
By having these tools and supplies readily available, you’ll be fully prepared to clean your PC case fan effectively. Once you have everything in place, you can proceed with the next steps to disconnect, clean, and reconnect the fan without any interruptions.
Disconnecting the Fan from the PC
Before you can start cleaning your PC case fan, you’ll need to disconnect it from the computer. Follow these steps to safely remove the fan:
1. Turn off your PC: Shut down your computer completely and unplug it from the power source. This ensures your safety and prevents any accidental damage to the computer or yourself.
2. Open the PC case: Remove the side panel of your computer case to access the internal components. Refer to your PC’s manual or look for screws or latches on the case that secure the side panel. Use a screwdriver or any appropriate tool to remove the screws or release the latches, then carefully slide off the panel.
3. Locate the fan: Identify the fan that you want to clean. It is usually located towards the rear or top of the case and is connected to the motherboard or a dedicated fan controller.
4. Disconnect the power cable: In most cases, the fan will be connected to the motherboard with a power cable. Locate the cable and gently unplug it from the motherboard. Some fans may also have additional cables for controlling fan speed or lighting, if applicable. Remember to disconnect all necessary cables to free the fan from the PC.
5. Remove screws or mounting brackets: Depending on your PC’s design, the fan may be secured in place with screws or mounting brackets. Carefully unscrew the screws or release the brackets to detach the fan from its mounting location. Be cautious not to damage any other components while doing this.
6. Set aside the fan: Once the fan is disconnected and removed, place it on a clean, flat surface. This will make it easier to clean the fan thoroughly without risking damage to other PC components.
With the fan safely detached from the PC, you can proceed to the next steps of cleaning the fan blades and removing dust from the fan housing. Taking the time to disconnect the fan properly ensures a smooth cleaning process and helps maintain the integrity of your computer system.
Cleaning the Fan Blades
Now that you have successfully disconnected the PC case fan, it’s time to focus on cleaning the fan blades. Follow these steps to ensure a thorough and effective cleaning:
1. Check the fan blades: Inspect the fan blades for visible dust or build-up. If there is a significant amount of dust, gently wipe off loose particles using a dry cloth or tissue.
2. Use compressed air: Take your compressed air canister or electric air blower and direct the airflow towards the fan blades. Keep the canister or blower at a distance to avoid damaging the blades or any other delicate components. The strong burst of air will dislodge stubborn dust and debris from the blades.
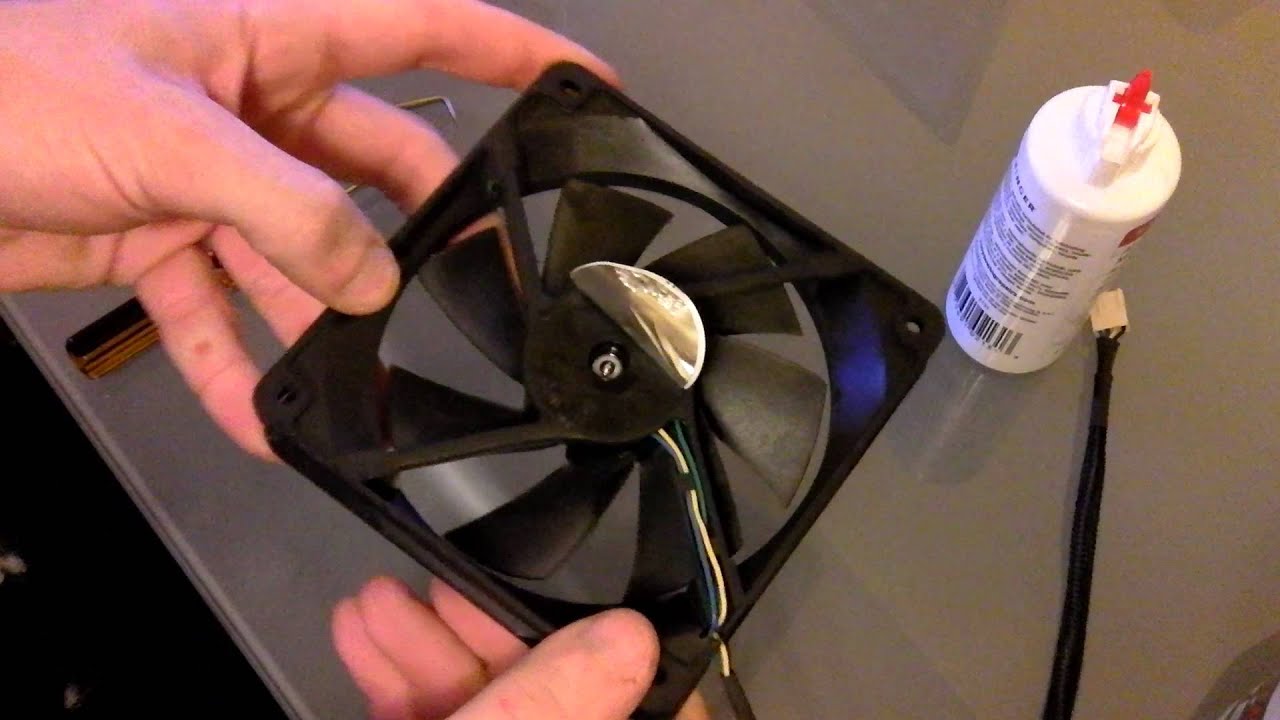
3. Remove stubborn residues: If there are sticky residues or stubborn dirt on the fan blades, dip a cotton swab in isopropyl alcohol and carefully wipe the affected areas. Be gentle to avoid bending or damaging the blades. Allow the alcohol to evaporate completely before proceeding.
4. Use an anti-static brush: For thorough cleaning, gently brush the fan blades with an anti-static brush to remove any remaining dust particles. The brush’s bristles will help to dislodge debris from hard-to-reach areas and ensure a clean surface.
5. Inspect for cleanliness: After cleaning, visually inspect the fan blades to ensure they are clean and free from dust and residues. If necessary, repeat the air blowing and brushing process until the blades are completely clean.
6. Set the fan blades aside: Once you are satisfied with the cleanliness of the fan blades, set them aside on a clean surface. This will prevent any loose dust or debris from getting back onto the blades while you clean the rest of the fan components.
Cleaning the fan blades thoroughly is essential to ensure optimal airflow and cooling performance. By following these steps, you can remove the accumulated dust and dirt, allowing the fan to function efficiently and effectively in keeping your PC cool.
Removing Dust from the Fan Housing
Now that you have cleaned the fan blades, it’s time to turn your attention to the fan housing. Dust and debris can accumulate in the housing over time, reducing airflow and affecting the cooling performance. Follow these steps to remove dust from the fan housing:
1. Inspect the fan housing: Examine the fan housing for any visible dust or debris accumulation. Pay close attention to the area surrounding the fan blades and any vents or openings in the housing.
2. Use compressed air: Take your compressed air canister or electric air blower and direct the airflow into the fan housing. Aim the airflow towards the areas where dust is visible, ensuring to cover the entire housing. The powerful blast of air will dislodge and blow away the dust particles.
3. Be thorough in your cleaning: Move the compressed air canister around the housing, targeting hard-to-reach areas. Focus on spots where dust tends to accumulate, such as corners, crevices, and around the fan mounting points. This will help ensure that all dust is effectively removed.
4. Consider using an anti-static brush: If there are stubborn dust particles clinging to the fan housing, you can use an anti-static brush to gently dislodge them. Sweep the brush along the surfaces of the housing, paying attention to any grooves or small openings. The bristles of the brush will help collect and remove the remaining dust.
5. Inspect for cleanliness: Once you’re done using compressed air and an anti-static brush, visually inspect the fan housing to ensure that it is clean. Check for any remaining dust or debris and, if necessary, repeat the cleaning process until the housing looks spotless.
6. Recheck other components: While cleaning the fan housing, take the opportunity to inspect other components inside the PC case. Check for any dust accumulation on the motherboard, GPU, or other nearby components, and clean them as needed using the compressed air or brush.
7. Set everything aside: After cleaning, set the fan housing and other components aside on a clean surface. This will prevent any loose dust or debris from entering the housing while you reconnect the fan to the PC.
Removing dust from the fan housing is crucial to ensure optimal airflow and cooling. By thoroughly cleaning the housing, you can help maintain the performance and longevity of your PC case fan and other internal components.
Cleaning the Fan Grille
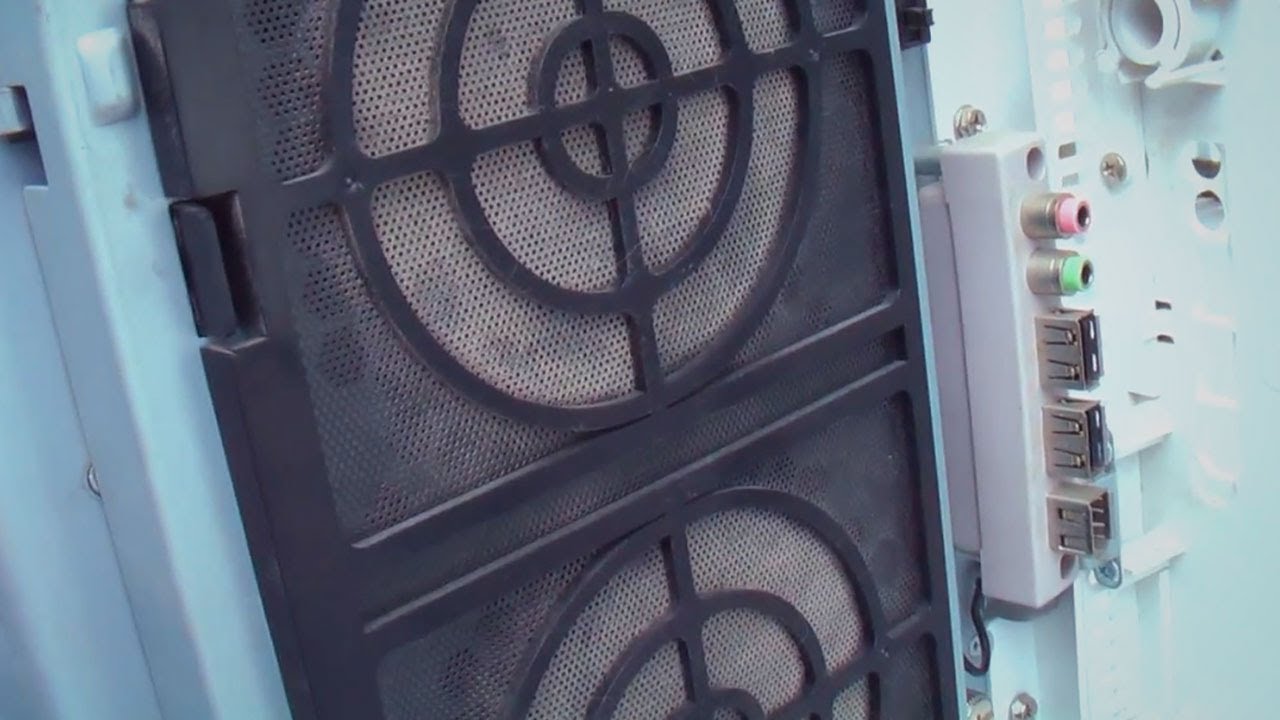
In addition to cleaning the fan blades and removing dust from the housing, it is essential to clean the fan grille. The fan grille serves as a protective barrier, preventing larger debris from entering the fan and potentially causing damage. Over time, the grille can accumulate dust and become clogged, hindering airflow and reducing cooling efficiency. Follow these steps to clean the fan grille effectively:
1. Inspect the fan grille: Take a close look at the fan grille and assess the amount of dust and debris present. Check for any visible blockages or obstructions that may affect the airflow.
2. Use a brush or compressed air: Before cleaning the grille, use a brush or compressed air to remove loose dust and debris. Gently brush the surface of the grille or direct the airflow towards it to dislodge any easily removable particles.
3. Clean with a damp cloth: Moisten a lint-free cloth with water or a mild cleaning solution. Make sure the cloth is only slightly damp and not dripping wet to prevent any liquid from seeping into the fan or other components.
4. Gently wipe the grille: Wipe the damp cloth over the grille, applying gentle pressure to remove any remaining dust and dirt. Move in a back-and-forth or circular motion to cover the entire surface of the grille. Be careful not to press too hard or bend the grille.
5. Pay attention to the corners and crevices: Use a cotton swab or a soft brush to clean hard-to-reach areas, such as corners and crevices of the grille. These areas tend to accumulate more dust, so thorough cleaning is important to ensure optimal airflow.
6. Allow the grille to dry: After wiping the grille, leave it to air-dry completely before reconnecting the fan to the PC. This will prevent any moisture from causing damage to the fan or other components.
7. Inspect for cleanliness: Once the grille is dry, visually inspect it to ensure that it is free from dust and debris. If you notice any remaining particles, repeat the cleaning process until the grille looks clean and clear.
Cleaning the fan grille is crucial to maintain proper airflow and cooling performance. By keeping the grille free from dust and obstructions, you can ensure that the fan operates efficiently and effectively, providing optimal cooling for your PC.
Reconnecting the Fan to the PC
After thoroughly cleaning the PC case fan and its components, it’s time to reconnect the fan to the PC and ensure proper functionality. Follow these steps to safely and securely reconnect the fan:
1. Identify the correct fan mounting location: Determine where the cleaned fan needs to be reinstalled. Refer to your PC’s manual or the markings on the motherboard to identify the appropriate fan header or connector.
2. Align the fan with the mounting location: Carefully align the screw holes or mounting brackets on the fan with the corresponding holes or brackets on the case or motherboard. Ensure that the fan is positioned correctly before proceeding.
3. Secure the fan: If your fan uses screws for mounting, insert the screws and tighten them gently using a screwdriver. Take care not to overtighten, as this could potentially damage the fan or its mounting points. If your fan uses mounting brackets, attach and secure them accordingly.
4. Connect the power cable: Locate the power cable for the fan and plug it back into the corresponding fan header on the motherboard. Ensure that the connection is secure and properly aligned with the pins on the header.
5. Connect additional cables (if applicable): If your fan has any additional cables for controlling fan speed or lighting, reconnect them to the appropriate connectors on the motherboard or fan controller. Double-check that all necessary cables are properly connected.
6. Close the PC case: Carefully reattach the side panel of your PC case, making sure it is secured with screws or latches. Ensure that the panel is properly aligned and doesn’t apply excessive pressure on any internal components or cables.
7. Power on your PC: Once the fan is securely reconnected and the case is closed, plug your PC back into the power source. Power on the computer to test if the fan is running smoothly.
8. Monitor fan performance: After reconnecting the fan, keep an eye on its performance. Ensure that it is spinning correctly, and listen for any unusual noises. If you notice any issues or concerns, double-check the connections and troubleshoot as necessary.
By following these steps, you can safely reconnect your cleaned fan to the PC, promoting optimal airflow and ensuring efficient cooling. Regularly monitor the fan’s performance to ensure that it continues to operate properly and helps maintain the temperature of your computer system.
Final Thoughts and Maintenance Tips
Congratulations! You have successfully cleaned your PC case fan, improving its performance and ensuring efficient cooling for your computer system. Here are some final thoughts and maintenance tips to keep in mind:
1. Regular cleaning schedule: Make a habit of cleaning your PC case fan at least once every three to six months. Regular maintenance will prevent excessive dust buildup and maintain optimal airflow.
2. Monitor dust accumulation: Keep an eye on the fan blades, housing, and grille for any signs of dust accumulation. Cleaning them before the dust becomes excessive will help maintain cooling efficiency.
3. Be mindful of static electricity: When cleaning delicate components inside your PC, wear an anti-static wrist strap to prevent static electricity discharge that could damage sensitive electronics.
4. Keep your PC in a clean environment: Minimize the amount of dust and dirt entering your PC by keeping it in a clean and dust-free area. Regularly dust and vacuum the surrounding environment to reduce airborne particles.
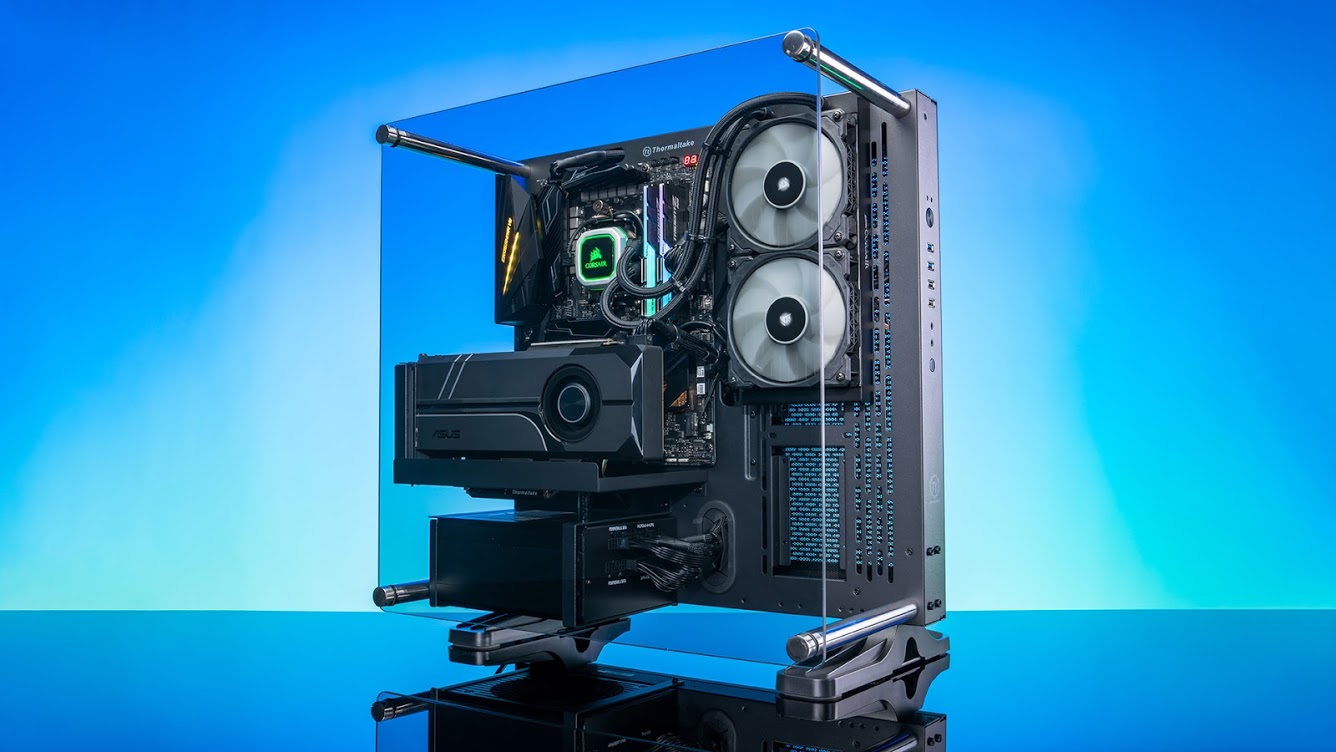
5. Consider additional cooling options: If your PC tends to run hot even with a clean case fan, you may want to explore additional cooling options, such as adding more fans, upgrading to liquid cooling, or improving the airflow within the case.
6. Upgrade your fan if necessary: If your PC case fan is old, noisy, or no longer cooling effectively even after cleaning, it may be time to consider upgrading to a newer model. Look for fans with high airflow and low noise levels for optimal performance.
7. Consult professional help if needed: If you’re unsure about cleaning or maintaining your PC case fan, or if you encounter any technical issues, it’s best to consult a professional technician who can assist you in the process.
By following these maintenance tips, you can ensure that your PC case fan operates at its best and helps maintain a cool and reliable computer system. Remember, a clean and well-maintained fan not only enhances performance but also extends the lifespan of your PC’s components.