Introduction
Having proper airflow in your computer case is essential for keeping your components running smoothly and efficiently. One of the key components in maintaining a good airflow is the case fan. A case fan helps to circulate air and remove excess heat from inside the case, preventing overheating and potential damage to your hardware.
In this guide, we will walk you through the process of installing a case fan as an intake, which means it will draw cool air into the case. This is particularly useful if you have multiple fans in your system already, as it helps to balance the airflow and avoid creating hot spots inside the case.
Before we get started, it’s important to note that installing a case fan requires some basic knowledge of computer hardware and components. If you’re not confident in your abilities, it’s always a good idea to consult with a professional or someone experienced in computer building.
Additionally, make sure to check your computer case specifications and compatibility to ensure that you have an available slot for the fan and the necessary connectors for installation. With that said, let’s dive in and learn how to install a case fan as an intake!
Choosing the Right Fan
When it comes to selecting a case fan, there are a few factors to consider to ensure you choose the right one for your needs. Here are some key things to keep in mind:
- Size: Case fans come in various sizes, typically ranging from 80mm to 140mm. It’s crucial to choose a fan that fits your computer case’s specifications. Check the dimensions of the fan slots in your case and choose a fan that matches those measurements.
- Airflow: The airflow of a fan is measured in cubic feet per minute (CFM). The higher the CFM, the more air the fan can move. Consider the heat generated by your components and choose a fan with an appropriate airflow rating to ensure efficient cooling.
- Noise Level: Fans can generate noise when running at high speeds. Look for fans that have a low noise level rating, usually measured in decibels (dB), to maintain a quiet operation. It’s worth noting that larger fans tend to run quieter due to their slower rotational speeds.
- Static Pressure: If your case has restrictive airflow paths, such as tight mesh or filters, consider a fan with higher static pressure. Static pressure measures a fan’s ability to push air through these obstructions, ensuring adequate cooling in such circumstances.
- Connectivity: Check the connectors on your motherboard or fan controller to determine the appropriate fan connector type. Most modern fans use a 3-pin or 4-pin connector, but double-check to ensure compatibility.
By considering these factors, you can choose a case fan that fits your case, provides sufficient airflow, operates quietly, and meets your specific cooling needs. It’s also a good idea to read reviews or seek recommendations from reputable sources to help you make an informed decision.
Preparing Your Case
Before installing the case fan, it’s important to prepare your computer case to ensure a smooth and successful installation. Follow these steps:
- Power Off: First and foremost, shut down your computer and unplug the power cord. This is crucial for your safety and the safety of your hardware.
- Open the Case: Locate the screws or latches on the side or back of your computer case that hold the side panels in place. Remove these screws or release the latches to open the case. Some cases may have a removable panel on the front that provides access to the fan slots.
- Clear Space: Take a moment to clear any cables or obstructions that may be in the way of the fan installation. This includes rearranging cables and ensuring there is ample space around the fan slot for proper airflow.
- Clean the Interior: While the case is open, it’s a good opportunity to clean any dust or debris that may have accumulated inside. Use compressed air or a soft brush to gently remove any dirt from the components and fan slots. This will help maintain optimal airflow and prevent overheating.
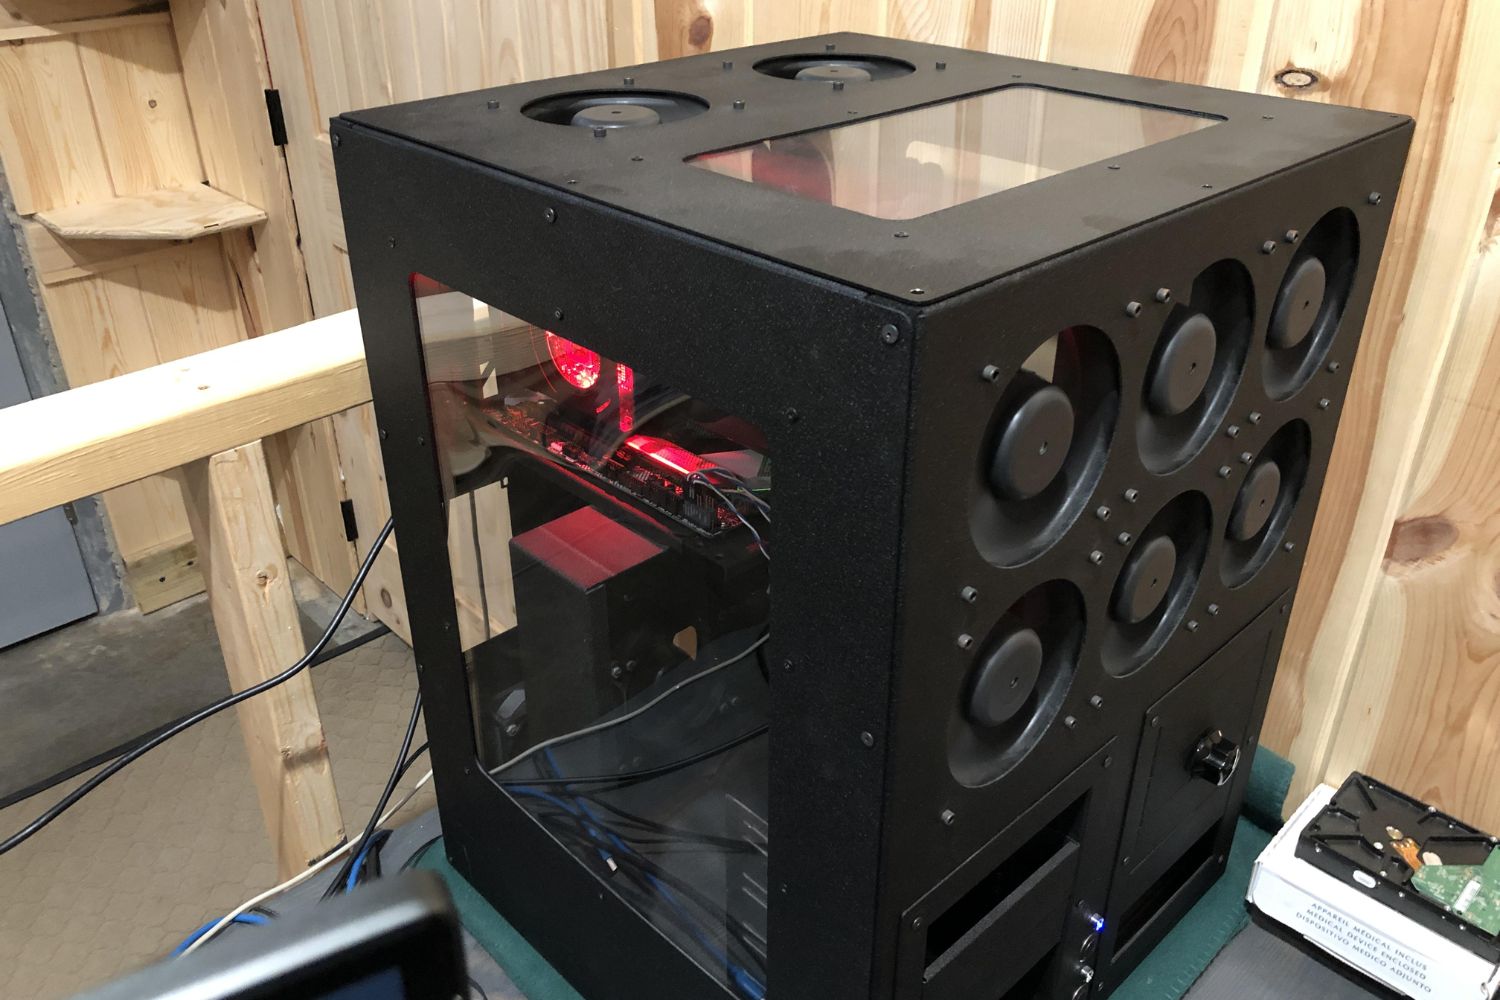
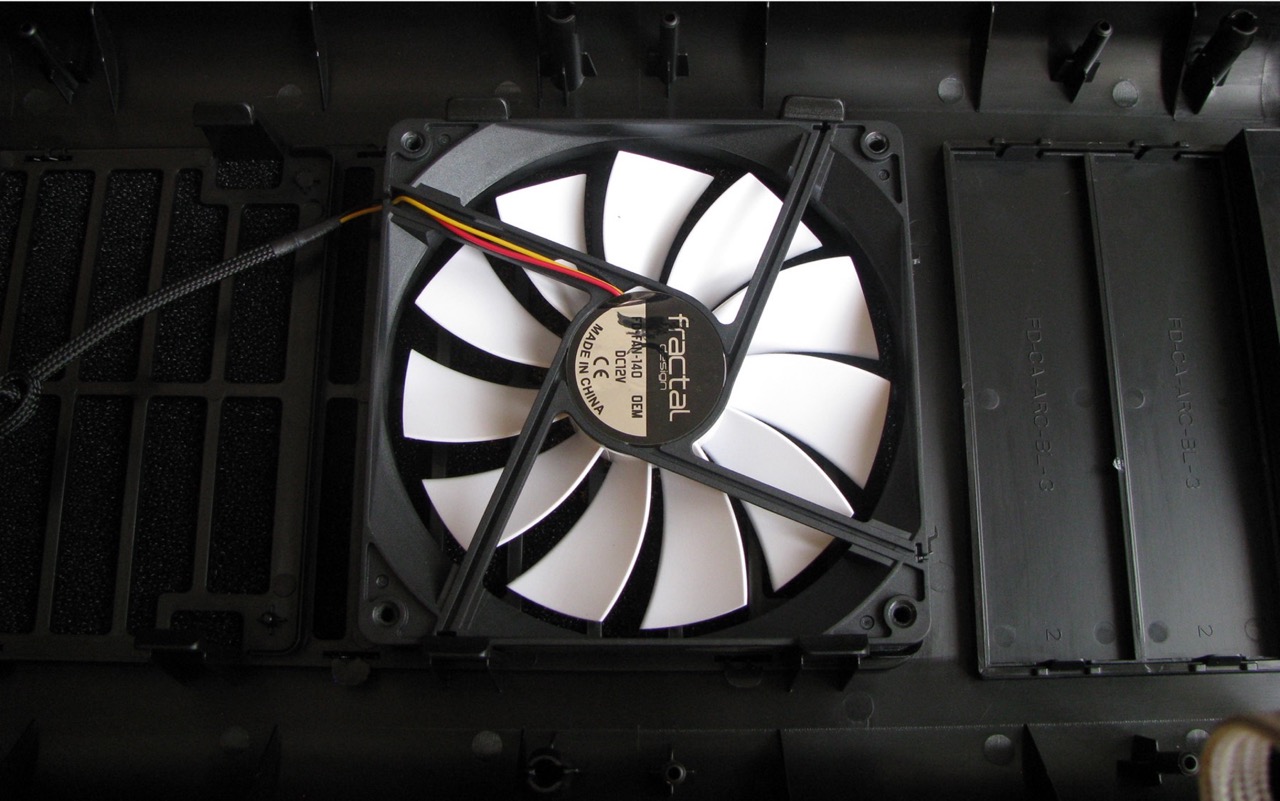
- Identify the Fan Slot: Look for an open fan slot in your case where you plan to install the intake fan. It’s usually located on the front, side, or bottom of the case. Familiarize yourself with the mounting holes and connectors in this slot.
By properly preparing your computer case, you’ll minimize any potential issues or obstacles during the installation process. This will help ensure a smooth and efficient installation of the case fan as an intake.
Removing the Old Fan (if applicable)
If you already have a case fan installed in the slot where you plan to install the new intake fan, you’ll need to remove it first. Follow these steps:
- Power Off: As always, ensure that your computer is powered off and unplugged before working on any internal components.
- Locate the Screws: Identify the screws or mounting clips that hold the old fan in place. These are usually located on the corners of the fan. Depending on the type of case and fan, there may be two or four screws to remove.
- Remove the Screws: Using a screwdriver, carefully unscrew and remove the screws. Keep these screws in a safe place, as you may need them for installing the new fan.
- Disconnect the Power Cable: Look for the power cable that connects the fan to the motherboard or fan controller. Gently unplug the cable from its connector. Take note of how the cable is connected, as you’ll need to replicate this when installing the new fan.
- Remove the Old Fan: With the screws removed and the power cable disconnected, carefully lift the old fan out of the slot. Be mindful of any cables or other components that may be in the way.
- Inspect and Clean: Take a moment to inspect the old fan for any damage or excessive dust buildup. If necessary, clean the fan using compressed air or a soft brush before storing it or disposing of it properly.
By following these steps, you can safely remove the old fan from the case slot, making way for the installation of the new intake fan.
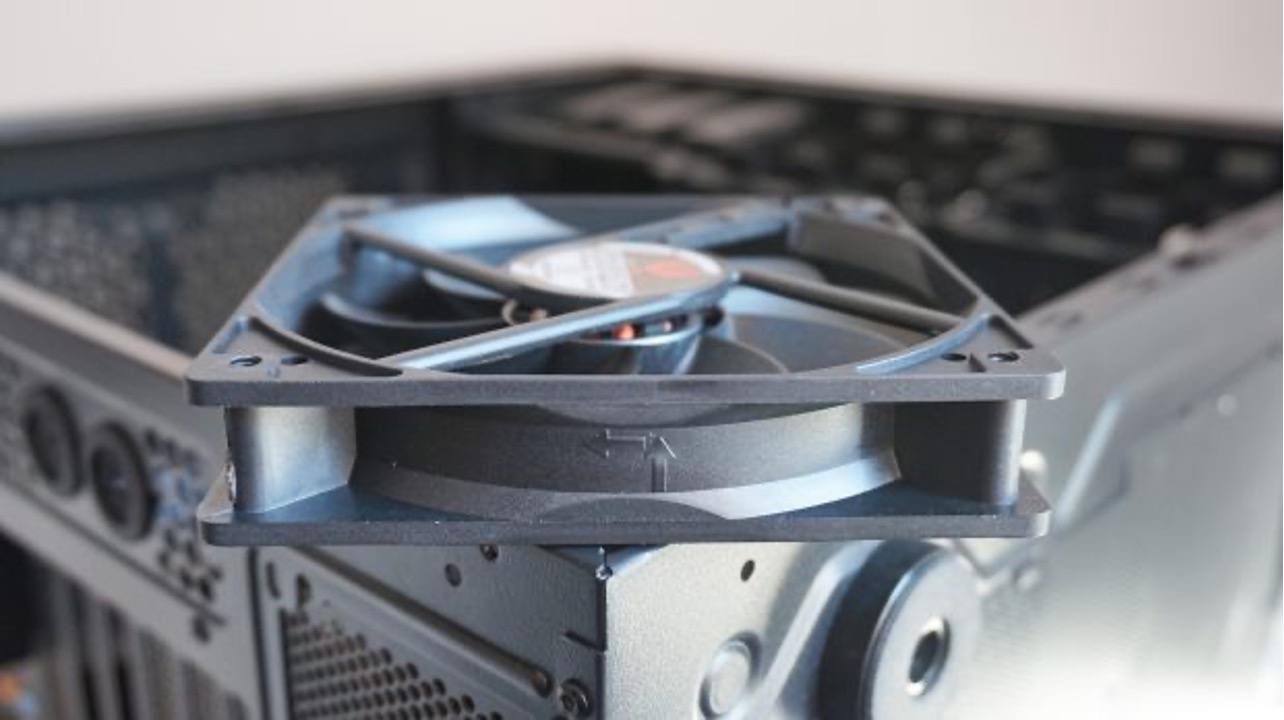
Installing the Case Fan
Now that you have prepared the case and removed the old fan (if applicable), it’s time to install the new case fan as an intake. Follow these steps:
- Align the Fan: Take the new case fan and align it with the fan slot. Ensure that the screw holes on the fan line up with the mounting holes in the case.
- Secure the Fan: Use the screws that came with the fan or the screws from the old fan to secure the new fan in place. Start by inserting and tightening one screw diagonally, then move on to the opposite corner and secure that screw. Repeat this process for the remaining screws.
- Check for Clearance: Double-check that the fan is properly seated and there is enough clearance between the fan and any nearby components or cables. This is important to prevent any potential interference or damage.
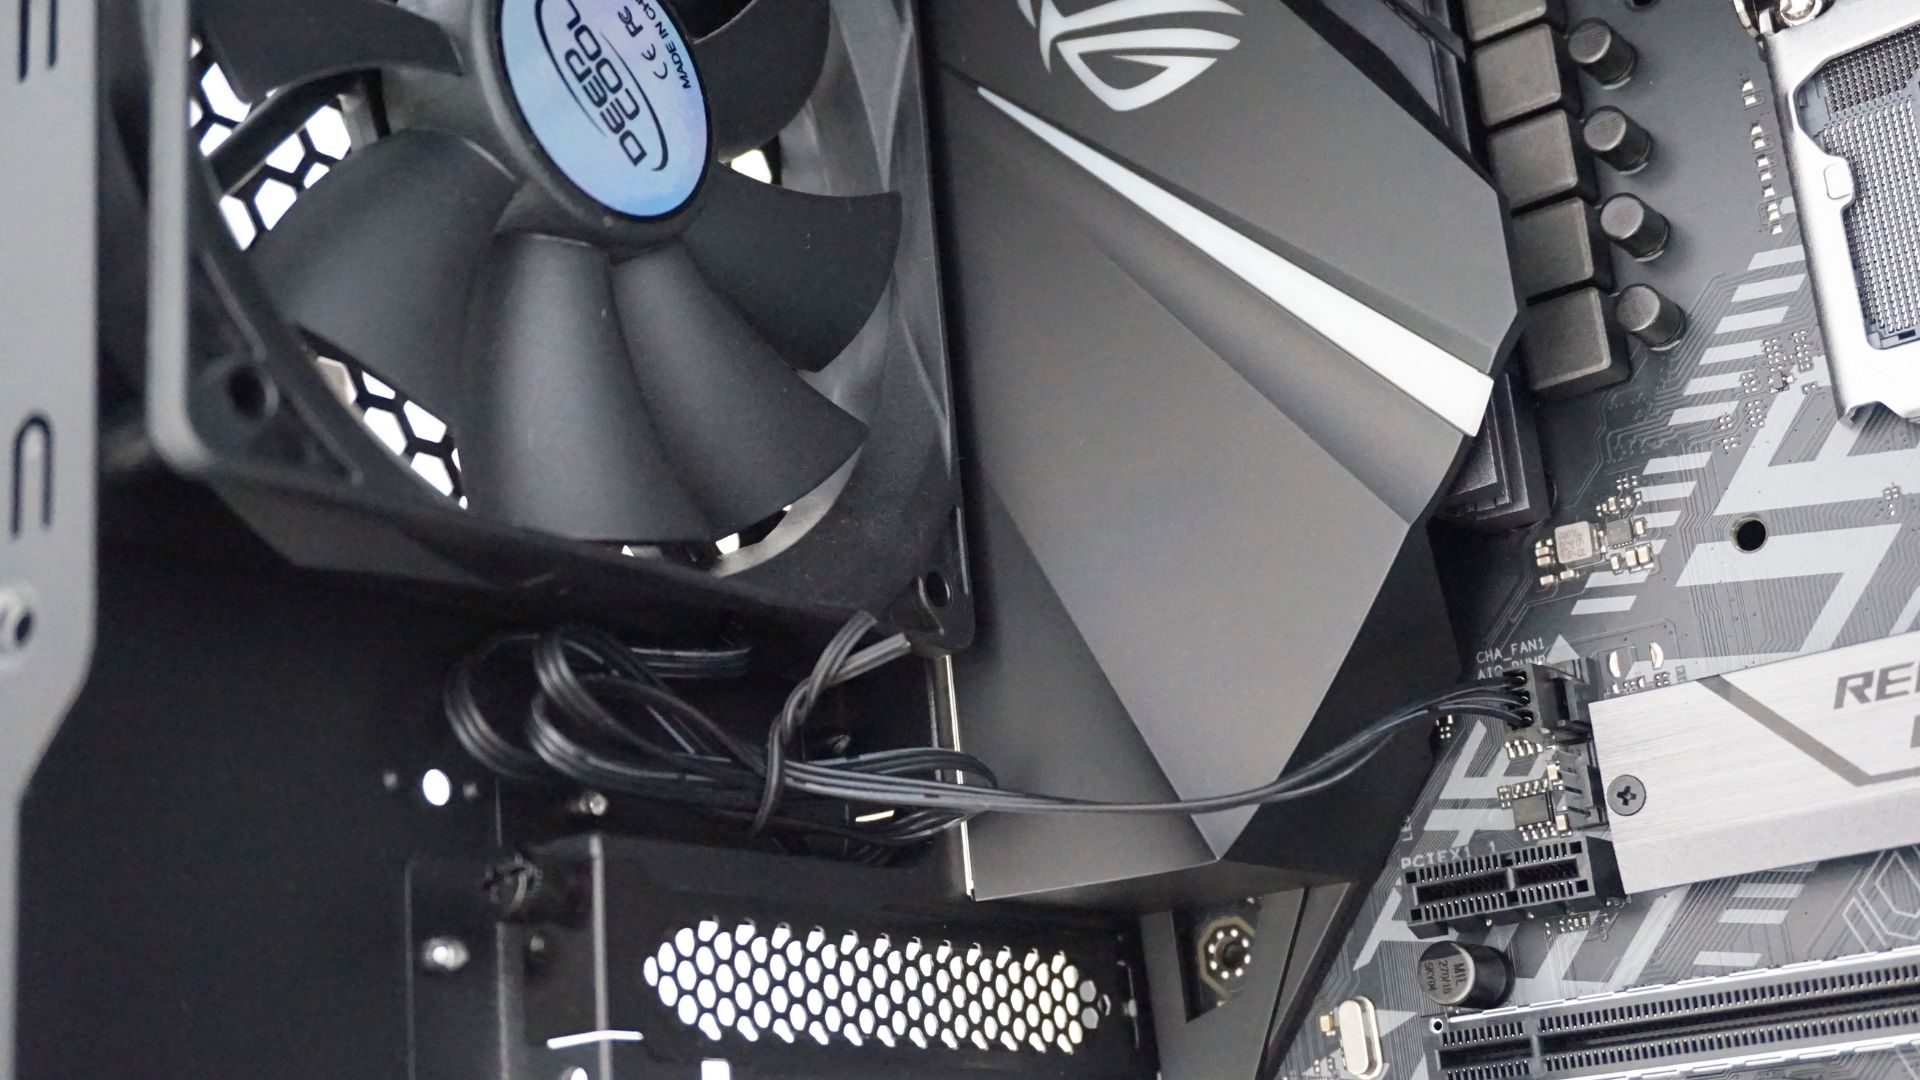
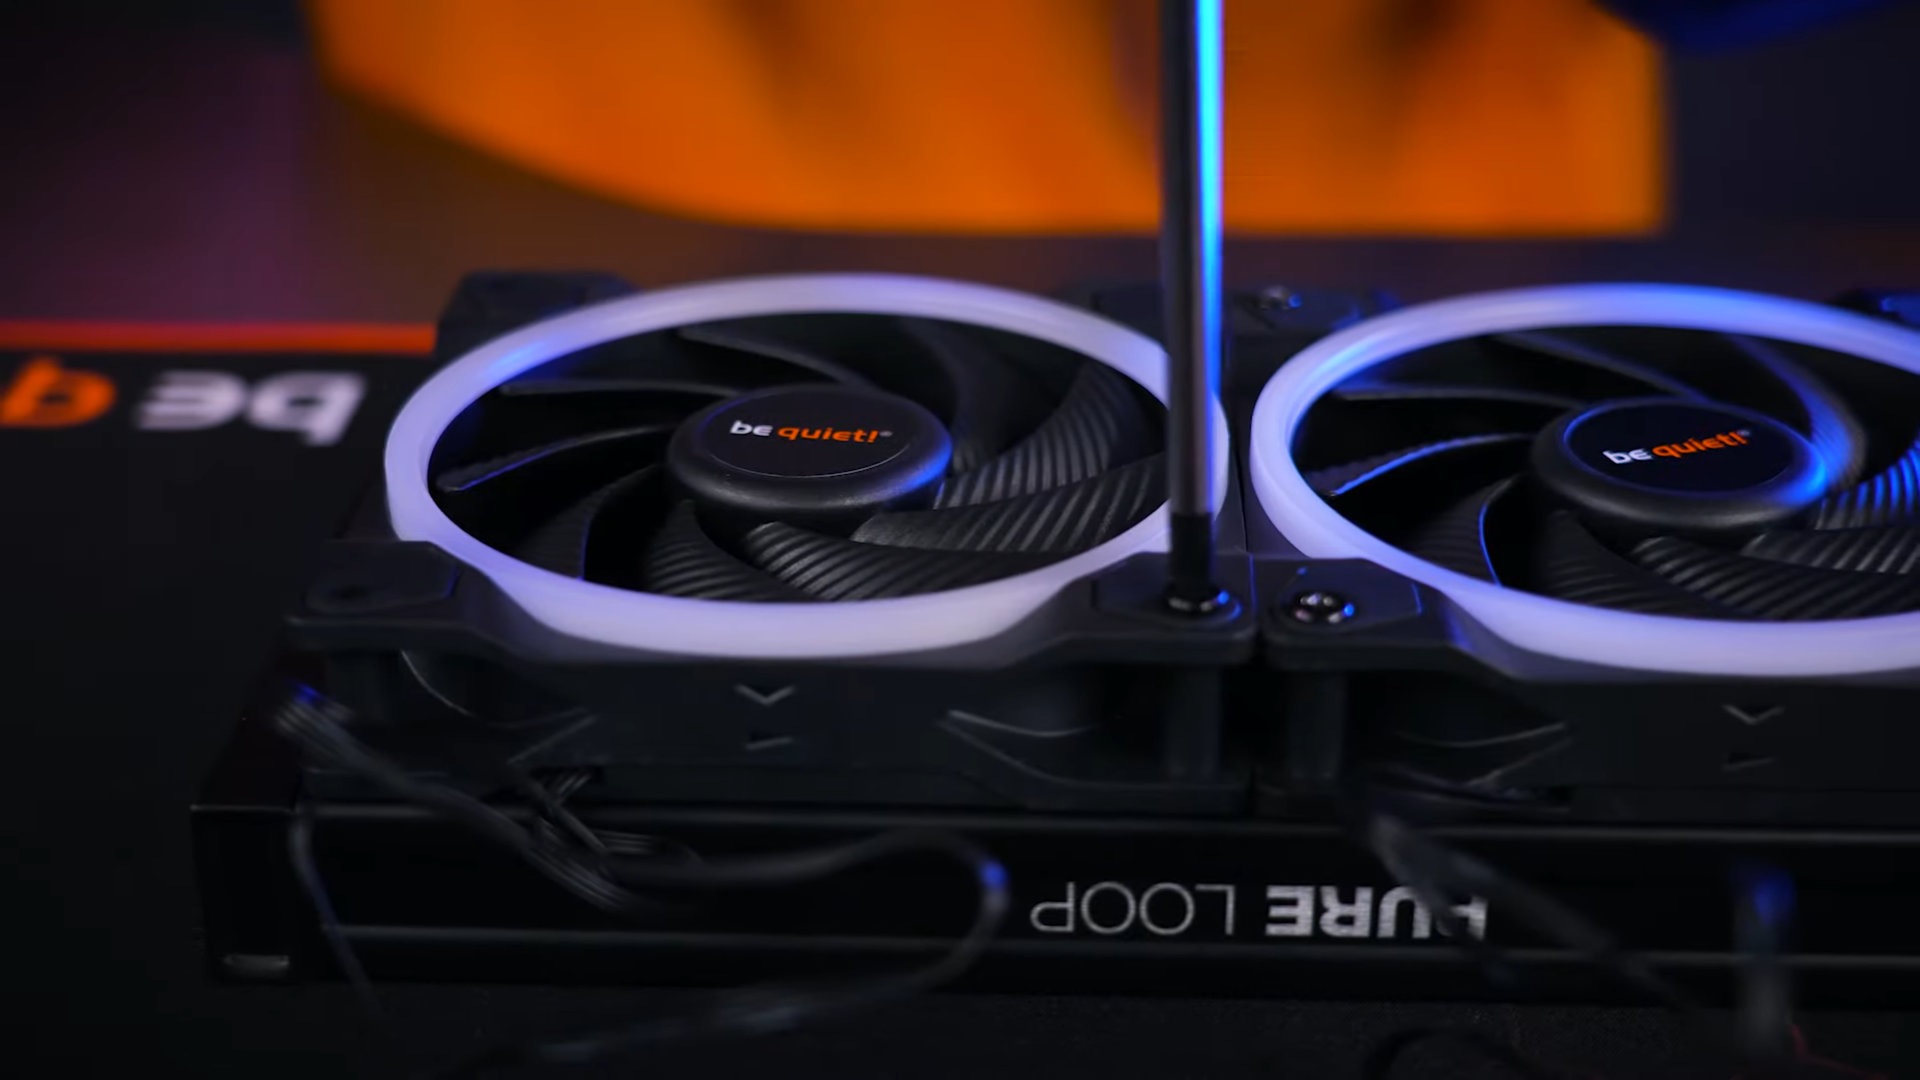
- Connect the Power Cable: Locate the power cable of the case fan and connect it to the appropriate fan header on your motherboard or fan controller. Match the connectors, ensuring a secure and snug fit. If the fan has a 3-pin connector, align the tab with the corresponding slot.
- Organize Cables: Take a moment to organize and route any cables in the case, ensuring they are neatly tucked away and not obstructing the airflow from the new intake fan.
By following these steps, you’ll be able to successfully install the new case fan as an intake. Remember to take your time and be gentle during the installation process to avoid any damage to the fan or other components in your system.
Connecting the Fan to the Power Supply
After installing the case fan, the next step is to connect it to the power supply. Here’s how you can do it:
- Locate the Fan Power Cable: Take a look at the case fan’s power cable. It should have a connector at the end that matches the power supply’s connectors.
- Identify the Appropriate Connection: Depending on the type of case fan you have, there are a few different ways to connect it to the power supply. Let’s explore the options:
- 3-Pin Connector: If your case fan has a 3-pin connector, you can connect it directly to the motherboard’s fan header. Look for a 3-pin connector on the motherboard labeled “SYS_FAN” or “CHA_FAN”. Align the tab on the fan connector with the corresponding slot on the fan header and firmly plug it in.
- 4-Pin Connector: If your case fan has a 4-pin connector, it is designed for PWM (Pulse Width Modulation) control. You can connect it to the motherboard just like a 3-pin connector. Make sure to align the tab on the fan connector with the corresponding slot on the fan header.
- Molex Connector: Some case fans come with a Molex connector, which is a larger, 4-pin connector used for older power supplies. If this is the case, locate an available Molex connector from the power supply and connect it to the fan’s Molex connector.
- Ensure Proper Orientation: Once you’ve connected the fan to the power supply, double-check that the connection is secure and the orientation is correct. If the fan has a 3-pin or 4-pin connector, the tab should align with the corresponding slot on the fan header.
- Verify Fan Operation: After connecting the fan to the power supply, it’s a good idea to power on your computer and ensure that the fan is spinning. Monitor the fan’s operation in your system’s BIOS or through software utilities to make sure it’s functioning correctly.
By following these steps, you can successfully connect the case fan to the power supply. This will provide the necessary power for the fan to function and contribute to better airflow and cooling inside your computer case.
Closing up the Case
After installing and connecting the case fan, it’s time to close up your computer case. Follow these steps to ensure everything is securely in place:
- Check the Fan Connections: Before closing the case, double-check the connections of the case fan. Make sure that the power cable is securely plugged into the fan header on the motherboard or power supply.
- Organize Cables: Take a moment to organize the cables inside the case. Bundle them together using zip ties or cable management clips to maintain a clean and clutter-free appearance. Ensure that the cables are not obstructing the fans or any other components.
- Replace the Case Side Panel: Once you have organized the cables, carefully replace the side panel of the computer case. Align the panel with the case and slide it into place. Use the screws or latches to secure the panel tightly. Be sure not to overtighten the screws to avoid damaging the case or stripping the screws.
- Check for Proper Fit: After closing the case, ensure that all edges and seams are aligned properly. The case should fit snugly with no gaps or loose panels. This will help optimize airflow and prevent any dust or debris from entering the case.
- Power On: Plug in the power cord, switch on your computer, and listen for the sound of the fans spinning. If everything is connected correctly, the new intake fan should be operational. Monitor the fan’s speed and temperature levels to ensure optimal performance.
With these steps, you can confidently close up your computer case, ensuring that the installed case fan is properly secured and the overall system is ready for use. Keeping the case closed and organized will help maintain a clean and efficient airflow, contributing to better cooling and overall system stability.
Testing the New Intake Fan
Once you have installed and closed up your computer case with the new intake fan, it’s important to test its performance to ensure it’s functioning properly. Follow these steps to test the fan:
- Power On: Start by powering on your computer and allowing it to boot up normally. Make sure all components are running, including the case fan you just installed.
- Monitor Fan Speed: Open your system’s BIOS or use software utilities to monitor the fan speed. Keep an eye on the RPM (revolutions per minute) value displayed. The fan speed should be in a reasonable range based on the manufacturer’s specifications.
- Check Airflow: Place your hand near the intake area of the fan or use a piece of tissue paper. You should feel or see gentle airflow indicating that the fan is pulling in cool air as intended. If there’s no noticeable airflow, make sure the fan is connected properly and check for any obstructions or issues.
- Monitor System Temperatures: Continuously monitor the temperatures of your system components, such as the CPU and GPU, using software utilities or monitoring tools. The new intake fan should help maintain lower temperatures by drawing in cool air and circulating it effectively throughout the case.
- Listen for Noise Level: Pay attention to the noise level of the fan while your system is running. A properly installed and well-functioning fan should operate quietly. If the fan is producing excessive noise or an unusual sound, check for any loose connections or potential issues.
By performing these tests, you can ensure that the new intake fan is working correctly and contributing to improved cooling and airflow within your computer case. If you notice any issues during the testing process, double-check the fan’s installation and connections to address any potential problems.
Conclusion
Congratulations! You have successfully installed a case fan as an intake, improving the airflow and cooling capabilities of your computer case. By following the steps outlined in this guide, you have taken an important step towards maintaining the optimal performance and longevity of your system.
Remember, a well-ventilated computer case is crucial for preventing components from overheating and potential damage. By choosing the right fan, preparing your case, removing the old fan if applicable, installing the new fan, connecting it to the power supply, and closing up the case, you have effectively enhanced the cooling efficiency of your computer.
After installing the fan, it’s crucial to test its performance by monitoring fan speed, checking for proper airflow, monitoring system temperatures, and listening for any unusual noise. These tests will help ensure that the new intake fan is functioning as intended and contributing to a stable and cool operating environment for your components.
Remember to keep your case clean and free from dust buildup by periodically cleaning the fan and the interior of the case. This will help maintain optimal airflow and cooling efficiency over time.
By taking the time to install a case fan as an intake, you have made a valuable investment in the longevity and performance of your computer system. Enjoy the benefits of improved airflow, cooler temperatures, and a more stable computing experience.