Introduction
When it comes to building a high-performance PC, one aspect that often gets overlooked is the direction in which the case fan should blow. Many people assume that as long as the fan is spinning, it will effectively cool the system. However, understanding the significance of the fan’s direction can greatly impact the overall performance and efficiency of your PC.
Proper airflow management within a computer case is crucial for maintaining optimal temperatures, preventing heat buildup, and enhancing the lifespan of internal components. The direction in which the case fan blows determines whether it acts as an intake or an exhaust, and strategically positioning fans throughout the case can create a well-regulated flow of air.
In this article, we will explore the various factors to consider when determining the direction for a PC case fan to blow. We will also discuss the different positions in the case where fans are typically placed, such as front intake, rear exhaust, top exhaust, side intake, and bottom intake. Additionally, we will touch on the placement of radiators for liquid cooling systems and provide some recommendations for the best fan configurations to optimize airflow and cooling performance.
Factors to Consider
When deciding on the direction for a PC case fan to blow, several factors should be taken into consideration to ensure optimal cooling efficiency and airflow within the system. Let’s delve into some of the key factors to keep in mind:
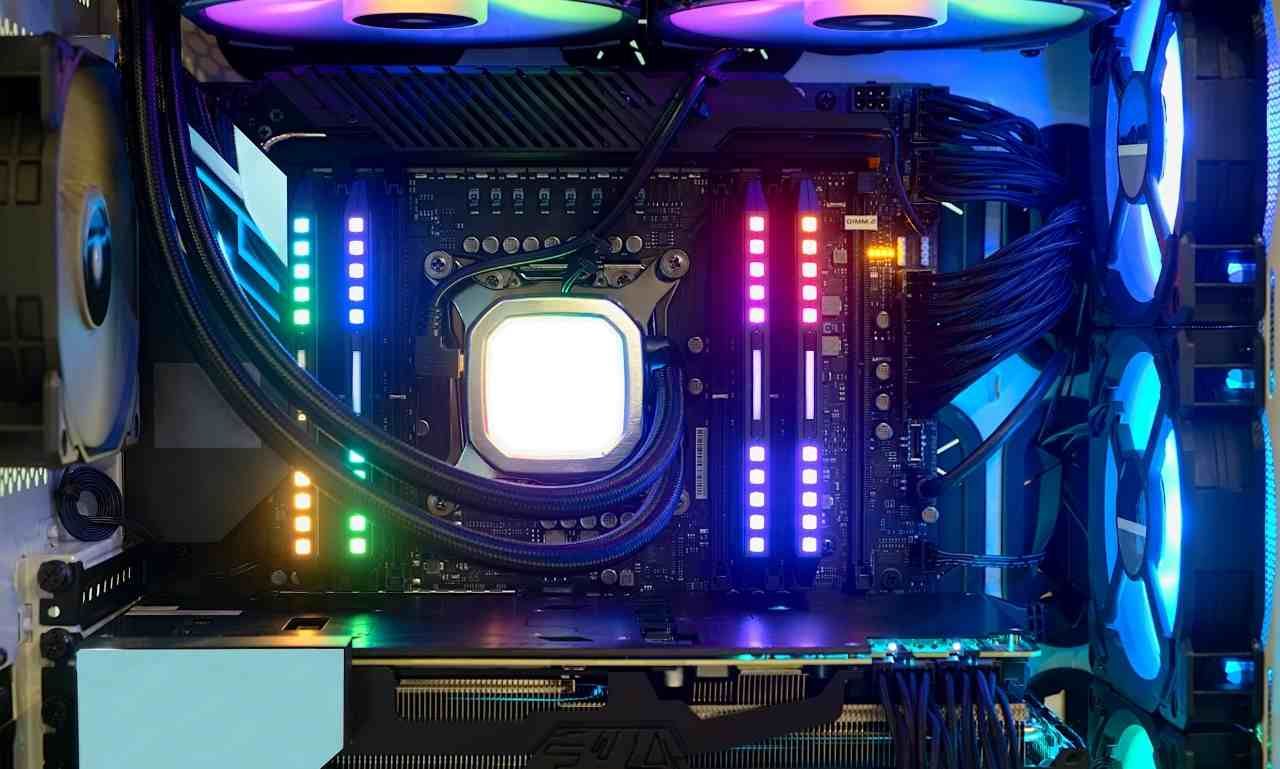
1. Hot Components: Identify the components in your PC that generate the most heat. These typically include the CPU, GPU, and power supply. Ensuring that the airflow is directed towards these hot components will help to dissipate heat more efficiently and keep temperatures in check.
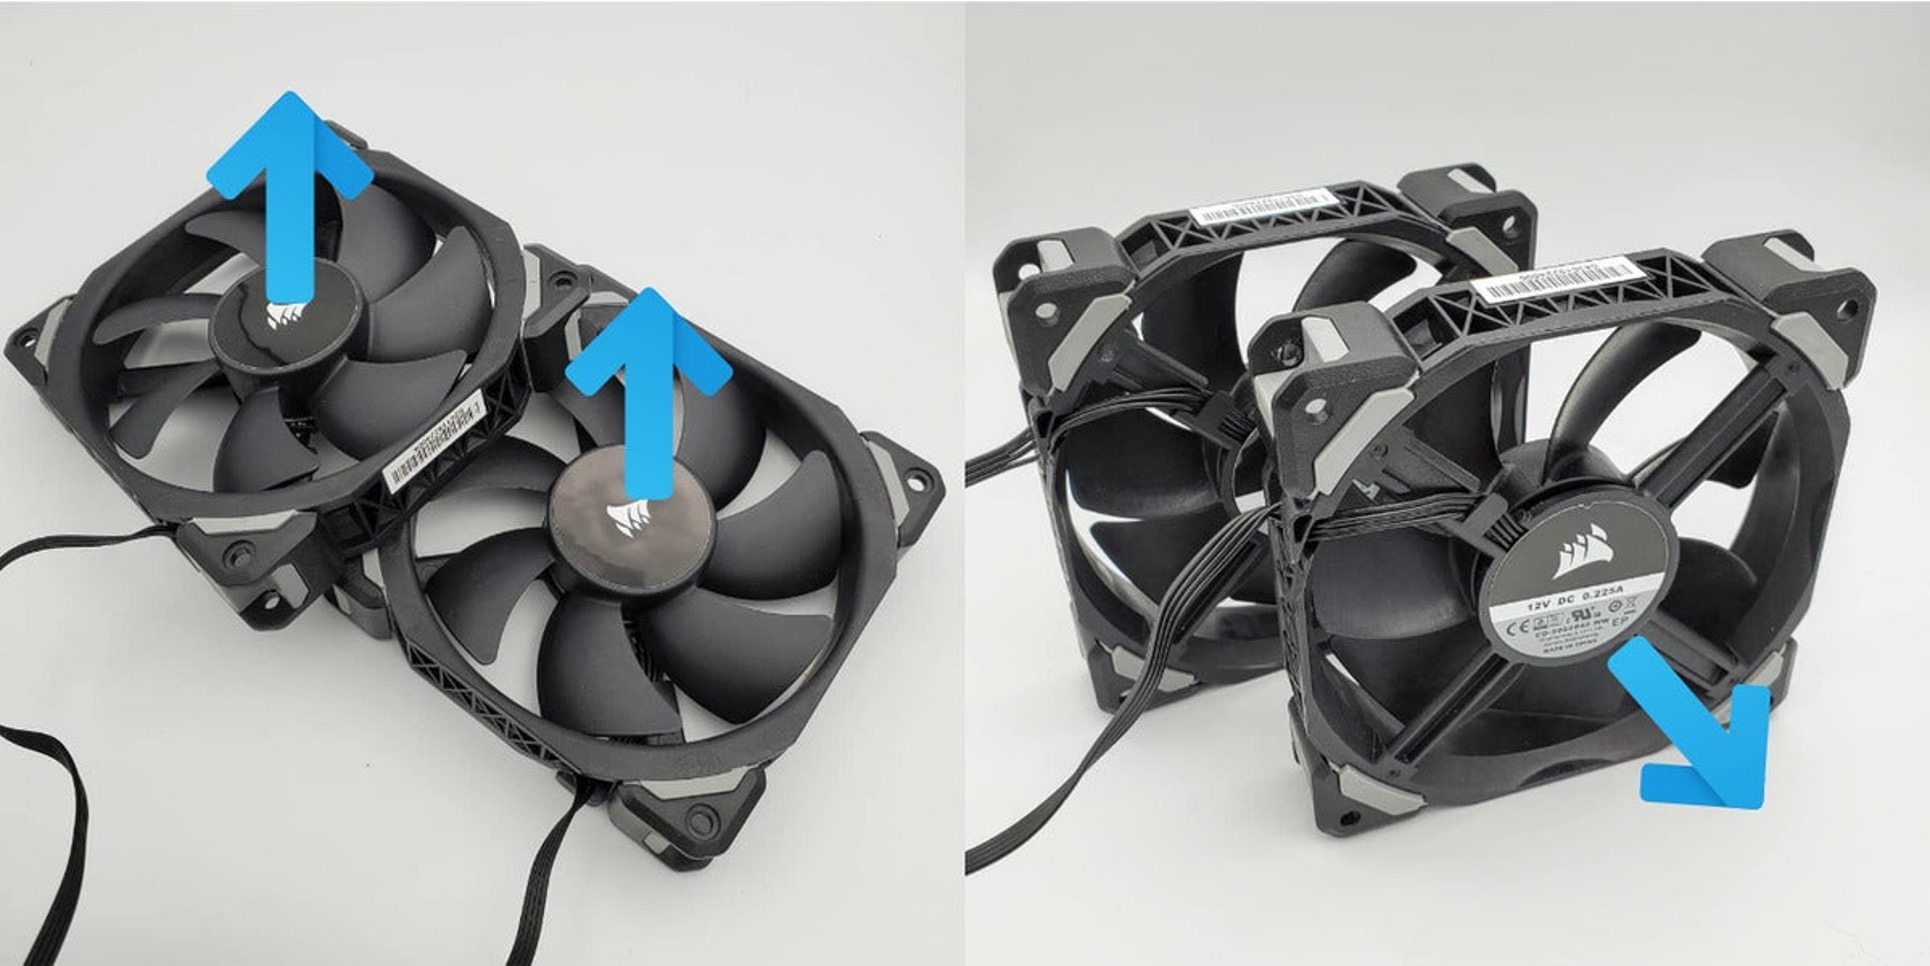
2. Intake vs. Exhaust: Determine if the fan will act as an intake or an exhaust. An intake fan brings in cool air from the outside, while an exhaust fan expels hot air from inside the case. Striking a balance between intake and exhaust fans is vital for maintaining positive air pressure within the case and preventing dust buildup.
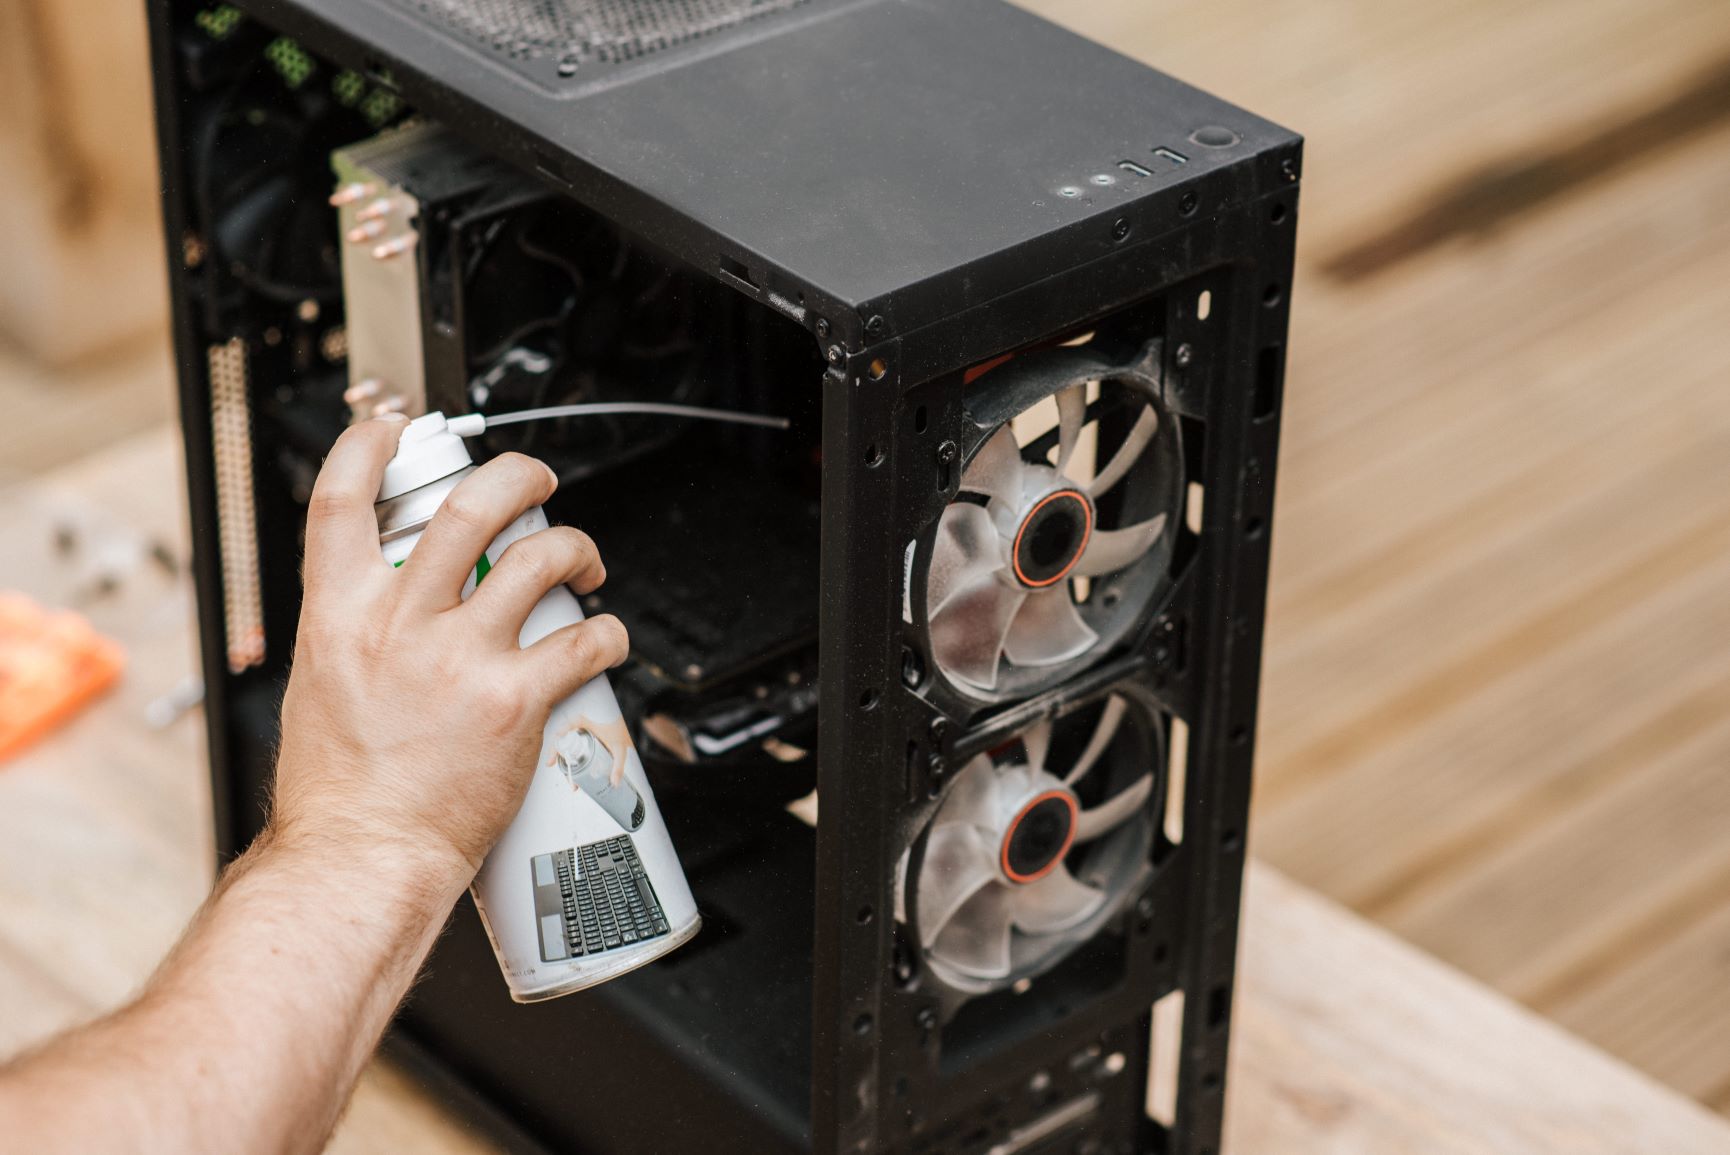
3. Dust Filtration: Consider the placement of dust filters in conjunction with the direction of the fan. Intake fans should ideally have dust filters to prevent dust particles from entering the case and clogging up internal components.
4. Clearance and Obstacles: Take into account any physical obstructions or components that may interfere with the airflow. Ensure that there is ample clearance between the fan and other components, cables, or obstacles that could obstruct airflow.
5. Orientation: Consider the orientation of the case and the fan’s position within it. If the case is placed on the floor or against a wall, it may impact how the airflow circulates within the system. Adjust the fan’s direction accordingly to accommodate the case’s orientation.
By carefully considering these factors, you can determine the most suitable direction for your PC case fan to blow. It is important to maintain a balance between intake and exhaust, prioritize cooling hot components, and minimize dust accumulation. Now let’s explore the different positions in the case where fans are typically placed.
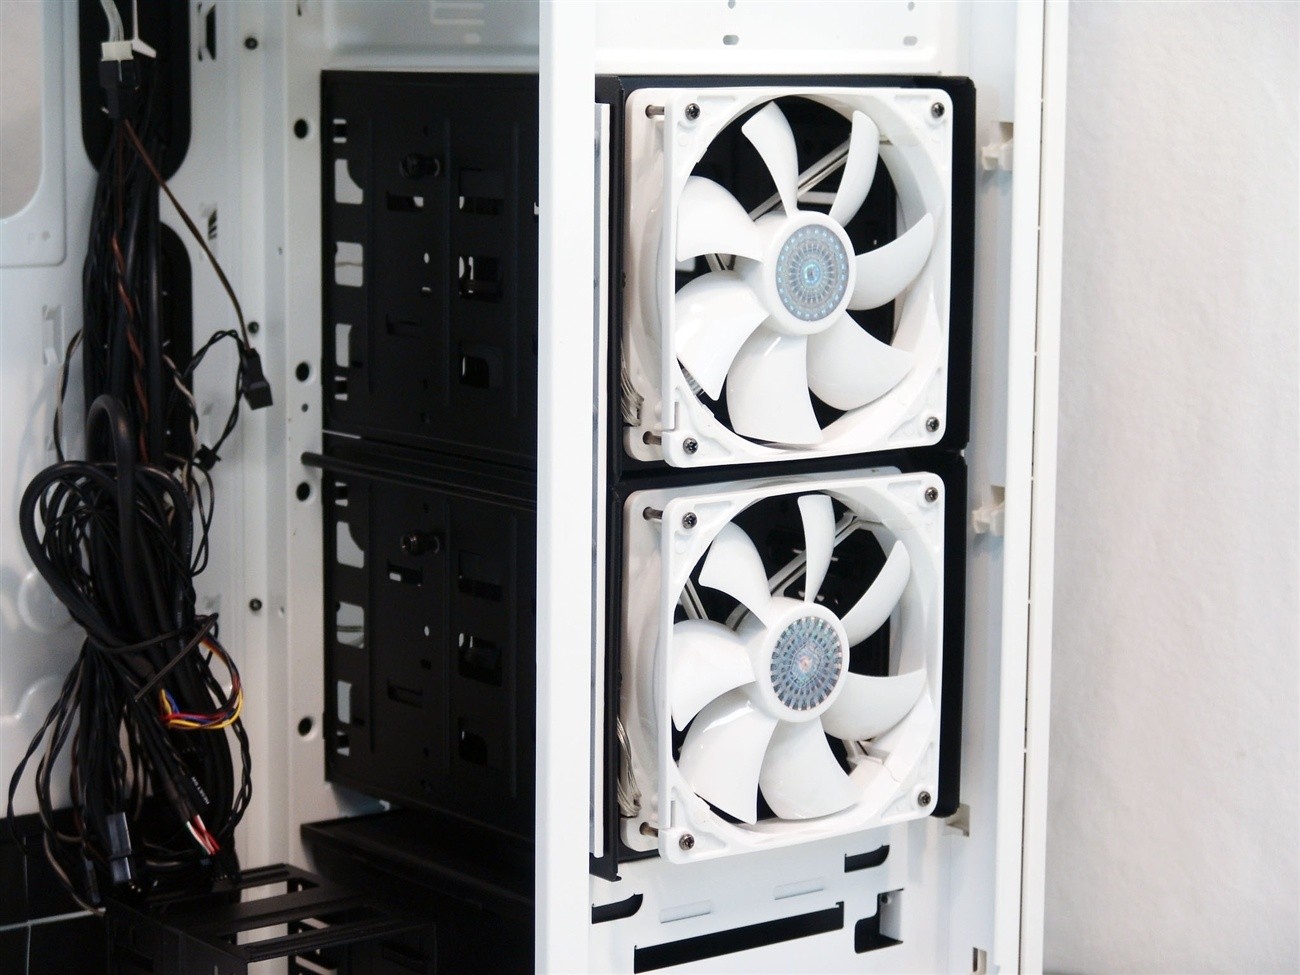
Front Intake Fan
The front intake fan plays a crucial role in bringing fresh, cool air into the PC case. It is typically positioned at the front panel, either at the bottom or top section, depending on the case design. The direction in which the front intake fan blows is key for effective cooling and optimal airflow.
When installing a front intake fan, it is generally recommended to have it blow air into the case. This configuration helps to bring in cool air from the outside to cool the components, such as the CPU and GPU, which are typically located near the front of the case.
By having a front intake fan blowing air into the case, you create positive air pressure, where more air is being pushed into the case than is being pulled out. Positive air pressure helps to reduce the amount of dust entering the case by forcing air to exit through any gaps or small openings. Additionally, having the front intake fan blow air directly onto the GPU and other components aids in efficient cooling, ensuring they operate within safe temperature ranges.
While having a front intake fan blowing air into the case is the recommended configuration, it is essential to consider any potential obstacles that could obstruct the airflow. Avoid blocking the front intake fan with cables, storage drives, or any other components that may restrict the airflow. Proper cable management is crucial to maintain a clear path for the intake fan to pull in cool air.
Another factor to consider is the presence of a dust filter. Most PC cases feature a removable dust filter at the front panel, positioned in front of the intake fan. This filter prevents dust particles from entering the case and accumulating on internal components. Regularly cleaning and maintaining the dust filter ensures proper airflow and prevents overheating caused by accumulated dust.
To summarize, the front intake fan should be positioned at the front panel of the case, preferably at the bottom or top section, and should blow air into the case. This configuration promotes positive air pressure, helps cool hot components, and reduces dust accumulation. Ensure that the airflow is not obstructed by cables or other components, and clean the dust filter regularly to maintain optimal cooling performance.
Rear Exhaust Fan
The rear exhaust fan, as the name suggests, is responsible for expelling hot air from the PC case. It is typically located at the rear panel, near the CPU and other components that generate heat. The direction in which the rear exhaust fan blows is vital for effective heat dissipation and maintaining optimal airflow within the system.
When installing a rear exhaust fan, it should be positioned in a way that allows it to blow air out of the case. This configuration helps to remove the hot air that has accumulated inside the case, allowing for a continuous flow of fresh, cool air to enter from the front intake fan.
The rear exhaust fan works in tandem with the front intake fan to create a proper airflow path through the case. As the front intake fan brings in cool air, the rear exhaust fan expels the hot air, ensuring that heat does not get trapped inside the case. This helps to prevent heat buildup and maintain lower temperatures for the components, ultimately improving their performance and longevity.
It is important to note that the rear exhaust fan should be positioned opposite to the CPU cooler, if possible. This setup helps to efficiently remove the hot air that rises from the CPU heatsink, assisting in effective heat dissipation. If the CPU cooler is positioned vertically, with the heat pipes facing upwards, aligning the rear exhaust fan with the CPU cooler will help in directing the rising hot air out of the case.
Proper cable management is crucial when installing the rear exhaust fan. Ensure that cables are routed away from the fan blades to avoid obstructing the airflow. Additionally, the rear exhaust fan should not be blocked by any hardware components or other obstructions within the case.
Having a rear exhaust fan also helps to create negative air pressure, where more air is being pulled out of the case than is being pushed in. This can help to reduce the accumulation of dust inside the case, as air is forced to enter through any small gaps or openings. However, it is still recommended to have dust filters in place to prevent excessive dust buildup.
In summary, the rear exhaust fan should be positioned at the rear panel of the case and should blow air out of the case. This configuration works in conjunction with the front intake fan to maintain efficient airflow, remove hot air, and prevent heat buildup. Proper cable management and careful alignment with the CPU cooler are essential for optimal performance.
Top Exhaust Fan
The top exhaust fan is an additional fan option that can be included in a PC case to further enhance the cooling capabilities and expel hot air from the system. The placement and direction of the top exhaust fan play a crucial role in maintaining optimal airflow and heat dissipation.
When installing a top exhaust fan, it is typically positioned at the top of the case, near the rear. The direction in which the top exhaust fan blows should be set to expel hot air out of the case. This configuration complements the rear exhaust fan in effectively removing hot air that rises to the top of the case.
The top exhaust fan is particularly useful for cooling components such as the CPU and motherboard VRMs, as they often generate a significant amount of heat. By directing the airflow from the top, the fan helps to carry away the hot air and prevent it from recirculating within the case.
It is essential to consider the clearance and potential obstructions when installing a top exhaust fan. Depending on the case design and the components’ layout, clearance might be needed to accommodate taller CPU coolers or radiator setups. Ensure that the top exhaust fan does not interfere with other hardware components, cables, or obstructions that could impede the airflow.
Strategically positioning the top exhaust fan can also assist in managing the system’s overall internal temperature. In setups with liquid cooling systems, placing the radiator at the top of the case and configuring the top exhaust fan to blow air out can effectively expel the heat generated by the liquid cooling process.
Another consideration is dust accumulation. Since the top of the case is more exposed to dust particles, having a dust filter in place to protect the top exhaust fan and prevent dust buildup is recommended. Regular cleaning and maintenance of the dust filter will ensure unobstructed airflow and optimum cooling performance.
It is worth noting that the top exhaust fan might have a minimal impact on overall cooling performance, especially in cases with a well-designed airflow path and effective intake and rear exhaust fans. However, in situations where additional heat dissipation is required, or in systems with specific cooling needs, the inclusion of a top exhaust fan can contribute significantly to temperature regulation and component longevity.
In summary, the top exhaust fan should be positioned at the top of the case and configured to blow air out of the case. Its purpose is to assist in removing hot air that rises to the top of the case, particularly from components like the CPU and motherboard VRMs. Consider clearance, potential obstructions, and the need for a dust filter when installing a top exhaust fan.
Side Intake Fan
The side intake fan is an optional fan that can be installed on the side panel of a PC case to provide additional cooling and improve the overall airflow within the system. The placement and direction of the side intake fan can have a significant impact on the cooling performance of certain components.
When installing a side intake fan, it is typically positioned on the side panel of the case, near the CPU and GPU area. The direction of the fan should be set to blow air into the case, with the purpose of bringing in cool air to cool down these hot components.
One of the main benefits of a side intake fan is its ability to provide direct cooling to the CPU and GPU. These components often generate a substantial amount of heat, and having a side fan blowing cool air directly onto them helps to dissipate the heat more efficiently, keeping temperatures within safe limits.
Additionally, a side intake fan can help in improving the airflow within the case, especially in setups with restricted airflow due to components such as large CPU coolers or graphics cards. By introducing cool air from the side, the fan helps to create a more balanced airflow path and prevents hot spots from forming in specific areas of the case.
However, it is important to consider the overall layout and design of the PC case when deciding to install a side intake fan. Some cases are not specifically designed to accommodate a side fan, and installation might require additional modifications or compatible side panels. Ensure that there is enough clearance between the side intake fan and other components, such as CPU coolers or RAM modules, to avoid any interference.
Furthermore, cable management plays a crucial role in optimizing the effectiveness of the side intake fan. Properly routing and organizing cables can allow for unobstructed airflow from the side panel, ensuring that the fan can draw in cool air efficiently.
Unlike other fan positions, side intake fans typically do not require dust filters. Since they are positioned on the side panel away from the main flow of air, they are less prone to dust accumulation. However, it is recommended to periodically clean the side panel and fan to ensure dust does not hinder its performance.
In summary, a side intake fan can provide direct cooling to the CPU and GPU, improve overall airflow, and help prevent hot spots within the case. Position the fan on the side panel, blowing air into the case, and ensure proper clearance and cable management. While dust filters are generally not necessary, regular cleaning is still advised to maintain optimal performance.
Bottom Intake Fan
The bottom intake fan is an optional fan placement that can significantly enhance the cooling capabilities of a PC case. By strategically positioning a fan at the bottom of the case, cool air can be drawn in to cool down critical components and improve overall airflow.
When installing a bottom intake fan, it is typically positioned at the bottom of the case, often near the power supply unit (PSU) area. The direction of the fan should be set to blow air into the case, with the intention of bringing in fresh, cool air from outside.
One of the primary benefits of a bottom intake fan is its ability to provide direct cooling to the graphics card (GPU) and other components located at the bottom of the case. These components tend to generate a considerable amount of heat, and by drawing in cool air from below, the fan can help dissipate the heat efficiently.
Furthermore, having a bottom intake fan can significantly improve overall airflow within the case. As cool air is introduced at the bottom, it rises naturally, displacing the warmer air and creating a more balanced airflow path. This helps prevent the build-up of hot air in specific areas and promotes a consistent temperature throughout the system.
It is important to consider the design and clearance of the PC case when opting for a bottom intake fan. Some cases have dedicated fan mounts or air vents at the bottom, while others may require modifications or compatible bottom panels. Ensure that there is enough clearance between the bottom intake fan and other components, such as the PSU or storage drives, to avoid obstruction.
Cable management is also crucial in optimizing the effectiveness of the bottom intake fan. Neatly routing and securing cables away from the fan’s path will allow for unrestricted airflow, maximizing its cooling potential.
Unlike front or top intake fans, bottom intake fans typically do not require dust filters. Since they are drawing in fresh air from the outside, the risk of dust accumulation is relatively low. However, it is always recommended to keep the case and all components clean to maintain optimal performance.
In summary, a bottom intake fan can provide direct cooling to the GPU and improve overall airflow within the case. Position the fan at the bottom of the case, blowing air into the case, and ensure adequate clearance and proper cable management. While dust filters may not be necessary, regular cleaning is advisable to keep the system running smoothly.
Radiator Placement
Radiator placement is an essential consideration for PC enthusiasts using liquid cooling systems. The positioning of radiators can significantly impact cooling performance and overall system temperatures. Proper placement ensures efficient heat dissipation and optimal performance of the liquid cooling setup.
When deciding on radiator placement, there are two primary options to consider: top-mounted and front-mounted radiators.
Top-Mounted Radiators: Installing the radiator at the top of the case is a common choice for liquid cooling enthusiasts. This configuration allows hot air generated by the CPU to be expelled directly from the case. The top-mounted radiator functions as both an exhaust for the CPU heat and a heat exchanger to dissipate the thermal energy into the surrounding air.
When using a top-mounted radiator, it is essential to ensure proper airflow. Placing the radiator in conjunction with the top exhaust fan facilitates the smooth expulsion of hot air from the case. This arrangement can maintain a consistent flow of cool air from the front intake fans, ensuring efficient cooling throughout the system.
Front-Mounted Radiators: Another popular radiator placement option is at the front of the case, acting as an intake for cool air. This configuration allows cold air from outside the case to pass through the radiator, cooling the liquid inside. The warmed air then enters the case, where it is exhausted by the rear and top exhaust fans.
Front-mounted radiators can provide excellent cooling for the CPU and other components, especially in cases with limited airflow. The direct intake of cool air ensures efficient heat transfer, ultimately keeping temperatures lower. This placement is particularly effective for liquid-cooled systems with high-performance CPUs or overclocked processors.
When considering radiator placement, ensure that the case and its components are compatible with the chosen position. Check the dimensions and clearance requirements to ensure a proper fit without obstruction. It is also essential to consider the adequate space available for fans, tubes, and other necessary components associated with the liquid cooling setup.
Lastly, keep in mind that radiator placement can have an impact on cable management. Plan accordingly to route and secure cables properly, ensuring they do not interfere with the radiator or impede airflow. Neat and organized cable management can improve overall airflow and maintain an optimal cooling environment within the case.
In summary, radiator placement plays a crucial role in liquid cooling systems. Top-mounted radiators act as exhausts for CPU heat, while front-mounted radiators function as intakes for cool air. Consider compatibility, clearance, and cable management when deciding on the best radiator placement for your system. Proper placement will ensure efficient cooling and enhance overall system performance.
Best Fan Configurations
Choosing the right fan configurations for your PC case is crucial to maximize cooling performance and maintain optimal temperatures for your components. While there is no one-size-fits-all solution, certain fan configurations tend to work well in most setups. Here are some of the best fan configurations to consider:
1. Front Intake & Rear Exhaust: This is a classic and effective fan configuration. The front intake fan(s) bring in cool air from the outside, while the rear exhaust fan expels hot air from inside the case. This setup promotes good airflow, prevents heat buildup, and maintains a balanced temperature throughout the system. It is recommended for cases with a single or dual front fan mounting options.
2. Top Exhaust: Adding one or two top exhaust fans can improve heat dissipation, especially when combined with front intake and rear exhaust fans. Top exhaust fans help remove rising hot air and facilitate efficient airflow. This configuration is particularly beneficial for systems with high-powered CPUs or when using a liquid cooling radiator in a top-mounted position.
3. Front Intake & Bottom Intake: For cases with a bottom fan mounting option, adding a bottom intake fan complements the front intake fan. The front intake fan brings in cool air, while the bottom intake fan helps direct additional cool air to components like the GPU. This configuration is advantageous for systems with powerful graphics cards that benefit from direct fresh air intake.
4. Side Intake: For cases that support a side intake fan, adding one can provide focused cooling to specific components like the CPU and motherboard VRMs. The side intake fan draws cool air directly onto these components, assisting in efficient heat dissipation. This configuration is useful for systems with high-powered CPUs or for those in need of extra cooling.
5. Radiator Placement: If you are using liquid cooling with radiator(s), consider integrating them into your fan configuration. Whether it is a top-mounted or front-mounted radiator, configure the accompanying fans as exhaust or intake accordingly to maintain proper airflow and heat dissipation.
It is important to note that each case and system will have its own unique requirements, so experiment and monitor temperatures to determine the optimal fan configuration for your specific setup. Additionally, it is essential to consider the airflow path, cable management, and clearance for fans and components to ensure unobstructed airflow and adequate cooling.
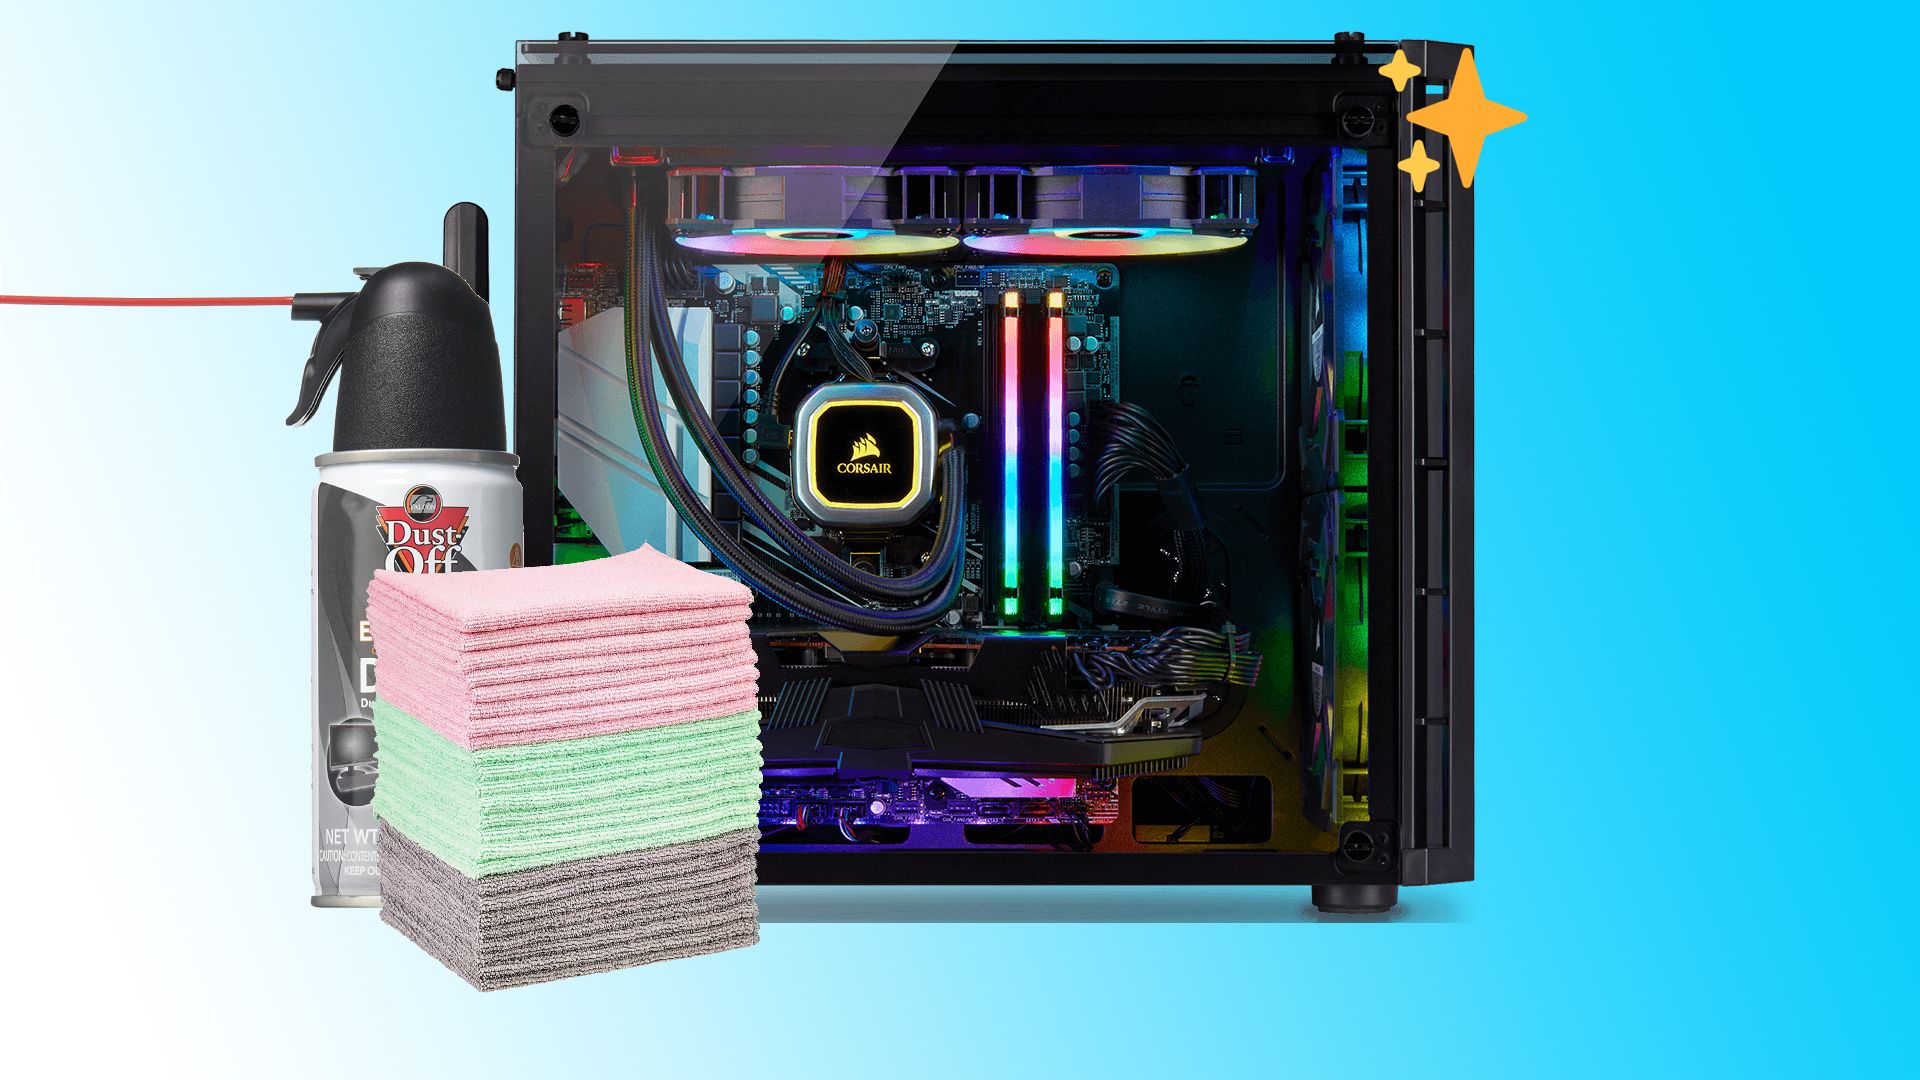
Regular maintenance, such as cleaning dust filters and ensuring fans are functioning properly, is also crucial to maintain the effectiveness of the chosen fan configuration. With the right fan configuration and proper maintenance, you can ensure that your PC operates at its best and maintains cool, stable temperatures for optimal performance.
Conclusion
Choosing the correct fan configurations and directing the airflow within your PC case is essential for effective cooling and optimal performance. By considering factors such as hot component placement, intake vs. exhaust orientation, clearance, and radiator positioning, you can create a well-regulated airflow path that effectively dissipates heat and maintains lower temperatures.
The front intake fan brings in cool air, while the rear exhaust fan expels hot air, creating a balanced airflow. Adding top exhaust, side intake, or bottom intake fans can further enhance cooling efficiency, especially for components that generate a significant amount of heat.
If you use liquid cooling with radiators, proper radiator placement and fan configuration can significantly impact heat dissipation and cooling performance. Whether it’s a top or front-mounted radiator, ensure that fans are positioned as exhaust or intake to complement the radiator’s function.
Remember to account for clearance and potential obstructions, such as cables, components, or walls, that may impede airflow. Organized cable management is also crucial for maintaining unobstructed paths for air to flow freely through the case.
Regular maintenance, including cleaning dust filters and ensuring fans are functioning correctly, is vital to maintain optimal cooling performance over time.
In conclusion, taking the time to assess your PC’s fan configurations and directing airflow properly can lead to improved cooling efficiency, lower temperatures, and enhanced system performance. Adapt the suggested configurations to fit your specific needs, experiment, and monitor temperatures to achieve the best results for your PC setup. By creating an optimal cooling environment, you can ensure stability, longevity, and reliable performance for your components.