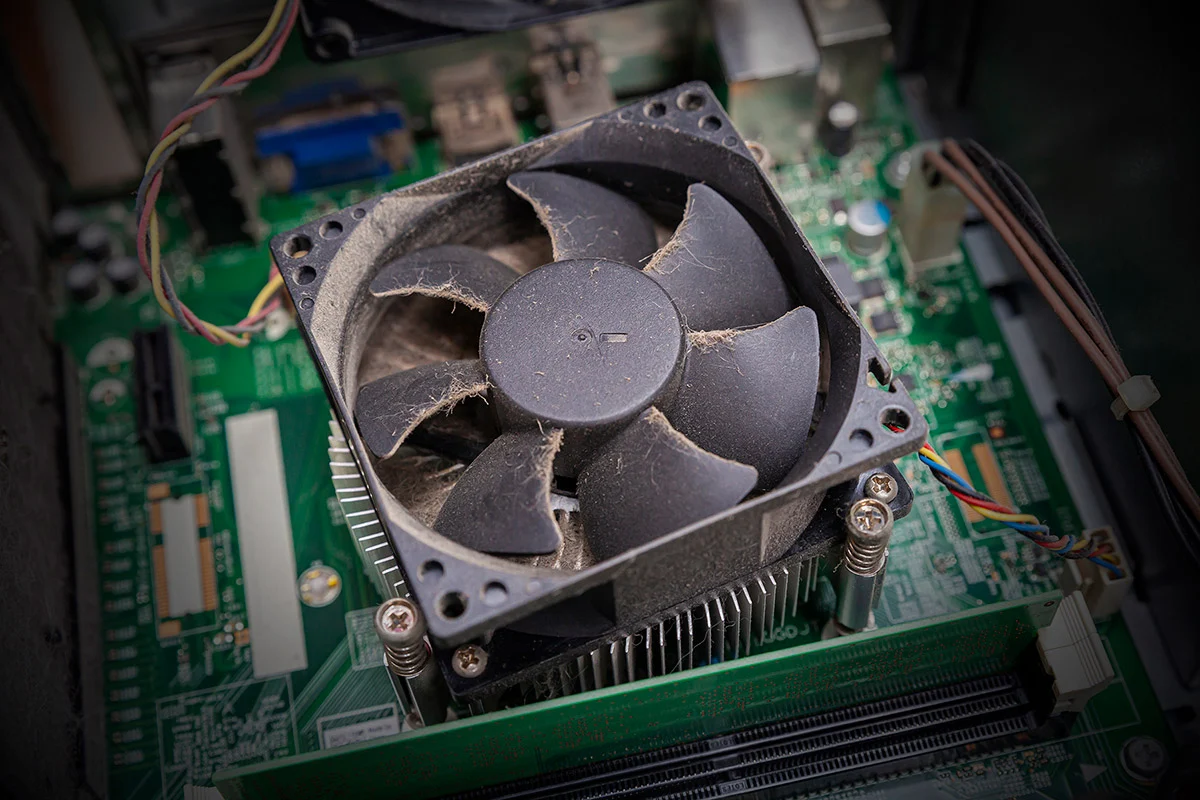
Keeping your PC fan clean is a crucial part of ensuring your computer’s longevity and maintaining its functionality. After all, you wouldn’t want your high-end gaming PC to start having performance issues just because of a little dirt. That’s why learning how to clean PC fans is a necessary skill to master. Aren’t sure how to go about it? Read on to find out more.
How to Clean PC Fans: Desktop PC
Ready to learn how to clean PC fans? Here are the things you must do to clean your fans successfully. Note that these tricks work regardless of the type of fan you’re cleaning — whether it’s a CPU fan, heat sink fan, case fan, graphics card fan, or power supply fan.
Check out the Corsair iCUE today
Step 1: Make the Preparations
Different types of PC fans will require different kinds of preparations. For example, if you’re learning how to clean PC case fans, then removing the case is a non-negotiable prerequisite. You should also physically unscrew and remove the unit if you’re dealing with a heat sink or case fan.
This way, you won’t accidentally blow dust into the other PC components. Moreover, doing so should make the cleaning process much easier. You won’t have to bend or try to angle yourself to clean hard-to-reach places.
Step 2: Vacuuming
Using your vacuum, hold the hose near the top of the CPU. Make sure it doesn’t touch any component because this can cause damage. Just hover the hose over the surface to suck the loose dust you find.
You should also remove the back part of the case and vacuum inside the CPU. Make sure not to touch or vacuum any jumpers or tiny connectors to avoid damaging the unit. Gently blow the dust in the hose’s direction so the vacuum can collect the majority of it.
However, make sure not to vacuum or dust other computer components because this can create static. As a result, your computer’s electrical parts – like the motherboard or video card – might fry up. You’ll have to resort to replacing the unit once that happens.
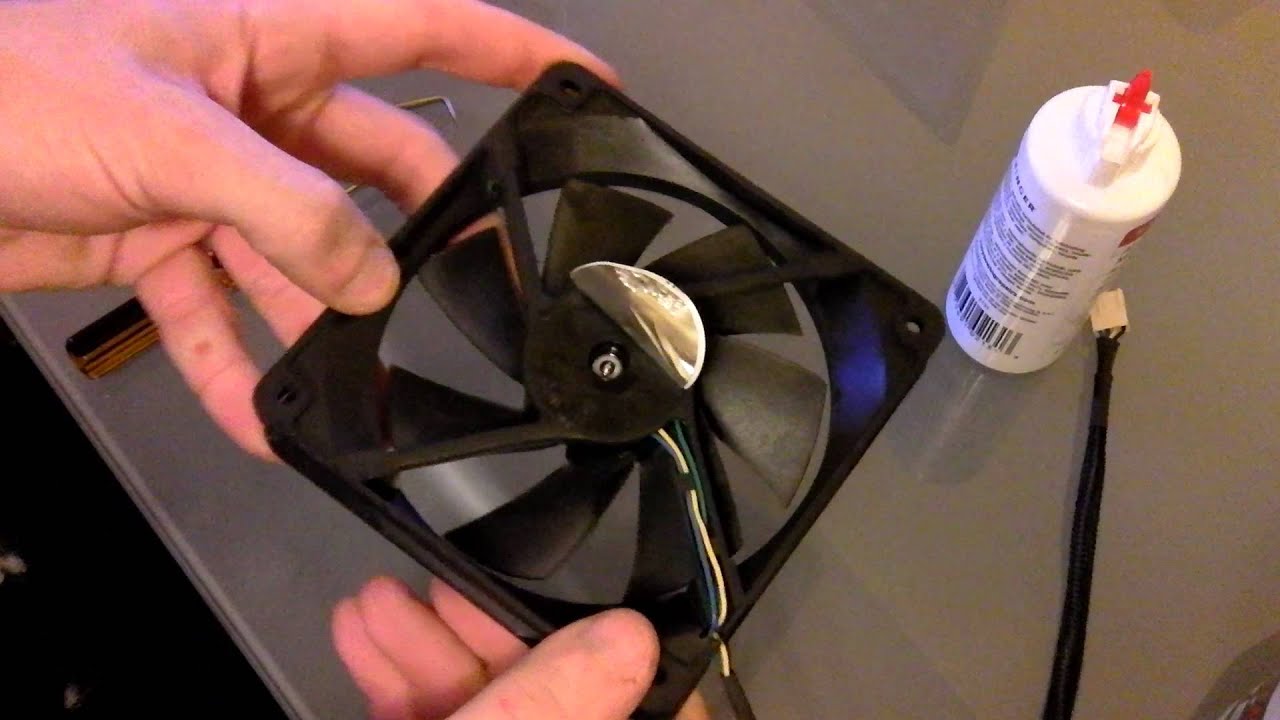
Step 3: Using Compressed Air
Using compressed air is a key factor in successfully learning how to clean fans in a PC. After vacuuming the dust from your PC fan, it’s time to bust out a can to blow away excess dust.
Make sure to orient the can in such a way that you blow the dust away from the computer. Otherwise, dust might collect in your computer’s other components and damage your CPU.
Afterward, you’ll need to learn how to clean PC fans with compressed air. Simply grab the can and slowly spray the compressed air to remove the collected dust from your fan. Make sure to also blow the dust or dirt that collects in the heat sink (located below the fan).
We also recommend blowing dust from the grills away. However, be sure to keep the fan blades still while doing this using a pen or pencil.
Step 4: Cleaning Fine Details
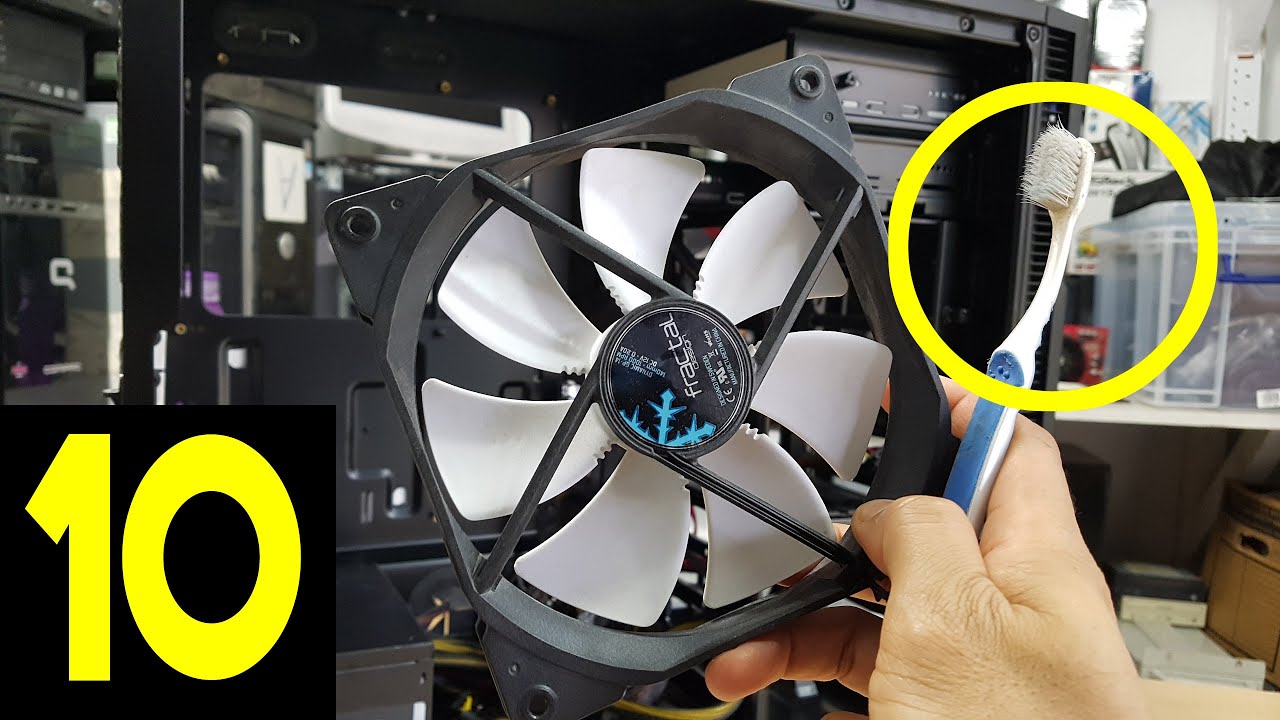
Are you eager to learn how to clean PC fan filters and get into the smaller parts of the unit? In this case, we recommend using cotton swabs with rubbing alcohol. Doing so should help get rid of excess dirt that both the vacuum and compressed air can’t get to. Moreover, it should help you remove stubborn and sticky grime that might have stuck to your PC fan.
Simply take a cotton swab, dab it in rubbing alcohol, and then gently rub it against the blades. Do this for every blade and each small part that may seem dirty. However, do refrain from touching the sensitive components we mentioned earlier, such as the connectors or jumpers.
After using a Q-tip, you may use a dry cloth to remove further traces of grime or dirt. Make sure everything is clean before you proceed to the next step.
Step 5: Inspection
After cleaning the fan, give it a fast spin to make sure it’s spinning freely. If the blades don’t spin, it might be time for you to replace the fans. However, if they spin, you may proceed with further inspection. Ensure that every part of the fan is clean and dry.
Afterward, you can proceed with reassembling your PC and fan. Make sure all the components are in the proper positions and haven’t been altered. Then you can try using your computer again and enjoy the performance improvements clean fans bring.
How to Clean PC Fans: Laptop
Taking apart your computer is an essential part of cleaning the fan. However, what if you physically cannot take apart your computer to clean it? How do I clean my computer fan without taking it apart?
For example, you might be cleaning a laptop that isn’t easy to disassemble. Its parts and components might be soldered onto the unit, preventing you from taking it apart.
Fortunately, while cleaning your computer fan without taking it apart isn’t ideal, it’s also not impossible. However, do know that compressed air will be required for this method to work. Here’s how to do it:
- Turn off your computer and unplug it
- Note: if you’re cleaning a laptop, remove the battery as well
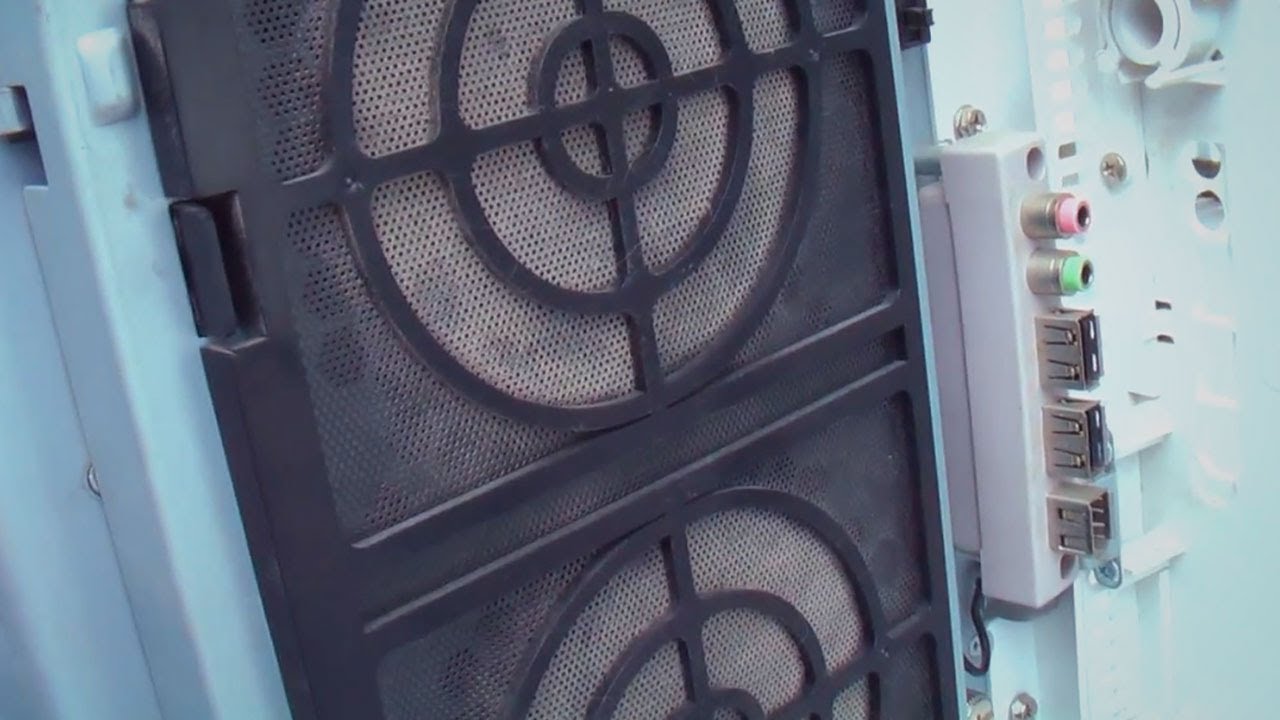
- Look for the fan intake vents (check your user manual for more guidance)
- Orient the nozzle of your canned compressed air so that it’s directed toward the vent
- Press the compressed air button quickly and provide a short burst of air
- Note: avoid long presses because they may damage the unit due to condensation
- Repeat the short bursts for the other intake vents
- Note: you may also use this method for the fans themselves if you can access them
- Blow compressed air through the exhaust vents found on the back or sides of the laptop
How to Clean PC Fans Without Compressed Air
Is it possible to learn how to clean front fans on a PC without compressed air? Thankfully, learning how to clean PC fans without this tool is fairly easy. That’s because there are many replacement tools and other alternatives you can potentially use.
Replacement Tools
Firstly, you can opt to use a clean paintbrush as a makeshift mini “broom” for the fan. Doing so will help you brush off loose and excess dirt that the vacuum cannot clean. You can also dampen the brush slightly to aid the process. However, make sure to leave the fan to air dry for two to three hours before you reassemble the computer.
Secondly, you can use a silicone hand blower as a more affordable alternative solution. Its mechanism is similar to that of compressed air, but it doesn’t run out. However, it does rely on grip strength so it’s more tiring to use.
Thirdly, you can also use your electric vacuum as a blower. That’s because most vacuums not only suck dirt out but also can blow them away. You can use the other side of your vacuum to do this. However, do note that the pressure won’t be as strong compared to that of compressed air. Hence, you’ll need to supplement your cleaning with a cloth or brush.
Finally, you may also use a hairdryer. However, do note that hair dryers usually blow hot air. As a result, your plastic components could melt if you use them for too long. We highly advise using the other three methods instead.
If you do need to use a hairdryer, proceed with caution. Take breaks in between sessions so that the device can cool down before it blows air again.
Using a Lint-free Cloth on a Laptop
Curious about how to clean gaming PC fans on a laptop when you don’t have access to compressed air? Unfortunately, cleaning a laptop with compressed air truly is the ideal way to go about things.
However, if compressed air isn’t accessible in your area, you can still clean your laptop’s fans. The only issue is that you’ll need to be more hands-on with the device. Moreover, taking it apart is non-negotiable. Therefore, we recommend only doing so if your computer doesn’t contain important data.
It’s also crucial that you’re confident about making repairs on the laptop yourself. That’s because dismantling a laptop can permanently damage the device and also void your warranty. If you still want to try it, simply follow the steps below:
- Turn off your laptop, unplug it from the socket, and remove the battery (if applicable)
- Take apart your laptop
- Note: you can find instructions from your motherboard manual, manufacturer’s website, or from a site like iFixit
- Unscrew the screws at the bottom of your device and keep them in a safe place
- Remove the panel below without damaging the ribbons
- Note: you can loosen the glue you find with a heat source
- Look for the fan and use a lint-free cloth to wipe the dust
- Clean the heatsink (if any) with the same lint-free cloth
- Place the rear panel back and screw it in again
How to Remove PC Fans
Learning how to clean PC fans means you’ll have to also know how to remove the fan for cleaning. However, fan removal is a delicate task that requires a bit of know-how to get right. You can ask a friend who’s more knowledgeable for help or you can learn to do it yourself. Interested in the DIY process? Here’s what you must do.
- Locate the two, three, or four-pin power cable connecting the fan and motherboard
- Grab the connector end and pull it upward from the motherboard or power supply
- Note: make sure not to pull on the wire or else you might break it away from the connector
- Use a screwdriver to remove the fan’s screws from the computer
- Note: certain case fans use small, removable clips instead of screws that you can press or pull; in this case, we recommend checking the manual about the proper removal process
How Often Should You Clean Your PC Fans?
Whether you’re using a laptop or desktop, learning how to clean PC fans is an essential skill. However, how often must you clean your fans? Is it truly necessary to do it periodically or can you do it only every few years?
As a general rule, we suggest giving your PC fans a quick clean every six months. Doing so should help your PC run smoothly without problems in performance. However, this duration may change depending on the kind of environment your PC is in. For example, if cars pass by regularly in your neighborhood, you may need to clean them more often.
On the other hand, if you’re cleaning a laptop without compressed air and need to take it apart, we recommend only doing this when necessary. If possible, we highly recommend looking for a can of compressed air to avoid dismantling your laptop.
How to Get The Things You Need to Clean Computer Fans
Understanding the tools you need to learn how to clean a PC is essential. Make sure to prepare the following items beforehand.
Compressed Air
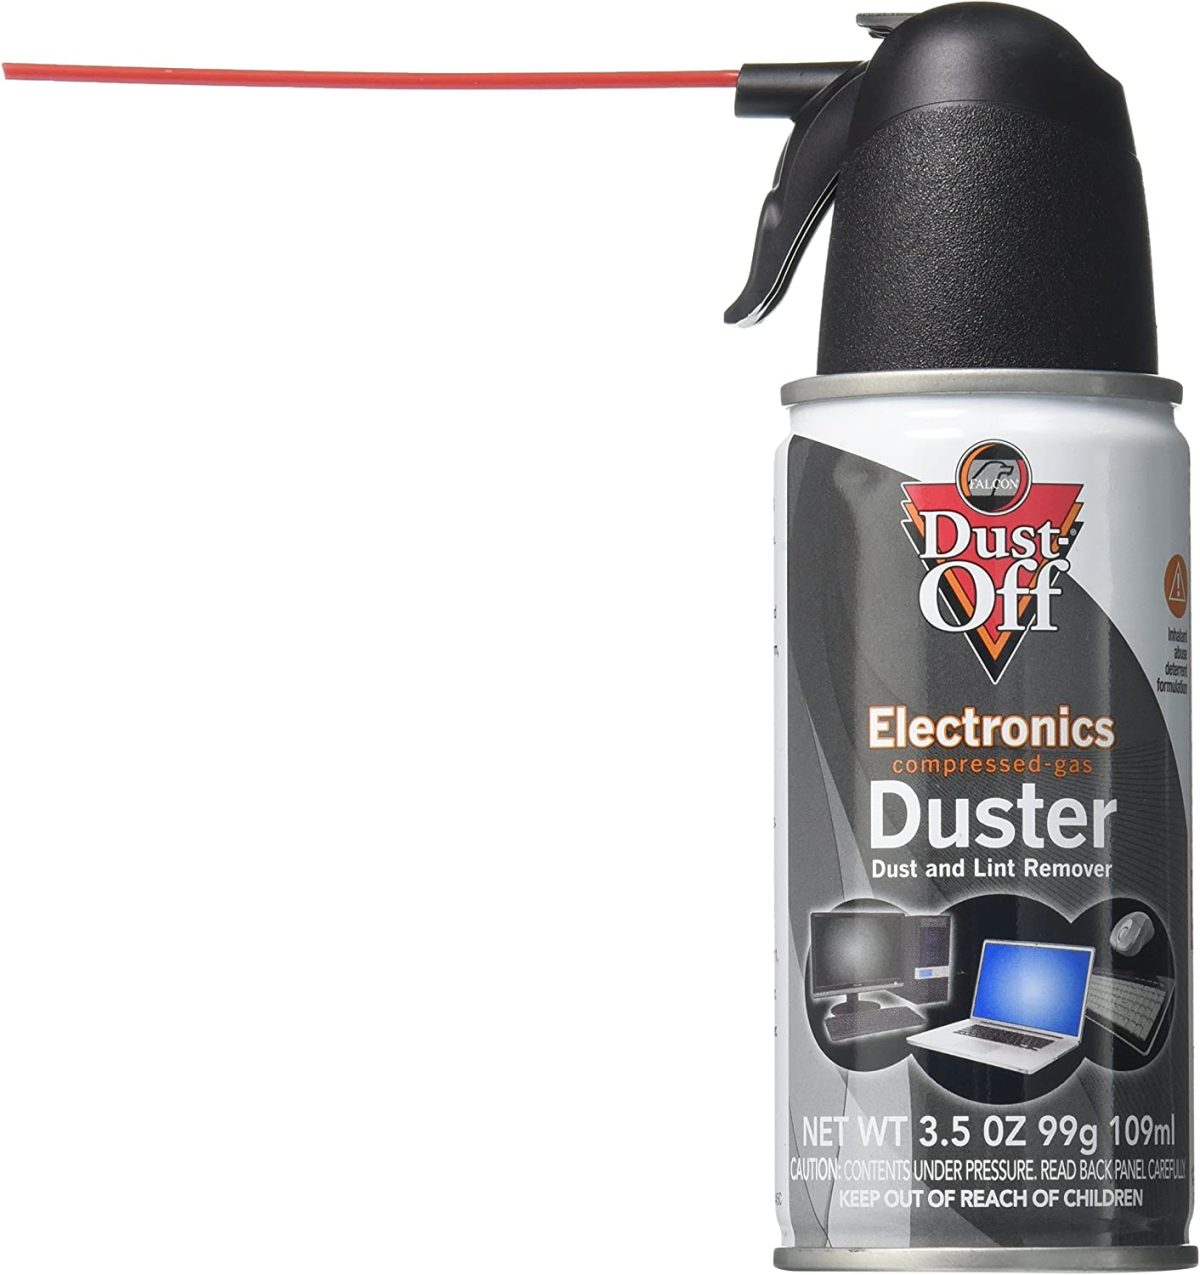
If you’re learning how to clean PC fans then you certainly shouldn’t leave canned compressed air out of the picture. They’re nearly essential to the process and highly recommended by many experts who teach how to clean dust from PCs. That’s because these are made especially for cleaning small electronics.
They’re also static-free so they shouldn’t damage your PC’s other components. It’s safe, economical, and practical to use. However, make sure to use it in the proper orientation. Otherwise, the dirt and dust you clean might move to other CPU parts and damage your PC.
Grab an air compressor duster today!
Small Vacuum Cleaner
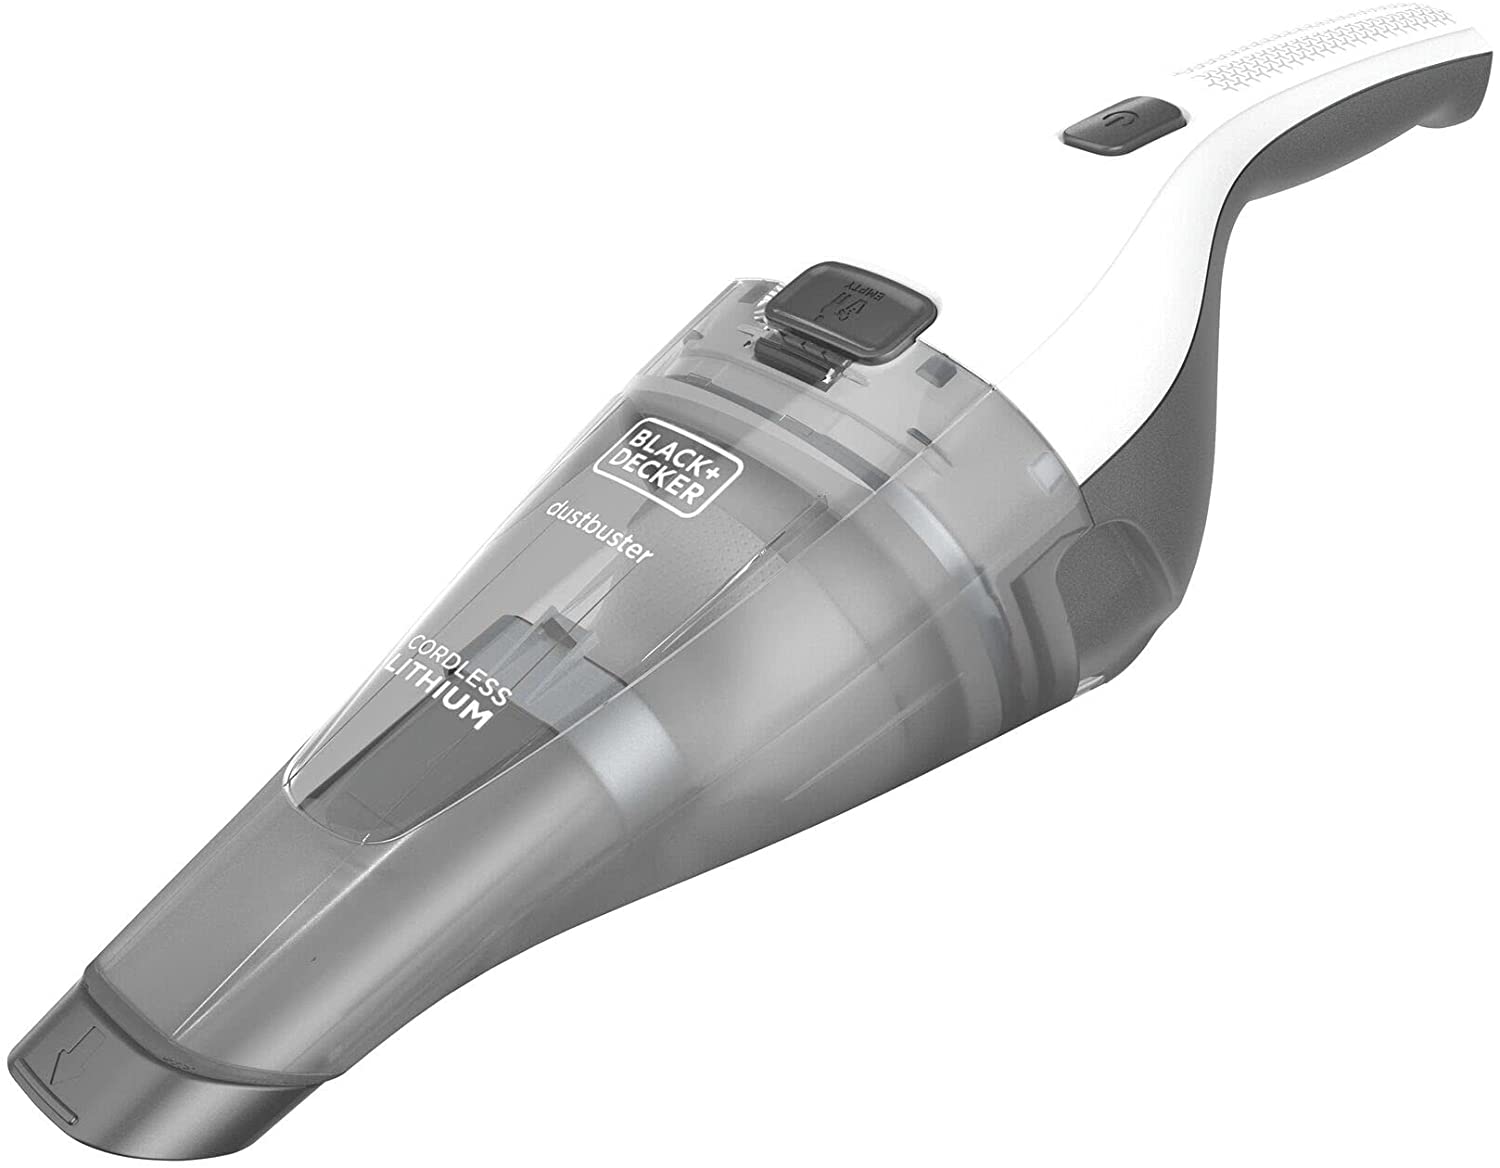
A small vacuum cleaner isn’t essential to the cleaning process. Nonetheless, it’s a decent way to speed up the process if you don’t want to take too long cleaning. That’s because a small electronic vacuum is precise and can suck up the extra dirt more effectively.
In addition, small vacuums don’t generate static so your PC fan should be safe while you’re cleaning. It also shouldn’t be damaging to other CPU components.
However, make sure the vacuum cleaner doesn’t plug into an outlet. That’s because these types of vacuums may create electrostatic discharge. Moreover, we recommend moving the PC fan away from the CPU to make sure there’s no damage to it.
Try out a portable vacuum today!
Cotton Swab & Rubbing Alcohol
If you want to get into the nitty gritty bits of your computer fan, we recommend using a cotton swab. The size of its tip and shaft are perfect for getting into all the crevices. Moreover, dabbing rubbing alcohol with the cotton swab should more effectively clean the unit.
Check out rubbing alcohol choices on Amazon
Clean Cloth
You can’t wash your PC fans like you do clothing. After all, electronics are delicate and can easily break when you expose them to moisture. That’s why, after using alcohol and a Q-tip on your PC fan, we recommend using a clean, dry cloth afterward. This is because rubbing down your fan with a cloth is a great way to cleanly remove excess dust.
Grab your cleaning cloth on Amazon
Clean Gloves
Optionally, you can also use clean gloves to help you clean the unit more effectively. Doing so should prevent your hands from getting oil and dirt onto your PC fan. However, you can also simply wash your hands well beforehand if you don’t have gloves.
Proper Setting & Preparation
Apart from the tools, make sure you’re cleaning your PC fans in a cool and dry place. Humid environments or places that are damp and hot could damage your PC and some of its parts. You should also ensure your computer is completely shut down before you begin the process. Otherwise, you may end up getting electrocuted.
Finally, check your fans before you apply what you’ve learned about how to clean PC fans. Make sure they’re not running or spinning. Otherwise, you’ll likely injure your fingers or damage the fans/other PC parts – or both.
Why Should You Clean Your Computer Fan?
Do PC fans need to be cleaned? We’ve talked a lot about how to clean PC fans – but do they truly require this much maintenance and cleaning? What benefits do you gain from cleaning fans? Here are some of the benefits you’ll get from cleaning your computer fan:
- More cooling for your computer when it reaches high temperatures
- Better overall performance, especially during times when you’re pushing the PC
- Less risk of damage
- Preservation of your fan’s longevity, thus minimizing the need for replacements
What Would Happen If You Leave Them Dirty?
Neglecting your duty to learn how to clean PC fans will come with repercussions. What are the problems that will come about if your PC fans stay dirty? Here are a few consequences you may have to face:
- Your PC can significantly slow down over time
- PC components might break down faster because of deterioration
- Overheating can cause damage to your computer
- Your fans could break more easily, thus requiring replacement fans more often
Clean Your PC Fans Safely and Efficiently
Learning how to clean PC fans is an essential skill for desktop users. It’s a fairly simple task to do — but it’s one that you should learn to keep your PC running smoothly. Once you purchase the proper tools and get the hang of it, keeping your fans clean should be easy. Just make sure to do it regularly.