Introduction
Welcome to our comprehensive guide on how to clean the inside of your PC! Your computer is a vital tool in your everyday life, and it’s important to give it proper care and maintenance to ensure optimal performance. Over time, dust, debris, and pet hair can accumulate inside your PC, leading to overheating, reduced performance, and even hardware failure. Regularly cleaning the inside of your PC not only extends its lifespan but also minimizes the risk of overheating and potential damage.
In this guide, we will walk you through the step-by-step process of safely and effectively cleaning the inside of your PC. You don’t need to be a tech expert to perform these tasks; with a few basic tools and our easy-to-follow instructions, you’ll be able to clean your PC like a pro.
Before we dive into the cleaning process, it’s important to note that opening your PC and performing any maintenance can void your warranty. If your computer is still under warranty, we recommend checking with the manufacturer or an authorized service center before proceeding. Additionally, if you’re uncomfortable working with computer hardware, it might be best to seek professional assistance.
By following our guide and taking the necessary precautions, you can keep your PC running smoothly, prevent malfunctions, and maintain its performance for years to come. Let’s get started!
Why is it important to clean the inside of your PC?
Regularly cleaning the inside of your PC is crucial for several reasons. Let’s explore the importance of this maintenance task:
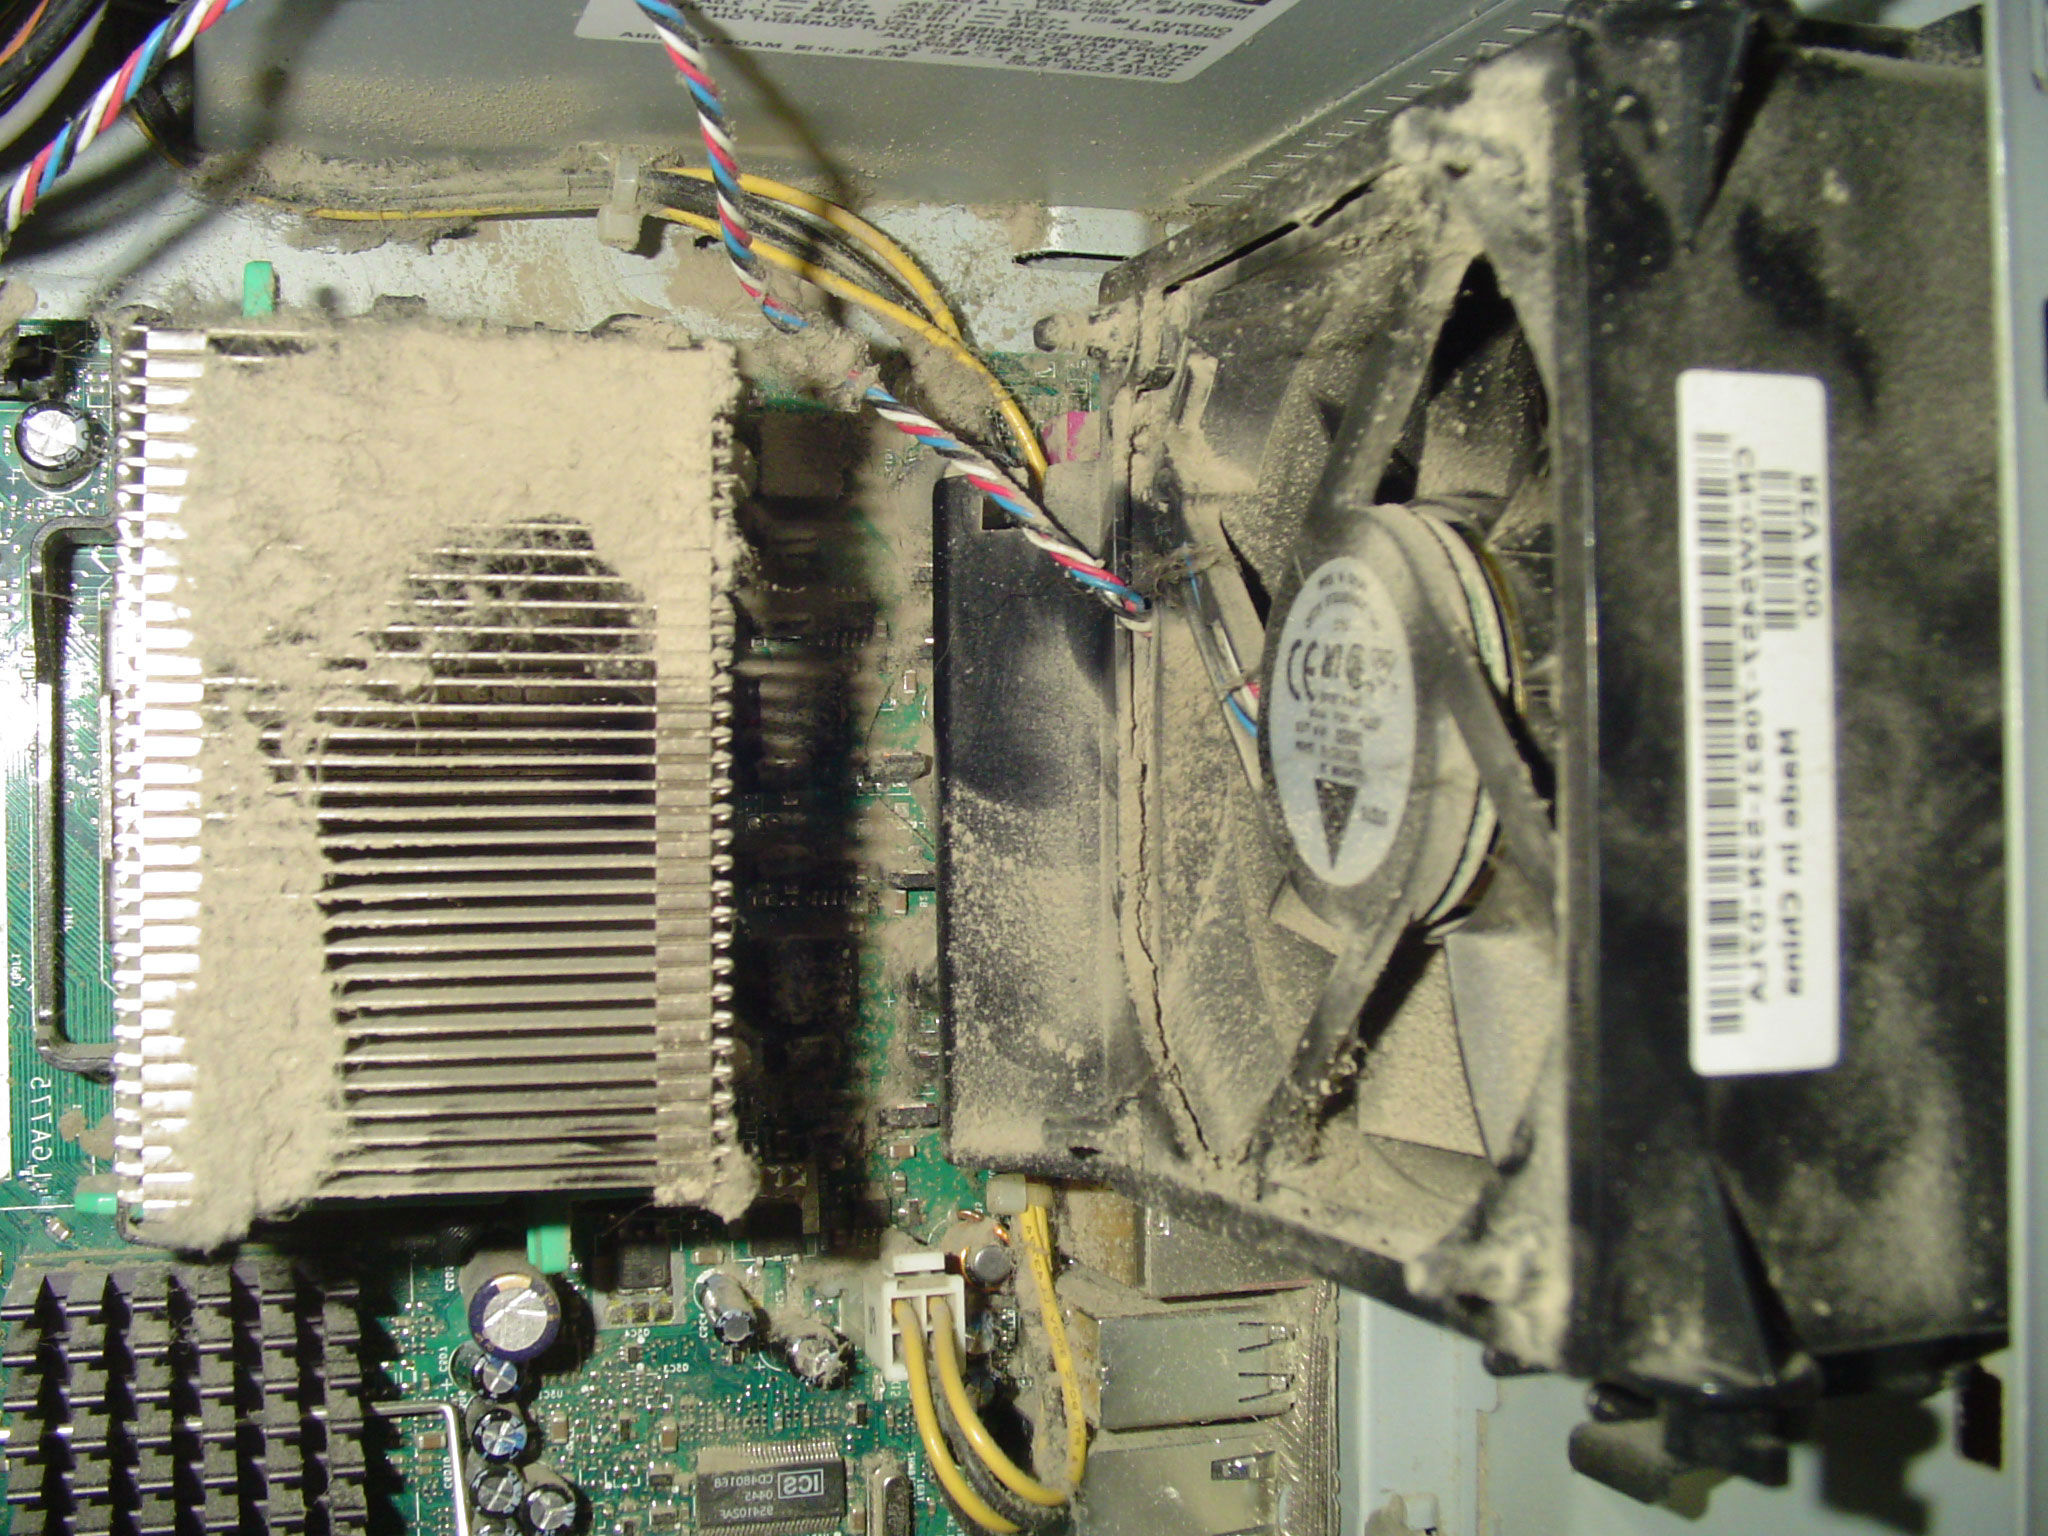
1. Prevention of overheating: When dust and debris accumulate inside your PC, they can clog the cooling fans, vents, and heat sinks. This restricts airflow and hampers the cooling system’s ability to dissipate heat effectively. As a result, your computer may overheat, leading to performance issues, system instability, and potential damage to sensitive components.
2. Improved performance: Dust buildup on internal components, such as the CPU and graphics card, can act as an insulating layer, trapping heat and preventing efficient cooling. Over time, this can cause your PC to throttle its performance or even shut down to prevent damage. By cleaning out the accumulated dust, you can restore proper airflow, allowing your components to run at optimal temperatures and perform at their best.
3. Extended component lifespan: Excessive heat can significantly reduce the lifespan of your PC’s components, such as the processor, graphics card, and hard drives. By regularly cleaning your PC, you can prevent heat-related damage and ensure that your hardware lasts longer. This can save you money in the long run by avoiding costly repairs or the need for early component replacements.
4. Reduced system noise: Dust and debris can cause the cooling fans to work harder, resulting in increased noise levels. By keeping the inside of your PC clean, you can minimize fan noise and enjoy a quieter computing experience.
5. Improved aesthetics: A clean and dust-free PC not only looks better but also reflects a sense of care and attention to detail. If you take pride in the appearance of your computer setup, regular cleaning is essential for maintaining a visually appealing environment.
Now that we understand the importance of cleaning the inside of your PC let’s move on to the tools and materials you’ll need for this task.
Tools and materials you will need
To effectively clean the inside of your PC, you’ll need the following tools and materials:
- Compressed air canister or electric air blower: Used to blow away dust and debris from hard-to-reach areas without causing any damage to the components.
- Cotton swabs: Ideal for cleaning delicate areas, such as fan blades, heatsinks, and tight corners.
- Isopropyl alcohol: A cleaning solution that can be used to remove stubborn dirt or thermal paste residue from the surfaces.
- Microfiber cloth: Soft and lint-free cloth for wiping down surfaces and components.
- Screwdriver: Depending on your PC case, you may need a Phillips or flat-head screwdriver to open the case and remove certain components.
- Antistatic wristband: This optional precautionary measure helps prevent electrostatic discharge (ESD) that can damage sensitive electronic components. It is particularly useful if you’ll be handling the motherboard or other internal components.
It’s essential to use proper tools and materials to ensure a safe cleaning process without causing any damage to your PC or its components. Additionally, make sure to work in a well-ventilated area to avoid inhaling dust particles and maintain a clean workspace.
Now that we have gathered the necessary tools, it’s time to proceed to the next section, where we will cover the safety precautions you should follow before cleaning the inside of your PC.
Step 1: Safety precautions
Before you begin cleaning the inside of your PC, it’s important to follow these safety precautions:
- Power off and unplug your PC: Before opening the case or performing any maintenance, shut down your computer and unplug it from the power source. This prevents any electrical accidents or damage to both you and your PC.
- Ground yourself: Static electricity can damage sensitive computer components. To prevent electrostatic discharge (ESD), which can occur when you touch electronic circuitry with static-charged hands, it’s recommended to wear an antistatic wristband. Alternatively, you can touch a grounded metal surface, such as a doorknob or the metal part of a grounded appliance, to discharge any static electricity from your body before handling any internal components.
- Work in a well-ventilated area: Cleaning the inside of your PC can release a significant amount of dust. Make sure to work in a well-ventilated area, preferably outdoors, or near an open window. This will help minimize the inhalation of dust particles and ensure a healthier environment.
- Avoid excessive force: When cleaning or removing components, avoid using excessive force. Components should fit snugly and require minimal force to install or remove. If you encounter resistance, double-check that you are using the correct technique and tools.
- Be mindful of static-sensitive components: Certain components, such as the motherboard and graphics card, are sensitive to static electricity. Avoid touching the metal contacts or any exposed circuitry on these components. Instead, handle them by their edges or use an antistatic mat to provide a safe working surface.
- Take photos for reference: To ensure correct reassembly of your PC, it’s a good idea to take photos before removing any cables or components. These photos can serve as a reference guide when reconnecting everything later.
By following these safety precautions, you can minimize the risk of damage to your PC and ensure a safe and successful cleaning process. Now that you’re aware of the necessary safety measures let’s move on to the next step, which involves shutting down and unplugging your PC.
Step 2: Shut Down and Unplug Your PC
Before you start cleaning the inside of your PC, it’s crucial to shut it down properly and disconnect it from the power source. Following these steps will ensure your safety and prevent any potential damage:
- Save your work and shut down: Save any open documents or projects and close all running applications. It’s important to properly shut down your PC rather than simply pressing the power button to ensure that all processes are safely completed.
- Unplug the power cord: Once your PC is shut down, locate the power cord at the back of the computer case. Gently pull the plug from the power outlet, ensuring that there is no strain or tension on the cable. This step is vital to eliminate the risk of electrical shock while working on the internal components.
- Press and hold the power button: Even though the PC is unplugged, it may still hold residual electrical charge. Pressing and holding the power button for a few seconds helps discharge any remaining power, ensuring a safer environment to work in.
- Unplug any peripheral devices: Disconnect any peripheral devices, such as monitors, keyboards, mice, USB drives, and audio devices. Not only does this make it easier to handle your PC, but it also reduces the chances of accidentally damaging these devices during the cleaning process.
With your PC shut down and unplugged, you have taken the necessary precautions to ensure your safety. In the next step, we will guide you through the process of opening your PC case safely and accessing the internal components.
Step 3: Open the PC Case
Now that your PC is shut down and unplugged, it’s time to open the case and gain access to the internal components. Follow these steps to safely open the PC case:
- Identify the type of PC case: PC cases come in various designs, but the most common types are desktop/tower cases and laptop cases. Depending on the type of case you have, the opening process may differ.
- Desktop/Tower Case:
- Locate the screws: Look for screws securing the side panel(s) of your desktop case. These screws can typically be found on the back or side of the case.
- Remove the screws: Use a screwdriver to remove the screws that hold the side panel(s) in place. Set the screws aside in a safe location, as you will need them for reassembly later.
- Slide or lift off the side panel: Once the screws are removed, carefully slide or lift off the side panel(s) to reveal the internal components of your PC. Be cautious not to apply excessive force or torque, as it may damage the case or components.
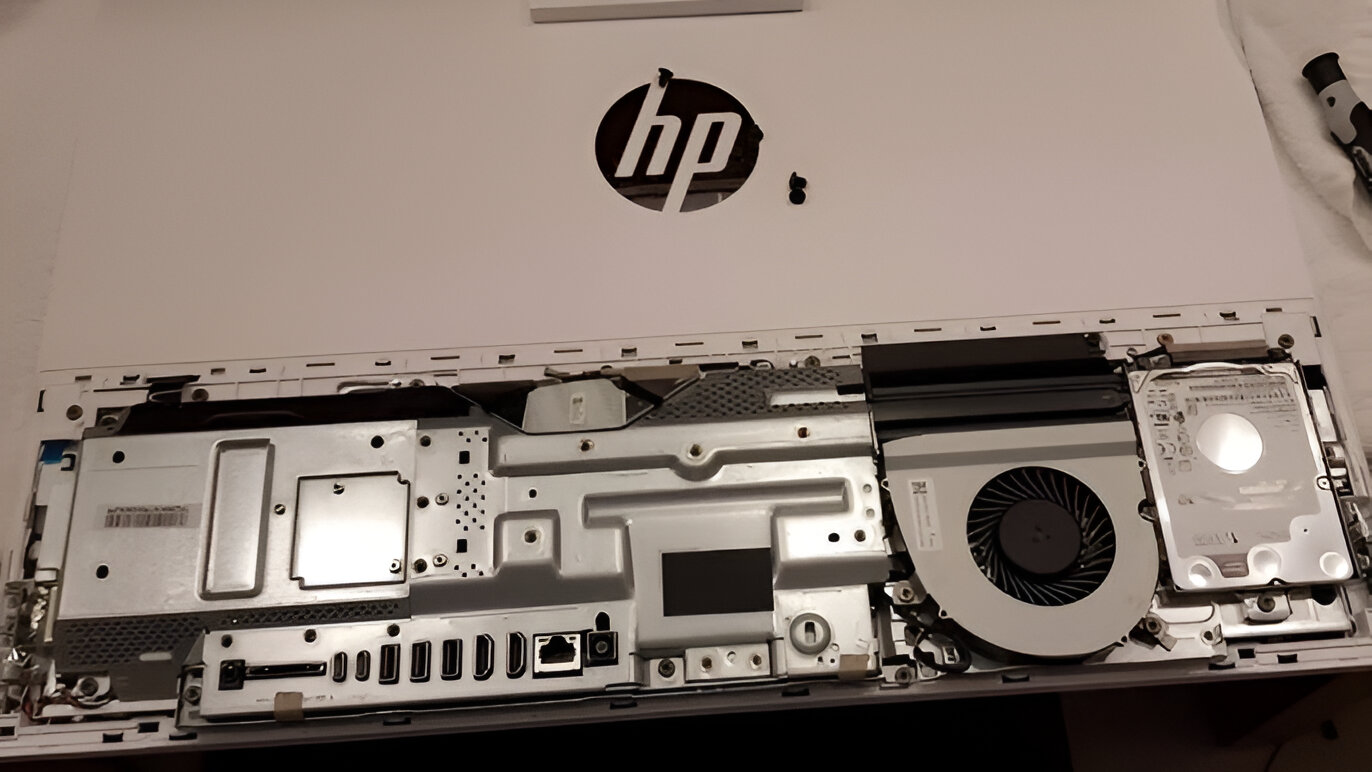
- Laptop Case:
- Power off and unplug your laptop: If you have a laptop, make sure it is shut down and the power cord is disconnected.
- Flip the laptop over: Turn your laptop upside down, so the bottom side is facing up.
- Locate and remove the access panel screws: Look for screws securing the access panel or back cover of your laptop. These screws may have distinct markings indicating which ones need to be removed.
- Remove the access panel: Using a screwdriver, unscrew and remove the access panel to reveal the internal components of your laptop.
Once the PC case is open, take a moment to familiarize yourself with the internal layout and components. This will help you navigate and identify areas that require cleaning in the upcoming steps.
With the PC case open and internal components exposed, you’re now ready to move on to the next step, which involves removing dust and debris from the PC.
Step 4: Remove Dust and Debris
Now that you have opened your PC case and gained access to the internal components, it’s time to remove the accumulated dust and debris. Follow these steps to effectively clean your PC:
- Use compressed air: Start by using a compressed air canister or electric air blower to blow away dust from the various components, such as fans, heatsinks, and hard-to-reach areas. Hold the canister or blower upright and use short bursts of air. Be cautious not to tilt the canister or blower, as it may release liquid propellant, which can damage your components.
- Focus on fan blades and heatsinks: As you blow the compressed air, pay special attention to the fan blades and heatsinks. These components tend to accumulate a significant amount of dust. Hold the fan blades in place with a finger or a cotton swab to prevent them from spinning while you clean them.
- Remove stubborn dust with a cotton swab: For areas with stubborn dust or debris, use a cotton swab lightly moistened with isopropyl alcohol to wipe away the dirt gently. Be cautious around delicate components and avoid applying excessive force.
- Clean hard drive and optical drive bays: If your PC has removable hard drive or optical drive bays, remove them one by one and clean any dust or debris that may have accumulated. Use a microfiber cloth or compressed air to clean these components.
- Inspect the power supply unit (PSU): Carefully examine the PSU for dust accumulation and use compressed air to remove any debris from its fan and vent openings.
- Clean the motherboard: Gently inspect the motherboard for any visible dust or debris. Use the compressed air or a clean, dry brush to remove any particles, making sure to focus on the RAM slots and expansion card slots.
During the cleaning process, it’s crucial to avoid direct contact with sensitive components and connectors. Be mindful of not causing any damage or dislodging any cables while cleaning.
With the dust and debris removed, your PC’s internal components will now be cleaner and better able to dissipate heat. The next step will guide you through the process of cleaning the fans, which play a critical role in cooling your PC.
Step 5: Cleaning the Fans
The fans inside your PC play a crucial role in keeping the components cool by circulating air. Over time, these fans can accumulate dust and hinder their effectiveness. Follow these steps to clean the fans:
- Locate the fans: Identify the locations of the fans inside your PC. Typically, you will find fans attached to the front, rear, and top of the case, as well as on the CPU heatsink and graphics card.
- Hold the fan blades in place: Use a finger or a cotton swab to gently hold the fan blades in place while you clean them. This prevents them from spinning, which can cause damage to the fan and potentially harm your fingers.
- Use compressed air: Use a canister of compressed air or an electric air blower to blow away the dust from the fan blades and surrounding areas. Direct the airflow towards the fan, moving in short bursts to dislodge the dust particles.
- Clean the fan blades with a cotton swab: If the fan blades have stubborn dirt or grime, lightly moisten a cotton swab with isopropyl alcohol and gently wipe the blades. Be careful not to apply excessive pressure or get any liquid into the fan motor.
- Clean the fan grilles: Dust can accumulate on the fan grilles, restricting airflow. Use a microfiber cloth or a soft brush to wipe away the dust from the grilles. Make sure to clean both the intake and exhaust grilles.
- Inspect and clean the CPU and graphics card fans: If your PC has a CPU cooler or dedicated graphics card with fans, inspect them for dust buildup. Use the same method as before to clean the fan blades and grilles.
Regularly cleaning the fans ensures optimal airflow and prevents overheating. Properly functioning fans contribute to the overall performance and longevity of your PC. After cleaning the fans, proceed to the next step to clean the motherboard and other components.
Step 6: Cleaning the Motherboard and Other Components
Now that you’ve cleaned the fans, it’s time to shift your focus to the motherboard and other components. These parts are essential for the proper functioning of your PC. Follow these steps to clean them:
- Inspect the motherboard: Carefully examine the surface of the motherboard for any visible dust or debris. Pay close attention to the area around the CPU socket, expansion slots, and RAM slots.
- Use compressed air: Start by using compressed air to blow away any loose dust from the motherboard. Direct the air into the nooks and crannies, but be careful not to apply excessive force that could damage delicate components.
- Remove stubborn dirt: For stubborn dirt or residue, lightly moisten a cotton swab with isopropyl alcohol. Gently wipe the affected areas, such as the RAM slots or expansion card slots. Be mindful of avoiding excessive moisture and applying too much pressure.
- Clean other components: Use compressed air to blow away dust from other components, such as the hard drives, optical drives, and power supply unit (PSU). Pay attention to any visible dust on the connectors or pins. If necessary, use a cotton swab to clean those areas carefully.
- Inspect and clean the cables: Take a moment to inspect the cables inside your PC for any dust or debris. Use compressed air or a soft brush to remove any dust buildup. Pay attention to cable connectors and ensure they are free from dirt.
- Take caution with liquid cleaning: While cleaning the motherboard and other components, avoid using excessive liquid. Isopropyl alcohol can be used in small amounts, but ensure it is properly diluted and applied sparingly. Excess liquid can damage sensitive electronic components or lead to short circuits.
Once you have cleaned the motherboard and other components, you have completed an essential step in maintaining your PC’s performance and reliability. The next step will guide you through cleaning the cables, ensuring a tidy and efficient setup.
Step 7: Cleaning the Cables
While cleaning the inside of your PC, it’s important not to overlook the cables. Over time, dust and debris can accumulate on the cables, affecting their performance and potentially causing connection issues. Follow these steps to clean the cables:
- Inspect the cables: Take a close look at the cables inside your PC, including power cables, data cables, and ribbon cables. Look for any visible dust accumulation or dirt.
- Use compressed air: Begin by using compressed air to blow away any loose dust or debris from the cables. Hold the canister at a safe distance and direct the air between the cables, focusing on areas where dust is more likely to accumulate, such as cable connectors.
- Wipe with a microfiber cloth: For cables with visible dirt or residue, lightly dampen a microfiber cloth with isopropyl alcohol. Gently wipe the cables, removing any stubborn dirt or grime. Avoid excessive moisture and ensure the cables are completely dry before reconnecting them.
- Secure loose cables: Take the opportunity to check for any loose or dangling cables inside your PC. Use zip ties or cable management solutions to secure and organize the cables, improving airflow and overall aesthetics.
- Check cable connections: While cleaning the cables, inspect the cable connectors for any signs of damage or corrosion. If you notice any issues, consider replacing the affected cables to ensure optimal connectivity.
By cleaning the cables, you not only improve the overall cleanliness of your PC but also enhance the organization and airflow within the case. This step contributes to the overall maintenance and longevity of your system.
Now that you’ve cleaned the cables, it’s time to move on to the final step and reassemble your PC.
Step 8: Reassemble Your PC
After cleaning the inside of your PC, it’s time to reassemble the components and put everything back together. Follow these steps to ensure a proper and secure reassembly:
- Reattach the side panel: If you removed the side panel(s) of your desktop case, line it up with the case and gently slide or press it back into place. Make sure it fits snugly and secure it with the screws you had previously removed.
- Reconnect cables: Carefully reconnect all the cables that you had unplugged before cleaning. Refer to the photos you took earlier, if necessary, to ensure correct connections. Make sure each cable is securely inserted into its respective port.
- Secure internal components: If you removed any internal components, such as hard drives or expansion cards, reinstall them in their respective slots. Ensure they are firmly seated and secured with screws, as necessary.
- Reattach the access panel: If you have a laptop, reattach the access panel or back cover and secure it with the screws you had previously removed. Ensure that all the screws are tightened but not overtightened.
- Connect external devices: Once the internal components are reassembled, reconnect any peripheral devices you had previously disconnected, such as monitors, keyboards, mice, and audio devices.
- Plug in the power cord: Finally, plug the power cord back into the PC and into a power outlet. Ensure that the cord is securely inserted and there is no strain or tension on the cable.
- Power on and test: Power on your PC and listen for any unusual noises, such as fan rattling or unusual vibrations. Check that all components are functioning properly and that your PC starts up without any issues.
By reassembling your PC carefully, you ensure that all components are correctly installed and connected. Take your time during this step to make sure everything is secure before powering on your PC.
Congratulations! You have successfully cleaned the inside of your PC and reassembled it. Regular maintenance and cleaning will help keep your PC running smoothly and efficiently. Remember to schedule regular cleaning intervals to prevent dust buildup and maintain optimal performance.
Conclusion
Cleaning the inside of your PC is a crucial maintenance task that helps ensure optimal performance, prevent overheating, and extend the lifespan of your components. By following the step-by-step guide provided in this article, you can effectively clean your PC and maintain its functionality. Here is a quick recap of the steps:
- Take safety precautions, such as shutting down and unplugging your PC, grounding yourself, and working in a well-ventilated area.
- Open the PC case carefully to access the internal components.
- Remove dust and debris from the PC using compressed air and cotton swabs.
- Clean the fans to ensure proper cooling.
- Inspect and clean the motherboard and other components, using caution with liquid cleaning solutions.
- Clean the cables to improve airflow and organization.
- Reassemble your PC by securely reconnecting cables and components.
- Power on your PC and ensure everything is functioning properly.
Regularly cleaning the inside of your PC not only enhances its performance and longevity but also provides a safer and more enjoyable computing experience. It’s recommended to establish a cleaning routine every few months, depending on the environment in which your PC operates. Additionally, maintaining a clean workspace and proper cable management can further contribute to the overall cleanliness and efficiency of your PC.
Remember, if at any point you feel uncomfortable or unsure about handling your PC’s internal components, it’s always best to seek professional assistance. Proper maintenance and care are essential to keep your PC running smoothly, so don’t underestimate the importance of regular cleaning. By investing a little time and effort into cleaning the inside of your PC, you can enjoy improved performance, prolonged lifespan, and a more reliable computing experience.