Introduction
Welcome to our guide on how to clean your CPU fan! Over time, dust and debris can accumulate in your computer’s CPU fan, causing it to overheat and potentially leading to performance issues. Cleaning your CPU fan regularly is an important maintenance task that can prolong the lifespan of your computer and ensure optimal performance.
In this article, we will walk you through the step-by-step process of cleaning your CPU fan, from safely turning off and unplugging your computer to reassembling and testing the fan after cleaning. Whether you’re a computer enthusiast or a novice, this guide is designed to be accessible and easy to follow, so don’t worry if you don’t consider yourself tech-savvy.
By the end of this guide, you’ll have the knowledge and confidence to keep your CPU fan running smoothly and extend the life of your computer. So, without further ado, let’s dive into the essential steps you need to know to keep your CPU fan clean and your computer running cool.
What You Will Need
Before you start the process of cleaning your CPU fan, it’s important to gather the necessary tools and materials. Here’s a list of items you will need:
- Cleaning cloth or microfiber cloth: This will be used to wipe away dust and debris from the fan blades and heatsink.
- Compressed air canister: This will help you remove stubborn dust particles from hard-to-reach areas.
- Small brush or toothbrush: Use this to gently dislodge and remove any dust or dirt from the fan blades and heatsink.
- Isopropyl alcohol: This can be used to clean any stubborn stains or marks on the fan blades.
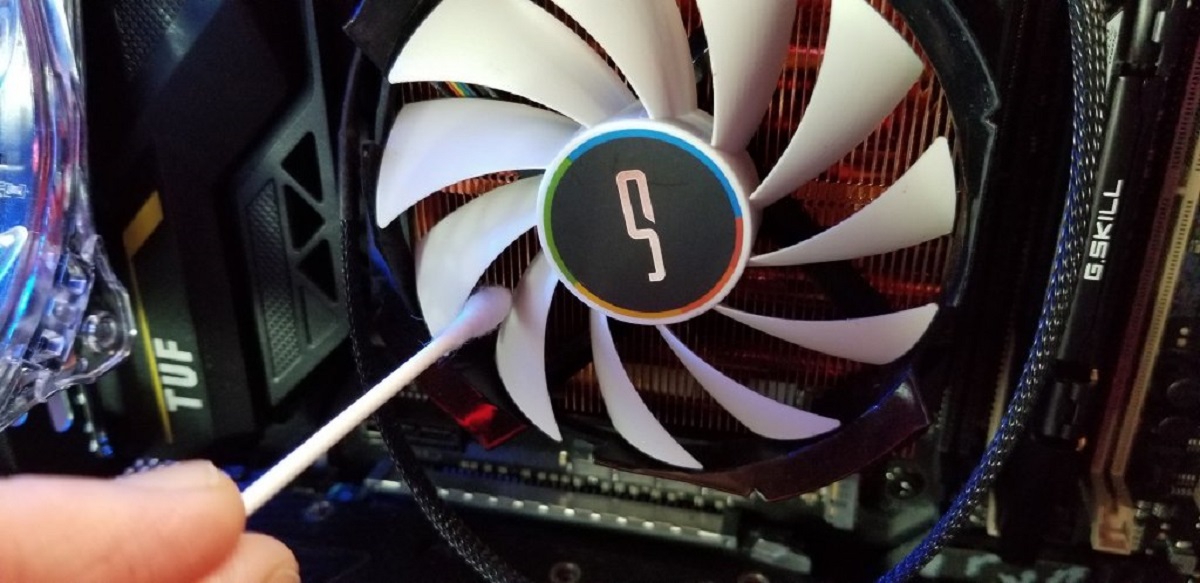
- Cotton swabs: These can be useful for reaching smaller areas of the fan or heatsink where dust may have accumulated.
- Screwdriver: Depending on your computer’s case, you may need a Phillips or flathead screwdriver to remove the side panel.
- Anti-static wrist strap (optional): This is not essential but can be useful in preventing static electricity buildup and potential damage to your computer’s components.
It’s important to ensure that you have all the necessary tools and materials before starting the cleaning process. This will help you complete the task efficiently and avoid any delays or interruptions. Now that you have everything ready, let’s move on to the step-by-step process of cleaning your CPU fan.
Step 1: Power Off and Unplug
The first and most crucial step in cleaning your CPU fan is to power off your computer and unplug it from the electrical outlet. This is important to ensure your safety and prevent any damage to the components of your computer.
To power off your computer, you can either shut it down through the operating system or press and hold the power button until it turns off completely. Once the computer is powered off, unplug the power cable from the wall outlet to disconnect the power supply.
It’s vital to wait for a few minutes to allow any residual electrical charge to dissipate before proceeding with the next steps. This helps protect you from any potential electric shock and ensures a safer cleaning process.
Note: Make sure to ground yourself by touching a metal surface or wearing an anti-static wrist strap. This helps prevent static electricity discharge that can harm sensitive computer components.
By following this first step, you’re taking the necessary precautionary measures to ensure your safety and protect your computer from any potential damage. Now that your computer is powered off and unplugged, we can move on to the next step of opening your computer case.
Step 2: Open Your Computer Case
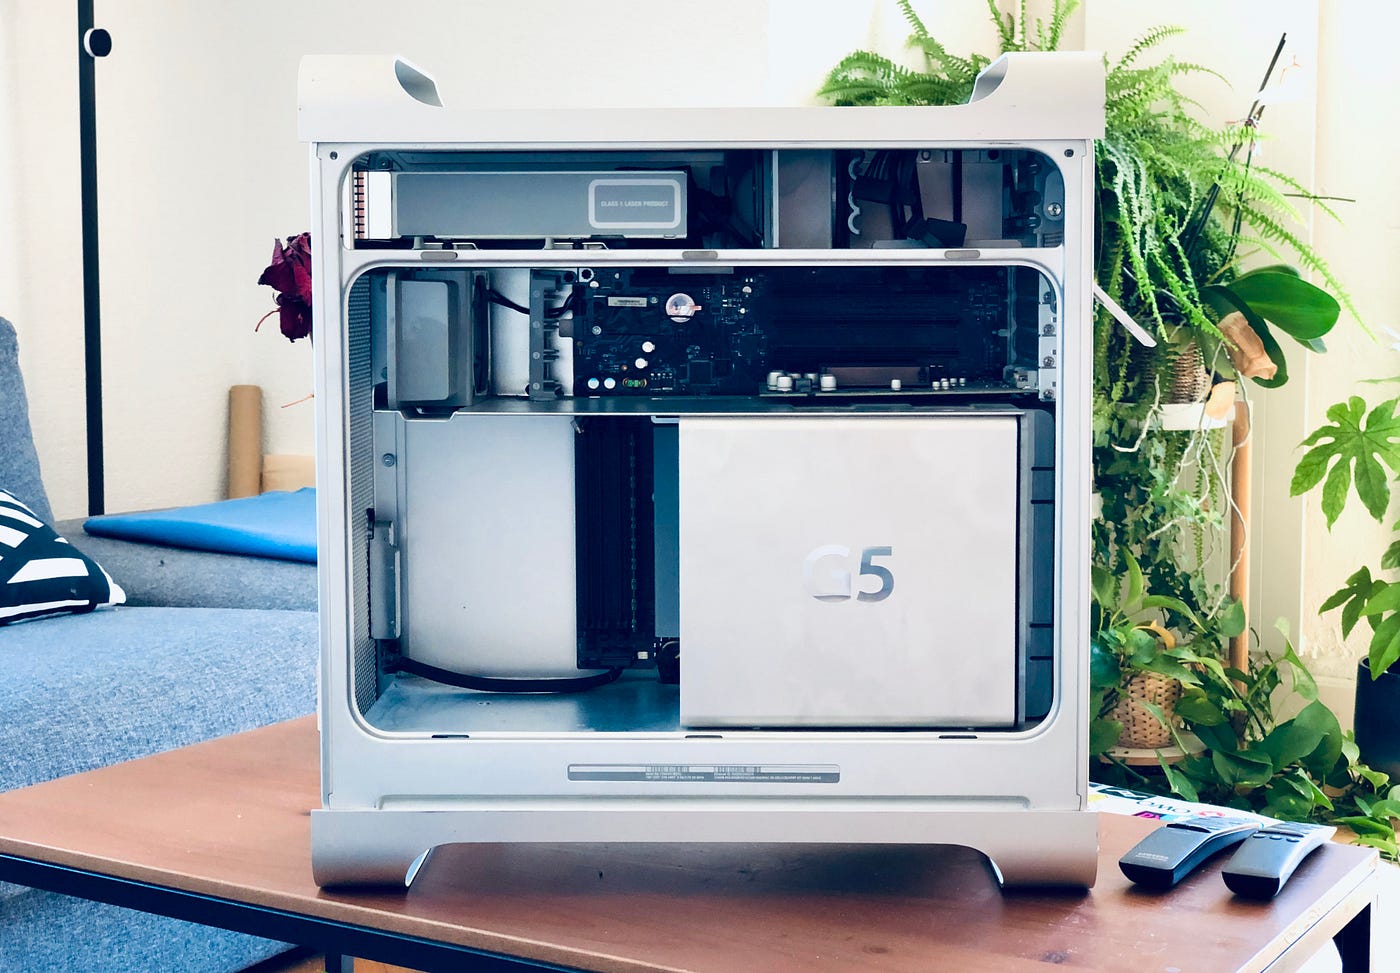
Now that your computer is powered off and unplugged, it’s time to open the computer case to gain access to the CPU fan. The process of opening a computer case may vary depending on the model, but in most cases, it involves removing a side panel.
Start by locating the screws or fasteners that secure the side panel to the case. Typically, these screws are located on the backside of the case. Use a screwdriver to remove these screws and set them aside in a safe place. If your case has fasteners, simply undo them to release the side panel.
Once the screws or fasteners are removed, gently slide or lift off the side panel. Be careful not to apply excessive force to avoid damaging any internal components or cables. Some cases may have a latch or lock mechanism, so refer to your computer’s manual for specific instructions on opening the case.
After removing the side panel, you will have a clear view of the internal components, including the CPU fan. Take a moment to familiarize yourself with the layout of the case and locate the CPU fan before proceeding to the next step.
Note: It’s important to be cautious and gentle when handling the computer case and its components. Avoid touching any exposed circuitry or components to prevent static discharge or accidental damage.
With the computer case open and the CPU fan in sight, you’re now ready to move on to the next step: locating the CPU fan.
Step 3: Locate the CPU Fan
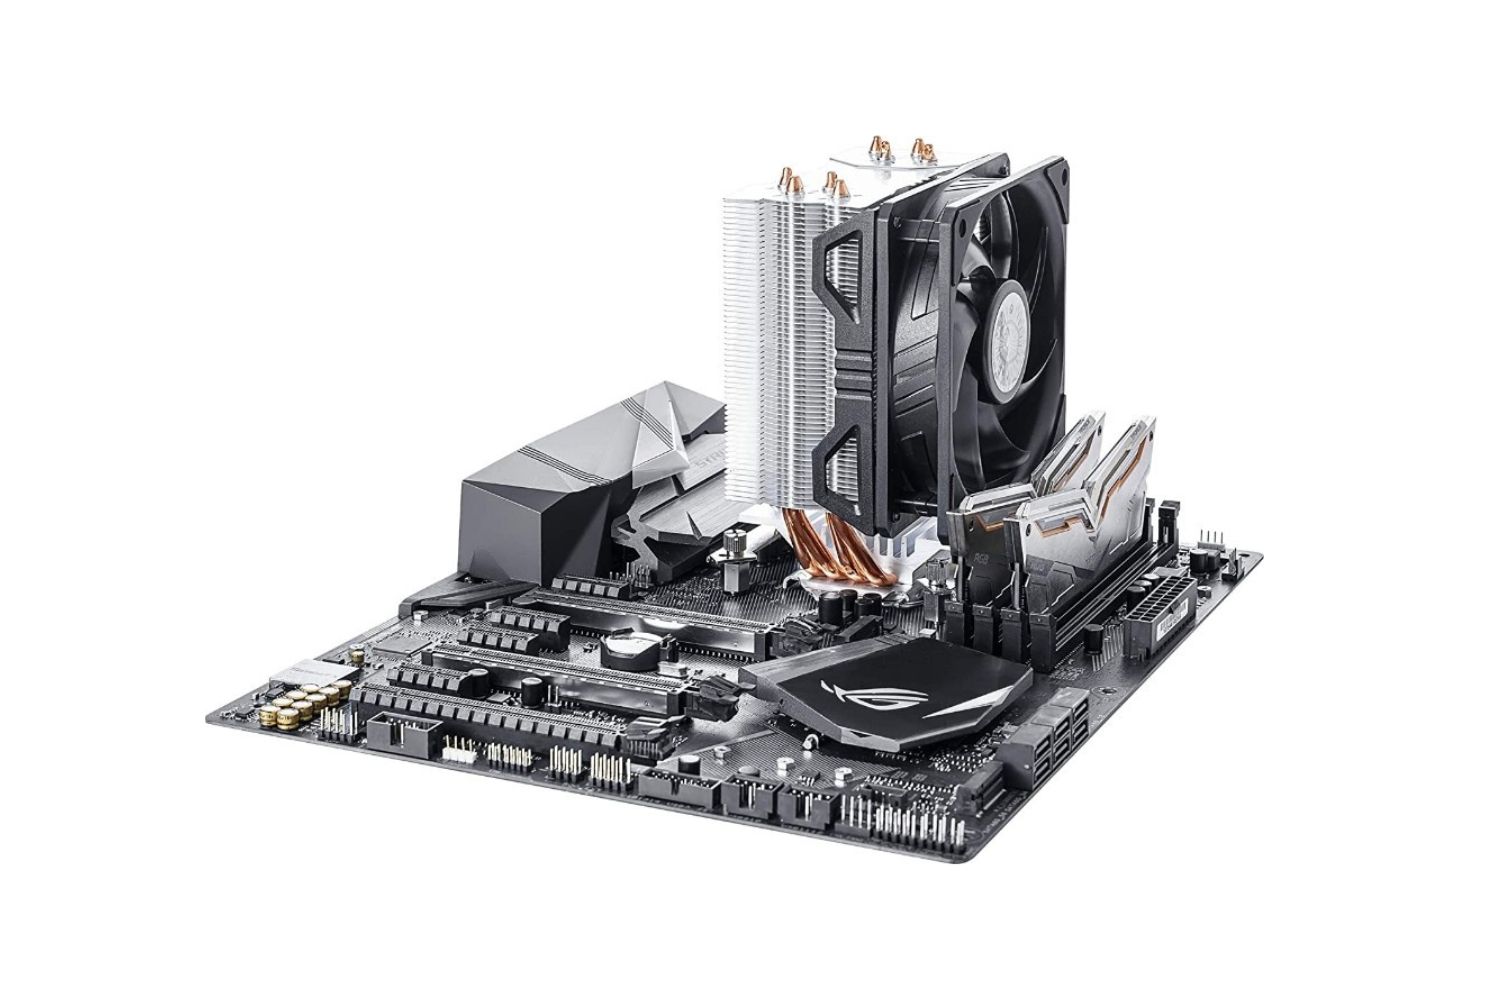
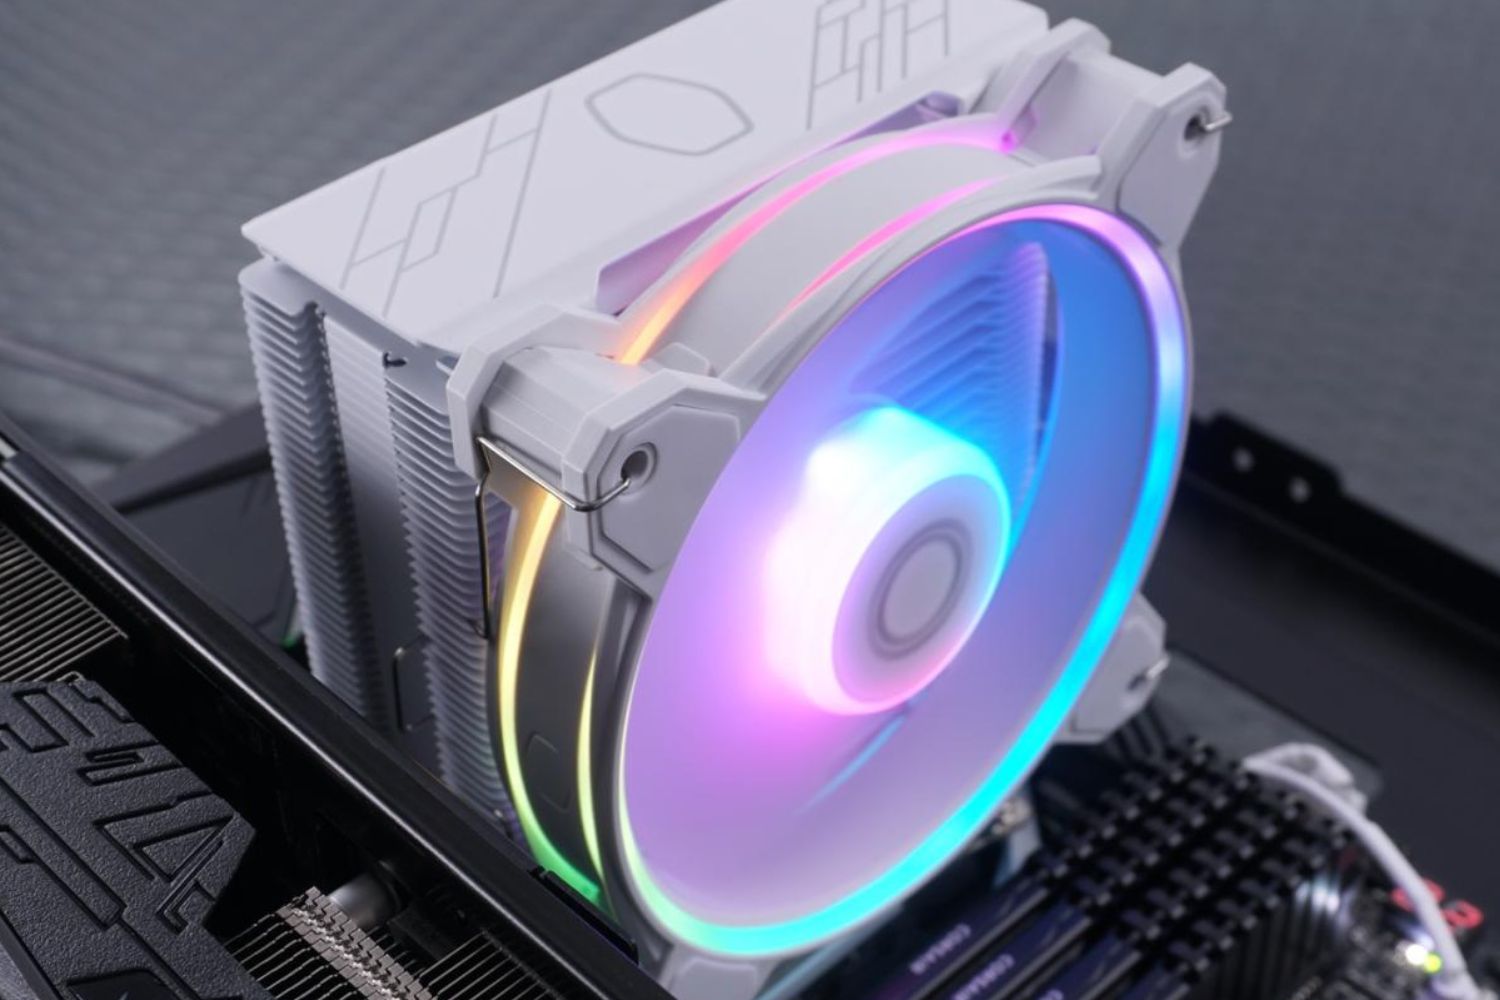
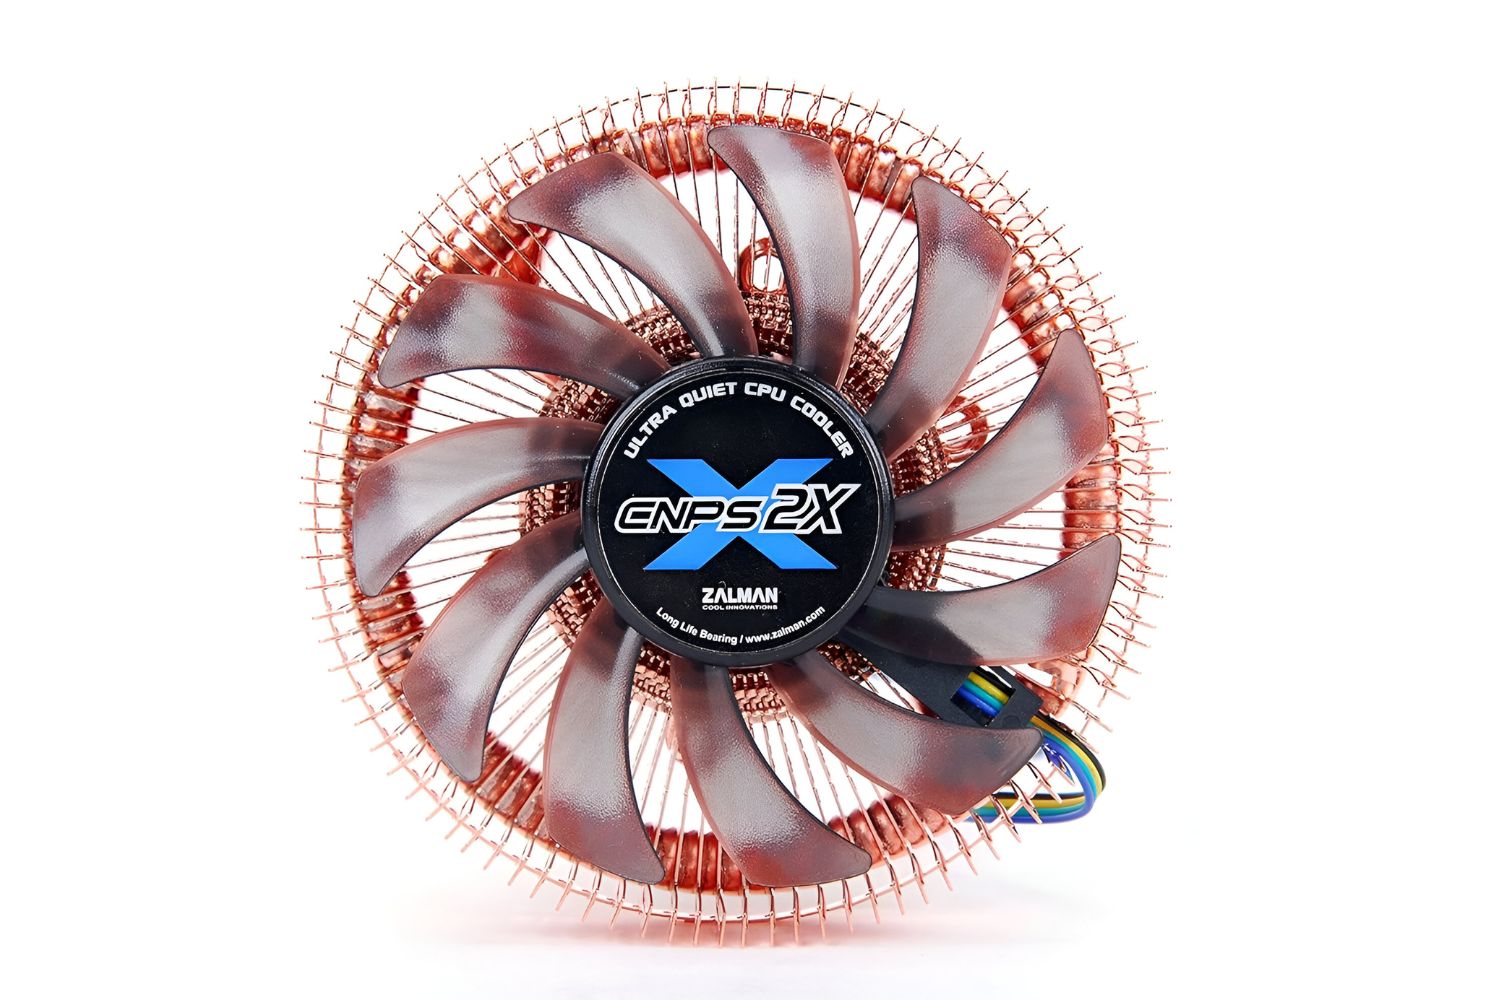
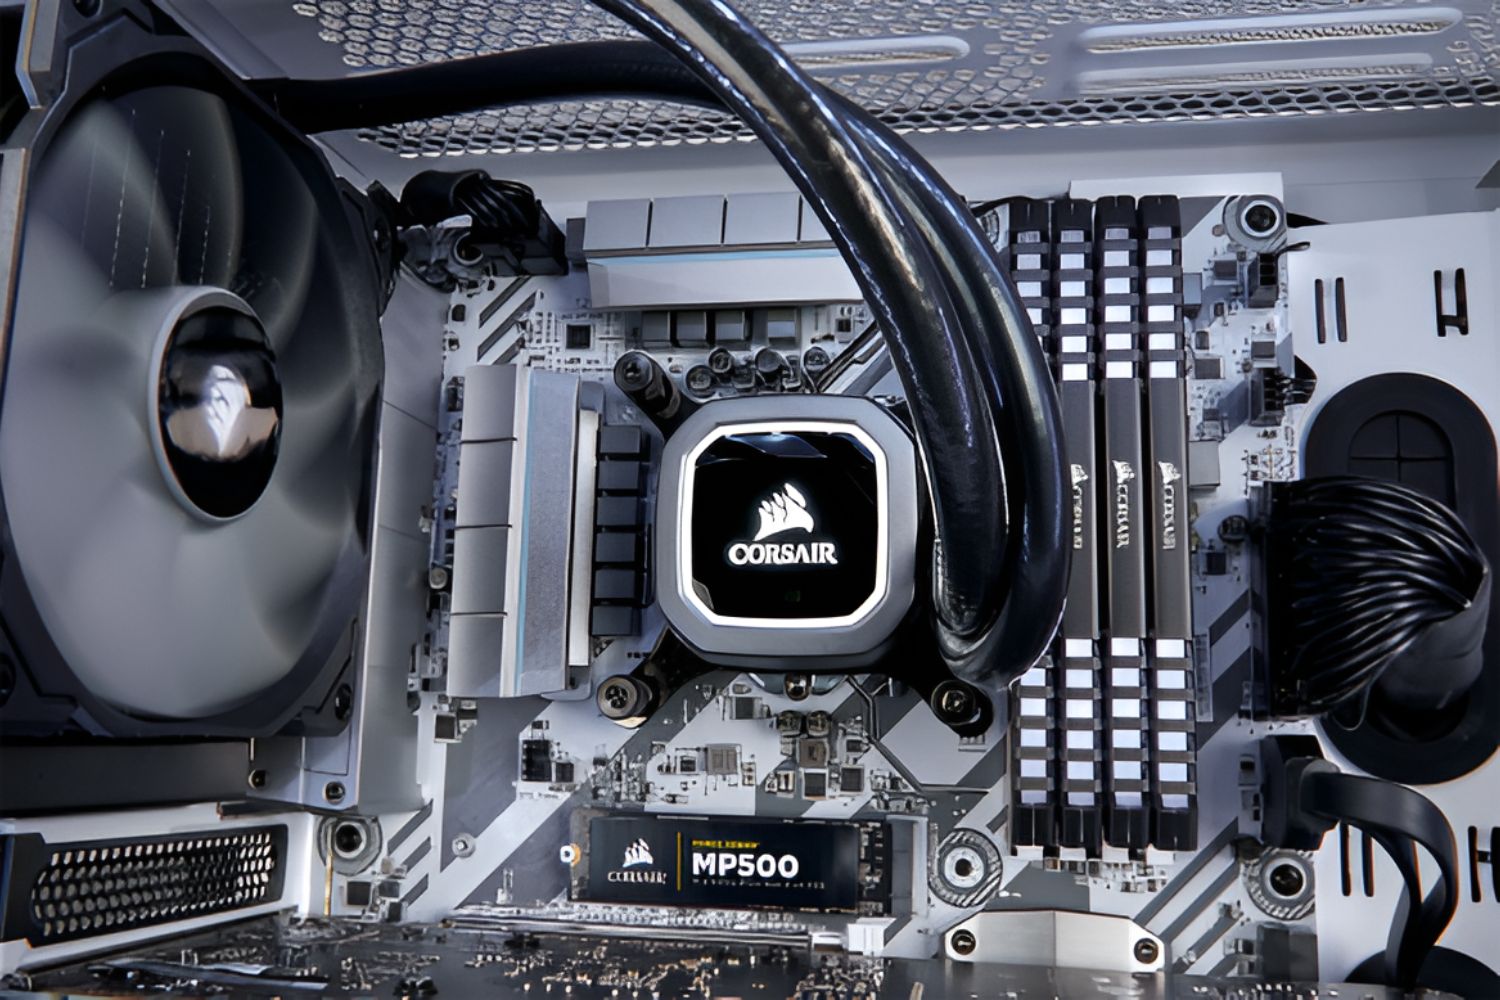
With the computer case open, it’s time to locate the CPU fan. The CPU fan is typically positioned on top of the CPU heatsink and is responsible for dissipating heat generated by the CPU. It’s essential to identify the CPU fan correctly to ensure that you clean the right component.
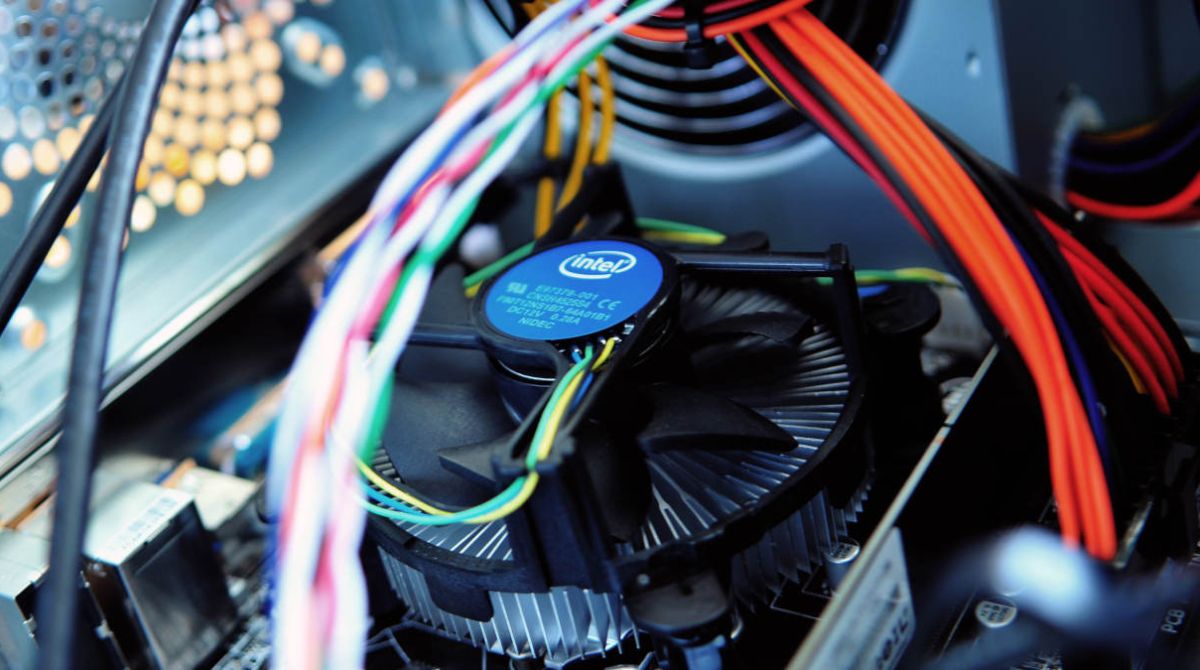
To locate the CPU fan, look for a large fan with blades positioned over a metal heatsink. The fan is usually connected to the motherboard with a cable. The exact location of the CPU fan may vary depending on your computer’s motherboard and case design.
If you’re having trouble identifying the CPU fan, consult your computer’s manual or search for specific instructions online based on your computer model. It’s important to confirm the location of the CPU fan before proceeding to avoid accidentally cleaning the wrong component.
Note: In some cases, you may have additional fans inside your computer case, such as front intake fans or rear exhaust fans. While it’s not necessary to clean these fans for the purpose of this guide, it’s a good idea to inspect them for any visible build-up of dust and clean them if necessary.
Once you have successfully located the CPU fan, it’s time to move on to the next step where you will learn how to remove the dust from the fan and heatsink.
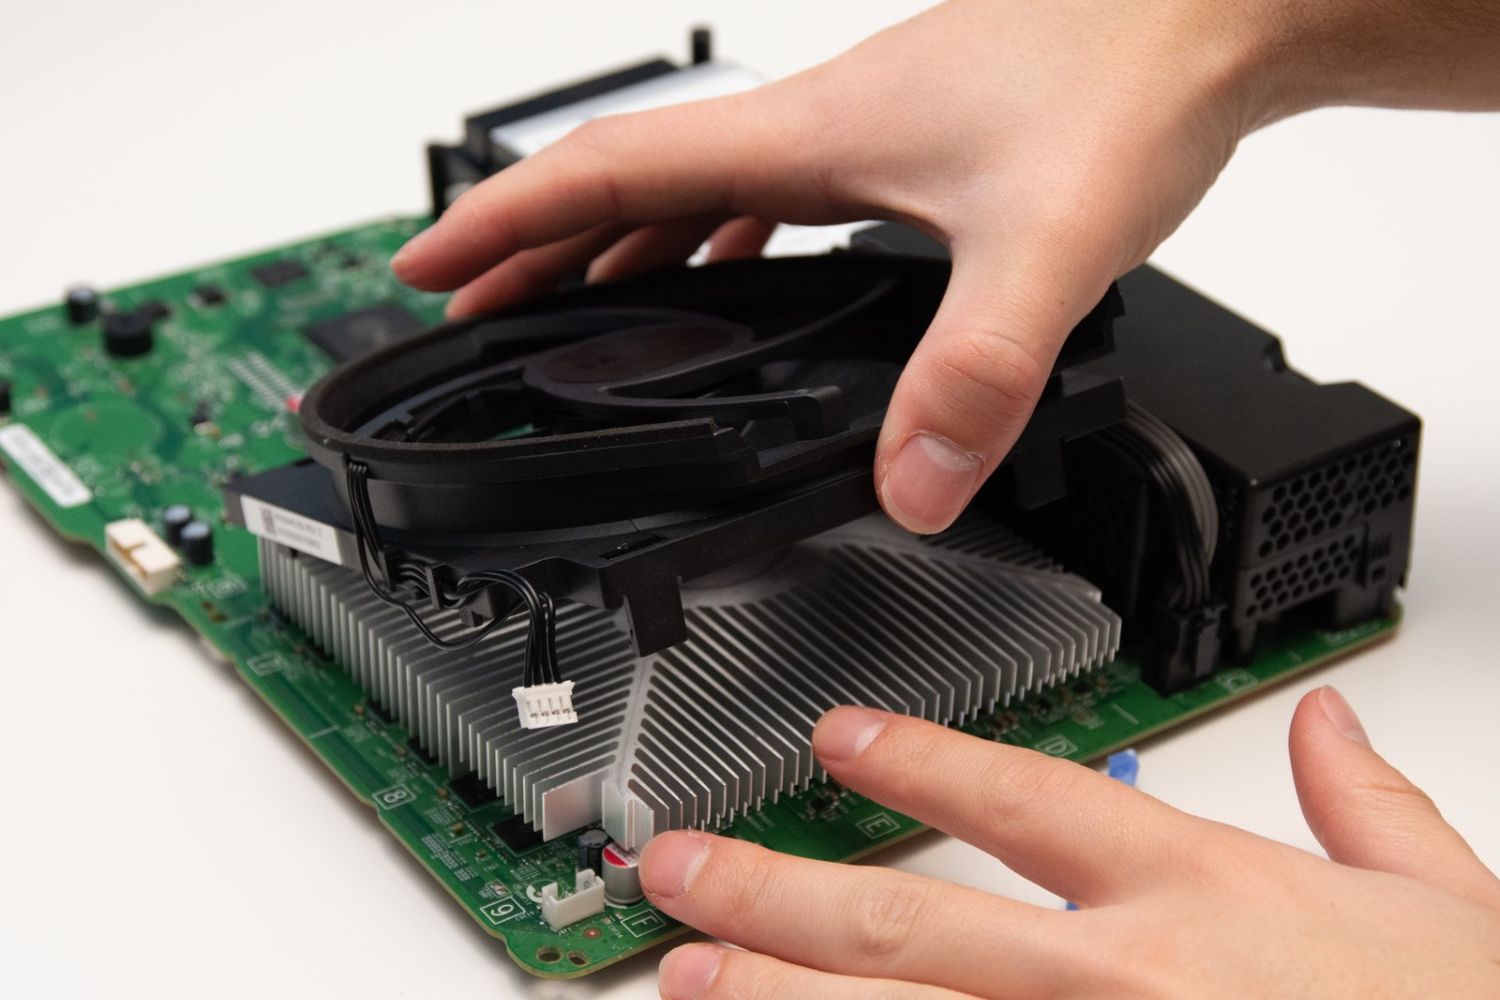
Step 4: Remove the Dust
Now that you have located the CPU fan, it’s time to remove the accumulated dust and debris. Over time, dust can hinder the airflow and efficiency of the fan, leading to overheating issues. Removing the dust is an important step in maintaining the performance and longevity of your CPU fan.
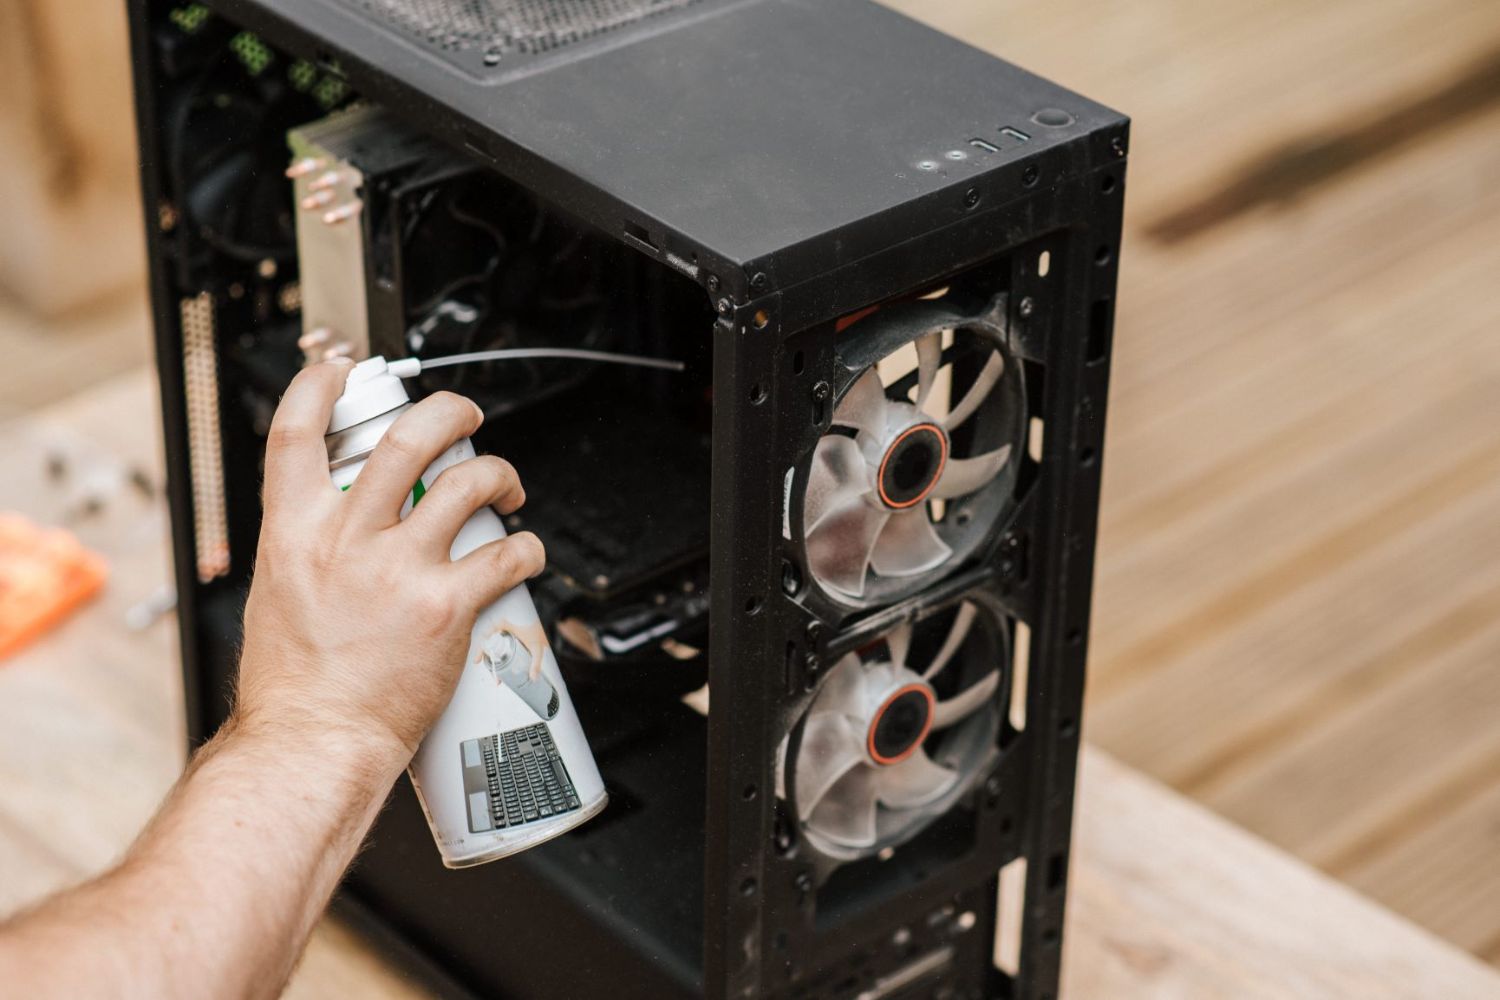
Start by using compressed air to blow away the loose dust from the fan blades, heatsink, and surrounding areas. Hold the canister upright and use short bursts of air to avoid excessive pressure on the components. Make sure to aim the air towards the fan blades and heatsink to dislodge the dust particles.
As you use the compressed air, you may notice the dust being blown away from the fan and settling in other areas inside the case. This is normal, and you can clean the loose dust later in the process. Focus on removing as much dust as possible from the fan blades and heatsink during this step.
If the dust is stubborn and doesn’t come off with compressed air alone, you can use a small brush or toothbrush to gently brush away the remaining dirt. Be careful not to apply excessive pressure or bend the fan blades. Use gentle strokes to dislodge the dust, taking care to clean both sides of the fan blades.
Next, use a clean cloth or microfiber cloth to wipe away any remaining dust from the fan blades, heatsink, and surrounding areas. Make sure the cloth is dry and lint-free to prevent any debris from getting stuck in the fan or heatsink. Gently wipe in a circular motion to remove the dust effectively.
Note: Avoid using any liquid cleaners directly on the fan or heatsink, as this can cause damage to the components. If there are stubborn stains or marks on the fan blades, you can lightly dampen a cloth with isopropyl alcohol and gently wipe the affected areas.
Once you are satisfied with the removal of dust from the CPU fan and heatsink, move on to the next step, where you will learn how to clean the fan blades in more detail.
Step 5: Clean the Fan Blades
After removing the loose dust from the CPU fan in the previous step, it’s time to focus on cleaning the fan blades more thoroughly. This step ensures that the fan operates smoothly and efficiently, without any obstruction caused by dirt or grime.
Start by using a small brush or toothbrush to gently dislodge any remaining debris or dust that may be stuck on the fan blades. Use gentle strokes and be careful not to apply too much pressure to avoid damaging the fan blades.
If there are stubborn stains or marks on the fan blades, you can dampen a cloth with isopropyl alcohol. Lightly rub the cloth on the affected areas to remove the stains. Avoid pouring or spraying the alcohol directly on the fan blades to prevent any liquid from entering the internal components.
Take extra care to clean both sides of the fan blades, ensuring that all visible dirt and marks are removed. This step will not only improve the appearance of the fan blades but also optimize the performance of the CPU fan.
Once you have cleaned the fan blades with the brush and alcohol, use a dry cloth or microfiber cloth to wipe away any moisture and ensure that the blades are completely dry. Any residual moisture can lead to the accumulation of dust and potentially affect the performance of the fan.
Note: It’s important to handle the fan blades with care to avoid bending or damaging them. Be gentle, yet thorough, when cleaning to ensure that the fan blades remain in good condition.
With the fan blades cleaned and dry, you’ve successfully completed this step. Now, let’s move on to the next step where you will learn how to clean the heatsink, another crucial component in keeping your CPU cool.
Step 6: Clean the Heatsink
While cleaning the CPU fan blades is important, it’s equally essential to clean the heatsink. The heatsink is responsible for absorbing and dispersing the heat generated by the CPU. Over time, it can accumulate dust and hinder its ability to cool the CPU effectively. Cleaning the heatsink will help optimize its performance and ensure efficient heat dissipation.
Start by using compressed air to blow away any loose dust or debris from the heatsink fins. Hold the canister upright and use short bursts of air to dislodge the dust particles. Aim the air at a downward angle to help the dust fall away from the heatsink.
If there are stubborn dust particles or debris stuck between the heatsink fins, you can use a small, soft-bristle brush or a toothbrush to gently brush them away. Be careful not to apply excessive pressure or bend the fins. Brush in the direction opposite to the airflow to avoid pushing the debris further into the heatsink.
For more thorough cleaning, you can use cotton swabs dipped in isopropyl alcohol to clean between the heatsink fins. Gently insert the cotton swab into the gaps and move it back and forth to remove any stubborn dirt or grime. Replace the cotton swabs as needed to ensure effective cleaning.
After cleaning, use a clean cloth or microfiber cloth to wipe away any remaining dust or residue from the heatsink. Ensure that the cloth is dry and lint-free to avoid leaving any fibers behind. Wipe in a gentle, circular motion to ensure thorough cleaning.
Note: Avoid using any liquid cleaners directly on the heatsink, as it may cause damage or corrosion. If required, lightly dampen the cloth with isopropyl alcohol and gently wipe the heatsink. Let it air dry completely before proceeding with reassembly.
With the heatsink cleaned and free from dust and debris, you’ve successfully completed this step. Now, let’s proceed to the final step, where you will learn how to reassemble your computer and test the CPU fan.
Step 7: Reassemble and Test
After successfully cleaning the CPU fan and heatsink, it’s time to reassemble your computer and ensure that the CPU fan is functioning properly. Following the correct steps for reassembly is crucial to avoid any mishaps and ensure everything is connected securely.
Start by placing the side panel back onto the computer case. Align the panel with the case and slide or push it gently until it locks into place. If your case uses screws, insert them into the appropriate holes and tighten them with a screwdriver.
Next, connect the power cable to the computer and plug it into the electrical outlet. Ensure that all other cables and connectors are securely attached to their respective ports, including the CPU fan cable.
Once everything is reassembled, power on your computer and observe the CPU fan. Make sure that it spins smoothly and without any unusual noises. You can also check the fan speed and temperature using computer monitoring software to ensure that the fan is working optimally.
If you notice any issues with the CPU fan, such as unusual noises or the fan not spinning at all, power off your computer immediately and double-check the connections. It may be necessary to repeat the cleaning process and ensure that everything is properly secured.
Once you have confirmed that the CPU fan is functioning correctly, you can proceed with testing the performance of your computer. Run resource-intensive tasks or applications and monitor the CPU temperature to ensure that it remains within acceptable limits. If the temperature stays within a safe range, it indicates that the cleaning process was successful, and the CPU fan is effectively cooling the CPU.
Congratulations! You have now successfully cleaned your CPU fan, reassembled your computer, and ensured that everything is functioning correctly. Regularly monitoring the fan performance and cleaning it on a routine basis will help maintain optimal performance and prolong the lifespan of your computer.
Conclusion
Congratulations on successfully cleaning your CPU fan! Regular maintenance and cleaning of your CPU fan is essential for keeping your computer running smoothly and preventing performance issues caused by overheating. By following the step-by-step guide outlined in this article, you have learned how to power off and unplug your computer, open the case, locate the CPU fan, remove dust and debris, clean the fan blades and heatsink, and reassemble and test your computer.
Remember, it’s important to clean your CPU fan on a regular basis to ensure optimal performance and prevent dust build-up. Depending on your computer’s environment and usage, it is recommended to clean the fan every three to six months, or more frequently if you notice an increase in temperature or noise. Keeping your CPU fan clean will not only extend the lifespan of your computer but also improve its overall performance.
Furthermore, make sure to take necessary precautions when working on your computer, such as grounding yourself to prevent static discharge and handling components with care. Always refer to your computer’s manual or seek professional assistance if you are unsure or uncomfortable with any part of the cleaning process.
We hope this guide has provided you with the knowledge and confidence to effectively clean your CPU fan and optimize the cooling system of your computer. By incorporating regular cleaning into your computer maintenance routine, you can enjoy a cooler and more efficient computing experience for years to come.