Introduction
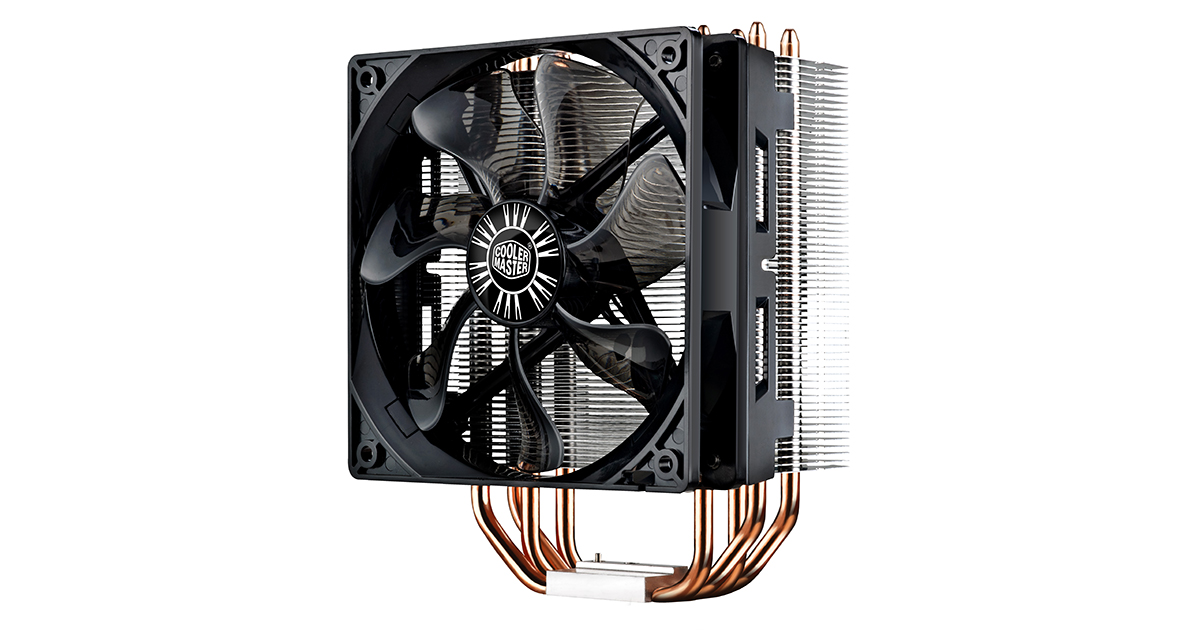
The Cooler Master Hyper 212 Evo is a popular CPU cooler widely used by gamers, enthusiasts, and professionals alike. With its exceptional thermal performance and efficient cooling capabilities, it has become a go-to choice for those seeking to keep their CPUs running at optimal temperatures.
However, there may come a time when you need to clean or replace certain components of the Cooler Master Hyper 212 Evo. Whether it’s a dusty heatsink or a malfunctioning fan, understanding how to disassemble this CPU cooler is essential.
In this guide, we will walk you through the step-by-step process of taking apart the Cooler Master Hyper 212 Evo. With the right tools and a little patience, you’ll be able to successfully disassemble and clean your CPU cooler, ensuring its longevity and effectiveness.
Before we get started, it’s important to note that disassembling your Cooler Master Hyper 212 Evo may void any warranty it has. If your CPU cooler is still under warranty, consider contacting the manufacturer for assistance first.
Now, let’s gather the necessary tools and dive into the process of taking apart your Cooler Master Hyper 212 Evo!
Tools Required
Before you start disassembling your Cooler Master Hyper 212 Evo, gather the following tools:
- Phillips head screwdriver: This will be used to remove screws holding the CPU cooler in place.
- Cotton swabs or soft-bristle brush: These are essential for cleaning dust and debris from the heatsink and fan.
- Isopropyl alcohol: You’ll need this to clean the thermal paste from the CPU cooler base.
- Thermal paste: If you plan to reapply thermal paste after cleaning, make sure you have some on hand.
- Anti-static wrist strap (optional): While not necessary, an anti-static wrist strap can help prevent damage from static electricity.
- Microfiber cloth: This will come in handy for wiping down any fingerprints or smudges.
Having these tools readily available will ensure a smooth disassembly process and help maintain the integrity of your Cooler Master Hyper 212 Evo.
Now that you have everything you need, let’s move on to the step-by-step disassembly guide for your Cooler Master Hyper 212 Evo in the next section.
Step 1: Removing the CPU Cooler from the Motherboard
The first step in disassembling the Cooler Master Hyper 212 Evo is to remove the CPU cooler from the motherboard. Follow these steps:
- Power down your computer and unplug it from the wall to ensure your safety.
- Locate the retention screws or clips that secure the CPU cooler to the motherboard. These are usually found around the CPU socket.
- Using a Phillips head screwdriver, carefully remove the retention screws or unclip the retention clips. Take note of how many screws or clips are present, as you will need to reinstall them later.
- Gently lift the CPU cooler off the motherboard, ensuring that you do not tug on any wires or cables connected to the fan.
- If the CPU cooler feels stuck, apply gentle pressure and wiggle it slightly to loosen it from the thermal paste bond. Do not force it or use excessive pressure, as this can damage the CPU or motherboard.
With the CPU cooler successfully removed from the motherboard, you can now move on to the next step of disassembling the Cooler Master Hyper 212 Evo.
Remember: When handling the CPU cooler, avoid touching the copper base or the thermal paste on it. The oils from your skin can hinder heat transfer and affect the cooling performance.
Note: If your CPU cooler has a backplate, you may need to remove it as well. The method for doing so varies depending on the specific model of the Cooler Master Hyper 212 Evo. Refer to the cooler’s manual or manufacturer’s website for instructions specific to your model.
Step 2: Removing the Heatsink and Fan from the CPU Cooler Base
With the CPU cooler successfully removed from the motherboard, the next step is to detach the heatsink and fan from the CPU cooler base. Follow these steps:
- Place the CPU cooler on a clean, flat surface, ensuring that the base is facing upwards.
- Locate the screws or clips that secure the heatsink and fan to the CPU cooler base. These are typically found on the sides or corners of the cooler.
- Using a Phillips head screwdriver, carefully remove the screws or unclip the clips, keeping track of their location for reassembly later.
- Gently lift the fan and heatsink assembly away from the CPU cooler base, making sure to support the weight of the fan to prevent any strain on the wires or cables.
- If there is any resistance, do not force it. Check for any hidden screws or clips that may be holding the assembly in place, and remove them if necessary.
Once the heatsink and fan assembly is separated from the CPU cooler base, you can proceed to the next step, which is cleaning the components thoroughly.
Note: It’s essential to handle the heatsink and fan assembly with care, as they can be quite fragile. Avoid bending or applying excessive pressure to the fins or the fan blades.
Step 3: Cleaning the Heatsink and Fan
Now that the heatsink and fan assembly is separate from the CPU cooler base, it’s time to give them a thorough cleaning. Follow these steps:
- Using a cotton swab or a soft-bristle brush, gently remove any visible dust or debris from the heatsink. Be careful not to apply excessive pressure, as this may damage the fins.
- Next, focus on cleaning the fan. Hold the fan blades in place to prevent them from spinning, and use a cotton swab or brush to carefully remove any accumulated dust or dirt. Pay special attention to the areas around the fan hub.
- If necessary, you can use compressed air to blow out any remaining dust or particles from both the heatsink and fan. Ensure that the canister is held upright and the air is directed away from any sensitive components.
- If the heatsink or fan is particularly dirty, you can also use mild soapy water or isopropyl alcohol. Dampen a clean cloth or cotton swab with the solution, and gently wipe the surfaces. Allow them to air dry completely before reassembly.
- Check for any stubborn dirt or residue. If present, dampen a cotton swab or cloth with isopropyl alcohol and carefully clean the affected areas.
It’s essential to clean the heatsink and fan thoroughly to ensure proper airflow and heat dissipation. Removing dust and debris will enhance the CPU cooler’s performance and prevent any potential overheating issues.
Note: Do not submerge the heatsink or fan in water or any other liquid. This may damage the components and render them unusable.
Once the heatsink and fan are clean and dry, it’s time to move on to the next step, which involves removing the fan from the heatsink assembly.
Step 4: Removing the Fan from the Heatsink
In this step, we will focus on removing the fan from the heatsink assembly. Follow these steps:
- Inspect the fan to locate the screws or clips that attach it to the heatsink. These are usually located around the edges of the fan.
- Using a Phillips head screwdriver, carefully remove the screws if they are present. If the fan is attached with clips, gently unclip them to release the fan from the heatsink.
- Slowly lift the fan away from the heatsink, taking care not to damage the fan blades or put stress on the wires or cables. If needed, gently wiggle the fan back and forth to loosen it from any residual thermal paste.
- Place the fan aside in a safe and clean location.
By removing the fan from the heatsink, you will have better access to clean and maintain both components individually. This step allows for a more thorough cleaning, as well as the option to replace the fan if necessary.
Caution: Be careful when handling the fan as it can be delicate. Avoid applying excessive force or bending the fan blades, as this can cause damage and affect its performance.
Now that the fan is detached, we can proceed to the next step, which involves disassembling the fan for a deeper cleaning.
Step 5: Disassembling the Fan for Deeper Cleaning
In this step, we will disassemble the fan to access its internal components for a more thorough cleaning. Follow these steps:
- Inspect the fan to identify any clips, screws, or tabs that hold the fan casing together.
- Using a small flat-head screwdriver or a similar tool, gently pry open the clips or unscrew the screws to release the casing. Take note of the number and location of the clips or screws for reassembly.
- Once the casing is loosened, carefully lift it off to reveal the fan blades and motor beneath.
- Take the fan blades out one by one, being cautious not to exert too much pressure or bend them. This will allow you to clean each blade individually.
- Using a cotton swab or a soft-bristle brush, gently remove any dust or debris from the fan blades and the inner surface of the casing. Take your time to ensure a thorough cleaning.
- If necessary, you can dampen a cotton swab or cloth with isopropyl alcohol to remove stubborn dirt or residue. Make sure to allow the components to dry completely before reassembly.
By disassembling the fan, you will have the opportunity to clean even the smallest crevices and remove accumulated dirt or dust that may be affecting its performance. This step is particularly useful if the fan has been operating in a dusty environment.
Caution: When handling the fan blades, be gentle to avoid bending or breaking them. It’s also important to avoid touching the fan motor directly, as oils from your skin may affect its operation.
Now that the fan is thoroughly cleaned, we can proceed to the next step, which involves reassembling both the fan and the heatsink assembly.
Step 6: Reassembling the Fan and Heatsink
After cleaning the fan and heatsink components, it’s time to reassemble them. Follow these steps:
- If you disassembled the fan, carefully reattach the fan blades to the fan motor, making sure they are aligned properly.
- If you removed any screws or clips from the fan casing, reinsert them to secure the casing back together. Ensure that all the clips or screws are in place.
- Place the fan onto the heatsink, aligning the screw holes or clips with the respective slots on the heatsink.
- Fasten the screws or clip the fan back onto the heatsink, ensuring it is securely attached.
- If the screws are present, make sure they are tightened evenly in a diagonal pattern to ensure balanced pressure across the fan and heatsink assembly.
Once the fan and heatsink are reassembled, you have successfully completed this step. The cleaned and reassembled fan will now be ready to provide efficient cooling to your CPU.
Note: It’s essential to ensure that the fan is securely attached to the heatsink to prevent any vibrations or movement that can negatively impact cooling performance.
Now let’s move on to the final step, which involves applying thermal paste and reattaching the CPU cooler to the motherboard.
Step 7: Applying Thermal Paste and Reattaching the CPU Cooler to the Motherboard
In this final step, we will apply thermal paste and reattach the CPU cooler to the motherboard. Follow these steps:
- Ensure that the CPU and CPU socket on the motherboard are clean and free from any leftover thermal paste or debris. Use isopropyl alcohol and a lint-free cloth or cotton swab to wipe them clean if necessary.
- Apply a small, pea-sized amount of thermal paste onto the center of the CPU. Remember, a little goes a long way, so avoid using too much as it can cause thermal conductivity issues.
- Spread the thermal paste evenly across the CPU surface, either by using a plastic applicator or by carefully placing the heatsink onto the CPU and applying gentle pressure. Make sure the thermal paste covers the entire CPU surface but does not spill over its edges.
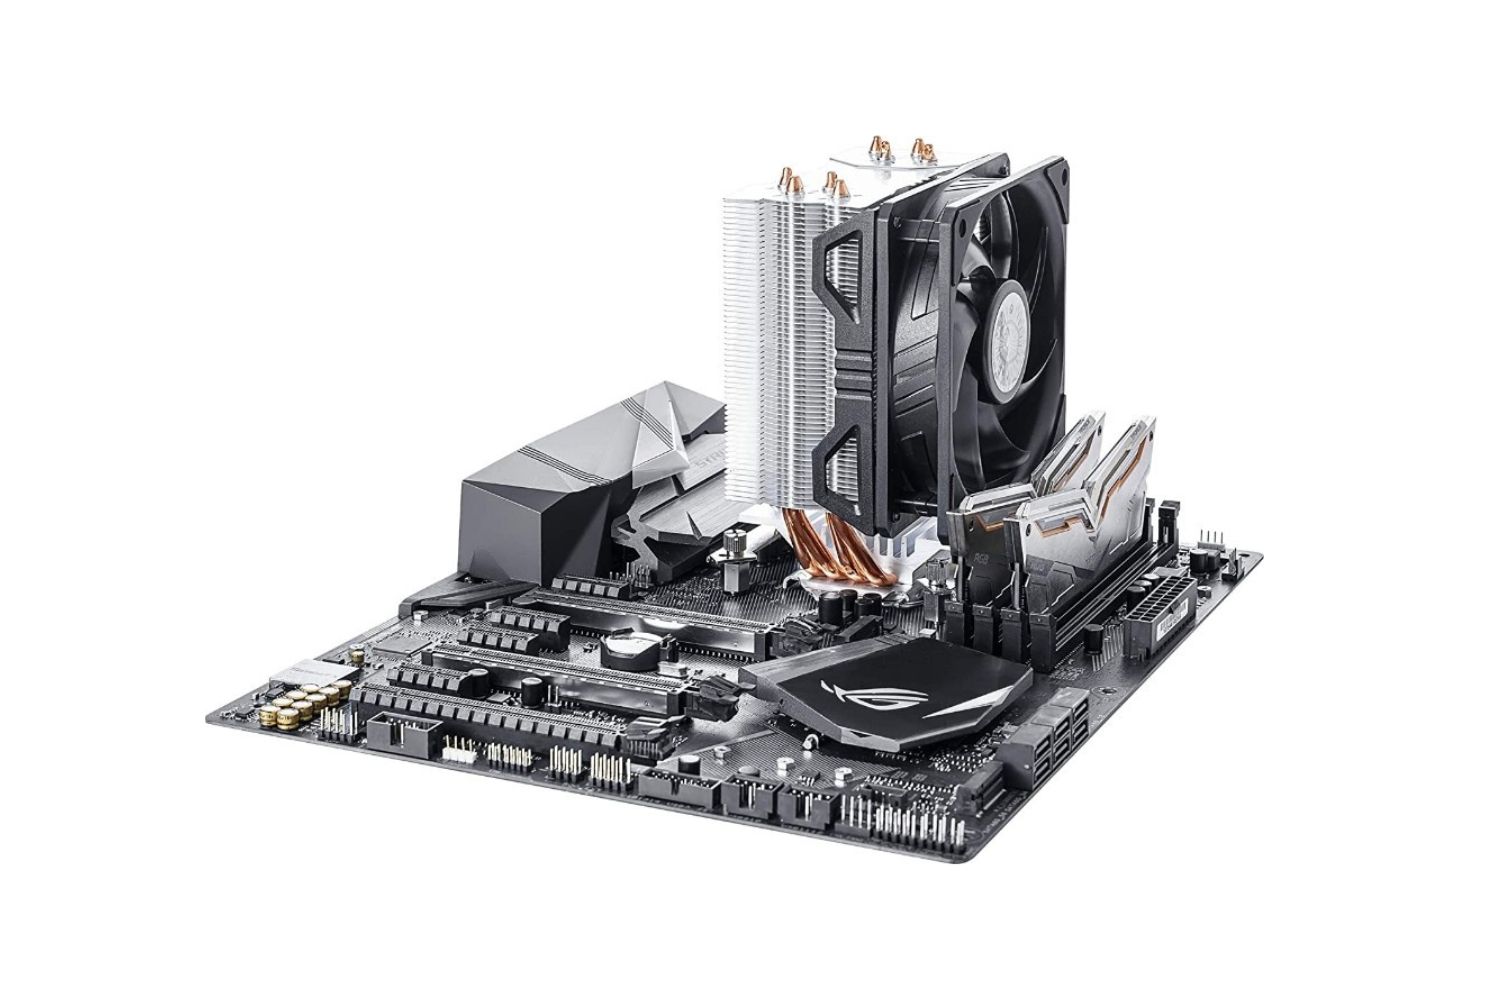
- Align the CPU cooler with the mounting holes around the CPU socket, ensuring a proper fit with the backplate (if applicable).
- Attach the CPU cooler to the motherboard by inserting and fastening the retention screws or clips. Tighten them in a diagonal or cross pattern to ensure even pressure distribution.
With the CPU cooler securely reattached to the motherboard, you have successfully completed the process of taking apart and reassembling the Cooler Master Hyper 212 Evo.
Note: Double-check that all the screws or clips are tight but not overly tightened, as this can damage the motherboard or CPU cooler.
Now that your Cooler Master Hyper 212 Evo is back in place, you can reconnect the necessary cables and power up your computer. Enjoy the improved cooling performance and peace of mind knowing that your CPU is operating at optimal temperatures.
Conclusion
Disassembling and cleaning the Cooler Master Hyper 212 Evo CPU cooler is a valuable skill that can help optimize cooling performance and prolong the lifespan of your CPU. By following the step-by-step guide outlined in this article, you can confidently take apart your CPU cooler, clean its components thoroughly, and reassemble it with ease.
Remember to gather the necessary tools before starting, including a Phillips head screwdriver, cotton swabs or a soft-bristle brush, isopropyl alcohol, thermal paste, and a microfiber cloth. These tools will aid you in the disassembly, cleaning, and reassembly process.
Throughout the disassembly process, handle the components with care to avoid causing any damage. Be mindful of the thermal paste on the CPU cooler base, as well as the delicate fan blades and fins of the heatsink.
After cleaning the heatsink, fan, and individual fan blades, reassembling the components is straightforward. Make sure to secure the fan back onto the heatsink evenly and firmly, ensuring a proper fit. Applying thermal paste correctly and reattaching the CPU cooler to the motherboard is crucial for optimal heat transfer and cooling efficiency.
Once you have completed reassembly, reconnect any necessary cables, power on your computer, and enjoy the improved thermal performance provided by your freshly cleaned and reassembled Cooler Master Hyper 212 Evo CPU cooler.
Regular maintenance and cleaning of your CPU cooler will help prevent overheating issues and ensure that your CPU operates efficiently even under demanding tasks. By following the steps in this guide, you can confidently maintain your Cooler Master Hyper 212 Evo and maximize its cooling capabilities for years to come.