Introduction
When it comes to maintaining a healthy and efficient computer, taking care of the cooling system is crucial. The AMD CPU fan plays a vital role in keeping the processor at an optimal temperature, preventing overheating and potential damage. However, there may come a time when you need to remove the AMD CPU fan for cleaning, upgrading, or troubleshooting purposes. While it may seem like a daunting task, with the right tools and steps, you can safely and easily remove the AMD CPU fan.
In this guide, we will walk you through the step-by-step process of removing the AMD CPU fan. Before we begin, it’s important to mention that if you’re not confident in your technical skills or unsure about any aspect of the process, it’s always a good idea to seek professional assistance. Additionally, keep in mind that the exact steps may vary slightly depending on the specific model of your AMD CPU and motherboard.
By following this guide, you’ll gain the knowledge and confidence to remove the AMD CPU fan correctly, helping you maintain the longevity and performance of your computer system. So, let’s dive in and get started on this DIY journey to safely remove the AMD CPU fan!
Safety Precautions
Before you start removing the AMD CPU fan, it’s crucial to take some necessary safety precautions to prevent any damage to your computer or harm to yourself. Here are some essential safety measures to keep in mind:
- Make sure to turn off your computer and unplug it from the power source before you begin. This will eliminate the risk of electric shock and prevent any accidental power surges or damage to the components.
- Protect yourself by wearing an anti-static wristband or grounding yourself by touching a metal object. This will discharge any static electricity from your body, which can potentially damage sensitive computer parts.
- Find a clean and well-lit workspace to perform the task. Make sure the area is free from clutter or any objects that could get in the way of your work or accidentally fall into the computer.
- Handle all computer components, especially the AMD CPU fan, with care. Avoid applying excessive force or dropping any parts, as this can lead to damage or breakage.
- Take note of where each screw and cable is located. It’s a good practice to label or take pictures of the connections before you disconnect them. This will make reassembly easier and ensure you don’t miss any important steps.
- If you encounter resistance or difficulty while removing any component, stop and double-check your steps. It’s important to avoid forcing anything, as this can result in irreversible damage to the CPU or motherboard.
- If you’re uncertain about any step of the process or feel uncomfortable performing the task, it’s always best to seek professional assistance.
By following these safety precautions, you can ensure a smooth and safe process when removing the AMD CPU fan. Now that you’re aware of the necessary precautions, let’s move on to the tools required for the task.
Tools Required
Before you embark on the process of removing the AMD CPU fan, it’s important to gather the necessary tools. Having the right tools on hand will ensure a smooth and efficient removal process. Here are the tools you’ll need:
- Screwdriver set: A set of magnetic screwdrivers with different sizes, including both Phillips and flathead screwdrivers, will be needed to remove the screws securing the CPU fan.
- Compressed air or can of compressed air: This will be used to remove dust and debris from the fan and heatsink.
- Anti-static wristband or mat: It’s highly recommended to wear an anti-static wristband or work on an anti-static mat to prevent any static electricity from damaging the delicate computer components.
- Clean cloth or microfiber cloth: This will be used to wipe away any dust or residue from the fan and heatsink.
- Isopropyl alcohol: If the fan or heatsink is particularly dirty, you may need to clean it with isopropyl alcohol. Make sure to use a high percentage (>90%) isopropyl alcohol and a lint-free cloth for cleaning.
Having these tools readily available before you begin the process will save you time and ensure you have everything you need to successfully remove the AMD CPU fan. Now that you know the tools required, let’s move on to the step-by-step process of removing the fan.
Step 1: Shutting Down the Computer
Before you start removing the AMD CPU fan, it’s essential to shut down your computer properly. Here’s how to do it:
- Save your work and close any open programs or applications.
- Click on the “Start” menu in the bottom-left corner of your screen.
- Select “Shut down” from the options menu.
- Wait for your computer to completely power off before proceeding.
It’s important to shut down your computer properly to prevent any data loss or damage to the operating system. Once your computer is shut down, you can proceed to the next step of removing the AMD CPU fan.
Note: If you are working on a laptop, it’s advised to disconnect the power adapter and remove the battery before proceeding with the next steps.
Now that your computer is shut down, let’s move on to the next step of removing the side panel.
Step 2: Removing the Side Panel
Now that your computer is shut down, the next step is to remove the side panel of your computer case. Follow these steps to remove the side panel:
- Place your computer on a stable and flat surface.
- Locate the screws or latches securing the side panel to the computer case.
- Using the appropriate screwdriver or unlatching mechanism, remove the screws or release the latches that hold the side panel in place.
- Gently slide or pull the side panel away from the computer case.
- Set the side panel aside in a safe place where it won’t be damaged.
It’s important to be gentle when removing the side panel to avoid any damage to the computer case or its components. In some cases, you may need to apply a slight amount of force to remove the panel, but never force it if it doesn’t easily come off.
Once the side panel is removed, you’ll have easy access to the internal components of your computer. With the side panel out of the way, you can now move on to the next step of locating the AMD CPU fan.
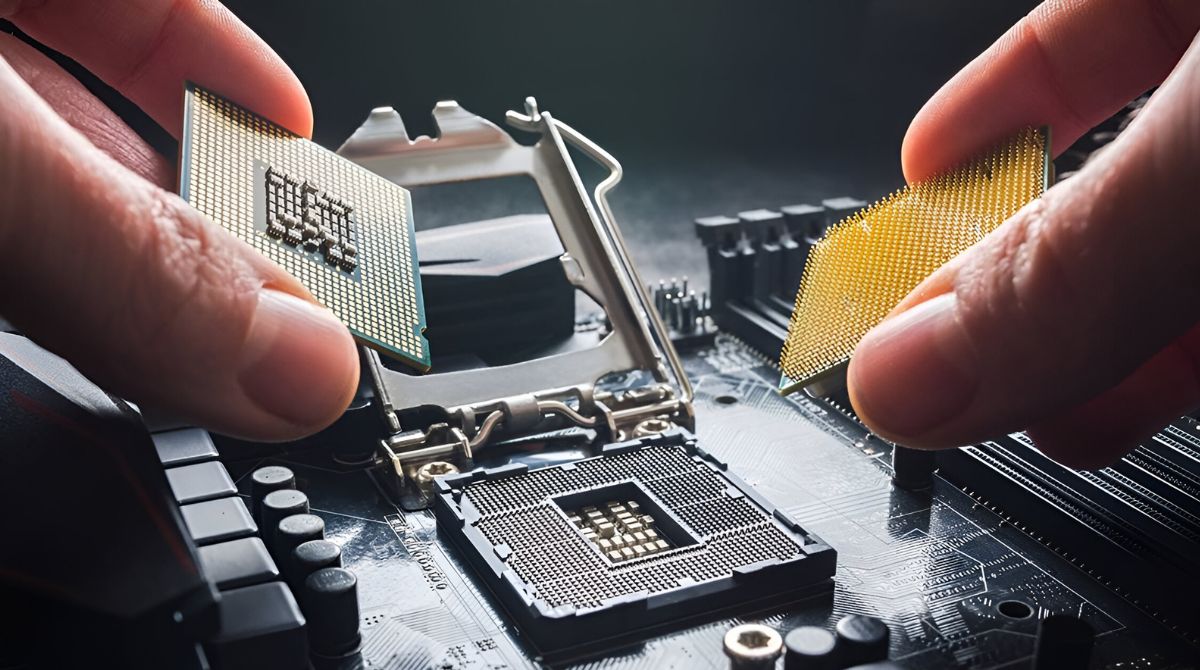
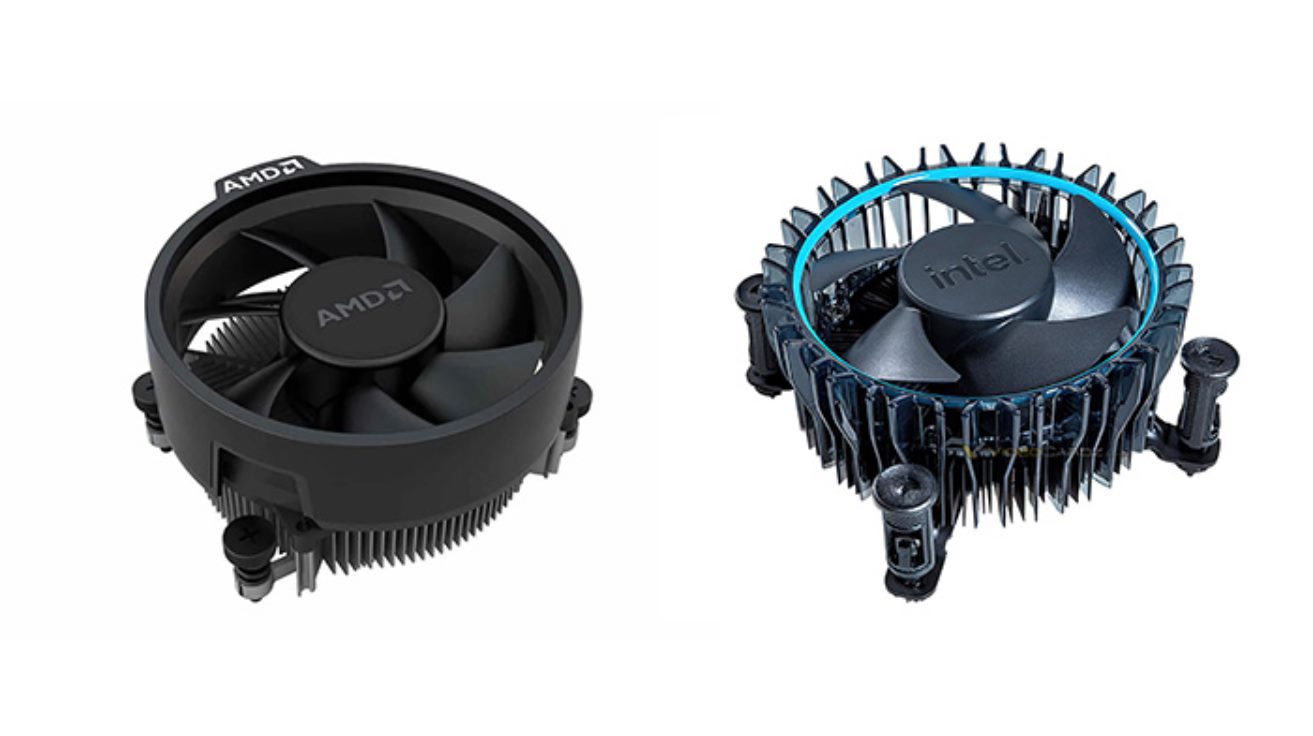
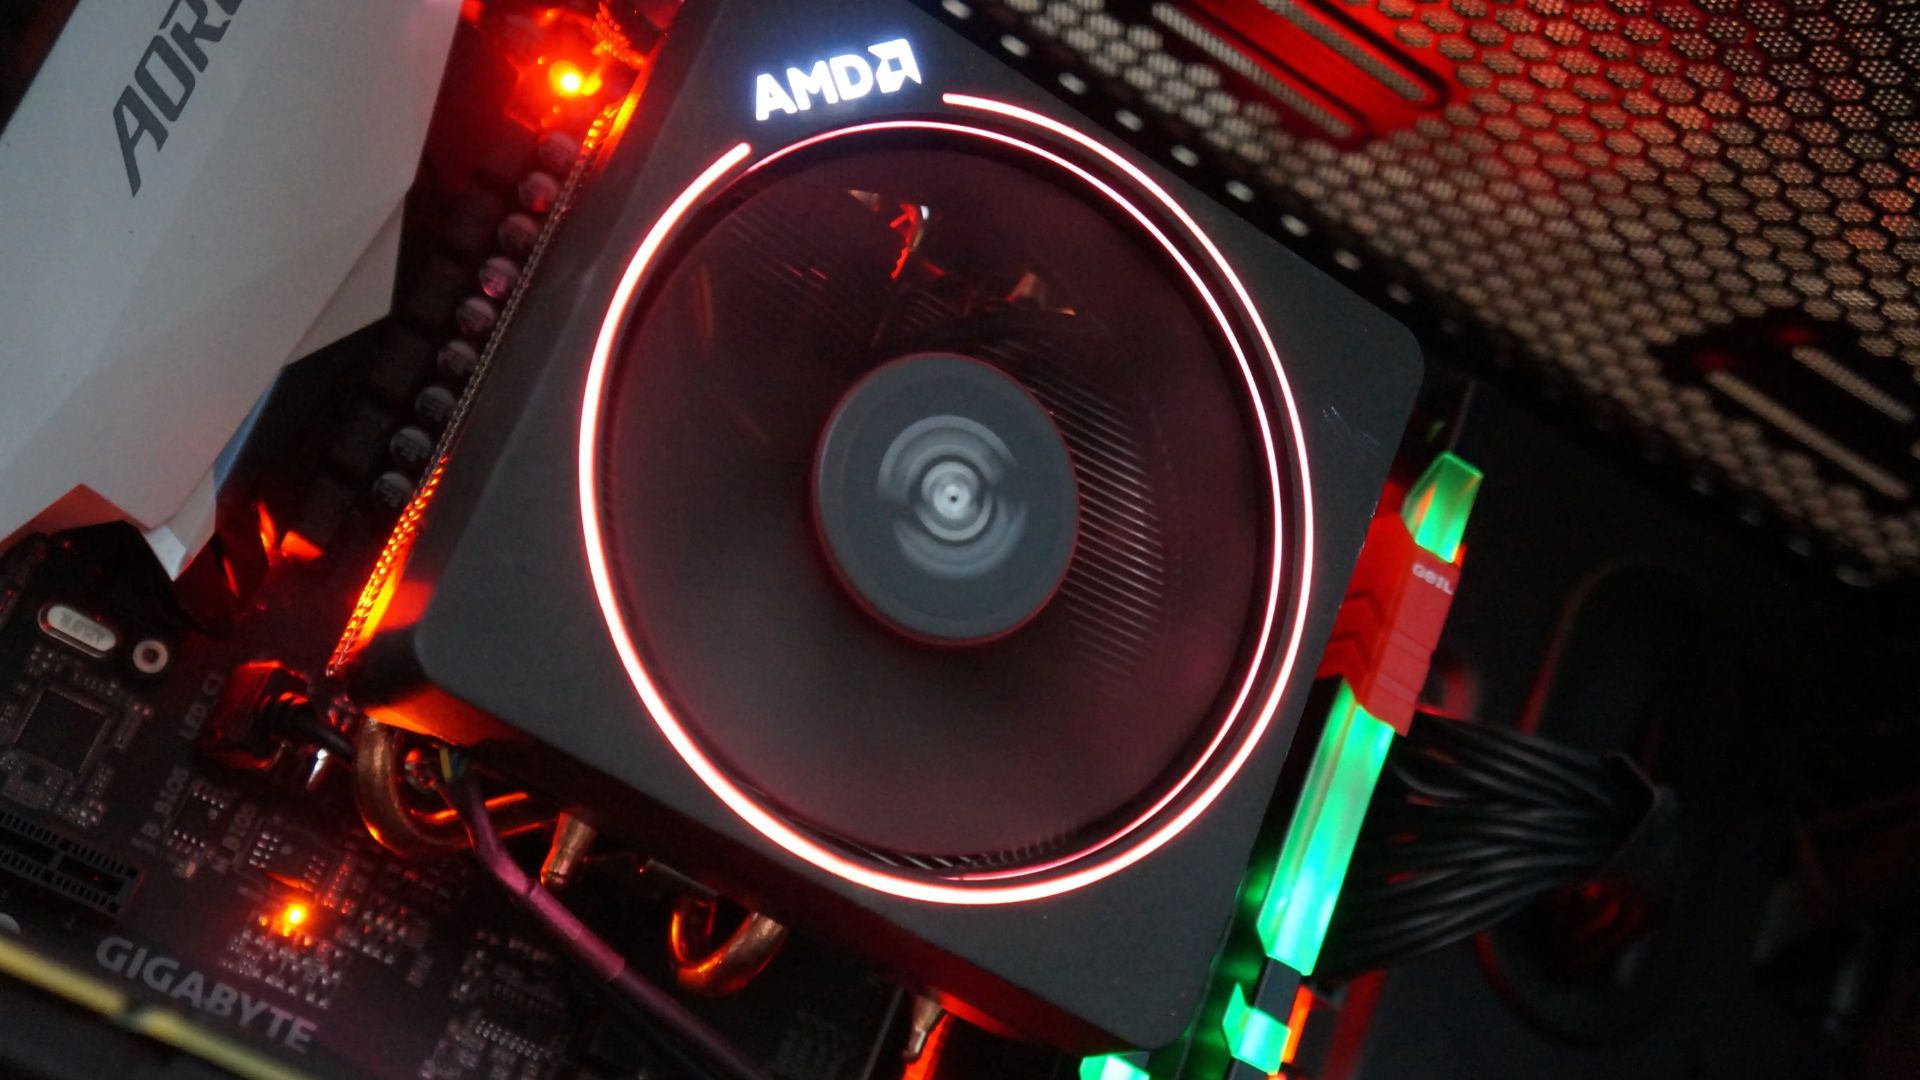
Step 3: Locating the AMD CPU Fan
With the side panel removed, it’s time to locate the AMD CPU fan inside your computer. Follow these steps to find the CPU fan:
- Take a close look at the motherboard inside your computer case. The CPU socket is usually located near the center of the motherboard.
- Identify the heatsink and fan assembly that is mounted on top of the CPU socket. This assembly consists of a metal heatsink and a fan positioned on top of it.
- Verify that the fan is connected to the CPU fan header on the motherboard. The fan header is usually labeled as “CPU_FAN” or similar and is located near the CPU socket.
It’s important to take note of the location and orientation of the CPU fan before proceeding further. This will help you reconnect it correctly after cleaning or troubleshooting. You may also want to take a photo or make a diagram for reference if needed.
Once you’ve located the AMD CPU fan, you’re ready to proceed to the next step of disconnecting the fan power cable.
Step 4: Disconnecting the Fan Power Cable
Before removing the AMD CPU fan, it’s important to disconnect the fan’s power cable to prevent any accidental damage. Follow these steps to disconnect the fan power cable:
- Locate the fan power cable that is connected to the CPU fan header on the motherboard.
- Gently grip the connector of the fan power cable and carefully pull it away from the CPU fan header.
- Avoid pulling on the cables directly as this can damage the connectors or wires. Instead, use the connector itself to disconnect it from the header.
- Once the fan power cable is disconnected, set it aside in a safe place where it won’t get tangled or damaged.
By disconnecting the fan power cable, you ensure that the fan won’t spin or generate any electrical activity while you’re removing it. This minimizes the risk of any accidental contact or damage to the fan or other components.
Now that the fan power cable is disconnected, you’re ready to move on to the next step of removing the fan retention bracket.
Step 5: Removing the Fan Retention Bracket
After disconnecting the fan power cable, the next step in removing the AMD CPU fan is to remove the fan retention bracket. Follow these steps to remove the fan retention bracket:
- Inspect the area around the CPU socket and locate the fan retention bracket.
- Identify the screws or retention clips that secure the fan retention bracket in place.
- Using a screwdriver or your fingers, carefully remove the screws or unclip the retention clips.
- Keep track of the screws or clips as you remove them, ensuring they don’t get misplaced.
- Once the retention bracket is released, gently lift it away from the heatsink and set it aside.
Be cautious while removing the fan retention bracket, as excessive force can damage the bracket or the motherboard. Take your time and ensure a careful and gentle approach.
With the fan retention bracket removed, you can now proceed to the next step of detaching the AMD CPU fan itself.
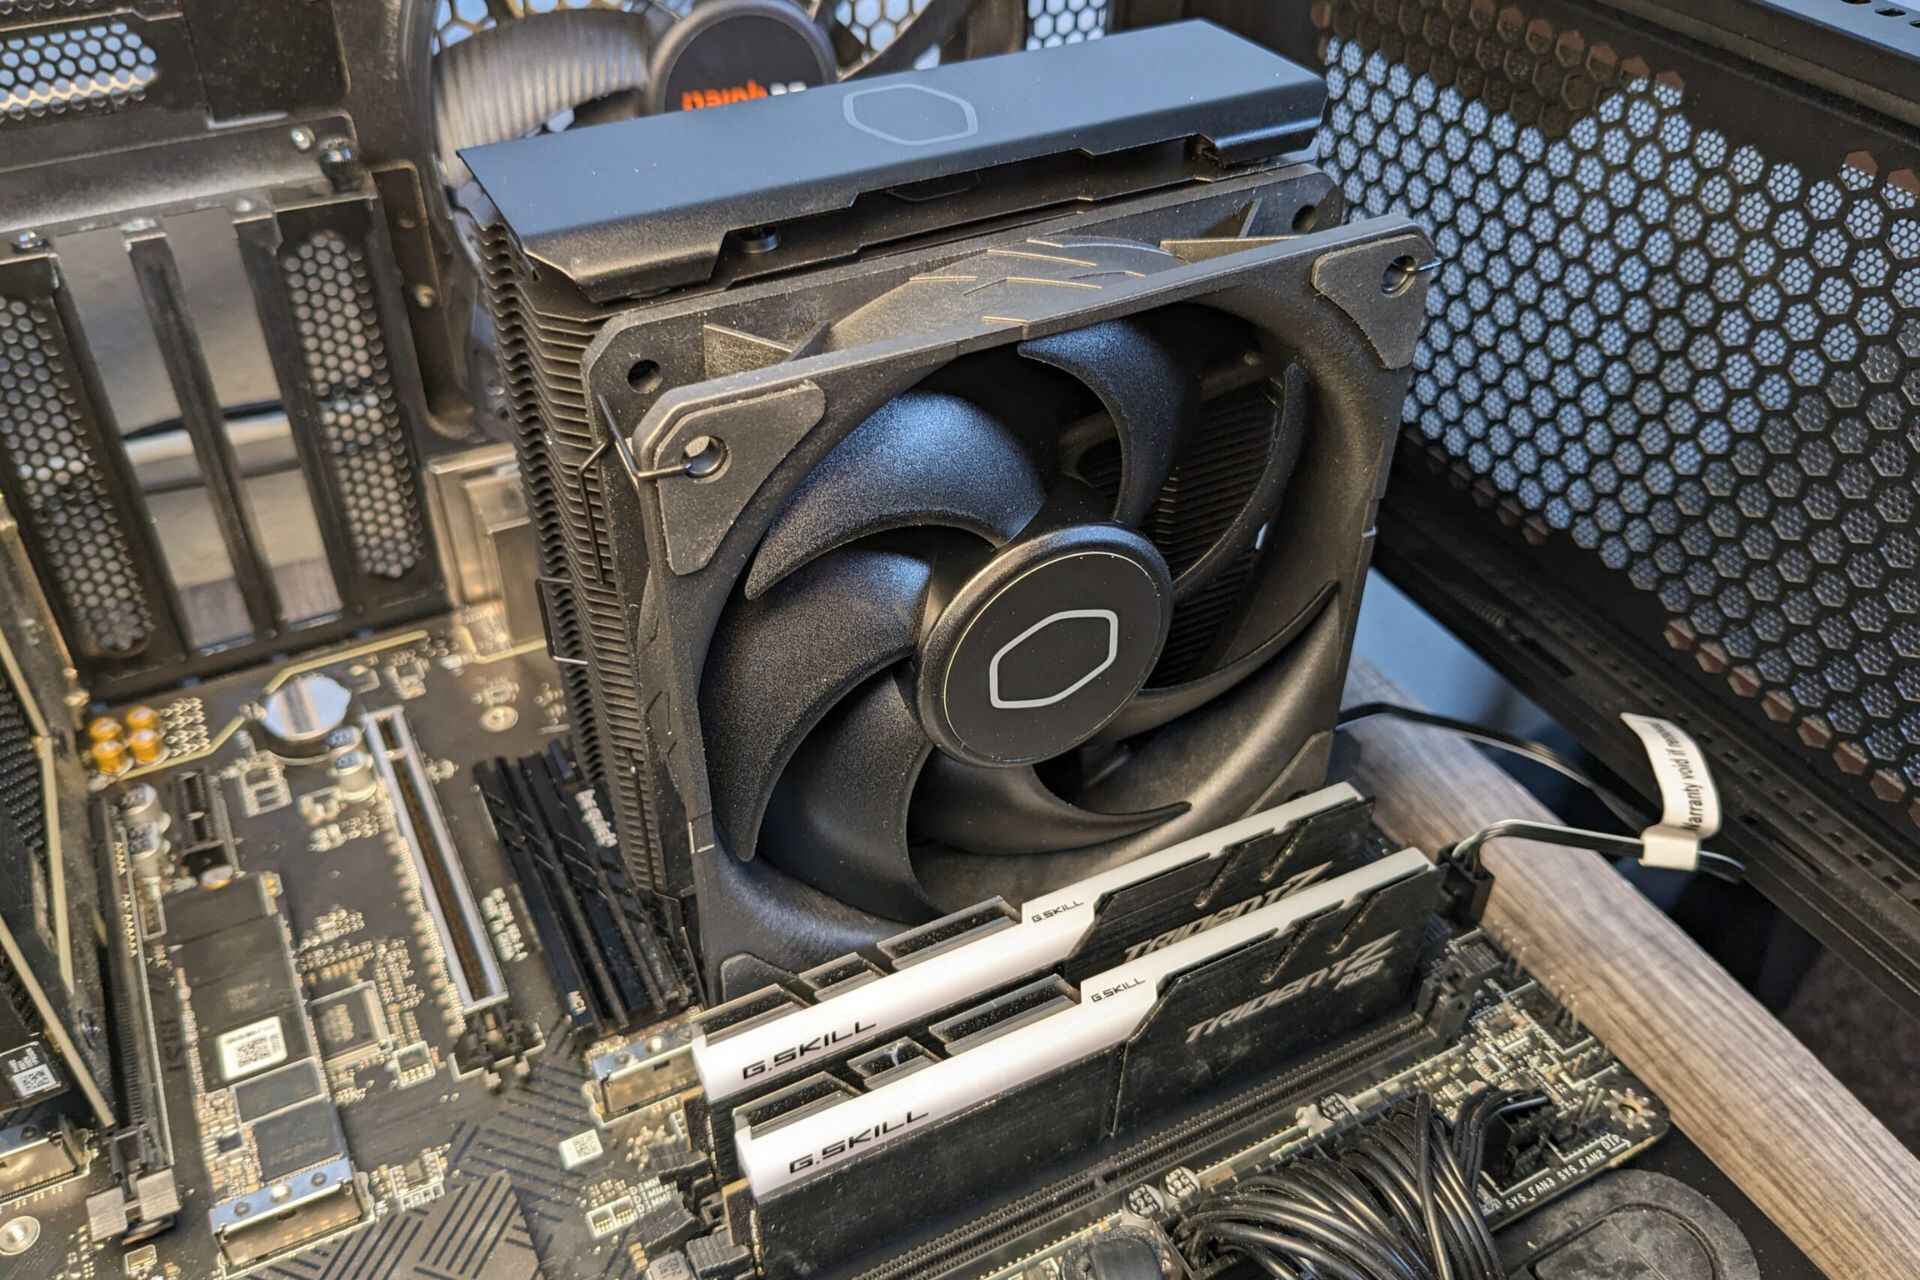
Step 6: Detaching the AMD CPU Fan
Now that the fan retention bracket is removed, it’s time to detach the AMD CPU fan from the heatsink. Follow these steps to safely detach the fan:
- Gently grasp the edges or corners of the fan with your fingers.
- Slowly lift the fan upwards, taking care not to twist or apply excessive force.
- If the fan seems stuck, do not force it. Instead, check if there are any additional screws or clips securing it to the heatsink and remove them accordingly.
- Continue lifting the fan until it is completely detached from the heatsink.
- Place the AMD CPU fan in a safe location, away from any potential hazards or contaminants.
During this step, it’s important to handle the AMD CPU fan with care to prevent accidental damage. Avoid pulling or tugging forcefully, as this can cause the fan blades to bend or break. If you encounter any resistance or difficulty, double-check for any additional screws or clips that may be securing the fan.
Now that the AMD CPU fan is detached, you can move on to the next step of cleaning the fan and heatsink to ensure optimal performance.
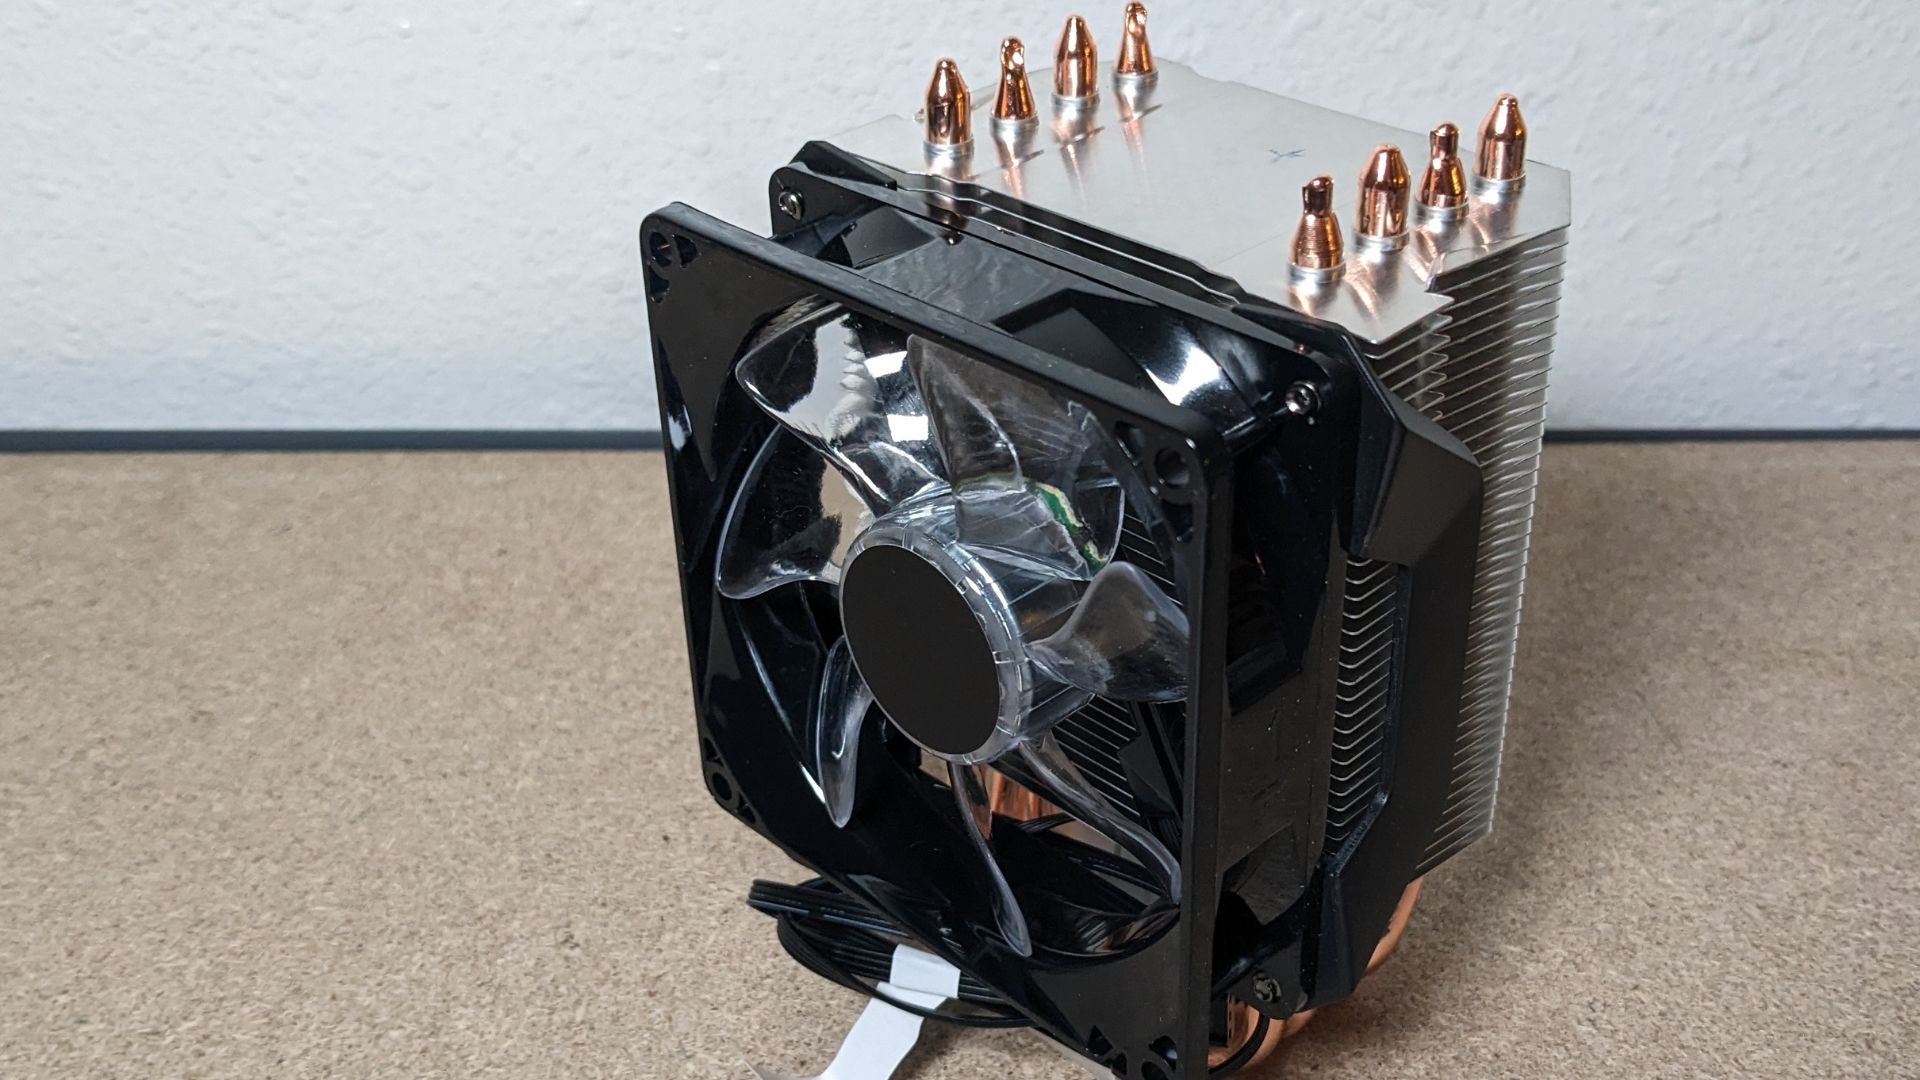
Step 7: Cleaning the Fan and Heatsink
After detaching the AMD CPU fan, it’s crucial to clean both the fan and the heatsink to remove any accumulated dust, debris, or thermal paste residue. Follow these steps to clean the fan and heatsink:
- Use a can of compressed air to blow away loose dust and debris from the fan and heatsink. Hold the can upright and direct the airflow towards the fan and heatsink, ensuring you cover all areas.
- If there is still stubborn dirt or residue, you can use a clean, lint-free cloth and isopropyl alcohol to wipe down the fan blades and heatsink. Moisten the cloth with isopropyl alcohol and gently wipe the surfaces to remove any remaining grime.
- For the fan blades, you can also use small, soft-bristled brush or cotton swabs dipped in isopropyl alcohol for detailed cleaning.
- Ensure that the fan and heatsink are completely dry before proceeding to the next step. You can let them air dry or use a lint-free cloth to gently pat them dry.
It’s essential to keep the AMD CPU fan and heatsink clean to maintain optimal airflow and prevent overheating. Regular cleaning helps prolong the lifespan of the components and ensures efficient cooling performance.
With the fan and heatsink cleaned, you’re now ready to proceed to the next step of reinstalling the AMD CPU fan.
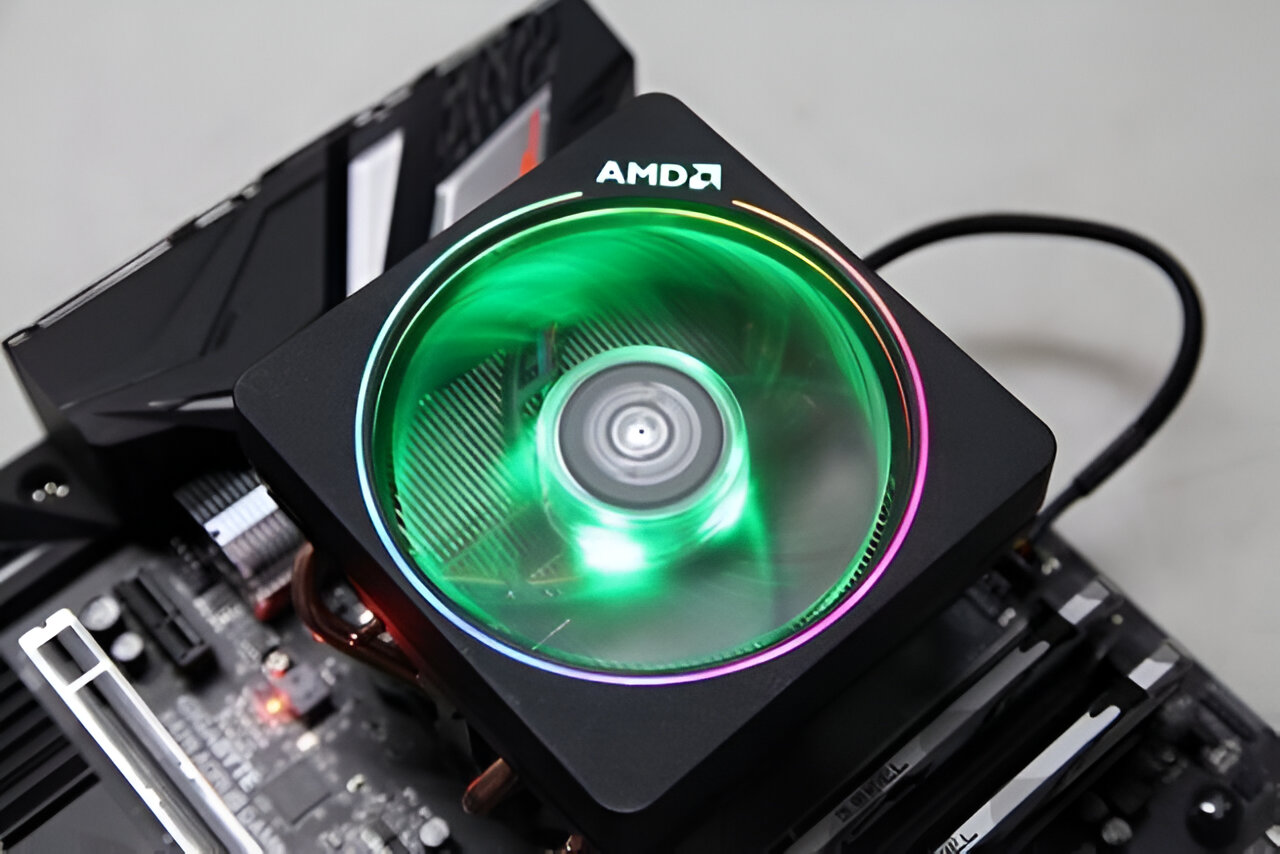
Step 8: Reinstalling the AMD CPU Fan
Now that the AMD CPU fan and heatsink are clean, it’s time to reinstall the fan back onto the heatsink and secure it in place. Follow these steps to safely reinstall the AMD CPU fan:
- Position the AMD CPU fan above the heatsink, aligning the screw holes or retention clips.
- Slowly lower the fan onto the heatsink, ensuring that it sits evenly and securely.
- If necessary, reattach any screws or clips that were previously removed to secure the fan to the heatsink. Make sure to tighten them appropriately, but not too tight to avoid damaging the fan or heatsink.
- Double-check that the fan is properly aligned and seated on the heatsink.
It’s essential to ensure that the AMD CPU fan is securely and correctly reinstalled on the heatsink. A loose or misaligned fan can result in inadequate cooling and potentially lead to overheating.
With the fan reinstalled, you can now proceed to the next step of securing the fan retention bracket.
Step 9: Securing the Fan Retention Bracket
After reinstalling the AMD CPU fan, the next step is to secure the fan retention bracket back into place. Follow these steps to properly secure the fan retention bracket:
- Take the fan retention bracket and position it over the heatsink and fan assembly.
- Align the screw holes or retention clips on the retention bracket with the corresponding holes or clips on the motherboard.
- Slowly lower the retention bracket onto the motherboard, being careful not to apply excessive force.
- Insert the screws or engage the retention clips to secure the bracket in place. Make sure to tighten the screws or clips firmly, but refrain from overtightening as it may damage the components or motherboard.
- Double-check that the fan retention bracket is securely fastened, ensuring it sits flush against the motherboard.
Properly securing the fan retention bracket is essential to maintain stability and ensure that the AMD CPU fan remains in place during operation. A loose or improperly secured retention bracket can result in noise, vibration, or poor cooling performance.
With the fan retention bracket securely fastened, you can now proceed to the next step of reconnecting the fan power cable.
Step 10: Connecting the Fan Power Cable
After securing the fan retention bracket, the next step is to reconnect the fan power cable to provide power to the AMD CPU fan. Follow these steps to connect the fan power cable:
- Locate the fan power cable that you previously disconnected from the CPU fan header on the motherboard.
- Take the fan power cable and align the connector with the CPU fan header on the motherboard.
- Gently push the connector onto the CPU fan header until it is firmly seated.
- Ensure that the connector is securely attached and properly aligned with the header.
It’s important to make sure that the fan power cable is securely connected to the CPU fan header to ensure proper power supply and functionality. A loose connection may result in the fan not spinning or insufficient cooling.
With the fan power cable connected, you have successfully completed the step of reconnecting the AMD CPU fan. Now, it’s time to move on to the final step of closing the computer case.
Step 11: Closing the Computer Case
After completing all the necessary steps to remove and reinstall the AMD CPU fan, it’s time to close the computer case and secure all the components back in place. Follow these steps to properly close the computer case:
- Ensure that all cables connected to the motherboard, including the fan power cable, are safely routed and do not obstruct the closing of the computer case.
- Carefully position the side panel back onto the computer case, aligning it with the edges and screw holes.
- If your computer case has screws, use the appropriate screwdriver to secure the side panel in place. If it has latches, press them down to lock the side panel.
- Double-check that the side panel is securely fastened and tight, ensuring it doesn’t wobble or come loose.
Properly closing the computer case is important as it ensures that all components are protected and secure. It also helps to maintain a clean and dust-free environment inside the case.
With the computer case closed, you have successfully completed the process of removing, cleaning, and reinstalling the AMD CPU fan. You can now proceed to connect the power and turn on your computer to enjoy optimal cooling and performance.
Conclusion
Removing and reinstalling the AMD CPU fan may seem like a daunting task, but by following the steps outlined in this guide, you can safely and effectively perform this maintenance procedure. Taking the time to clean and maintain your CPU fan is essential for optimal cooling and overall system performance.
Throughout this guide, we discussed the importance of safety precautions before starting the process, the tools required to remove the AMD CPU fan, and each step involved. From shutting down the computer to reconnecting the fan power cable, every step plays a crucial role in ensuring a successful removal and reinstallation process.
Remember to handle all components with care, avoiding excessive force and static electricity discharge. Taking the time to clean the fan and heatsink will help prevent dust buildup and maintain proper airflow, extending the lifespan of your CPU and improving system stability.
Once you have securely reattached the fan retention bracket, made the necessary connections, and closed the computer case, you can power on your computer with confidence, knowing that your AMD CPU fan is back in place and ready to keep your processor cool even during demanding tasks.
Always remember that if you are unsure or uncomfortable with any step in the process, it is recommended to seek professional assistance. By properly maintaining your AMD CPU fan, you can ensure the longevity and reliability of your computer system.
Thank you for following this guide, and we hope it has been helpful in successfully removing and reinstalling your AMD CPU fan!