Introduction
The CPU cooler is a crucial component in the Xbox One console, as it helps to dissipate heat generated by the CPU. Over time, the CPU cooler may become clogged with dust or experience wear and tear, resulting in reduced cooling effectiveness and increased operating temperatures. If left unaddressed, this can lead to performance issues, system instability, or even hardware failures.
If you’re experiencing overheating or loud fan noises from your Xbox One, it may be time to consider removing and replacing the CPU cooler. In this guide, we will walk you through the steps involved in removing the CPU cooler from your Xbox One to perform maintenance or upgrade to a better cooling solution.
Note: Before proceeding with the CPU cooler removal, make sure to follow proper safety precautions. Ensure that your console is turned off and disconnected from the power source to prevent any electrical mishaps. Additionally, have a clean and well-lit workspace to avoid losing any small components during the process.
With that said, let’s dive into the details of removing the CPU cooler from your Xbox One!
Tools Needed
Before you begin the process of removing the CPU cooler from your Xbox One, it’s important to gather the necessary tools. Having the right tools on hand will make the process smoother and help avoid any potential damage to your console. Here are the tools you’ll need:
- Small Phillips screwdriver: This will be used to remove screws and fasteners.
- Flathead screwdriver: A flathead screwdriver can be used to pry open the plastic shell.
- Thermal paste remover: You’ll need thermal paste remover to clean the old thermal paste from the heat sink.
- Clean cloth or microfiber cloth: This will be used to wipe the CPU and heat sink clean.
- Isopropyl alcohol: Isopropyl alcohol is necessary to remove any residue or grease from the CPU and heat sink.
- Cotton swabs: These are handy for applying isopropyl alcohol and cleaning hard-to-reach areas.
- Anti-static wrist strap: An anti-static wrist strap will help to prevent static electricity from damaging sensitive components.
- Clean workspace: Make sure to have a clean and clutter-free workspace to work on your Xbox One.
By gathering these tools beforehand, you’ll have everything you need to safely and effectively remove the CPU cooler from your Xbox One.
Step 1: Prepare the Xbox One
Before you begin the process of removing the CPU cooler from your Xbox One, it’s important to prepare the console for the procedure. Following these steps will ensure that you have a safe and smooth experience:
- Turn off your Xbox One: Make sure your console is completely powered off before starting the removal process. This will prevent any accidental damage to the components and ensure your safety.
- Disconnect all cables: Unplug all the cables connected to your Xbox One, including the power cord, HDMI cable, and any other peripherals attached. This will prevent any electrical accidents as you work on the console.
- Place the console on a clean surface: Find a flat and clean surface to work on. A table covered with a soft cloth or towel will protect the console from scratches and provide a stable workspace.
- Ground yourself: Static electricity can damage sensitive electronic components. To prevent this, wear an anti-static wrist strap, or touch a grounded object like a metal doorknob before handling the console.
By taking these preparatory steps, you’ll ensure a safe working environment and minimize the risk of any damage to your Xbox One. Once you have completed these steps, you’re ready to move on to the next stage of removing the CPU cooler.
Step 2: Remove the Plastic Shell
Now that you’ve prepared the Xbox One, it’s time to remove the plastic shell to access the internal components. Follow these steps carefully to remove the plastic shell:
- Flip the Xbox One upside down: Carefully turn the console over so that the bottom side is facing upwards. This will give you access to the screws holding the plastic shell in place.
- Locate and remove the screws: Look for the screws securing the plastic shell. They are typically located on the back and sides of the console. Use the appropriate screwdriver to carefully unscrew and remove them.
- Pry open the plastic shell: Once all the screws are removed, use a flathead screwdriver or a plastic opening tool to gently pry open the plastic shell. Start from one corner and work your way around. Be cautious and gentle, ensuring not to apply excessive force that may damage the shell or the console’s internal components.
- Remove the plastic shell: With the plastic shell opened, carefully lift it off the Xbox One, revealing the internal components of the console. Set the shell aside in a safe place, ensuring it stays free from any dirt or damage.
By following these steps, you’ll successfully remove the plastic shell from your Xbox One. Remember to handle the shell with care to avoid any unintended damage. With the plastic shell removed, you’re now ready to proceed to the next step of removing the CPU cooler.
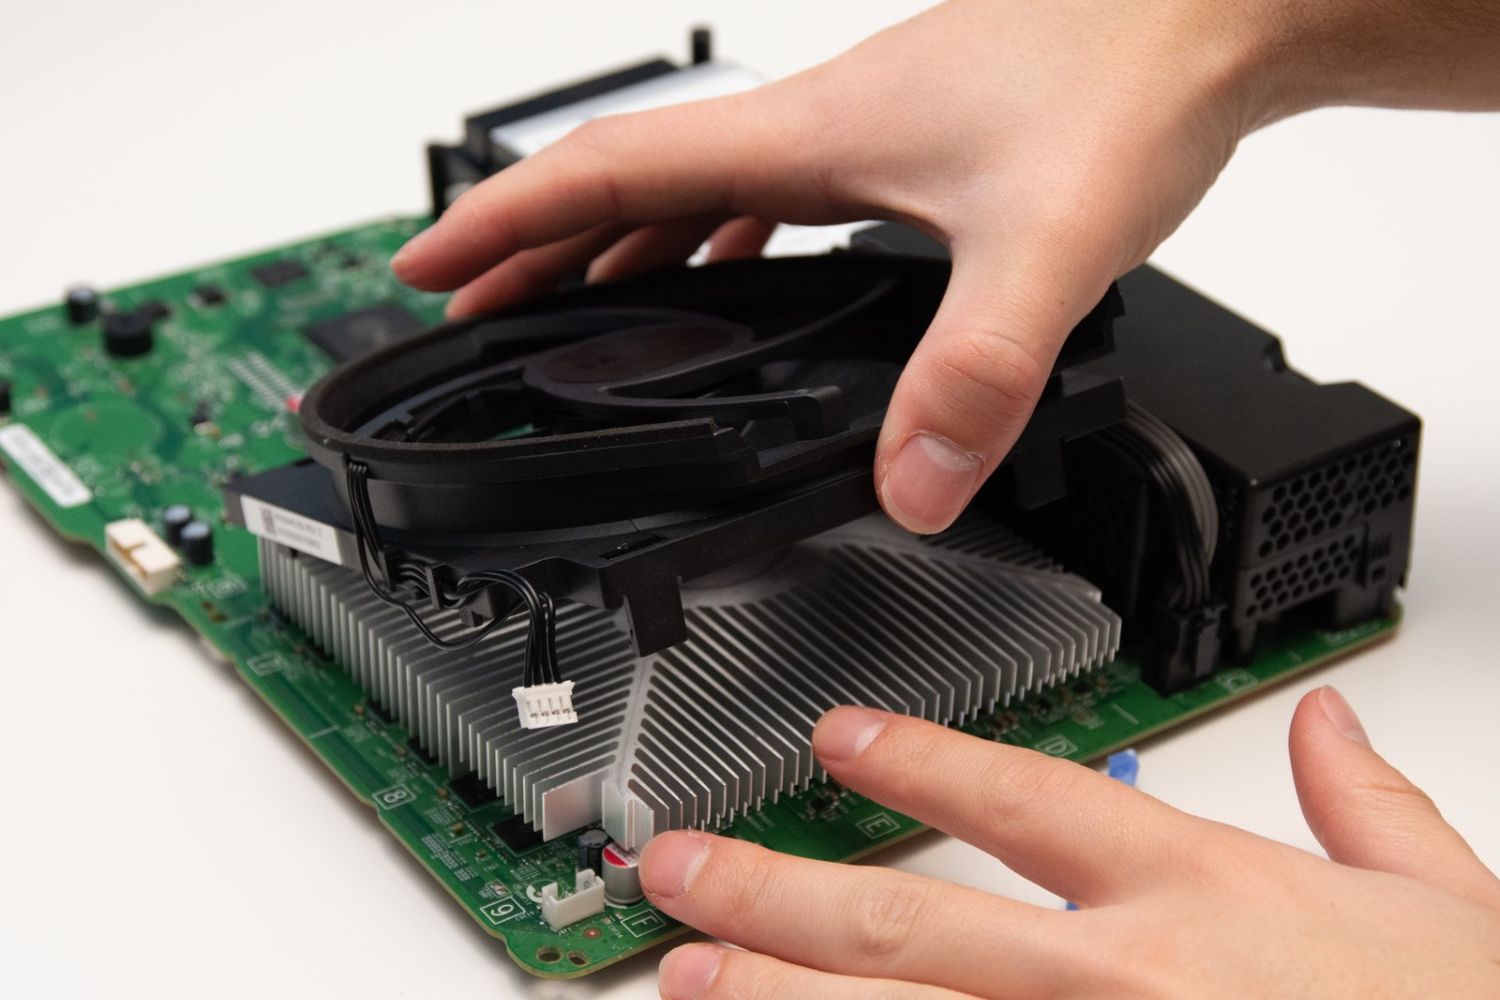
Step 3: Remove the Fan Shroud
With the plastic shell removed, the next step is to remove the fan shroud from the Xbox One. The fan shroud covers the CPU cooler and helps direct airflow to cool the components. Follow these steps to remove the fan shroud:
- Locate the fan shroud: The fan shroud is typically located near the center of the console above the CPU cooler. It is secured with screws or clips, depending on the Xbox One model.
- Identify the securing mechanism: Take a close look at the fan shroud and the surrounding area to see how it is attached. Look for screws or clips holding it in place.
- Remove the screws or release the clips: If there are screws, use the appropriate screwdriver to carefully unscrew and remove them. If the fan shroud is secured with clips, gently release the clips by pressing or sliding them.
- Lift off the fan shroud: Once the securing mechanism is removed, lift off the fan shroud from the console. Be cautious not to tug on any wires connected to the fan or other components. Set the fan shroud aside in a safe spot.
Removing the fan shroud will provide you with direct access to the CPU cooler and its components. Take care not to damage any wires or connectors, as they will need to be reconnected later. With the fan shroud removed, you’re ready to move on to the next step of disconnecting the fan connector.
Step 4: Disconnect the Fan Connector
After removing the fan shroud, the next step is to disconnect the fan connector from the motherboard. The fan connector is the cable that provides power to the CPU cooler fan. Follow these steps to disconnect the fan connector:
- Locate the fan connector: Look for the connector that is attached to the fan and connected to the motherboard. It is usually a small, rectangular connector with wires coming out of it.
- Gently pull on the fan connector: Carefully grip the fan connector near the base and gently pull it away from the motherboard. Use your fingers and avoid pulling on the wires to prevent any damage.
- Disconnect the fan connector: Once the fan connector is pulled away from the motherboard, it should easily disconnect. You may need to use a gentle twisting motion to release it if it feels stuck.
- Set the fan connector aside: Place the disconnected fan connector in a safe spot where it won’t get tangled or damaged. This will prevent any unnecessary strain on the connector or wires.
By following these steps, you have successfully disconnected the fan connector from the motherboard. This will allow you to safely remove the CPU cooler in the next step. Make sure to handle the fan connector and its wires with care to avoid any accidental damage. With the fan connector disconnected, you’re ready to proceed to the next step of removing the heat sink.
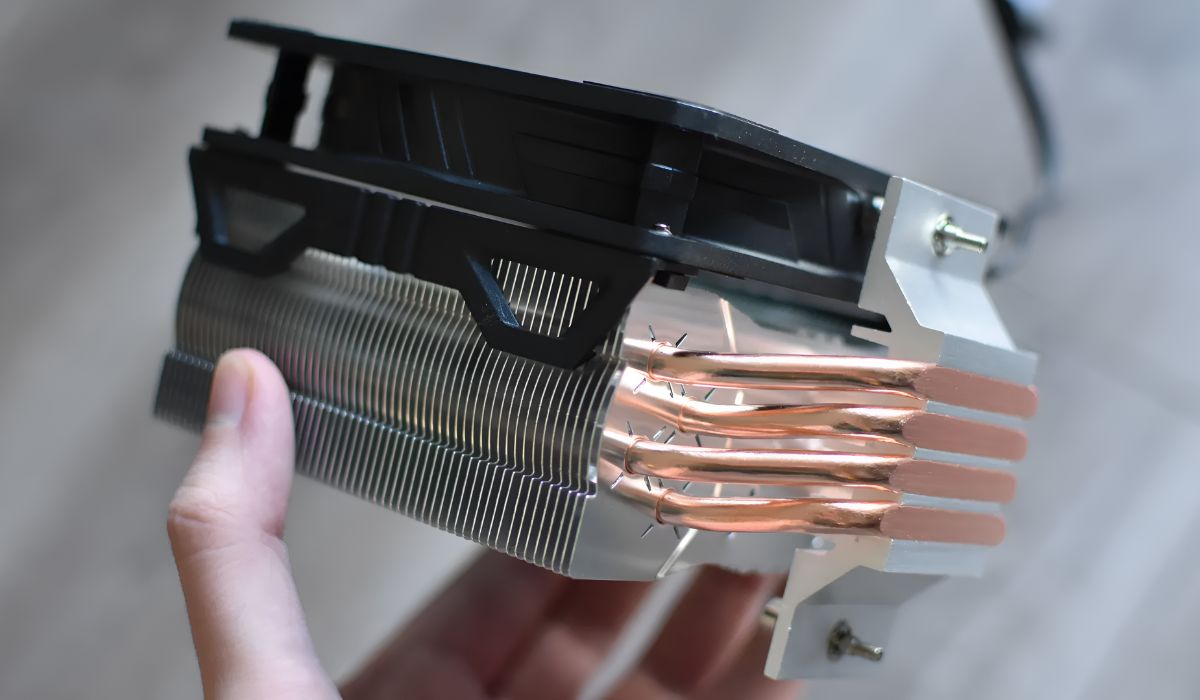
Step 5: Remove the Heat Sink
Now that the fan connector is disconnected, it’s time to remove the heat sink from the Xbox One. The heat sink is responsible for absorbing and dissipating heat from the CPU. Follow these steps to remove the heat sink:
- Identify the heat sink: Locate the metal component covering the CPU. This is the heat sink. It is usually secured with screws or clips.
- Remove the screws or release the clips: Use the appropriate screwdriver to carefully unscrew and remove any screws securing the heat sink. If the heat sink is held in place by clips, gently release them by pressing or sliding them.
- Gently lift off the heat sink: Once the screws or clips are removed, gently lift off the heat sink from the CPU. Be cautious not to apply excessive force or twist the heat sink, as this could damage the CPU or other components.
- Inspect the thermal paste: Take a moment to observe the thermal paste on the CPU and the heat sink. Note the condition of the thermal paste, as it may need to be replaced if it appears dry or cracked.
Removing the heat sink will expose the CPU and provide an opportunity to clean the thermal paste. Be mindful of not applying any unnecessary pressure or causing any damage during this step. With the heat sink removed, you’re ready to move on to the next step of cleaning the thermal paste.
Step 6: Clean the Thermal Paste
With the heat sink removed, it’s important to clean off the old thermal paste from both the CPU and the heat sink before installing a new CPU cooler or reapplying thermal paste. Follow these steps to clean the thermal paste:
- Apply thermal paste remover: Use a small amount of thermal paste remover on a clean cloth or cotton swab. Gently apply it to the surface of the CPU and the heat sink where the thermal paste is present.
- Gently wipe off the thermal paste: Using the cloth or cotton swab, gently wipe off the old thermal paste from the CPU and the heat sink. Be careful not to leave any residue behind, as it can negatively affect the performance of the new thermal paste.
- Clean with isopropyl alcohol: Moisten a fresh cloth or cotton swab with isopropyl alcohol. Wipe both the CPU and the heat sink to remove any remaining thermal paste residue and ensure a clean surface.
- Allow the surfaces to dry: Give the CPU and heat sink some time to dry completely before applying new thermal paste. This will ensure proper adhesion and optimal thermal conductivity.
Cleaning the thermal paste is an essential step to remove any old residue and promote effective heat transfer between the CPU and the heat sink. Take your time and be thorough in your cleaning efforts to achieve the best results. With the thermal paste cleaned, you’re now ready to move on to the next step of installing the new CPU cooler.
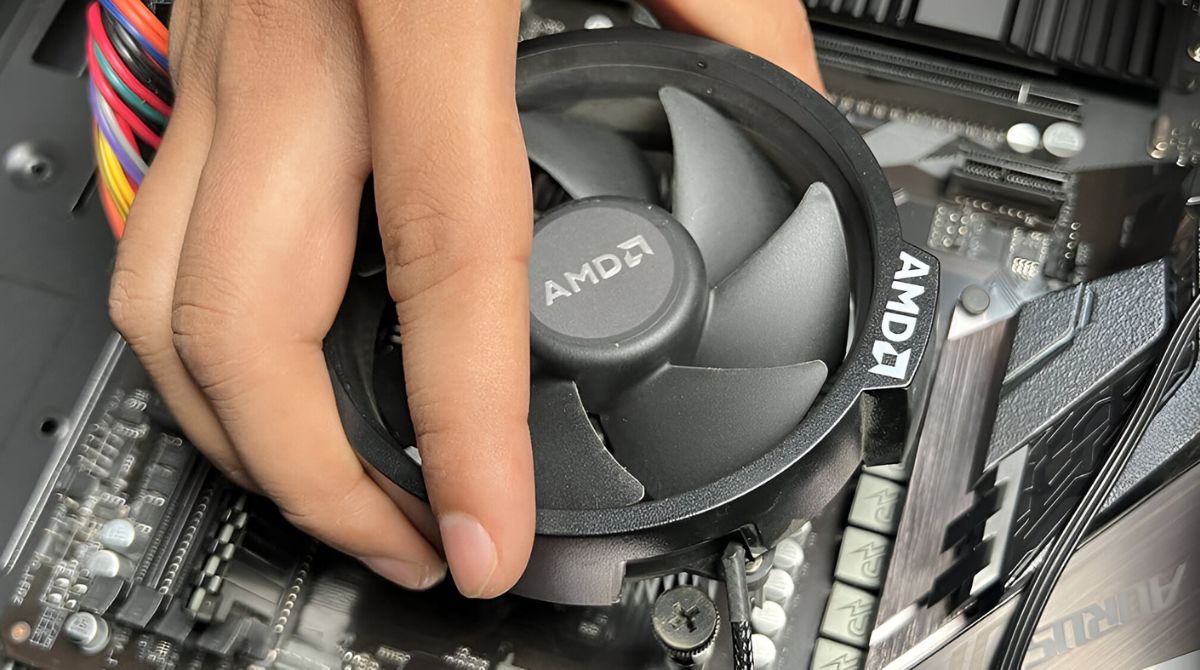
Step 7: Install the New CPU Cooler
Once the thermal paste has been cleaned from the CPU and the heat sink, it’s time to install the new CPU cooler. Follow these steps to properly install the new CPU cooler:
- Prepare the new CPU cooler: Ensure that you have the new CPU cooler and any necessary mounting brackets or screws that may come with it. Familiarize yourself with the manufacturer’s instructions for proper installation.
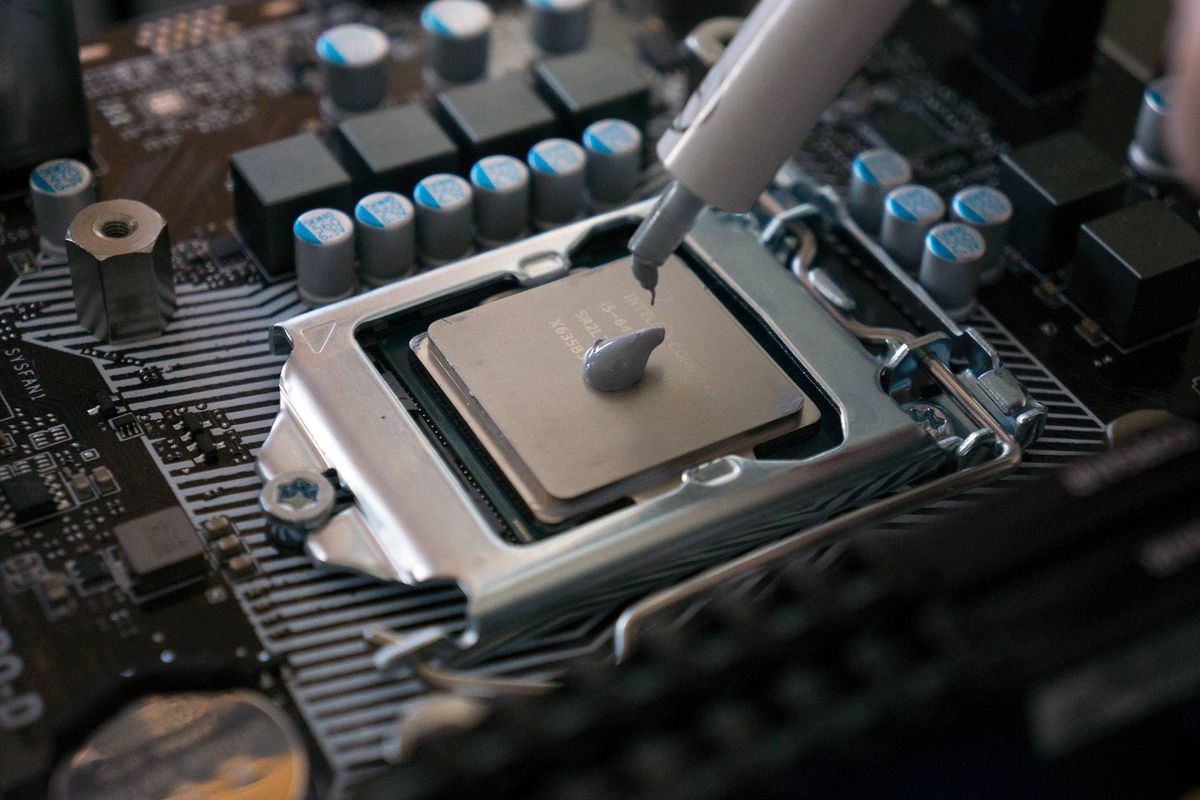
- Apply a small amount of thermal paste: Apply a small, pea-sized amount of thermal paste onto the center of the CPU. Spread it evenly and thinly using a plastic card or a clean finger, making sure not to apply too much pressure.
- Align the new CPU cooler: Carefully align the screw holes of the new CPU cooler with the corresponding holes on the motherboard. Ensure that it is properly seated on the CPU.
- Secure the CPU cooler: Following the manufacturer’s instructions, secure the new CPU cooler in place using the provided screws or mounting brackets. Tighten them gently, ensuring that the CPU cooler is firmly attached without applying excessive force.
- Reconnect the fan connector: Locate the fan connector on the new CPU cooler and reconnect it to the appropriate header on the motherboard. Ensure a secure and proper connection.
Installing the new CPU cooler will help improve cooling efficiency and safeguard the performance of your Xbox One. Be diligent in following the manufacturer’s instructions and avoid overtightening screws to prevent any damage. With the new CPU cooler installed, you’re ready to proceed to the final step of reassembling the Xbox One.
Step 8: Reassemble the Xbox One
Now that you have completed the CPU cooler installation, it’s time to reassemble your Xbox One. Follow these steps to ensure your console is properly put back together:
- Place the plastic shell back on: Take the plastic shell that you removed in the earlier steps and carefully align it with the Xbox One. Gently press it into place, making sure all the edges are flush and aligned.
- Secure the plastic shell: Locate the screw holes on the plastic shell and use the appropriate screws to secure it in place. Carefully screw them in, being mindful not to overtighten.
- Connect all cables and peripherals: Reconnect all the cables that were disconnected earlier, such as the power cord, HDMI cable, and any other peripherals. Ensure they are securely connected to their respective ports.
- Power on and test: Once the console is fully reassembled, plug it back in and power it on. Monitor the CPU temperatures and listen for any unusual noises coming from the fan. If everything looks and sounds normal, your Xbox One is successfully reassembled.
It’s important to take your time during the reassembly process to ensure everything is properly aligned and connected. Double-check all connections and screws to avoid any loose or missed components. Once your Xbox One is fully reassembled, you can enjoy optimal cooling performance and a fully functional console.
Conclusion
Removing and replacing the CPU cooler in your Xbox One is a crucial maintenance task that can help improve cooling efficiency and prevent overheating issues. By following the step-by-step guide outlined in this article, you can safely and effectively remove the CPU cooler, clean off the old thermal paste, and install a new CPU cooler.
Preparing the Xbox One by turning it off, disconnecting cables, and finding a suitable workspace is essential for a smooth removal process. Removing the plastic shell and fan shroud provides access to the CPU cooler, allowing you to disconnect the fan connector and remove the heat sink.
Properly cleaning the thermal paste from the CPU and heat sink is important before applying new thermal paste. Applying the right amount of thermal paste and securely installing the new CPU cooler ensures optimal heat dissipation and performance.
Lastly, reassembling the Xbox One by placing the plastic shell back on, securing it with screws, and reconnecting all cables and peripherals completes the process. Powering on and testing the console ensures that everything is functioning properly.
By following these steps, you can maintain a well-cooled and high-performance Xbox One, ensuring an enjoyable gaming experience without the worry of overheating or performance issues. Remember to always prioritize safety and take your time during each step to avoid any accidental damage.