Introduction
When it comes to maintaining the performance and longevity of your computer, proper cooling is crucial. The CPU cooler plays a vital role in dissipating heat generated by the processor, ensuring optimal functioning and preventing overheating. Over time, thermal paste — a compound that aids in heat transfer — can become dried out or degraded, leading to reduced cooling efficiency. To restore your CPU cooler’s effectiveness, it’s essential to remove the old thermal paste and apply a fresh layer.
In this article, we will guide you through the step-by-step process of removing paste from a stock CPU cooler. Whether you’re a tech enthusiast or a computer novice, with a few basic tools and some patience, you can easily accomplish this task.
Before we dive into the specifics, it’s important to note that removing the CPU cooler requires some caution. Ensure you have a clean and well-organized workspace to minimize the risk of damaging any components. Follow these instructions carefully, and your CPU cooler will be rejuvenated in no time!
Tools and Materials Needed
Before you begin the process of removing paste from your stock CPU cooler, make sure you have the following tools and materials on hand:
- Cotton swabs or soft lint-free cloth: These will be used to clean the surfaces and remove the thermal paste.
- Isopropyl alcohol or thermal paste remover: This will help dissolve the old thermal paste and facilitate its removal.
- Plastic scraper or credit card: You’ll need this to gently scrape off the dried thermal paste from the CPU and cooler surfaces.
- Latex gloves: Wearing gloves will prevent any oils or residues from your hands from contaminating the CPU or thermal paste.
- Thermal paste: After cleaning, you’ll need a fresh application of thermal paste to ensure proper heat transfer between the CPU and cooler.
- Screwdriver (if necessary): Depending on the type of CPU cooler you have, you may require a screwdriver to remove it from the motherboard.
It’s important to choose high-quality thermal paste that is designed for CPUs. Avoid using excessive amounts of paste, as it can lead to poor heat transfer and create a mess.
Having all the necessary tools and materials prepared before you begin will help streamline the process, ensuring you can complete the job efficiently and effectively.
Step 1: Safety Precautions
Before embarking on the process of removing paste from your stock CPU cooler, it’s essential to take a few safety precautions. By following these guidelines, you can minimize the risk of damaging any components and ensure a smooth and successful procedure:
- Power off your computer: Before starting any maintenance work on your computer, always shut it down and disconnect the power source. This step will prevent any electrical mishaps and safeguard your hardware.
- Allow your CPU to cool: It’s crucial to let your CPU cool down before attempting to remove the CPU cooler or the thermal paste. Operating on a hot CPU can lead to burns or damage to the processor.
- Work in a clean and static-free area: Find a well-lit workspace with ample room to maneuver. Clean the area of any dust, debris, or static-inducing materials that can potentially harm delicate components.
- Ground yourself: To protect your computer from electrostatic discharge (ESD), make sure to ground yourself. This can be done by wearing an anti-static wristband or by regularly touching a grounded metal object throughout the process.
- Handle the CPU cooler with care: Avoid applying excessive force when handling the CPU cooler. Delicate components, such as fins or heat pipes, can easily bend or break if mishandled.
- Be mindful of thermal paste spillage: Thermal paste is a sticky substance that can be messy if spilled. Take precautions to prevent any accidental spills on your motherboard, CPU pins, or other components.
By adhering to these safety precautions, you can ensure the integrity of your computer components and carry out the process smoothly. Now that the necessary precautions are in place, we can move on to the next steps of removing the paste from your stock CPU cooler.
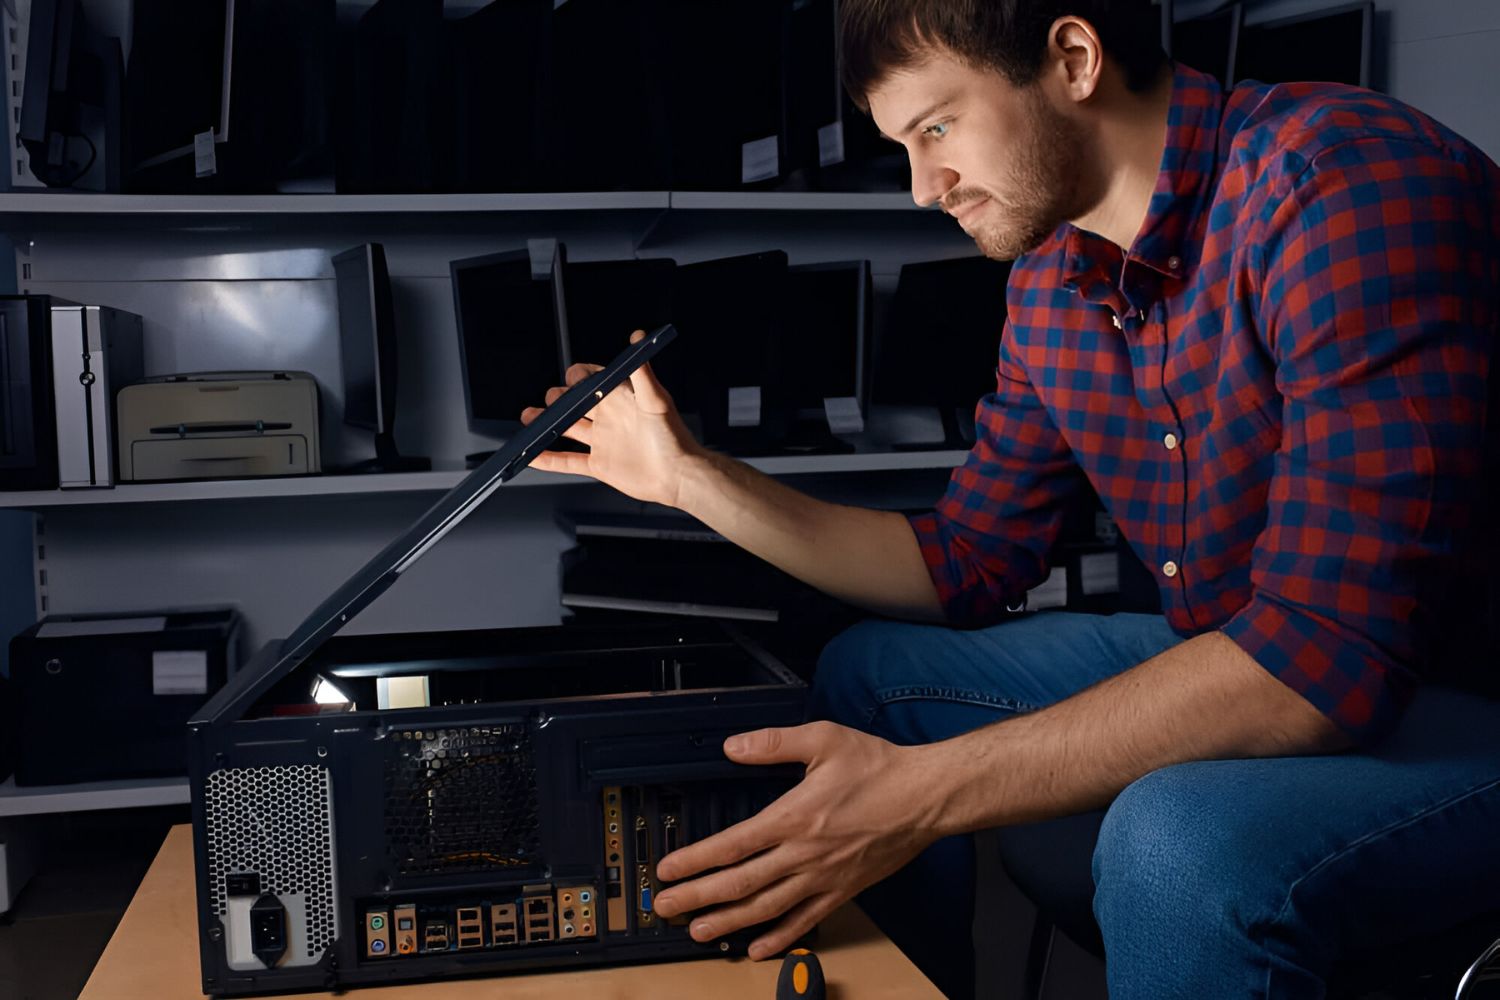
Step 2: Removing the CPU Cooler
Once you have taken all the necessary safety precautions, you can proceed to remove the CPU cooler. Follow these steps to ensure a successful removal:
- Locate the CPU cooler: Identify the location of the CPU cooler on your motherboard. It is typically positioned on top of the CPU.
- Disconnect the cooler’s power source: If your CPU cooler is connected to a power source, such as a fan header or a pump connector, make sure to disconnect it.
- Unscrew the cooler: Gently unscrew the screws or clips that secure the CPU cooler to the motherboard. Use a screwdriver if necessary, but be careful not to overtighten or strip the screws.
- Detach the cooler from the CPU: Lift the CPU cooler carefully, ensuring that it is not stuck to the CPU due to the thermal paste. If it feels stuck, gently twist the cooler back and forth to break the bond.
- Set aside the CPU cooler: Once the cooler is detached, place it on a clean and static-free surface, making sure not to damage any of its components, such as the fan or the heat sink.
Remember, each CPU cooler design may vary slightly, so refer to the manufacturer’s instructions if you encounter any difficulties during the removal process.
Now that you have successfully removed the CPU cooler from your motherboard, you can proceed to the next step of preparing the work area before cleaning the cooler and CPU surfaces.
Step 3: Preparing the Work Area
Before you begin the process of cleaning the CPU cooler and CPU surfaces, it’s crucial to prepare your work area. This step will ensure a clean and organized environment, minimizing the risk of any accidental damage. Follow these steps to prepare your work area:
- Clean the workspace: Clear away any dust, debris, or unnecessary items from your work area. Use a clean cloth or compressed air to remove any loose particles that may interfere with the cleaning process.
- Ground yourself: To prevent any static discharge that can damage delicate computer components, ground yourself by wearing an anti-static wristband or by regularly touching a grounded metal object.
- Gather your tools and materials: Ensure you have all the necessary tools and materials at hand, including cotton swabs or a soft lint-free cloth, isopropyl alcohol or thermal paste remover, a plastic scraper or credit card, latex gloves, and a new tube of thermal paste.
- Lay out a clean workspace: Place a clean, lint-free cloth or a non-static surface on your work area to provide a safe and clean space for handling the CPU cooler and other components.
By taking the time to prepare your work area, you can work efficiently and effectively, minimizing the risk of accidental damage to your components. Now that your work area is ready, you can proceed to the next step of cleaning the CPU cooler and removing the old thermal paste.
Step 4: Cleaning the CPU Cooler
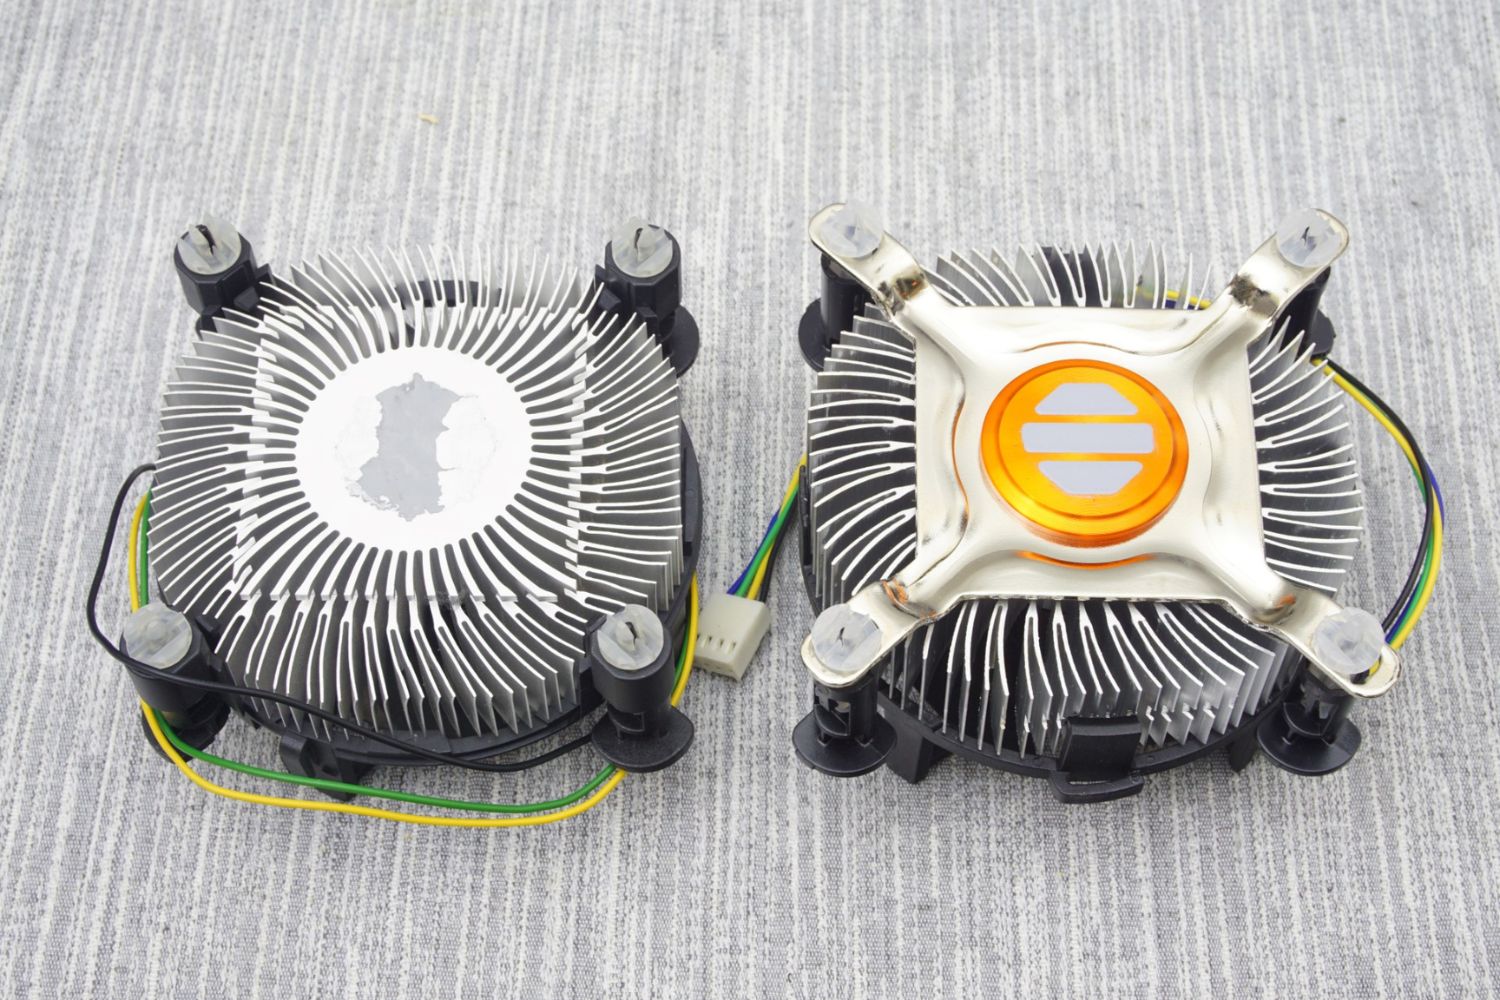
Now that your work area is prepared, it’s time to clean the CPU cooler. By removing any dust, debris, and old thermal paste residue, you’ll ensure optimal heat transfer and efficiency. Follow these steps to clean the CPU cooler:
- Inspect the cooler: Take a close look at the CPU cooler to identify any visible dust, dirt, or debris. Pay attention to the fan blades, the heatsink, and any crevices where dust may accumulate.
- Blow away loose particles: Use compressed air or a can of compressed air duster to gently blow away any loose dust or debris from the cooler. Be cautious not to overspray or apply excessive pressure, which can damage components.
- Wipe down the cooler surfaces: Dampen a cotton swab or a soft lint-free cloth with isopropyl alcohol or thermal paste remover. Gently wipe down the surfaces of the cooler, including the fan blades and the heatsink, to remove any stubborn dirt or residue.
- Clean hard-to-reach areas: Use a soft brush or toothbrush to reach into the crevices and hard-to-reach areas of the cooler. This will help remove any remaining dust and debris that may have accumulated over time.
- Allow the cooler to dry: After cleaning, allow the CPU cooler to air dry completely. Ensure there is no moisture left on the cooler before proceeding to the next steps.
By cleaning the CPU cooler, you’ll not only improve its performance but also extend its lifespan. Once the cooler is thoroughly cleaned, it’s time to move on to the next step: removing the old thermal paste from the CPU and cooler surfaces.
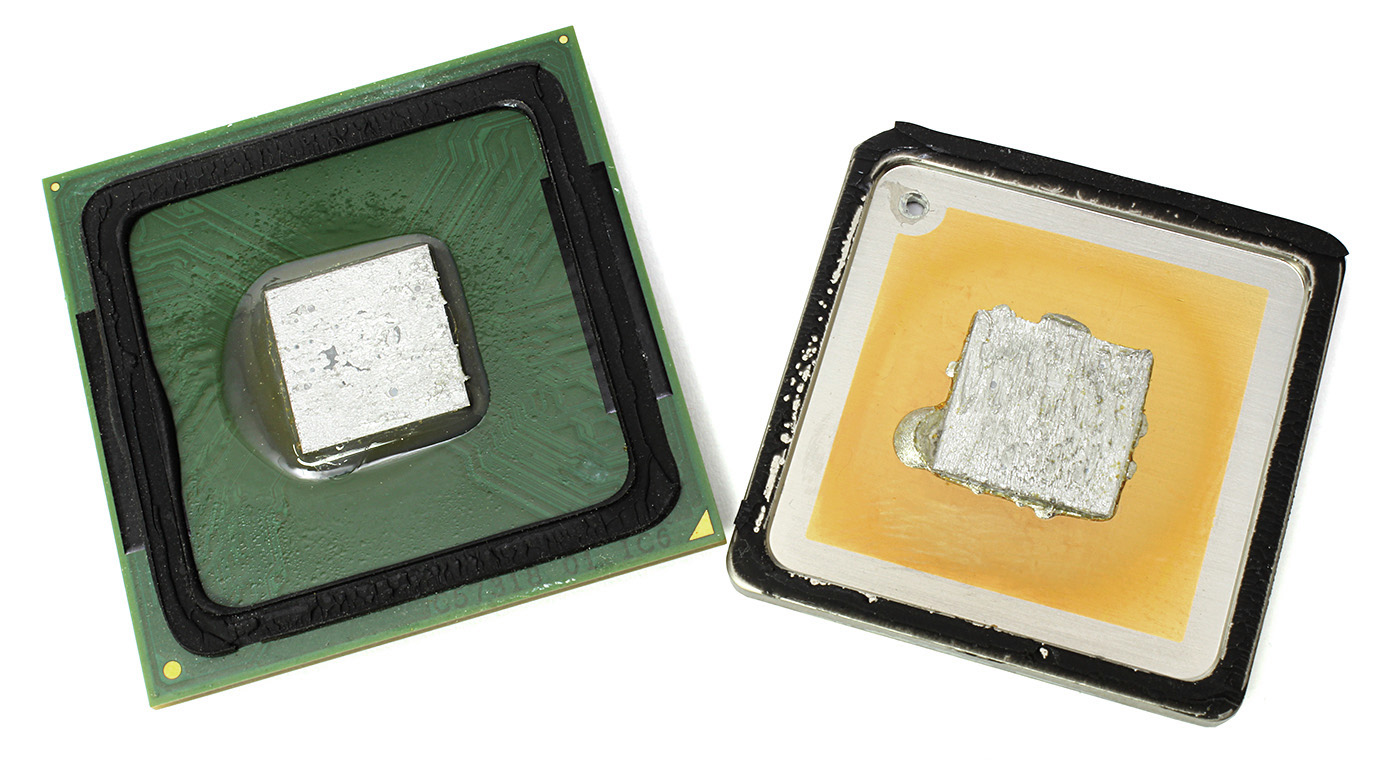
Step 5: Removing the Old Thermal Paste
Now that the CPU cooler is clean, it’s time to remove the old thermal paste from both the CPU and cooler surfaces. This step ensures a clean and smooth surface for the new thermal paste to be applied. Follow these steps to remove the old thermal paste:
- Apply thermal paste remover: Dampen a cotton swab or a soft lint-free cloth with a small amount of thermal paste remover or isopropyl alcohol.
- Gently wipe the CPU surface: Carefully wipe the surface of the CPU, removing the old thermal paste. Use a gentle, circular motion to ensure even coverage of the remover and thorough removal of the paste.
- Repeat the process for the cooler surfaces: Wipe the cooler surfaces, including the base and any heat pipes or fins, using the same gentle circular motion. Make sure to remove all traces of the old thermal paste.
- Inspect for residues: Once you believe the thermal paste has been removed, inspect the CPU and cooler surfaces for any residue left behind. If needed, repeat the cleaning process until the surfaces are completely clean.
- Allow the surfaces to dry: After removing the old thermal paste, allow the surfaces to air dry completely. Ensure that there is no moisture left on either the CPU or the cooler surfaces.
Removing the old thermal paste is crucial for achieving optimal heat transfer between the CPU and the cooler. By following these steps, you’ll have a clean and ready surface for the application of the new thermal paste. Now, it’s time to move on to the next step: applying the new thermal paste.
Step 6: Applying the New Thermal Paste
With the old thermal paste removed, it’s time to apply a fresh layer of thermal paste to ensure effective heat transfer between the CPU and the cooler. Follow these steps to apply the new thermal paste:
- Get a small amount of thermal paste: Squeeze a pea-sized amount of thermal paste onto the center of the CPU surface. Avoid using excessive amounts of paste, as it can lead to poor heat transfer and create a mess.
- Spread the paste evenly: Use a plastic scraper or a credit card to gently spread the thermal paste across the CPU surface. Aim for a thin, even layer that covers the entire surface without spillage over the edges.
- Apply thermal paste to the cooler surfaces: Apply a small amount of thermal paste to the contact surface of the cooler that will make direct contact with the CPU. Make sure to spread it evenly and avoid excessive amounts.
- Attach the CPU cooler: Carefully position the CPU cooler over the CPU, aligning the mounting holes or clips with the corresponding ones on the motherboard. Lower the cooler onto the CPU, ensuring the thermal paste comes into direct contact with the CPU surface.
- Screw or clip the cooler into place: Gently screw or clip the CPU cooler back into place, ensuring a secure and stable attachment. Follow the manufacturer’s instructions for the specific cooler model you have.
Applying a fresh layer of thermal paste will optimize heat transfer and ensure efficient cooling of the CPU. Remember to handle the processor and the cooler with care to avoid any accidental damage. Now, it’s time to move on to the next step: reinstalling the CPU cooler.
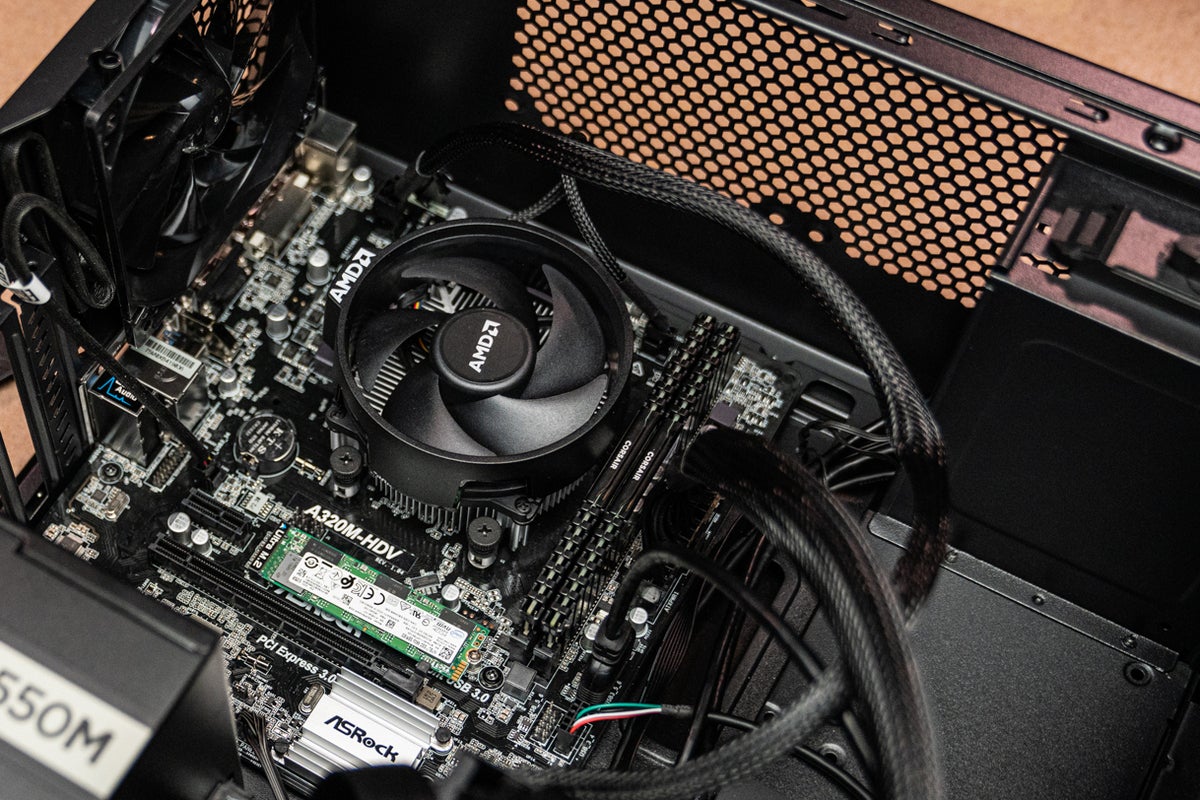
Step 7: Reinstalling the CPU Cooler
Now that the new thermal paste has been applied, it’s time to reinstall the CPU cooler to ensure proper cooling of the processor. Follow these steps to securely reinstall the CPU cooler:
- Align the mounting holes or clips: Carefully align the mounting holes or clips on the CPU cooler with the corresponding ones on the motherboard. Ensure that the cooler is positioned correctly and evenly.
- Gently lower the cooler into place: Lower the CPU cooler onto the CPU surface, ensuring that the thermal paste comes into direct contact with the CPU.
- Attach the screws or clips: Using a screwdriver or applying slight pressure, attach the screws or clips to secure the CPU cooler in place. Tighten them evenly and gradually, following the manufacturer’s instructions and guidelines.
- Double-check the attachment: Once the CPU cooler is securely attached, double-check that it is properly aligned and tightened. This will ensure that it is firmly in place and provide optimal cooling performance.
Take care not to overtighten the screws or apply excessive pressure, as this can damage the CPU or the motherboard. Always follow the manufacturer’s instructions for your specific CPU cooler model.
With the CPU cooler successfully reinstalled, the final step is to perform a test to ensure its proper functioning.
Step 8: Testing the CPU Cooler
After reinstalling the CPU cooler, it’s important to test its functionality to ensure that it is operating correctly and efficiently. Follow these steps to test the CPU cooler:
- Power on your computer: Reconnect the power source to your computer and power it on.
- Check for fan movement: Observe the CPU cooler’s fan to ensure that it is spinning smoothly. If the fan doesn’t spin or makes unusual noises, there may be an issue with the installation or the fan itself.
- Monitor CPU temperatures: Use a reliable temperature monitoring software to check the CPU temperatures. If the temperatures are within the normal range for your specific CPU model, it indicates that the CPU cooler is functioning well.
- Run a stress test: To further evaluate the cooling performance, you can run a CPU stress test. This will put the CPU under a heavy load and allow you to monitor the temperatures and performance of the CPU cooler.
- Monitor for stability: During the stress test, observe your system for any instability, crashes, or abnormal behavior. If your system remains stable and the CPU temperatures remain within acceptable limits, it indicates that the CPU cooler is working effectively.
If you notice any issues during the testing phase, such as high temperatures or instability, it may be necessary to recheck the installation of the CPU cooler or seek further assistance. However, if everything is running smoothly, you can rest assured that your CPU cooler is back to optimal functioning.
Congratulations! You have successfully removed the old thermal paste, applied new thermal paste, and reinstalled your stock CPU cooler. By following these steps, you have improved the cooling performance of your computer and ensured the longevity of your hardware.
Conclusion
Maintaining proper cooling for your CPU is essential for the performance and longevity of your computer. By following the step-by-step guide outlined in this article, you have successfully learned how to remove old thermal paste from your stock CPU cooler, apply a fresh layer of thermal paste, and reinstall the cooler. This process ensures optimal heat transfer and efficient cooling of your CPU.
Throughout the removal process, it is crucial to prioritize safety and take precautions to avoid any accidental damage. Grounding yourself, working in a clean environment, and handling the CPU cooler with care will protect your components and prevent any mishaps.
Remember to follow the manufacturer’s instructions and guidelines specific to your CPU cooler model. While the steps provided here are general, each cooler may have its own unique requirements and installation methods.
By cleaning the CPU cooler and removing the old thermal paste, you have eliminated any potential barriers to efficient heat transfer. The application of fresh thermal paste ensures a smooth interface between the CPU and the cooler, maximizing cooling performance.
Finally, testing the CPU cooler’s functionality is important to confirm its proper operation. Monitoring temperatures and running stress tests will help assess the cooler’s performance and ensure that your CPU remains within safe temperature limits.
With the completion of this process, you can enjoy improved cooling efficiency, reduced risk of overheating, and enhanced overall performance of your computer system. Regular maintenance of your CPU cooler, including periodic removal and replacement of thermal paste, will help preserve the lifespan of your components and optimize the performance of your machine.
Remember, if you encounter any difficulties or have concerns about the installation process, it is always advisable to consult with professionals or seek guidance from the manufacturer’s support team. With proper care and maintenance, your CPU cooler will continue to cool your processor effectively, allowing you to enjoy uninterrupted computing experiences.