Preparation
Before you begin the process of removing a stock CPU cooler, it’s important to ensure that you have everything you need and that you take proper precautions to protect your computer. Here’s what you need to do to prepare:
- Power Down and Unplug Your Computer: Shut down your computer completely and unplug it from the power source. This will prevent any accidental damage and ensure your safety.
- Gather the Necessary Tools: You’ll need a few tools to remove the stock CPU cooler. Make sure you have a small Phillips screwdriver, a can of compressed air, and some rubbing alcohol or thermal paste remover.
- Find a Clean and Well-Lit Workspace: It’s important to have a clear area to work in, preferably with good lighting. This will make the process easier and help prevent any accidental damage to your computer.
- Take Anti-Static Precautions: Static electricity can damage sensitive computer components, so it’s a good idea to wear an anti-static wrist strap or regularly touch a grounded metal surface to discharge any static buildup.
By following these preparation steps, you’ll ensure that you have everything you need and that you’re taking the necessary precautions to safely remove the stock CPU cooler from your computer.
Step 1: Powering Down and Unplugging Your Computer
Before you can safely remove the stock CPU cooler from your computer, you need to power down your system and disconnect it from the power source. Follow these steps:
- Save and close any open applications: Make sure you save any unsaved work and close all open applications. This will prevent data loss and avoid potential damage to your files.
- Shut down your computer: Click on the Start button and select “Shut Down” from the options. Allow your computer to completely shut down before proceeding.
- Unplug your computer: Once your computer is powered down, locate the power cord on the back of your system and unplug it from the wall outlet. This will ensure that your computer is not connected to any power source.
- Disconnect any peripherals: If you have any external devices connected to your computer, such as printers or external hard drives, disconnect them as well.
- Safety first: It’s always a good idea to press the power button on your computer once it’s unplugged to discharge any remaining power. This extra step will further protect you from any electrical shocks.
By following these steps, you are taking the necessary precautions to ensure your safety and prevent any potential damage to your computer and its components. It is important to always power down and unplug your computer before performing any hardware-related tasks.
Step 2: Gathering Tools
Before you proceed with removing the stock CPU cooler, it’s essential to gather the necessary tools. Having the right tools on hand will make the process smoother and more efficient. Here are the tools you will need:
- Small Phillips Screwdriver: The stock CPU cooler is usually secured to the motherboard with screws, so a small Phillips screwdriver is essential for removing those screws.
- Compressed Air: Over time, dust and debris can accumulate on the CPU cooler and affect its performance. By using compressed air, you can effectively remove the dust and ensure optimal cooling.
- Rubbing Alcohol or Thermal Paste Remover: If you plan to replace the stock CPU cooler with an aftermarket cooler, you will need to clean the thermal paste from the processor. Rubbing alcohol or a specialized thermal paste remover will help you remove the old paste safely.
Having these tools readily available will save you time and ensure that you can carry out the removal process smoothly. It’s a good idea to check that your screwdriver is the correct size for the screws on the CPU cooler before you begin.
Before you start gathering the tools, make sure you have a clean and organized workspace. This will help you keep track of all the tools and prevent any accidental damage to your computer components.
By preparing the necessary tools, you are setting yourself up for a successful stock CPU cooler removal process. Ensure that you have all the required tools within arm’s reach before moving on to the next step.
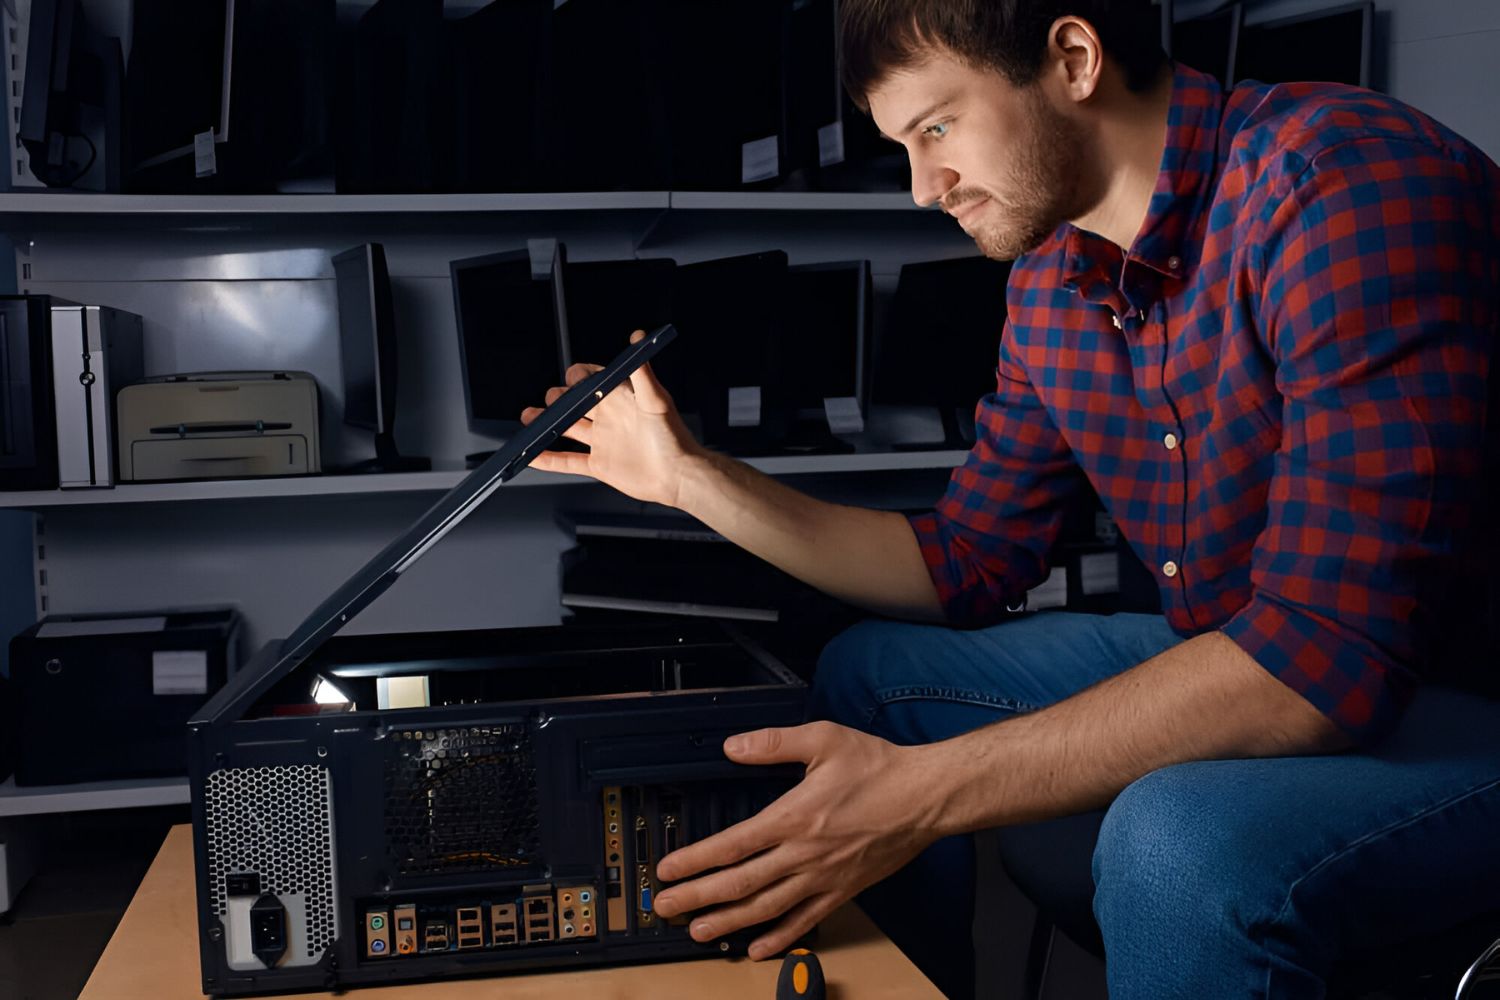
Step 3: Removing the Side Panel
With the necessary tools gathered, it’s time to remove the side panel of your computer case. Removing the side panel will provide you with better access to the internal components, including the stock CPU cooler. Follow these steps:
- Locate the screws or latches: Look for the screws or latches that secure the side panel to the computer case. These are typically located on the rear or side of the case.
- Use the appropriate tool: Depending on the type of screws or latches, use a screwdriver or release mechanism to loosen or remove them.
- Slide or lift the side panel: Once the screws or latches are released, gently slide or lift the side panel away from the computer case. Take care not to force it or damage any cables that may be attached.
- Set the side panel aside: Find a safe and clean place to set the side panel aside. It’s a good idea to place it away from your workspace to prevent any accidental damage.
Removing the side panel allows you to have a clear view of the internal components of your computer case and makes it easier to access the stock CPU cooler. It’s important to handle the side panel with care and avoid applying excessive force.
Remember to take note of the orientation of the side panel before removing it, as you will need to reattach it later in the process. Properly removing the side panel sets the stage for further action and ensures that you can proceed with the CPU cooler removal smoothly.
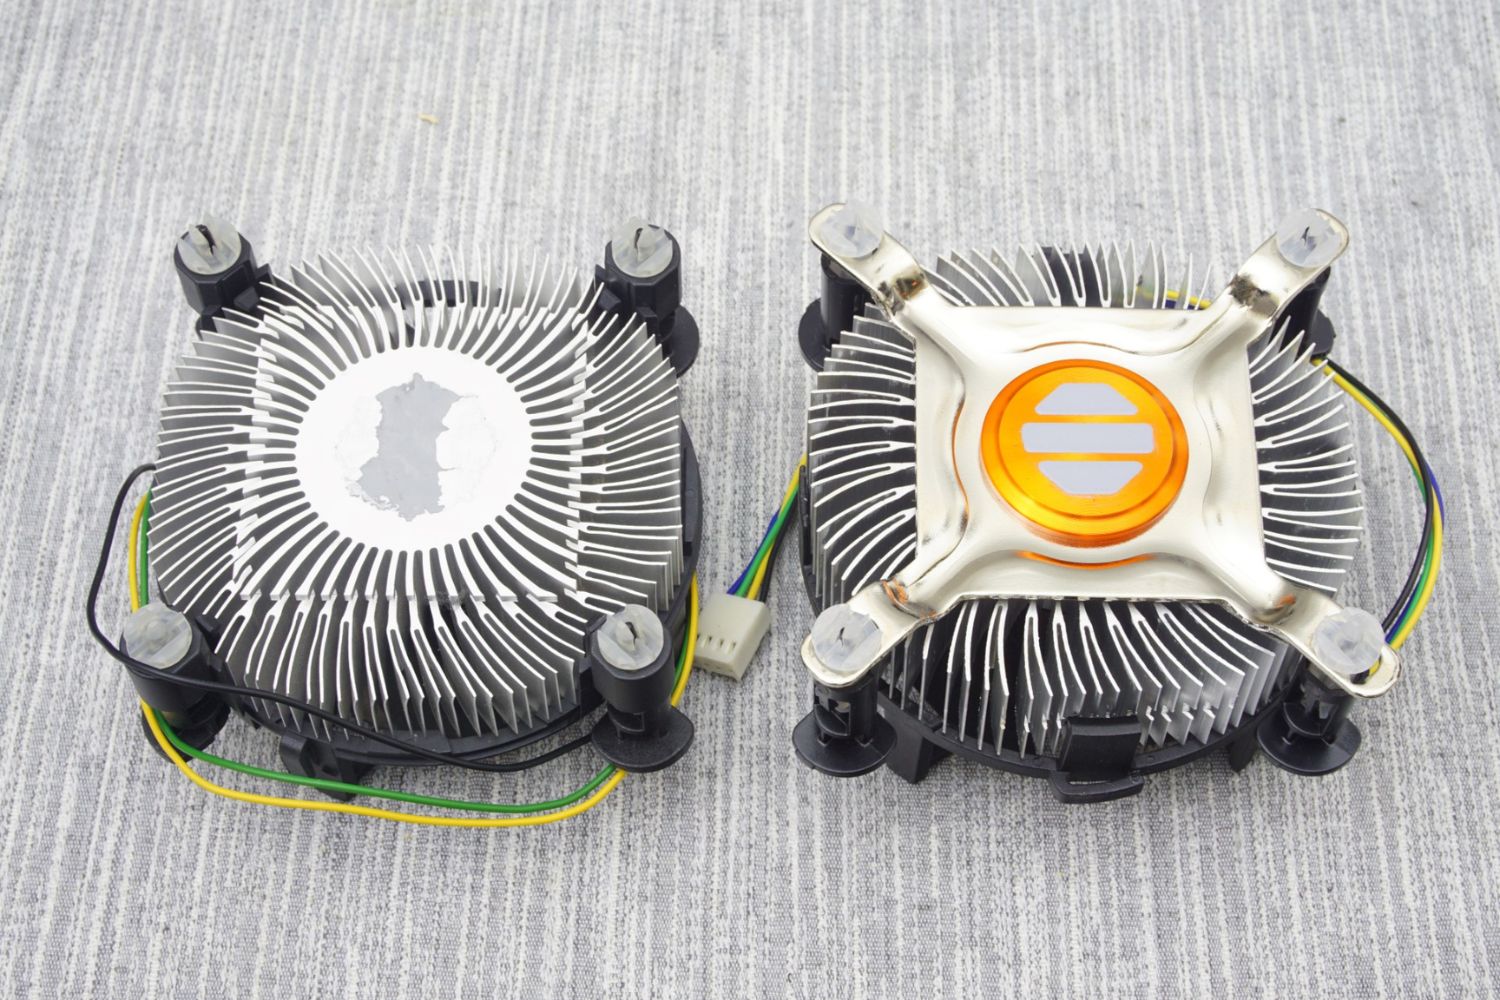
Step 4: Identifying the Stock CPU Cooler
Before you can remove the stock CPU cooler, it’s important to correctly identify it. The stock CPU cooler is the default cooler that comes pre-installed with your computer’s processor. Here’s how you can identify it:
- Locate the CPU socket: Look for the CPU socket on your computer’s motherboard. It is a rectangular or square-shaped socket usually located near the center of the motherboard.
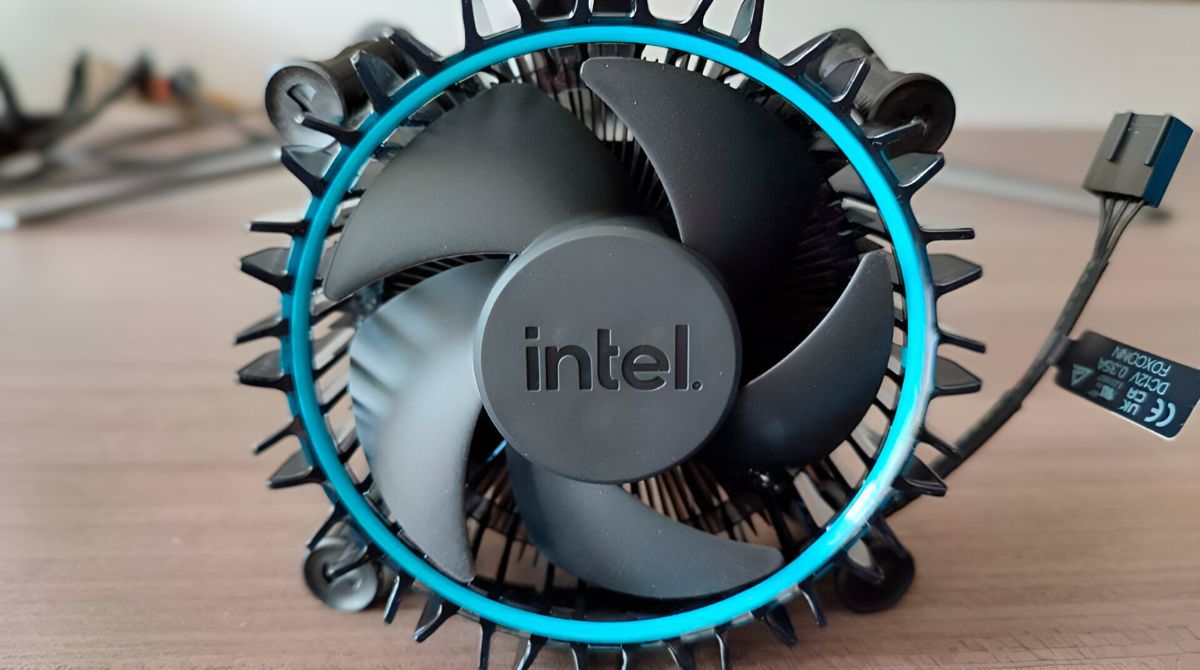
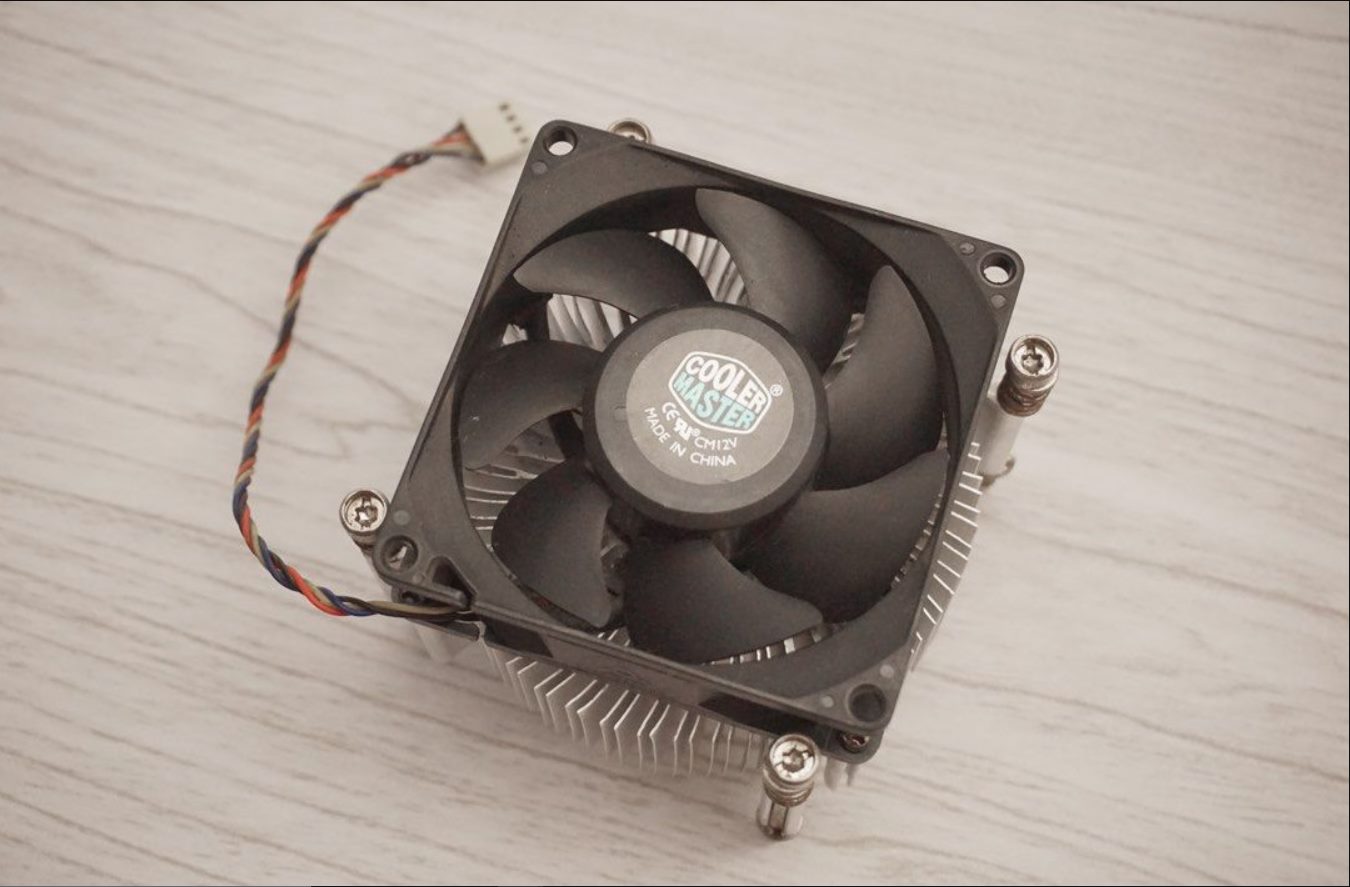
- Observe the cooler’s positioning: Notice the cooler positioned directly on top of the CPU socket. It may have a fan or a heat sink attached to it.
- Identify the manufacturer and model: Check for any labels or markings on the cooler that indicate the manufacturer and model. It may be printed directly on the cooler or on a sticker attached to it.
- Take note of the size and shape: Evaluate the overall size and shape of the stock CPU cooler. This will help you determine its compatibility with any potential replacement cooler you might consider.
Identifying the stock CPU cooler is crucial as it allows you to gather more information about it and ensures that you choose a suitable replacement, if desired. Different processors may come with different stock coolers, so understanding your specific cooler will help you make informed decisions.
If you’re unsure about the exact model or compatibility, consulting your computer’s documentation or contacting the manufacturer’s support team can provide you with the necessary information to proceed.
Once you have identified the stock CPU cooler, you’re ready to continue with the removal process and move on to the next steps.
Step 5: Disconnect the CPU Cooler Power Cable
Before you can remove the stock CPU cooler from your computer, you need to disconnect its power cable. This cable provides power to the fan or other cooling components attached to the cooler. Follow these steps to disconnect the CPU cooler power cable:
- Locate the CPU cooler power cable: Look for a cable connected to the stock CPU cooler. It is usually a small, four-pin connector coming from the motherboard.
- Gently unplug the power cable: Firmly but gently grip the connector and carefully unplug it from the motherboard. You may need to use a slight rocking motion to free it from the socket.
- Keep the cable clear: Once you have disconnected the power cable, ensure that it is clear of any other components or cables to avoid any potential damage.
Removing the CPU cooler power cable will ensure that there are no power supply or electrical connections to the cooler. This makes it easier to proceed with the next steps of removing the cooler from the motherboard.
Remember to handle the power cable with care and avoid pulling on it excessively, as this can cause damage to the cable or the connector. Taking your time and being gentle will help prevent any accidents or unnecessary strain on the components.
By disconnecting the CPU cooler power cable, you’re one step closer to removing the stock cooler from your computer and making way for a potentially upgraded cooling solution.
Step 6: Detaching the CPU Cooler from the Motherboard
Once you have disconnected the CPU cooler power cable, it’s time to detach the stock CPU cooler from the motherboard. Follow these steps to safely remove the cooler:
- Identify the cooler mounting mechanism: Take a moment to examine how the stock CPU cooler is attached to the motherboard. Common mounting mechanisms include screws, brackets, or clips.
- Remove the mounting screws or clips: If your cooler is secured by screws, use a Phillips screwdriver to carefully unscrew them in a counterclockwise direction. If it has clips, gently press or pry them to release the cooler from the socket.
- Be mindful of thermal paste: As you detach the cooler, be aware that it may have thermal paste applied between the cooler and the CPU. Take care not to accidentally spread the thermal paste or get it on any other components.
- Gently lift and remove the cooler: Once the mounting mechanism is released, carefully lift the stock CPU cooler straight up from the socket. Be cautious not to apply excessive force or tug on any connected cables.
When detaching the CPU cooler from the motherboard, it’s important to proceed with caution to avoid damaging any components. If the cooler seems stuck or resistant during the removal process, double-check if any screws or clips are still holding it in place before proceeding further.
After removing the stock CPU cooler, you may notice that the thermal paste is left behind on the CPU. It is recommended to clean off the old thermal paste completely before installing a new cooler. You can use rubbing alcohol or a specialized thermal paste remover along with a lint-free cloth or cotton swab to remove the residue.
By successfully detaching the stock CPU cooler from the motherboard, you have completed an essential step in upgrading or replacing your cooling solution. This paves the way for further adjustments and ensures a smooth transition to a new CPU cooler, if desired.
Step 7: Cleaning the CPU Cooler Socket
After detaching the stock CPU cooler from the motherboard, it’s important to clean the CPU cooler socket to ensure a clean and proper connection when installing a new cooler. Follow these steps to clean the CPU cooler socket:
- Inspect the socket: Take a close look at the CPU cooler socket on the motherboard. Look for any signs of dirt, debris, or thermal paste residue on the pins or in the socket itself.
- Use compressed air: Use a can of compressed air to blow away any loose dust or debris in and around the socket. This will help prevent any contaminants from interfering with the new CPU cooler’s installation.
- Clean with a lint-free cloth: Dampen a lint-free cloth or a cotton swab with rubbing alcohol or thermal paste remover. Gently wipe the socket, making sure to remove any stubborn residue or particles.
- Allow it to dry: Give the socket sufficient time to dry after cleaning before proceeding with the installation of the new cooler. This ensures that there is no moisture present that could disrupt the connection.
Properly cleaning the CPU cooler socket is essential to ensure a secure and efficient connection for your new CPU cooler. Removing debris and any remnants of thermal paste will promote better heat transfer and prevent potential issues with the installation.
Remember to handle the CPU cooler socket with care and avoid using excessive force when cleaning. Take your time and be thorough to ensure the socket is free from any contaminants.
By cleaning the CPU cooler socket, you have completed an important step that prepares the motherboard for a successful installation of a new cooler. Take the time needed to ensure the socket is clean and ready for the next step in the process.
Step 8: Removing the Stock CPU Cooler
Now that you have cleaned the CPU cooler socket, it’s time to remove the stock CPU cooler from your motherboard. Follow these steps to safely and effectively remove the cooler:
- Inspect the cooler: Take a moment to examine the stock CPU cooler and identify how it is attached to the motherboard. Look for any screws, brackets, or clips that are securing the cooler in place.
- Unscrew or unclip the cooler: If your stock cooler is secured with screws, use a Phillips screwdriver to carefully unscrew them in a counterclockwise direction. For coolers with brackets or clips, gently press or pry them to release the cooler from the socket.
- Detach the cooler from the processor: Once the mounting mechanism is released, gently lift the stock CPU cooler straight up from the processor. Take care not to apply excessive force or pull on any attached cables.
- Clean the cooler: After removing the stock CPU cooler, you may notice a buildup of dust or thermal paste on the surface. Use a can of compressed air and a lint-free cloth to clean the cooler thoroughly before storing it or disposing of it.
It’s important to handle the stock CPU cooler with care during the removal process to avoid any damage to the processor or motherboard. If you encounter any resistance or difficulty, double-check if any screws, brackets, or clips are still securing the cooler in place before proceeding.
Once the stock CPU cooler is removed, it’s a good opportunity to clean the surface of the processor itself. Use a lint-free cloth or a cotton swab dampened with rubbing alcohol to remove any residual thermal paste. This will ensure a clean and smooth surface for the application of new thermal paste when installing a replacement cooler.
By successfully removing the stock CPU cooler, you are one step closer to upgrading or replacing it with a more efficient cooling solution. Take your time and exercise caution to prevent any accidental damage during the removal process.
Step 9: Preparing for a New CPU Cooler
Now that the stock CPU cooler has been removed, it’s time to prepare for the installation of a new cooler. Proper preparation ensures an efficient and successful installation process. Follow these steps to get ready for a new CPU cooler:
- Research and choose a new CPU cooler: Take some time to research and select a new CPU cooler that fits your specific requirements and budget. Consider factors such as compatibility, cooling performance, noise levels, and size.
- Read the installation instructions: Carefully read and familiarize yourself with the installation instructions provided by the manufacturer of the new CPU cooler. Each cooler has its own specific installation method, which may require certain steps or additional components.
- Prepare the thermal paste: If your new CPU cooler does not come with pre-applied thermal paste, you will need to apply a small amount onto the surface of the processor. Follow the manufacturer’s instructions for the correct method of applying thermal paste.
- Gather the necessary tools: Check if any special tools are required for the installation of the new CPU cooler. Ensure that you have them on hand to simplify the installation process.
- Clean the CPU cooler mounting area: Use a lint-free cloth or a cotton swab dampened with rubbing alcohol to clean the mounting area on the motherboard. This removes any leftover thermal paste or debris, ensuring a clean and secure attachment of the new cooler.
Preparing for a new CPU cooler involves careful research, gathering the necessary tools, and ensuring a clean installation surface. Taking the time to read the instructions and familiarize yourself with the process will help you avoid any potential issues and ensure a successful installation.
Remember, each CPU cooler is unique, so following the manufacturer’s instructions is essential for a smooth installation process. By properly preparing for a new CPU cooler, you are setting the stage for improved cooling performance and overall system stability.
Step 10: Reinstalling the Side Panel
After completing the installation of the new CPU cooler, it’s time to reinstall the side panel of your computer case. This step ensures the proper enclosure of internal components and helps maintain optimal airflow. Follow these steps to reinstall the side panel:
- Align the side panel: Position the side panel so that it aligns with the edges of the computer case and the screw holes or latches.
- Slide or press the side panel into place: Gently slide or press the side panel back onto the case, making sure it fits snugly and securely.
- Fasten screws or engage latches: Use the appropriate tool (screwdriver or release mechanism) to fasten the screws or engage the latches that secure the side panel in place.
- Ensure a proper fit: Double-check that the side panel is properly aligned and there are no gaps or loose areas. It should fit flush with the rest of the computer case.
Reinstalling the side panel is an important step to protect the internal components of your computer from dust, debris, and potential damage. It also helps maintain a clean and aesthetically pleasing appearance.
Once the side panel is securely in place, give it a gentle push or light shake to confirm that it is properly fastened. This ensures that it won’t accidentally come loose during regular usage or transportation.
By successfully reinstalling the side panel, you have completed the final step in the process of upgrading or replacing your CPU cooler. Your computer is now ready to be powered on and tested for its improved cooling performance.
Step 11: Reconnecting the Power and Testing
With the CPU cooler successfully installed and the side panel securely in place, it’s time to reconnect the power and test your computer. Follow these steps to ensure a proper power connection and test the functionality of your new CPU cooler:
- Reconnect the power cable: Locate the power cord that you unplugged earlier and securely plug it back into the wall outlet.
- Connect any peripherals: If you disconnected any peripherals during the process, such as monitors, keyboards, or mice, reconnect them to their respective ports.
- Double-check all connections: Take a moment to verify that all cables and connections are properly secured. Check the power cable, CPU cooler power cable, and any other cables that you might have touched during the process.
- Power on your computer: Press the power button on your computer to turn it on. Listen for any unusual noises or observe any warning lights that may indicate a problem.
- Monitor CPU temperatures: Once your computer is powered on, use monitoring software or BIOS utilities to check the temperatures of your CPU. Ensure that the temperatures are within safe operating ranges to ensure optimal performance and prevent overheating.
- Run stress tests: To further test the functionality of your new CPU cooler, consider running stress tests or resource-intensive applications that put a significant load on the processor. Monitor the temperatures to ensure that they remain stable during these tests.
Reconnecting the power and testing your computer ensures that everything is functioning correctly after upgrading or replacing your CPU cooler. Monitoring the CPU temperatures and running stress tests allow you to evaluate the effectiveness of the new cooler and ensure that it is providing adequate cooling under heavy workloads.
If you notice any abnormal temperatures, excessive noise, or system instability, it’s essential to investigate further to identify and address any potential issues. Refer to the manufacturer’s documentation or seek technical assistance if needed.
By successfully reconnecting the power and testing your computer, you can be confident that your upgraded CPU cooler is providing better cooling performance and contributing to the overall stability and longevity of your system.