Introduction
Welcome to our guide on how to make a laptop CPU cooler. If you’re a laptop user who frequently runs resource-intensive applications or enjoys gaming, you may have experienced the frustration of your laptop overheating. Excessive heat can not only affect your laptop’s performance but also lead to long-term damage to your CPU.
A laptop CPU cooler is a device designed to dissipate the heat generated by your laptop’s central processing unit (CPU). It helps maintain optimal temperature levels, preventing overheating and ensuring smoother performance. While there are various commercial laptop CPU coolers available in the market, making your own cooler can be a practical and cost-effective solution.
In this guide, we will walk you through the process of making a laptop CPU cooler from scratch. We’ll provide you with a detailed list of the things you’ll need, as well as step-by-step instructions to help you assemble your cooler. Additionally, we will share some tips on how to effectively use a laptop CPU cooler to get the best results.
Before we dive into the details, it’s essential to mention that making a laptop CPU cooler requires some basic knowledge of electronics and computer hardware. If you are unfamiliar with these areas, we recommend seeking assistance from someone with experience or consulting online resources for additional guidance.
So, if you’re ready to keep your laptop cool and running smoothly, let’s get started on creating your very own laptop CPU cooler.
Why do you need a laptop CPU cooler?
As laptops continue to become more powerful and compact, heat management becomes a significant concern. The central processing unit (CPU) is the brain of your laptop, and it generates a considerable amount of heat while processing data. Without proper cooling, this heat can accumulate and lead to various issues:
- Overheating: One of the most obvious reasons for needing a laptop CPU cooler is to prevent overheating. When a laptop’s CPU temperature exceeds safe levels, it can cause system crashes, freezes, and even permanent damage to the hardware components. A laptop CPU cooler helps dissipate the heat and keeps the temperature within acceptable limits.
- Performance degradation: Excessive heat can negatively impact the performance of your laptop. When the CPU temperature rises, the performance may throttle to avoid further heat buildup, resulting in decreased processing speeds and diminished overall performance. Using a laptop CPU cooler can help maintain optimal temperature levels and ensure uninterrupted performance.
- Extended lifespan: Heat can significantly shorten the lifespan of electronic components, including the CPU. Continuous exposure to high temperatures can lead to accelerated wear and tear, reducing the longevity of your laptop. By employing a laptop CPU cooler, you can prolong the lifespan of your laptop by keeping the CPU temperature in check.
- Noise reduction: When a laptop’s CPU temperature rises, the fan speeds increase to compensate for the heat. This can result in noisy fan operation, leading to a distracting working environment. With a laptop CPU cooler to assist in heat dissipation, the fan speeds can be kept at a lower level, reducing the noise levels and creating a more comfortable computing experience.
- Enhanced gaming experience: Gaming on a laptop often pushes the CPU and graphics card to their limits, generating considerable heat in the process. To ensure smooth gameplay and avoid performance issues, using a laptop CPU cooler becomes even more crucial for gamers. By keeping the CPU temperature under control, a CPU cooler can aid in delivering optimal gaming performance.
In summary, a laptop CPU cooler is essential to prevent overheating, maintain performance, extend the lifespan of your laptop, reduce noise levels, and enhance the gaming experience. Now that we understand the significance of a laptop CPU cooler, let’s move on to the next section to explore what a laptop CPU cooler is and how you can create one yourself.
What is a laptop CPU cooler?
A laptop CPU cooler is a device designed to dissipate the heat generated by the central processing unit (CPU) of a laptop. The CPU is one of the most crucial components in any computer system, and it functions by executing instructions and performing calculations. However, this process generates a significant amount of heat. If left unmanaged, the excess heat can lead to performance issues, system instability, and even permanent damage to the CPU.
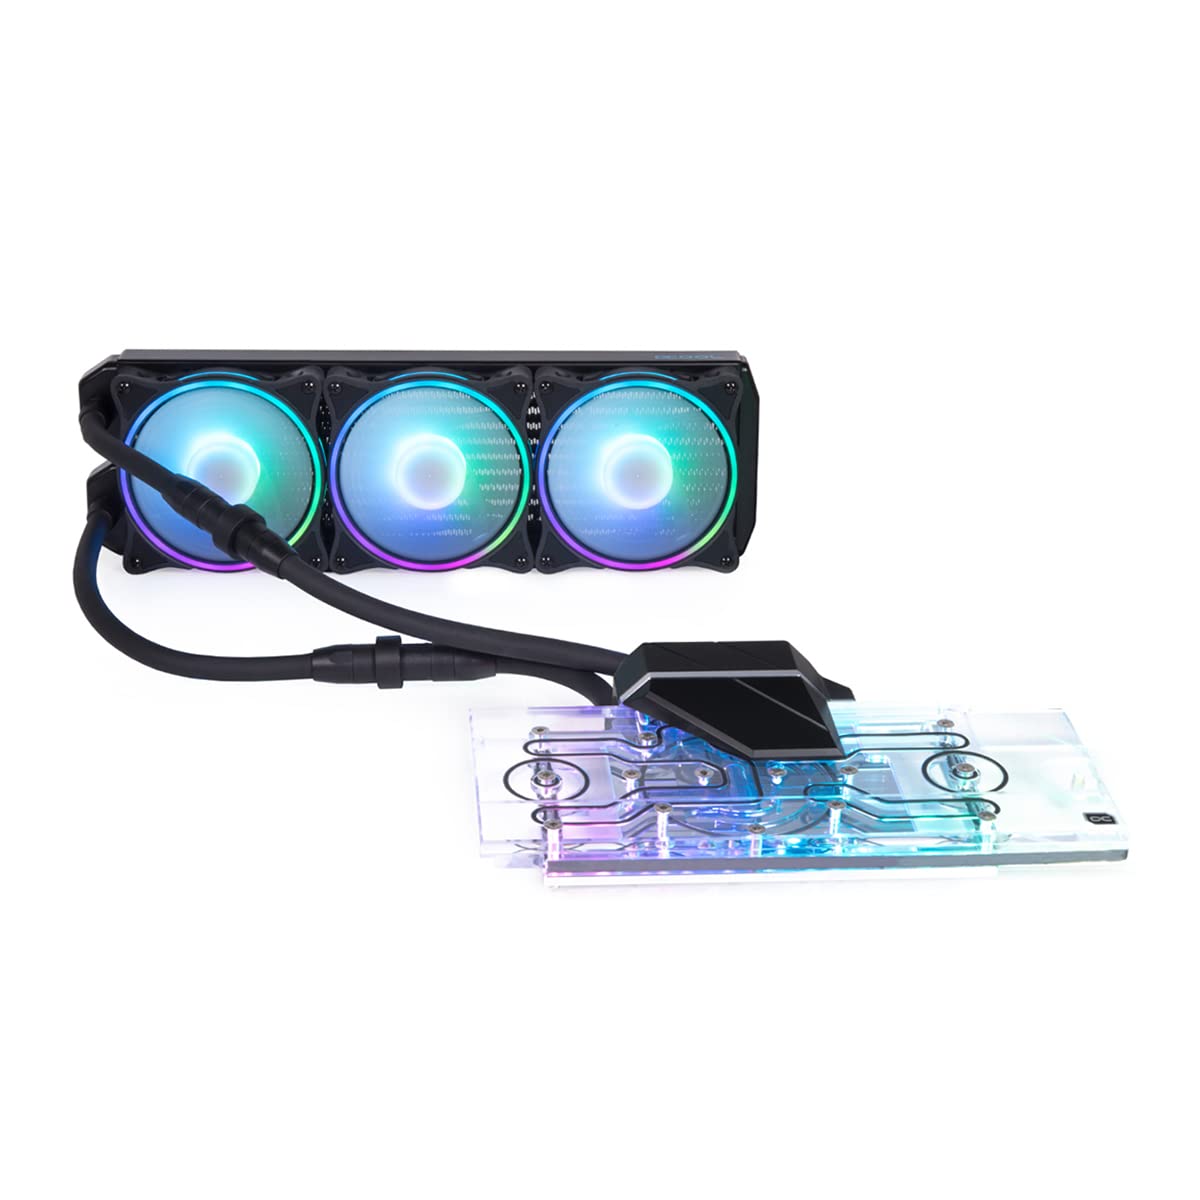
A laptop CPU cooler consists of several components that work together to effectively cool down the CPU. The primary components of a laptop CPU cooler include:
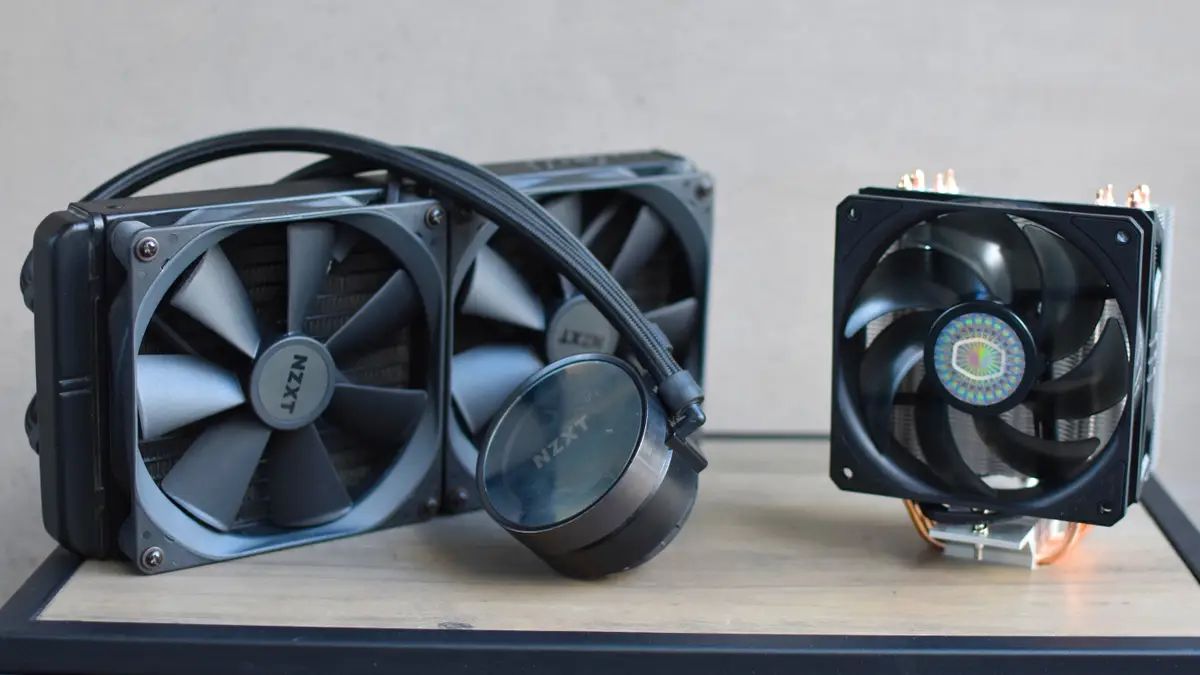
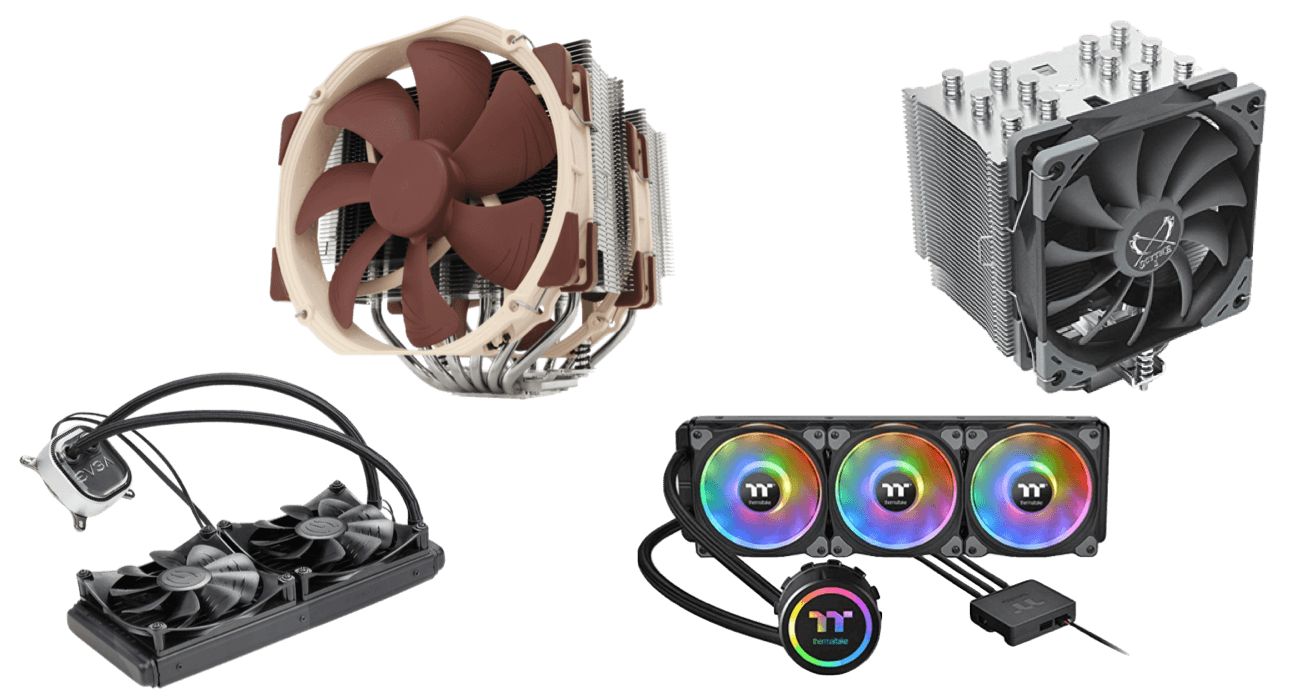
- Heat Sink: A heat sink is a passive cooling component that usually consists of a metal body with fins. Its primary function is to absorb the heat generated by the CPU and transfer it to the surrounding air. The large surface area provided by the fins allows for efficient heat dissipation.
- Fan: In most laptop CPU coolers, a fan is used to enhance the heat dissipation process. The fan is typically positioned on top of the heat sink, and it works by blowing air over the fins to increase the airflow. This airflow helps in removing the heat from the heat sink and expelling it out of the laptop.
- Thermal Paste: Thermal paste, also known as thermal grease, is applied between the CPU and the heat sink. It fills in microscopic imperfections and enhances the thermal conductivity, ensuring optimal heat transfer from the CPU to the heat sink.
- Heat Pipes: Some high-performance laptop CPU coolers may also include heat pipes. Heat pipes are hollow tubes filled with a liquid or gas that effectively transfers heat away from the CPU to the heat sink. The liquid or gas inside the heat pipe evaporates when heated, and condenses back into a liquid or gas when cooled. This cycle facilitates efficient heat transfer.
- Mounting Mechanism: The mounting mechanism of a laptop CPU cooler ensures proper installation and secure attachment to the CPU. It typically consists of brackets or clips that hold the cooler firmly in place over the CPU.
A laptop CPU cooler works by absorbing the heat generated by the CPU and dissipating it into the surrounding environment. The heat sink, assisted by the fan, acts as the primary heat dissipation mechanism, while the thermal paste ensures efficient heat transfer between the CPU and the heat sink.
Now that we have a good understanding of what a laptop CPU cooler is, let’s move on to the next section to identify the things you will need to make your own laptop CPU cooler.
Things you will need to make a laptop CPU cooler
Before you begin the process of making a laptop CPU cooler, it’s important to gather all the necessary materials and tools. Here is a list of things you will need:
- Heat sink: The heat sink is a crucial component of a laptop CPU cooler. You can purchase a heat sink from an electronics store or salvage one from an old laptop or computer. Make sure the dimensions of your heat sink are suitable for your laptop’s CPU.
- Fan: You will need a small cooling fan that matches the size of your heat sink. The fan can be purchased separately, or you may have one from an old computer or electronic device that you can repurpose.
- Thermal paste: Thermal paste is necessary to ensure proper heat transfer between the CPU and the heat sink. You can find thermal paste at computer supply stores or online retailers.
- Screws, nuts, and washers: These hardware components are essential for attaching the heat sink and the fan together and securing them onto your laptop’s CPU. Make sure to choose screws, nuts, and washers that are compatible with the dimensions of your heat sink and fan.
- Power source: You will need a power source to operate the fan. This can be a 12-volt power supply or a USB cable connected to a USB port on your laptop. If you’re using a USB cable, you may need to modify it to connect it to the fan properly.
- Tools: To assemble your laptop CPU cooler, you will need some basic tools such as a screwdriver, pliers, and wire cutters. These tools will help you secure the components together and make any necessary modifications.
- Optional materials: Depending on your preferences and the resources available to you, you may also consider additional materials such as heat pipes, adhesive thermal pads, or a custom-designed enclosure to enhance the performance and aesthetic appeal of your laptop CPU cooler.
Once you have gathered all the necessary materials and tools, you will be ready to proceed with the step-by-step process of creating your own laptop CPU cooler. Make sure to have a clear workspace with proper lighting and take necessary precautions when working with electronics.
In the next section, we will provide you with a detailed guide on how to make a laptop CPU cooler, taking you through each step of the process.
Step-by-step guide to making a laptop CPU cooler
Creating your own laptop CPU cooler may seem like a complex task, but by following these step-by-step instructions, you’ll be able to assemble one with relative ease. Let’s get started:
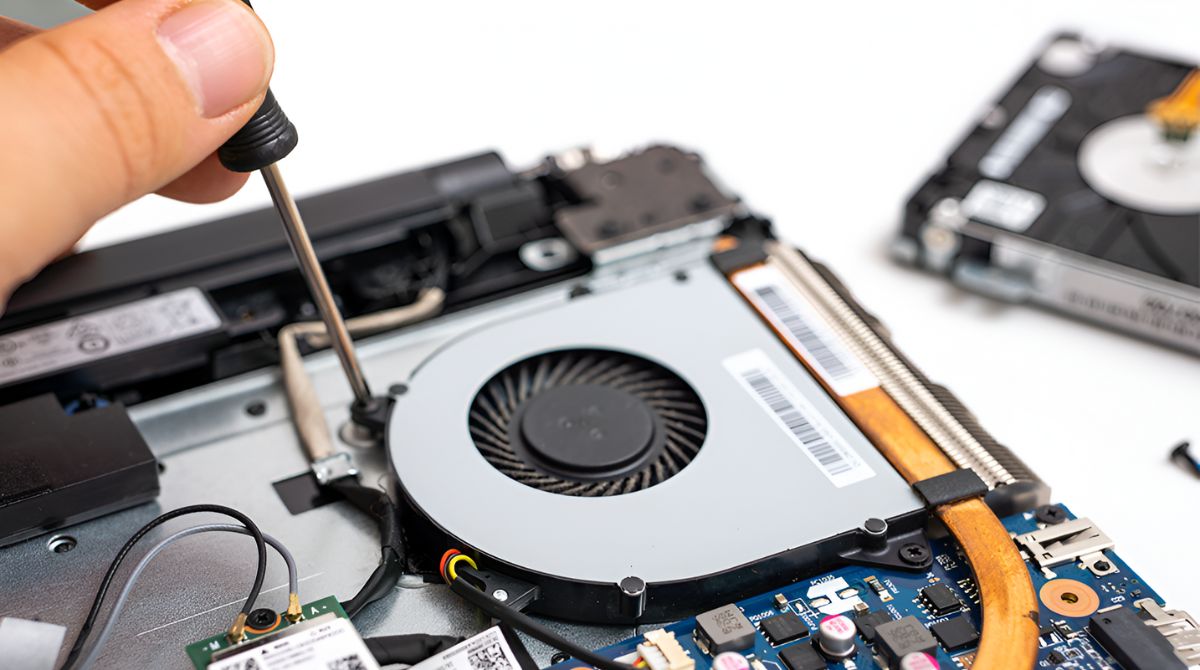
- Prepare the heat sink: If you are salvaging a heat sink from an old laptop or computer, clean it thoroughly to remove any dust or debris. Ensure the surface is smooth and free of any obstructions that could hinder heat dissipation.
- Attach the fan to the heat sink: Place the fan on top of the heat sink, ensuring that the fan’s airflow aligns with the heat sink’s fins. Use screws, nuts, and washers to secure the fan tightly to the heat sink. Make sure the fan is centered and firmly attached.
- Apply thermal paste: Apply a small amount of thermal paste evenly on the surface of the heat sink that will be in contact with the CPU. Be careful not to use too much paste as it can lead to inefficient heat transfer. Spread the paste using a plastic spatula or a small card to achieve an even layer.
- Prepare the power source: If you’re using a 12-volt power supply, ensure it’s compatible with the fan’s voltage requirements. If you’re using a USB cable, cut the cable and expose the wires. Identify the positive and negative wires and strip a small portion of the insulation from each wire.
- Connect the power source to the fan: If using a power supply, connect the wires to the corresponding positive and negative terminals on the fan. If using a USB cable, solder the positive and negative wires to the fan’s power terminals. Use electrical tape to secure the connections and insulate any exposed wires.
- Secure the heat sink onto your laptop’s CPU: Carefully place the heat sink on top of your laptop’s CPU, ensuring that it covers the CPU entirely. Align the mounting brackets or clips with the holes or slots on your laptop’s motherboard. Use the appropriate screws or clips to secure the heat sink firmly in place.
- Connect the power source to a power outlet: Plug the power supply into a power outlet if you’re using a 12-volt power source. If you’re using a USB cable, connect it to a USB port on your laptop. Ensure the fan starts spinning once powered on, indicating that it is working correctly.
- Monitor the temperature: After powering on the laptop, monitor the CPU temperature using software or the laptop’s built-in temperature monitoring system. Ensure that the temperature remains within acceptable limits and that the cooler is effectively dissipating heat.
- Adjust fan speed if necessary: If you have control over the fan’s speed, adjust it accordingly based on your needs. Higher speeds help in cooling down the CPU more effectively, but they may also generate more noise. Find a balance between cooling performance and noise levels.
By following these steps, you can create your own laptop CPU cooler. Remember to exercise caution and take necessary safety measures when working with electrical components. With your DIY laptop CPU cooler in place, you can enjoy improved temperature management and enhanced laptop performance.
In the next section, we will provide you with some tips on how to effectively use your laptop CPU cooler for optimal results.
Tips for using a laptop CPU cooler effectively
Now that you have successfully created your own laptop CPU cooler, it’s important to utilize it effectively to optimize cooling performance and ensure the longevity of your laptop. Here are some tips to help you make the most of your laptop CPU cooler:
- Clean the cooler regularly: Over time, dust and debris can accumulate on the heat sink and fan, hindering their ability to dissipate heat effectively. Regularly clean the cooler to remove any buildup and maintain optimal airflow.
- Position your laptop properly: To maximize cooling efficiency, place your laptop on a hard, flat surface that allows for proper airflow. Avoid using your laptop on soft surfaces, such as beds or couches, as they can restrict airflow and lead to increased heat buildup.
- Adjust fan speed based on the workload: Most laptop CPU coolers allow you to adjust the fan speed. Increase the fan speed when engaging in resource-intensive tasks, such as gaming or video editing, and reduce it during less demanding activities to minimize noise levels.
- Monitor CPU temperatures: Keep an eye on your laptop’s CPU temperatures using software or monitoring utilities. If you notice that temperatures are consistently high despite the cooler’s installation, consider reapplying thermal paste or adjusting the fan speed to achieve better cooling performance.
- Avoid blocking cooling vents: Ensure that the cooling vents on your laptop are not blocked by any objects or obstructions. Blocking these vents can restrict airflow and counteract the cooling capabilities of your laptop CPU cooler.
- Use a laptop cooling pad: A laptop cooling pad can provide additional cooling support by elevating your laptop and enhancing airflow. Consider using a cooling pad in conjunction with your laptop CPU cooler to further improve temperature management.
- Reapply thermal paste periodically: Over time, thermal paste can dry out and lose its effectiveness. Consider reapplying thermal paste every year or two to maintain optimal heat transfer between the CPU and the heat sink.
- Keep your laptop’s drivers up to date: Outdated device drivers can sometimes cause increased CPU usage and heat generation. Ensure that your laptop’s drivers are regularly updated to prevent any software-related issues that could contribute to excessive heat buildup.
- Avoid overclocking: While it may be tempting to overclock your laptop’s CPU for increased performance, this generally leads to higher temperatures and increased power consumption. Avoid overclocking unless you have a thorough understanding of the risks and proper cooling mechanisms in place.
- Consider professional assistance: If you’re experiencing persistent overheating issues or suspect underlying hardware problems, it may be beneficial to consult with a professional technician who can provide expert advice and check for any potential hardware malfunctions.
By following these tips, you will be able to effectively use your laptop CPU cooler to maintain optimal temperature levels and ensure smooth, reliable performance.
Now that you have all the necessary information and guidance, you are ready to embark on creating and using your own laptop CPU cooler. Enjoy a cooler and more efficient computing experience!
Conclusion
Congratulations on completing our guide on how to make a laptop CPU cooler. By creating your own cooler, you have taken a proactive step in preventing overheating, improving performance, and extending the lifespan of your laptop’s central processing unit (CPU).
We started by understanding the importance of a laptop CPU cooler and why it is essential for maintaining optimal temperature levels. We then explored the components that make up a laptop CPU cooler, including the heat sink, fan, thermal paste, and mounting mechanism.
Next, we provided a detailed list of the things you will need to create your own laptop CPU cooler, such as a heat sink, fan, thermal paste, and power source. We also highlighted the optional materials and tools you can consider to enhance your cooling solution.
Following that, we guided you step-by-step through the process of assembling your laptop CPU cooler, from preparing the heat sink to connecting the power source and monitoring the CPU temperature.
To ensure the effective use of your laptop CPU cooler, we provided valuable tips such as cleaning the cooler regularly, positioning your laptop correctly, adjusting the fan speed, and monitoring CPU temperatures. We also emphasized the importance of avoiding blocked cooling vents and using a laptop cooling pad to enhance cooling performance.
Remember, maintaining your laptop CPU cooler and paying attention to any signs of overheating are crucial for keeping your laptop running smoothly and extending its lifespan. By following the tips and best practices outlined in this guide, you can ensure optimal cooling for your laptop’s CPU and enjoy improved performance.
If, at any point, you feel unsure or uncomfortable with the process of making a laptop CPU cooler, we recommend seeking assistance from someone experienced or consulting online resources for additional guidance.
With your newly created laptop CPU cooler, you are now equipped to enjoy a cooler and more efficient computing experience, whether you’re working, gaming, or engaging in resource-intensive tasks. Stay vigilant about maintaining your cooling system and continue to explore ways to optimize your laptop’s performance.
Thank you for using our guide, and we wish you the best of luck in your DIY laptop CPU cooler endeavor!