Introduction
A CPU cooler is a vital component of every computer system, responsible for maintaining optimal temperatures for the processor. However, sometimes you may encounter an annoying issue – the gurgling sound coming from your CPU cooler. This noise can be bothersome and, in some cases, indicative of an underlying problem.
In this article, we will explore the common reasons behind a gurgling CPU cooler and provide you with a step-by-step guide to eliminating this issue. Whether you are a tech enthusiast or a beginner, this guide will help you understand the causes of the gurgling noise and effectively troubleshoot the problem.
Before we jump into the solutions, it’s important to note that a gurgling sound can be caused by various factors. It could be due to air bubbles trapped in the cooling system, improper installation of the CPU cooler, a build-up of dust and debris, or even a malfunctioning fan.
Understanding the cause of the gurgling noise is crucial for resolving the issue effectively. By following the steps outlined in this guide, you will be able to diagnose and address the problem, ensuring that your CPU cooler operates smoothly and quietly.
So, if you’re tired of the gurgling sound emanating from your CPU cooler and seek a quick and efficient solution, let’s dive in and get your system back to its optimal condition!
Common Reasons for CPU Cooler Gurgling
When your CPU cooler starts to produce a gurgling sound, it is crucial to identify the root cause so that you can implement the appropriate solution. Let’s explore some common reasons behind this issue:
- Air Bubbles: One of the primary culprits behind a gurgling CPU cooler is the presence of air bubbles within the cooling system. These bubbles can disrupt the flow of coolant, leading to an irregular movement of liquid and the formation of gurgling noises.
- Improper Installation: If the CPU cooler is not installed correctly, it can cause vibrations and contact issues. This can result in gurgling noises as the cooler struggles to efficiently dissipate heat from the processor.
- Dust and Debris: Over time, dust and debris can accumulate on the CPU cooler and radiator, obstructing the airflow and causing unusual noises. As the air passes through these obstructions, gurgling sounds may occur.
- Faulty Fan: A malfunctioning fan can also contribute to gurgling noises. If the fan is not operating at the appropriate speed or is making unusual movements, it can create turbulence in the airflow and produce gurgling sounds.
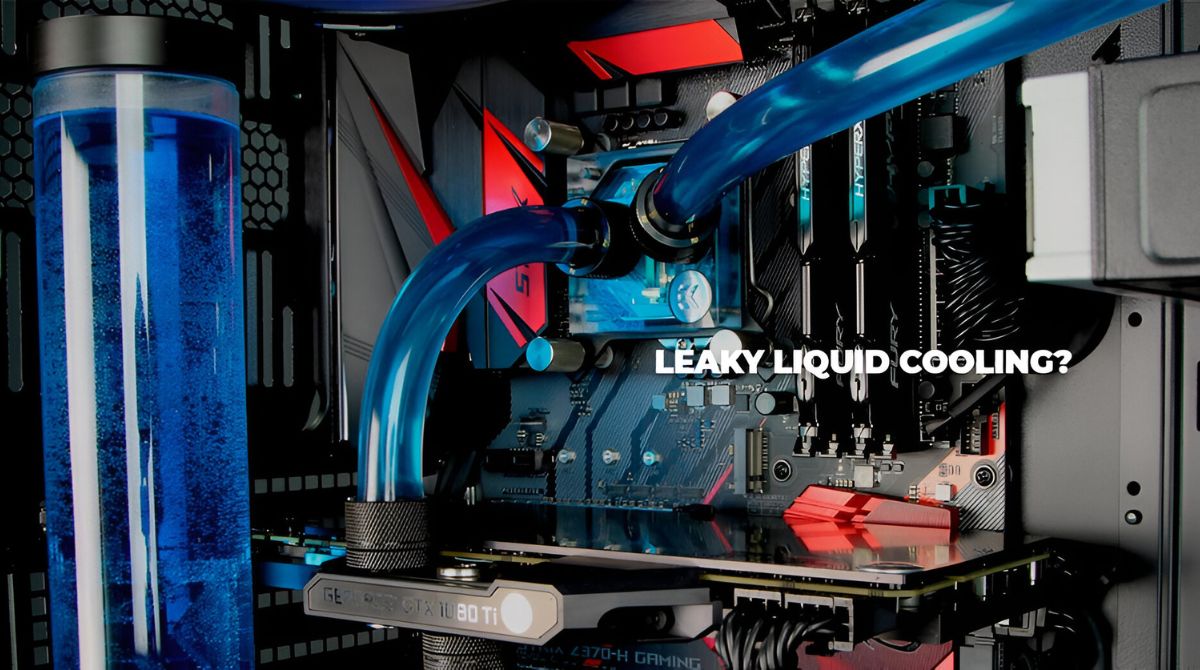
It is important to note that these are just a few common causes of CPU cooler gurgling. Other factors, such as a damaged pump or coolant leakage, can also contribute to this issue. By understanding the possible causes, you can now move on to troubleshooting and resolving the gurgling noise coming from your CPU cooler.
Step-by-Step Guide to Eliminate Gurgling CPU Cooler
If you’re tired of the gurgling sound coming from your CPU cooler, don’t worry! Follow these step-by-step instructions to troubleshoot and eliminate the issue:
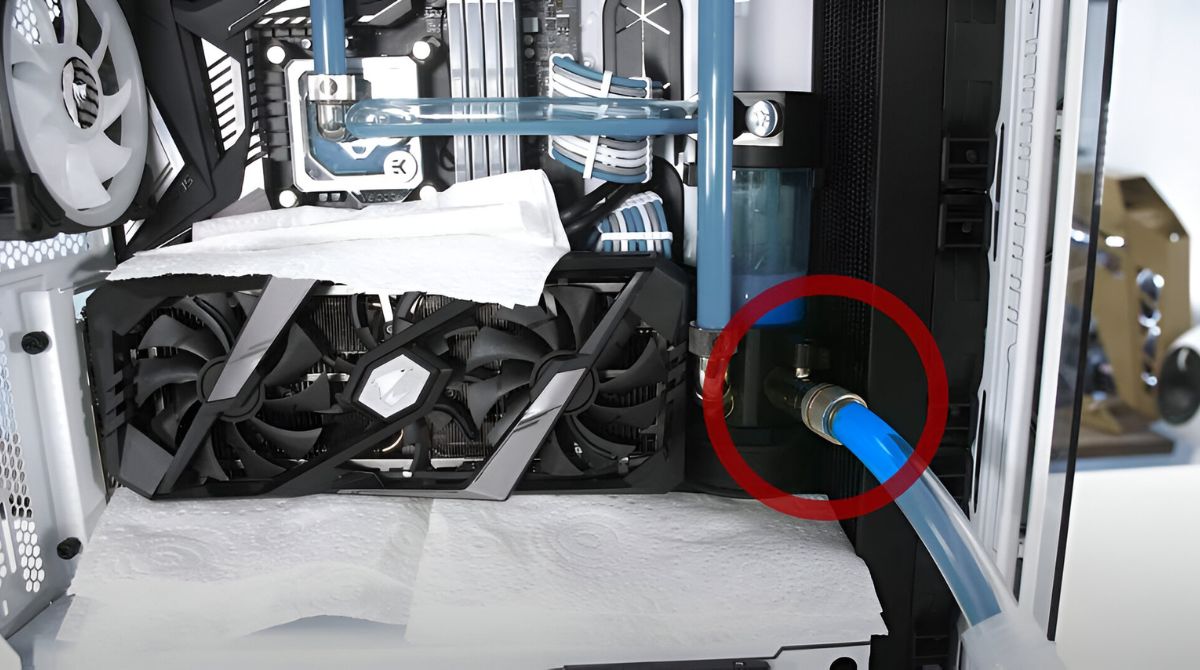
- Check for Air Bubbles: Start by ensuring that there are no air bubbles trapped within the cooling system. To do this, gently tilt your computer or remove the radiator cap if it’s accessible. If you notice air bubbles, gently tap the radiator or use a syringe to remove them.
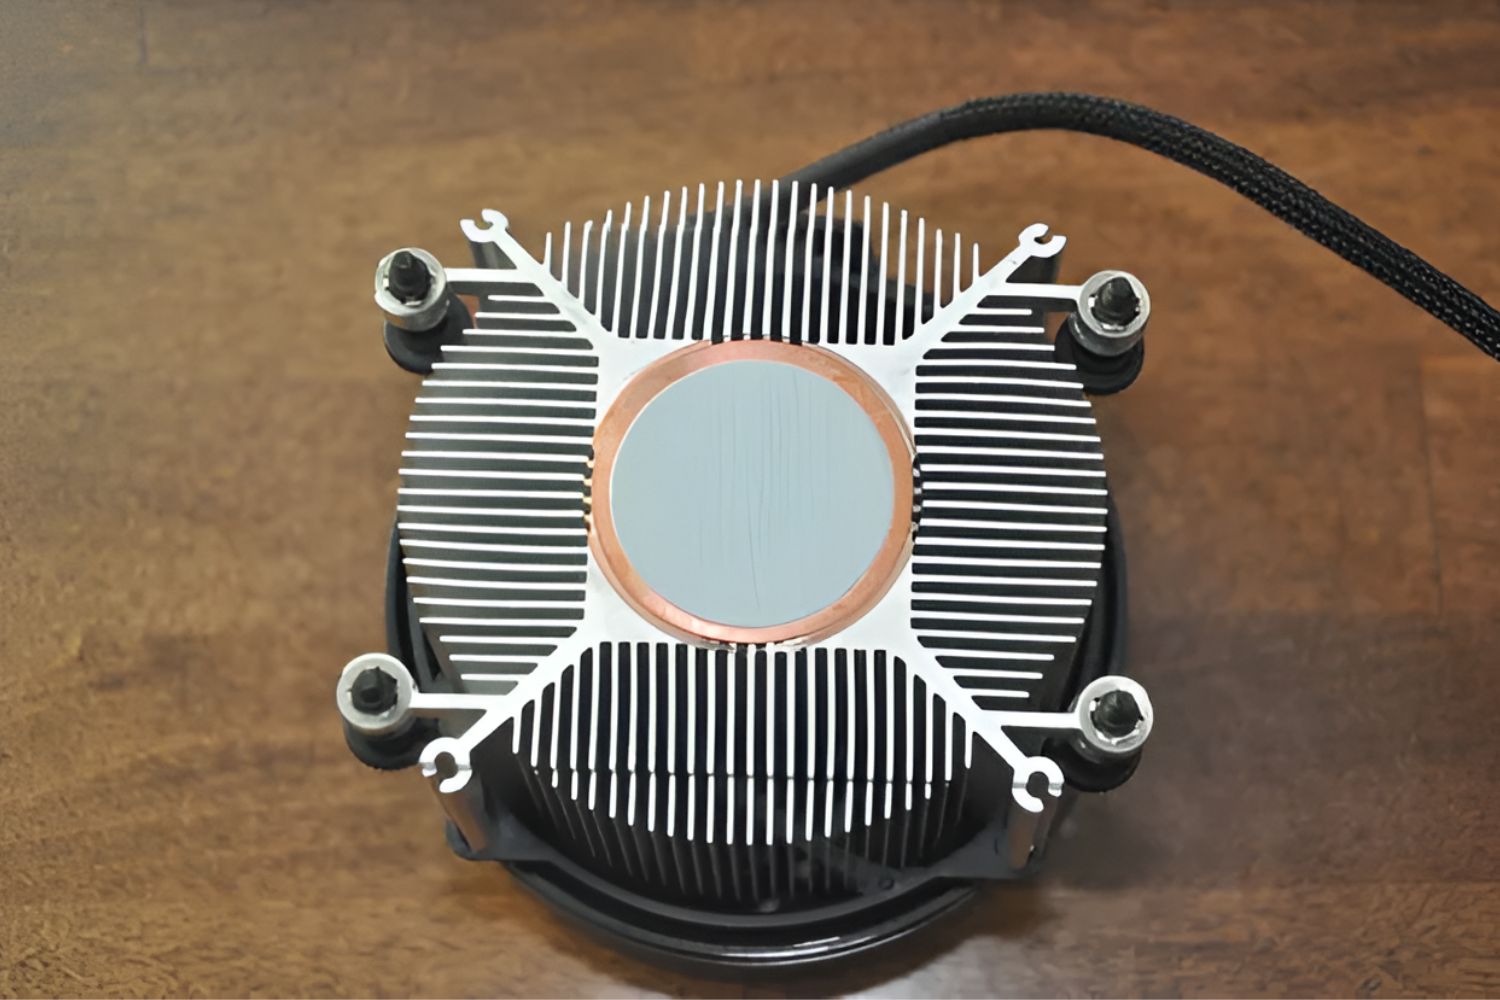
- Reinstall the CPU Cooler: If the gurgling noise persists, the next step is to reinstall the CPU cooler properly. Uninstall the cooler, clean the contact surfaces of the CPU and cooler, and apply a fresh layer of thermal paste. Then, reinstall the cooler, ensuring that it is securely and evenly mounted.
- Clean the CPU Cooler and Radiator: Over time, dust and debris can accumulate on the CPU cooler and radiator, hindering proper airflow. Gently clean these components using compressed air or a soft brush to remove any obstructions. This will improve the cooling efficiency and help eliminate the gurgling noise.
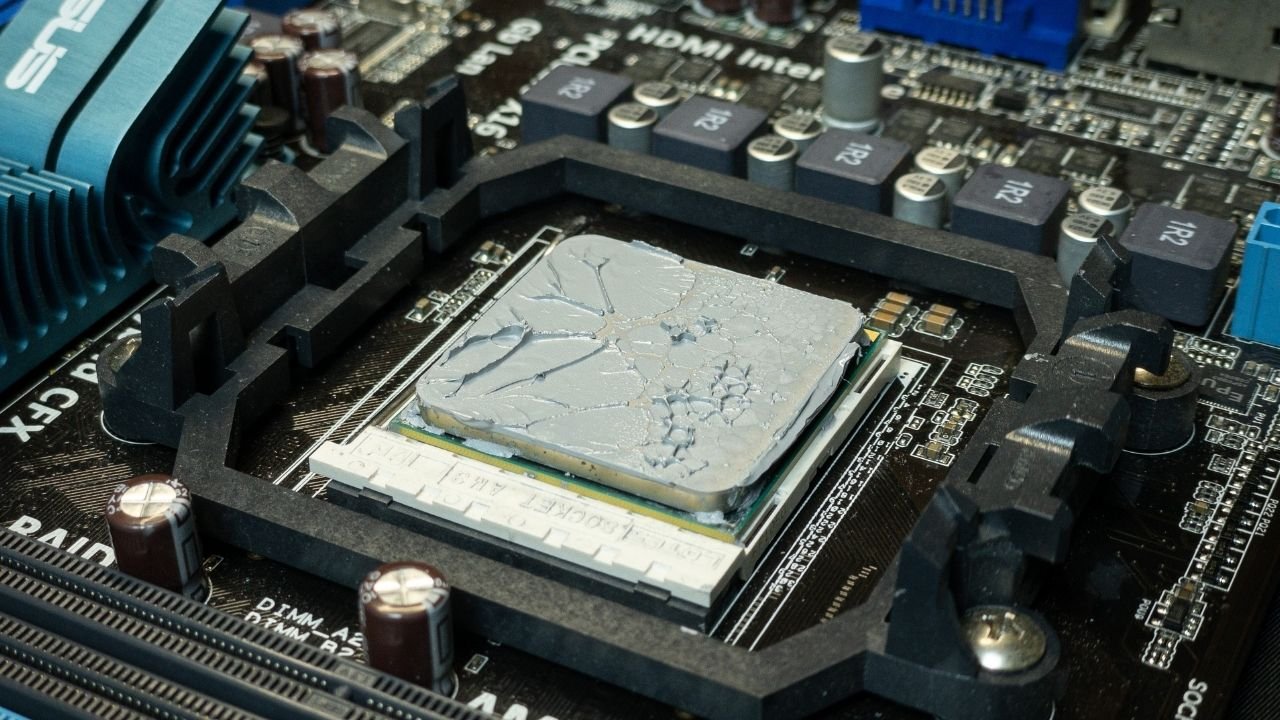
- Reapply Thermal Paste: The thermal paste is responsible for facilitating heat transfer between the CPU and cooler. If the paste has dried or is unevenly applied, it can affect the cooling performance. Remove the old thermal paste, apply a small amount of fresh paste, and evenly spread it on the CPU surface before reinstalling the cooler.
- Ensure Proper Fan Operation: A malfunctioning fan can contribute to the gurgling noise. Check that the fan is spinning smoothly and at the correct speed. If you notice any issues, such as unusual movements or grinding sounds, consider replacing the fan to restore proper cooling.
By following these steps, you should be able to identify and resolve the cause of the gurgling noise in your CPU cooler. Remember to take your time, be gentle with the components, and ensure that everything is securely installed before powering on your system. If the issue persists after these troubleshooting steps, it may be advisable to seek professional assistance to diagnose and resolve the problem.
Checking for Air Bubbles in the System
In order to effectively eliminate the gurgling noise coming from your CPU cooler, it is important to check for any air bubbles that may be causing the issue. Here’s a step-by-step process to help you identify and eliminate air bubbles in your cooling system:
- Power off and unplug your computer: Before starting any troubleshooting, it is crucial to ensure your computer is powered off and disconnected from the power source to avoid any potential hazards.
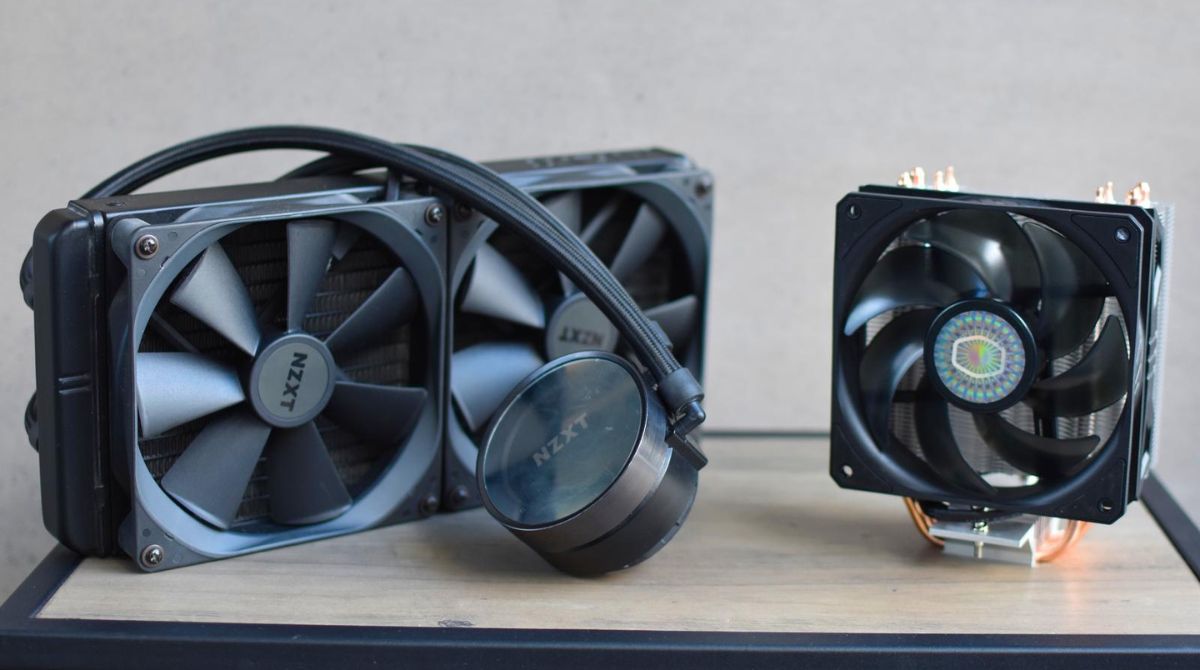
- Access the cooling system: If your computer has a closed-loop liquid cooling system, locate the radiator or the cooling unit. If you are using an air cooler, locate the CPU heatsink.
- Gently tilt your computer: Carefully tilt your computer to the side, allowing the air bubbles to rise towards the highest point in the cooling system.
- Observe for air bubbles: While keeping an eye on the radiator or heatsink, look for any visible air bubbles moving through the liquid coolant or air channels.
- Tap or shake the radiator: If you notice air bubbles, gently tap or shake the radiator or cooling unit. This can help dislodge the trapped air bubbles and allow them to rise to the top.
- Add coolant if necessary: If your liquid cooling system allows for manual coolant filling, check the coolant levels and add more if needed. This can help minimize the formation of air bubbles in the future.
- Reassemble and test: Once you have addressed the air bubbles, carefully reattach any disconnected components, ensuring they are securely fastened. Plug in your computer, power it on, and monitor for any gurgling noises. The issue should now be resolved.
By following these steps, you can effectively check for and eliminate air bubbles in your CPU cooling system. It is important to note that air bubbles can sometimes reappear over time, so if you continue to experience gurgling noises, it may be necessary to repeat this process or consider contacting a professional for further assistance.
How to Reinstall the CPU Cooler
If you have determined that the gurgling noise coming from your CPU cooler is due to improper installation, it is essential to reinstall the cooler correctly. Follow these steps to ensure a proper reinstallation:
- Power down your computer: Before starting the reinstallation process, make sure to turn off your computer and unplug it from the power source. This will prevent any potential electrical hazards.
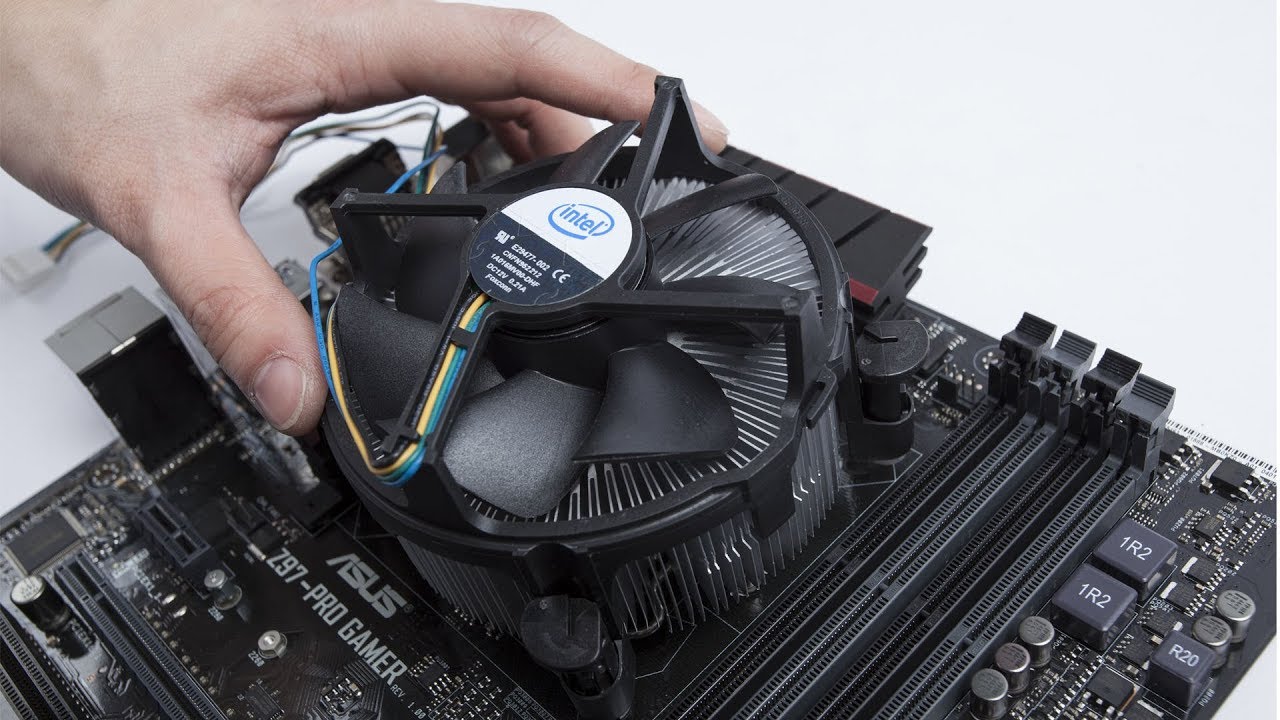
- Remove the existing CPU cooler: Carefully detach the CPU cooler from the motherboard. Depending on the type of cooler, you may need to unscrew it from the mounting brackets or unclip it from the retention bracket.
- Clean the CPU and cooler: Use isopropyl alcohol and a lint-free cloth or cotton swab to clean the thermal paste residue from the CPU surface and the base of the cooler. Ensure that both surfaces are completely clean and free from any debris.
- Apply new thermal paste: Apply a small amount of high-quality thermal paste to the center of the CPU. Use a card or a plastic spatula to spread it evenly across the surface, creating a thin and uniform layer.
- Align the cooler: Position the CPU cooler on top of the CPU, aligning the screw holes or clips with the corresponding mounting points on the motherboard. Apply gentle pressure to the cooler so that it makes contact with the CPU surface.
- Secure the CPU cooler: Depending on the type of cooler, either screw it down using the provided screws or clip it onto the retention brackets until it is firmly fastened. Ensure that the pressure is applied evenly to avoid any uneven contact.
- Plug in the fan connector: Connect the fan power cable to the appropriate motherboard header to ensure proper fan operation. Refer to your motherboard’s manual for the correct header.
- Reassemble and test: Once you have reinstalled the CPU cooler, reassemble your computer’s case and connect all the necessary cables. Power on the system and monitor for any gurgling noises. If everything is installed correctly, the gurgling noise should be eliminated.
Reinstalling the CPU cooler correctly can significantly reduce the gurgling noise and ensure optimal cooling performance for your computer system. Take your time during each step, ensuring that all connections are secure and the thermal paste is applied correctly. If you encounter any issues or the gurgling noise persists, consider seeking professional assistance.
Cleaning the CPU Cooler and Radiator
Over time, dust and debris can accumulate on the CPU cooler and radiator, hindering the airflow and contributing to gurgling noises. Cleaning these components is crucial to ensure optimal cooling performance. Here’s a step-by-step guide on how to clean the CPU cooler and radiator:
- Power off your computer: Before starting any cleaning procedures, make sure to power off your computer and unplug it from the power source to avoid any potential electrical hazards.
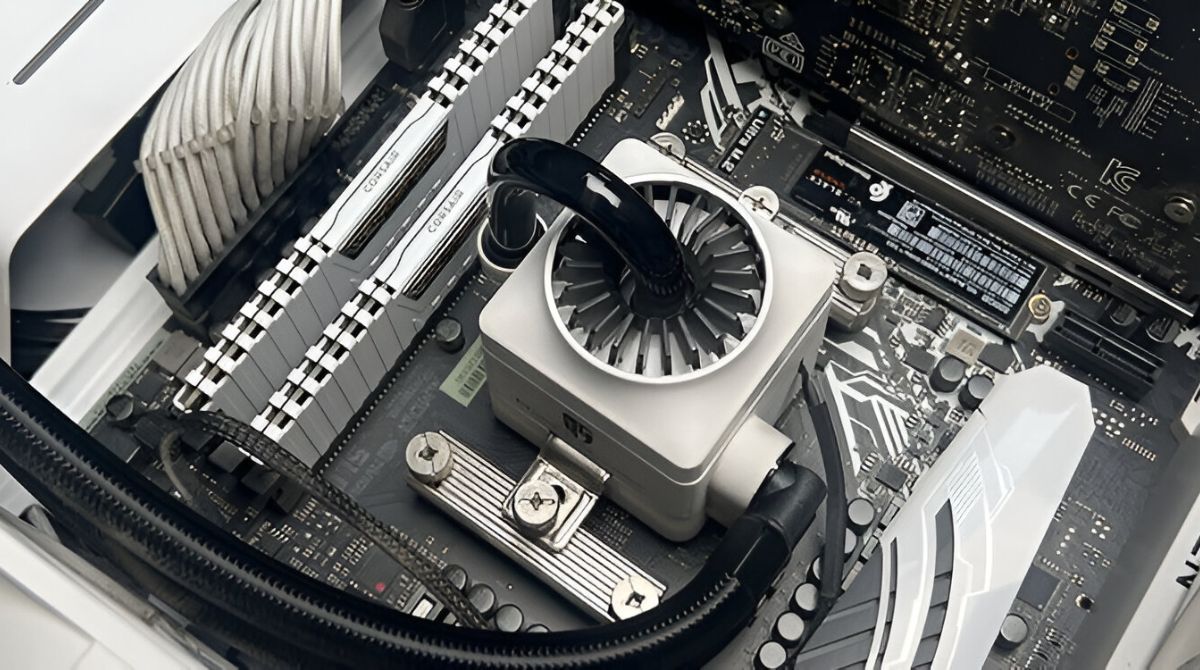
- Access the CPU cooler and radiator: Depending on your computer’s configuration, locate the CPU cooler and the radiator. If necessary, remove any protective shrouds or panels to gain better access.
- Remove the CPU cooler: Depending on the type of cooler, you may need to unscrew it from the mounting brackets or unclip it from the retention bracket. Carefully detach the cooler from the CPU.
- Remove the fan(s): If the CPU cooler has an attached fan or fans, disconnect them from the fan headers on the motherboard. Gently remove the fan(s) from the cooler for cleaning.
- Clean the cooler and fan(s): Use compressed air or a soft brush to remove any loose dust and debris from the CPU cooler fins and fan blades. Be thorough in cleaning all the nooks and crannies to ensure optimal performance.
- Clean the radiator: If your computer has a liquid cooling system with a radiator, use compressed air or a soft brush to remove dust and debris from the radiator fins. Be careful not to damage the fins during the cleaning process.
- Reinstall the fan(s) and cooler: Once everything is clean and dust-free, reattach the fan(s) to the cooler and reinstall the cooler onto the CPU. Make sure it is securely fastened, aligning the screw holes or clips with the corresponding mounting points.
- Reassemble your computer: Replace any shrouds or panels that were removed earlier to access the CPU cooler and radiator. Connect all necessary cables and plugs, ensuring a proper connection.
- Power on your computer and monitor: Finally, power on your computer and monitor the system for any gurgling noises. If you have successfully cleaned the CPU cooler and radiator, the gurgling noise should be eliminated.
Cleaning the CPU cooler and radiator is a vital maintenance step to ensure optimum cooling performance and silence any gurgling noises. Regularly cleaning these components will not only prevent noise issues but also prolong the lifespan of your cooling system. If the gurgling noise persists after cleaning, it may be an indication of a different underlying issue that requires further investigation.
Reapplying Thermal Paste
Thermal paste is a crucial component for maintaining proper heat transfer between the CPU and the cooler. If the thermal paste has dried out or is unevenly applied, it can affect the cooling performance and potentially contribute to gurgling noises. Here’s a step-by-step process on how to reapply thermal paste:
- Power off your computer: Before starting the process, ensure that your computer is powered off and unplugged from the power source. This will prevent any potential accidents or electrical hazards.
- Remove the CPU cooler: Depending on the type of cooler, carefully unscrew it from the mounting brackets or unclip it from the retention bracket. Gently detach the cooler from the CPU.
- Clean the CPU and cooler: Use isopropyl alcohol and a lint-free cloth or cotton swab to clean the thermal paste residue from the CPU surface and the base of the cooler. Ensure that both surfaces are completely clean and free from any debris.
- Apply a small amount of thermal paste: Squeeze a small pea-sized amount of thermal paste onto the center of the CPU. It is important not to use too much paste as it can lead to thermal inefficiency.
- Spread the thermal paste: Use a card, plastic spatula, or a specialized thermal paste spreader to evenly spread the paste across the entire surface of the CPU. This will create a thin and uniform layer, ensuring optimal heat transfer.
- Reinstall the cooler: Carefully align the cooler with the CPU, ensuring that it makes even contact with the thermal paste. Securely fasten the cooler back onto the CPU using the appropriate mounting mechanism.
- Double-check the installation: Make sure that the cooler is firmly attached and evenly seated on the CPU. Check that all screws or clips are tightened correctly to avoid any potential issues.
- Reassemble your computer: Replace any removed shrouds or panels to complete the reinstallation of the CPU cooler. Reconnect all necessary cables and plugs, ensuring proper connections.
- Power on your computer and monitor: Finally, power on your computer and monitor it for any gurgling noises. If you have successfully reapplied the thermal paste, the gurgling noise should be eliminated, and your CPU should now be running at optimal temperatures.
Reapplying thermal paste is a relatively simple process, but it plays a crucial role in maintaining proper cooling performance. By following these steps and ensuring proper application, you can significantly improve the cooling efficiency of your CPU cooler and eliminate any gurgling noises that may be present.
Ensuring Proper Fan Operation
A properly functioning fan is essential for maintaining efficient cooling and preventing gurgling noises in your CPU cooler. If the fan is not operating correctly, it can create turbulence in the airflow, leading to unwanted sounds. Here are the steps to ensure proper fan operation:
- Power off your computer: Before inspecting or working on the fan, make sure to power off your computer and unplug it from the power source. This will prevent any potential accidents or electrical hazards.
- Locate the CPU cooler fan(s): Identify the fan(s) attached to the CPU cooler. They are typically mounted on top of the cooler or at the front or rear of the radiator, depending on your cooling system configuration.
- Check for physical obstructions: Visually inspect the fan(s) and ensure that there are no physical obstructions, such as cables or debris, interfering with its movement. Clear any obstructions that may be obstructing the fan’s operation.
- Test the fan operation: Power on your computer and observe the fan(s) while the system is running. Pay close attention to any irregular movements, grinding sounds, or vibrations that may indicate a fan problem.
- Check the fan speed in BIOS: Restart your computer and enter the BIOS settings. Look for the section related to fan control or monitoring and verify that the fan speed is correctly detected. If there are any abnormalities, adjust the fan settings to the appropriate speed or consider updating the BIOS firmware.
- Clean the fan blades: If the fan blades are covered in dust or debris, gently clean them using compressed air or a soft brush. Removing any particles will ensure smoother fan operation and better airflow.
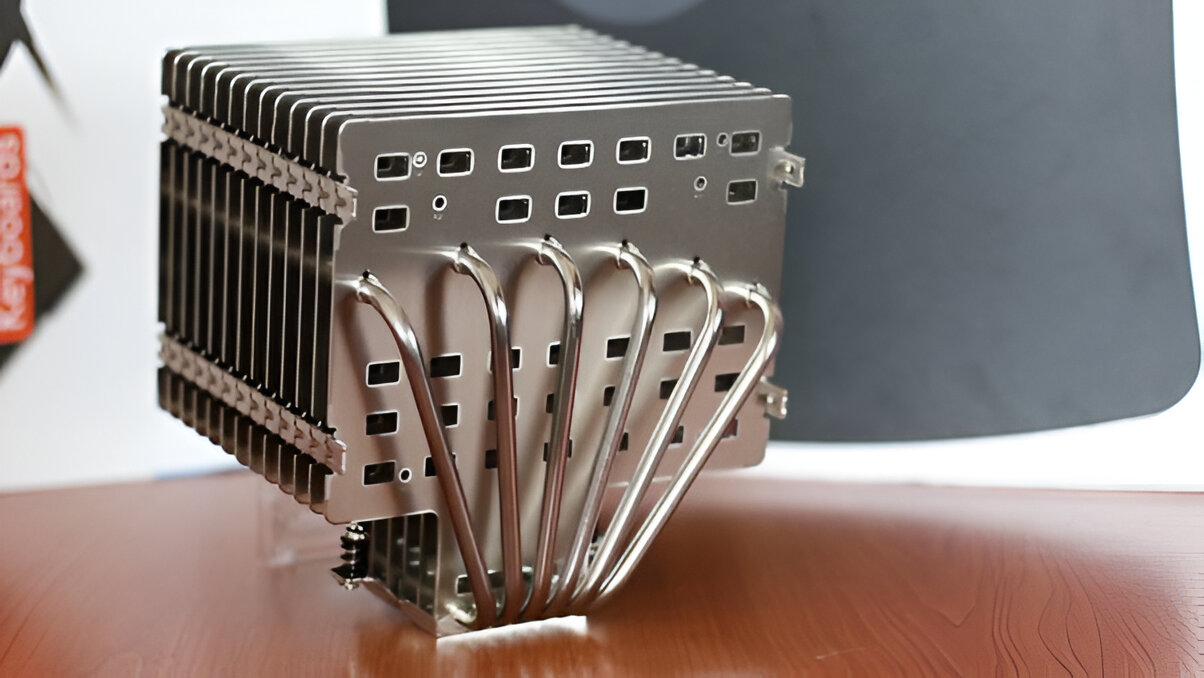
- Replace the faulty fan: If you have followed the steps above and the fan is still not functioning properly, it may be necessary to replace it. Choose a compatible fan that matches the specifications of your CPU cooler to ensure proper cooling performance.
- Reassemble your computer: Once the fan is cleaned or replaced, reassemble your computer, ensuring that all cables and connections are secure. Power on the system and monitor for any gurgling noises. The issue should now be resolved.
Ensuring proper fan operation is crucial for maintaining optimal cooling and eliminating gurgling noises in your CPU cooler. Regular maintenance and monitoring can help identify any fan-related issues early on, allowing for prompt resolution and uninterrupted system performance.
Conclusion
Dealing with a gurgling CPU cooler can be frustrating, but with the right knowledge and troubleshooting steps, you can effectively resolve the issue. By understanding the common causes of gurgling noises and following the step-by-step guide provided in this article, you can eliminate the noise and restore your CPU cooler to optimal performance.
We discussed the common reasons for CPU cooler gurgling, including air bubbles in the system, improper installation, dust and debris, and faulty fans. By identifying the root cause, you can take the appropriate steps to address the issue.
Additionally, we provided a detailed guide on checking for air bubbles, reinstalling the CPU cooler, cleaning the CPU cooler and radiator, reapplying thermal paste, and ensuring proper fan operation. These troubleshooting steps will help you identify and resolve the gurgling noise coming from your CPU cooler.
Remember, it is important to take your time, follow the instructions carefully, and prioritize safety when working with computer components. If you are unsure or uncomfortable performing any of the steps, it is always recommended to consult a professional technician for assistance.
By following the steps outlined in this article, you can resolve the gurgling noise issue and ensure efficient cooling for your CPU. This will not only contribute to a more comfortable computing experience but also help prolong the lifespan of your system.
Should you encounter any further issues or if the gurgling noise persists after implementing the troubleshooting steps, it is advisable to seek professional help. A qualified technician can provide advanced diagnostics and guidance to resolve any underlying issues that may be causing the gurgling noise.
With the knowledge gained from this guide, you are now equipped to tackle the problem of a gurgling CPU cooler. Say goodbye to unwanted noises and enjoy a quiet, cool, and efficient computer system!