Introduction
Welcome to our guide on how to turn off your PC case fan. If you’ve been noticing excessive noise or want to improve the cooling efficiency of your computer, you may consider turning off your case fan. A case fan is responsible for maintaining proper airflow inside your PC, but sometimes it can be unnecessary or even counterproductive.
Before we begin, it’s important to note that turning off your case fan is not recommended for everyone. If you have a high-performance PC, regularly overclock your components, or experience overheating issues, it’s best to keep your case fan running to ensure optimal cooling and prevent potential damage to your system.
However, for those who have a well-ventilated setup or use liquid cooling solutions, turning off the case fan may be a viable option to reduce noise levels and improve overall quietness during computer usage.
In this guide, we will walk you through the steps to safely turn off your PC case fan. We’ll cover the necessary precautions to consider and provide detailed instructions on how to disconnect the fan from the power supply. By following these steps carefully, you’ll be able to make a well-informed decision and achieve the desired result.
Why Would You Want to Turn Off Your PC Case Fan?
There are several reasons why you might consider turning off your PC case fan. Let’s explore a few scenarios where disabling the case fan can be beneficial:
- Noise Reduction: Case fans can generate a significant amount of noise when running at higher speeds. If you use your computer in a quiet environment or find the fan noise distracting, turning it off can provide a more peaceful computing experience.
- Improved Fan Control: Some users prefer to have more control over their cooling system. By turning off the case fan, you have the opportunity to rely on other cooling methods, such as liquid cooling or aftermarket CPU coolers, to regulate the temperature of your components. This allows for more precise control and customization of your cooling setup.
- Reduced Power Consumption: Every component in your computer consumes power, and the case fan is no exception. If you’re conscious about energy efficiency or want to minimize power consumption, turning off the case fan can help reduce the overall power draw of your system.
- Testing Alternative Cooling Solutions: Turning off the case fan temporarily can be useful when experimenting with alternative cooling methods, such as installing additional fans or testing different fan configurations. By disabling the existing fan, you can measure the impact of these changes on your system’s temperature and make informed decisions about your cooling setup.
- Specific Cooling Requirements: In some cases, certain components, such as graphics cards or processors, may have their own dedicated cooling solutions. If you have separate cooling methods for these components and your case is adequately ventilated, turning off the case fan may not have a noticeable impact on your system’s temperature.
Remember that it’s crucial to monitor your computer’s temperature and take appropriate precautions before turning off your case fan. Overheating can damage your components and lead to system instability. Assess your specific requirements and consider consulting with experts or conducting thorough research to ensure you’re making an informed decision.
Step 1: Check Your PC’s Temperature
Before proceeding with turning off your PC case fan, it’s essential to check the temperature of your computer. Monitoring your system’s temperature will help you determine whether it’s safe to disable the case fan without risking overheating. Here’s how you can check your PC’s temperature:
- Using Software: There are various software tools available that can provide real-time temperature readings of your CPU, GPU, and other components. Popular options include HWMonitor, SpeedFan, and Core Temp. Download and install one of these programs and run it to obtain accurate temperature data.
- In-BIOS Monitoring: Many motherboards have built-in temperature monitoring features accessible through the BIOS or UEFI settings. Restart your computer and enter the BIOS/UEFI by pressing the designated key during startup (usually Del, F2, or Esc). Look for a section related to hardware monitoring or system health, and you should find the temperature readings there.
- Hardware Monitoring Devices: If software monitoring is not sufficient or you prefer a physical device, you can invest in a hardware monitoring solution. These devices typically connect to your computer’s USB port or integrate into a drive bay. They provide an easy-to-read display of various system parameters, including temperature.
Once you have obtained temperature readings, compare them to the recommended operating temperature ranges for your components. These ranges can usually be found in the specifications or user manuals provided by the manufacturers. If your temperatures are within the acceptable range and your computer is not experiencing any overheating issues, you can proceed with turning off the case fan.
However, if your temperatures are already nearing the upper limit or your computer is prone to overheating, it’s strongly advised to keep the case fan running to maintain proper airflow and prevent potential damage to your hardware.
Remember that temperature monitoring should be an ongoing process. Regularly check your system’s temperature, especially during intense tasks or extended periods of computer usage, and make necessary adjustments to your cooling setup as needed.
Step 2: Identify the Case Fan Model
Once you have assessed the temperature of your PC and determined that it’s safe to proceed, the next step is to identify the model of your case fan. This information is crucial for understanding how to disconnect the fan from the power supply effectively. Here’s how you can identify the case fan model:
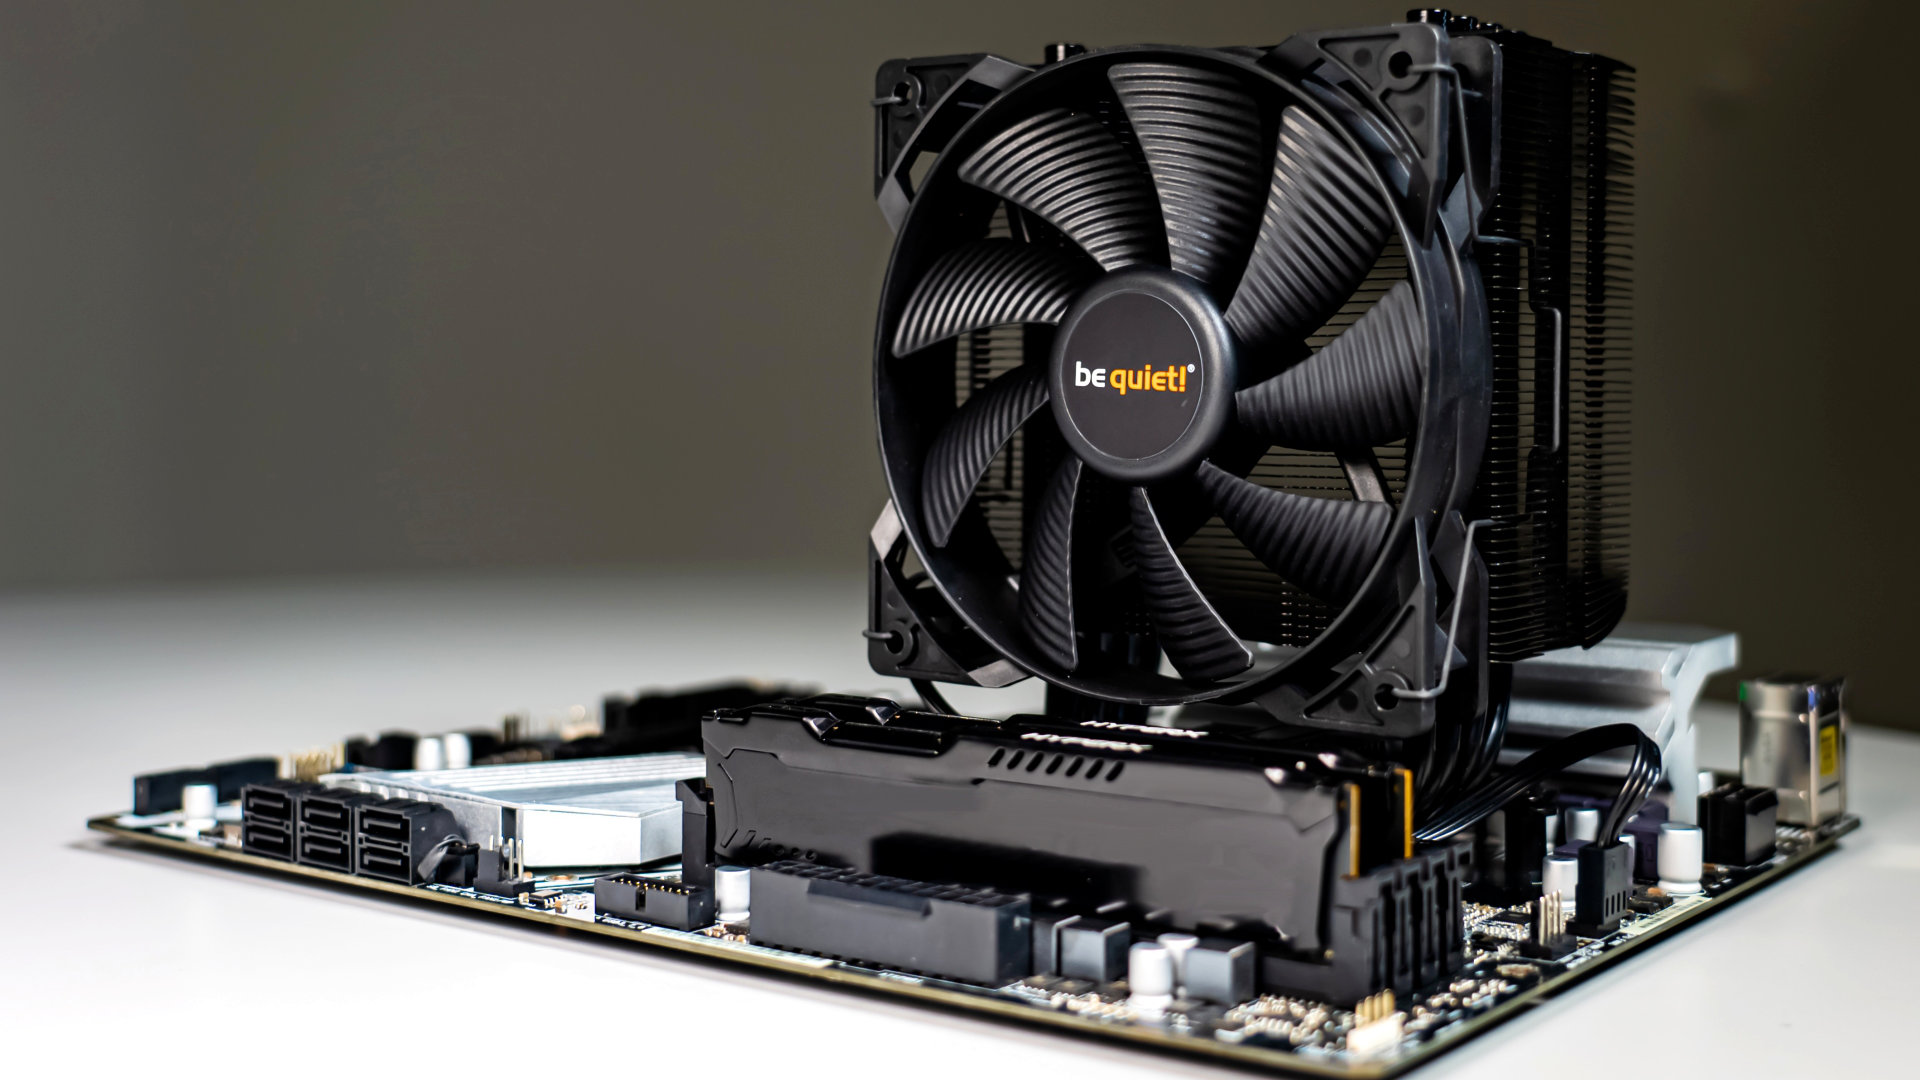
- Visual Inspection: Open up your PC case and locate the case fan. Look for any visible labels or markings on the fan itself. Manufacturers often place their logos or model information on the fan’s frame, blades, or hub. Take note of any identifying details or numbers you find.
- User Manual or Documentation: If you still have the user manual or documentation that came with your computer or case, check if it provides information on the case fan model. Look for sections related to cooling or fan specifications. You may find the model number or other relevant details listed there.
- Online Research: If you couldn’t find any labeling or documentation, or if you want to double-check your findings, you can search for your PC or case model online. Look for the specifications or product details on the manufacturer’s website or other trusted sources. These resources often provide information about the included case fan or any additional cooling options available.
- Third-Party Software: Some software tools, such as CPU-Z or HWiNFO, can provide detailed information about your computer’s hardware components, including the case fan. Install and run one of these tools, navigate to the relevant section, and look for the fan’s model or specifications.
- Record the Information: Once you have identified the case fan model, write down the model number and any other relevant details. Having this information will be helpful for future reference or troubleshooting if needed.
Identifying the case fan model helps ensure that you follow the appropriate procedures when disconnecting it from the power supply later on. Different types of fans may have unique connectors or mounting mechanisms, so having this information will make the process smoother and minimize the risk of damaging the fan or other components during removal.
Keep in mind that if your PC case has multiple case fans, you may need to repeat this step for each fan in order to properly identify and handle them individually.
Step 3: Power Off Your Computer Properly
Before you proceed with disconnecting the case fan, it’s crucial to power off your computer correctly to avoid any potential damage or risk to your hardware. Follow these steps to ensure a safe shutdown:
- Save and Close All Applications: Save your work and close any open applications or files you have running on your computer. This will prevent data loss and ensure a smooth shutdown process.
- Exit any Background Processes: Make sure to exit any background processes or tasks that may be running, such as file downloads or software updates. This will ensure that the computer is not performing any critical operations that could be disrupted by the shutdown.
- Close Any Open Windows: Close all open windows and programs on your desktop. This includes web browsers, file explorers, media players, and any other applications you may have open.
- Click on the Start Menu: Click on the “Start” button located at the lower-left corner of your screen. This will open the Start menu.
- Select “Power”: Within the Start menu, select the “Power” option. This will display a list of power-related options.
- Choose “Shutdown”: From the list of power options, select “Shutdown” to initiate the computer’s shutdown process. Alternatively, you can select “Restart” if you plan to turn off the case fan temporarily for testing purposes.
- Wait for the Shutdown Process: Allow your computer some time to complete the shutdown process. Depending on your system configuration and the number of open applications, this process may take a few seconds to a minute.
- Ensure Computer is Fully Powered Off: Once the shutdown process is complete, make sure that your computer is fully powered off. Verify that the fans stop spinning, and any lights on the computer case or components are turned off. This ensures that there is no electrical current running through the system and reduces the risk of accidental shocks or damage.
By following these steps to power off your computer properly, you minimize the chances of data loss or hardware damage during the case fan disconnection process. It’s always recommended to perform a clean shutdown before modifying or working on any internal components of your PC.
Step 4: Open the PC Case
In order to access and disconnect the case fan, you’ll need to open your PC case. Here’s how you can safely and effectively open the case:
- Gather the Necessary Tools: Before you begin, make sure you have the necessary tools on hand. Typically, a Phillips-head screwdriver is all you’ll need to open the case. However, depending on the type of case you have, you may require additional tools such as a flathead screwdriver or Allen wrenches.
- Power Off Your Computer: Ensure that your computer is completely powered off by following the proper shutdown procedure outlined in the previous step. This is crucial to prevent any potential risk of electric shock or damage to internal components.
- Remove the Power Cable: Unplug the power cable from the back of your computer. This will disconnect the power supply and ensure there is no electricity flowing through the system during the case opening process.
- Ground Yourself: To prevent any static electricity discharge that could harm your computer’s components, it’s essential to ground yourself. Simply touch a grounded metal object, such as a metal table frame or a properly grounded electrical outlet, to discharge any static electricity from your body.
- Locate the Screws or Latches: Look at the rear or sides of your PC case to find the screws or latches that secure the side panels. These are usually located on the back of the case. Some cases have thumb screws, while others require a screwdriver for removal. If your case has latches, check for release buttons or levers that allow easy access to the interior.
- Unscrew or Release the Side Panel: Use the appropriate tool or mechanism to unscrew the screws or release the latches holding the side panel in place. Gently slide or lift the panel off once you have fully loosened or unlatched it.
- Set Aside the Side Panel: Set the side panel aside in a safe location where it won’t get damaged. You may want to place it on a clean surface or lay it flat to avoid any accidental tip overs.
By following these steps, you can easily open your PC case and gain access to the internal components, including the case fan. Remember to always handle your computer with care and take necessary precautions to avoid any damage or accidents during this process.
Step 5: Locate the Case Fan
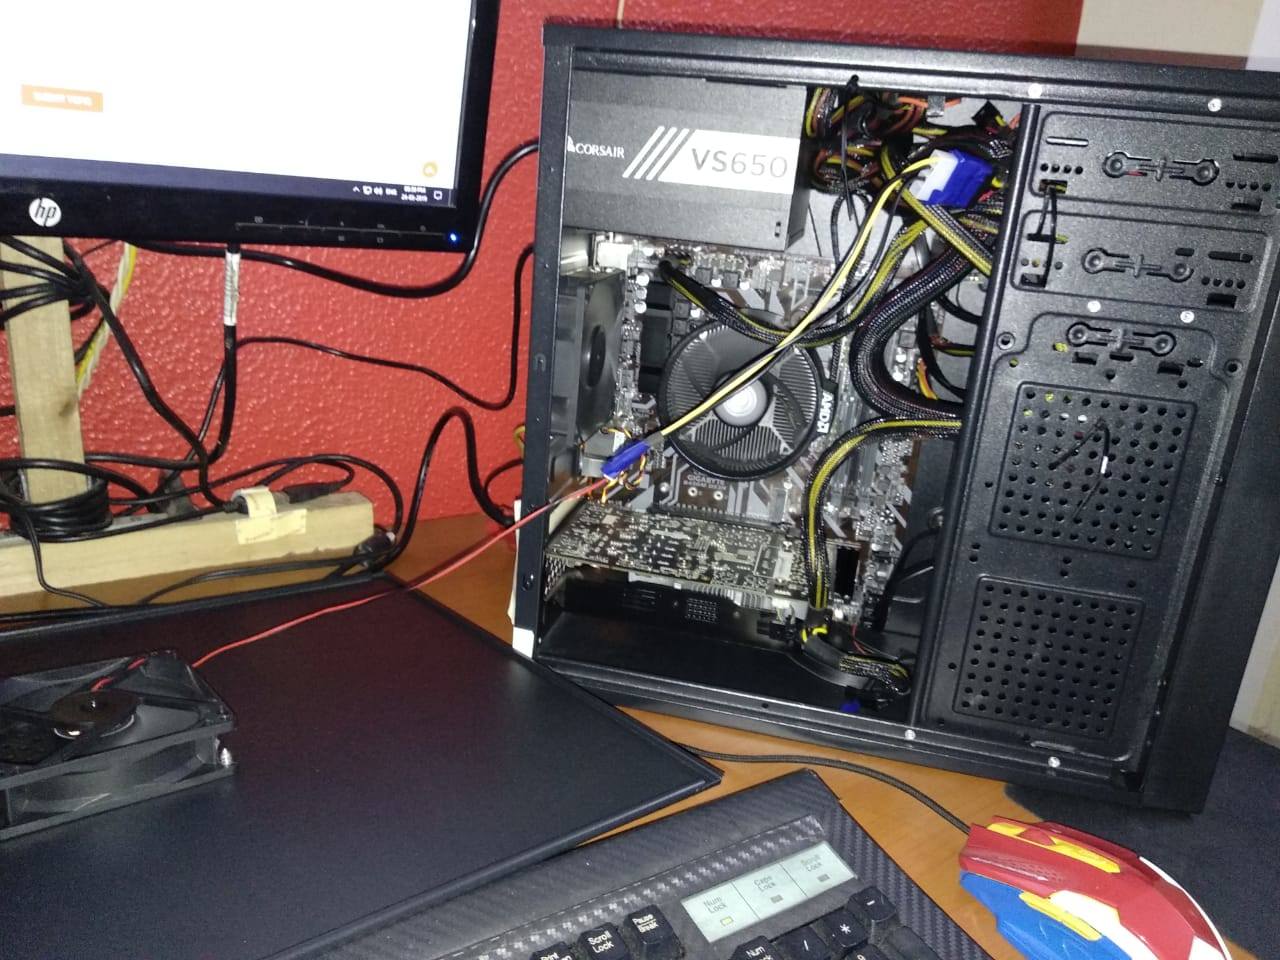
Once you have successfully opened your PC case, the next step is to locate the case fan that you want to turn off. Here’s how you can find the case fan:
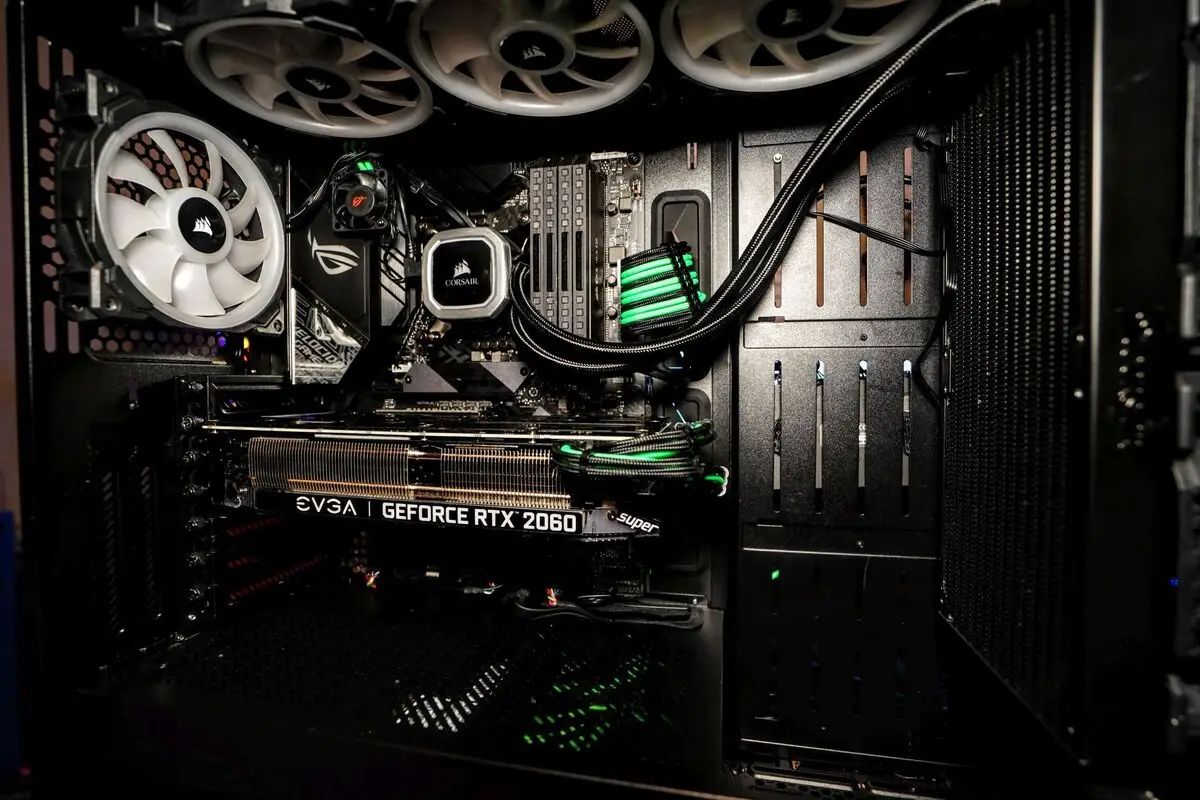
- Visual Inspection: Take a close look inside your PC case and look for the fan. Case fans are typically mounted on the front, rear, or side panels of the case. They are easily recognizable as they have a circular frame with blades that rotate when powered on.
- Follow the Cables: In some cases, locating the case fan visually may be challenging, especially if you have multiple fans installed. In that case, follow the cables connected to the fan. These cables usually run to the power supply or motherboard. By tracing the cables, you can easily track down the case fan.
- Refer to Documentation: If you are having difficulty locating the fan or want to confirm its exact location, consult the documentation that came with your PC case. The documentation may include diagrams or illustrations that indicate the fan’s position and provide additional guidance.
- Take Note of Fan Placement: As you locate the case fan, observe its position and note any specific details. For example, find out if the fan is situated as an intake (drawing in air) or an exhaust (expelling air). Understanding the fan’s placement will be useful when you decide to turn it back on or make adjustments to other cooling components.
- Inspect for Dust Buildup: While you’re locating the case fan, take the opportunity to inspect for any dust buildup on the fan blades or surrounding areas. Dust accumulation can hinder the fan’s performance and cooling efficiency. If necessary, consider cleaning the fan and other components to optimize airflow.
By following these steps, you should be able to identify the location of the case fan inside your PC case. Remember to be cautious and handle the internal components with care to avoid any accidental damage.
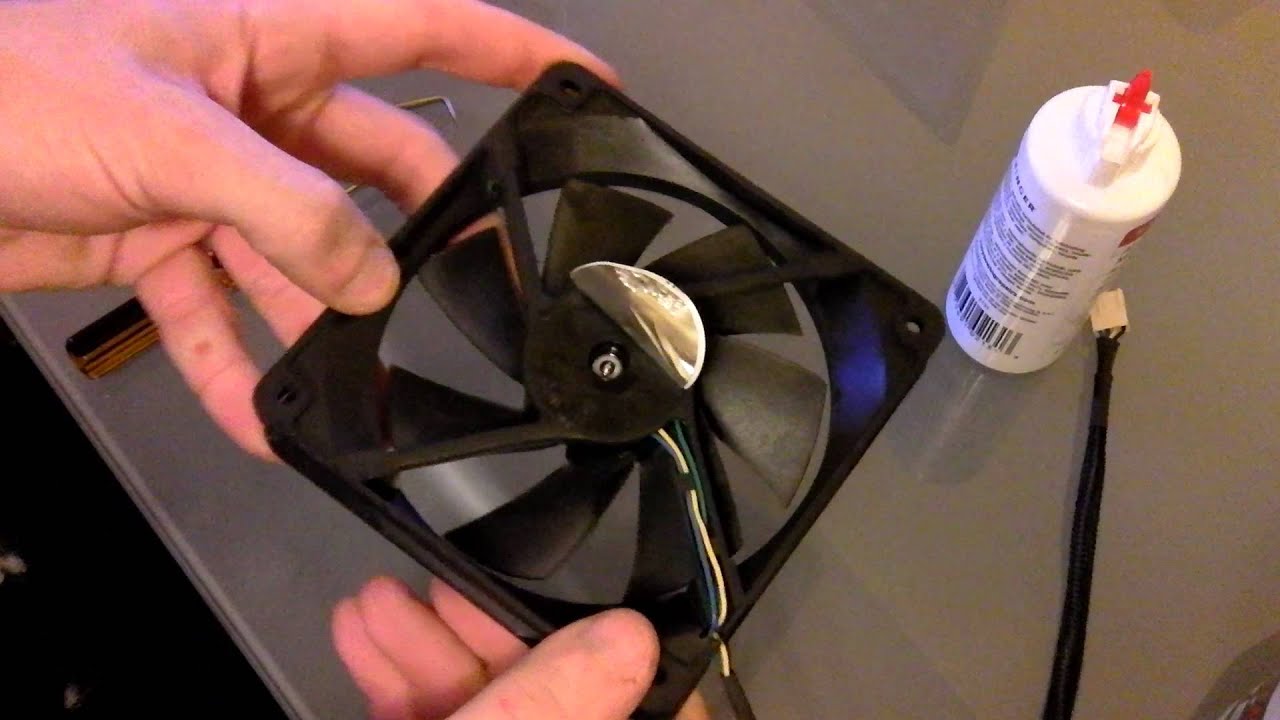
Step 6: Disconnect the Fan from the Power Supply
Now that you have located the case fan, it’s time to disconnect it from the power supply. Follow these steps to safely disconnect the fan:
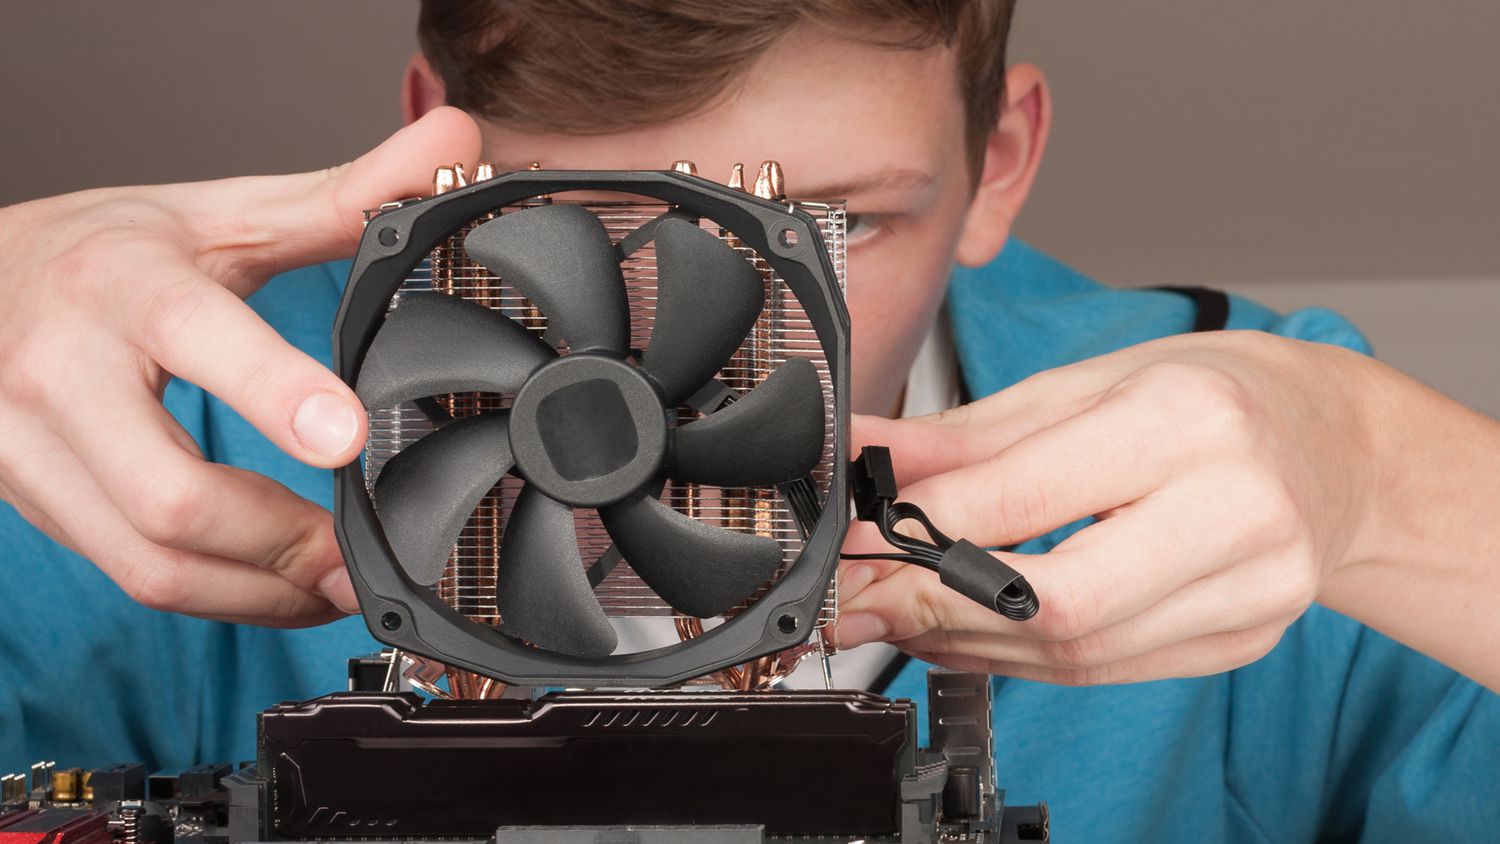
- Understand the Fan’s Power Connection: Take a close look at the fan and identify how it is connected to the power supply. Case fans are usually connected either directly to the power supply or to the motherboard.
- Power Supply Connection: If the fan is connected directly to the power supply, locate the power cable coming from the fan and find the corresponding connector on the power supply unit. Gently pull out the connector to disconnect it from the power supply.
- Motherboard Connection: If the fan is connected to the motherboard, locate the fan header on the motherboard. The fan header is a small plastic connector with multiple pins. Carefully unplug the fan connector from the motherboard’s fan header by gently pulling it straight out, avoiding any excessive force.
- Secure Loose Cables: Once the fan is disconnected, ensure that any loose cables, such as the fan power cable, are properly secured and neatly tucked away. This helps prevent any potential interference with other components or obstructing airflow within the case.
- Take Note of Screws or Mounting Mechanisms: As you disconnect the fan, pay attention to any screws or mounting mechanisms holding it in place. This will be helpful when reassembling or replacing the fan in the future.
By following these steps, you can safely disconnect the case fan from the power supply. Remember to handle the cables and connectors with care to avoid any damage. If you are unsure about the specific connection or have any concerns, refer to the documentation provided by the manufacturer or seek guidance from technical resources or professionals.
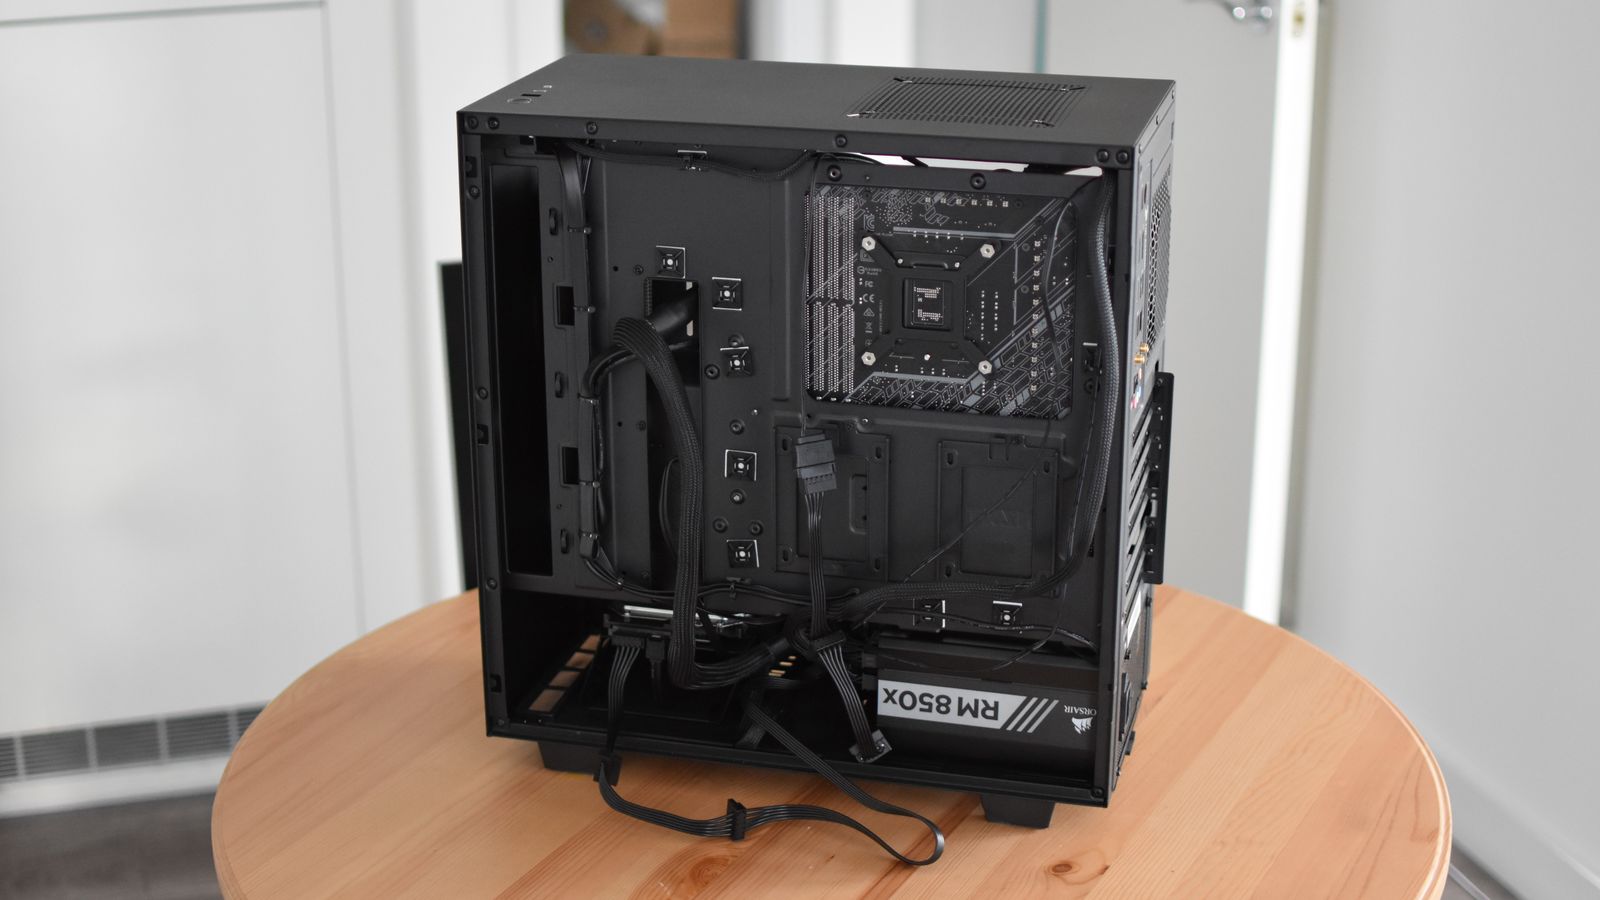
Step 7: Secure the Wiring
After disconnecting the case fan from the power supply, it’s essential to secure the wiring to ensure a tidy and organized setup. This step will help prevent any accidental disconnections or tangling of cables. Follow these steps to secure the wiring:
- Organize the Cables: Neatly arrange and organize the cables, including the fan power cable, within your PC case. Avoid routing the cables near any moving parts, such as fans or components with fans, to prevent any interference or potential damage.
- Use Cable Ties: Cable ties, also known as zip ties or cable management ties, are handy tools for securing and bundling cables. Use cable ties to fasten the wiring together, creating a clean and organized cable management setup.
- Wrap Excess Cable Length: If you have excess cable length, wrap it up and secure it with a cable tie or hook. This helps minimize clutter and ensures that the cables do not impede airflow within the case. It also makes it easier to access other components or perform maintenance in the future.
- Check for Cable Clearance: Ensure that the secured wiring does not block any fans, obstruct airflow paths, or interfere with other components. It’s important to maintain proper airflow to keep your system cool and prevent overheating.
- Consider Cable Management Accessories: If you want to take your cable management to the next level, you can explore various cable management accessories such as cable sleeves, adhesive clips, or cable routing channels. These accessories help keep cables organized and visually appealing.
By taking the time to secure and organize the wiring, you not only improve the aesthetics of your PC case but also ensure that the cables are safely tucked away, minimizing the risk of accidental disconnections or damage to other components.
Remember, proper cable management not only improves the overall appearance but also aids in better airflow and easier maintenance. Taking these steps will result in a cleaner and more efficient PC setup.
Step 8: Close the PC Case
After completing the necessary tasks inside your PC case, it’s time to close it up. Properly closing the case ensures the components are well-protected and maintains proper airflow within the system. Follow these steps to close your PC case:
- Align the Side Panel: Take the side panel that you previously removed and align it with the case. Ensure that the panel’s screw holes or latches are properly aligned with the corresponding slots on the case.
- Slide or Push the Panel: Gently slide or push the side panel back into place, using light pressure until it clicks into position. Be careful not to use excessive force, as this may damage the panel or the case itself.
- Secure the Screws or Lock the Latches: If your case uses screws, use a screwdriver to tighten them until they are snug, but be cautious not to overtighten. If your case has latches, make sure they are properly engaged and locked in place.
- Double-Check for Proper Closure: Take a moment to inspect the case and ensure that the side panel is securely closed. Make sure there are no gaps or misalignments that could lead to compromised cooling or the entry of dust or debris.
- Test the Fit: Gently press on different parts of the closed case to ensure that it feels secure and there are no loose panels. This helps confirm that everything is properly in place before powering on your computer.
By following these steps, you can safely and effectively close your PC case. It’s crucial to ensure that the case is properly closed before proceeding to power on your computer. A securely closed case not only protects your components but also maintains proper airflow and reduces the risk of dust buildup.
Remember, always handle your PC case and its components with care to avoid any accidental damage. Take your time during this step to ensure a proper fit and closure of the case.
Step 9: Power On Your Computer and Monitor Temperatures
Now that you have successfully closed your PC case, it’s time to power on your computer and monitor the temperatures to ensure that everything is functioning as expected. Follow these steps to power on your computer and monitor the temperatures:
- Double-Check Connections: Before powering on, take a quick look inside your PC case to ensure that all cables and components are properly connected and secure.
- Plug in the Power Cable: Connect the power cable back into the power supply unit and plug it into a reliable power outlet. Ensure a proper and stable power connection.
- Press the Power Button: Locate the power button on your computer case and press it to turn the system on. You should hear the fans spinning up and see the lights on your computer components illuminate.
- Monitor Temperatures: Once your computer has booted up, use temperature monitoring software, such as HWMonitor or SpeedFan, to observe the temperatures of your CPU, GPU, and other components. Keep an eye on these readings for any noticeable changes or abnormalities.
- Ensure Adequate Cooling: During normal usage of your computer, pay attention to the fan speed and temperatures to ensure that your cooling setup is sufficient. If you notice any overheating issues or an increase in temperatures beyond safe operating ranges, consider re-enabling the case fan or exploring alternative cooling solutions.
- Monitor Performance and Stability: In addition to temperature monitoring, keep an eye on the overall performance and stability of your computer. If you notice any issues or unexpected behavior, it may be worth re-evaluating your cooling setup or seeking professional advice.
By following these steps, you can ensure that your computer is powered on correctly and monitor the temperatures to make sure it’s running within safe operating conditions. The temperature readings will help you assess the impact of turning off the case fan and determine whether it’s necessary to make any further adjustments to your cooling system.
Remember, monitoring temperatures and overall system performance regularly is essential for maintaining a healthy and stable computer. Pay attention to any changes and seek professional assistance if you have concerns or encounter any persistent issues.
Conclusion
Turning off your PC case fan can be a viable option for reducing noise levels and improving the overall quietness of your computer setup. However, it’s crucial to approach this task with caution and make informed decisions based on your specific requirements.
In this guide, we have discussed the various steps involved in safely turning off your PC case fan. It starts with checking your computer’s temperature and understanding the reasons why you would want to turn off the fan. We then covered how to identify the case fan model, power off your computer properly, open the PC case, locate the case fan, disconnect it from the power supply, secure the wiring, close the PC case, and finally, power on your computer and monitor the temperatures.
While turning off your case fan can provide benefits such as noise reduction and improved fan control, it’s important to ensure that your computer’s temperature remains within safe limits. Regularly monitor your system’s temperature and consider re-enabling the case fan or exploring alternative cooling options if necessary.
Remember to always handle your computer and its internal components with care when following these steps. If you encounter any difficulties or are unsure about any aspect of the process, consult the documentation provided by your PC or case manufacturer or seek assistance from experienced individuals.
By following the steps outlined in this guide and making informed decisions about turning off your PC case fan, you can achieve a quieter computing experience while maintaining optimal cooling and performance for your system.